Tom's Hardware Verdict
Embedded network and server applications are this board’s raison d'etre and it does it really well. The camera and GPIO access are what let this board down. But the camera issue should be resolved for end users.
Pros
- +
+ Small form factor
- +
+ USB 3
- +
+ Dual Gigabit Ethernet
- +
+ USB C Power
Cons
- -
USB 3 header not included
- -
Limited GPIO access
- -
Runs warm
- -
Camera issues
Why you can trust Tom's Hardware
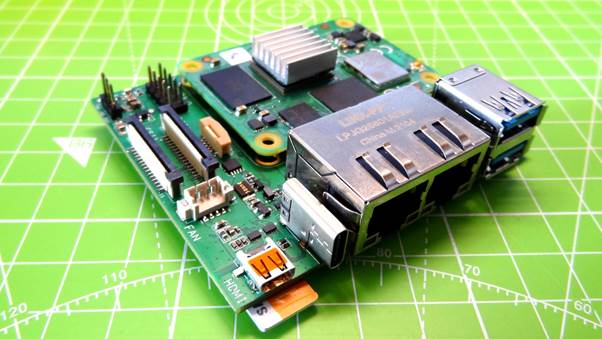
When the Raspberry Pi Compute Module 4 was released in late 2020, we knew that it was destined for embedded server projects. The official Compute Module IO board has all of the connections, but the awkward form factor shows that it was never meant to be used in a project. For project use, we need bespoke carrier boards which break out the required connections.
Seeed’s Dual Gigabit Ethernet Carrier Board is compatible with all Raspberry Pi Compute Module 4 boards and is designed to create network devices, file server and software router applications. The inclusion of USB 3.0 is a sweetener for those of us eager to create low power, large storage devices based on the Raspberry Pi.
Seeed Dual Gigabit Ethernet Carrier Board Specifications
| Networking | Dual Gigabit Ethernet Connectors |
| USB 3.0 to GbE (Gigabit Ethernet Bridge) | Microchip's LAN7800 |
| USB | 2 x USB 3.0 Ports |
| Row 3 - Cell 0 | 1 x USB 3.0 9-Pin Header |
| Storage | Micro-SD Card Slot (load system Image for non-eMMC CM4 version) |
| Camera | 1 x MIPI CSI Connector |
| Display | 1 x MIPI DSI Connector |
| Row 7 - Cell 0 | 1 x Micro HDMI Connector |
| FPC | Interface for I2C and SPI |
| External Fan | Dimensions |
| Power | 5V/3A using USB Type-C Port |
| Dimensions | 2.95 x 2.5 x 0.8 inches (75 x 64 x 21mm) |
Using the Seeed Dual Gigabit Ethernet Carrier Board
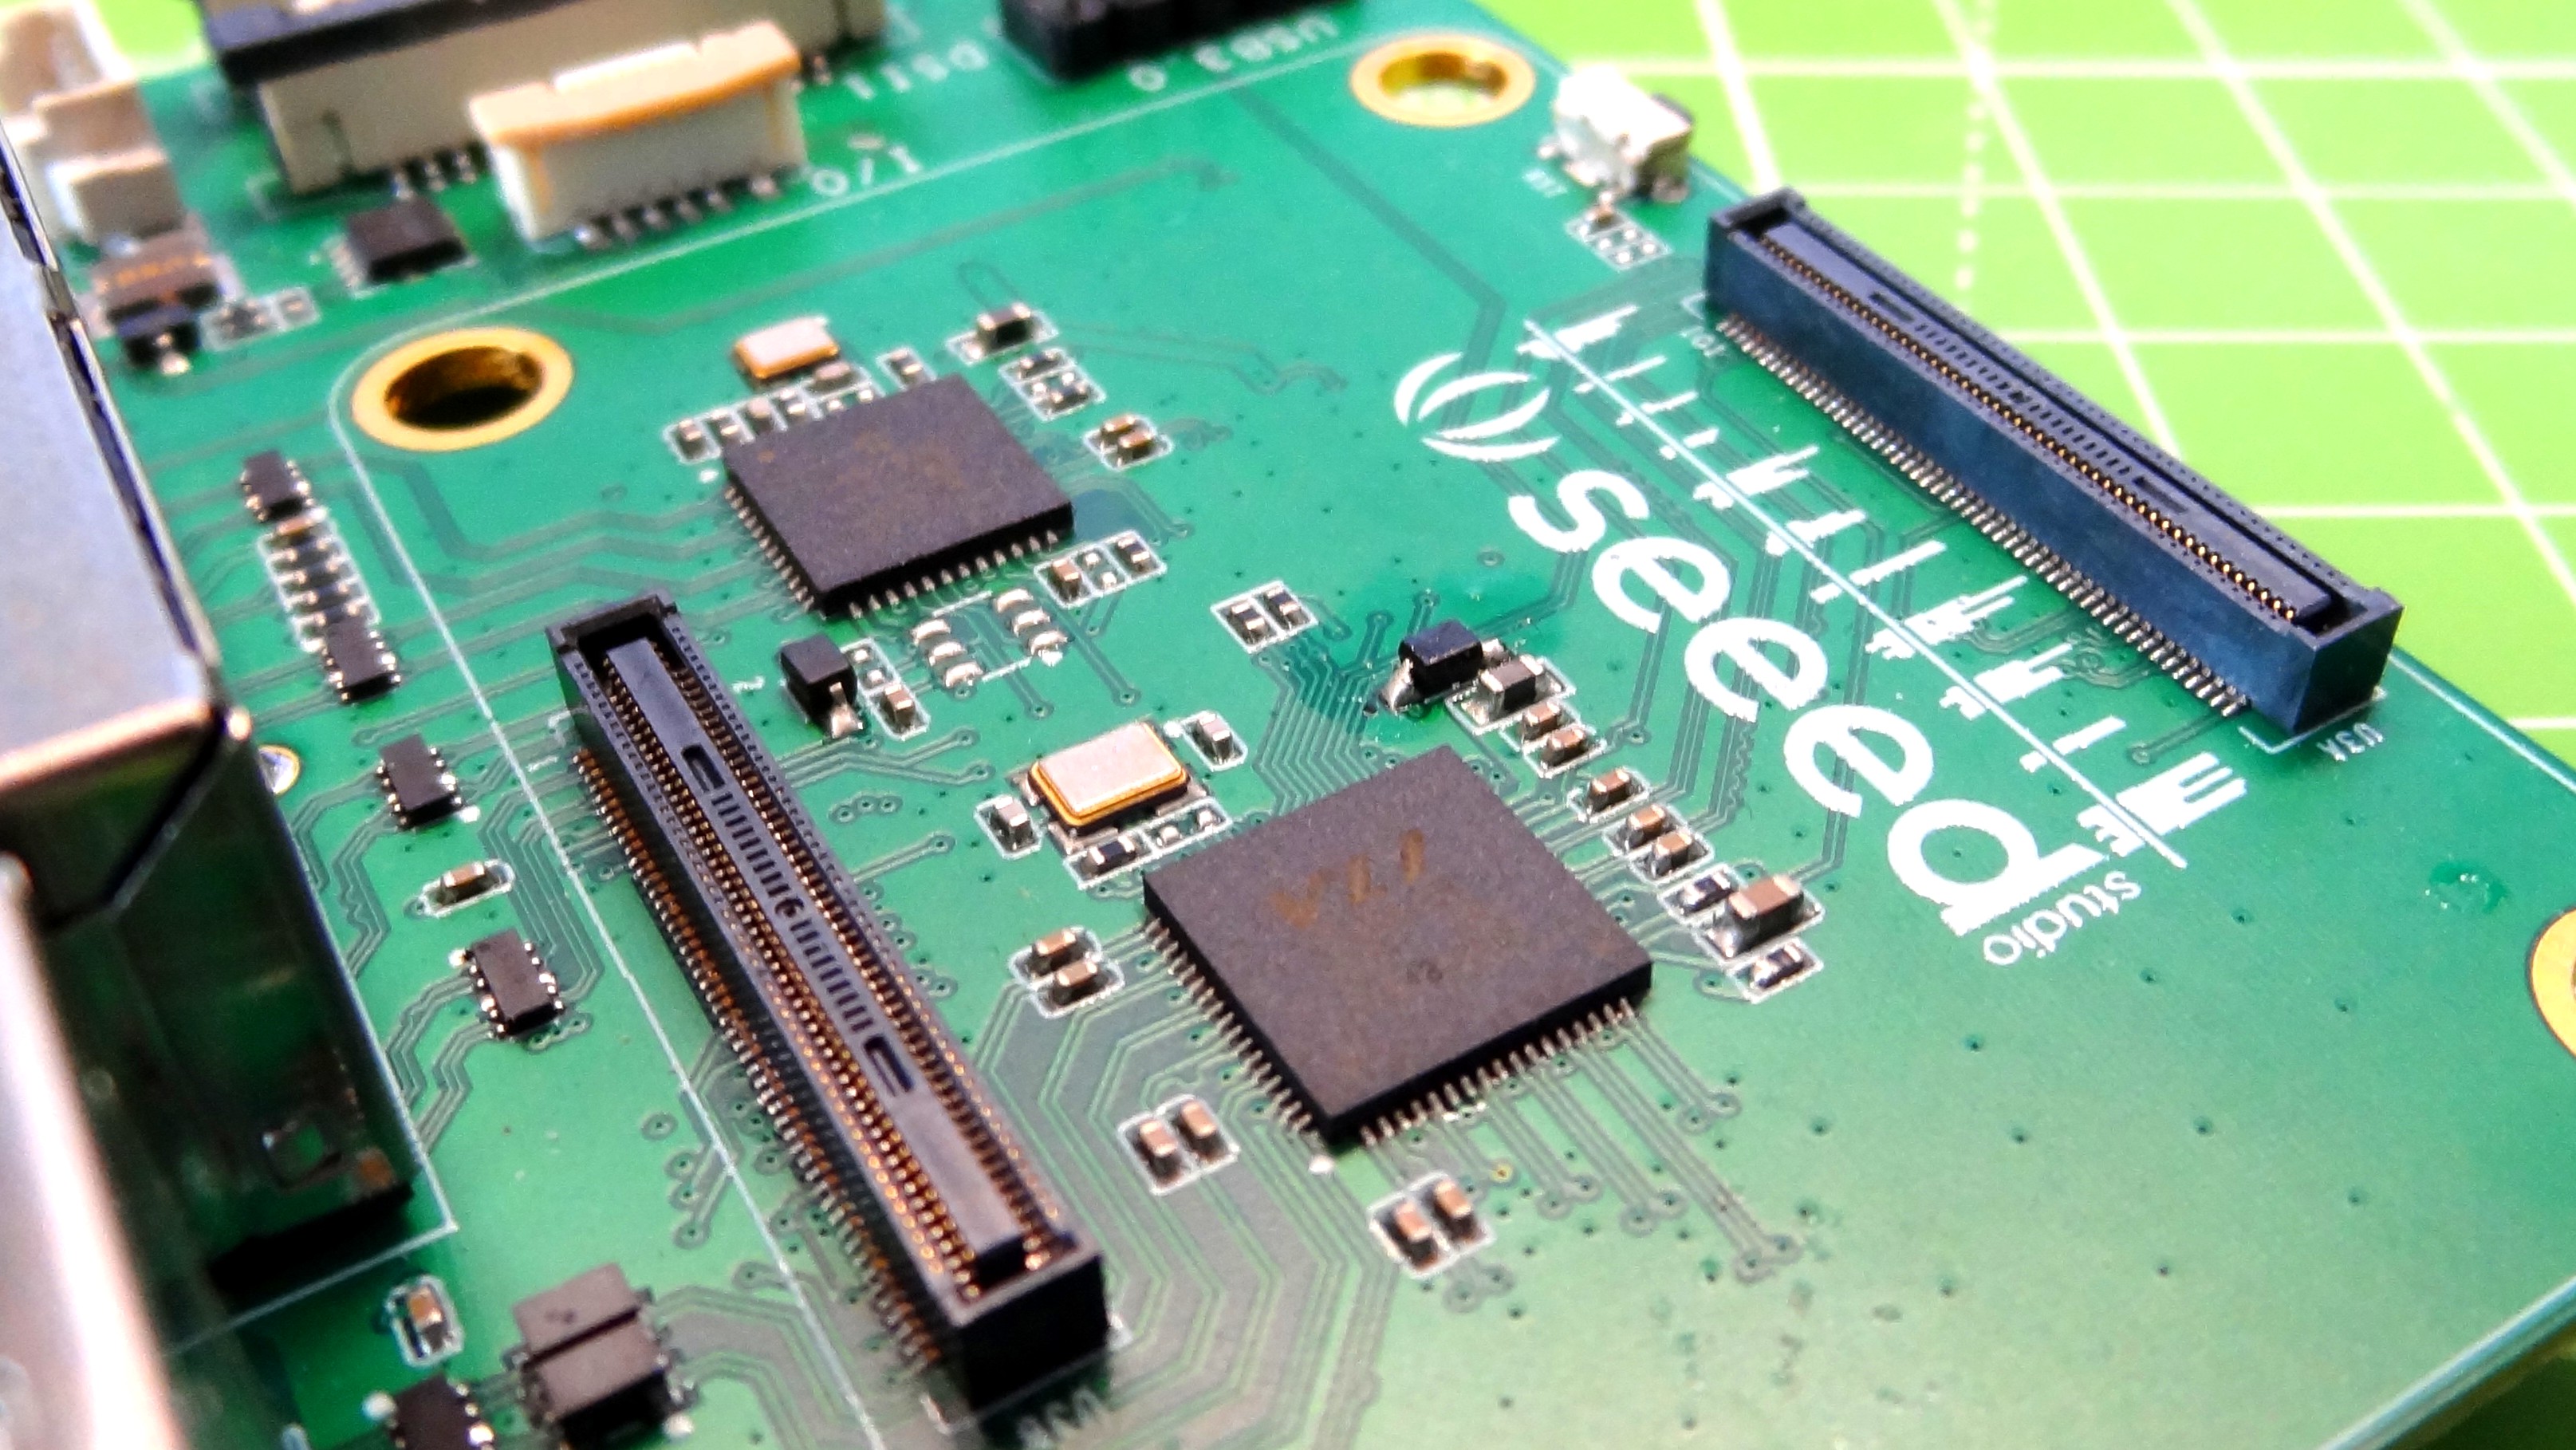
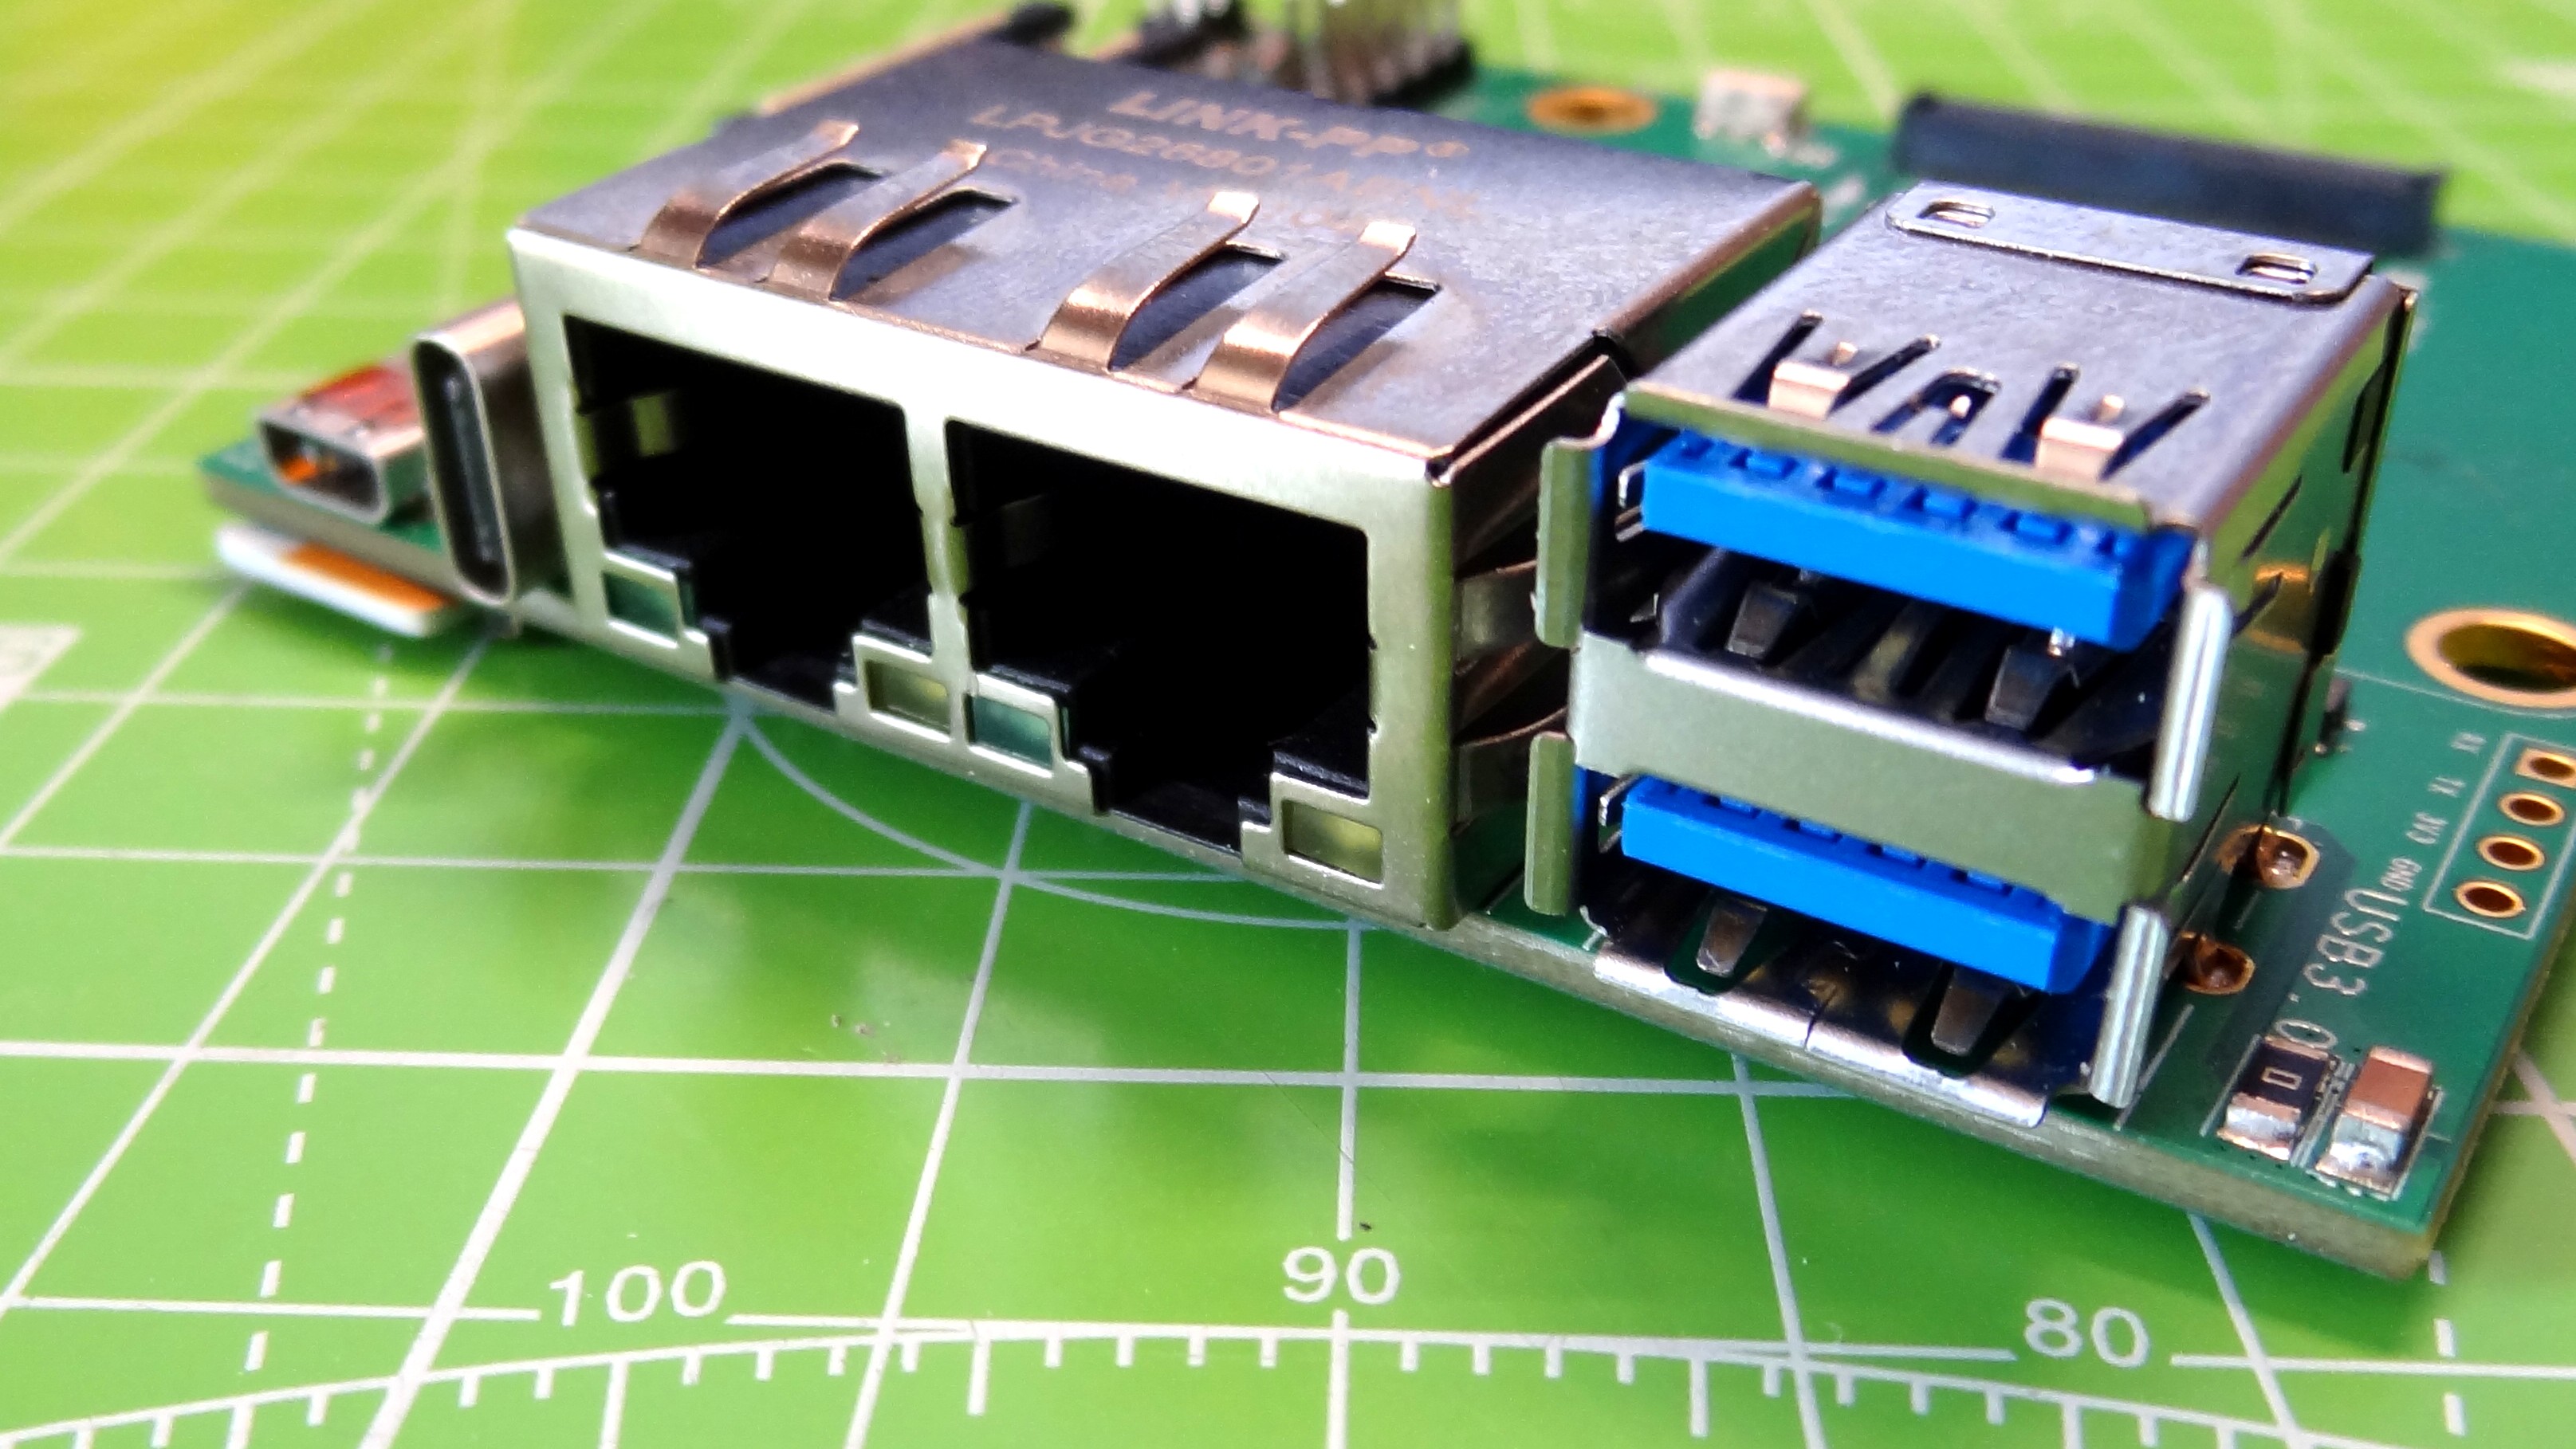
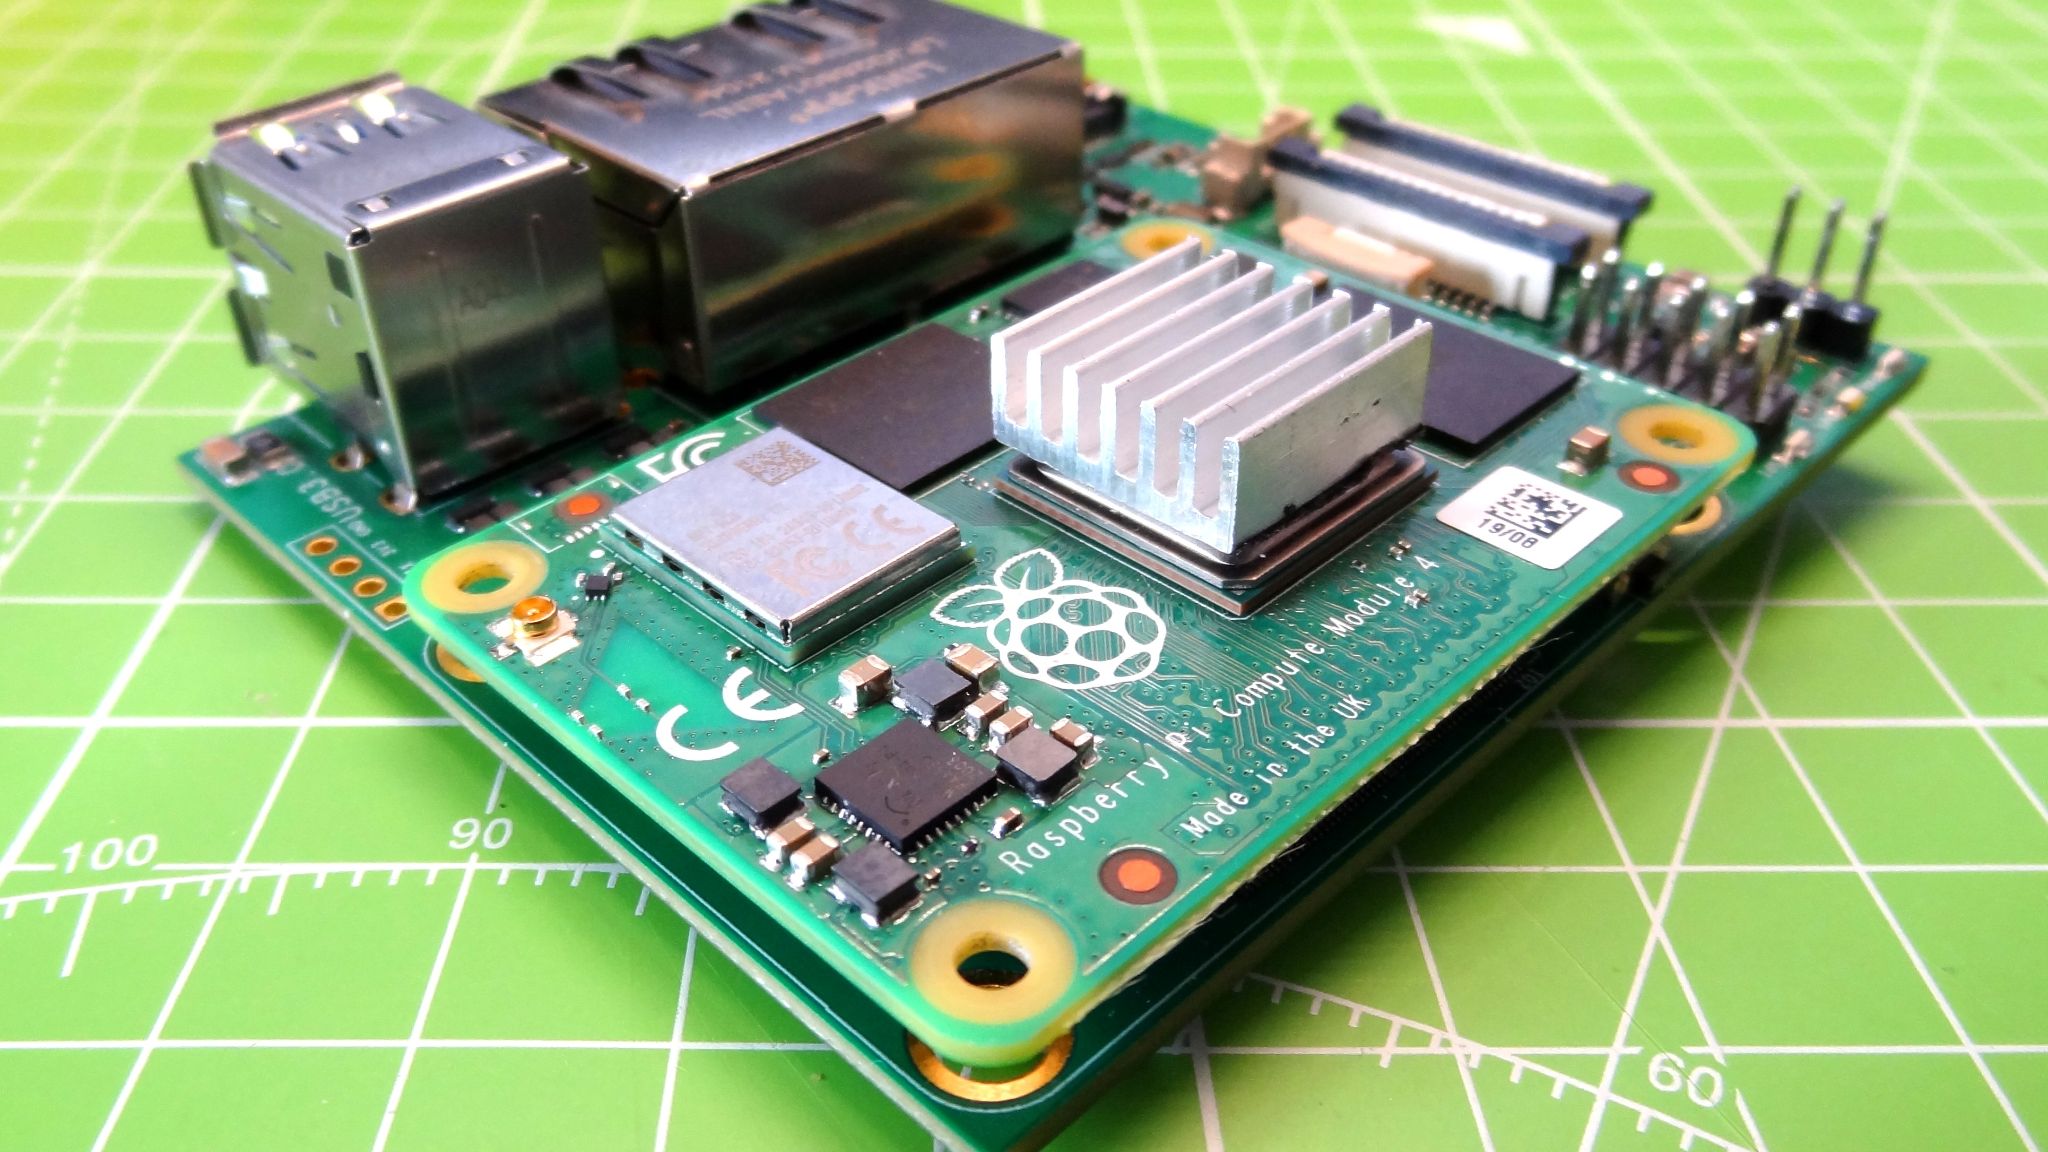
Designed for all versions of the Compute Module 4, Seeed’s Dual Gigabit Ethernet Carrier Board is a compact and versatile piece of kit. It has connectors for the Raspberry Pi Compute Module 4, which hold the CM4 in place. Make sure that you connect the CM4 the right way, so that it sits flush atop the board, and not slightly hanging over one side. The most obvious feature of the board are the dual Gigabit Ethernet ports, LAN0 is connected to the Gigabit Ethernet PHY on the CM4 (a Broadcom BCM54210PE) and LAN1 connected to a Microchip LAN7800.
The Broadcom Ethernet port is enabled and ready for use, with the other requiring a small amount of setup from the terminal. Next to the Ethernet ports are two USB 3.0 ports, yes we have USB 3.0 ports on the CM4. The official Compute Module IO Board only comes with USB 2.0. Seeed’s board has two USB 3.0 ports broken out from the PCIe interface of the CM4.
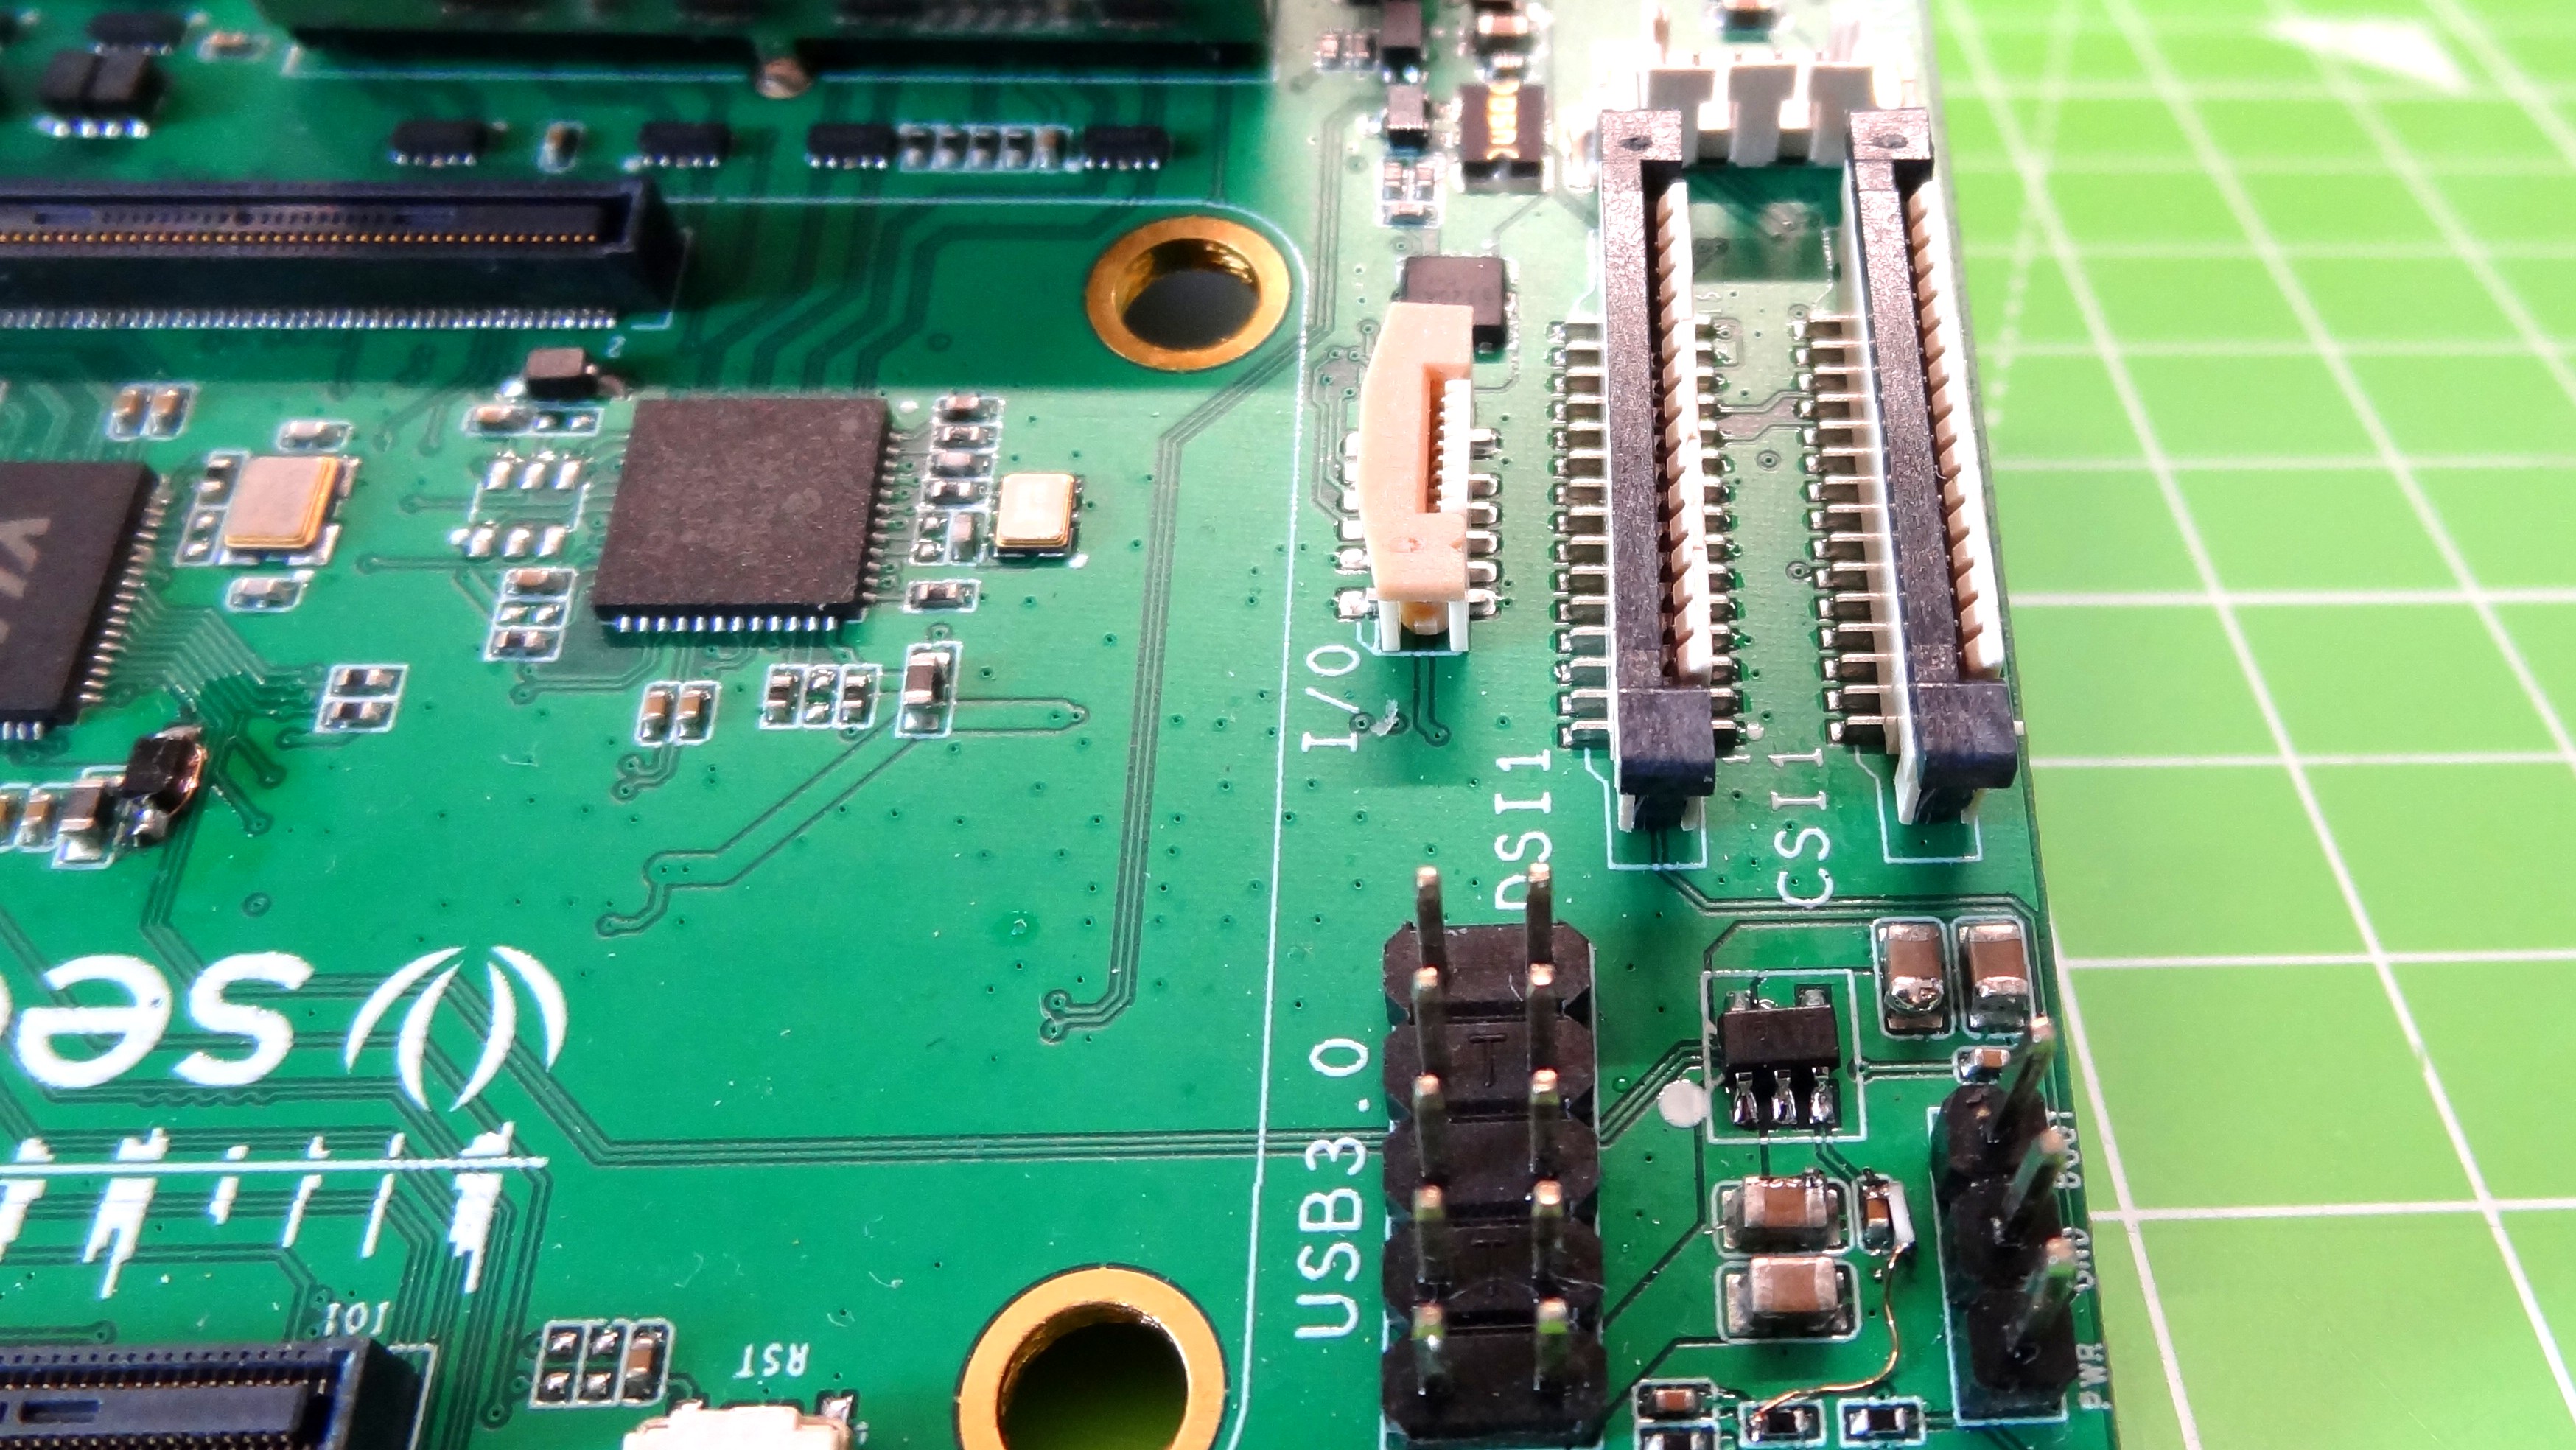
Additional USB 3.0 ports can be added via a header, but you will need to provide your own breakout for the header. We tested the USB 3.0 speed using an external USB 3 to NVMe drive. Copying a 2.9GB Raspberry Pi OS image from the NVMe to the CM4’s eMMC took 1 minute and 39 seconds. Copying the file back to the NVMe drive took only 35 seconds so we are confident that the USB 3.0 interface is fast enough for building your own NAS.
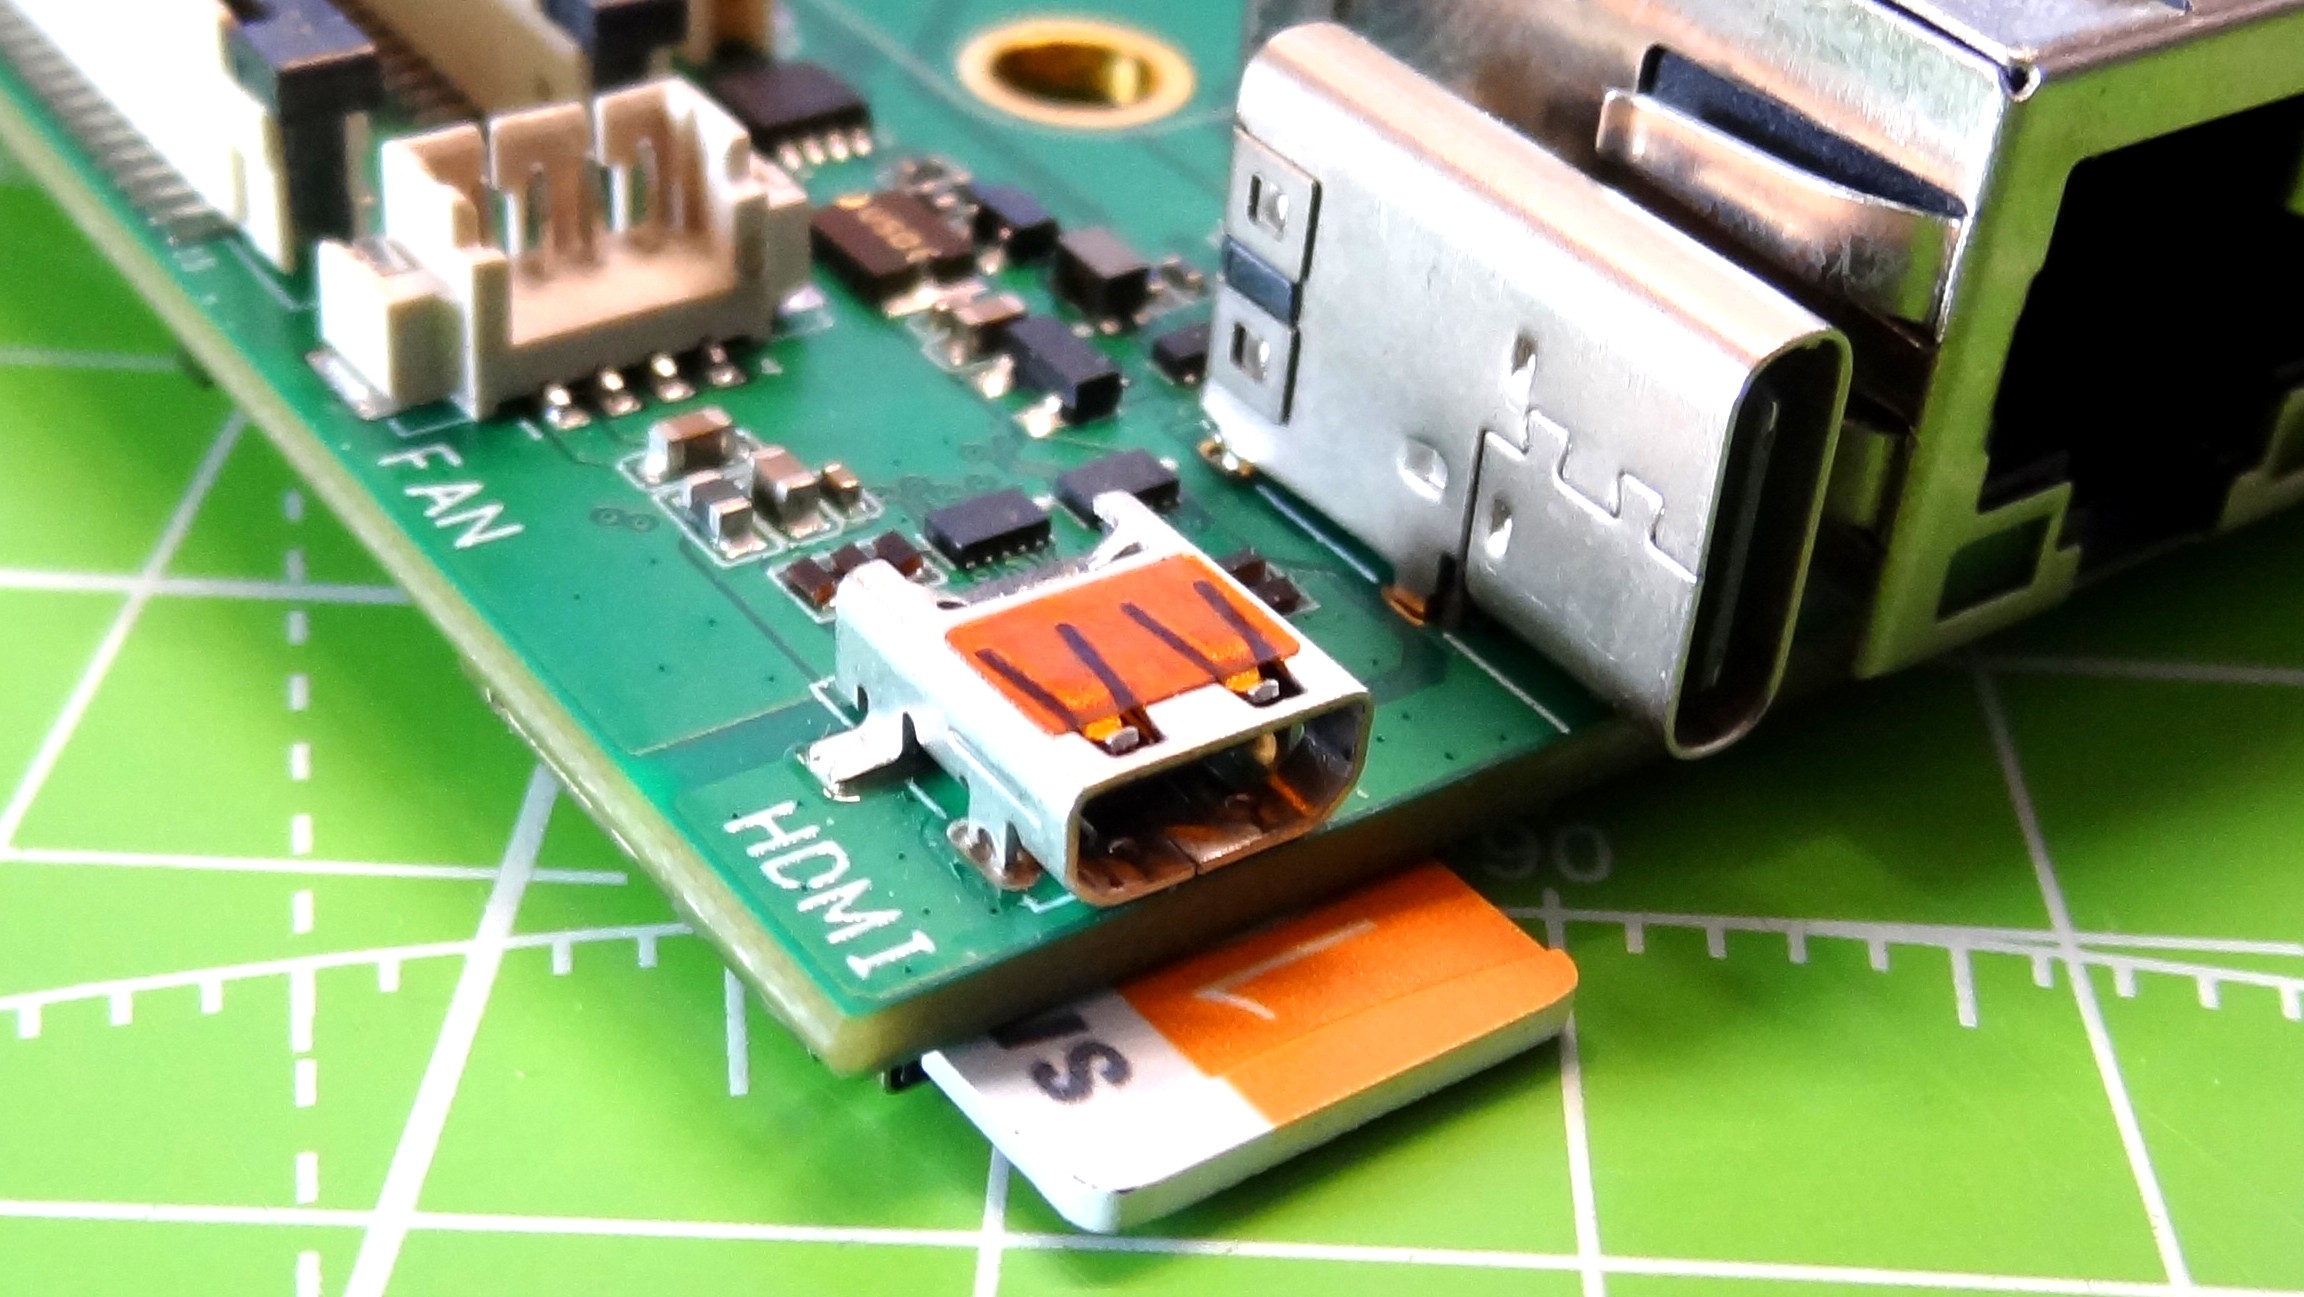
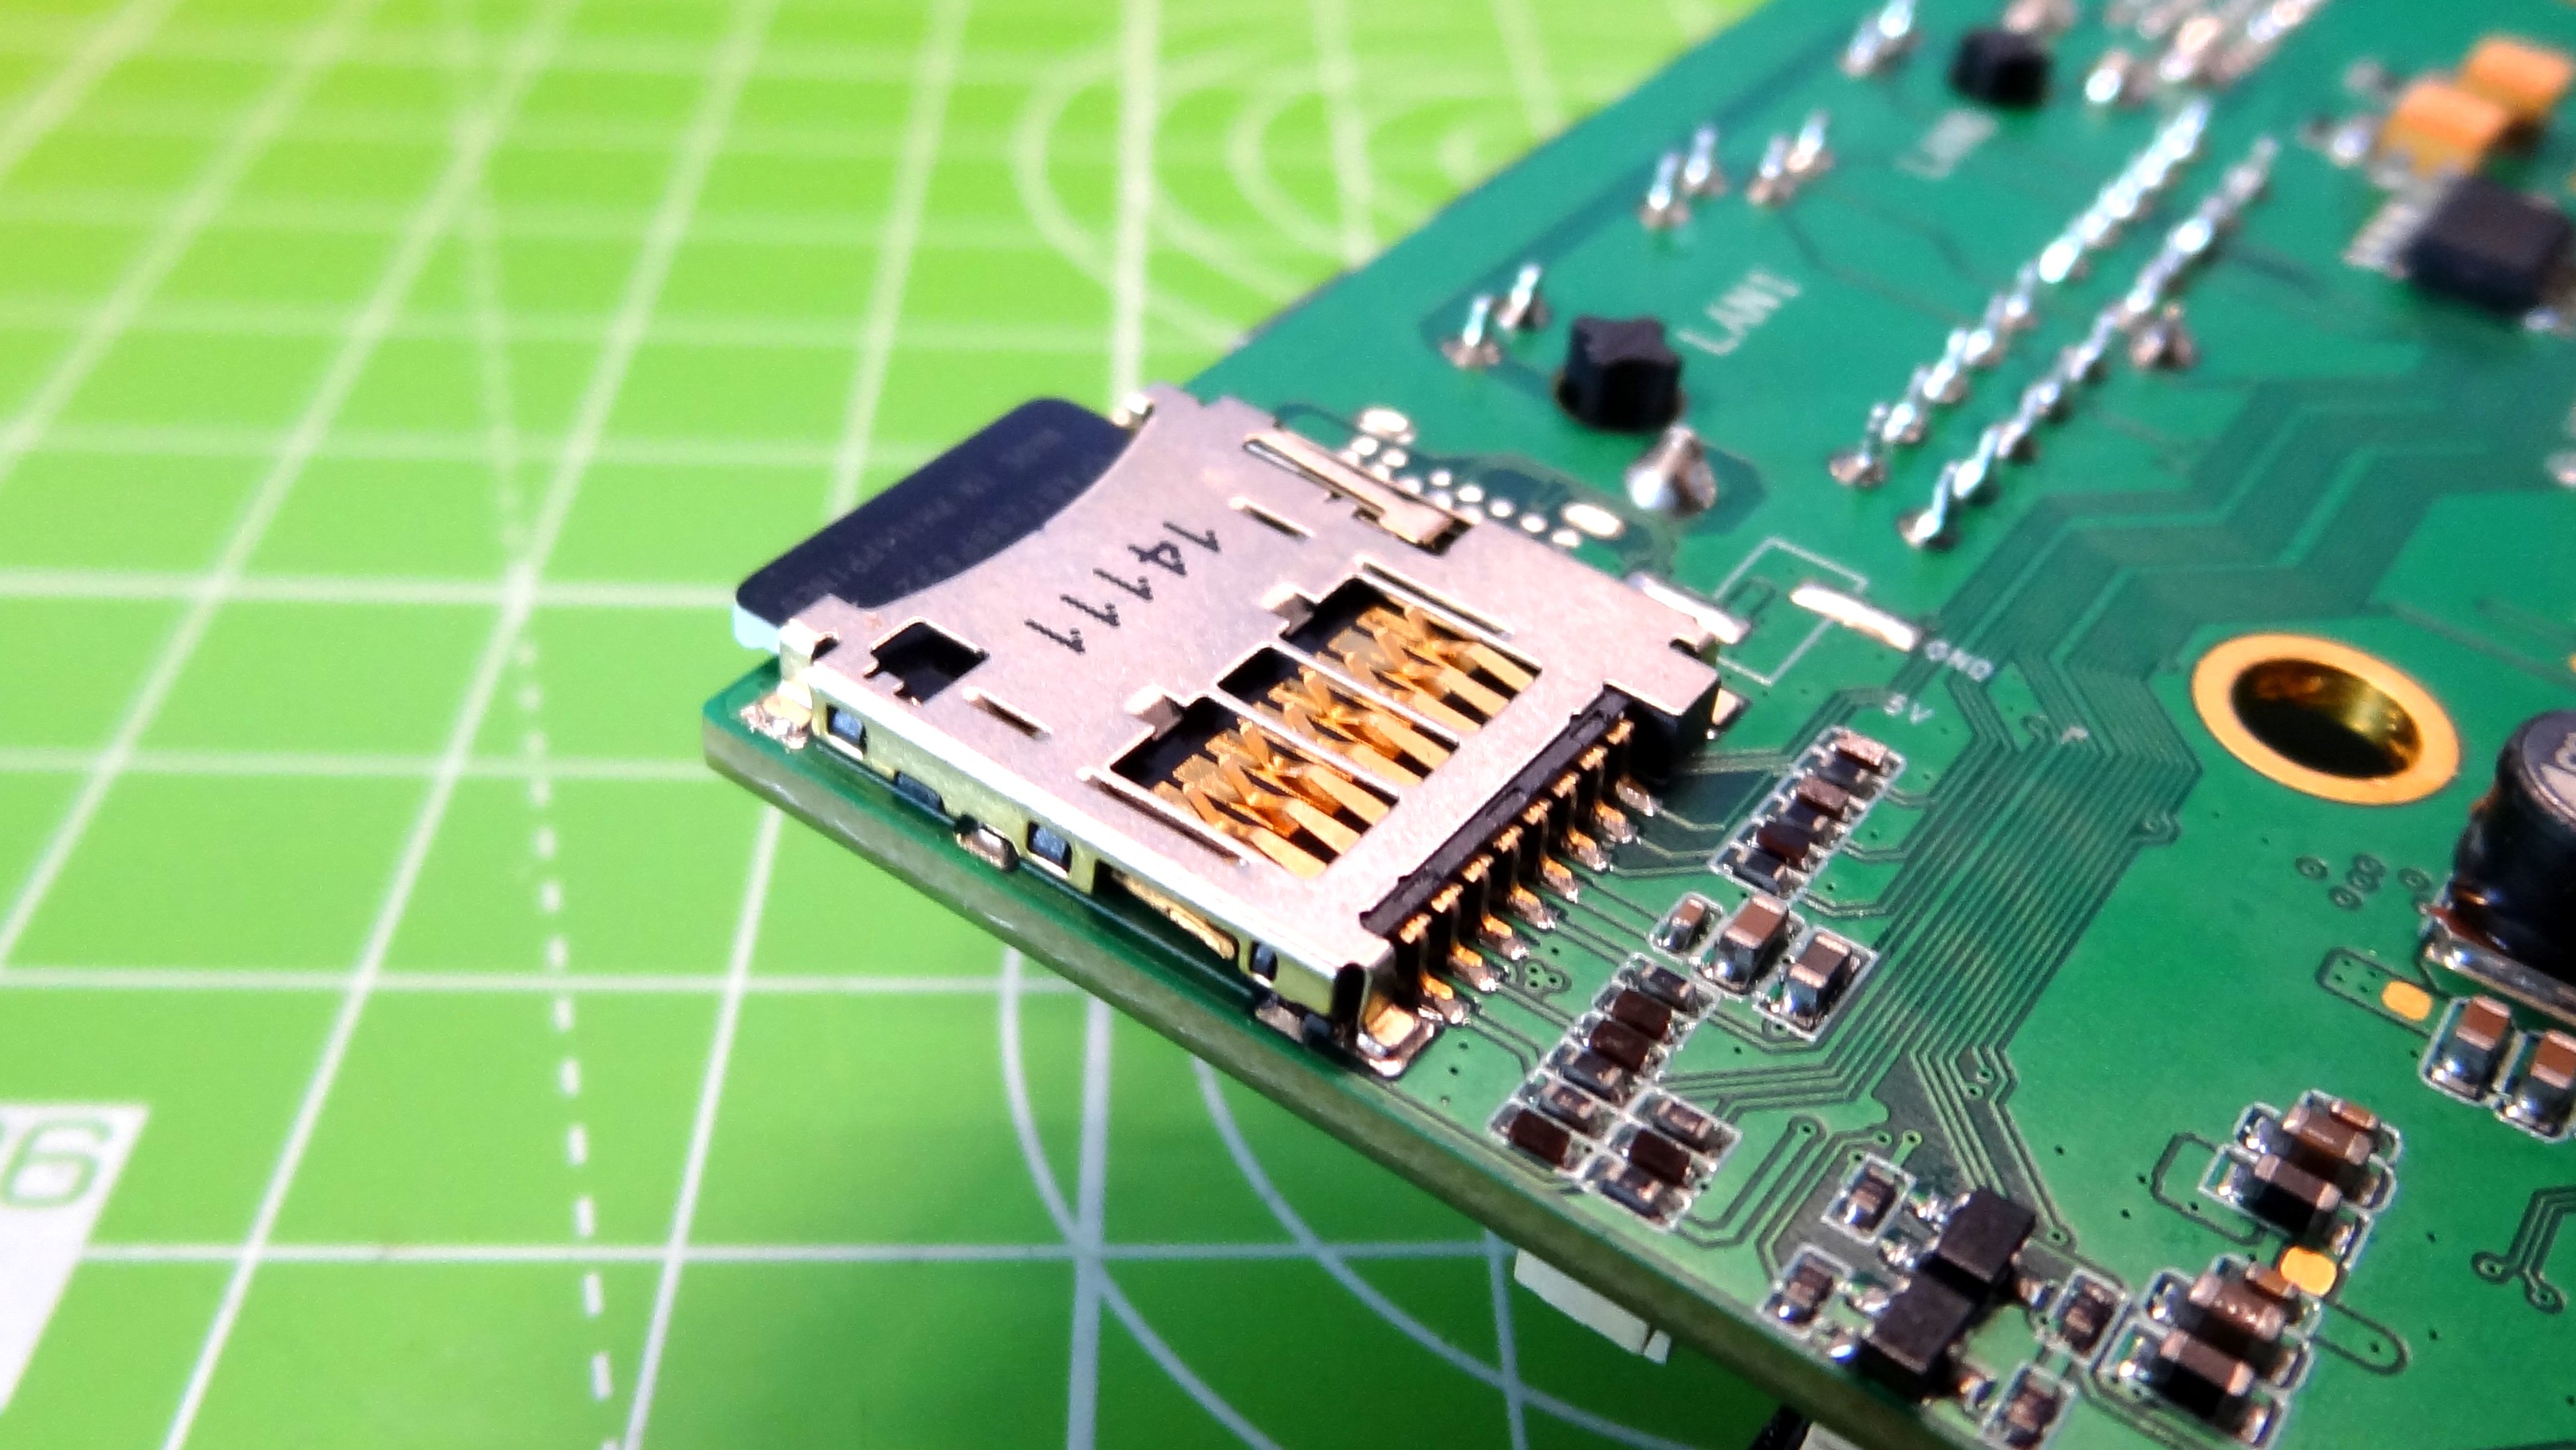
Just next to the USB 3.0 header are three pins. PWR, GND and BOOT. Using a jumper wire we can connect GND and BOOT to force the CM4 into a USB boot mode necessary to flash the OS to the eMMC flash found on some CM4 SKUs. If you have a Compute Module 4 Lite (no eMMC) or prefer to boot from micro SD then there is a microSD card slot on the underside of the board (see best microSD cards for Raspberry Pi). The interesting thing about this slot is that we need to insert the microSD card upside down, something that caught us off guard.
There are two flat flex connectors on the board. One is for the Official Raspberry Pi Camera (CSI) and the other for the official display (DSI). We tested both v1.3 and v2.0 of the official cameras with the board and the first issue we faced was the installation instructions that had an incorrect URL We sourced an alternative from the Raspberry Pi Github repository and tried again. The alternative installation worked in that it downloaded the file to our CM4 but even after enabling the camera interface via raspi-config and rebooting, we failed to take a picture with the camera. All we saw were error messages indicating that a camera was not present.
Get Tom's Hardware's best news and in-depth reviews, straight to your inbox.
After speaking to Seeed and flashing a fresh OS to the eMMC the error remained. It transpires that our review unit is an older engineering sample which has a hardware bug. A replacement is being sent to us and we shall update the review once we receive it. We were unable to test the DSI connector for the official display but we were able to test the micro HDMI output, and saw the familiar Raspberry Pi OS desktop. We were also unable to test the I/O FPC which breaks out six GPIO pins, 3v3 and GND via a flat flex connector. The broken out pins include I2C and SPI.
We connected the Seeed Dual Gigabit Ethernet Carrier Board to our bench power supply and saw that on boot the power draw went to 5.1V at 2.1A, then stabilized to an idle power draw of 800mA at 5.1V. During our stressberry tests, we saw the current draw rise to 1.1A and the temperature easily went past the 80 Celsius hard thermal throttle point which dropped the CPU down to 1 GHz. To cool the CM4 we have a four pin JST fan connector, compatible with four pin fans, but keep in mind that this is a four pin 1.25mm pitch header and not a typical fan connector.
Use Cases for the Seeed’s Dual Gigabit Ethernet Carrier Board
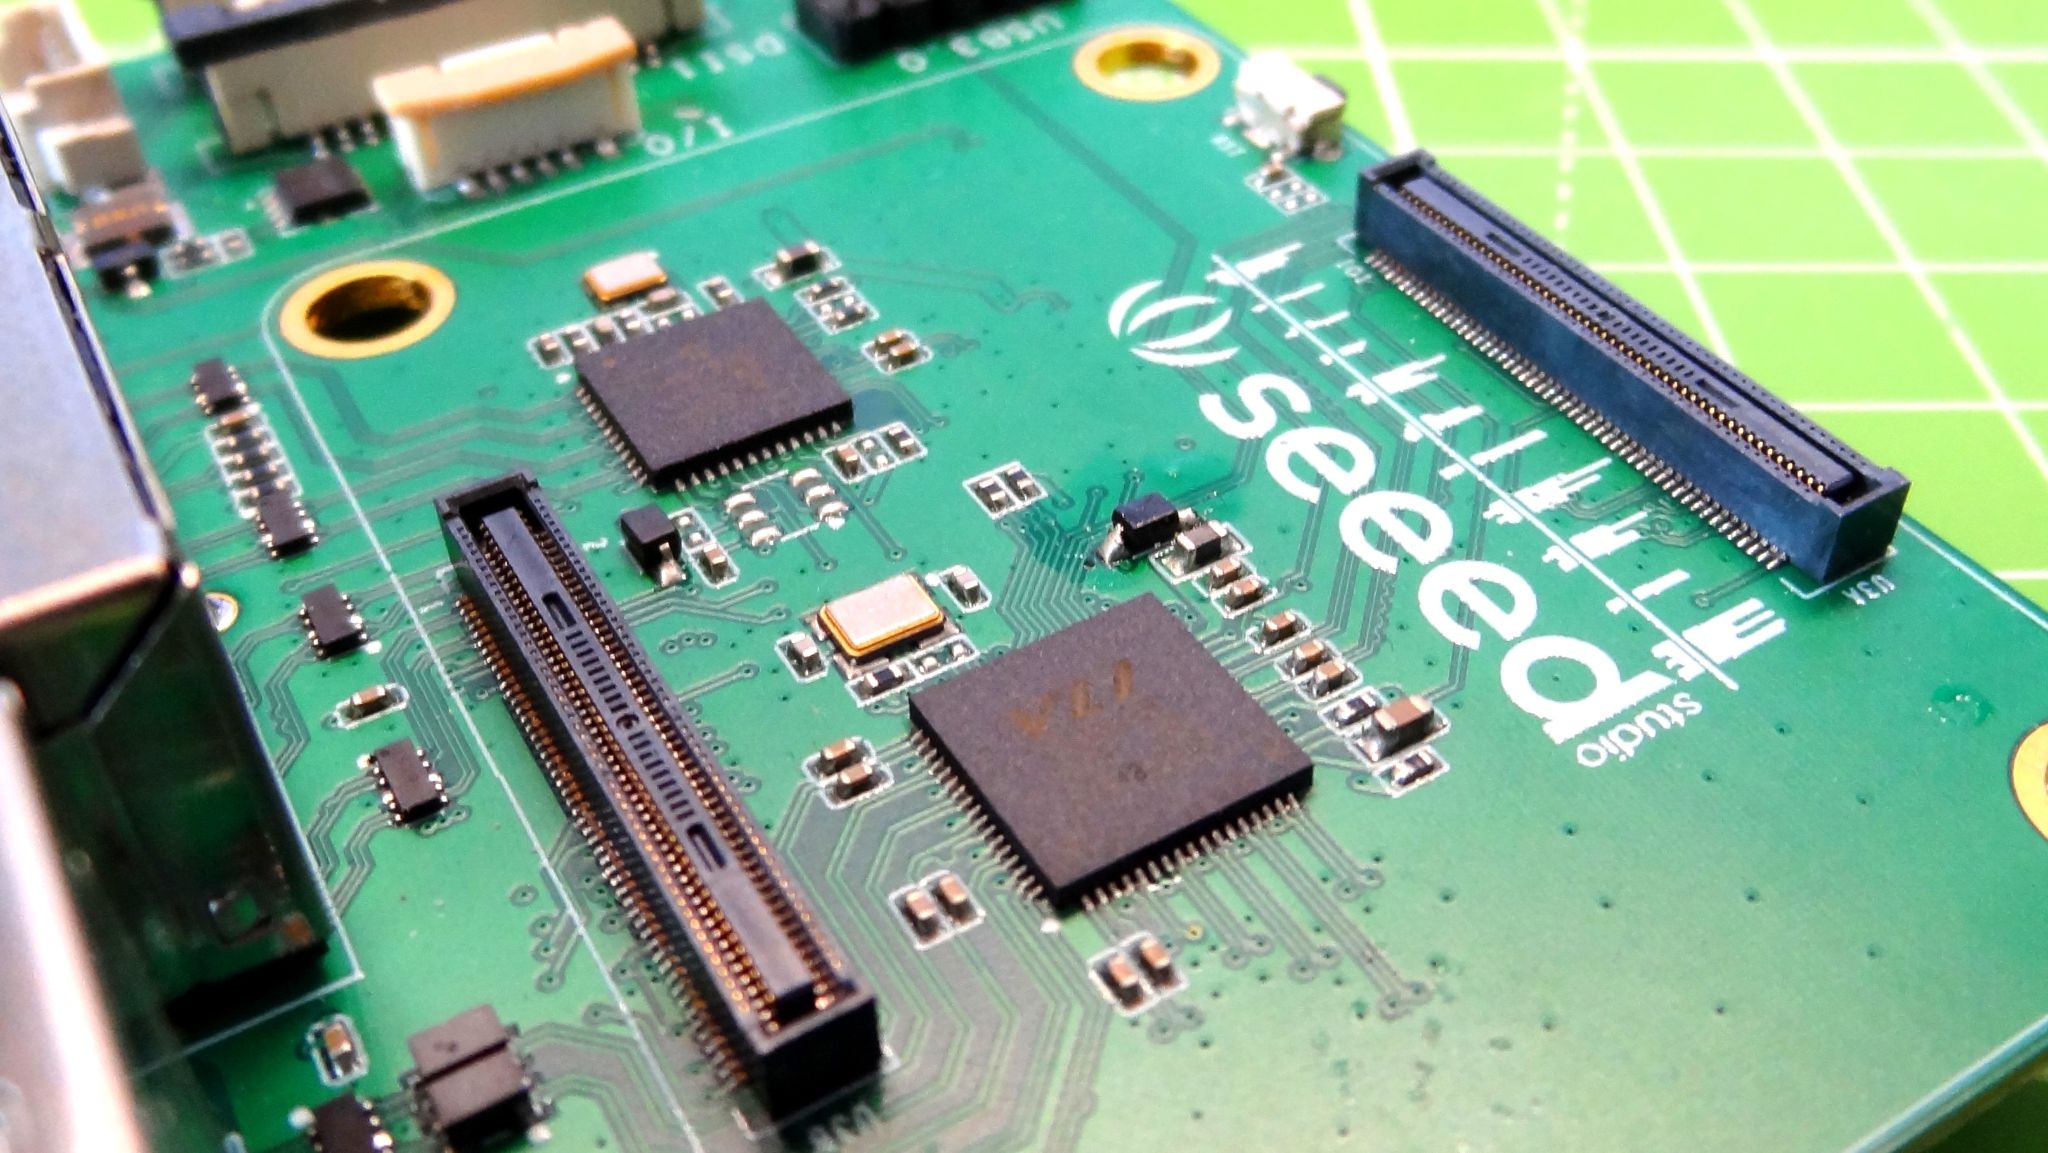
The dual Gigabit Ethernet connectors instantly suggest a soft router project and if you have the know-how this can be done relatively easily with Raspberry Pi OS as at its heart it is really Debian Linux. We can also use the board as a typical Raspberry Pi, just without a GPIO.
If we are looking to make a Pi-Hole DNS box, NAS or media server then the process would be greatly simplified by using Diet-Pi. Diet-Pi is a lightweight, Debian based distribution that has a series of easy to use menus that simplify building DNS, file, web and media servers. We tested Diet-Pi with Seeed’s Dual Gigabit Ethernet Carrier Board and it worked remarkably well.
Bottom Line
For $45 plus the cost of your Raspberry Pi Compute Module 4, Seeed’s Dual Gigabit Ethernet Carrier Board is a specialist purchase for those that want, or need the dual Gigabit connectors along with USB 3.0.
The whole setup is roughly the same size as a Raspberry Pi 4, but with Seeed’s Dual Gigabit Ethernet Carrier Board we lose the GPIO. If you want to build CM4 powered servers, then this is the current best candidate. If you want a typical Raspberry Pi experience, stick with the Raspberry Pi 4.

Les Pounder is an associate editor at Tom's Hardware. He is a creative technologist and for seven years has created projects to educate and inspire minds both young and old. He has worked with the Raspberry Pi Foundation to write and deliver their teacher training program "Picademy".
