Turtle Beach Impact 700 Mechanical Keyboard Review: The Sweet Spot?
Why you can trust Tom's Hardware
Teardown
After (technically) breaking the Impact 500 to get the top panel off, I was prepared to do similar battle with the top panel of the Impact 700. First, I found two screws hiding under the flip-out feet on the bottom of the keyboard and removed them, and then I went about cracking off the top panel.
The score was Me = 1, slightly damaged keyboard = 0, when I finally figured that there was a screw holding the panel on. It was hidden underneath a "Do not remove" sticker. (This is when I realized that I'd made the same error with the Impact 500.)
So it goes.
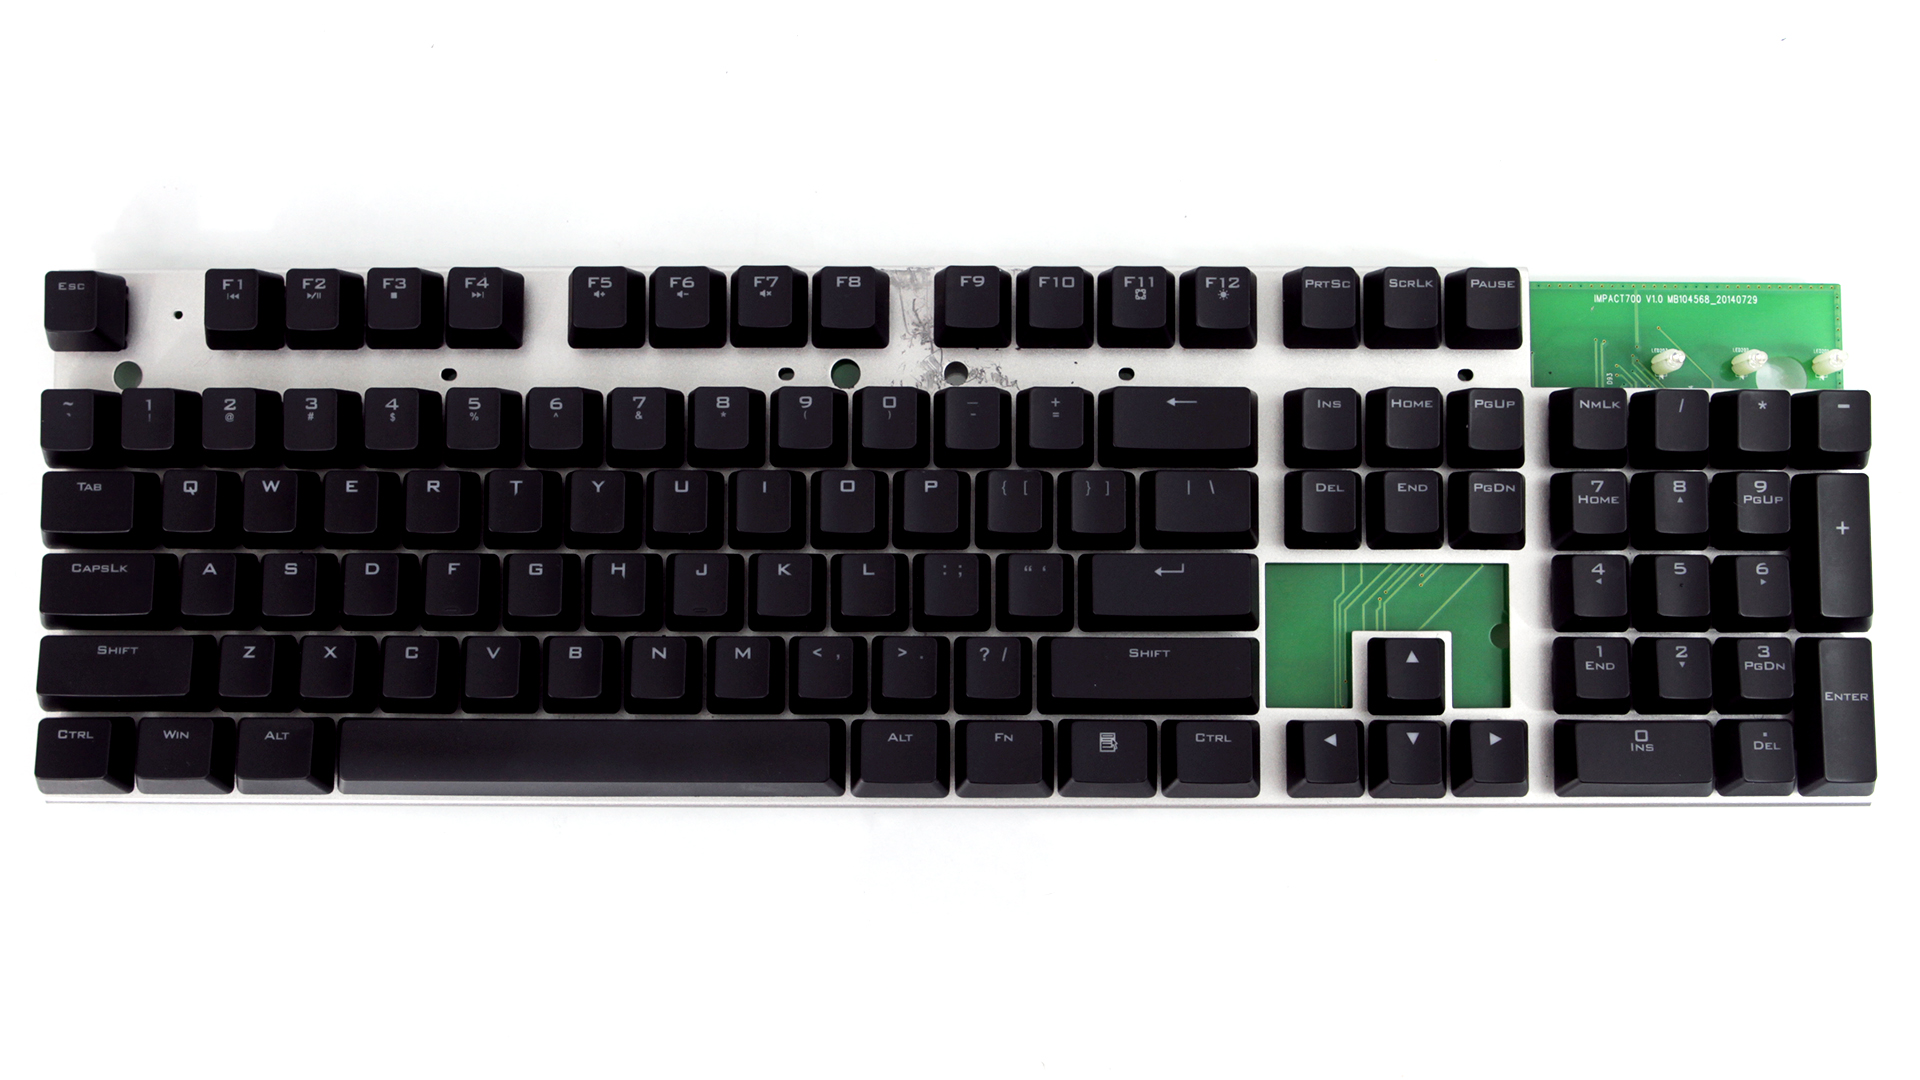
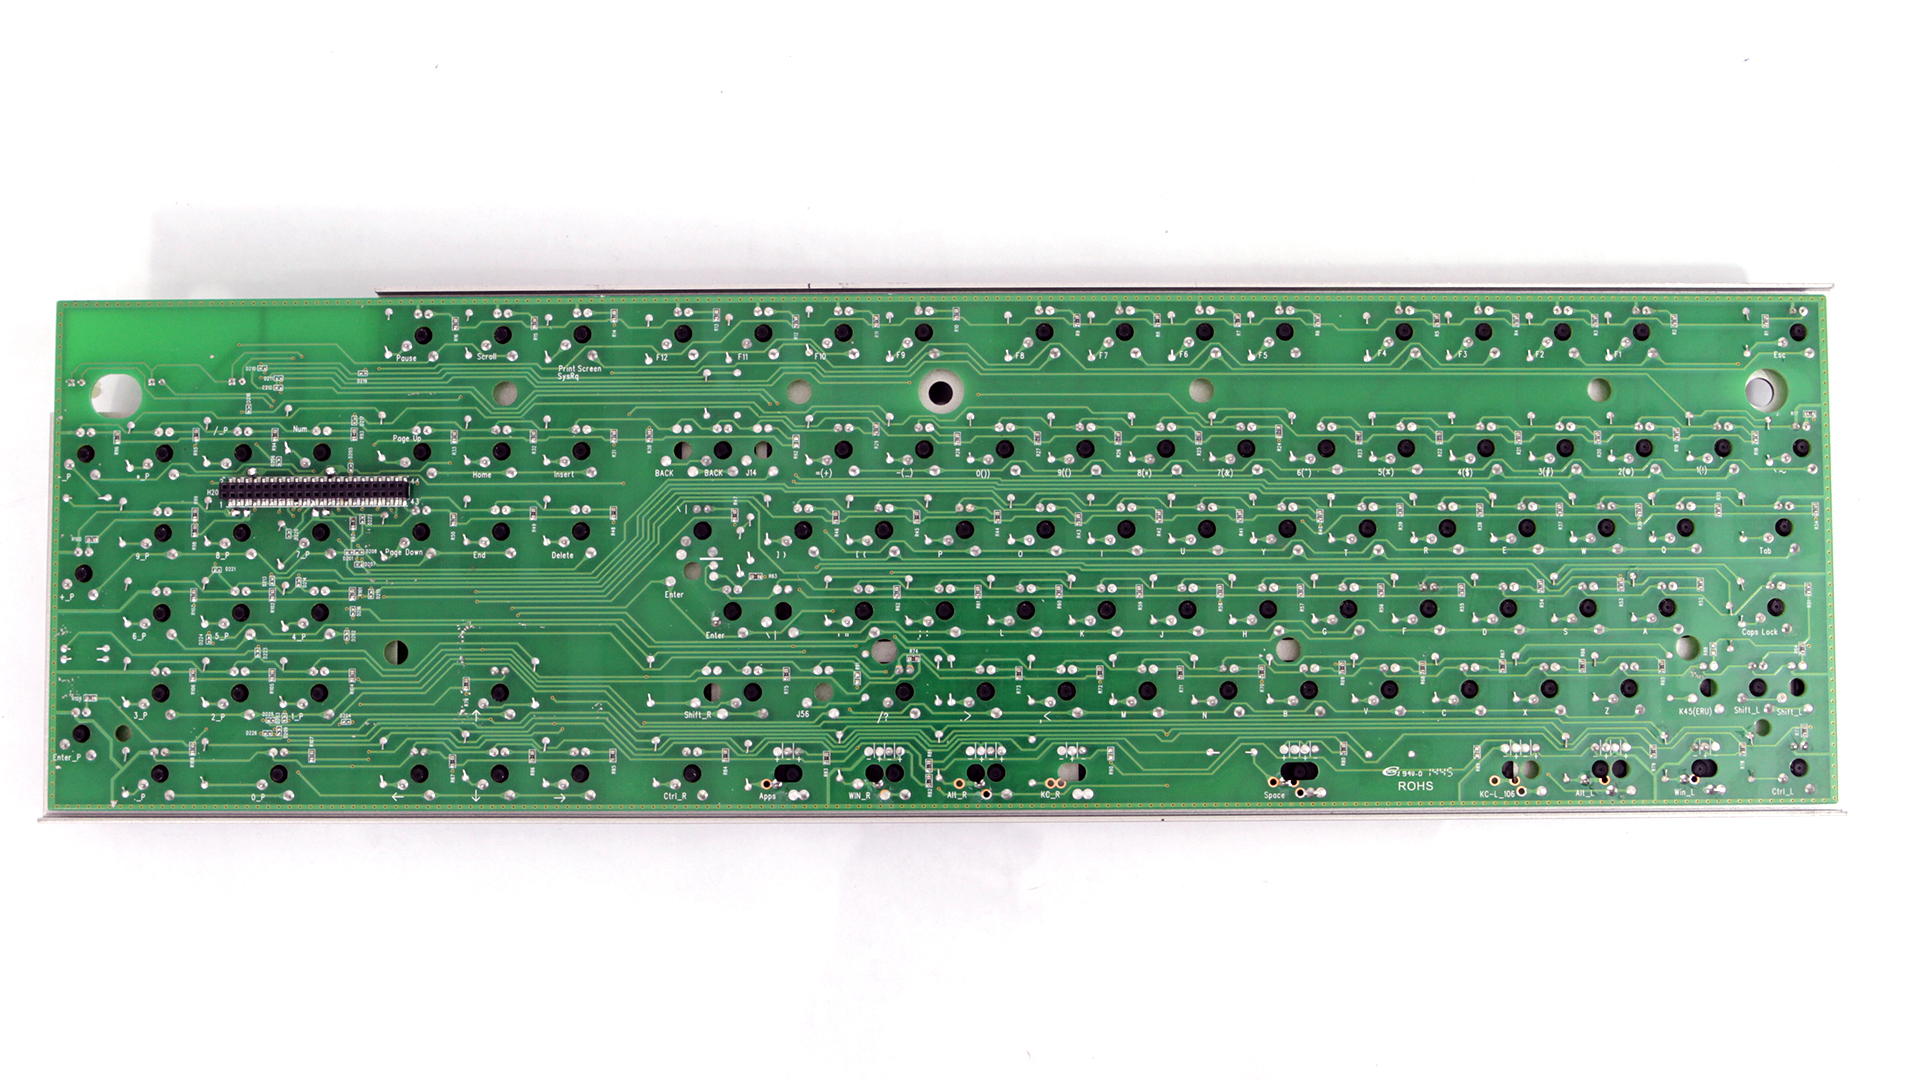
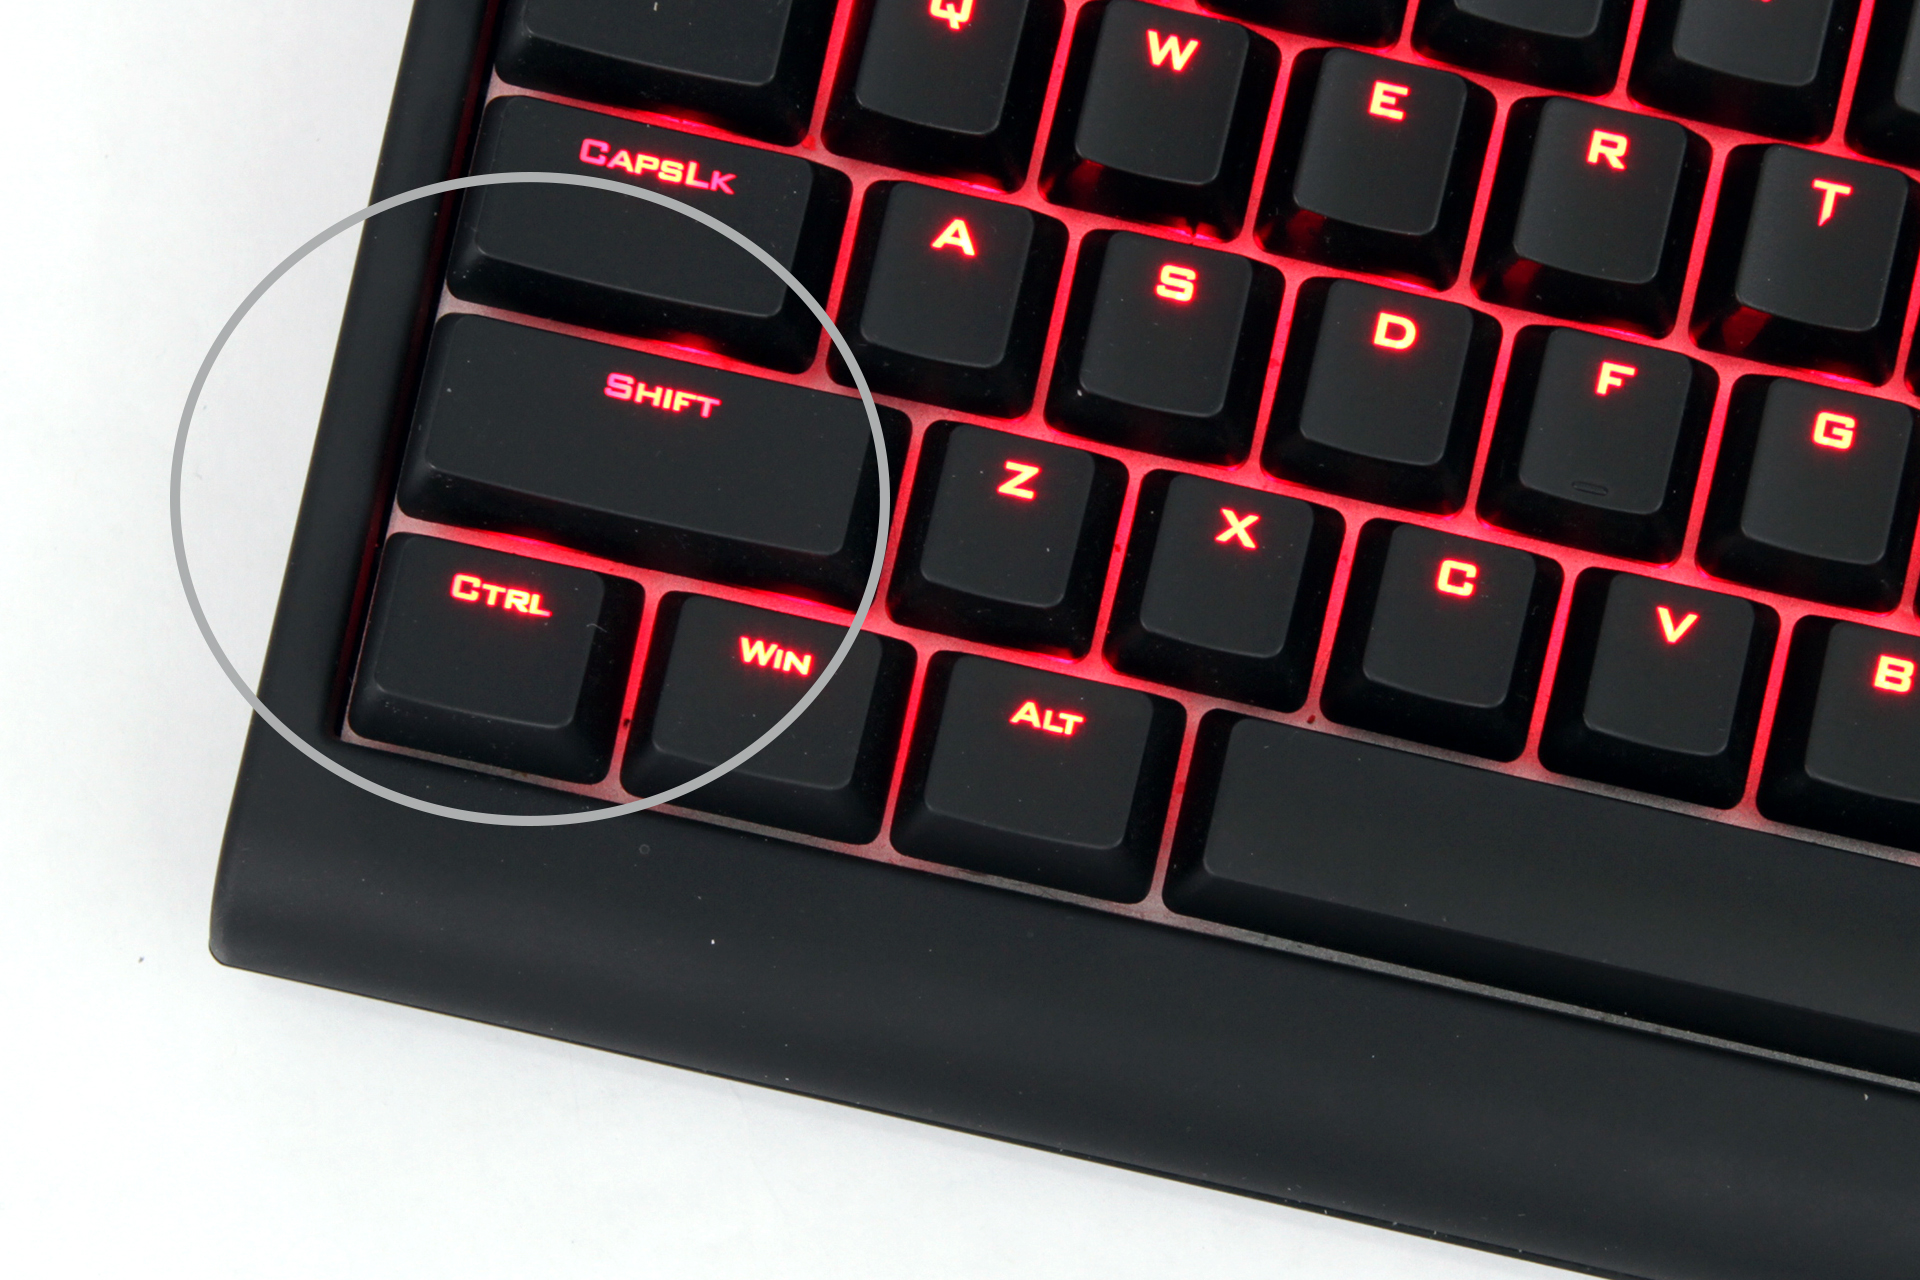
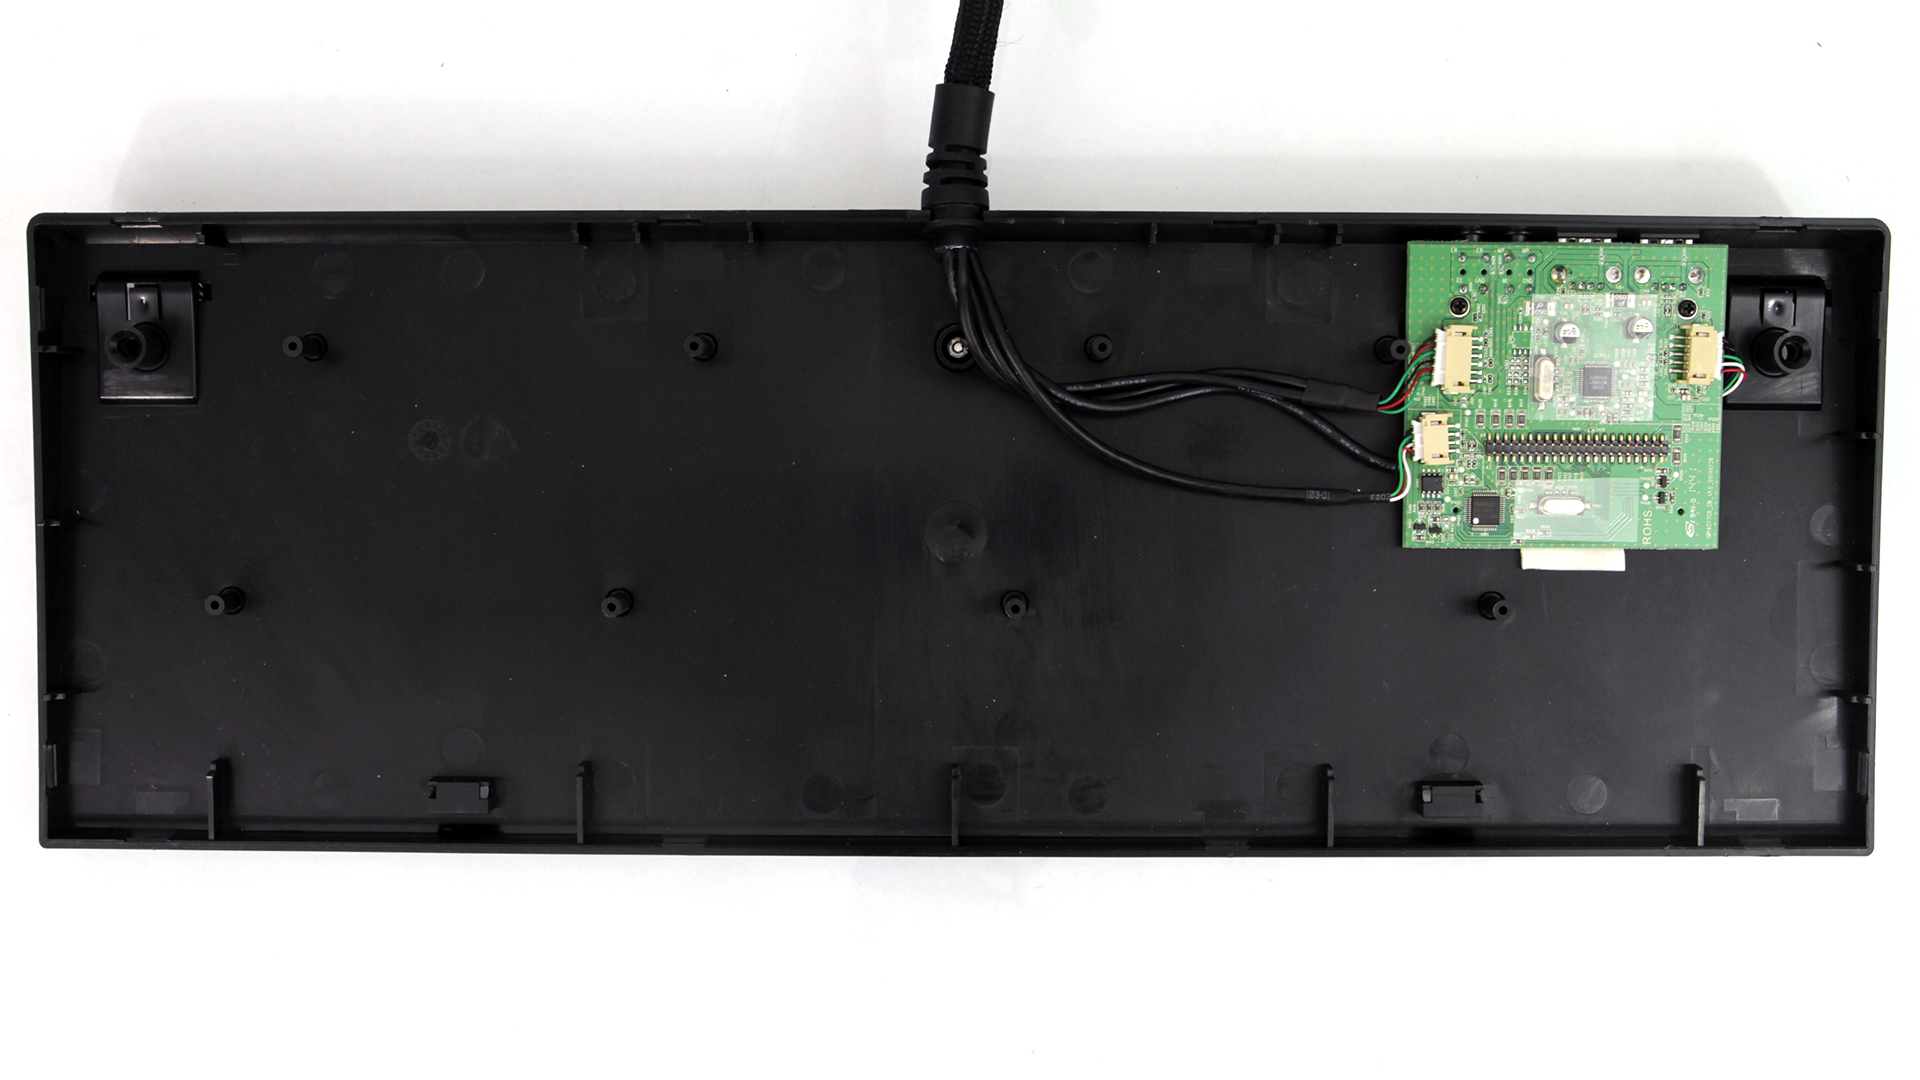
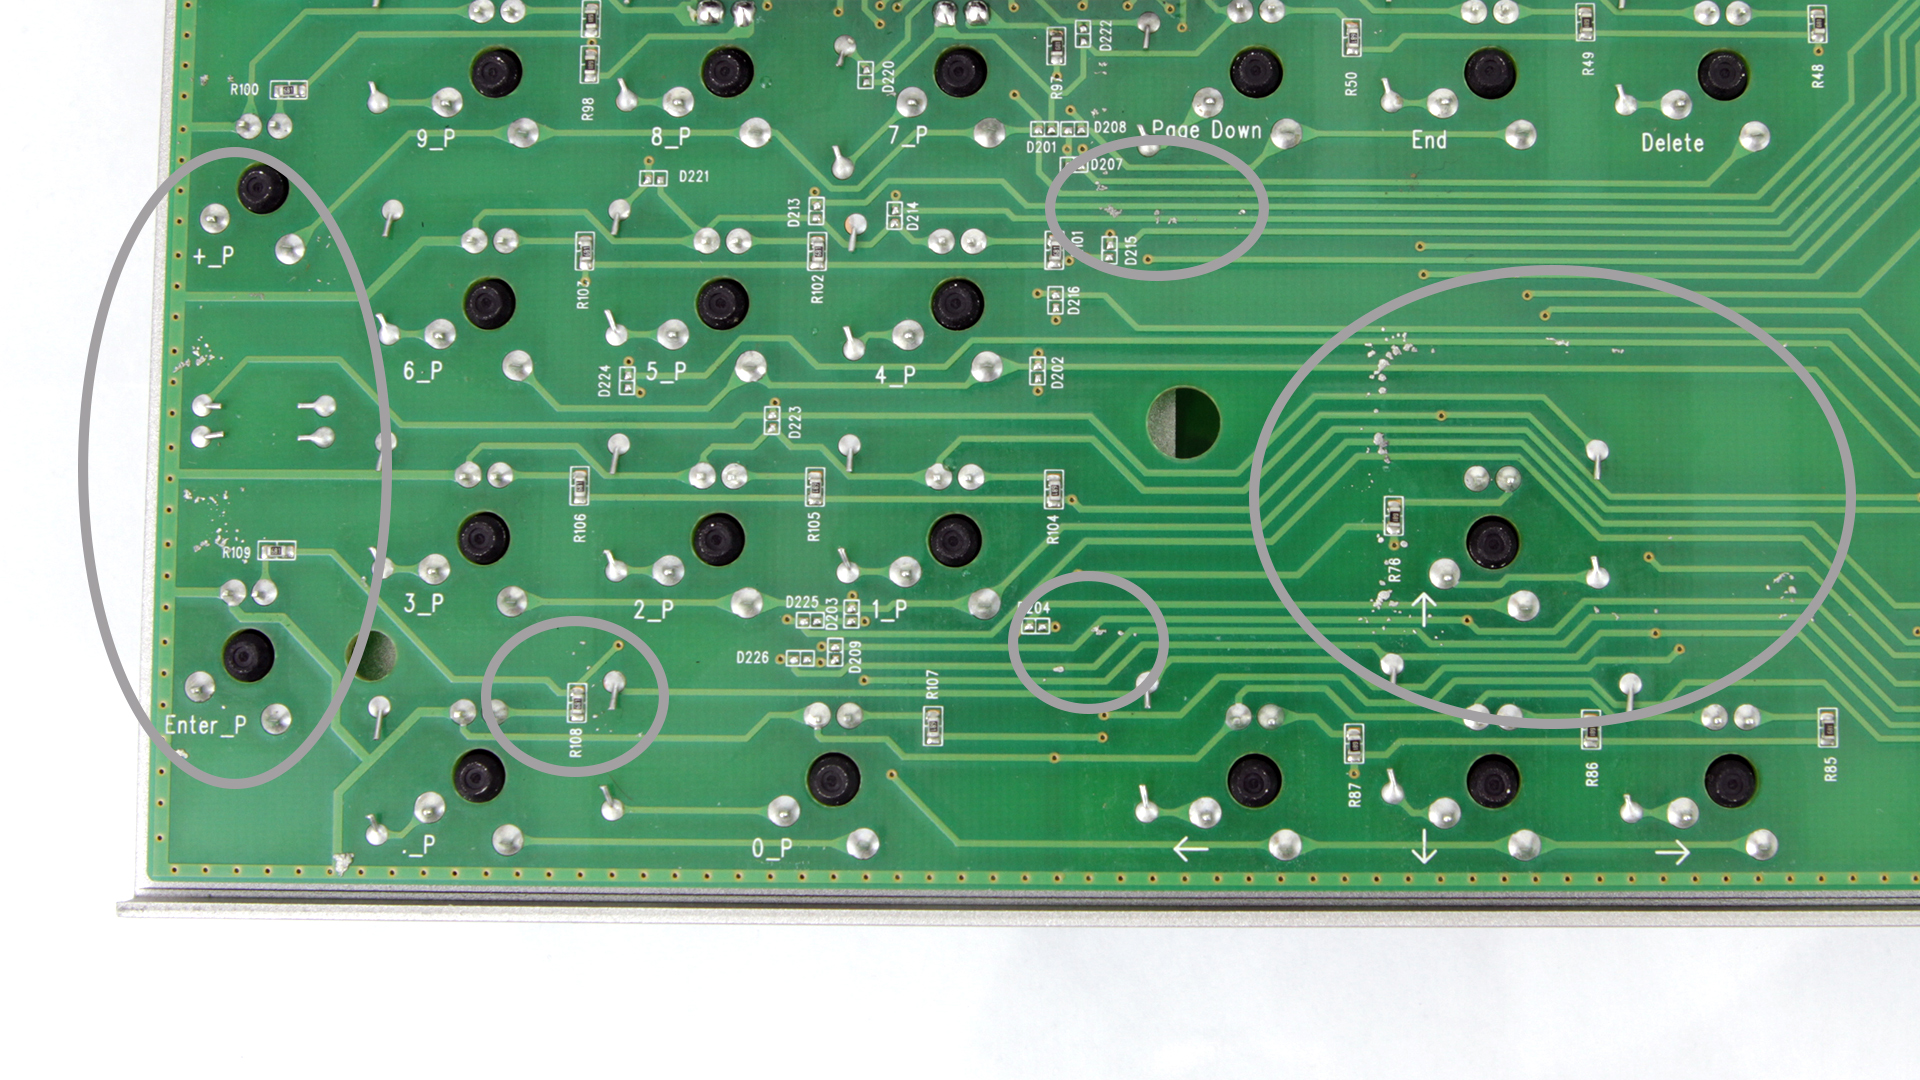
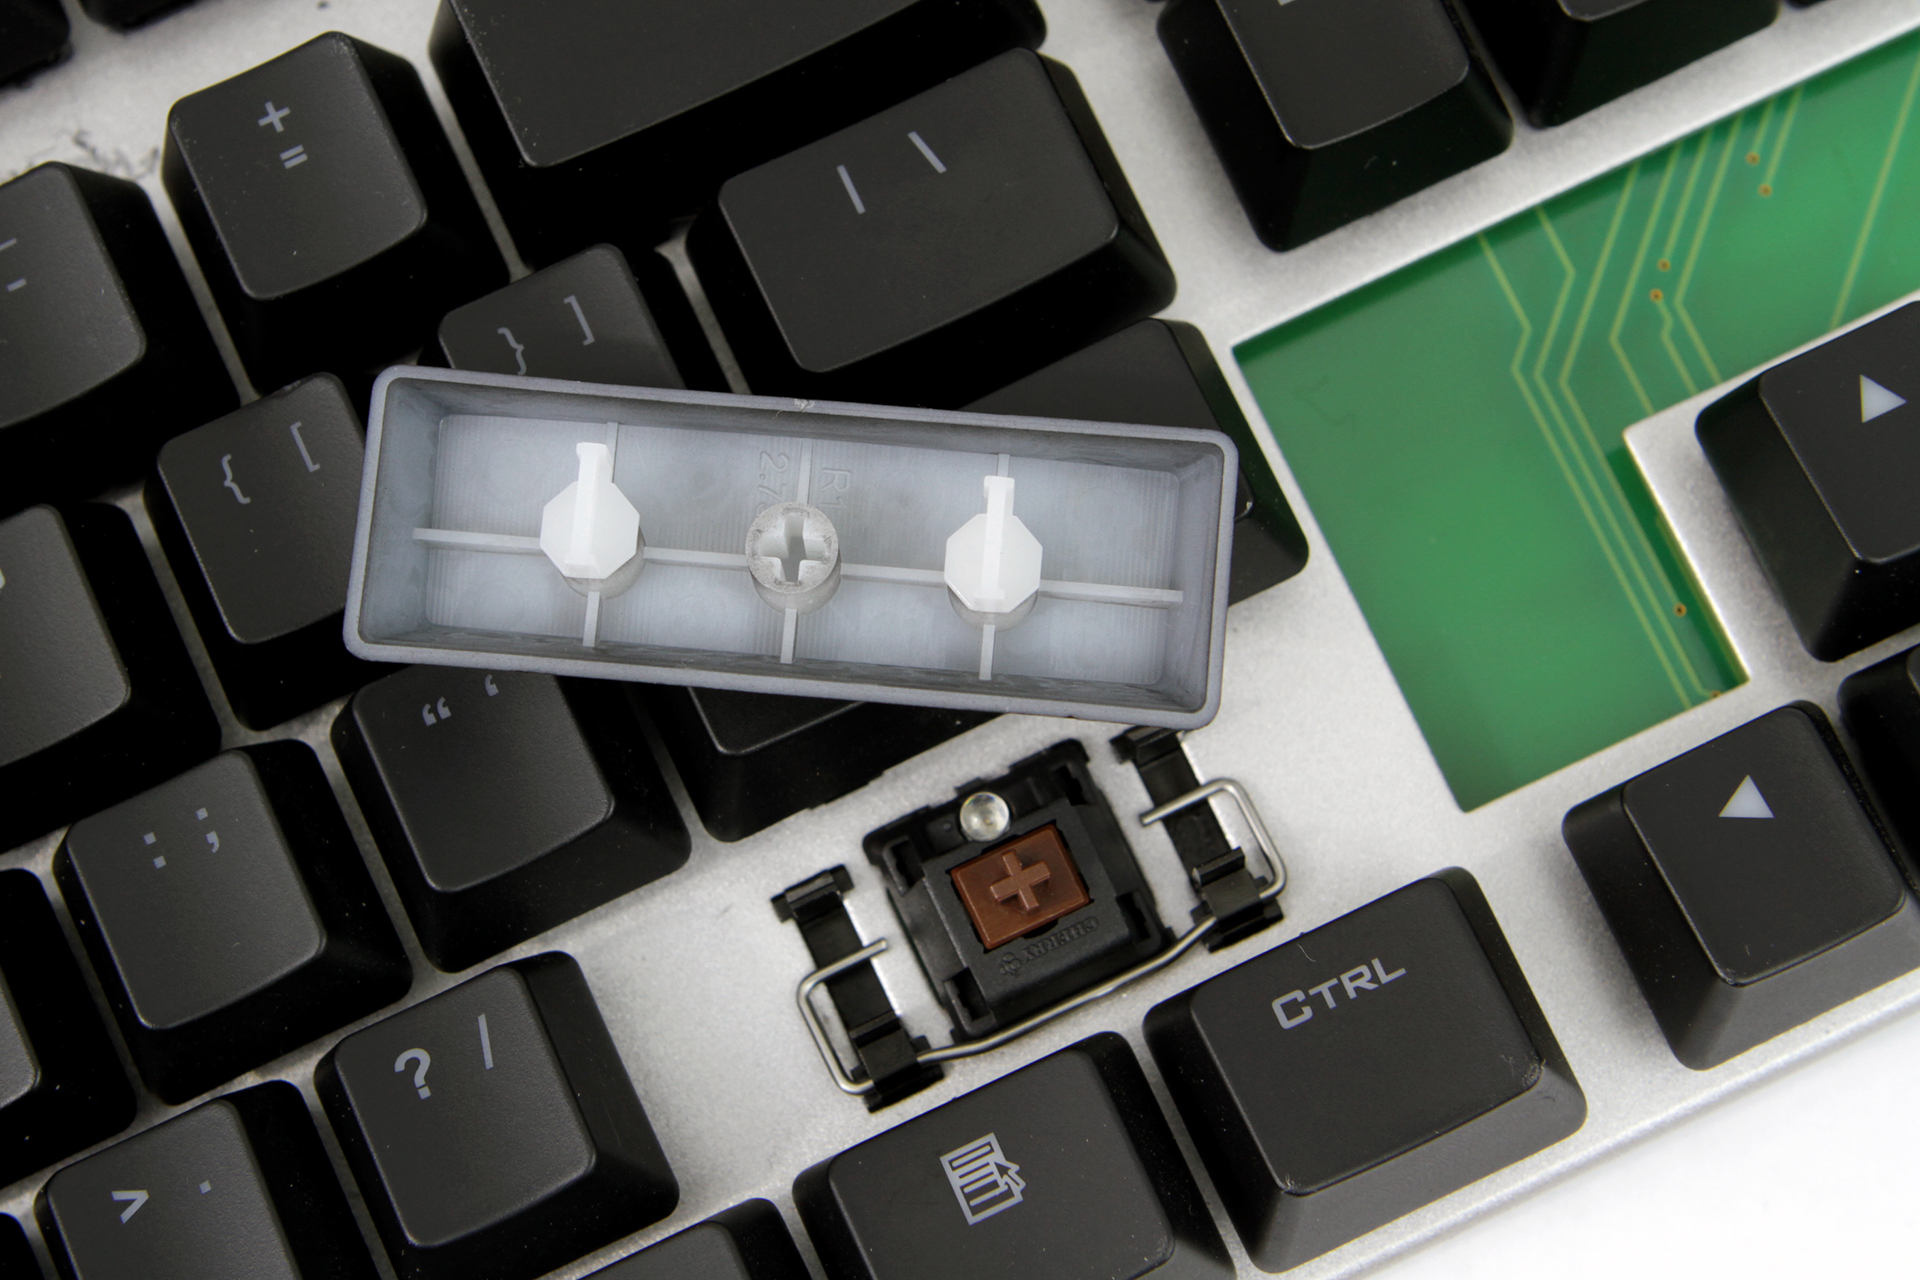
Otherwise, the teardown was easy. The PCB/backplate combo came out with a bit of leverage. The PCB is actually somewhat translucent, so you can see the trace paths on both sides when you hold it up to a light, but make no mistake--the assembly is rock solid thanks to the steel backplate. It appears that the sparkly steel finish covers both sides of the plate, and although it's approximately only 1mm or so thick, it's heavy and sturdy.
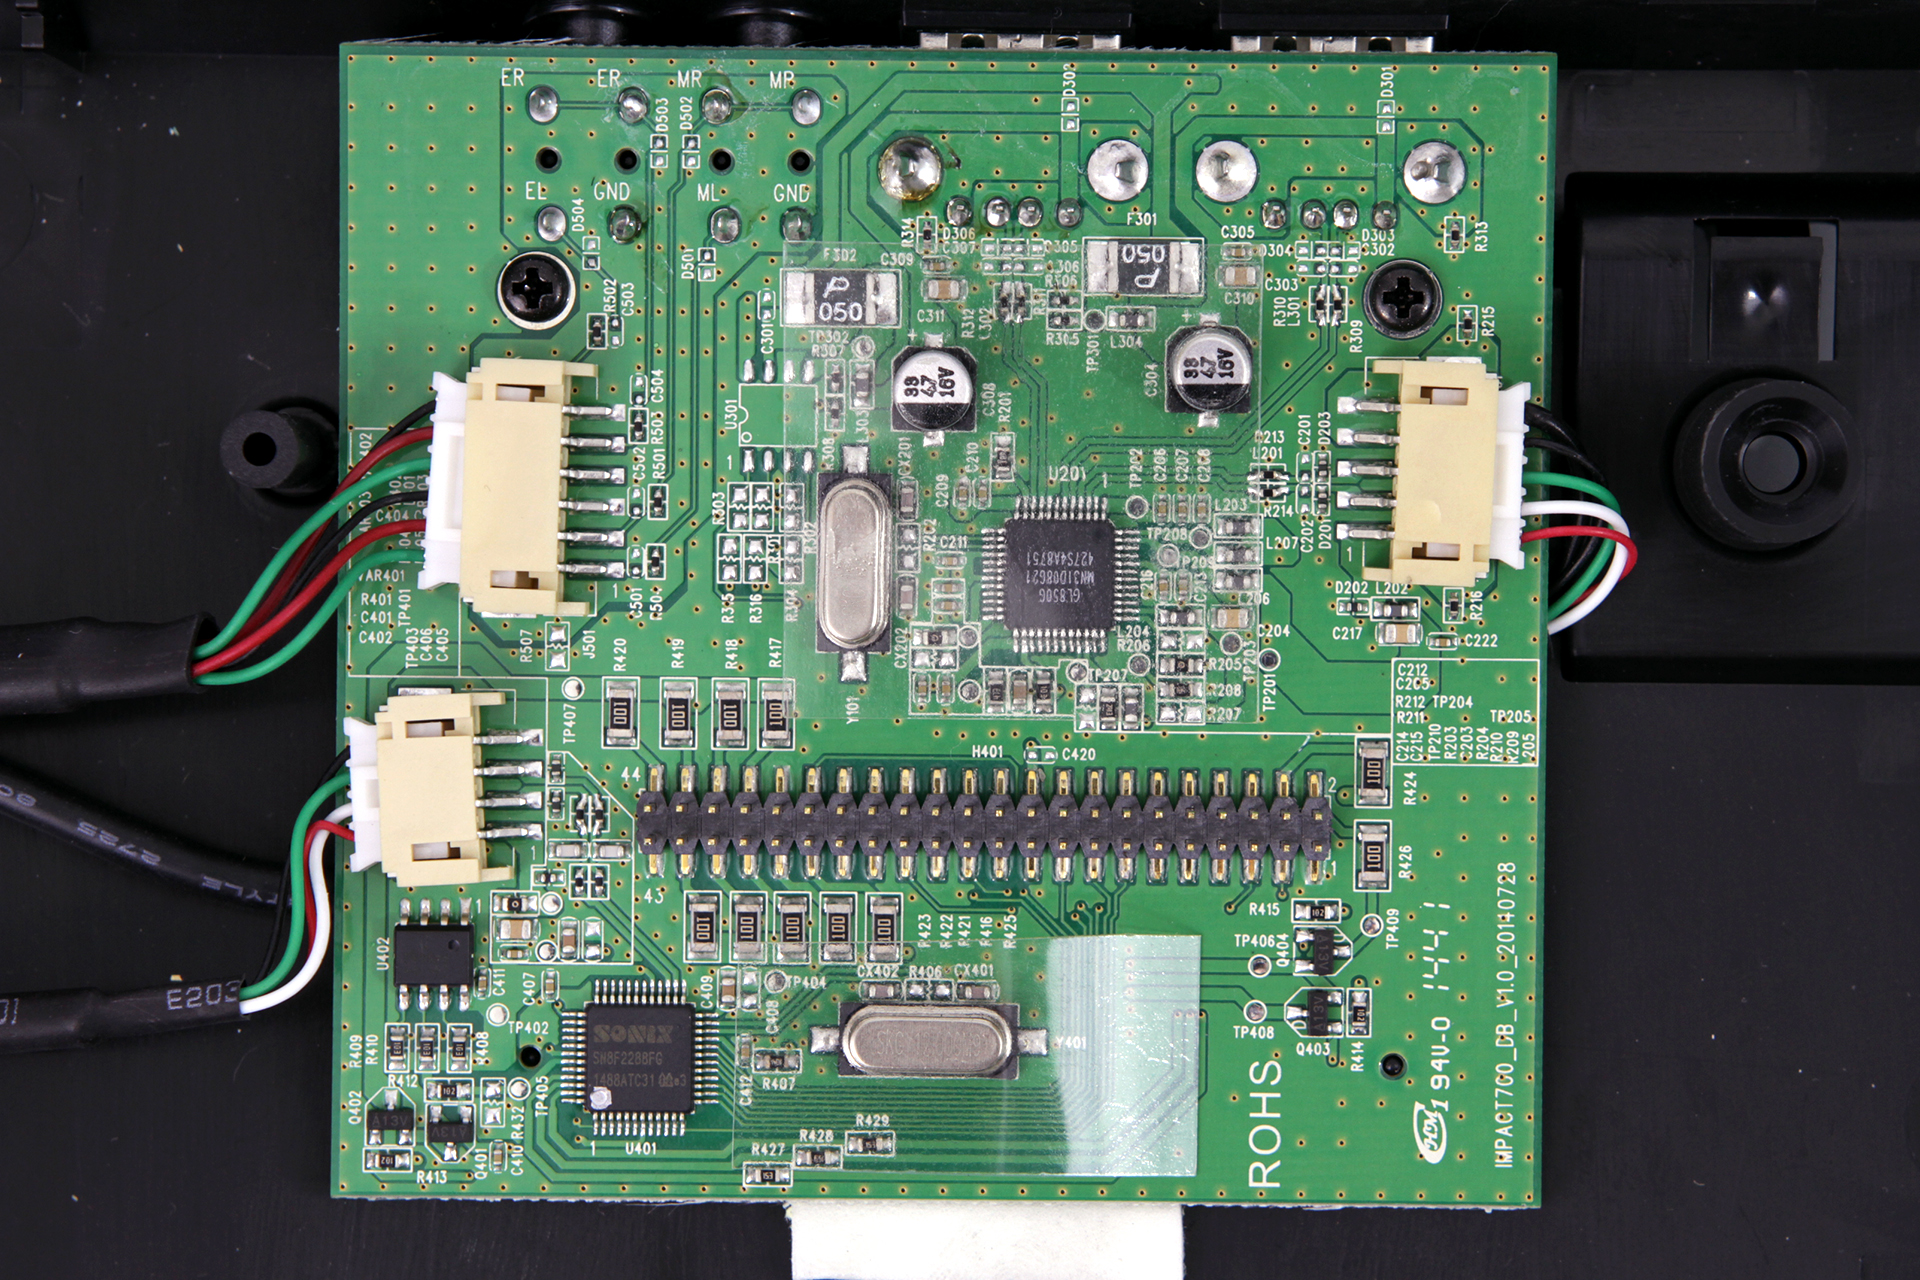
Instead of mounting the MCU directly onto the PCB bearing the switches, Turtle Beach stuck it, the lighting controller, and the passthrough ports controller on a separate PCB. The two PCBs interface via a 44-pin connector. I noticed a small amount of leftover solder dotting the larger PCB here and there.
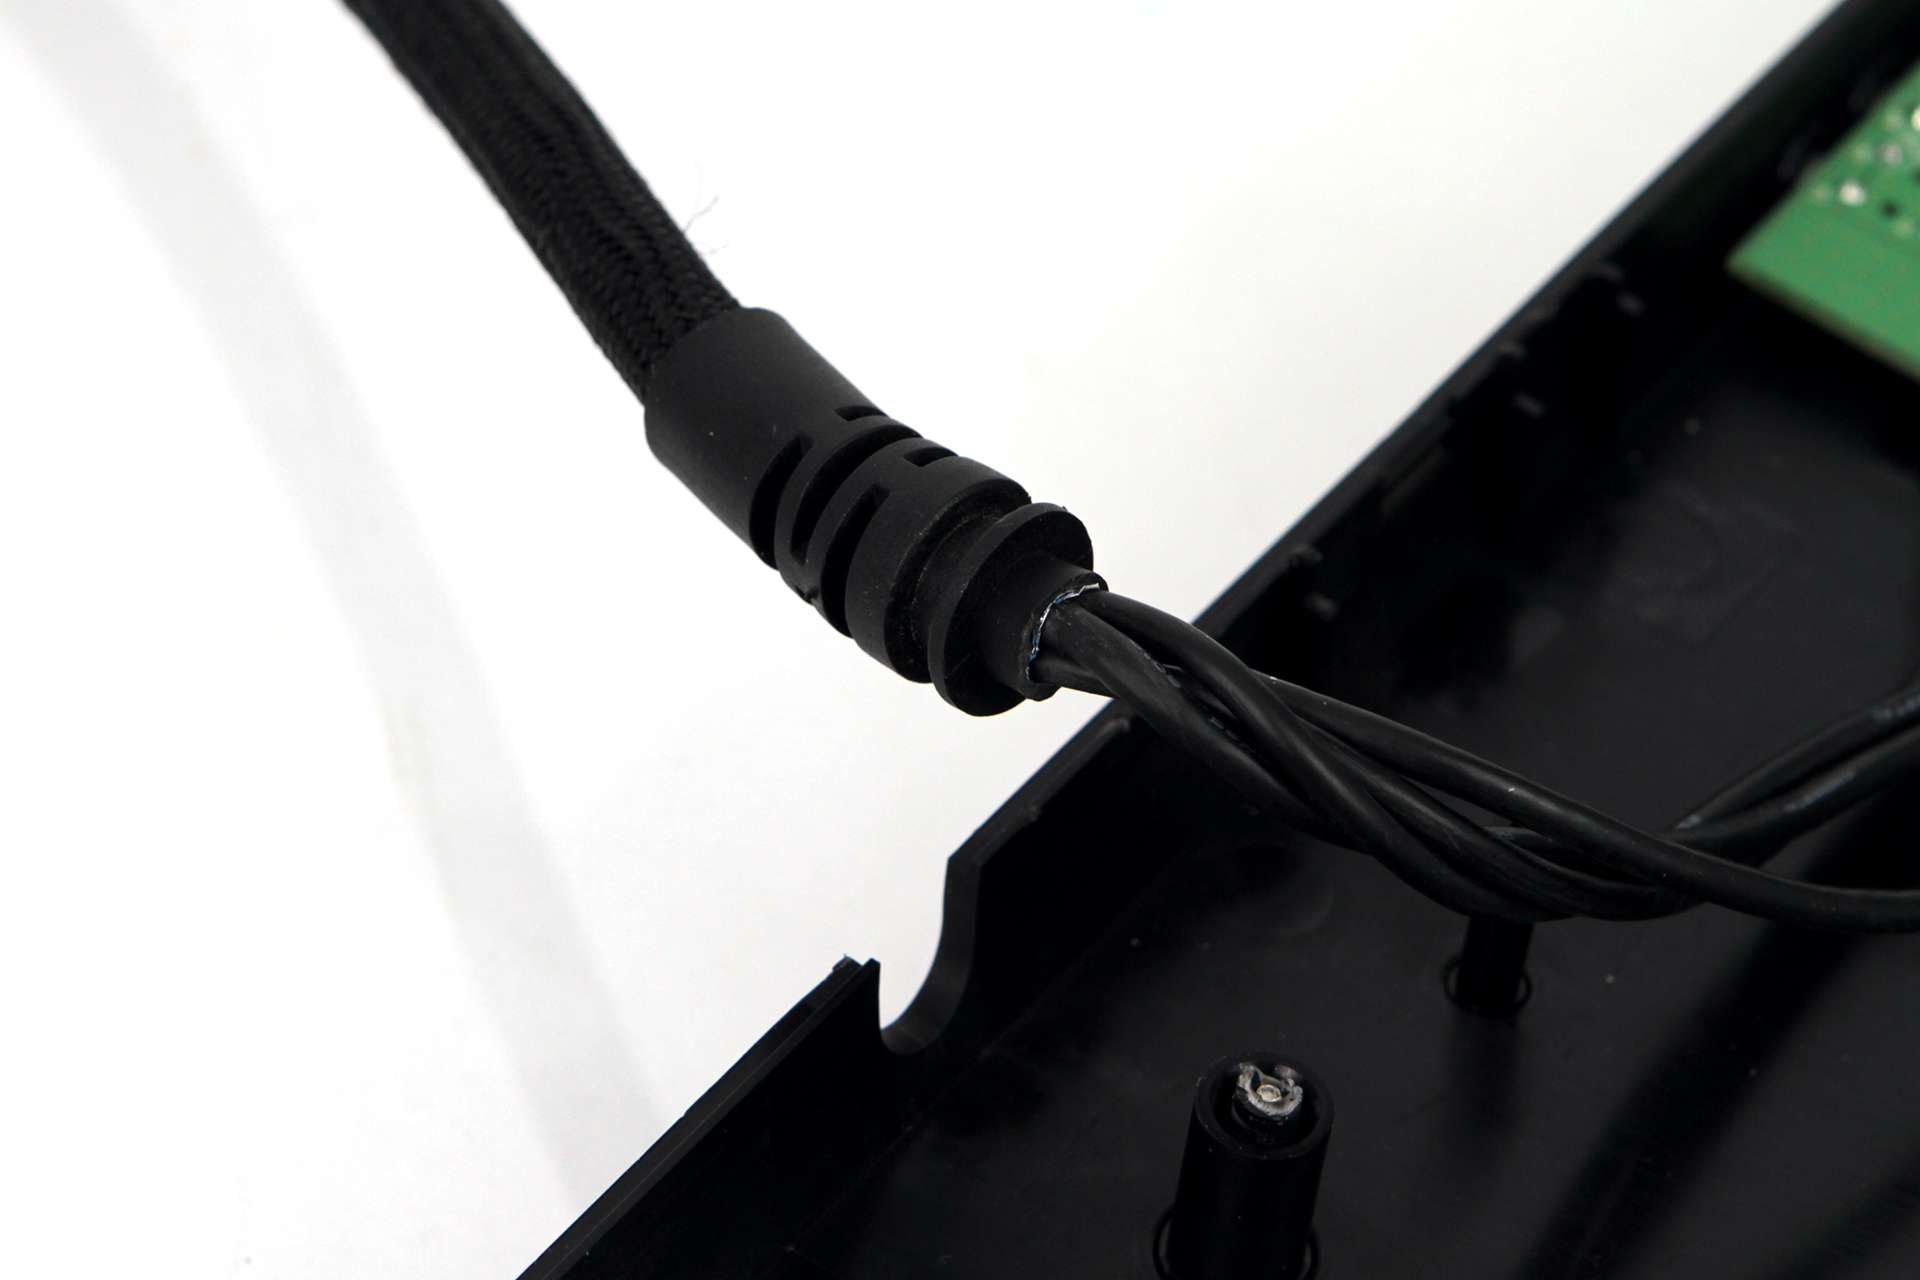
Two screws hold the smaller PCB snugly to the back of the chassis, which means that the passthrough ports won't become loose over time. The thick cable has a hard rubber bumper design that should prevent any undue wear on the wires extending from the PCB, too.
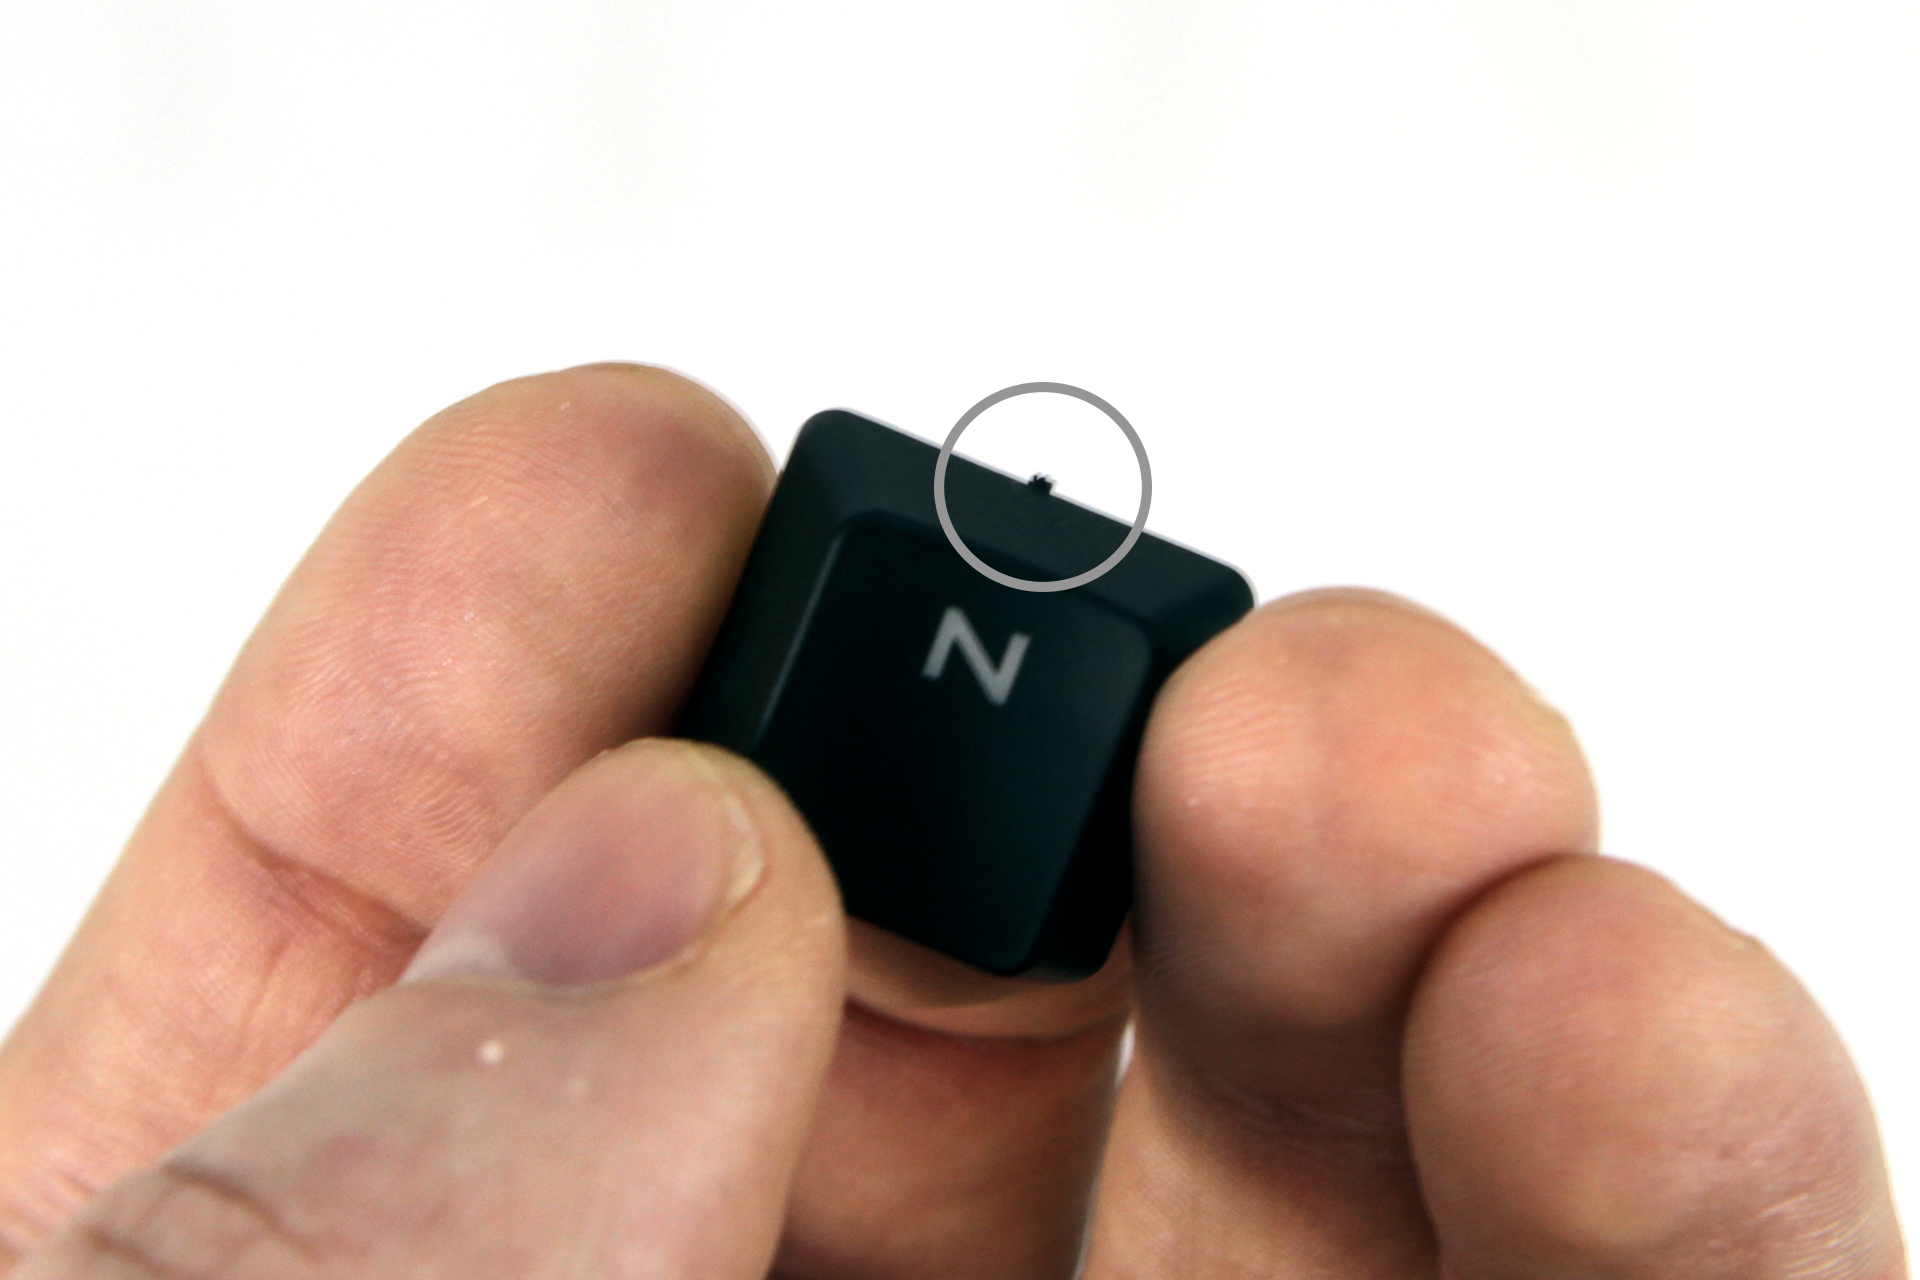
On a few of the key caps, I found little nibs left over from where they attached to a sheet. It's not particularly noticeable, but it's worth noting.
Get Tom's Hardware's best news and in-depth reviews, straight to your inbox.
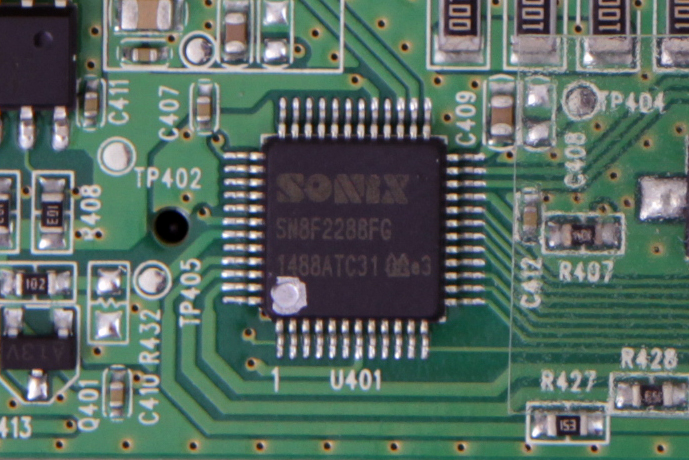
The Impact 500 and 700 have the same openings in the backplate: Mostly there are small openings here and there, but there is a large one around the arrow keys that will invite much dust and dirt in the space between the backplate and PCB. They also share the same MCU, the Sonix SN8f2288fg.
Seth Colaner previously served as News Director at Tom's Hardware. He covered technology news, focusing on keyboards, virtual reality, and wearables.
-
DookieDraws Yeah, $200 for a keyboard is outrageous. I am sure it's a nice keyboard, but how in the world can they justify such a high price? Does that price include a free date with Daisy Ridley? :PReply -
WyomingKnott Hey, does anybody make a decent ergonomic keyboard with good switches? I'm still using the Microsoft Natural membrane keyboard because it makes my hands feel SO GOOD.Reply -
blackmagnum Wouldn't you rather use that money to get a Radeon R9 380? Poor pricing of keyboard!Reply
