How to Overclock Any Raspberry Pi
Turn up the clock speed on your Raspberry Pi.

There’s free, extra performance buried inside your Raspberry Pi. Just as you can overclock a PC, increasing its CPU speed above stock, you can overclock any model of Raspberry Pi . In fact, on newer models, you can not only turn up the Raspberry PI’s CPU speed, but also its GPU speed. You can, for example, get a Raspberry Pi 4, which defaults to 1.5 GHz CPU / 500 MHz GPU all the way up to 2.1 GHz / 750 MHz or perhaps even higher.
We’ve written in the past about the benefits of overclocking a Raspberry Pi 4 specifically, but the methods below will work on any Pi model. We also have a table of recommended Raspberry Pi overclock settings for everything from the Raspberry Pi 1 to the Zero / Zero W at the bottom. We have updated the table to include the latest Raspberry Pi models. The Raspberry Pi 400 operates at 1.8 GHz out of the box, and the new Compute Module 4 can be overclocked to 2.3 GHz!
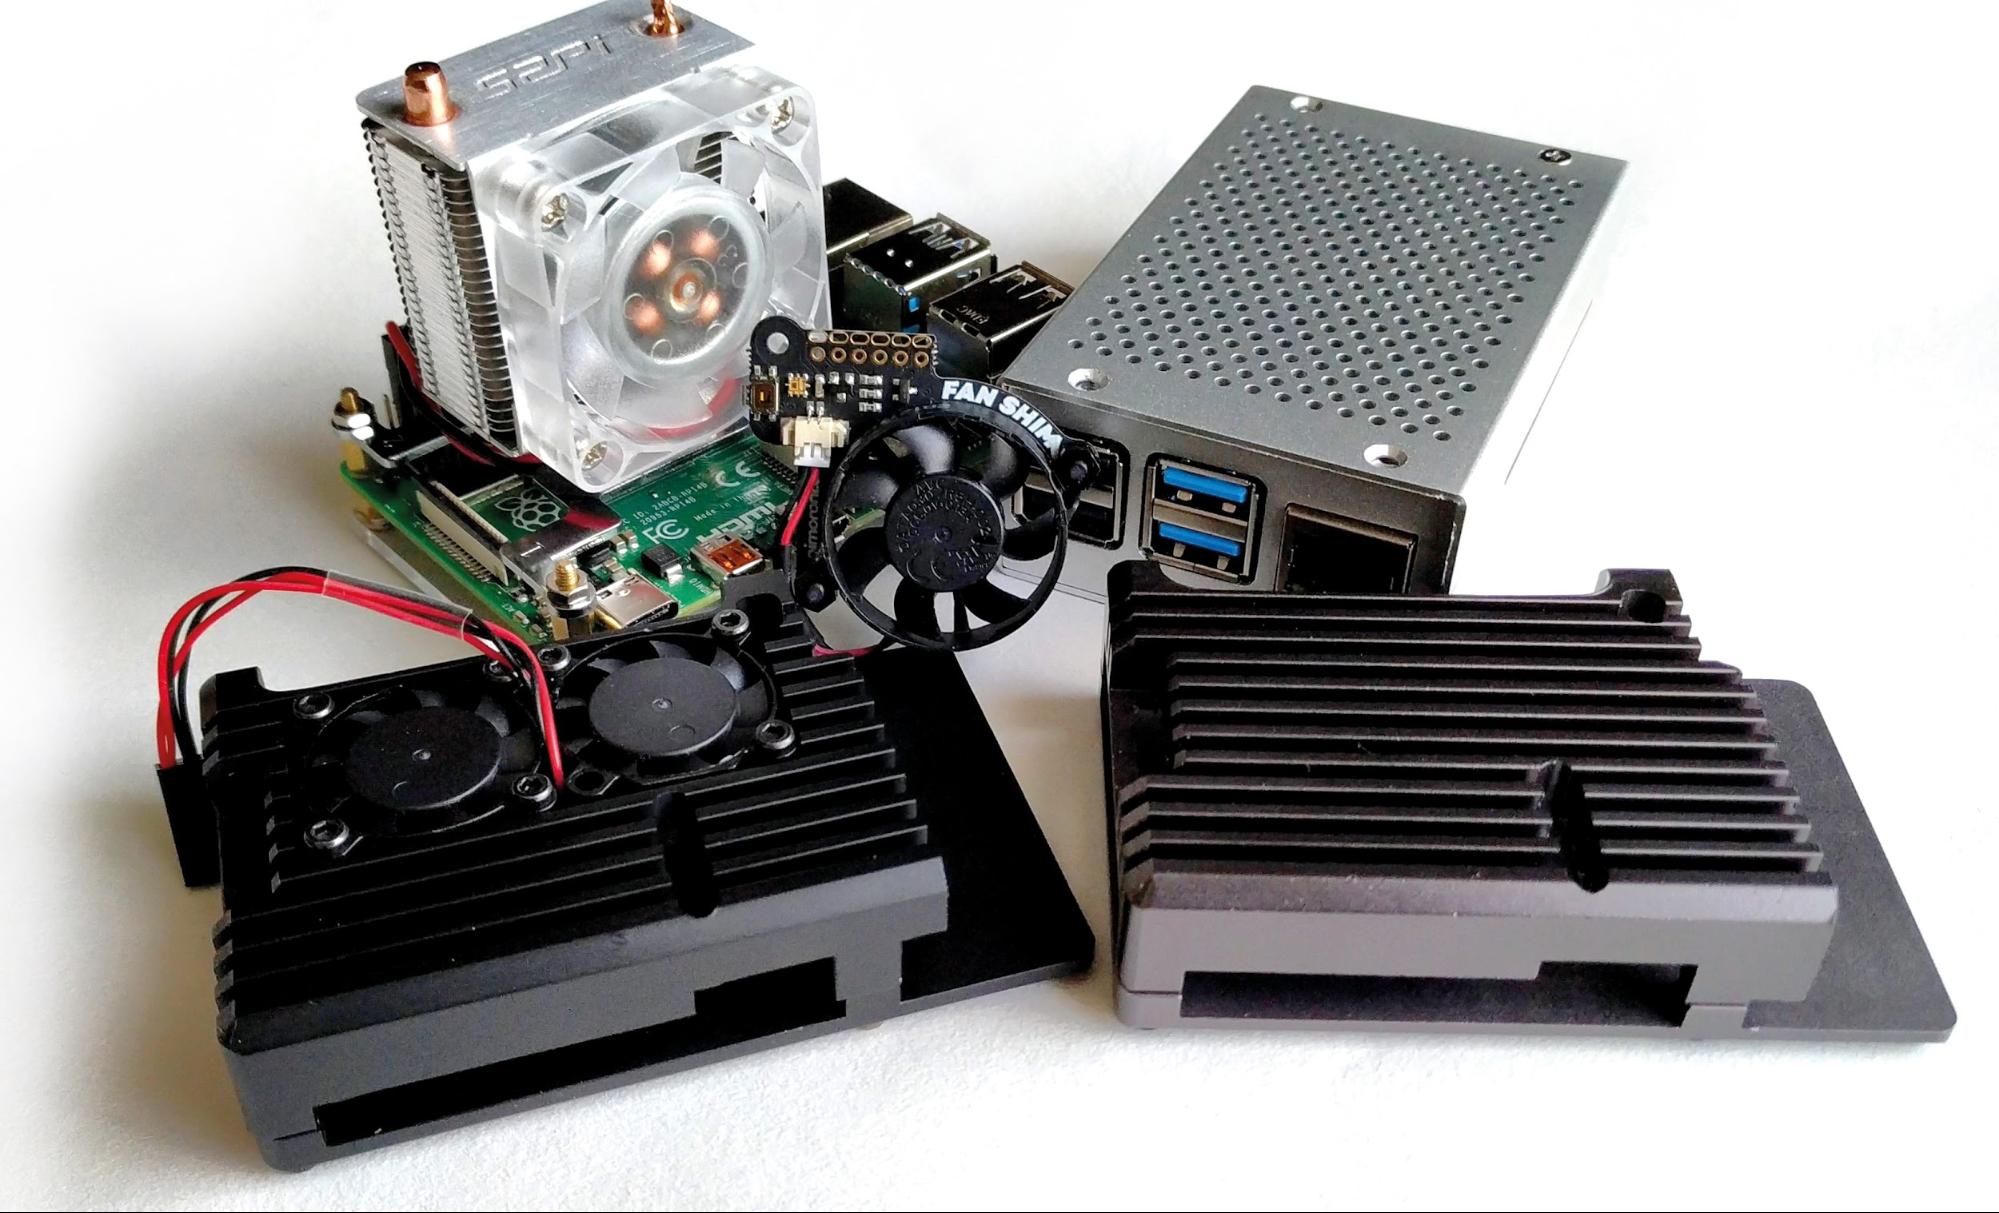
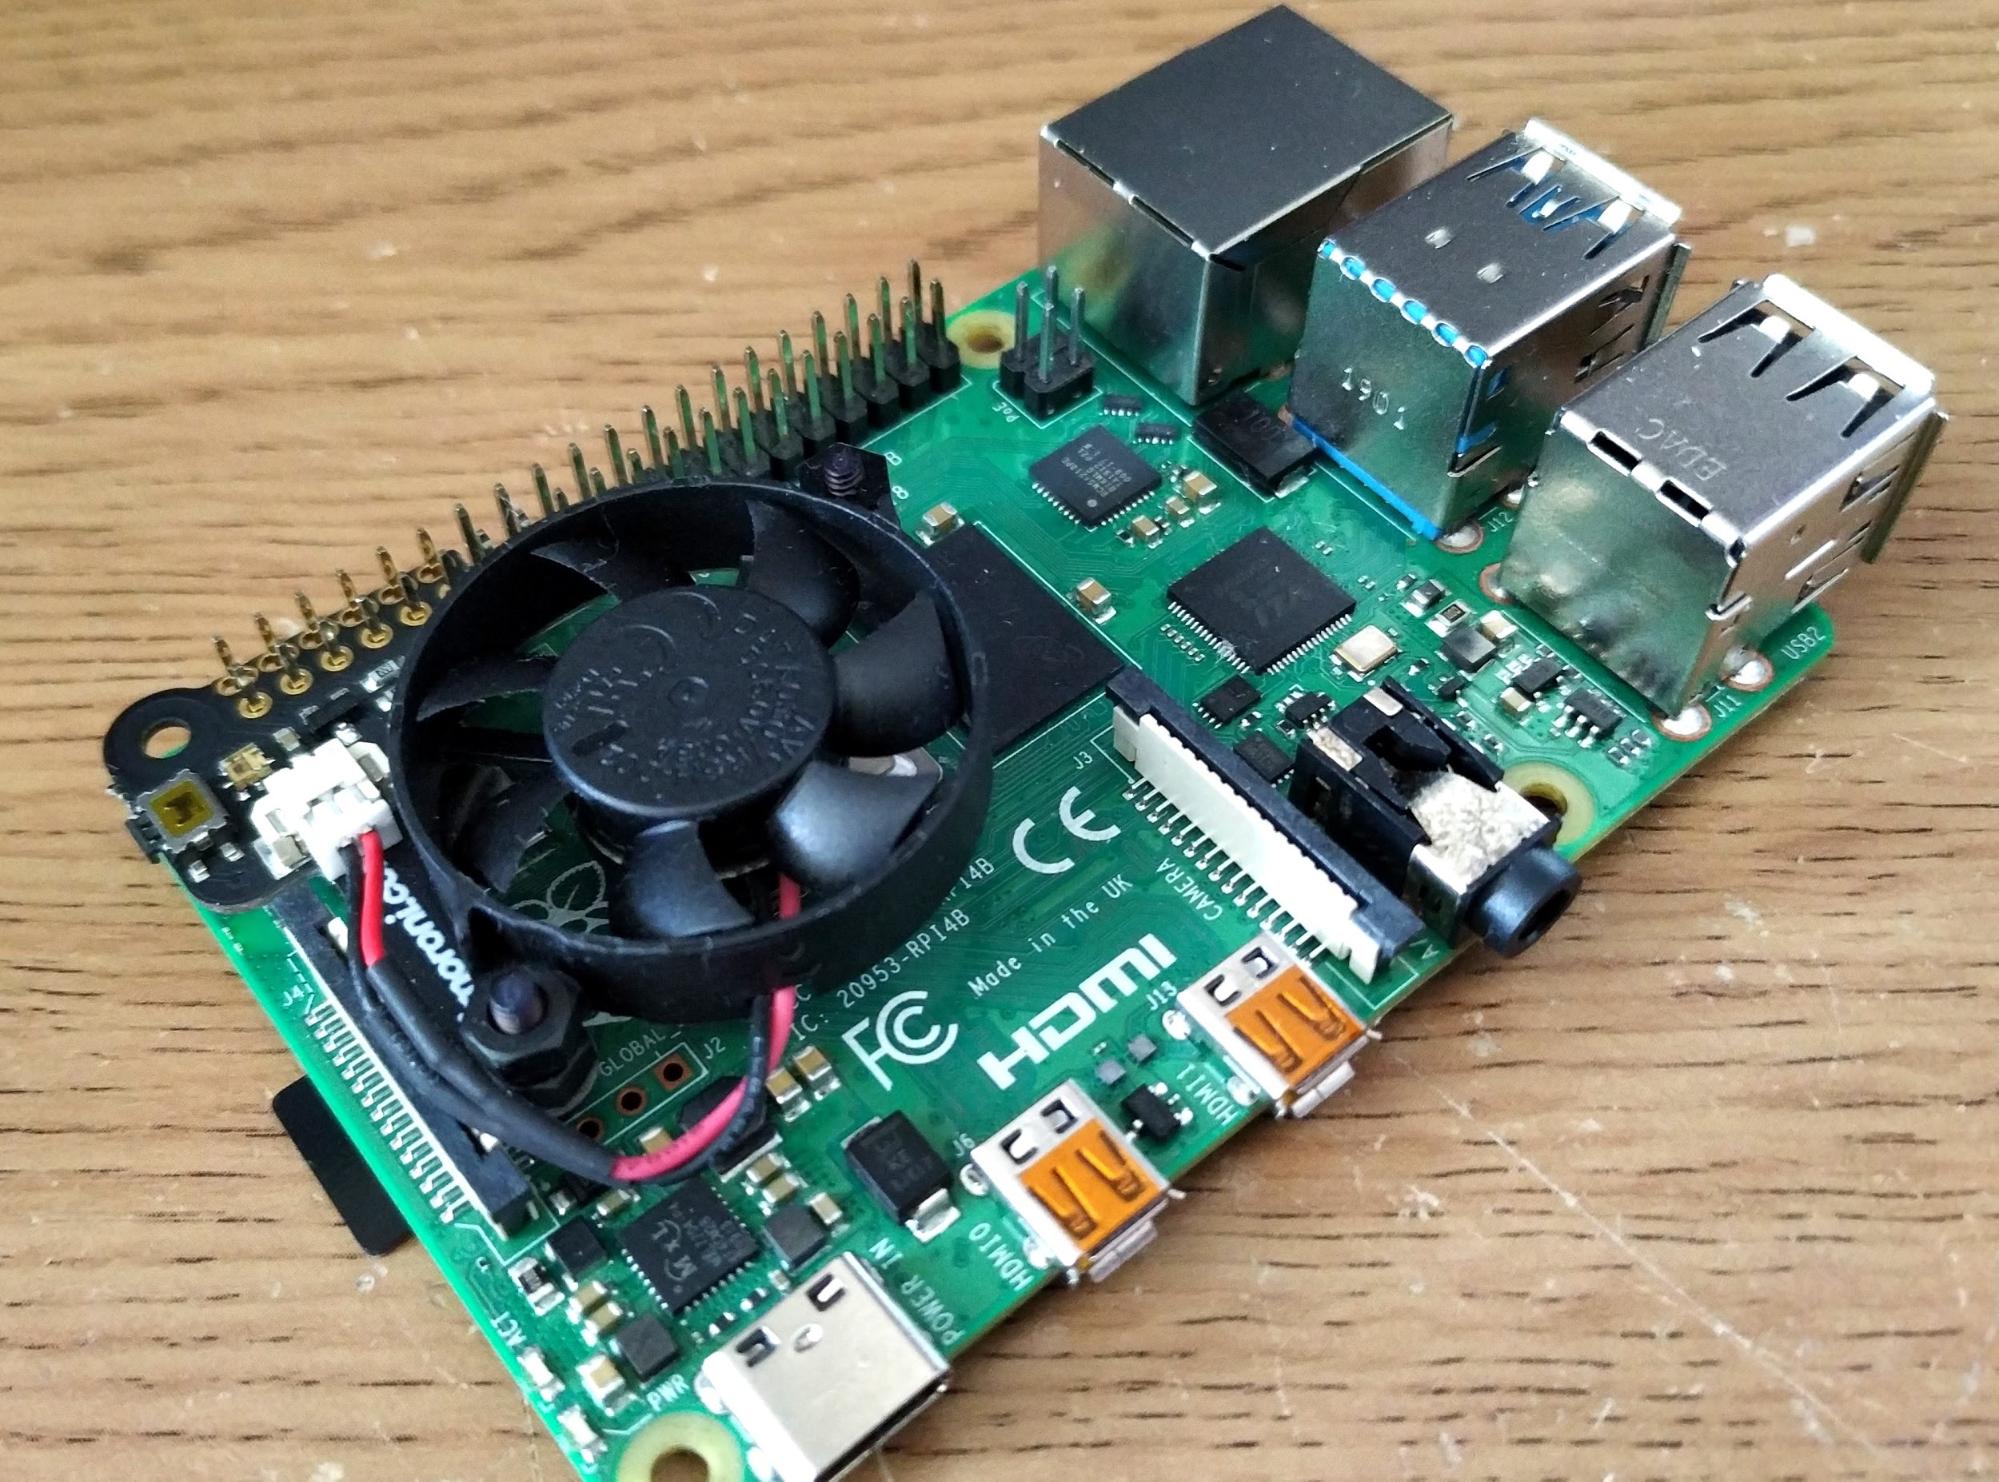
Before you begin the process of overclocking your Raspberry Pi, make sure that you have adequate cooling. At minimum, you should have a heat sink on the CPU and chipset, but a fan such as the Pimoroni Fan Shim is better. Note, of course, that while unlikely, it’s also possible to damage your Pi during the process.
How to Overclock a Raspberry Pi
1. Attach a fan or heatsink to the Raspberry Pi before powering on.
2. Update the available repositories and then upgrade your Raspberry Pi. This will ensure we have the latest software available.
sudo apt update && sudo apt dist-upgrade3. Open config.txt for editing. It’s found in the /boot directory.
sudo nano /boot/config.txt4. At the bottom of the file make a new line and add the corresponding data from the table below for your model of Raspberry Pi. If you choose to use this card in a different model of Raspberry Pi later, you should change or remove this first.
Get Tom's Hardware's best news and in-depth reviews, straight to your inbox.
5. Save the file by pressing CTRL + X, Y then ENTER.
6. Reboot the Raspberry Pi. If the Raspberry Pi fails to boot, power off the Raspberry Pi, remove the micro SD card and insert it into another computer. In the BOOT partition edit config.txt and check your settings. You may need to reduce the overclock by 100MHz in order to boot.
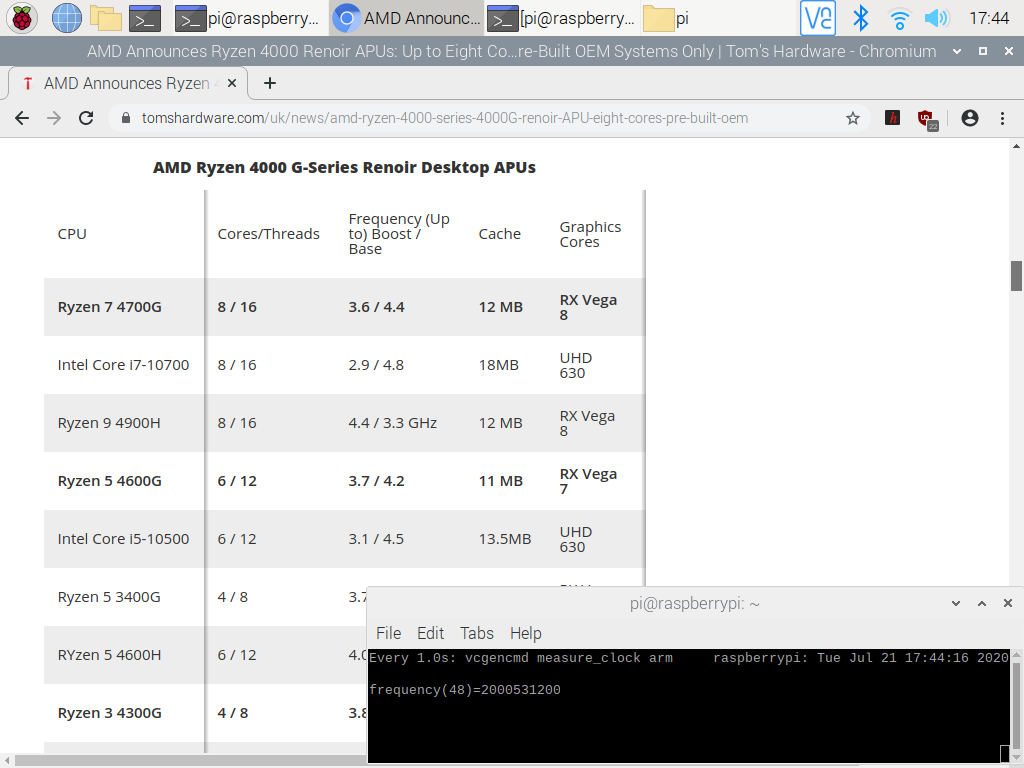
7. With the Raspberry Pi booted to the desktop open a new terminal. To see the current CPU speed of the Pi updated every second use this command.
watch -n 1 vcgencmd measure_clock armWhen idle the CPU will run at around 600MHz, if we were to open a web browser or another heavy application such as Wolfram, then the CPU speed would increase to match the demand.
Overclocking values for all models of Pi
All of these values have been tested with our Raspberry Pis but you may need to tweak the settings as per step 6. Please note that for the Raspberry Pi 4 we have increased the maximum speed to 2.2 GHz and used force_turbo=1 to push the Raspberry Pi even further, but this comes at the risk of invalidating the warranty.
| Model | config.txt settings |
|---|---|
| Raspberry Pi 1 Model A & B | arm_freq=1000 |
| Row 1 - Cell 0 | core_freq=450 |
| Row 2 - Cell 0 | over_voltage=6 |
| Raspberry Pi A+ / B+ / Compute Module Cooling Required | arm_freq=1100 |
| Row 4 - Cell 0 | core_freq=450 |
| Row 5 - Cell 0 | sdram_freq=450 |
| Row 6 - Cell 0 | over_voltage=6 |
| Raspberry Pi 2 v1.1 | arm_freq=1000 |
| Row 8 - Cell 0 | core_freq=500 |
| Row 9 - Cell 0 | over_voltage=2 |
| Raspberry Pi 2 V1.2 (Shares the same CPU as a Raspberry Pi 3) | arm_freq=1300 |
| Row 11 - Cell 0 | core_freq=500 |
| Row 12 - Cell 0 | over_voltage=4 |
| Raspberry Pi 3 & Compute Module 3 | arm_freq=1300 |
| Row 14 - Cell 0 | core_freq=500 |
| Row 15 - Cell 0 | over_voltage=4 |
| Raspberry Pi 3 A+ / B+ / Compute Module 3+ | arm_freq=1500 |
| Row 17 - Cell 0 | over_voltage=4 |
| Raspberry Pi 4 / 400 / Compute Module 4 | arm_freq=2200 |
| Row 19 - Cell 0 | gpu_freq=750 |
| Row 20 - Cell 0 | over_voltage=6 |
| Row 21 - Cell 0 | force_turbo=1 |
| Raspberry Pi Zero / Zero W | arm_freq=1100 |
| Row 23 - Cell 0 | core_freq=450 |
| Row 24 - Cell 0 | over_voltage=6 |

Les Pounder is an associate editor at Tom's Hardware. He is a creative technologist and for seven years has created projects to educate and inspire minds both young and old. He has worked with the Raspberry Pi Foundation to write and deliver their teacher training program "Picademy".
-
PrinceTexasLoaf WOW! What an incredibly neat article I never even thought of overclocking a Rasberry Pi.Reply -
CooliPi A few practical tips though.Reply
Thanks to silicon lottery, your particular unit may not overclock proportionally the gpu and the cpu part the same as well. So, if you don't need faster graphics, don't overclock its GPU. This increases your chance to overclock higher and have a stable system. Also lower power consumption and less supply current means better stability.
Raspberry Pis with 4 CPU cores may hit a power delivery wall when loaded with all 4 cores active. The integrated PMIC (power management IC) may not supply the needed current for all of the cores, and turn itself off for a short period of time, thus rebooting the Pi. Cool the PMIC too.
Don't overvolt at max if you need all-core load (kernel compiles, heavy number crunching etc). Here we have a RPI4 which can run at 1850MHz with all cores active with over_voltage=2, but with higher over_voltage=3, it reboots when loaded. Higher over_voltage means also higher current and the PMIC circuitry has limited output current. The hotter the PMIC and its surrounding inductors, the less current it can supply. This is a limitation of the PMIC chip, not the BCM chipset.
So, if you encounter occasional reboots under heavy load, it may be the overheating of the PMIC. If your Pi locks up, it won't be this particular problem, but perhaps silicon lottery loss.
Underclocking a GPU part may be an interesting way of increasing overclockability (more stable system), but AFAIK, older Raspberry Pis had L2 cache tied to the GPU, so underclocking it may slow the CPU too.
I've documented how the PMIC of Raspberry Pi 4 heats - all other chips being cooled directly to a heatsink. The view is from an underside, i.e. you see the heated PCB . Lower left corner is the PMIC. -
Matt_ogu812 How well would the Raspberry Pi 4 respond to water cooling or is it even possible?Reply
Thanks! -
CooliPi https://www.tomshardware.com/news/waterproof-your-raspberry-pi,40446.htmlReply
...but it needs that you impregnate the whole surface with isolating coating and it ain't gonna last long. Or you may use mineral oil or some special dielectric coolant, there are many options.
But none of them is practical. The most practical (to me) is a heatsink with a large surface area. Hence CooliPi... -
CooliPi ReplyMatt_ogu812 said:How well would the Raspberry Pi 4 respond to water cooling or is it even possible?
Thanks!
Here you can see how the Raspberry Pi responds to liquid Nitrogen cooling.
RbzKM5XxlOAView: https://youtu.be/RbzKM5XxlOA -
Todd Melanson Was so glad when I found a RPi overclocking tutorial here at Tom's, a site I trust to get it right.Reply
There are all kinds of tutorials out there but none of them I've come across anyway, mentioned the core_freq and sdram_freq.
I have two RPi4 - 4Gbs. The first I got to 2147, but after about an hour it would finally crash. I just dropped it to 2140 and it's rock solid; been surfing and working in terminal all day with like 10+ tabs open in Chromium. No problems.
For anyone who finds those numbers impressive (I do!), keep in mind, I am using Ice Tower Fan/Heatsink Coolers on both units. One is mounted to the top surface of an Argon Neo aluminum case, and the other is just using the included Ice Tower 'case', which I don't really consider a case, as it doesn't protect the inner hardware from physical damage in any way. I'm looking at my sensor readings right now, and they have yet to go above 34 degrees celcius even at full load. Wow!!
I didn't get as lucky in the silicon lottery with the second RPi4. After MANY adjustments, it settled in at 2070. But again, absolutely rock solid. I do not feel any noticeable performance difference between 2.07 and 2.14 Ghz.
The main benefits I'm seeing with the OC's are:
Web browsing is now nearly as good as my 8th Gen i5 laptop - impressive!! No more hesitating when scrolling, everything is smooth as buttah. I think force_turbo=1 is what is making that such a better experience.
Video: with the latest update to RaspberryPi OS 64-Bit, you can now enable fake GL drivers and Compositor, and YouTube performance is greatly improved. (I tried every combination, this is the best one) There is still occasional tearing, but MUCH MUCH less. It's perfectly acceptable. Also, hardly any dropped frames, and 90% of those seem to always happen in the first 15 seconds of the video. I ran Big Buck Bunny at 1080p/60fps and only had 11 dropped frames throughout the entire video. Again, impressive.
As soon as I finish this post (Rpi Zero is finishing rpi-update) I am going to OC the Zero W and see how far I can get that to go.
Here are my OC settings for 2140, pretty much the same as you suggest:
-
CooliPi ReplyTodd Melanson said:
Here are my OC settings for 2140, pretty much the same as you suggest:
With stable firmwares, you don't overclock GPU with the core_freq keyword. Only experimental/unstable firmwares do that. Instead of it, you can use hdmi_enable_4kp60=1 to overclock from 500 to 550MHz (Videocore GPU). You lose composite video output though, because it reguires cca 360MHz core clock.
force_turbo without overvolting above 6 doesn't void warranty. You can force turbo by using performance governor. Just FYI.
Try this (with root privileges on Ubuntu et all not raspbian) :
for src in arm core h264 isp v3d uart pwm emmc pixel vec hdmi dpi ; do echo -e "$src:\t$(vcgencmd measure_clock $src)" ; done
Here's mine output without the hdmi_enable_4kp60=1 setting:
arm: frequency(48)=2000531200
core: frequency(1)=500000992
h264: frequency(28)=0
isp: frequency(45)=0
v3d: frequency(46)=500000992
uart: frequency(22)=48001464
pwm: frequency(25)=107143064
emmc: frequency(50)=250000496
pixel: frequency(29)=150002928
vec: frequency(10)=0
hdmi: frequency(0)=0
dpi: frequency(4)=0
And with it:
arm: frequency(48)=2000478464
core: frequency(1)=550006336
h264: frequency(28)=0
isp: frequency(45)=0
v3d: frequency(46)=500000992
uart: frequency(22)=48001464
pwm: frequency(25)=107143064
emmc: frequency(50)=250000496
pixel: frequency(29)=150042480
vec: frequency(10)=0
hdmi: frequency(0)=0
dpi: frequency(4)=0
I've just noticed, that if I don't run X window system, the core frequency is locked to arm frequency somewhat or is fluctuating. Definitely it thinks it doesn't need all the power and downclocks the core. More elaboration on this would be required.
Last but not least, to change the scaling governor, use a command:
echo performance > /sys/devices/system/cpu/cpu0/cpufreq/scaling_governor
with root rights (start a root shell by sudo bash for example...)
There are other scaling governors (ondemand, powersave). List them with:
cat /sys/devices/system/cpu/cpu0/cpufreq/scaling_available_governors
my system shows:
conservative ondemand userspace powersave performance schedutil
This setup is for 4GB model of RPI4, but works the same on 8GB model I also have. -
CooliPi ReplyTodd Melanson said:
I have two RPi4 - 4Gbs. The first I got to 2147, but after about an hour it would finally crash.
Just an addendum, there are two types of crashes. One is a freeze, i.e. it stops responding. The other one is reboot - and that's caused by overload of its power management chip, which can't supply enough current at the preset voltage AND temperature. In other words, if it overheats, its maximum current output drops and when the BCM chip needs more, it reboots. The voltage at the 1V rail drops for a short while.
CooliPi has thermal bridge between the PMIC and a heatssink itself. We've tested soft thermal pads, and it works well. -
MiauCat I have built a web-based overclocking tool for several Raspberry Pi models, including Pi 4 and Pi 400. It suggests medium and maximum overclocking settings to you, as a good starting point - to take the guesswork out of the initial step!Reply
Possibly you'll find it useful:
https://picockpit.com/raspberry-pi/overclock-raspberry-pi/
I'm also including information about how to test whether an overclock is stable on the tool's page. -
CooliPi ReplyMiauCat said:I have built a web-based overclocking tool for several Raspberry Pi models, including Pi 4 and Pi 400. It suggests medium and maximum overclocking settings to you, as a good starting point - to take the guesswork out of the initial step!
Possibly you'll find it useful:
https://picockpit.com/raspberry-pi/overclock-raspberry-pi/
I'm also including information about how to test whether an overclock is stable on the tool's page.
Cool, I've tested it. But I can go even further - my settings are these (8GB version):
arm_freq=2350
gpu_freq=750
over_voltage=10
force_turbo=1
hdmi_enable_4kp60=1
The September 2020 update of mainline firmware enables this. It's rock solid, at 2400MHz it sometimes locks after boot (but in desktop) even with higher over_voltage. I use CooliPi 4B, of course ;-) - so that's passive.
I was wrong in one of my previous posts about arm, gpu and core frequncy dependency - they're all independent. It was based on some comments of Eben Upton some time ago when information was scarce.
core frequency (includes L2 cache) can be increased by hdmi_enable_4kp60=1 from 500MHz to 550MHz, but you loose composite video output.
So, you can upgrade your online tool to max out the frequencies - not just ARM CPU, but for the core and gpu too. And max stable frequency in my case is 2350MHz, maybe higher towards 2400MHz. I have yet to test it in a fridge at 2400MHz with CooliPi.
You can also warn users of 1/2/4GB versions of Raspberry Pi 4 about stability - its PMIC can't supply anough juice for all of the cores at max. 8GB version is fine, upgraded PMIC with 50% higher switching frequency. I reach max temperatures of about 48˚C with passive cooling with approximately 23˚C ambient temperature - max load.

