The latest Raspberry Pi OS is based upon Debian 11 (Bullseye) and with this new release we see the familiar raspistill and raspicam camera commands replaced with a new suite of open source tools dedicated to getting the most from all of the official Raspberry Pi cameras.
Libcamera is a support library for Linux, Android and ChromeOS which was introduced to the Raspberry Pi via a previous Raspberry Pi OS, but it has come into the spotlight due to the changes made for Bullseye. The app offers an easy to use series of tools which can tweak many different camera settings (aperture, color balance, exposure) via a series of switches issued when the command is invoked.
We fired up our Raspberry Pi 4 4GB, running Bullseye and take you through some of the common commands, switches and a special option to stream live video over a network all from your Raspberry Pi.
Connecting and Configuring the Camera
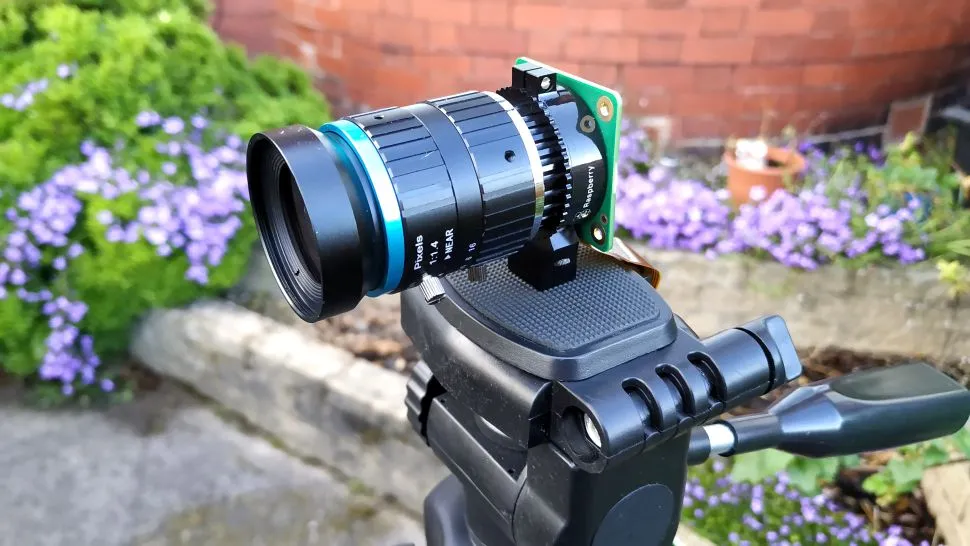
We’ve covered how to connect and configure the camera in this tutorial. Follow the tutorial from Setting up a Raspberry Pi Camera section up to, and including step 6.
Taking Still Images
The first step in any coding project is “Hello World”, and libcamera comes with its own in the form of libcamera-hello. We will use this command to ensure that our camera is working.
1. Open a terminal and enter the command to start the camera. A preview window will appear for five seconds, before closing.
libcamera-hello
2. Run the command again, but this time we shall use a switch (argument) to force the preview window to stay open. To close the window click on the X, or press CTRL + C. Using the preview window in this manner gives Raspberry Pi HQ camera users plenty of time to tweak the aperture and focus of the lens before taking any images.
libcamera-hello -t 0
The camera works but how do we capture an image? To quickly capture an image we can use libcamera-jpeg. This tool is a simple “point and shoot” camera.
3. Open a terminal and enter the command to start the camera, take a picture and save it as test.jpg.
libcamera-jpeg -o test.jpg

4. Use the following options to take a picture, called test1080.jpg with a preview delay of five seconds, and an image size of 1920 x 1080. Note that the time -t is specified in milliseconds.
libcamera-jpeg -o test1080.jpg -t 5000 --width 1920 --height 1080

Advanced Options
The more advanced way to capture images is via libcamera-still. This command shares a similarity to raspistill, in that many of the same arguments work across the pair.
1. Open a terminal and enter the command to start the camera, take a picture and save it as still-test.jpg.
libcamera-still -o still-test.jpg
2. To capture a png image, use the -e switch to specify the encoding and ensure the filename ends in .png. We can change the encoding to png, bmp, rgb and yuv420.
libcamera-still -e png -o still-test.png
3. Use the --datetime switch to capture an image. This will save the image as a JPG using the MMDDhhmmss date format as a filename.
libcamera-still --datetime
Capturing Video

Using libcamera-vid, we can capture high definition video in h264, mjpeg and yuv420 formats.
1. Open a terminal and enter the command to start the camera, record a ten second video and save it as test.h264. You will notice that the switches, -t and -o work in the same manner as with libcamera-still. We can use the --codec switch to use mjpeg or yuv420 output formats.
libcamera-vid -t 10000 -o test.h264
2. Go to the folder containing the file (/home/pi) and right click on test.h264 and select VLC Media Player to play the file. The Raspberry Pi camera doesn’t have a microphone so there will be no sound.
Streaming Video
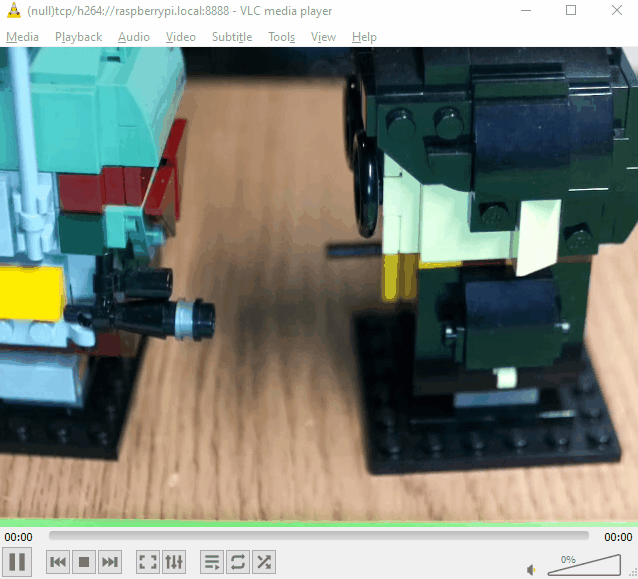
Using libcamera-vid we can stream video over a network, for example a pet camera or doorbell cam.
1. Open a terminal and set libcamera-vid to show a preview screen, and then listen for any IP address to connect on port 8888.
libcamera-vid -t 0 --inline --listen -o tcp://0.0.0.0:8888
2. On another computer, open VLC and go to Media >> Open Network Stream.
3. Enter the following URL and click Play.

There will be a few seconds of delay between what the camera sees and transmitting it to VLC.
tcp/h264://raspberrypi.local:8888
