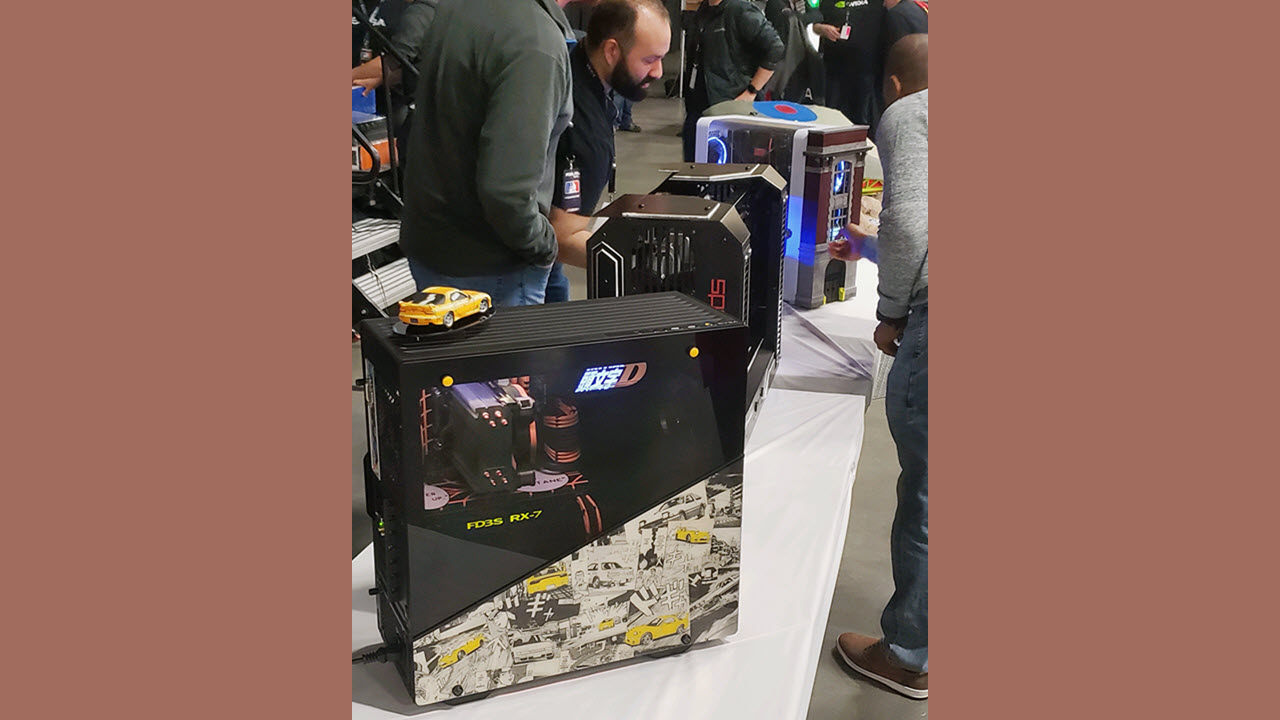
How Initial D Manga Inspired My First PC Mod
My first mod was inspired by the manga Initial D and was done on a small budget.
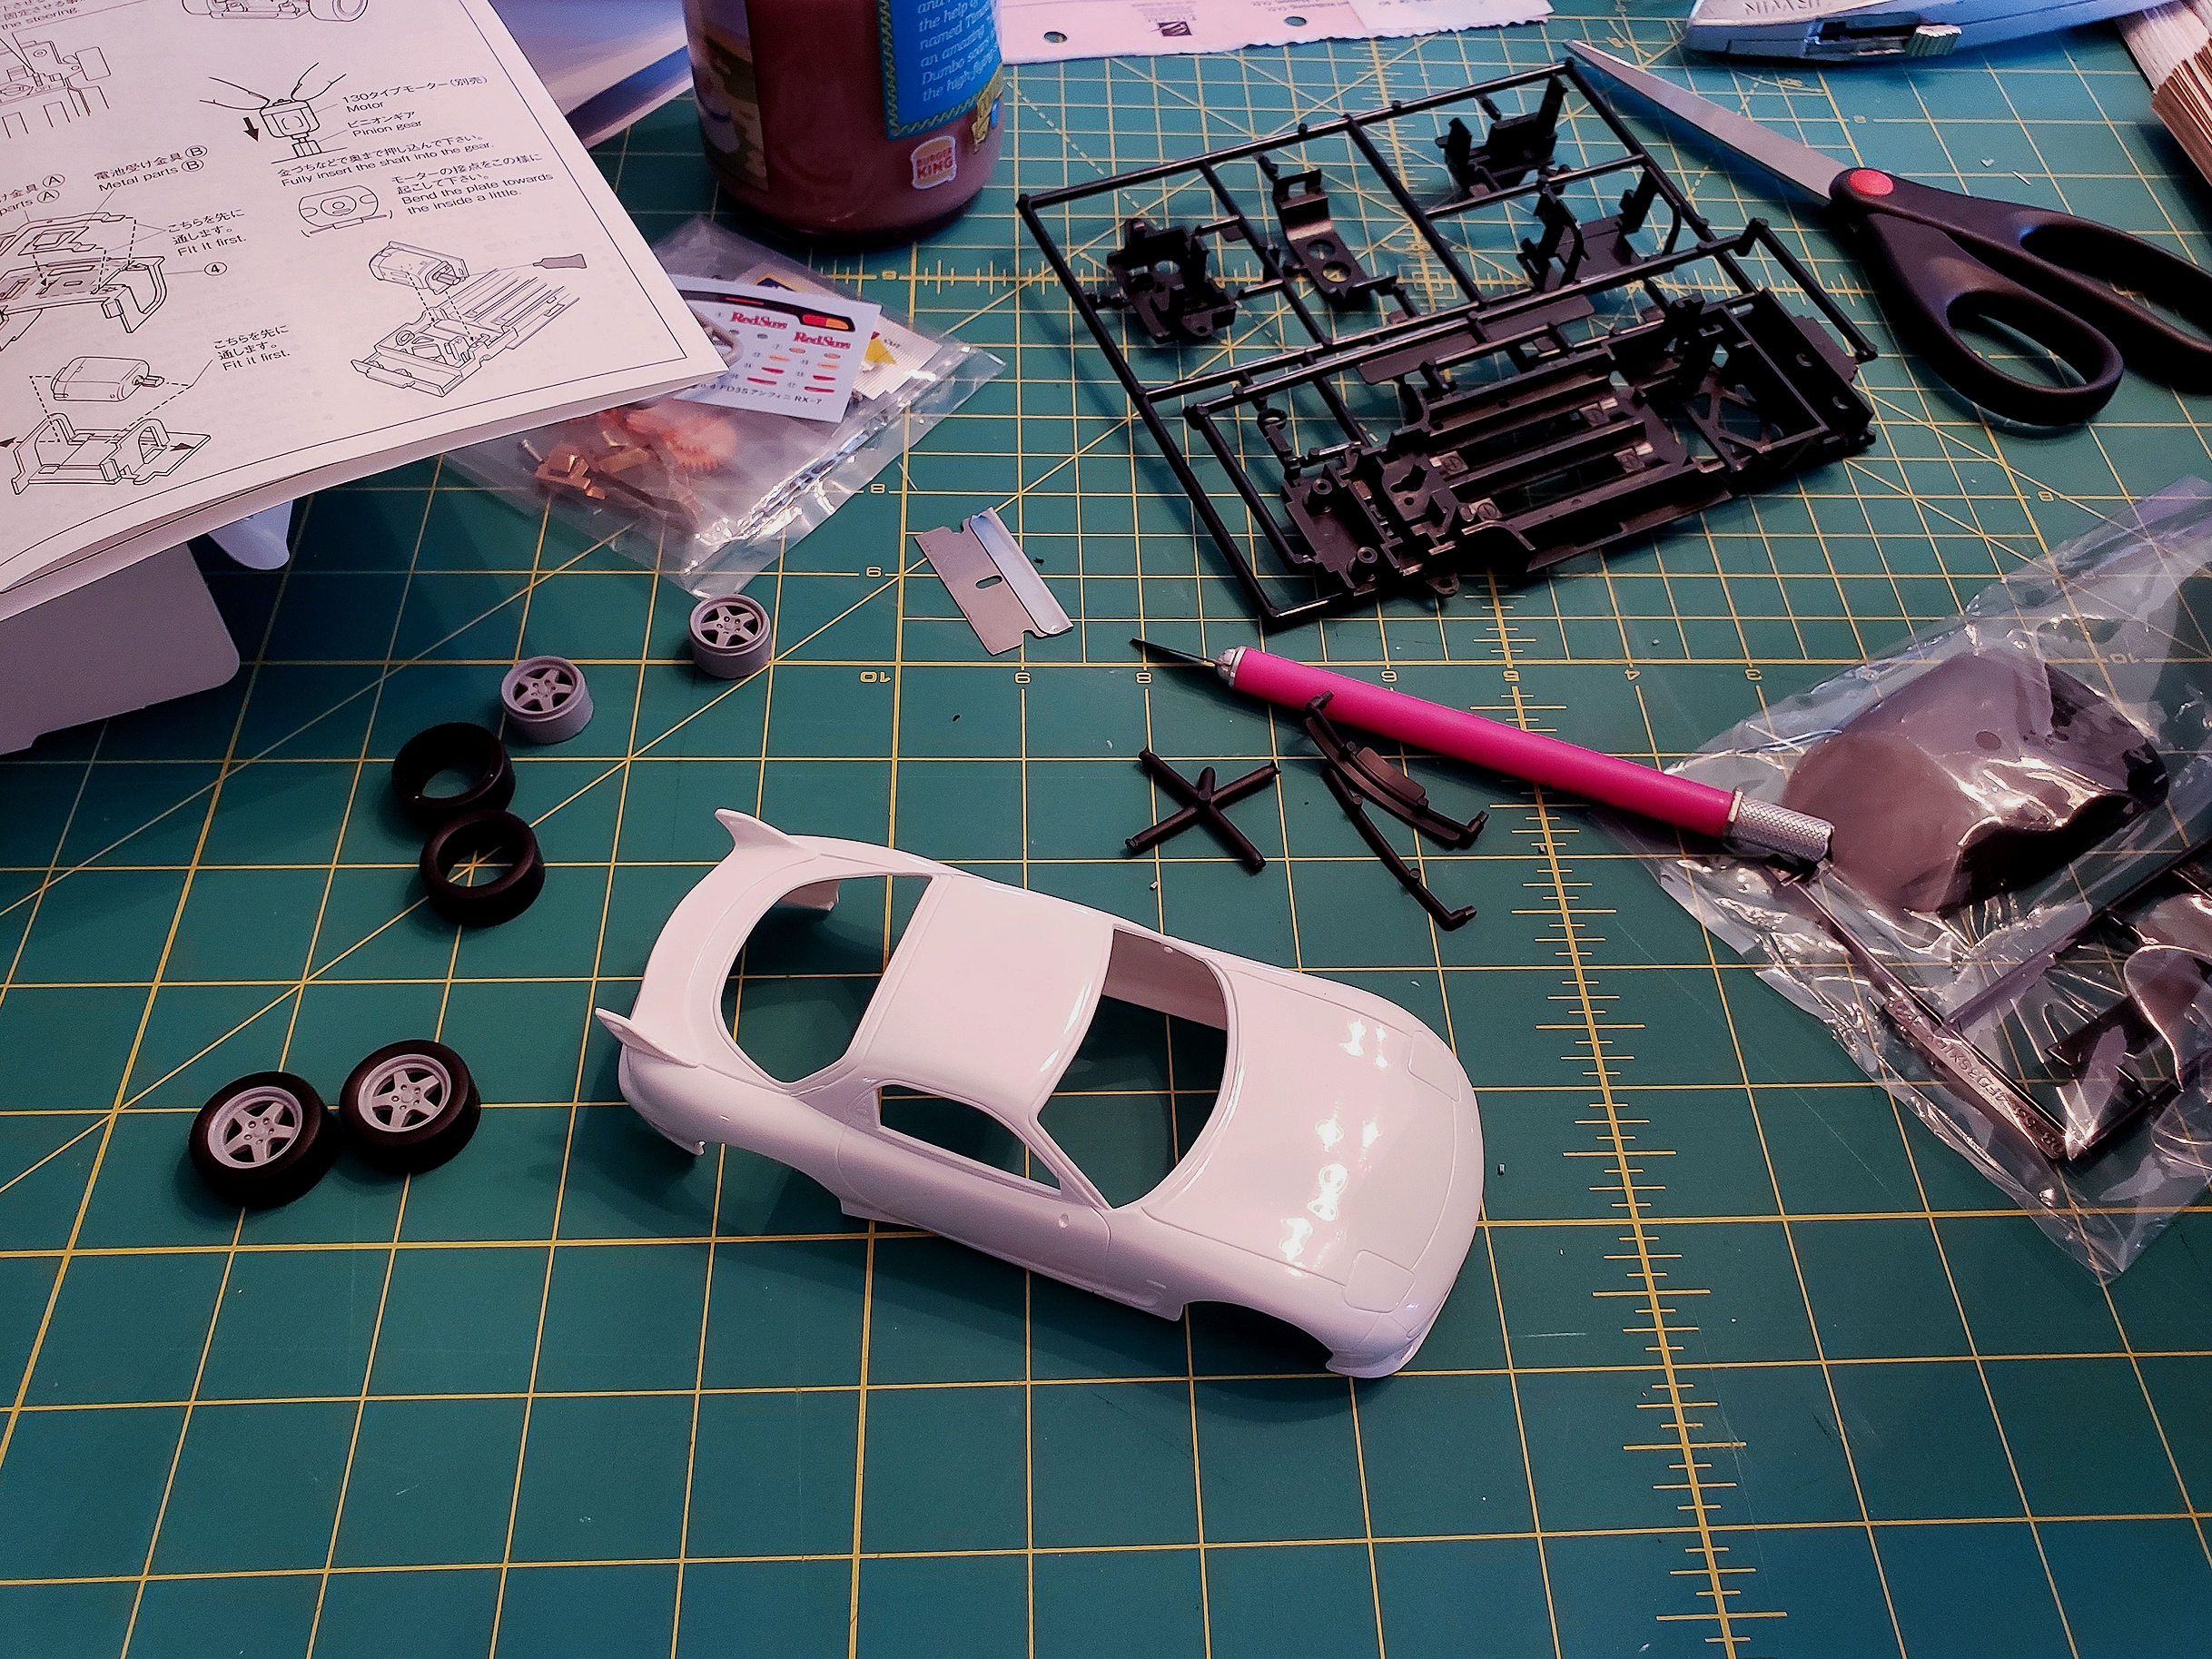
I was inspired by the artist Shinga, a skilled painter and artist who creates elaborate racing scenes with car models painted in a manga style, so another goal of mine was to bring the car out of the manga by building a model and painting it in a style that matches manga or comics. I purchased an RX-7 model kit and had fun assembling it before tackling the painting.
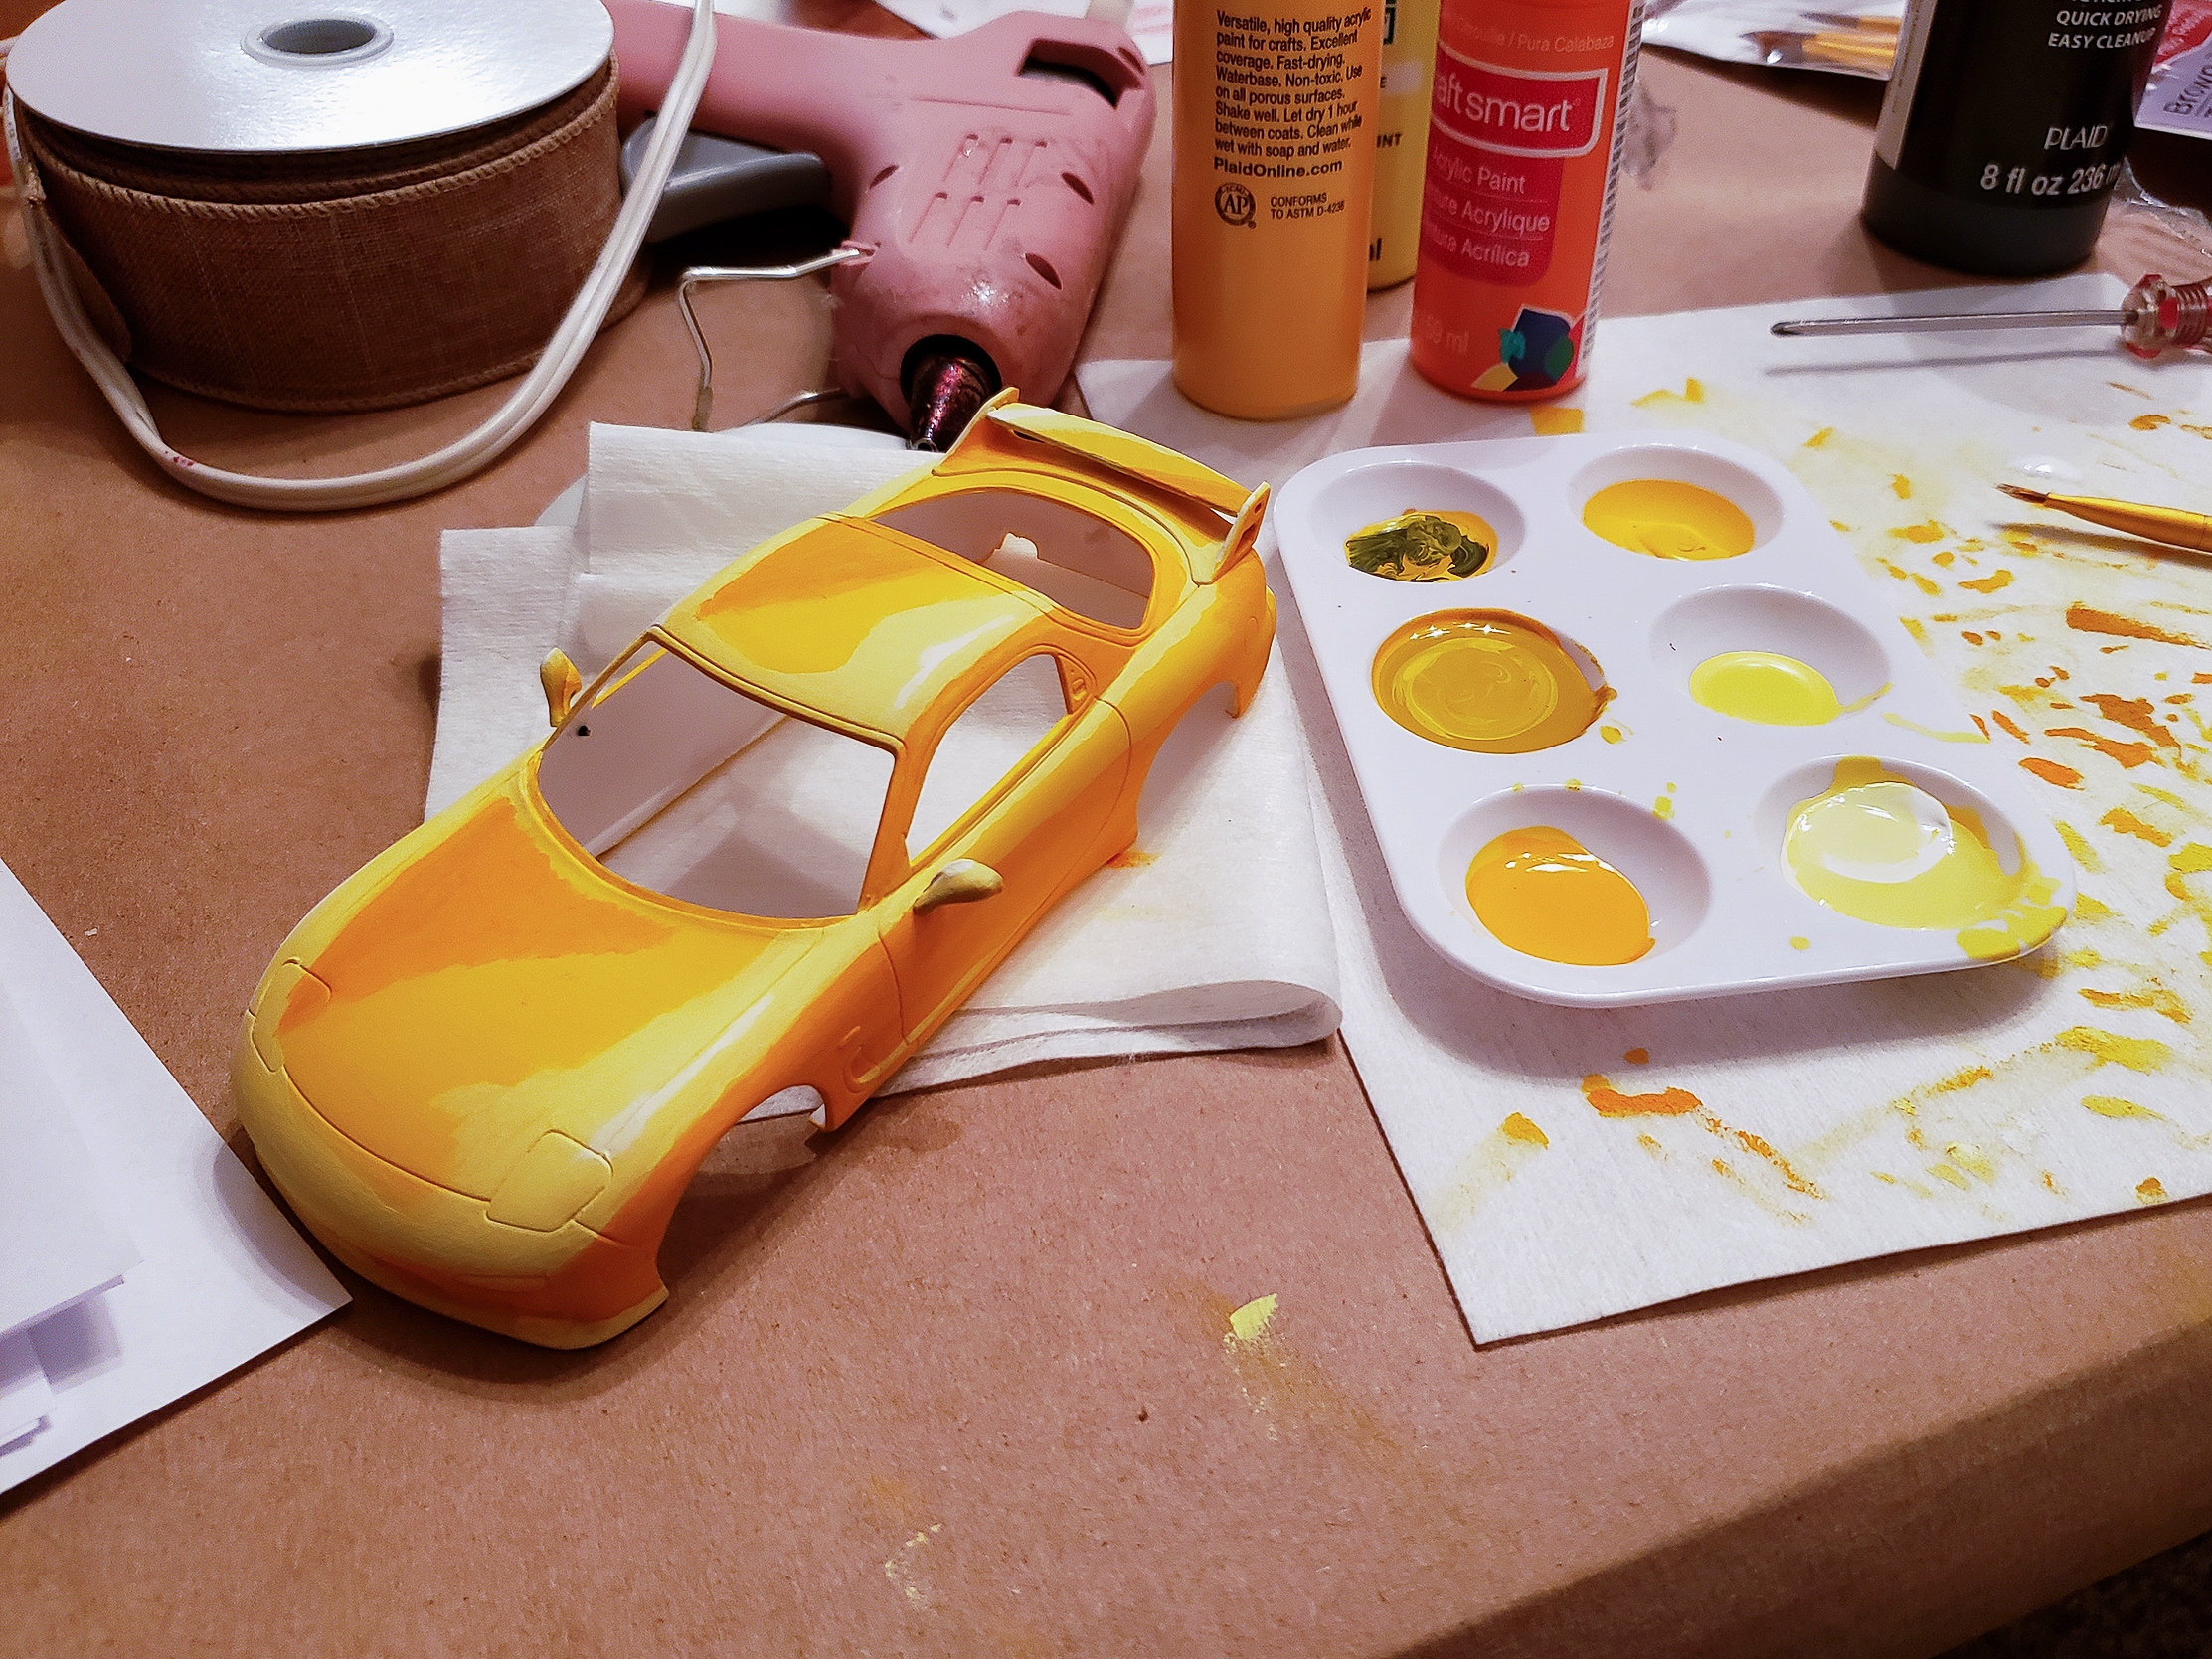
The painting was so much tougher than I expected because I was essentially painting a set 2D perspective and shadows onto a 3D object. I had loads of fun though, and I still love to just look at the model sometimes. I started with a base coat over the entire thing and then came back in with my highlights and shadows.
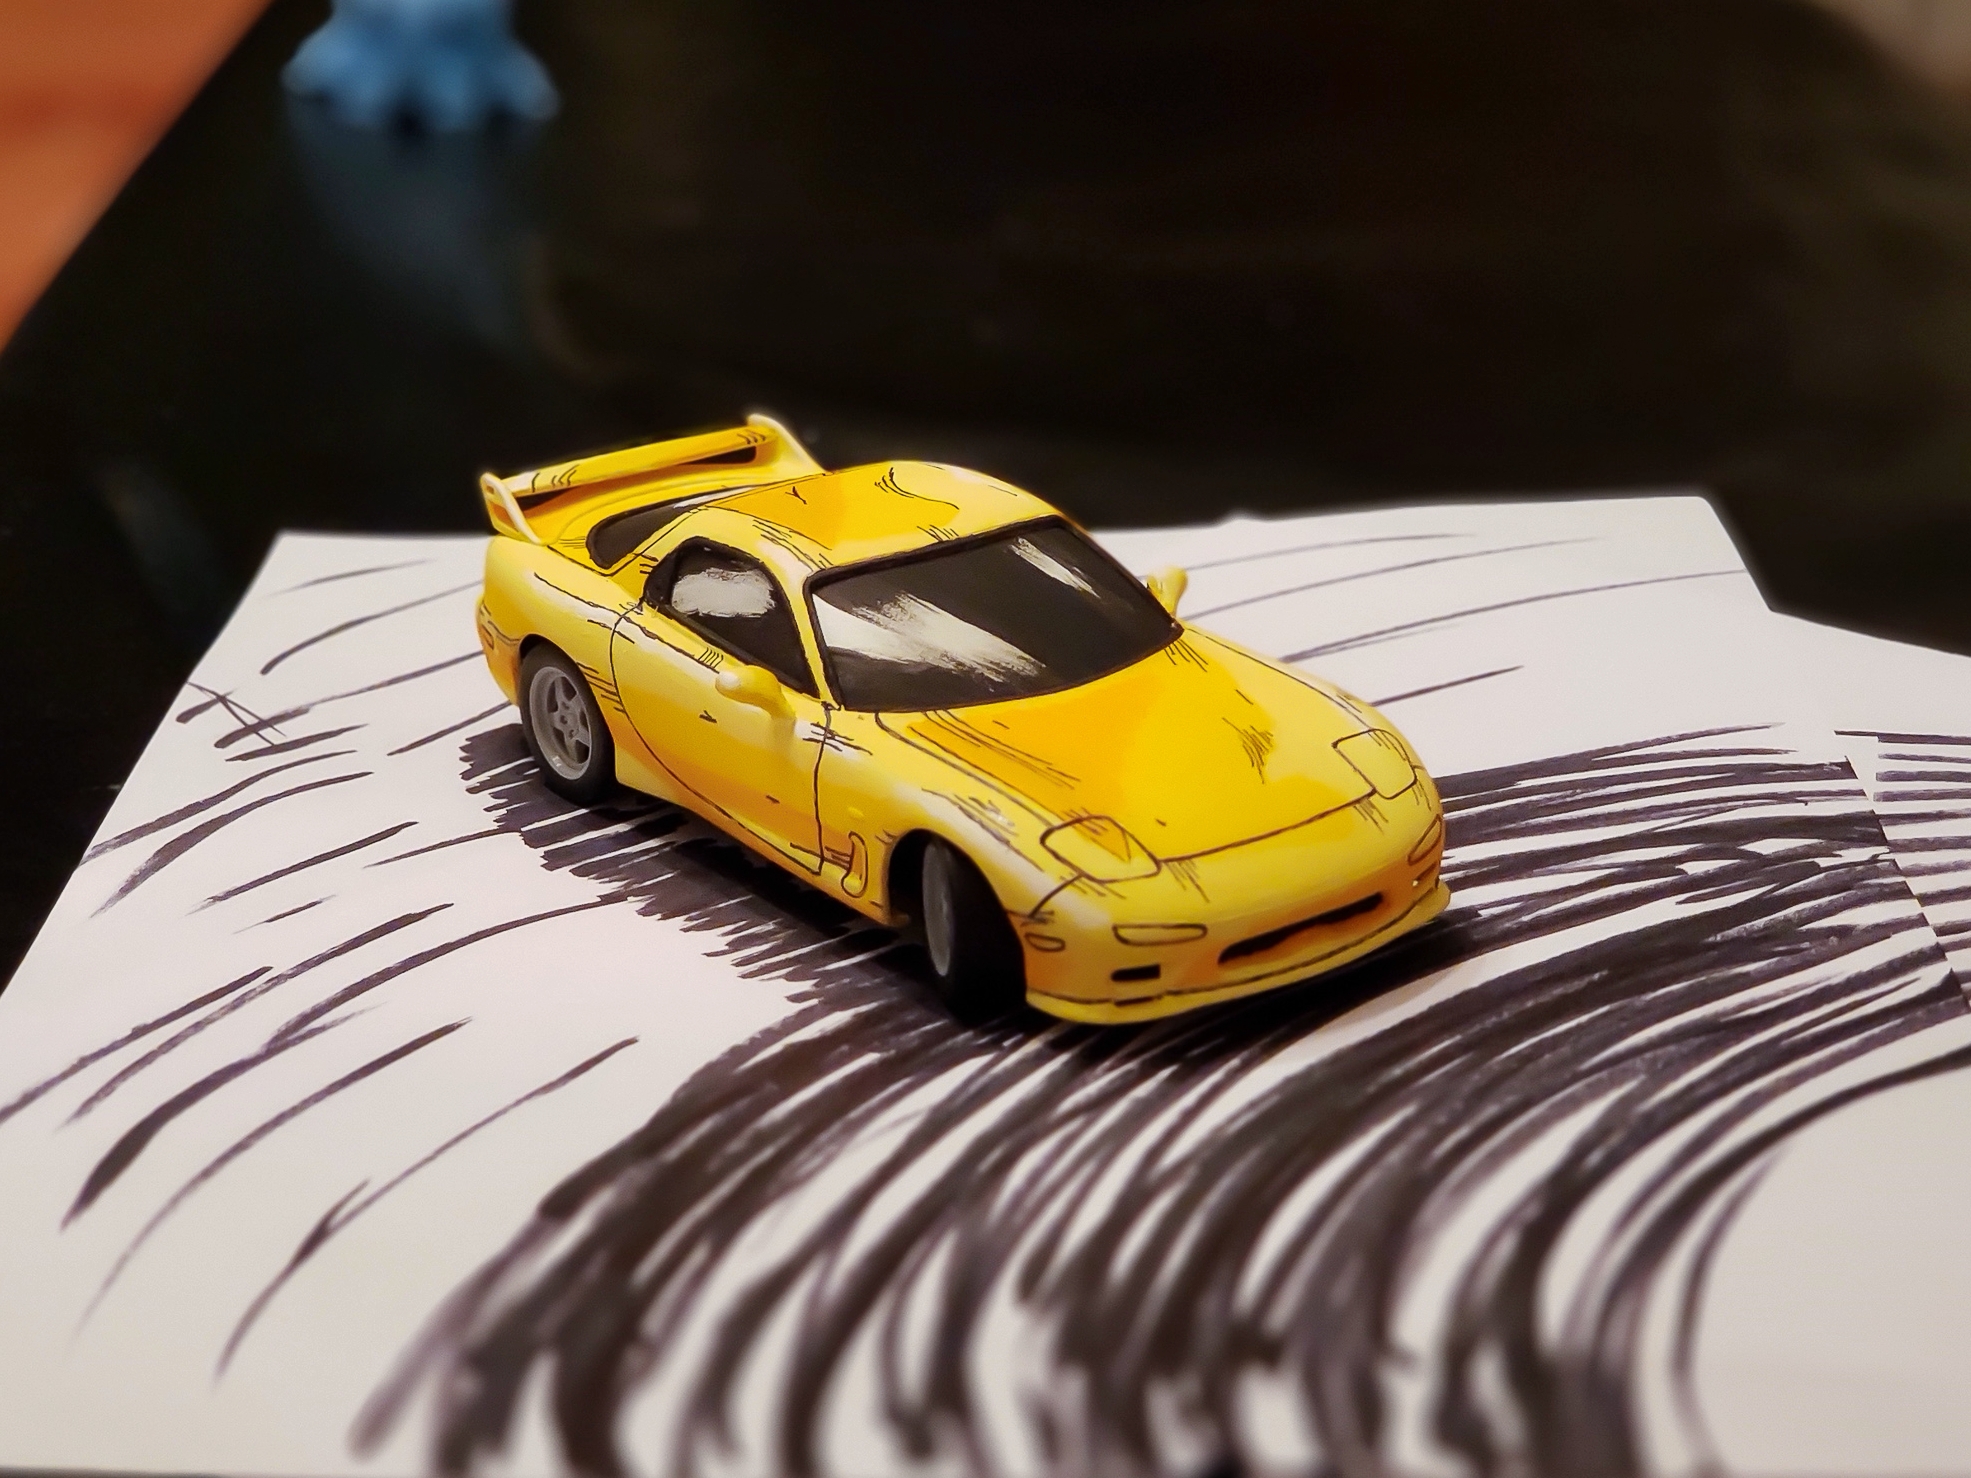
Then I came in with the hard lines to create some dimension for the body shape. Implied glare on the windows and some shadow on the tires and wheels finished the look. I sprayed a matte clear coat over the entire model so that it would look like paper and wouldn't create its own reflections.
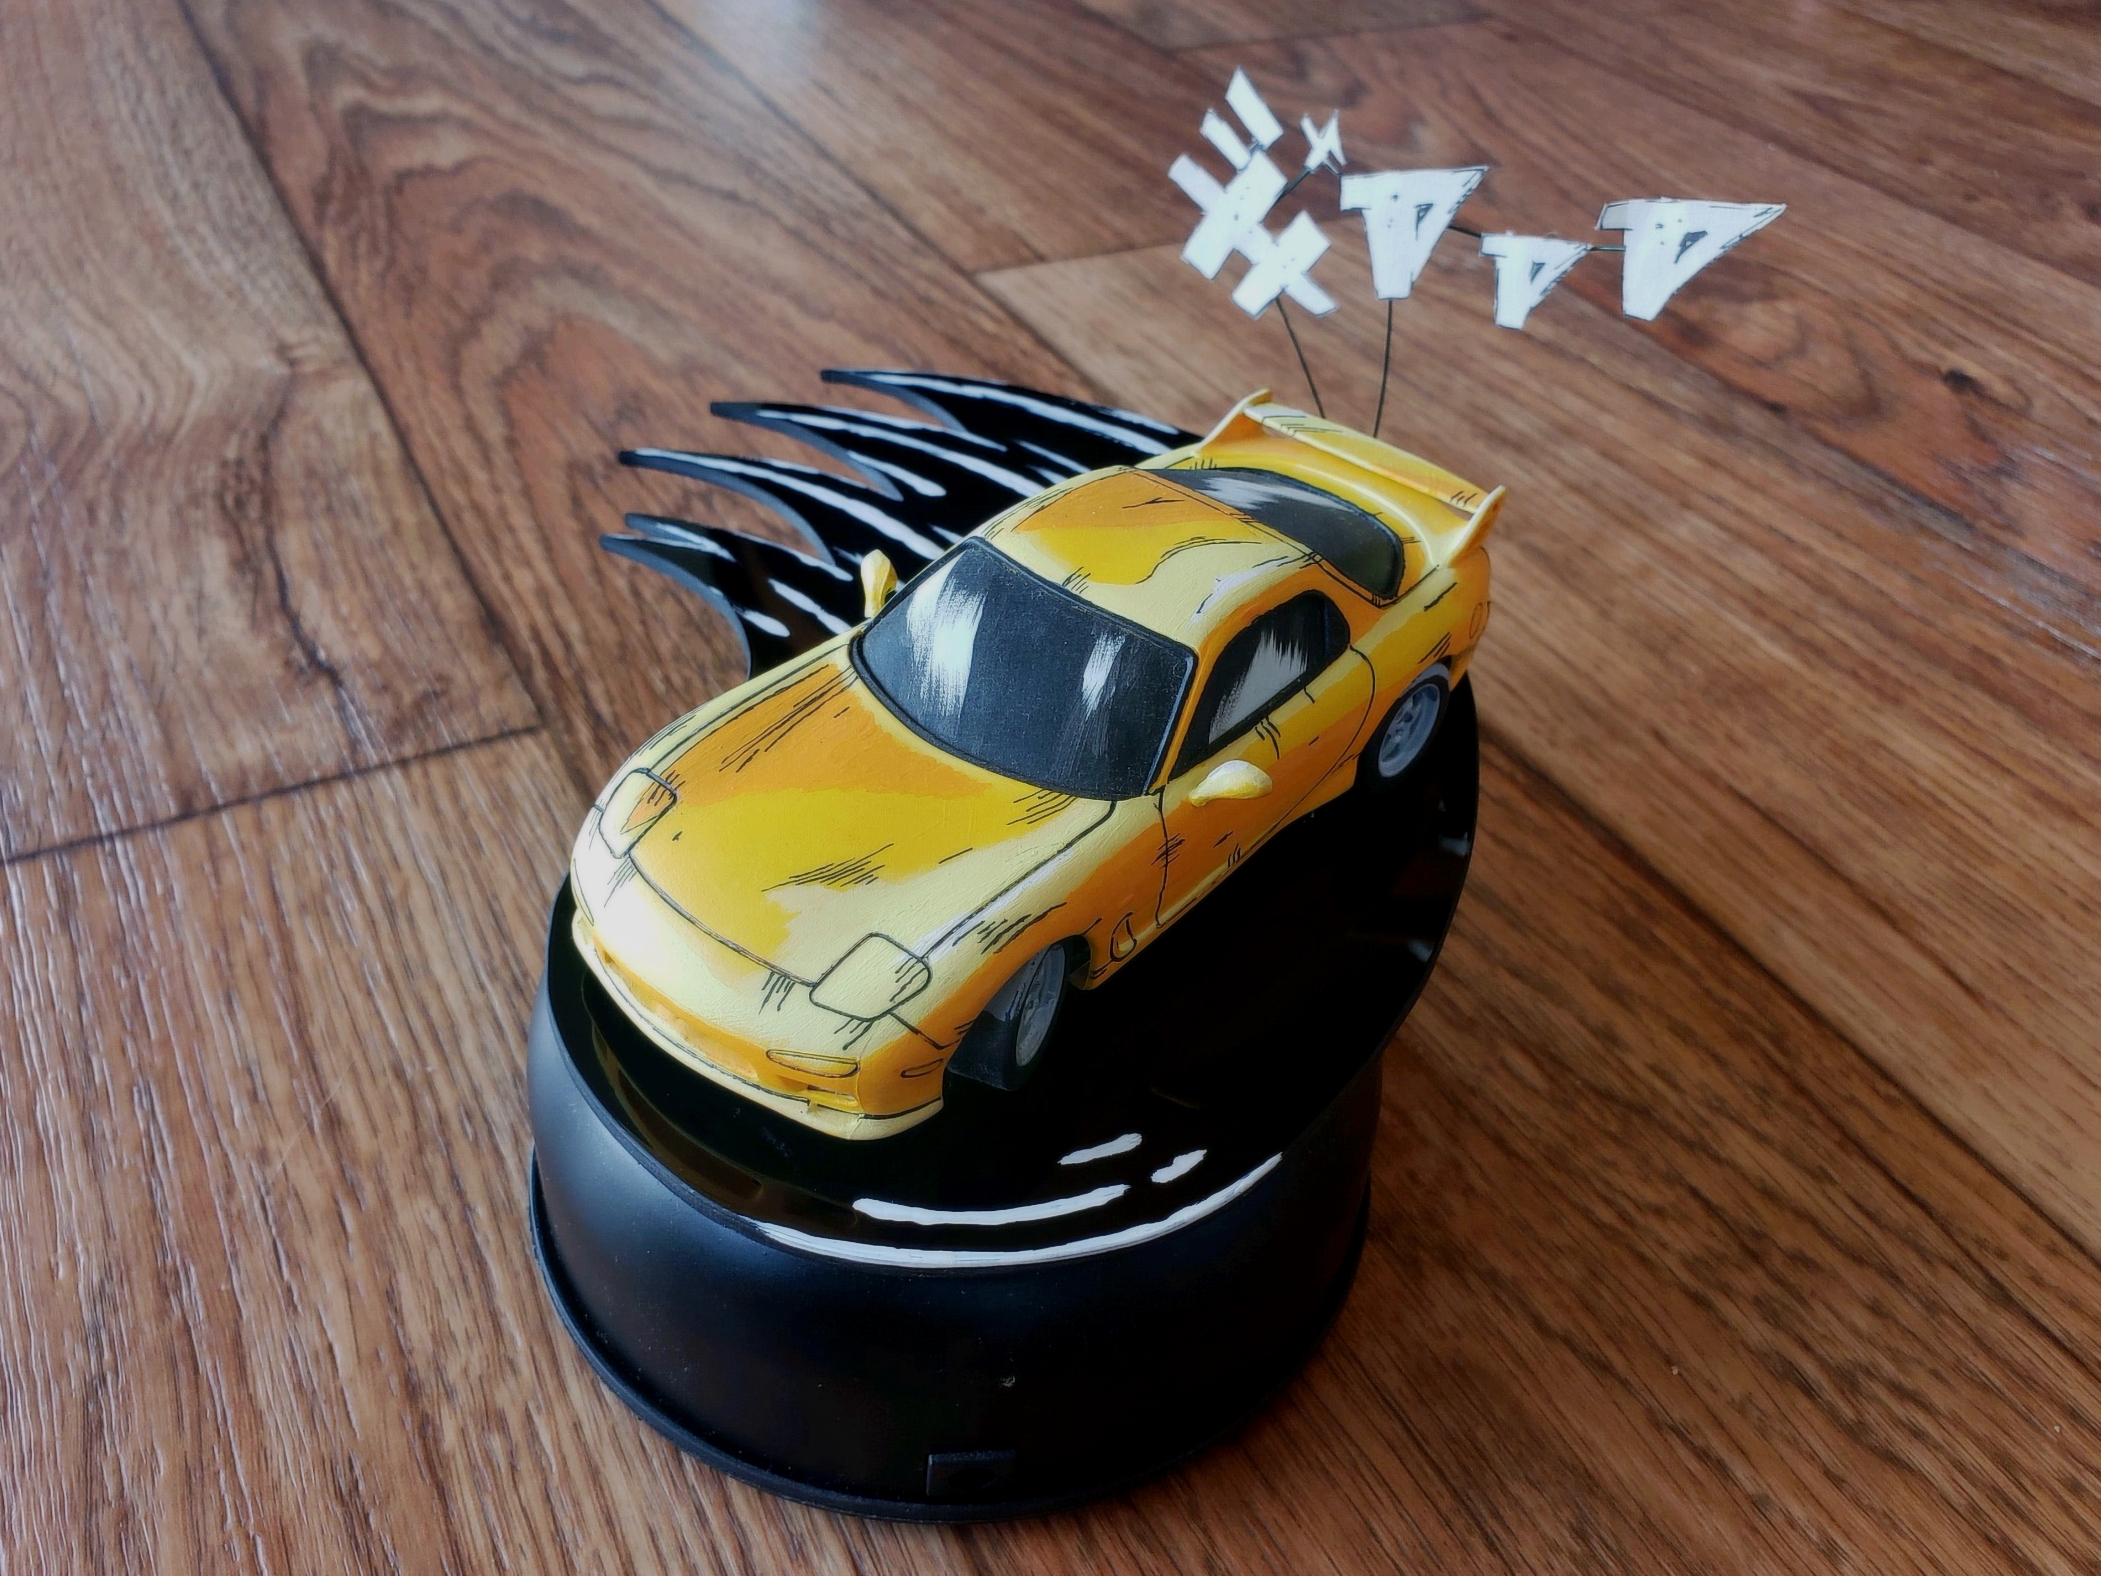
I prototyped and modified a stand for the car that used an inexpensive rotating display to look like the car was drifting to provide a bit of action. I often prototype with old cardboard, so I tested a couple shapes before moving to cut the final shape out of black acrylic.
Some white paint on the cut acrylic added a sense of motion. I cut out a sound effect of drifting from a page from the manga. I used some wire to hold the paper pieces in the correct orientation and then glued this to the underside of the black acrylic. I had a drifting RX-7 straight from the pages of Initial D!
Under the Hood
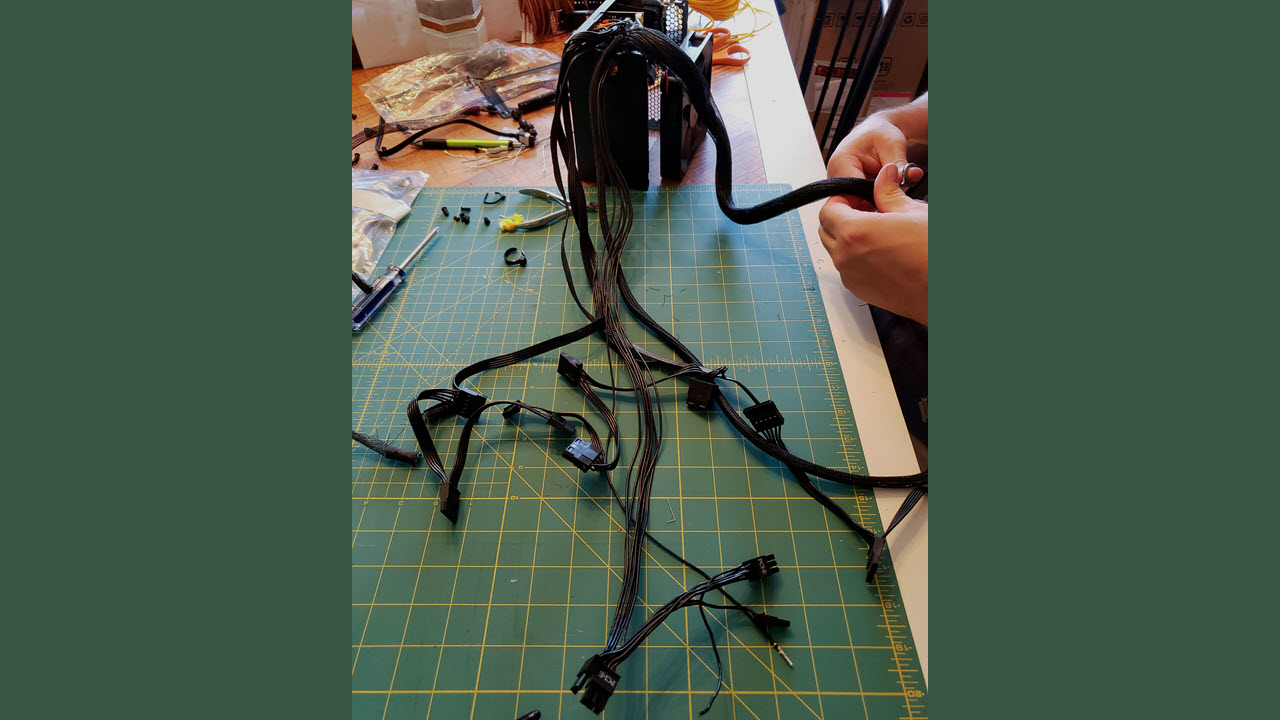
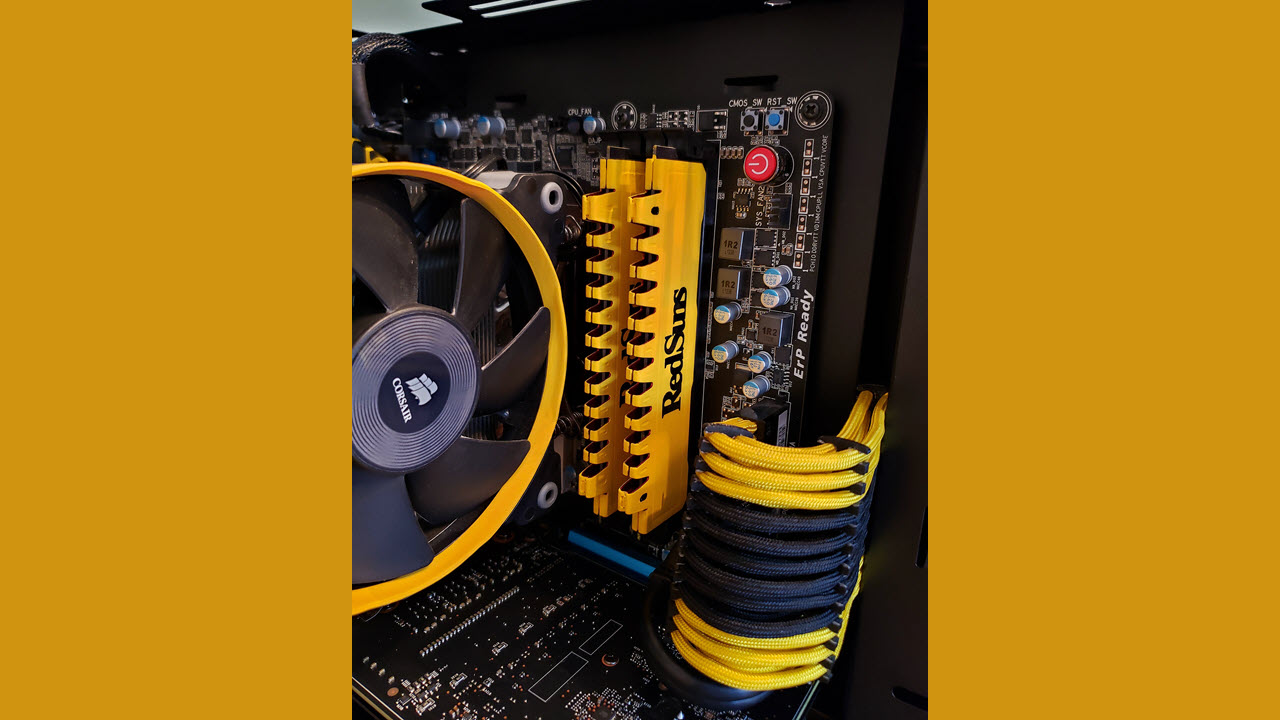
This was a super low budget build, so I went to an army surplus store and grabbed a few dollars’ worth of paracord in yellow and black for custom sleeving. I did not have a modular power supply so I de-pinned the connectors one wire at a time and slid on my sleeving. This is hours of work and a laborious process.. It is rewarding to do it yourself, but I understand why people buy pre-made sleeved cables!I also sleeved the motherboard and GPU cables. My power supply wires were black so the others. with proper routing. disappeared into the build well.
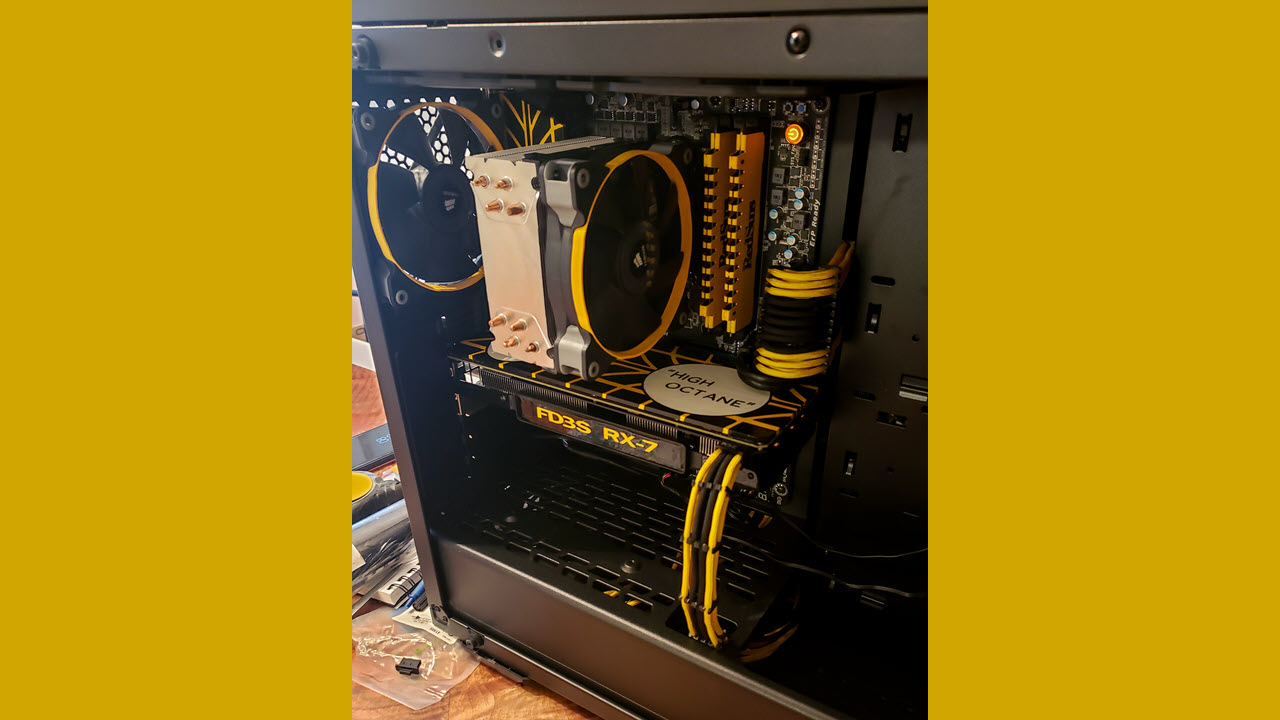
I had two Corsair fans with removable color rings, so I pulled those rings off and painted them with the same yellow paint I have been using throughout the build. I know it can be a little controversial, but paint also went onto the RAM heat sinks. My wife has a small vinyl cutter, so I cut out some black stickers with the Red Suns font. (The Red Suns are the drift team in the manga that Keisuke Takahashi and his RX-7 are a part of.) I like adding details like this into the build — Stuff that only dedicated Initial D fans would know.
Get Tom's Hardware's best news and in-depth reviews, straight to your inbox.
I wanted a backplate for the GPU and a small shield to hide the rear I/O on the motherboard, so I cut two pieces of acrylic to fit these spaces and. painted them both the matching yellow. I then printed some tire tread patterns on paper and cut out the shape to make a stencil for spray painting. With some black spray paint I sprayed the stencil to get a tire tread pattern. This was all I wanted for the motherboard I/O cover, but I wanted something extra on the GPU backplate. I cut a couple more stencils from paper in speech bubble shapes and painted two areas white where I planned to include a quote from Keisuke Takahashi: "Fill 'er up. High Octane."
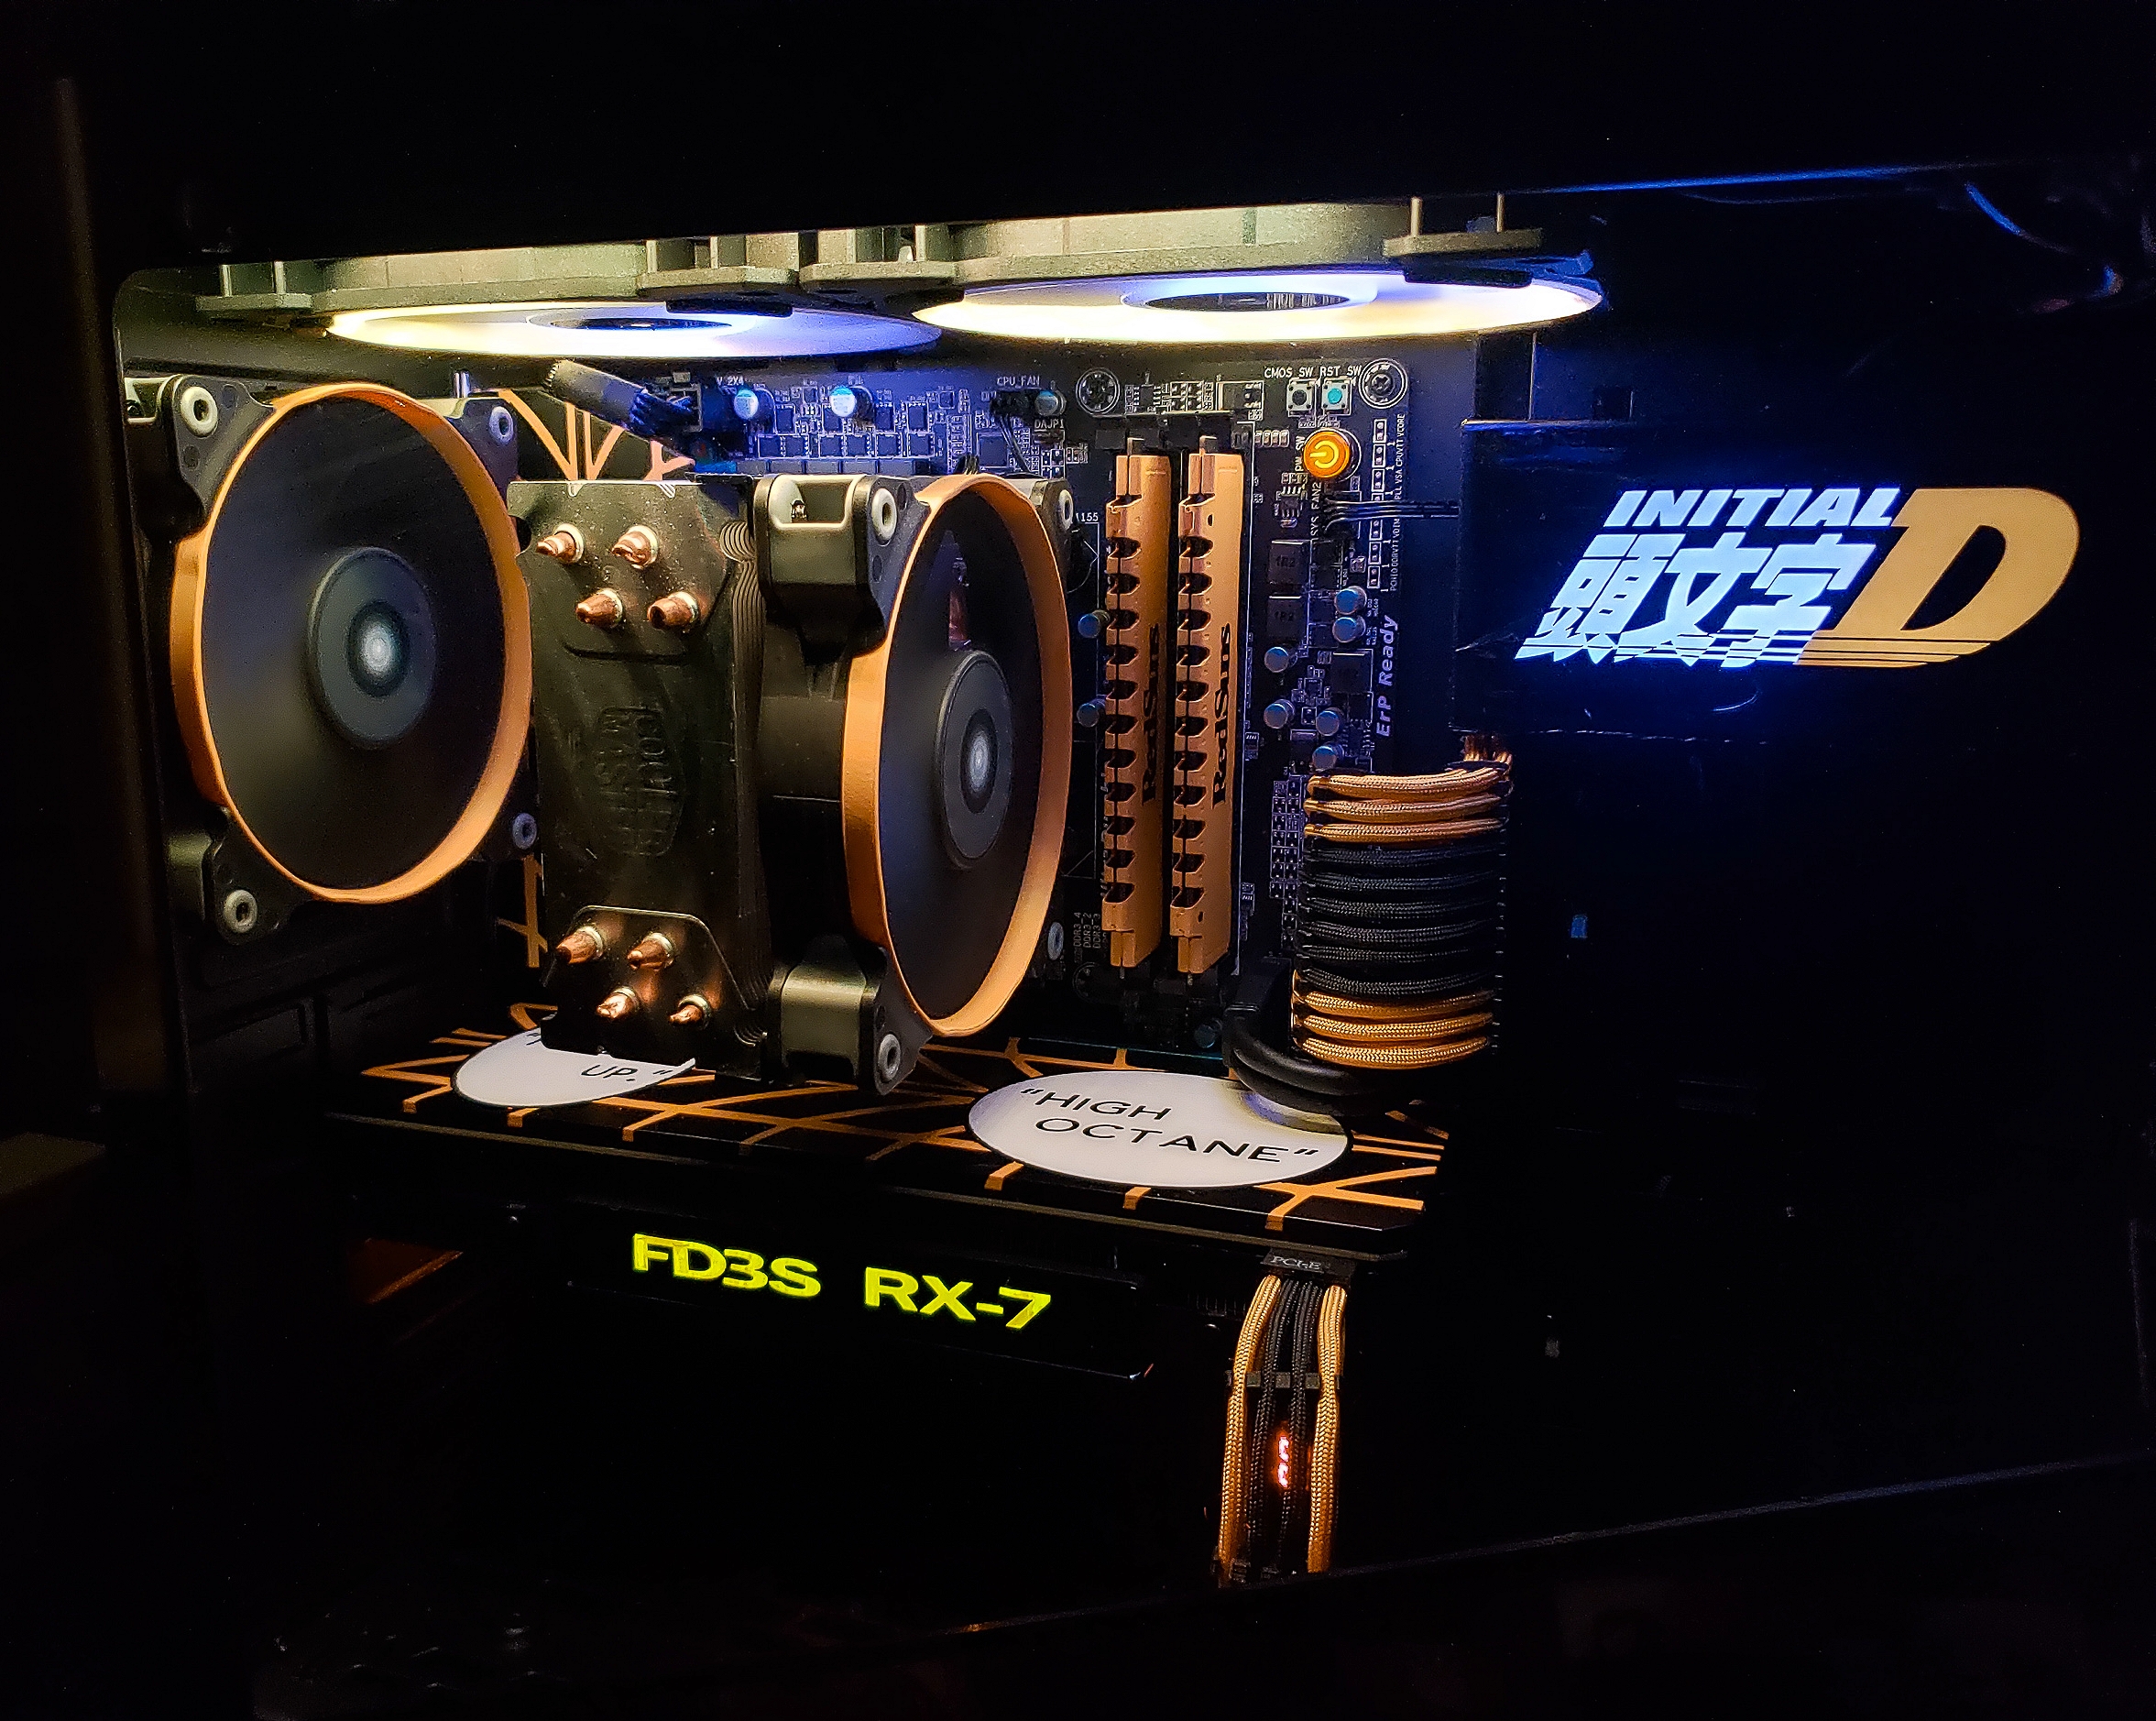
The last detail on the GPU was changing the lighting. The card is an EVGA Nvidia GeForce GTX 1060 and the side had a white LED backlight that highlighted the manufacturer and card model. I removed what is essentially a very thick sticker to uncover the LED backlight. I then measured that sticker and made my own from black vinyl. I cut out "FD3S RX-7", the complete car model from the vinyl.
There were two pieces remaining that I needed. Both were lighting-related as the build was a little dark still given the DG-77’s tinted side panels. The first was a simple purchase of two Corsair RGB fans that would go at the top of the case to provide some yellow and white light. The second was a billboard of sorts for the name of the manga. I created a small paperboard box that was wide enough for LEDs along the bottom and painted it box matte black so it would disappear in the case.. I lined the little box in aluminum foil and glued a strip of white LEDs along the bottom, running the wires out the rear. I cut the Initial D logo from black vinyl and stuck this vinyl to clear packing tape. This way, both the area inside the cutout and around the edges would all be sticky. I mounted this in the upper-right portion of the case where there would otherwise be nothing of interest to look at through the side panel.
Finish Line
Last but not least was some yellow paint on the screws for the side panels and the case mod (Revision 1, anyway!) was complete!
I am pleased with the result of my first attempt at case mod, and I feel it embodied the theme perfectly while looking professional. I also learned a few ways not to do things!
Remember that this mod was done for just a couple hundred dollars. Modding is a unique art form where even mediums like paper decoupage and some acrylic paint can have a fantastic effect and help create a PC that is truly yours.
-
artk2219 It looks good! You could have also used that $200 for an i7 3770k and another 8GB of ram, or a better cpu, ram, mobo combo in general though ;)Reply
