How Initial D Manga Inspired My First PC Mod
My first mod was inspired by the manga Initial D and was done on a small budget.
Get Tom's Hardware's best news and in-depth reviews, straight to your inbox.
You are now subscribed
Your newsletter sign-up was successful
My first case mod started when I prepared to attend my first LAN party, PDXLAN 2019 in Ridgefield, Washington. I had seen a couple of simple mods done by others that inspired me to mod my computer before attending. I opted for a very low budget build with a few older components, handmade parts and only using simple tools like scissors, razor blades and paint.
The concept came from my enjoyment of Initial D, a Japanese street racing manga series. More specifically, I liked the yellow Mazda FD3S RX-7 driven by the character Keisuke Takahashi. I decided that the color scheme for mod would be black and white like the manga with yellow highlights for the car.
Components List
| CPU | Intel i5-3570K |
| Graphics Card | EVGA GeForce GTX 1060 6GB SSC |
| Motherboard | Gigabyte Z77X-UD3H |
| RAM | 8GB G.SKILL Ripjaws F3-12800CL9S-4GBRL |
| SSD | Samsung SSD 860 EVO 1TB |
| Cooling | Cooler Master Hyper 212 Evo and Corsair LL Series RGB Fans |
| Power Supply | EVGA 650 |
Body Work
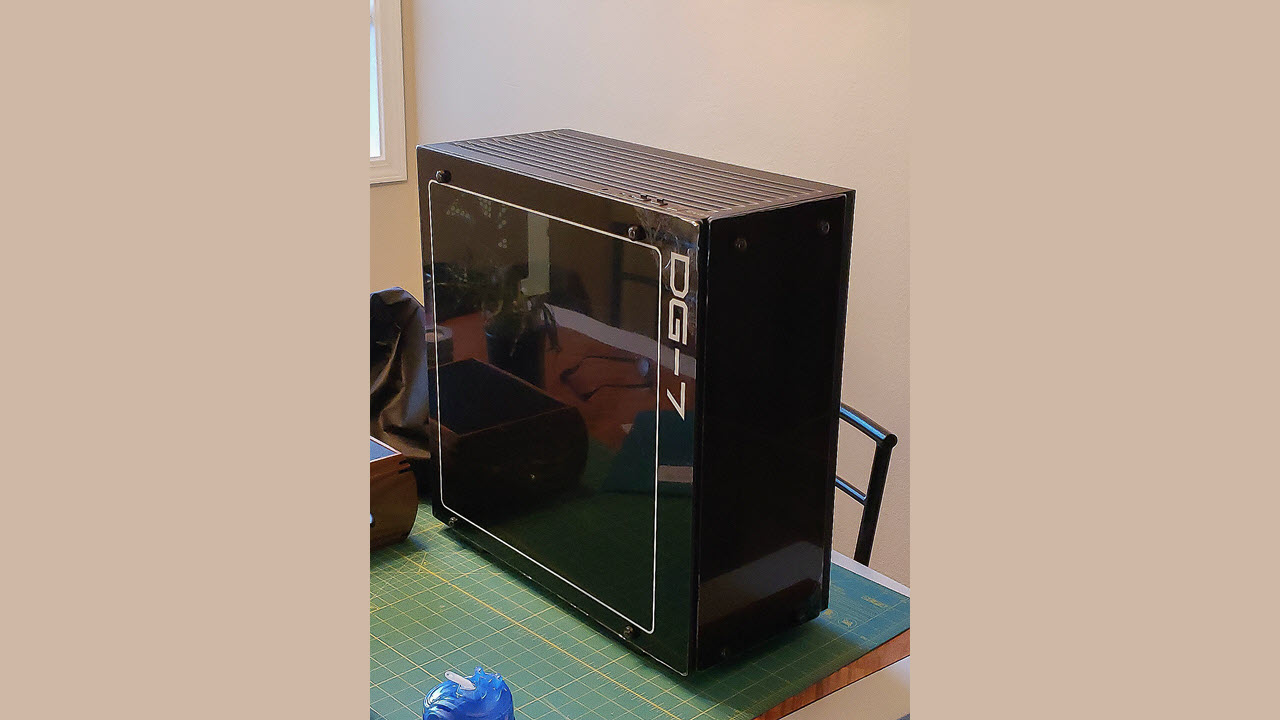
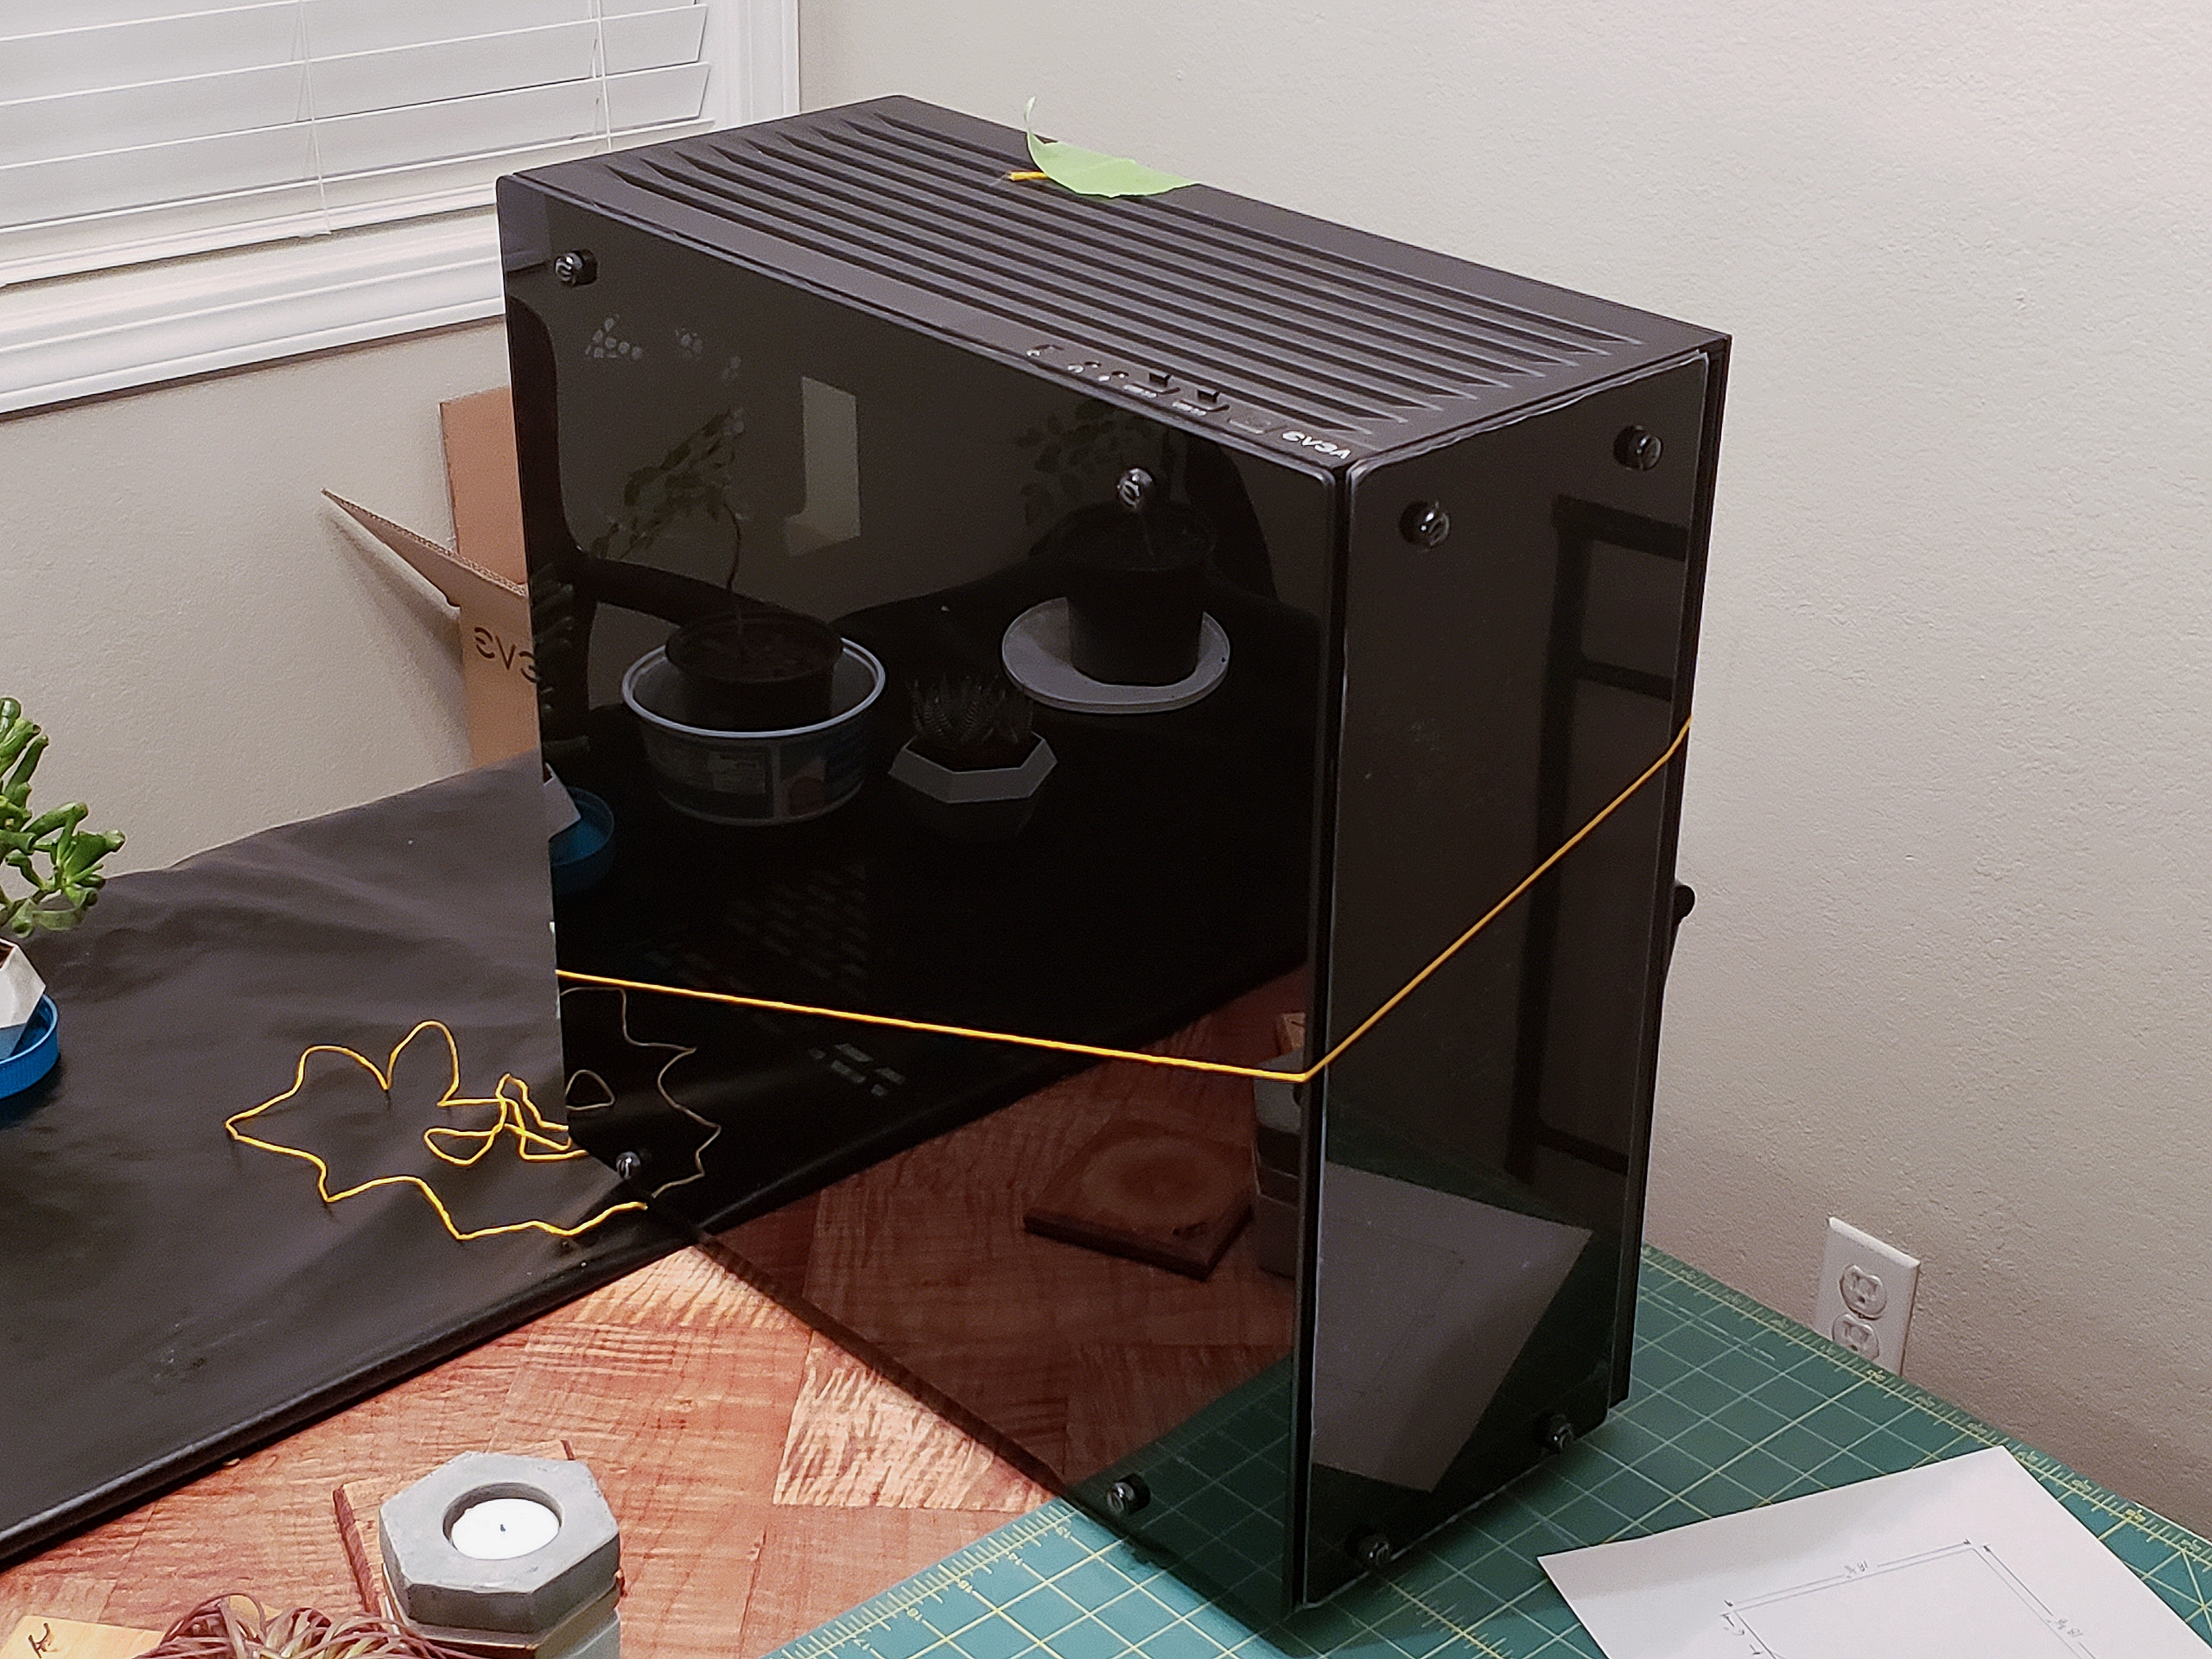
Set on having Japanese manga incorporated into my build, I sourced several books which I knew had the RX-7 in them. My idea was to create side panels consisting of interesting scenes from the manga featuring the RX-7, and these would be easiest to apply if the computer case had relatively flat panels that I could fix these panels onto. With that in mind, I settled on the black EVGA DG-77 as a fitting case given its flat panels and tempered glass side. I removed the paint on the tempered glass with a razor blade and was left with a perfect canvas.
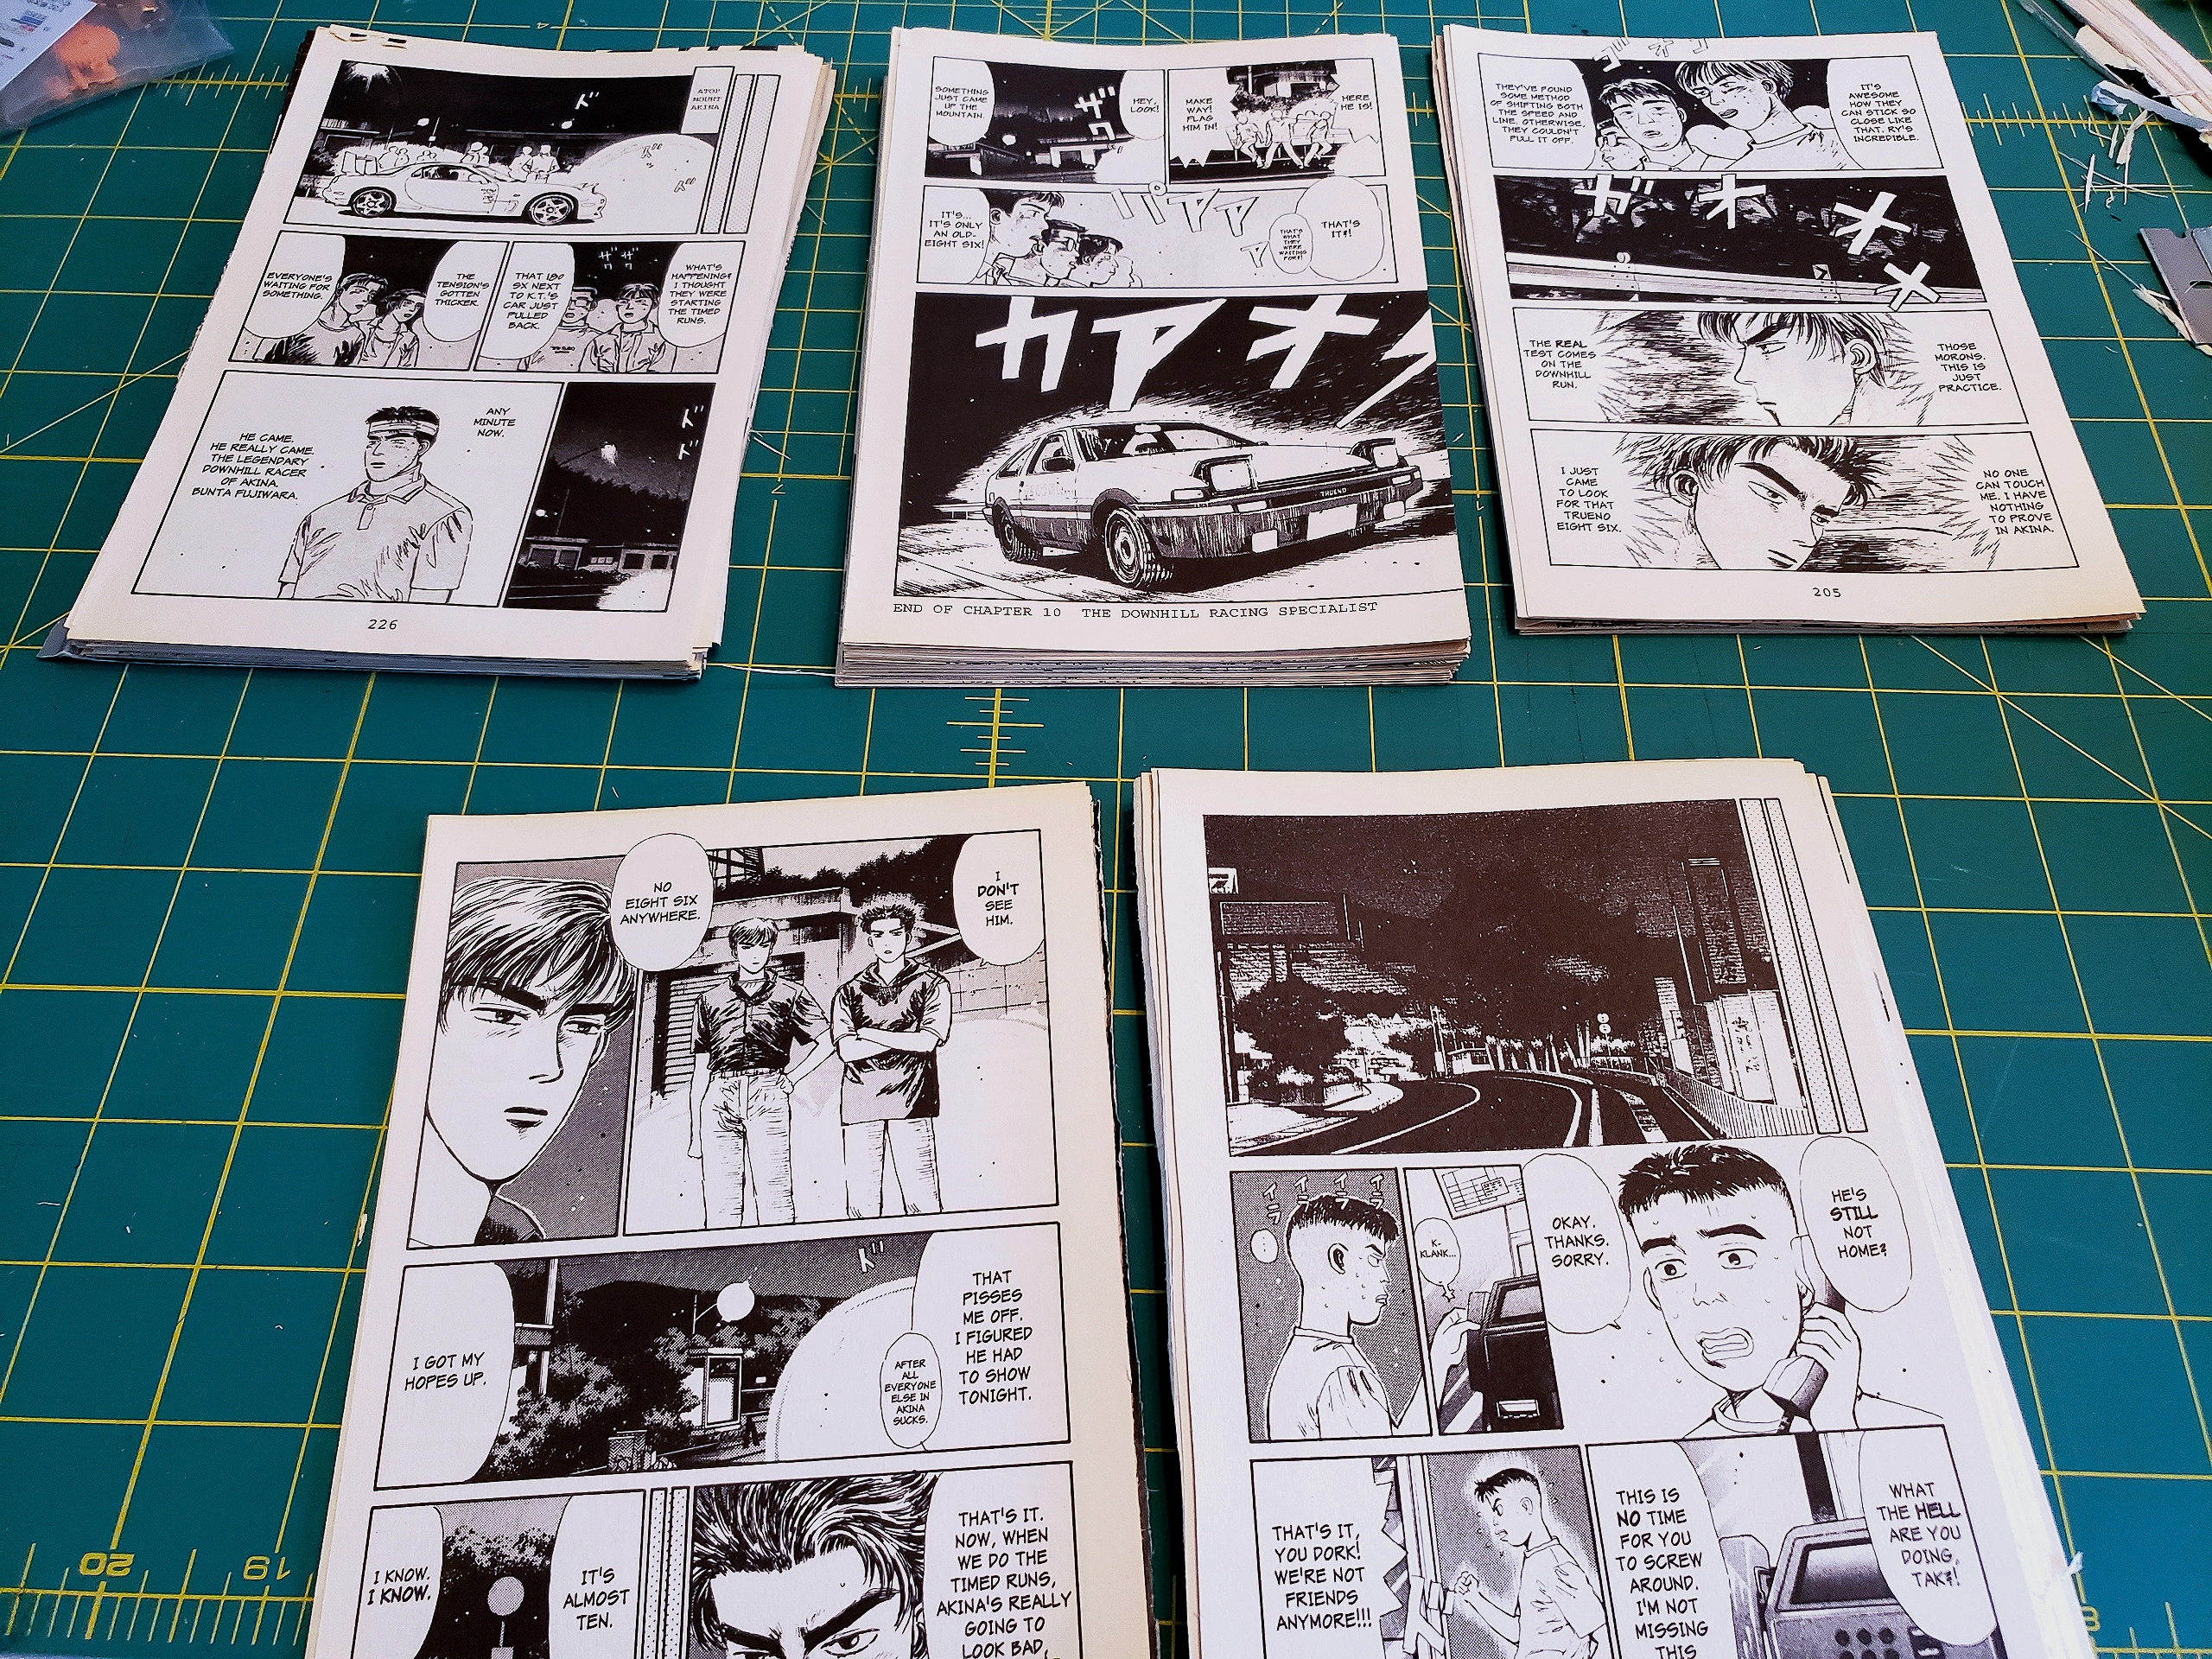
I cut down the manga volumes into individual sheets and sorted them into several piles based on what was on the page: Pages I liked, those with the RX-7 on them, backgrounds, funny character scenes, etc.
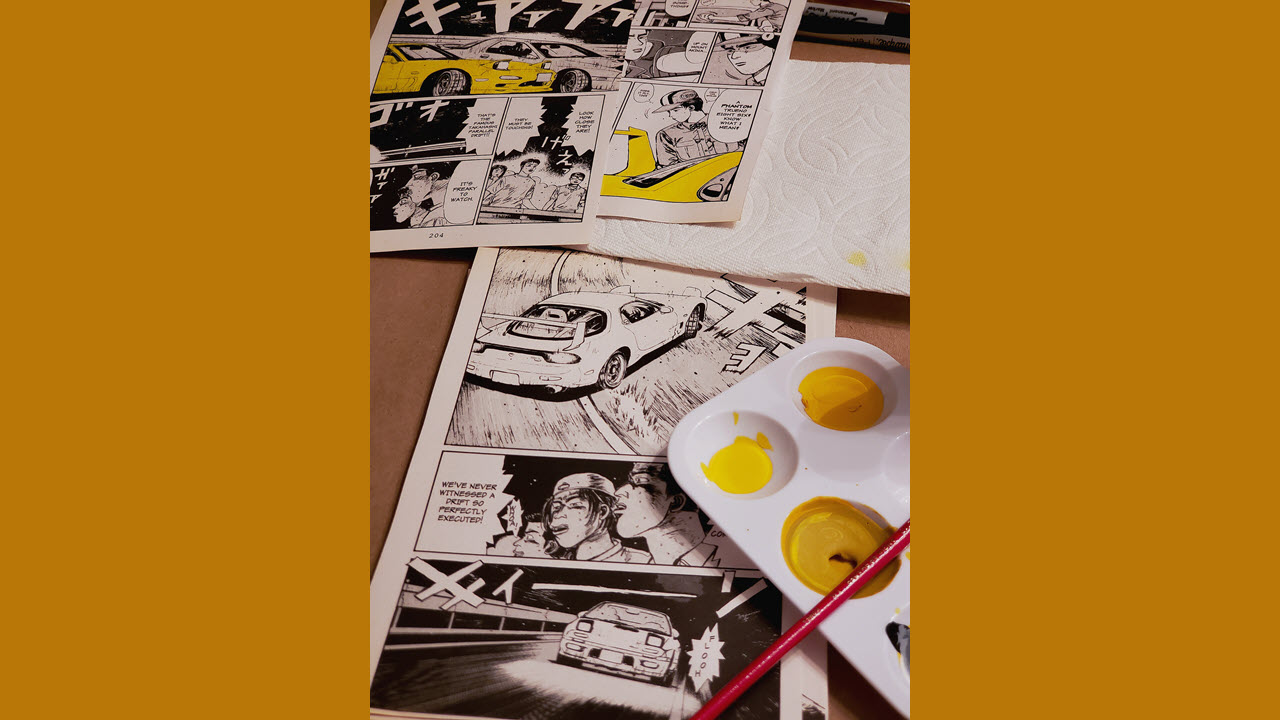
I took a trip to my local big box store and grabbed inexpensive bottles of acrylic paint in several shades of yellow that looked like they might match the color I wanted. (I have learned through experience that the paint bottle is rarely accurate to the color once it dries.) I put a glob of each paint on some paper and let it dry before picking the winner. I then took the pages of manga with the RX-7 on them and hand-painted each car yellow.
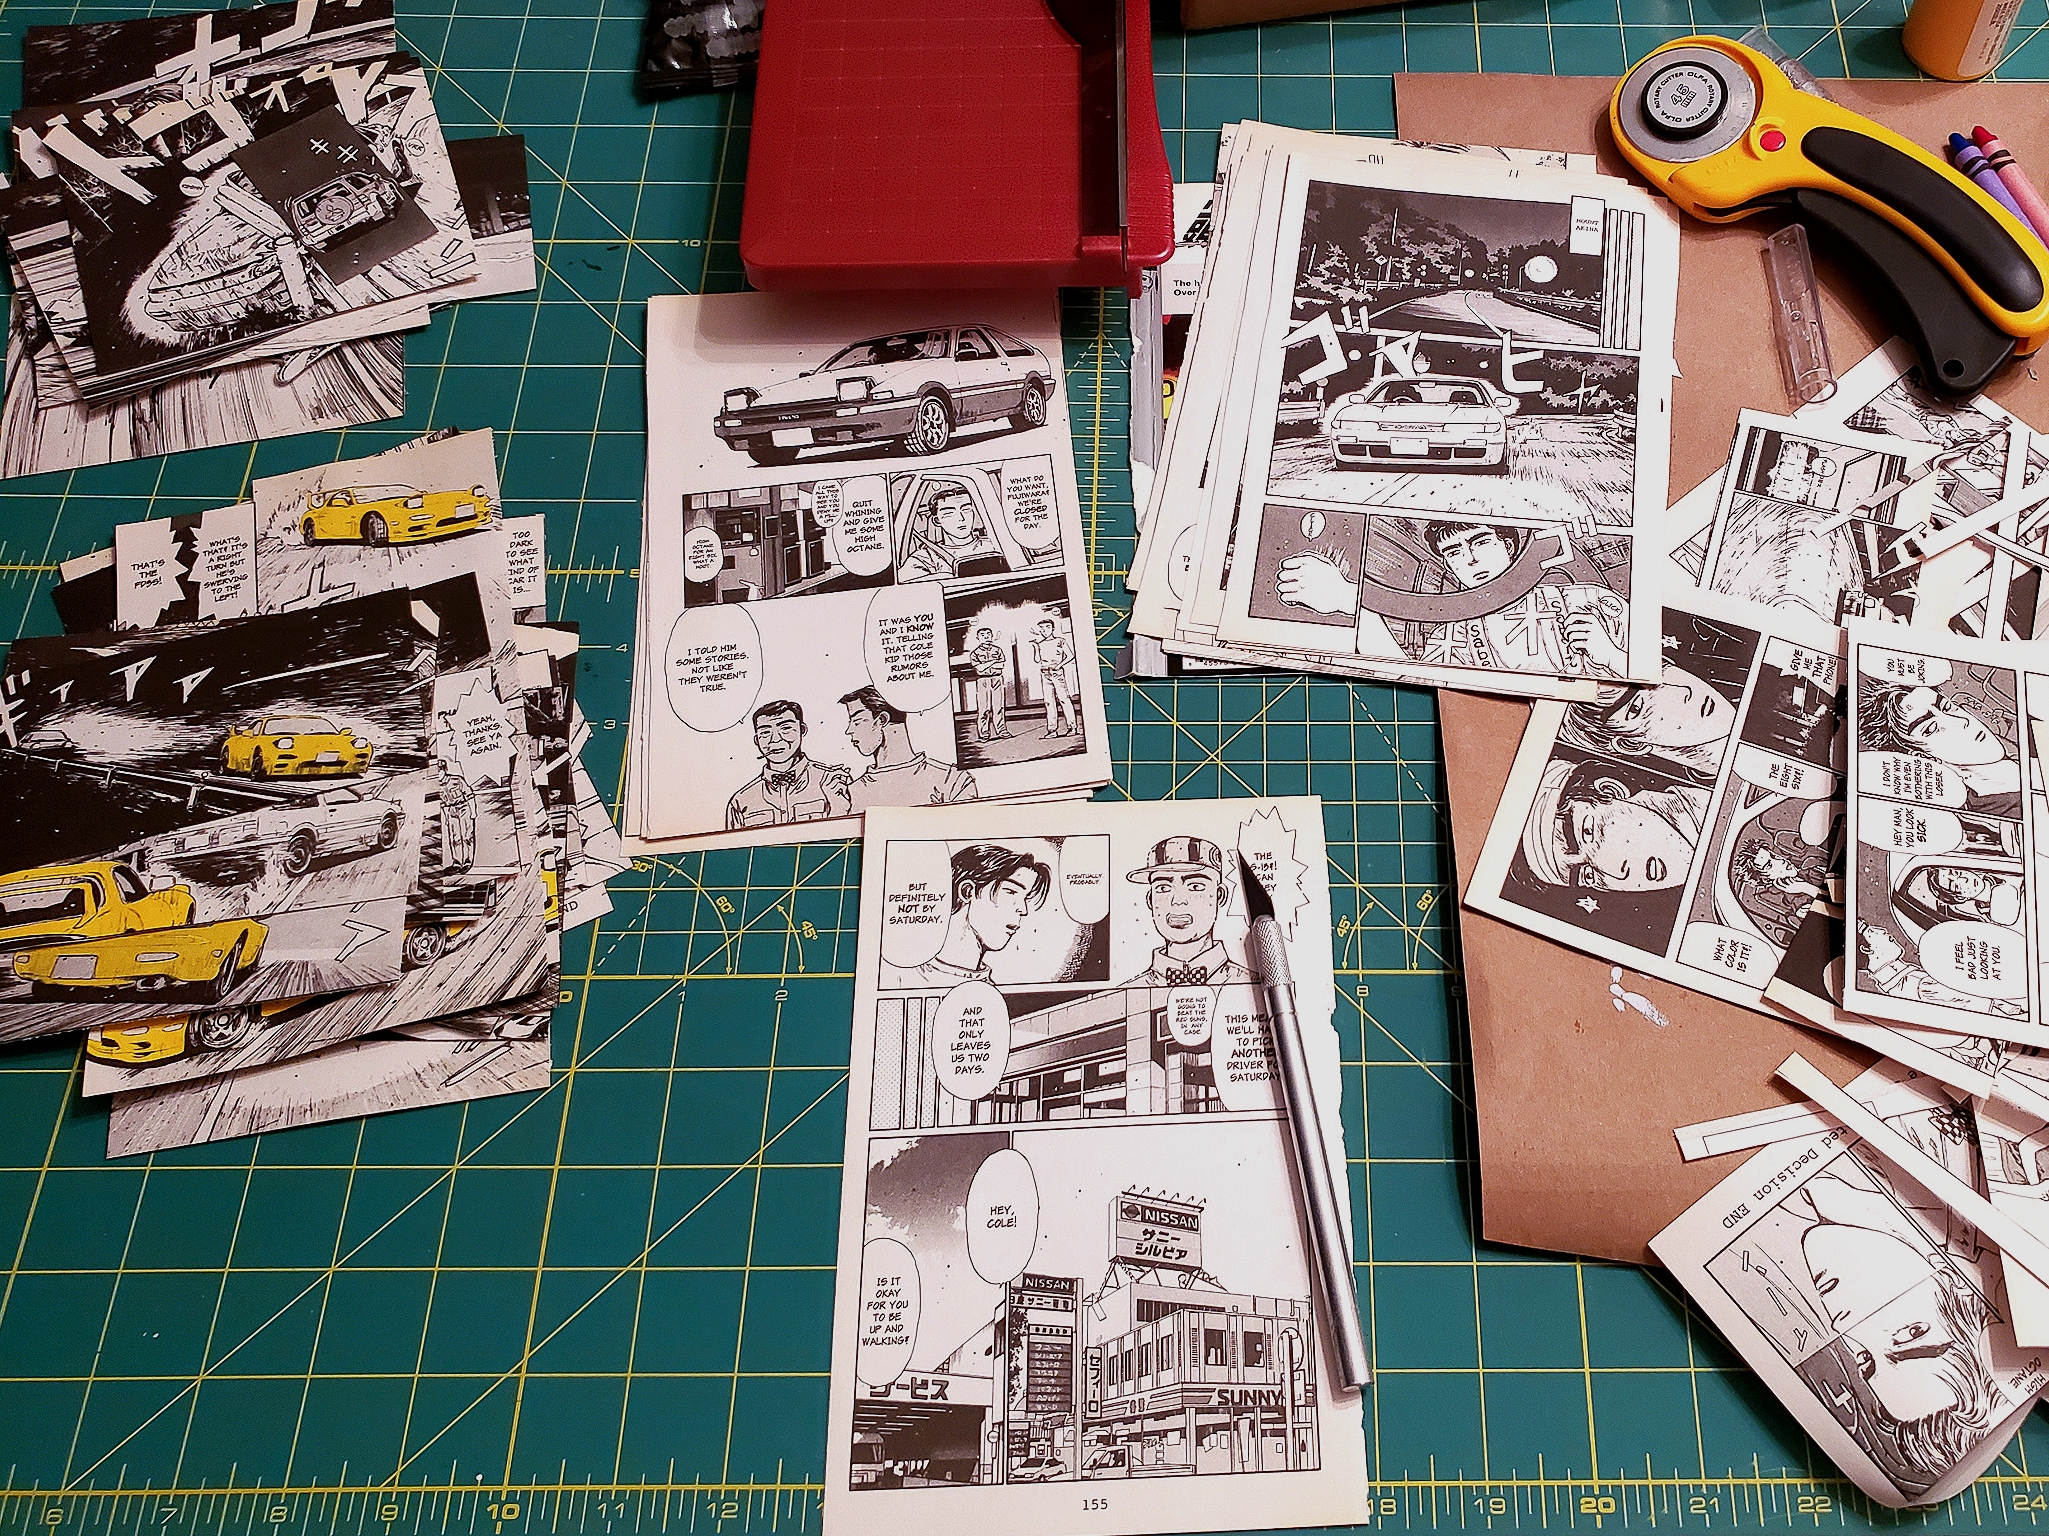
I didn’t want all the scenes on each page; I only wanted the very best or most fun ones. So, I cut out each scene, text, car or character from the pages with an exacto knife. This was definitely time-consuming, but the result was better than I could have hoped for, as the finished panels were made up of all my favorite parts!
In most manga and comic books, the panels on a sheet are separated by hard, straight lines so I wanted my panel to have a clean, straight design. I used a piece of string and some tape to test the design I had in mind. It would allow me to still be able to see inside the case and hide some areas of the case interior that I didn’t want to be visible. I took some measurements off this string and I had a rough layout for my side panels.
Get Tom's Hardware's best news and in-depth reviews, straight to your inbox.
Now the fun could begin. I got a beat-up table at a used furniture store for very cheap so that I could use the glass top as a perfectly flat surface that, after a few layers of paste wax, would prevent epoxy from sticking to it.
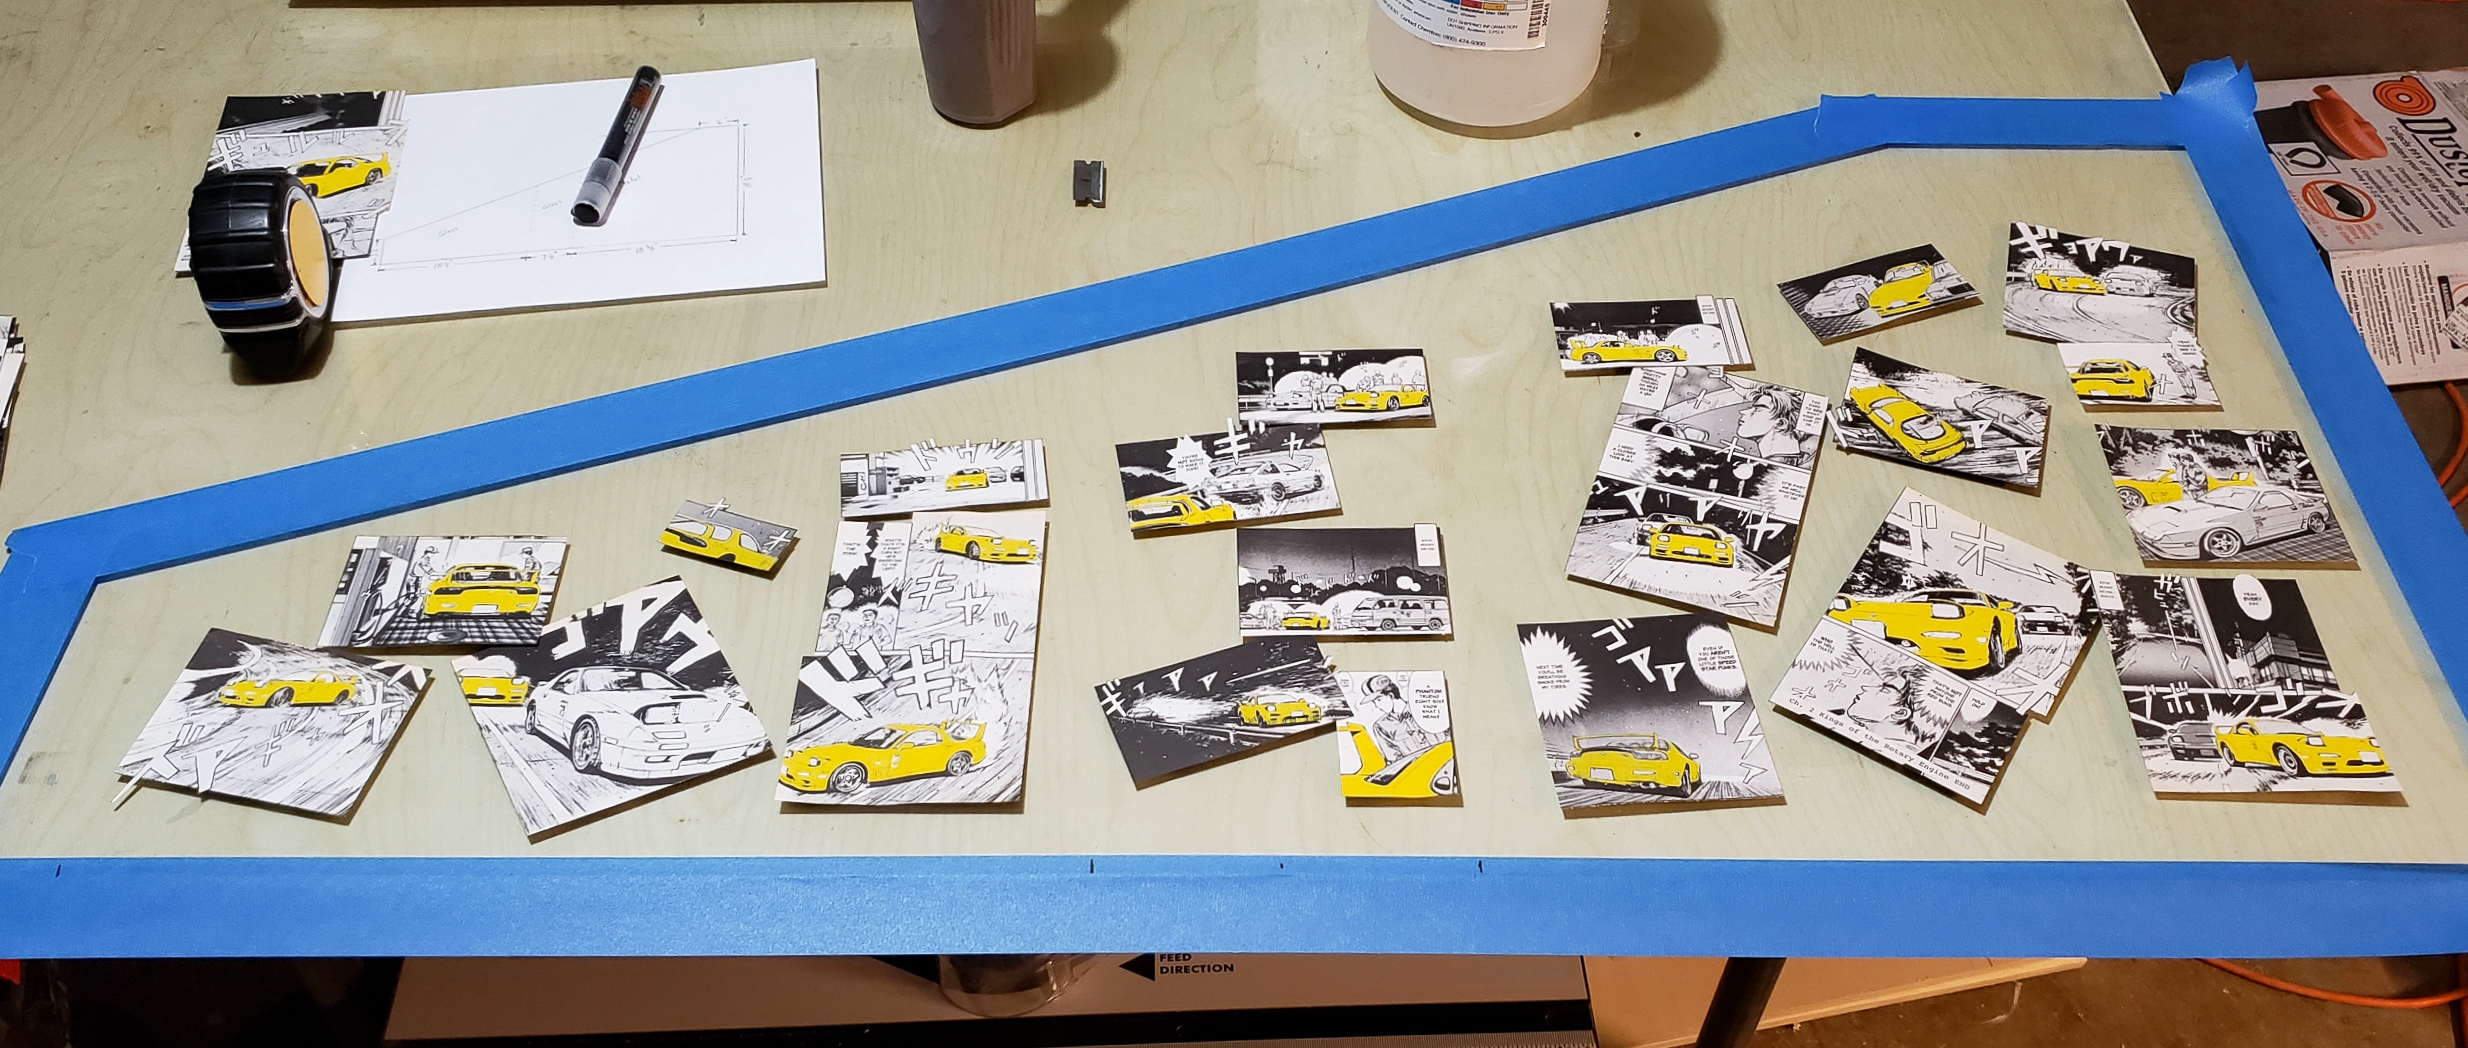
I then put blue tape down in the shape of the panel dimensions I needed, being sure to leave a couple inches of excess on all sides. After that, I could start laying out some of the manga cutouts that were painted with the yellow paint. I wanted these to be dispersed relatively evenly across the panels entirely.
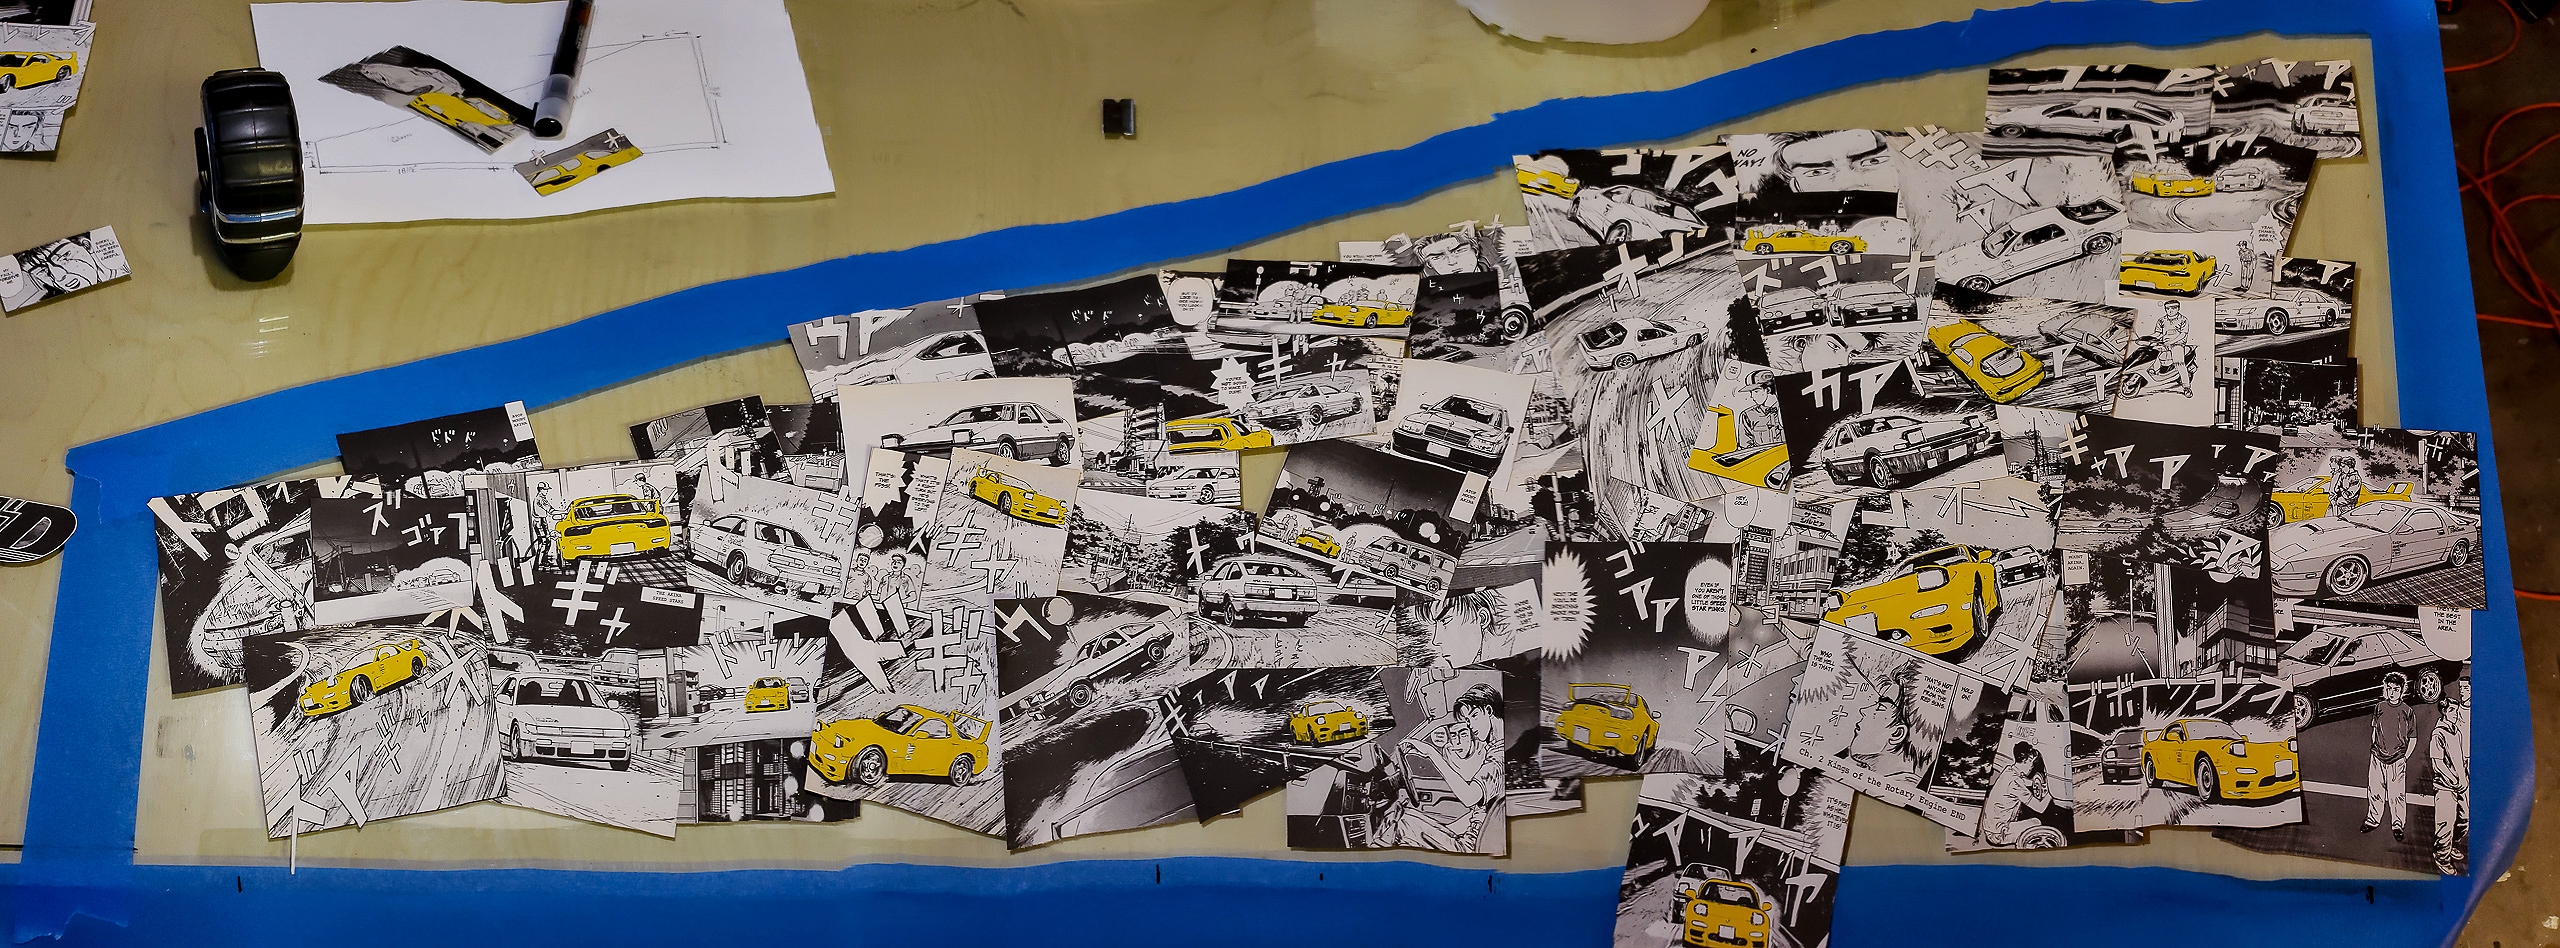
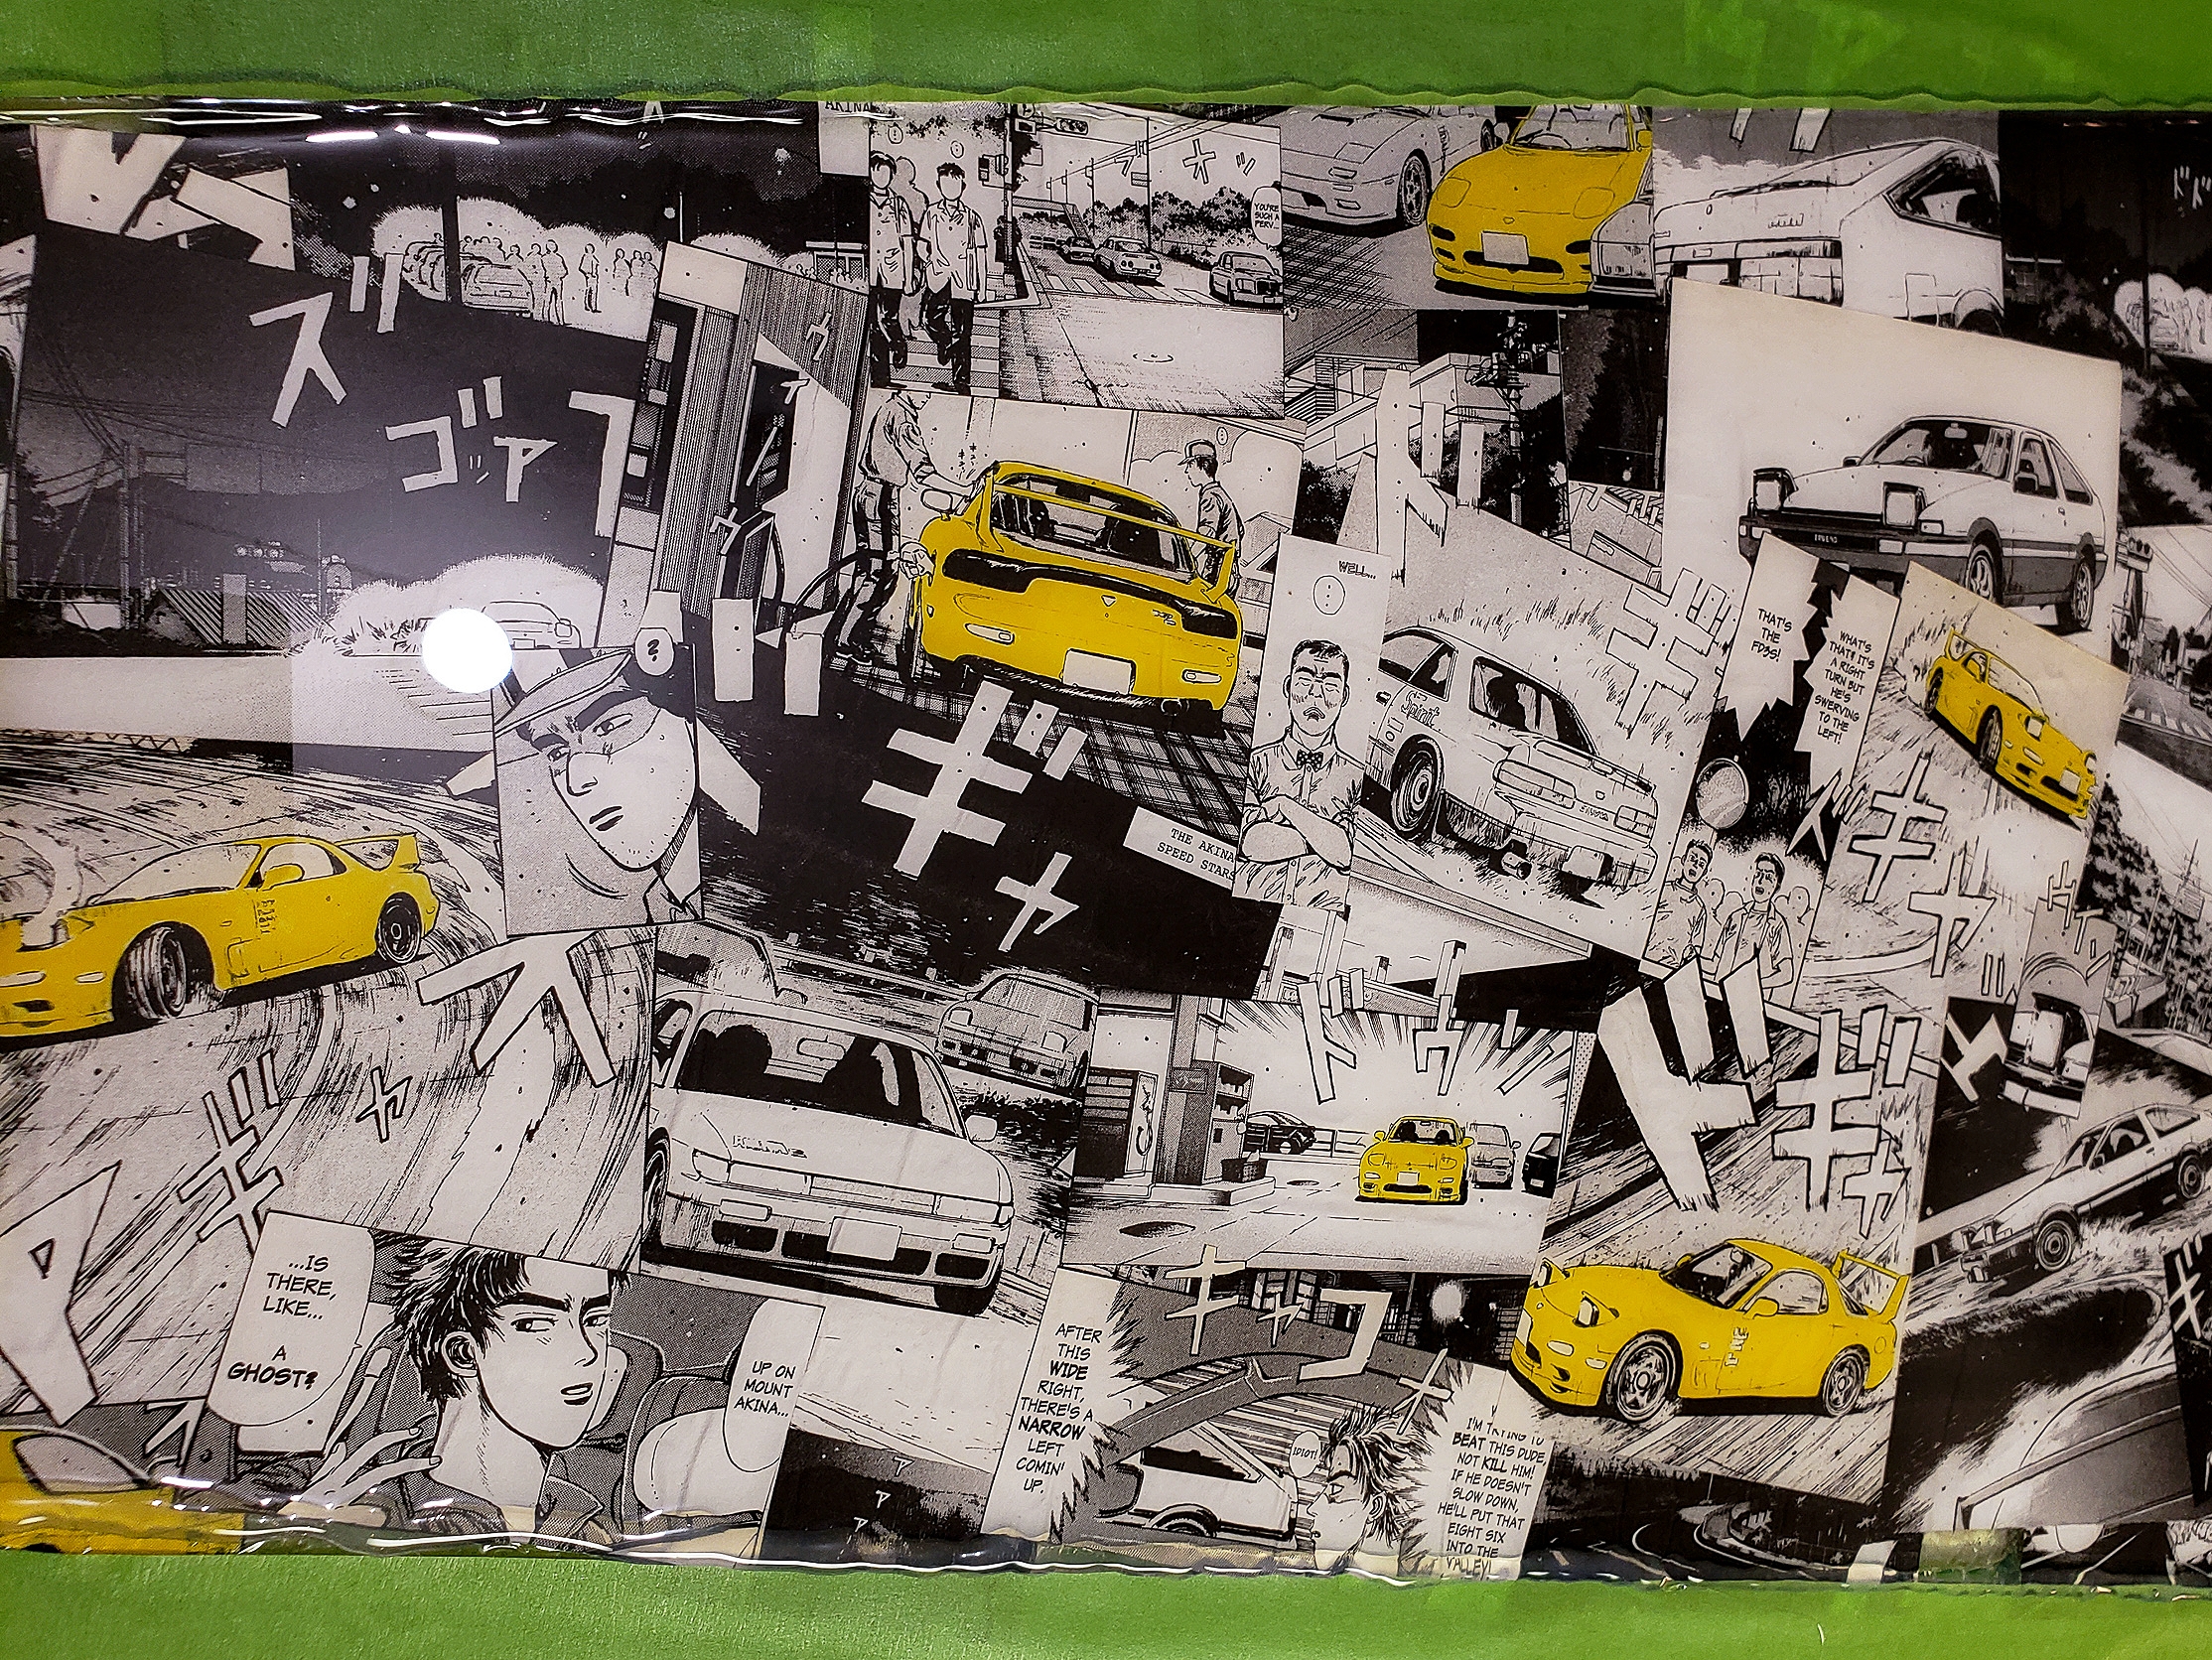
I then went through the piles of cutouts and filled in all of the empty spaces. This took a surprisingly long time before I was happy. I didn’t want any of them tipped too much or overlapping too much, so it turned into a jigsaw of fitting cutouts as efficiently as I could to fill in the empty space. But the time spent led to results that were worth the effort.
I then made a mistake that almost ruined the entire panel. In hindsight, it was unnecessary, and I should have just skipped the step. I used Mod Podge to glue the panels to one another and to seal them so they wouldn't shift around when I poured a thick layer of two-part epoxy over all the manga that I had laid out.
Mod Podge is a good glue for sealing paper projects and things like that, but I did not expect that as it dried it would create these large ripples in the thin manga paper. The goal was a perfectly flat panel and, at this stage of the project, it looked terrible. I had no choice but to push on with the project and hope the epoxy coat would cover the rippled manga. You can see these ripples clearly in a photo further down in this article.
Using a two-foot level, I leveled the table that the glass and project sat on. I planned to pour epoxy over the entire panel and, if the table were not perfectly flat the epoxy would just flow to the lowest point. This would make the panel thicker on one side than the others and might not even cover all of the manga sheets to make a perfectly smooth surface. Another trick I used was to create a dam of sorts around the perimeter of the panel with hot glue. One thick bead of hot glue around the edge would be enough to contain the epoxy I was going to pour onto the panel.
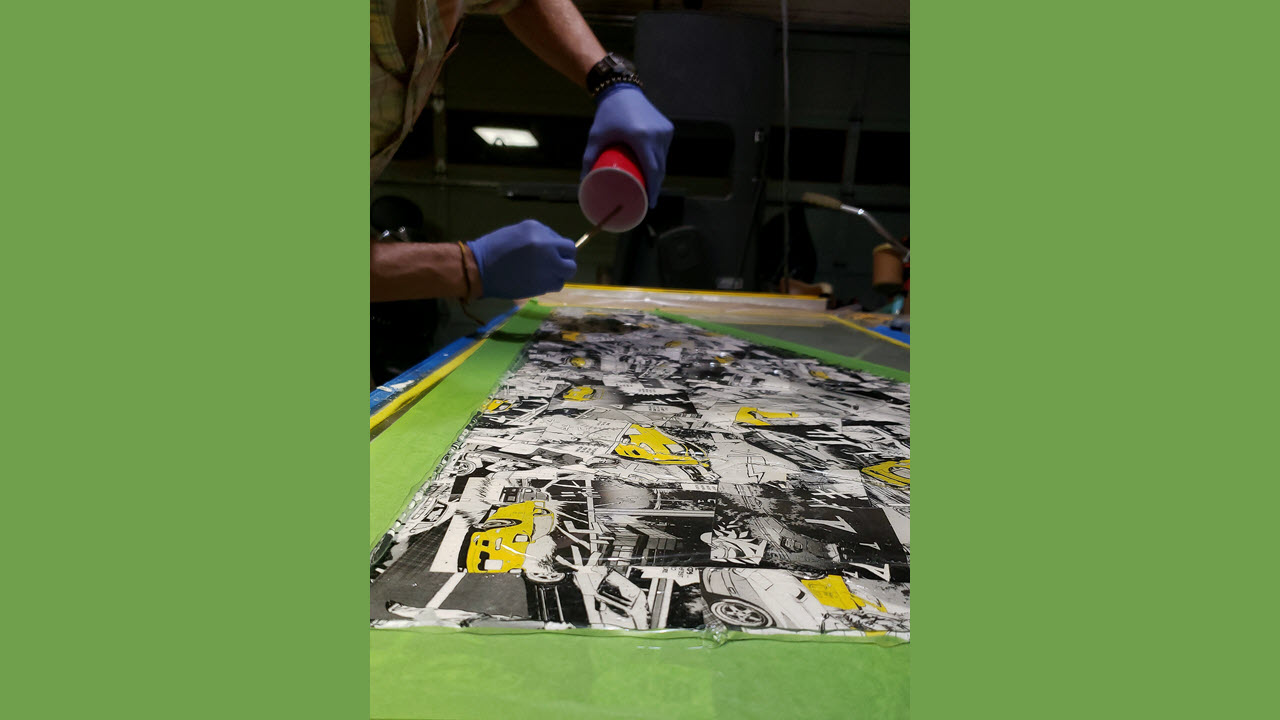
For the next part, I used a small 16-ounce kit of clear casting and coating epoxy resin that I bought from Amazon for cheap. I mixed up the parts thoroughly with a popsicle stick in a disposable drinking cup. Mixing epoxy completely is extremely important as any unmixed part A or B will never cure, and if you mix air bubbles into the epoxy you may have bubbles trapped in your clear coat. Stirring slowly and spending an extra minute mixing helps guarantee a successful epoxy pour. I mixed for a couple of minutes, being sure to scrape the sides and bottom of the cup and then proceeded to pour it over the manga panel.
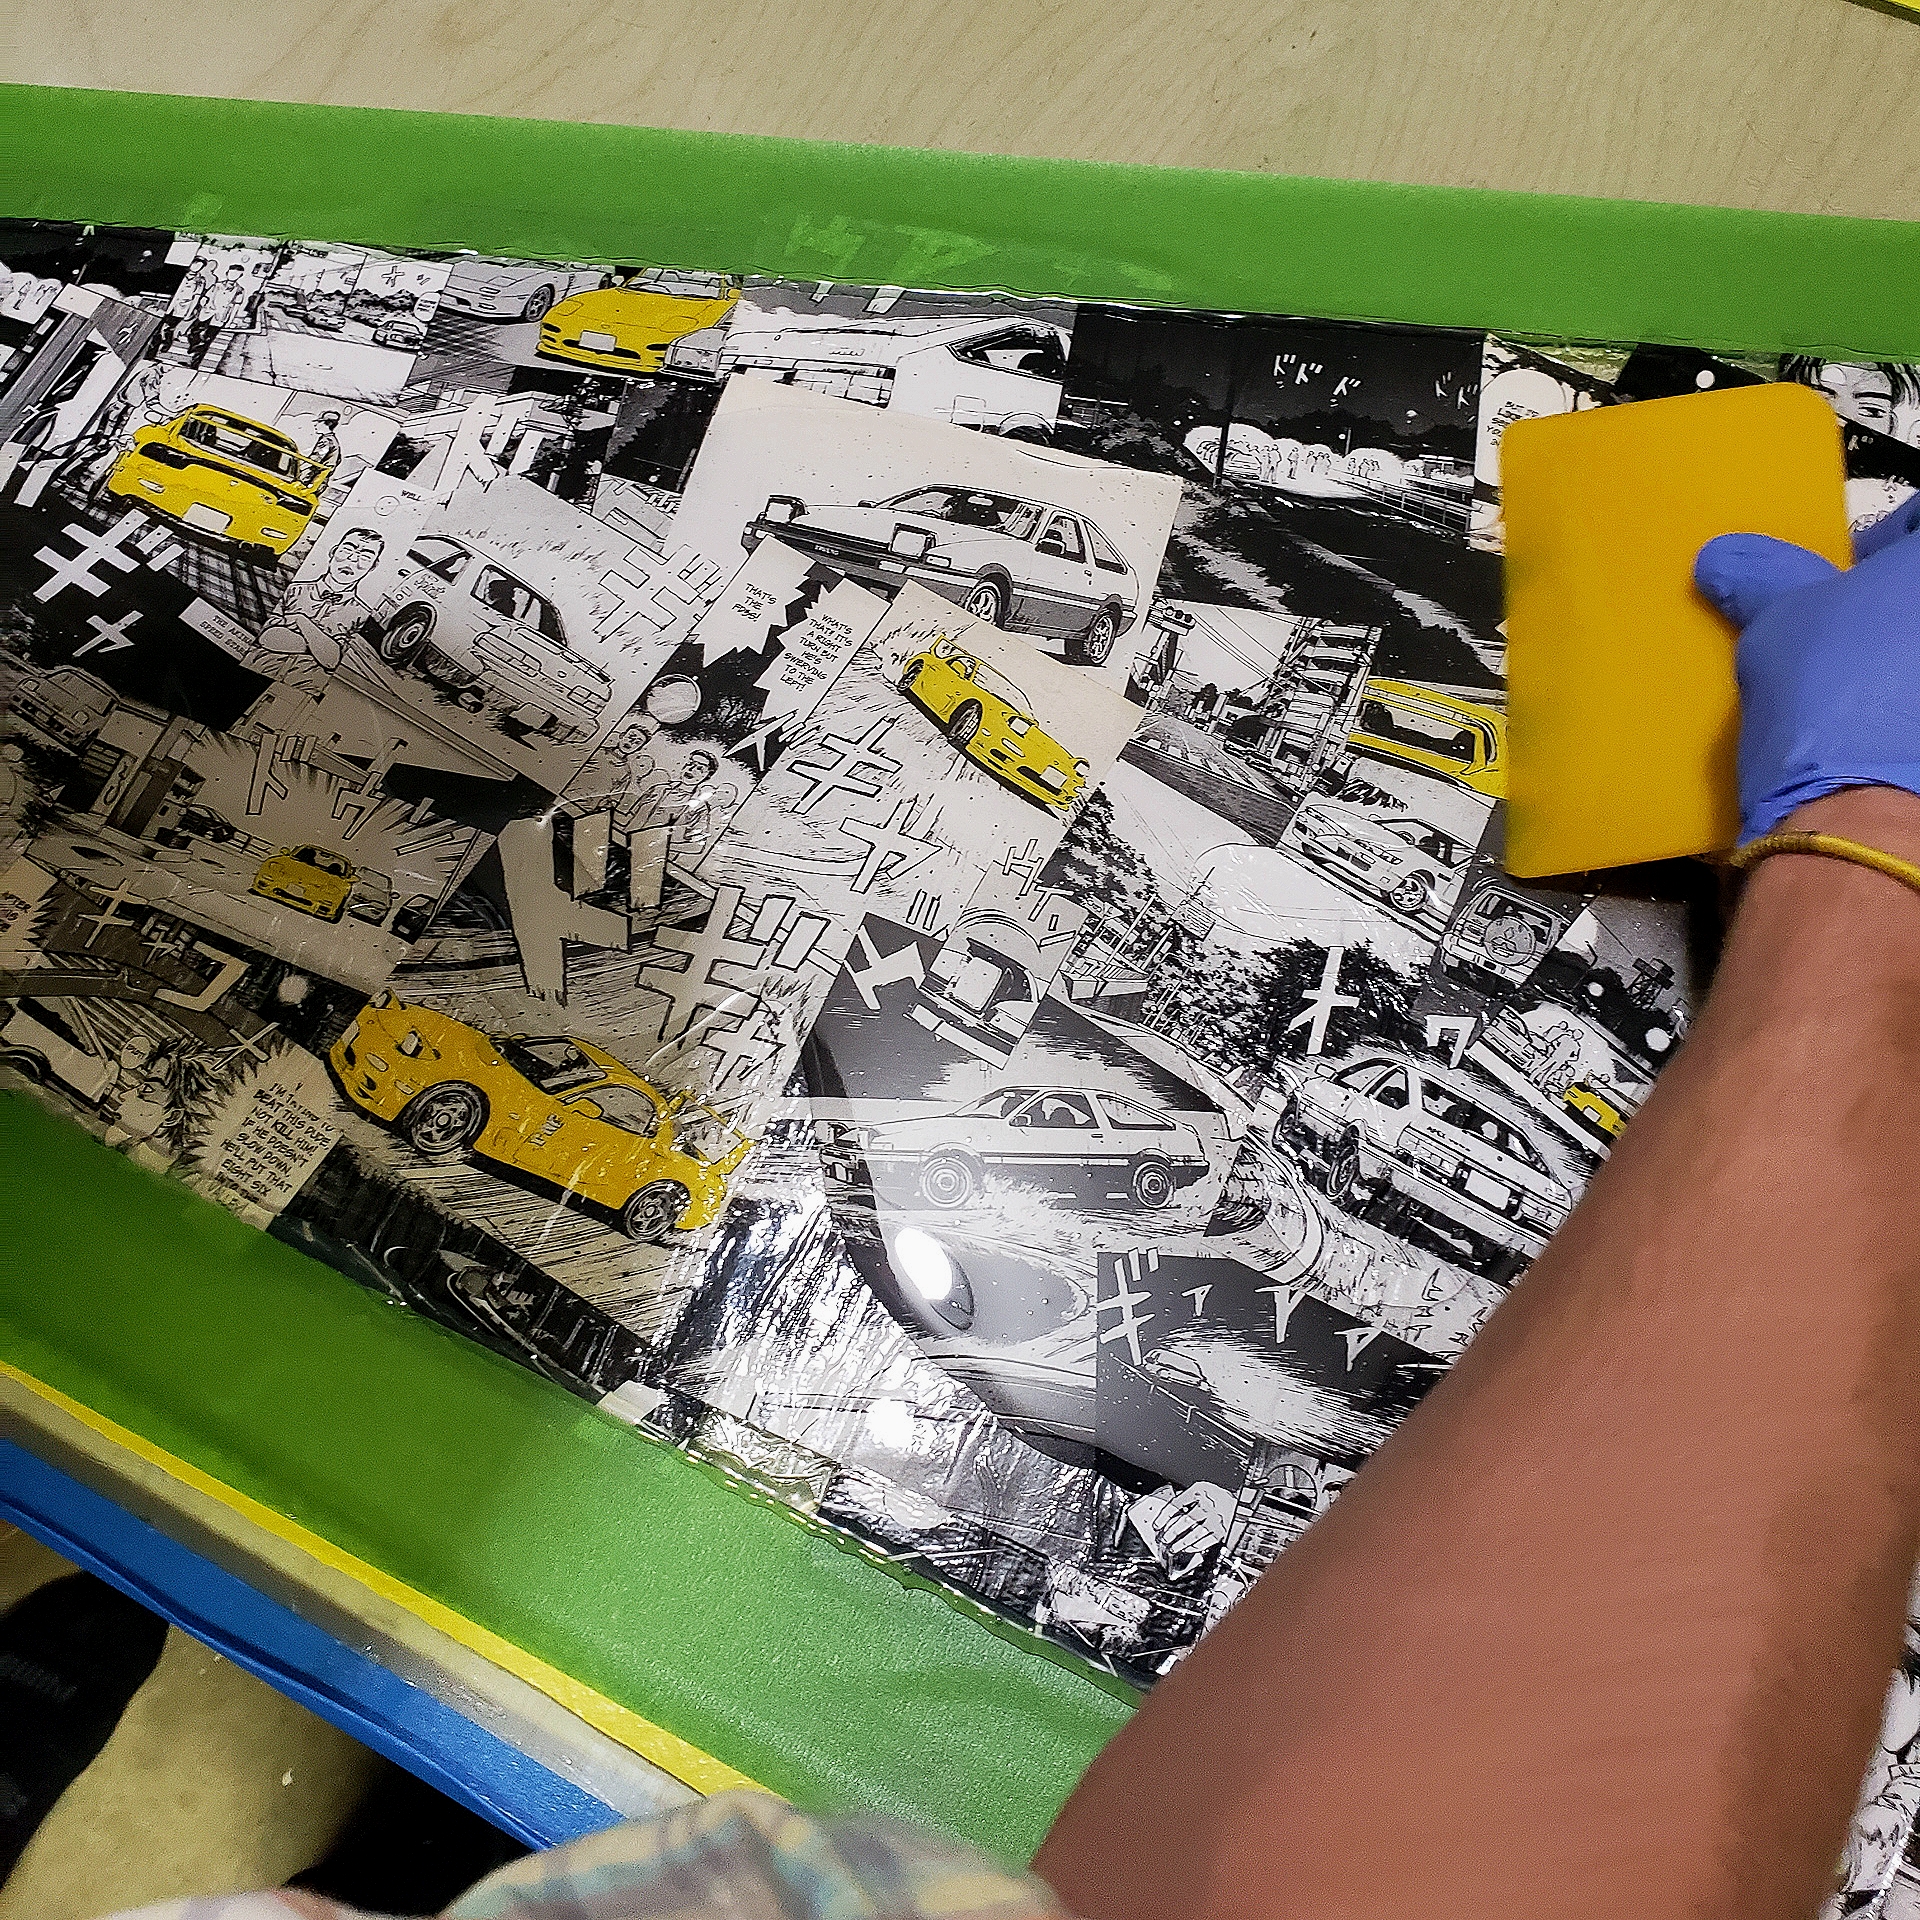
The epoxy is thick like honey, so I used a silicone squeegee to spread the epoxy across the panel. Gravity leveled the epoxy and removed any lines left by the squeegee. You can also see clearly the contrast of the rippled manga panel and the healing properties of a thick coating of epoxy.
There will always be some air bubbles that will float to the top of the epoxy. These can be removed easily with a hot air gun, butane or propane torch. I prefer a torch as the hot air gun can push the liquid epoxy around a bit if you are too close to the surface.
Keep the torch flame far from the epoxy surface, and in a sweeping motion, wave the flame across the entire epoxy surface. You will clearly see the bubbles on the surface pop from the heat of the flame. Remember to never stop moving the flame as the epoxy can burn.
I let this cure for a couple of days so the epoxy was fully hardened before handling the panel or attempting to pull the sheet off of the waxed glass surface. It came off the glass easily and I moved the panel to a cutting mat so I could begin cutting the three pieces that would be adhered to the computer case.
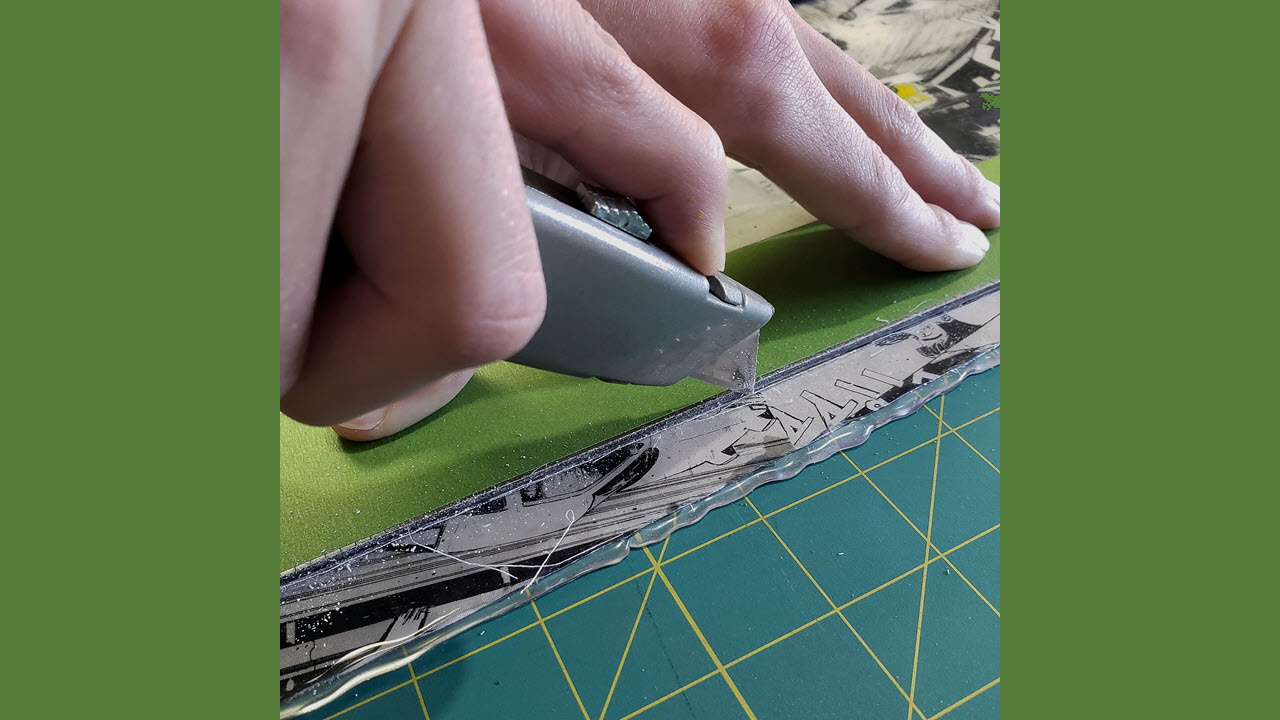
The tools I needed for this were a utility knife and a metal ruler covered with green painters’ tape so it would not scratch the epoxy. I started with light cuts to establish the cutting line and worked up to harder cuts until I made my way through the panel.
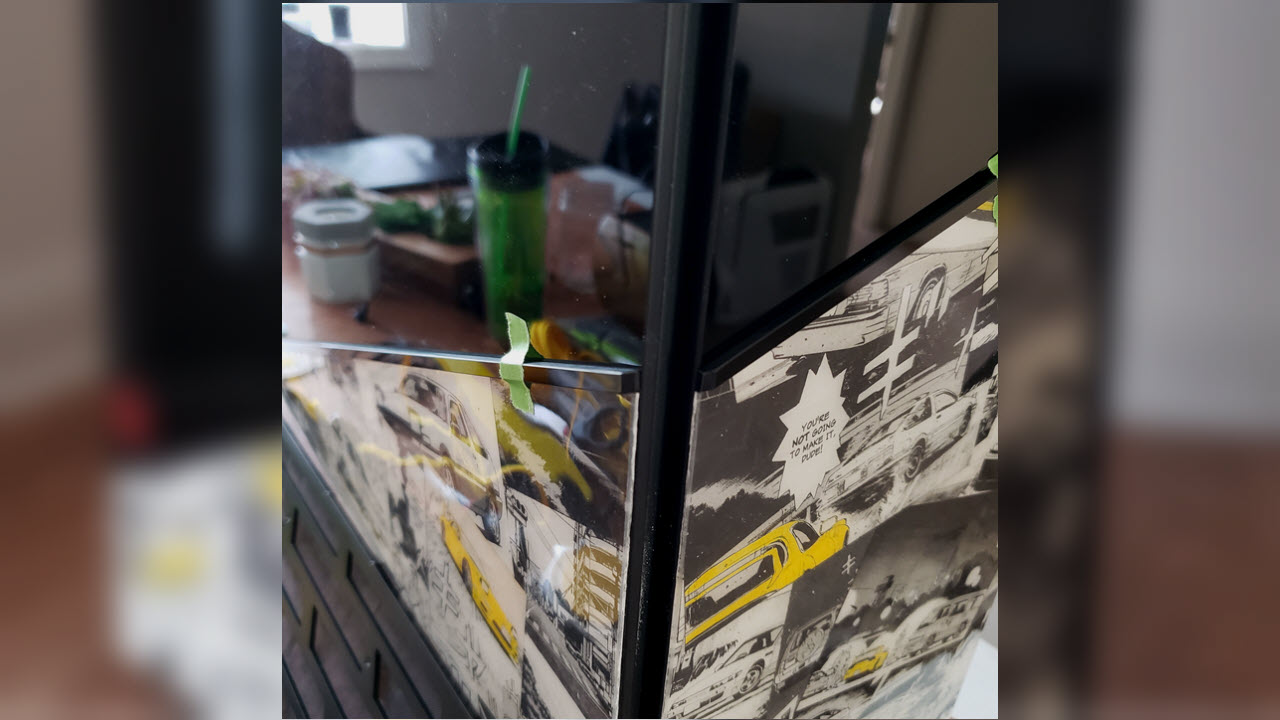
With the panels cut to size, I glued them to the case with silicone from the hardware store. It sticks well to glass and if I ever want to swap the side panels, it can be cut away with a razor blade. The last detail I needed for these side panels was a finished edge.
I wanted a nice black edge like the borders on the page of a manga. So, I got some thin strips of black acrylic. I was able to chamfer the edge cleanly by dragging a utility knife on edge along the corner of the acrylic. Using painters' tape as a clamp, I stuck these on with a little gel super glue.
I colored the other edges of the manga panels with a black permanent marker to finish the job.
-
artk2219 It looks good! You could have also used that $200 for an i7 3770k and another 8GB of ram, or a better cpu, ram, mobo combo in general though ;)Reply
