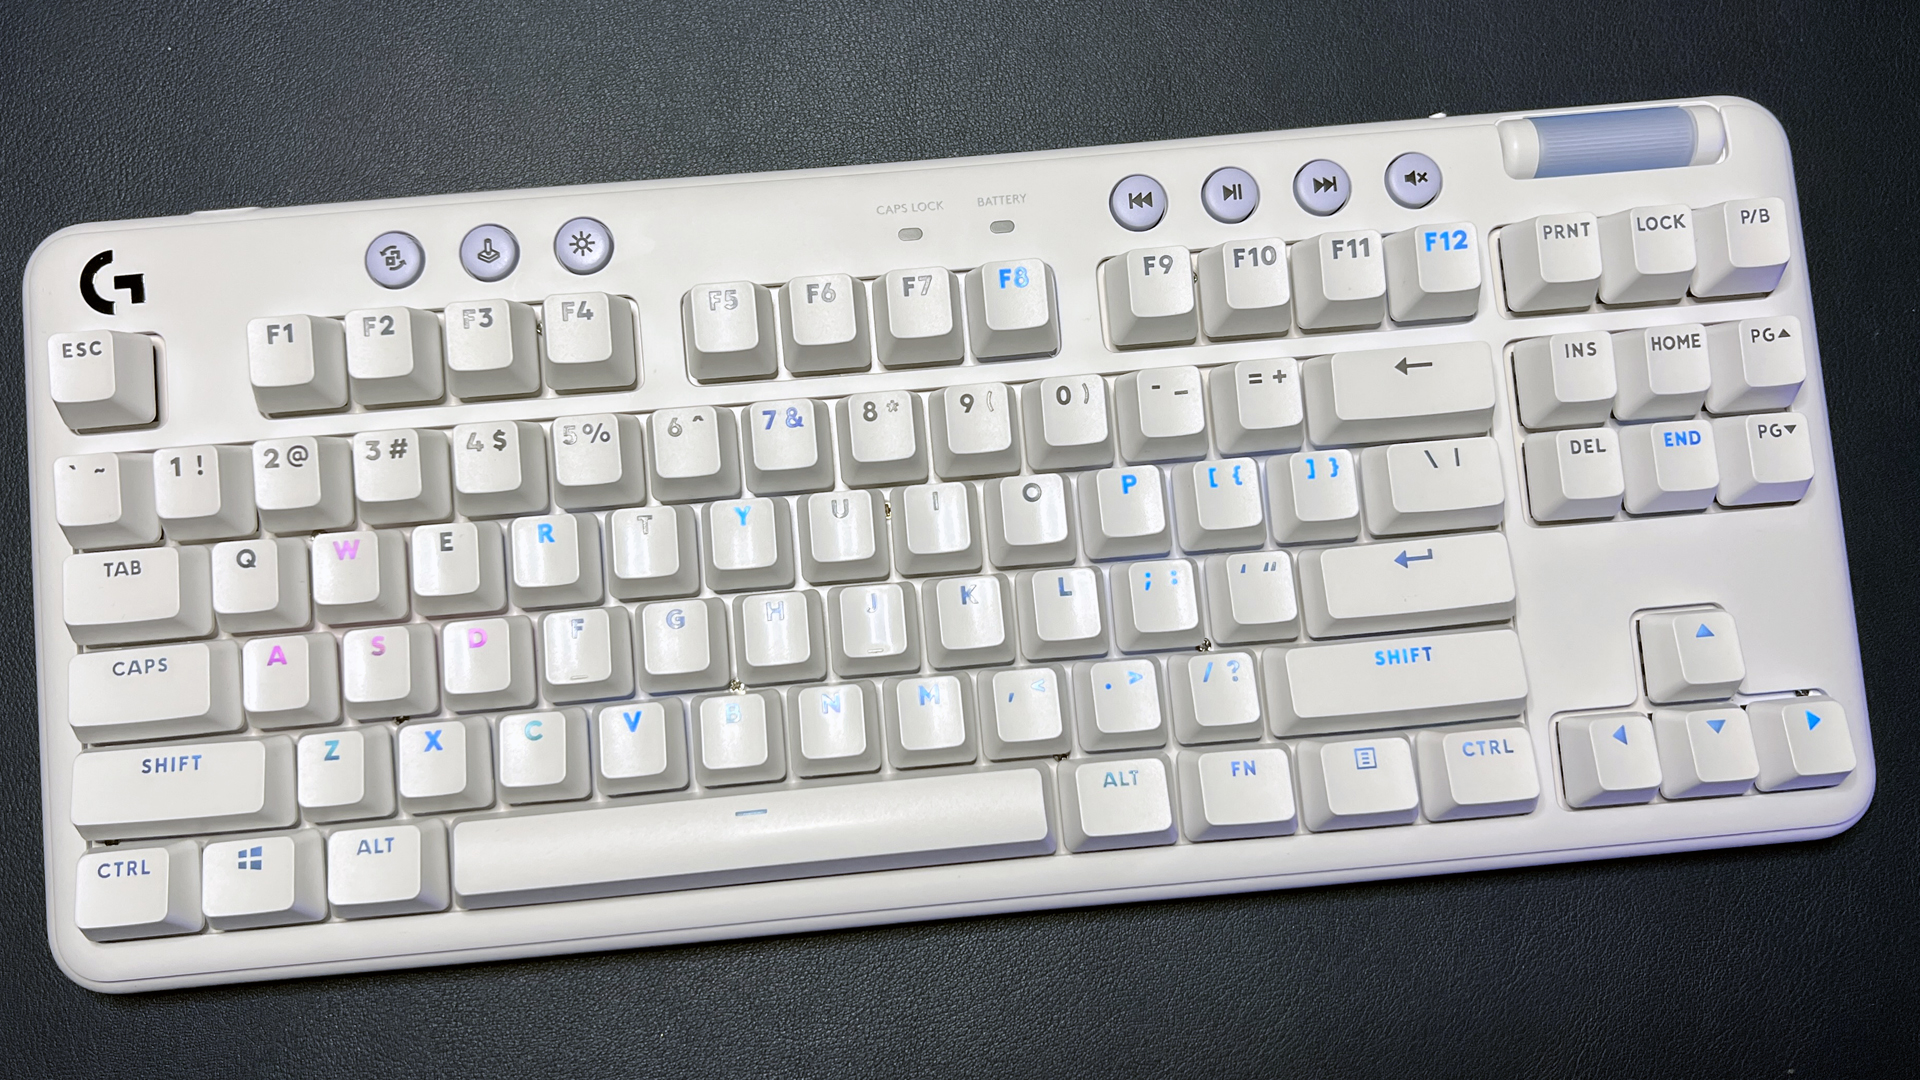
How to Clean Your Keyboard
Is your keyboard getting a little nasty?
Your keyboard is your everyday workhorse and the integral user interface device for operating your computer. But bad habits, furry companions, and... just regular use can turn your keyboard into a pretty disgustingly grimy piece of hardware in a very short period of time. After a while, it won’t only look like something you really shouldn’t be touching without gloves — too much dirt and dust can have a very real effect on the performance of your device if bits of detritus start making their way into the inner workings of your keyboard.
If you have pets, especially cats, chances are they’ve strolled across your desk — and probably even used your keyboard as a makeshift bed. Pet hair, your own hair, and other sources of grime such as oil and grease from your fingertips, crumbs from snacking and eating at your desk, dust (which is mostly dead skin cells) — you name it. It’s all lurking in your keyboard, probably.
Much like spring cleaning your living space, it’s time to give your peripherals some love. It’s pretty easy to deep clean your keyboard, and you don’t need a bunch of fancy equipment to do it. Cleaning it on a regular basis will prolong its life and allow you to take cool, Instagram-worthy photos of your rig. And also, it’s just something you should do, because your keyboard is probably really, really gross.
Here are our best tips for cleaning your keyboard.
What You Need
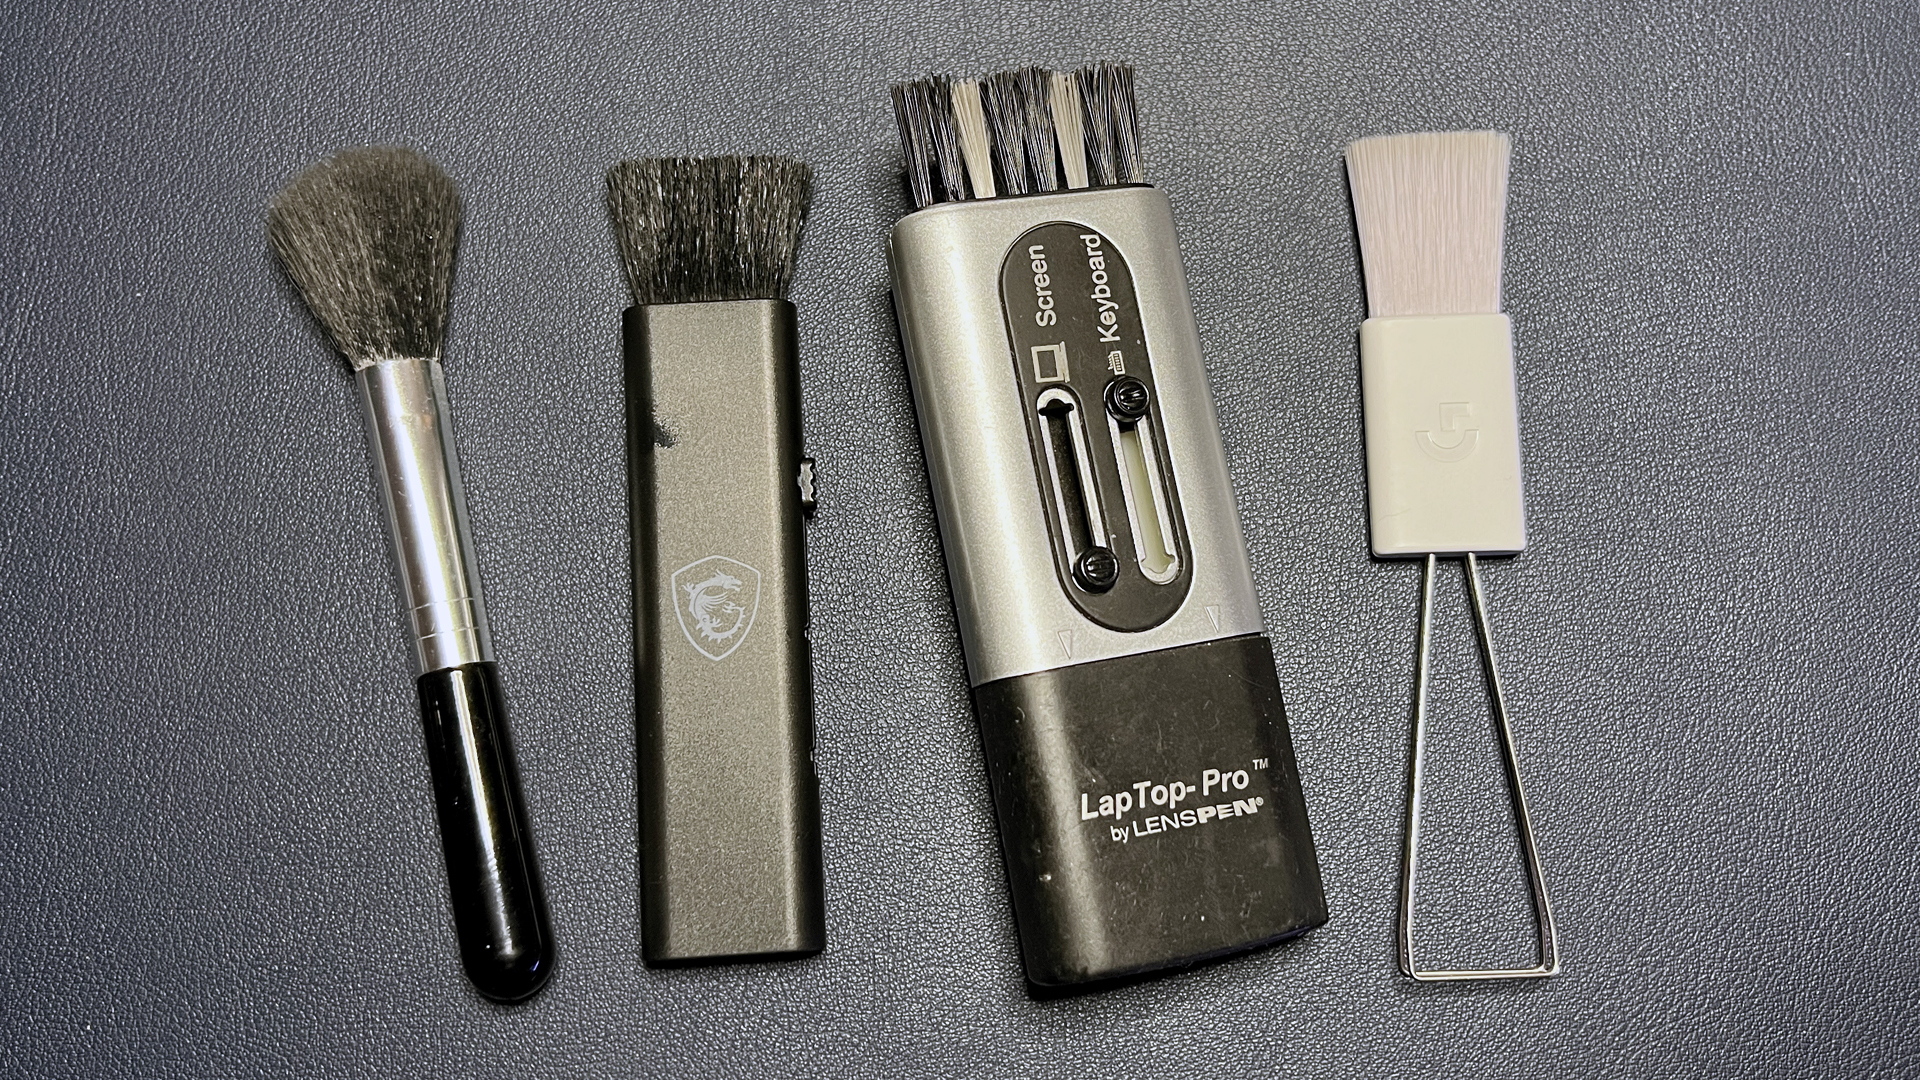
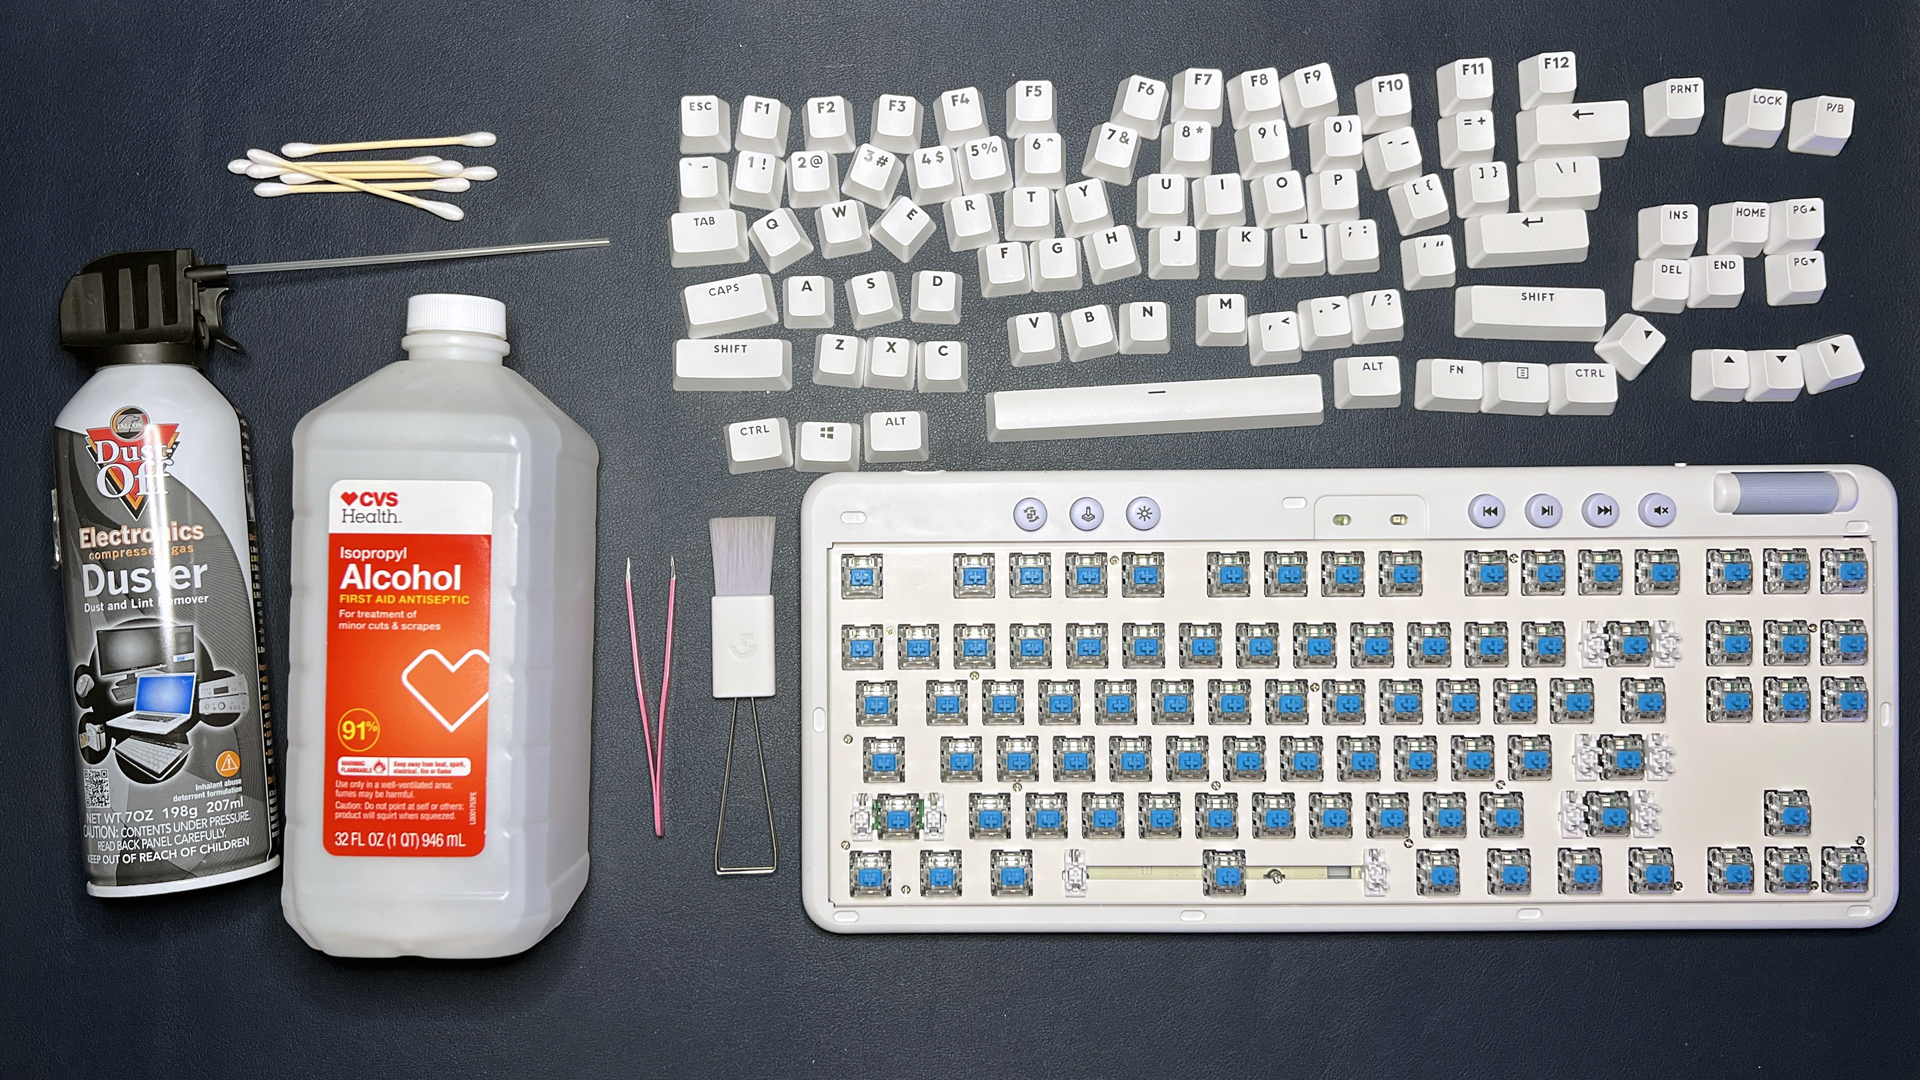
- Keycap puller
- Brush
- Cotton swabs
- Tweezers
- Isopropyl alcohol
- Canned air
1. Turn your keyboard upside down and shake it. This will get rid of a surprising amount of dust and hair, especially if you haven’t done this in a while. If your keyboard is relatively clean (you be the judge), and you don’t want to take off the keycaps, you can also blast it with some canned air and run a soft brush between the keys. You should still eventually do a full clean, but this is better than nothing.
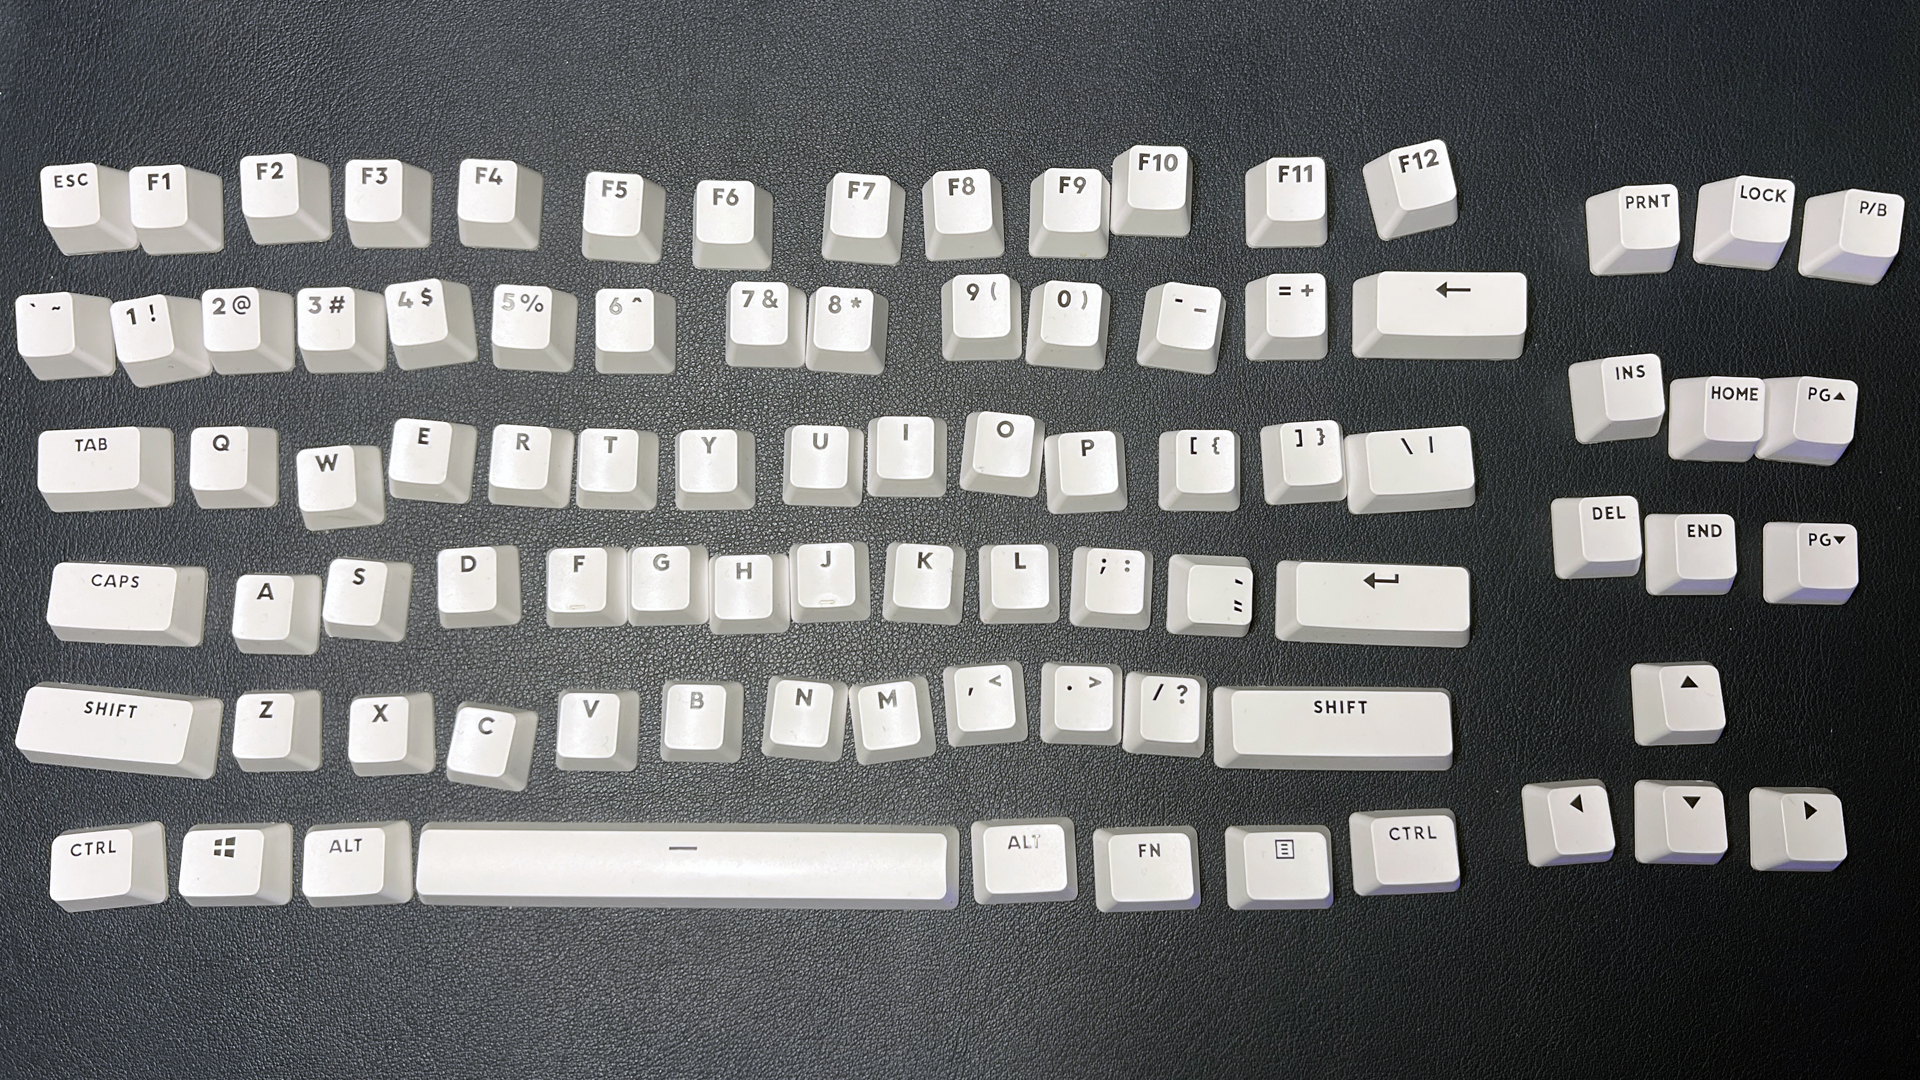
2. The next step is removing the keycaps. But if you’re cleaning your keyboard for the first time, it’s a good idea to grab your phone and take a photo of the whole board — especially if it’s a gaming keyboard or a mechanical gaming keyboard, as it may have an unusual layout. Taking a picture will help you remember the layout of your keys once you remove the keycaps. (If you forget to do this, you’ll probably be able to find a stock photo of your keyboard online.)
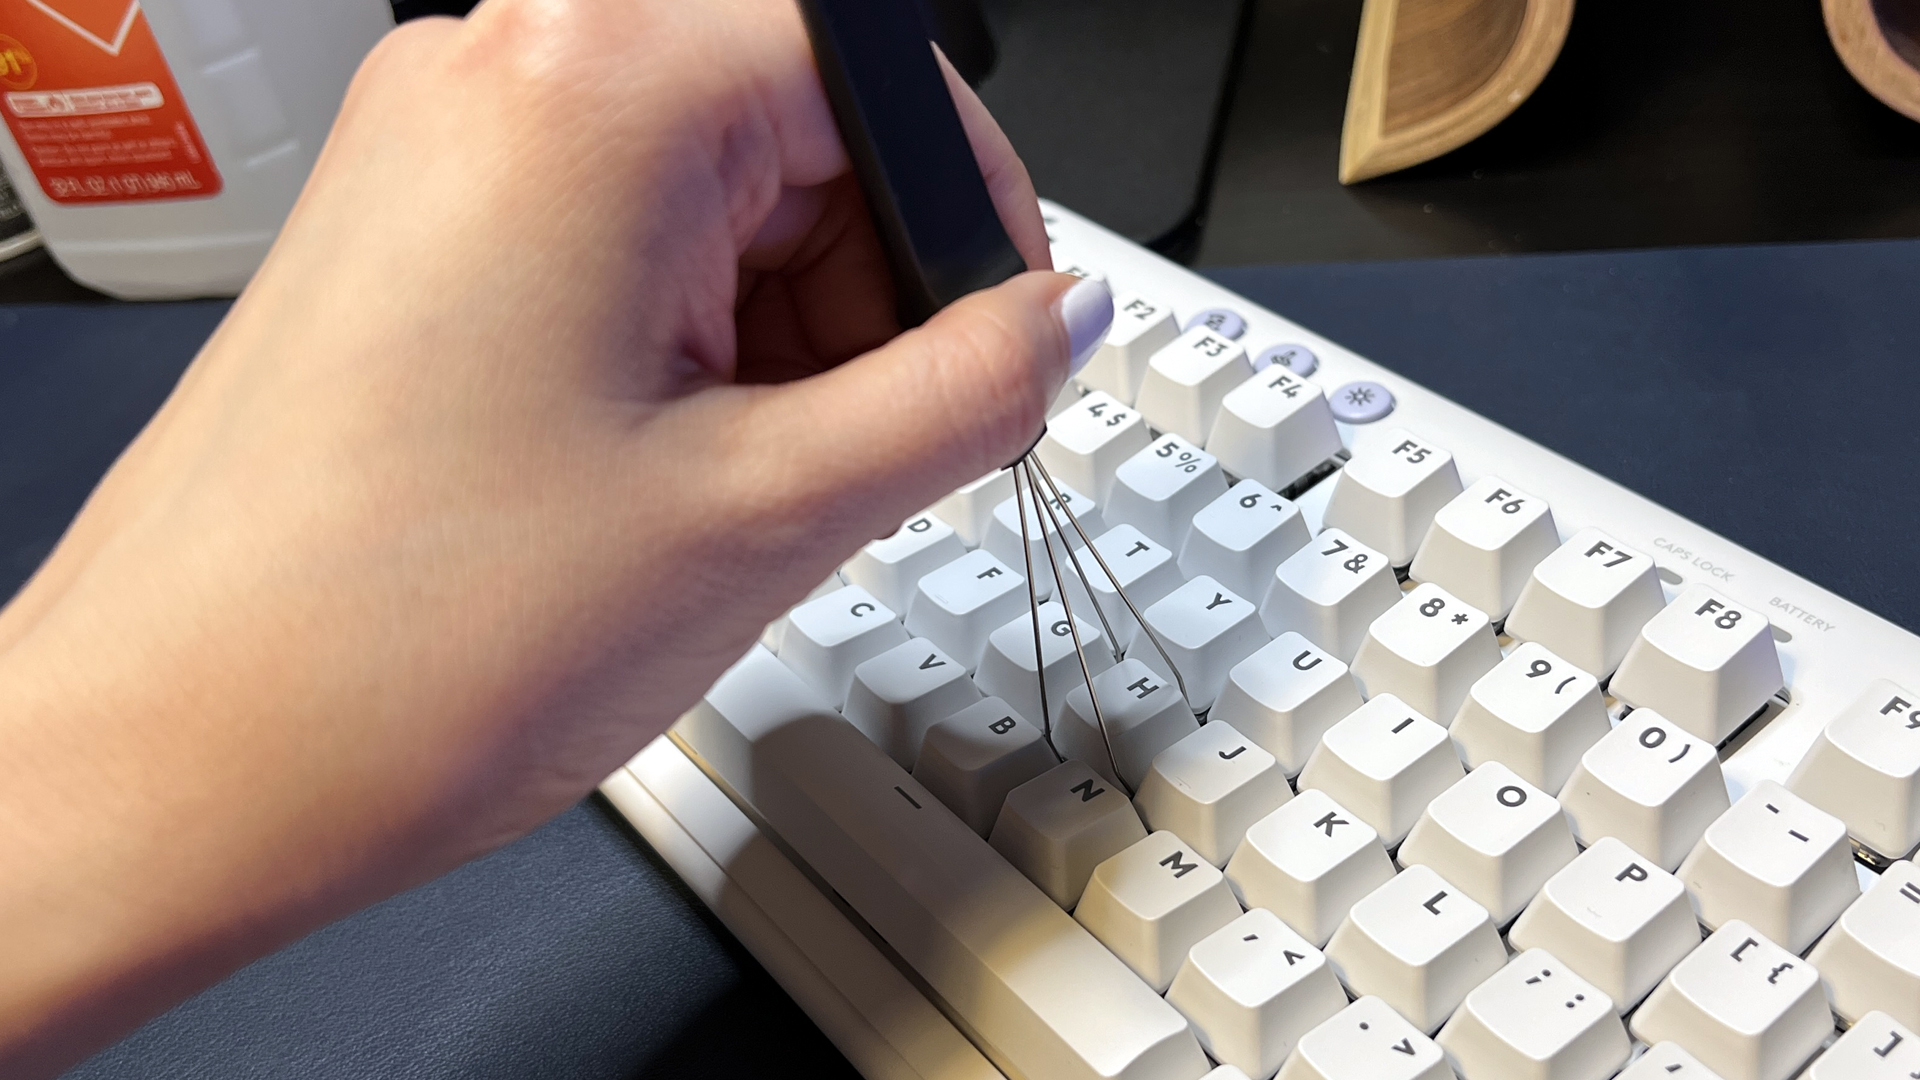
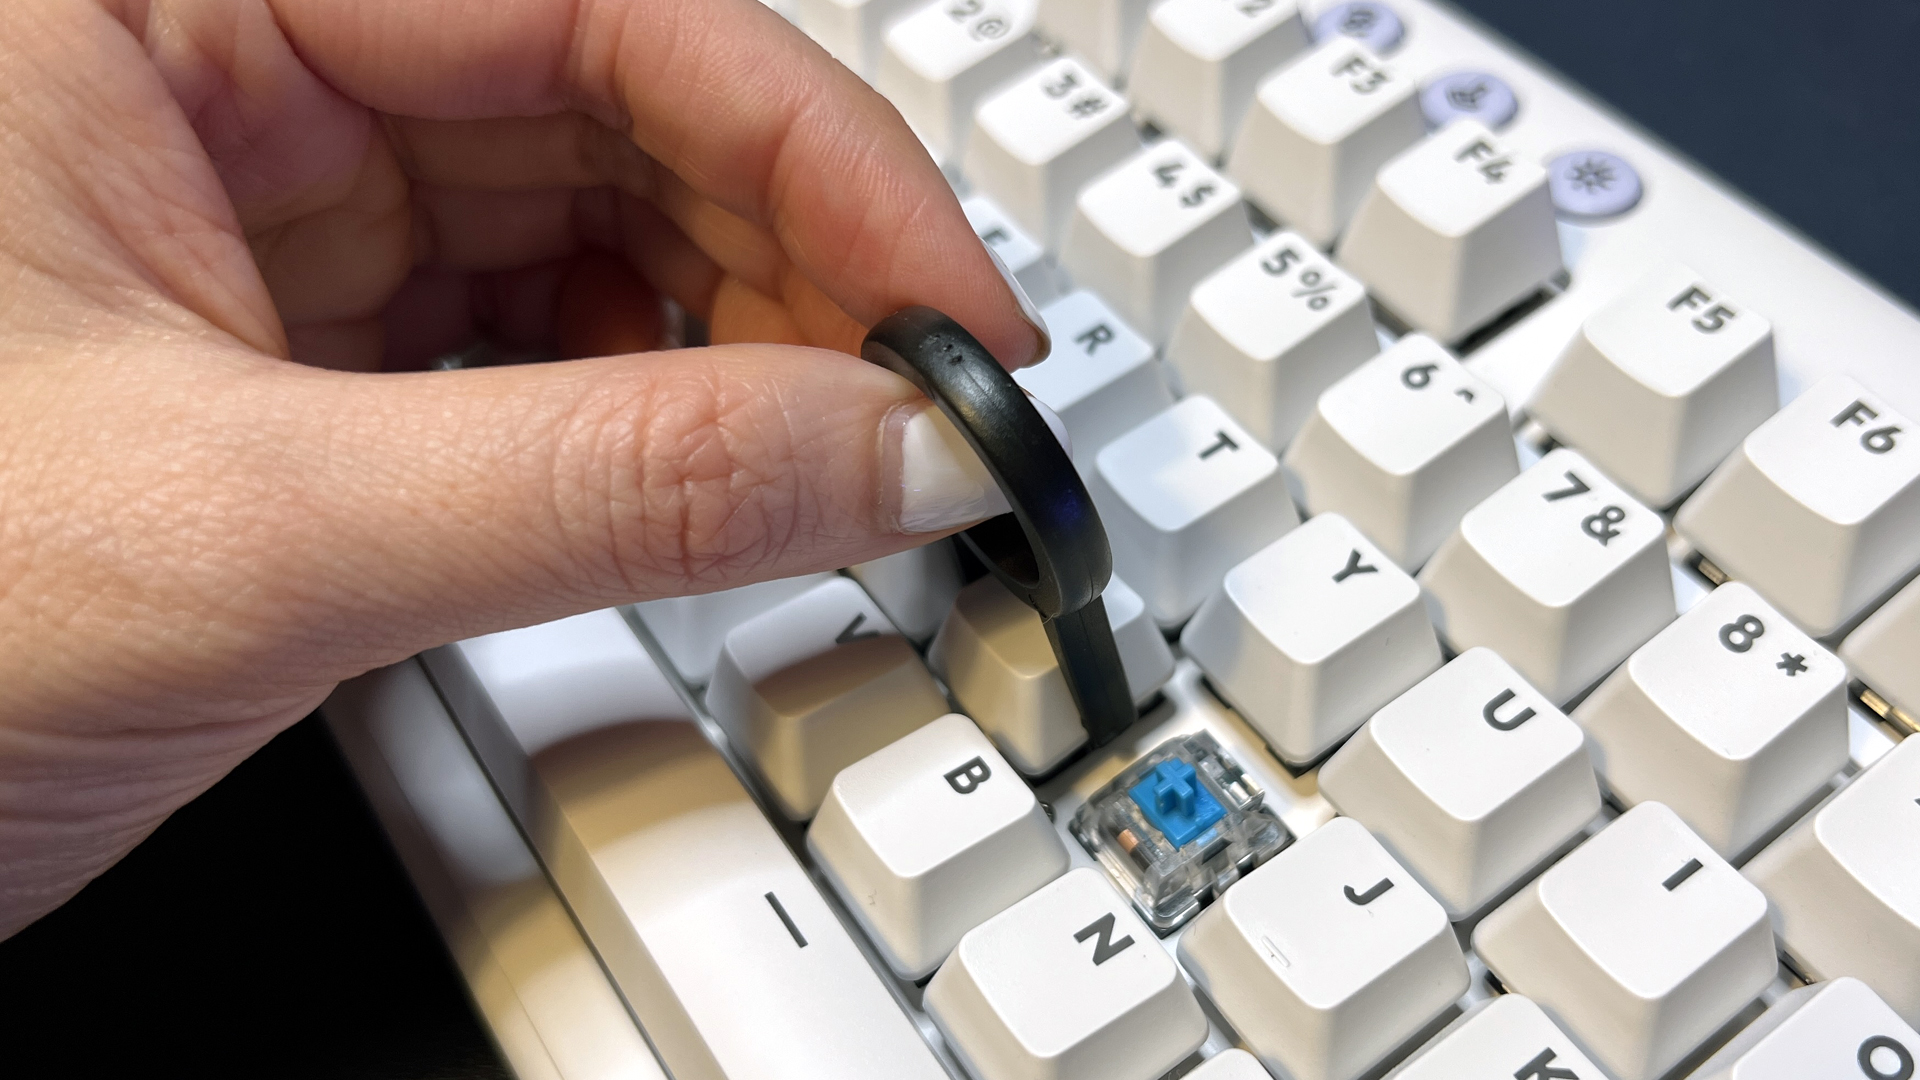
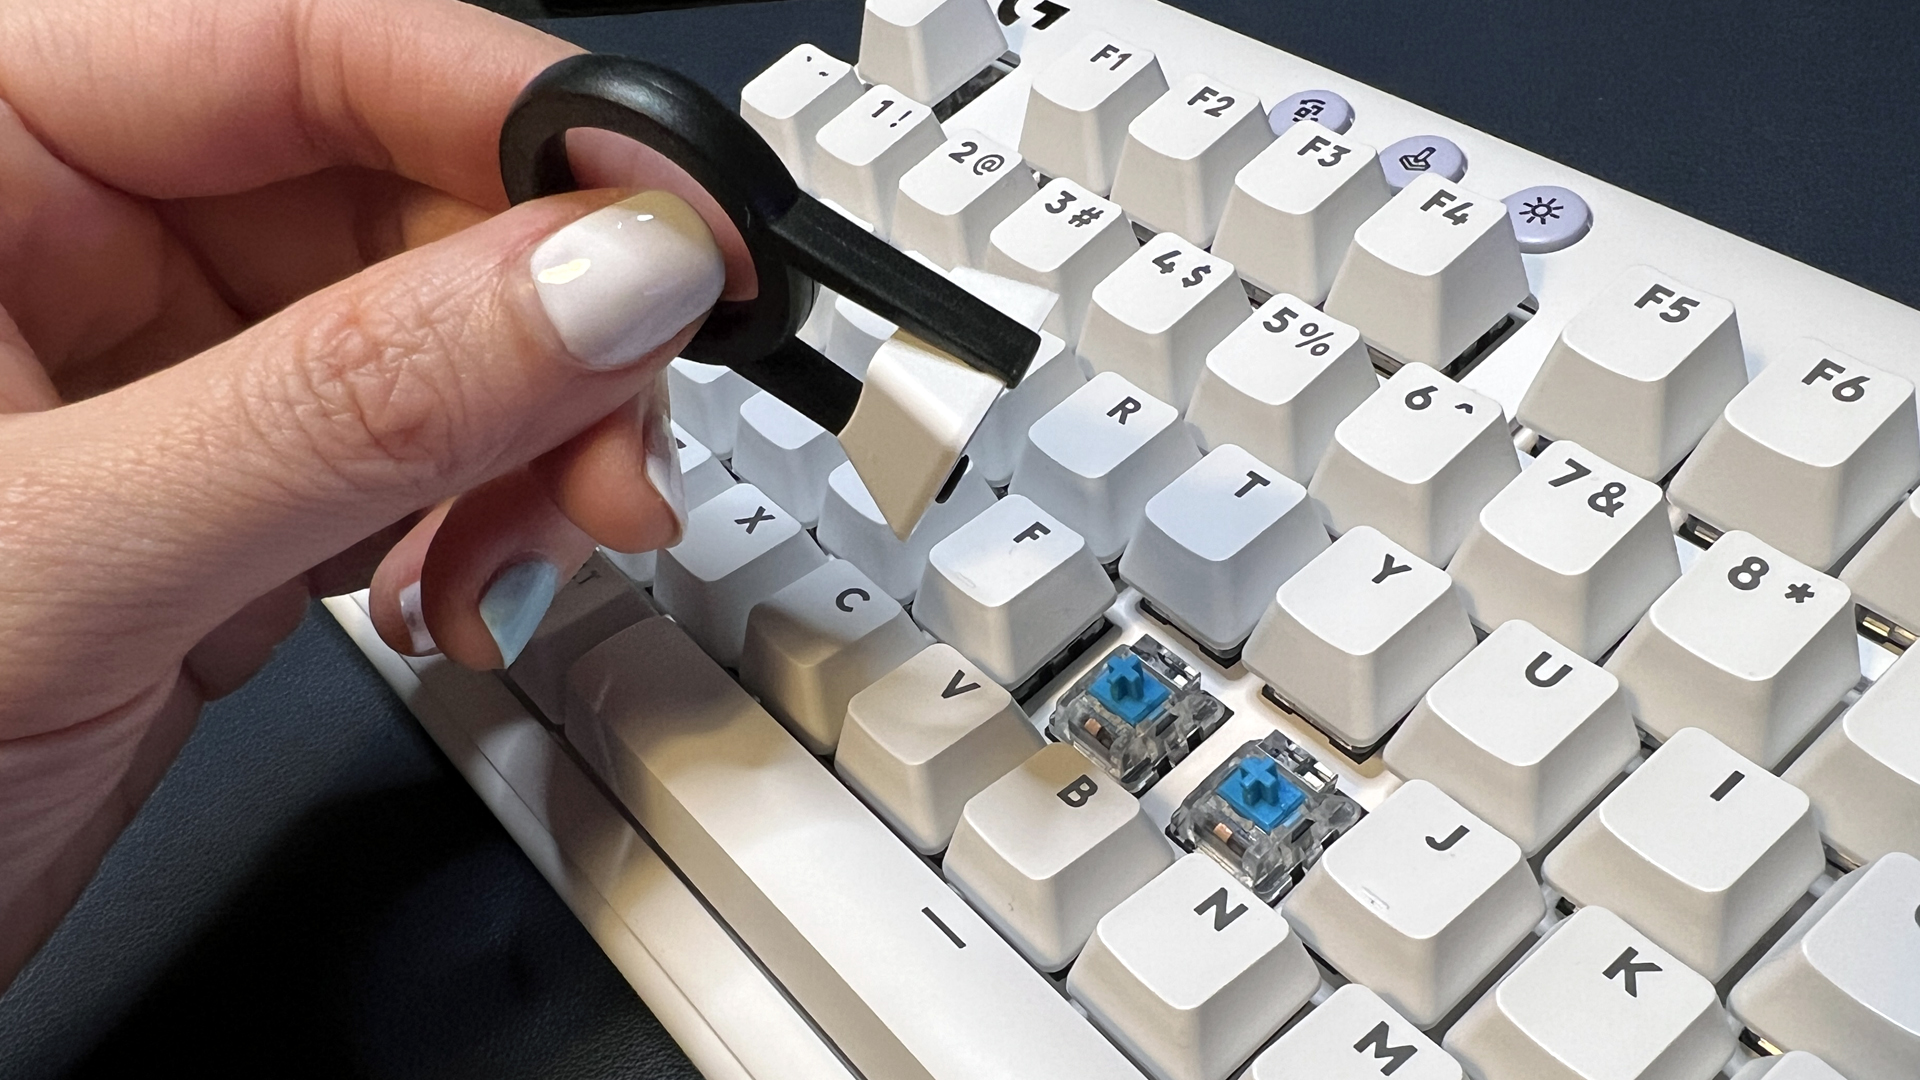
3. Remove the keycaps using a keycap puller. Keycap pullers often come with keyboards or other components, but you can also pick one up on Amazon (or you can grab a whole keyboard kit with a few more tools for under $10). If you don’t have a keycap puller and you don’t want to buy one, you can also pry the keycaps off with a flat tool (make sure it’s not something that will scratch the keycaps such as a nail file) or your hands.
Get Tom's Hardware's best news and in-depth reviews, straight to your inbox.
4. Next, grab a bowl large enough to hold all the keycaps and add some warm water and a few drops of dish soap, which is amazing for removing grease and oil. Leave the keycaps to soak while you clean the rest of the keyboard.
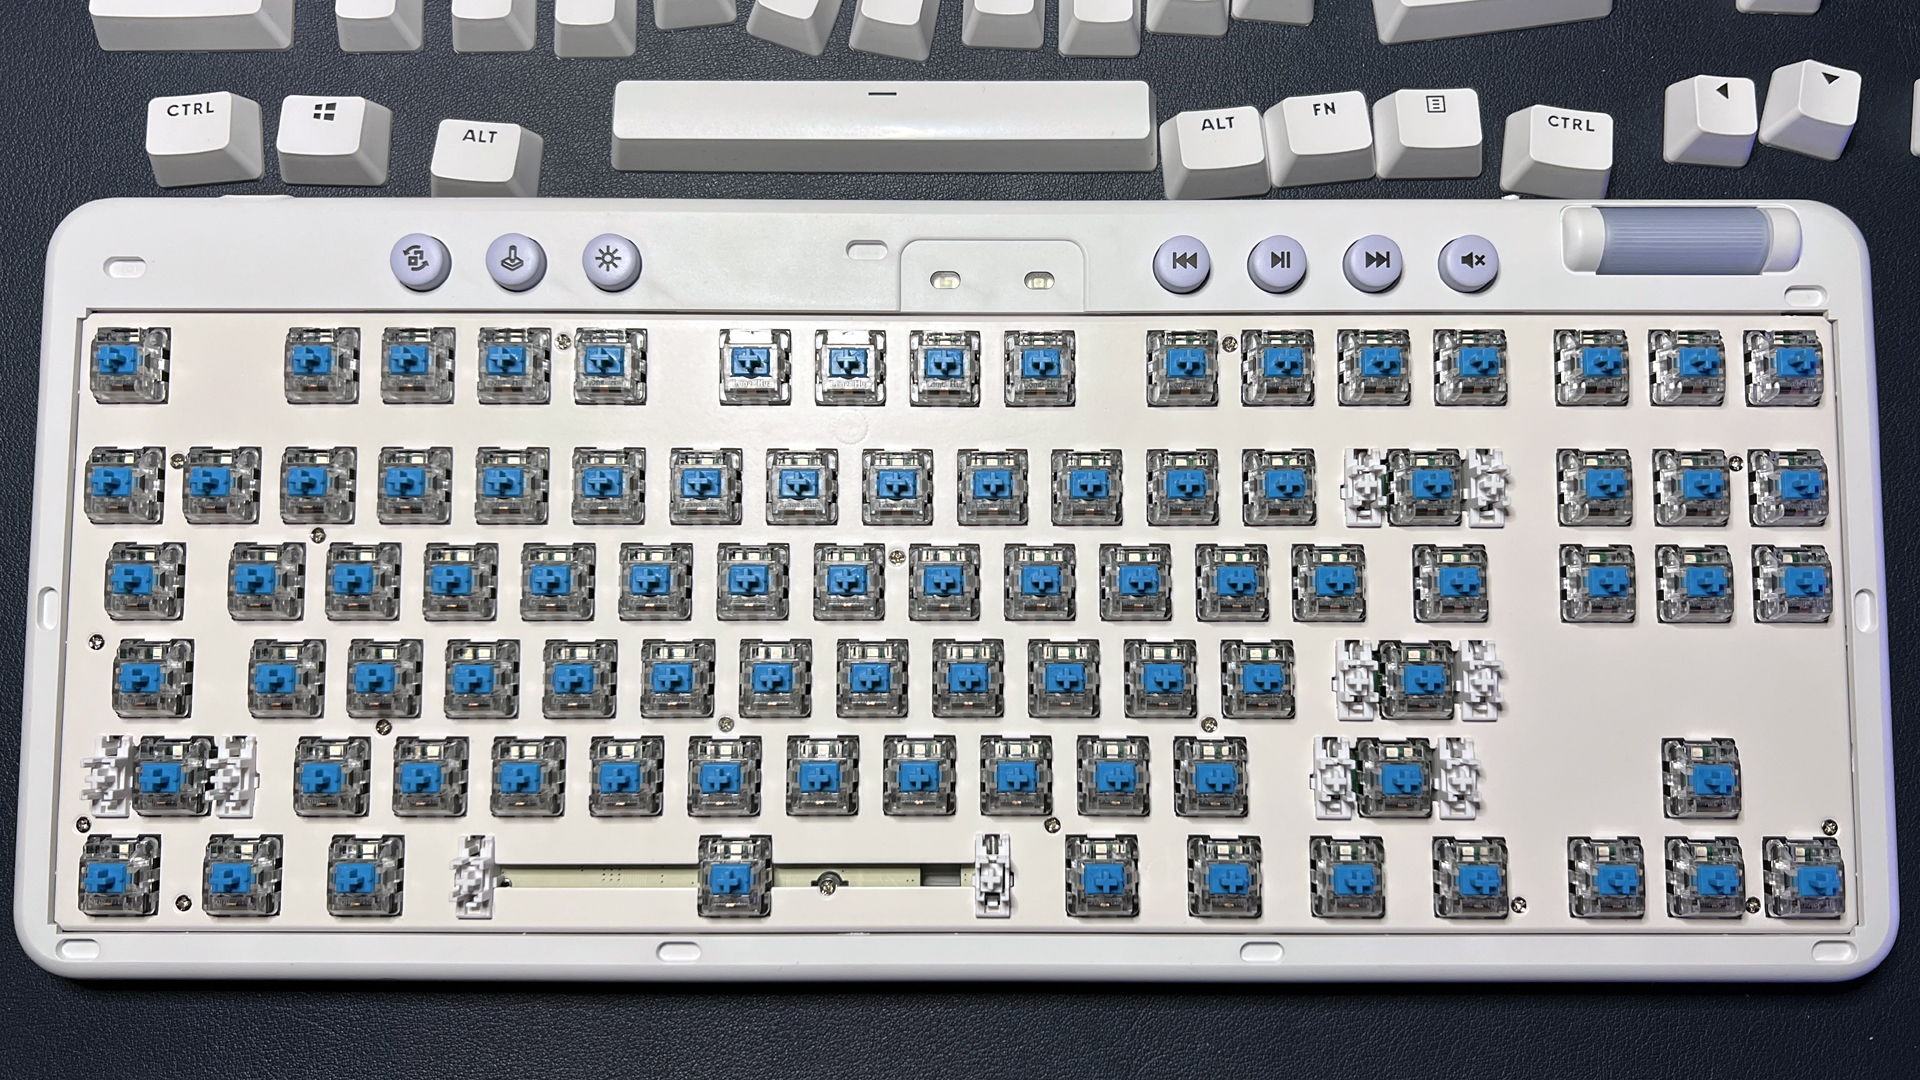
5. Now that your keycaps have been removed, turn your keyboard upside down again and shake it. You’d be surprised at how much dirt keycaps can trap in there!
6. Next we’ll clean the faceplate and remove anything that’s stuck between the switches. If your switches are lubed, you’ll sometimes find dust and debris stuck to the switches — use a pair of tweezers to remove stray hairs or other gunk from the cracks.
7. Grab a nice, soft brush — they make special “keyboard-cleaning” brushes, but you can use any small, soft brush, such as a makeup brush — and gently clear away any loose material. Disposable mascara wands (you can buy 100 for less than $5) are especially good at getting into cracks and crevices.
You can also use canned air to blast dust and debris out of your keyboard, but a physical brush is usually more effective. Also: while it’s probably okay to use a vacuum cleaner or an electric air blower on your keyboard, know that these do generate static electricity, which has a chance — a small chance, but a chance nonetheless — of damaging parts of your keyboard.
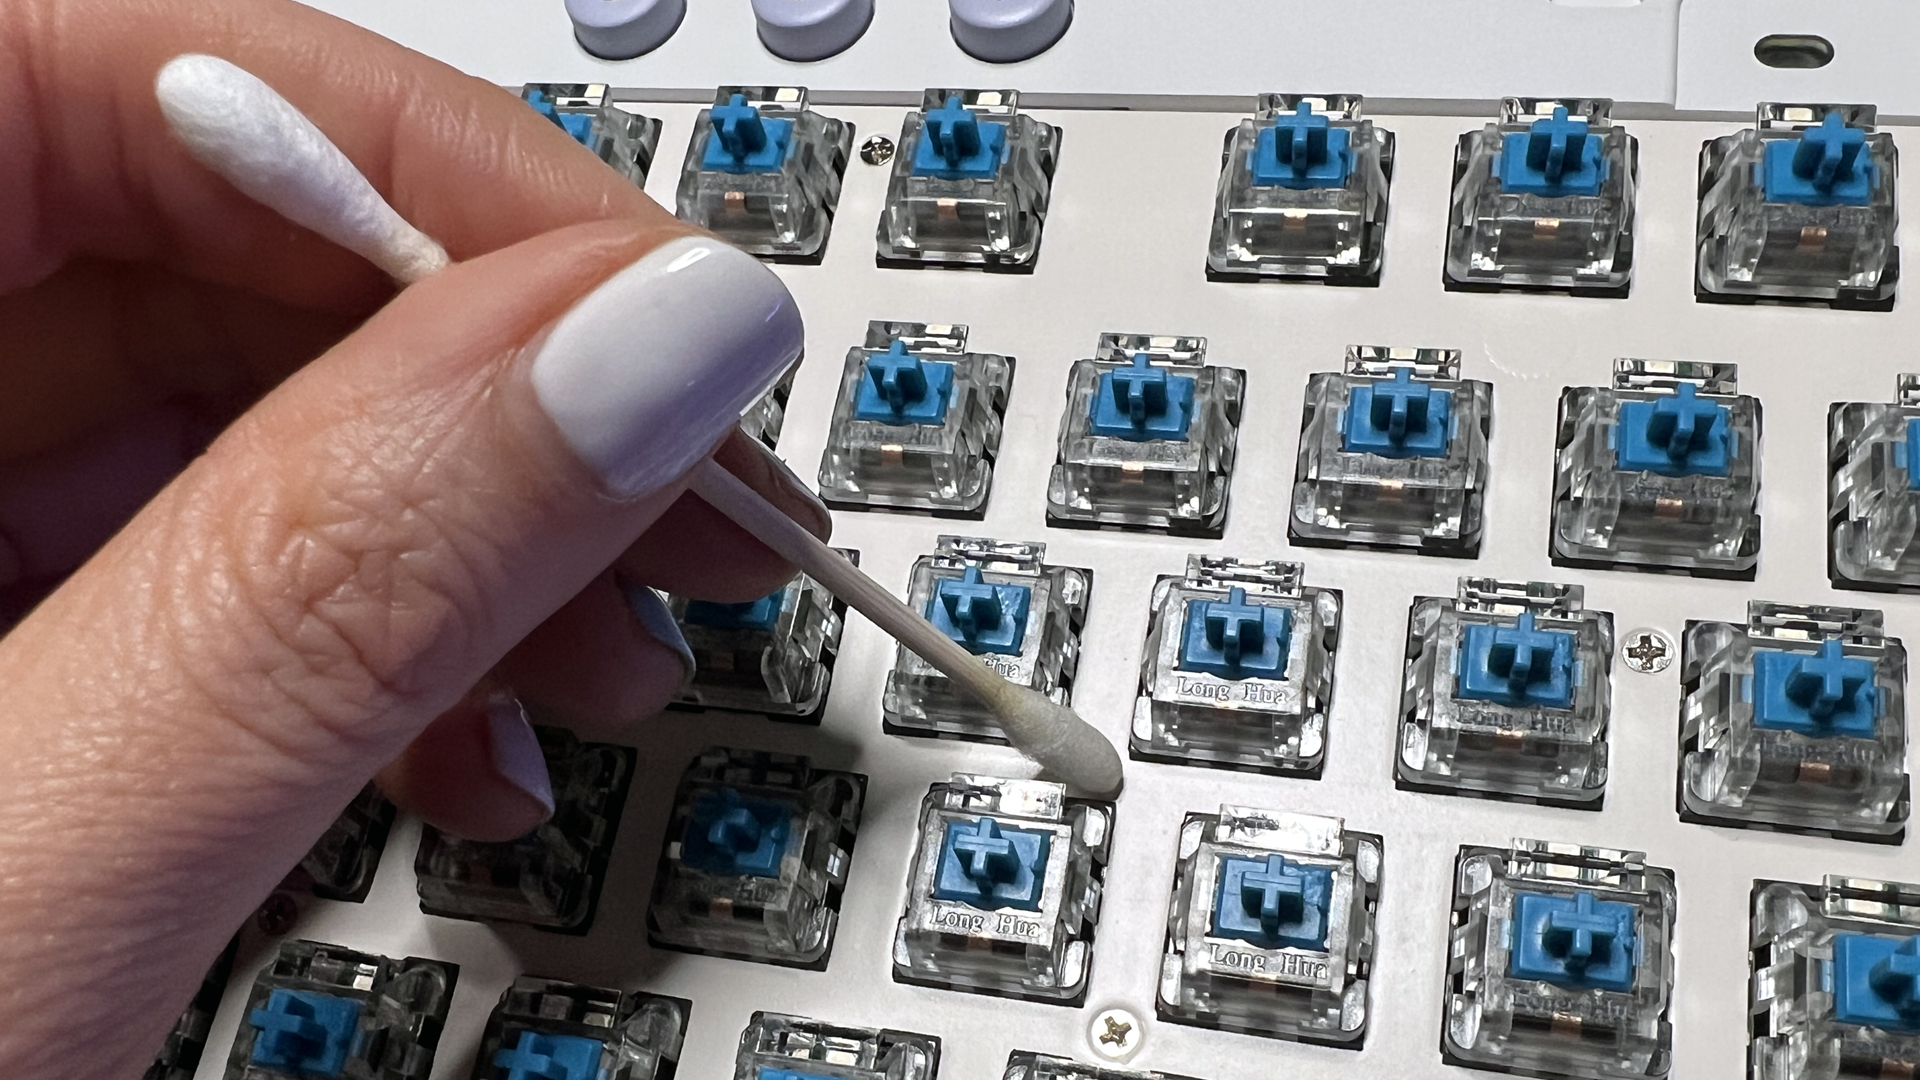
8. For stubborn dirt or gunk, use cotton buds dipped in water or isopropyl alcohol and gently scrub. Make sure you double-check what your keyboard is made of before you use isopropyl alcohol, as it can damage or cause discoloration in cheaper plastics.
If you’re not worried about voiding your warranty and you know what you’re doing, you can strip your keyboard apart even further than just removing the keycaps. However, this probably isn’t necessary — there usually isn’t much debris that far into your keyboard unless you’ve been hauling it to the beach and off-roading with it.
9. Your keycaps should be done soaking by now. Use a soft microfiber cloth or sponge to scrub off any stubborn grime and then rinse them off and lay them on a towel to dry. You want to make sure your keycaps are completely dry before you put them back on your keyboard — the last thing you want is water dripping all over your newly-sparkling PCB.
10. Using the picture you took earlier, replace the keycaps and admire how shiny and new everything looks.
Now that your keyboard is clean, keep it that way — shaking it and running a brush between the keys occasionally can help you keep it tidy between deep cleanings. You can also pick up gadgets, such as a keyboard cleaning kit, or keyboard putty to help keep it clean on a regular basis, but you should probably try to deep-clean at least a few times a year.

Stewart Bendle is a deals and coupon writer at Tom's Hardware. A firm believer in “Bang for the buck” Stewart likes to research the best prices and coupon codes for hardware and build PCs that have a great price for performance ratio.
- Sarah Jacobsson PurewalSenior Editor, Peripherals
-
Friesiansam The last time a keyboard needed a really thorough clean, after it had been on a high shelf for years, unused, I washed it in the shower, drained it, then put it outside in the sun to warm-up and dry. When it was properly dry, it was nice and clean and worked perfectly. As mentioned in another recent thread, PCBs are often washed in an ultrasonic water bath as part of the manufacturing process.Reply
