How to Connect Raspberry Pi Pico W to the Internet
Connect your Raspberry Pi Pico W to the world, and outer space
The release of the Raspberry Pi Pico W brings with it an interesting opportunity. In the past if we wanted to connect a Raspberry Pi to the world, we would need one of the larger models. The Raspberry Pi Zero 2 W, and Raspberry Pi 4 were often pressed into data collection duties. The Raspberry Pi 4 is a bit of a power hog, the Zero 2 W is a bit better but still overkill for a simple information project.
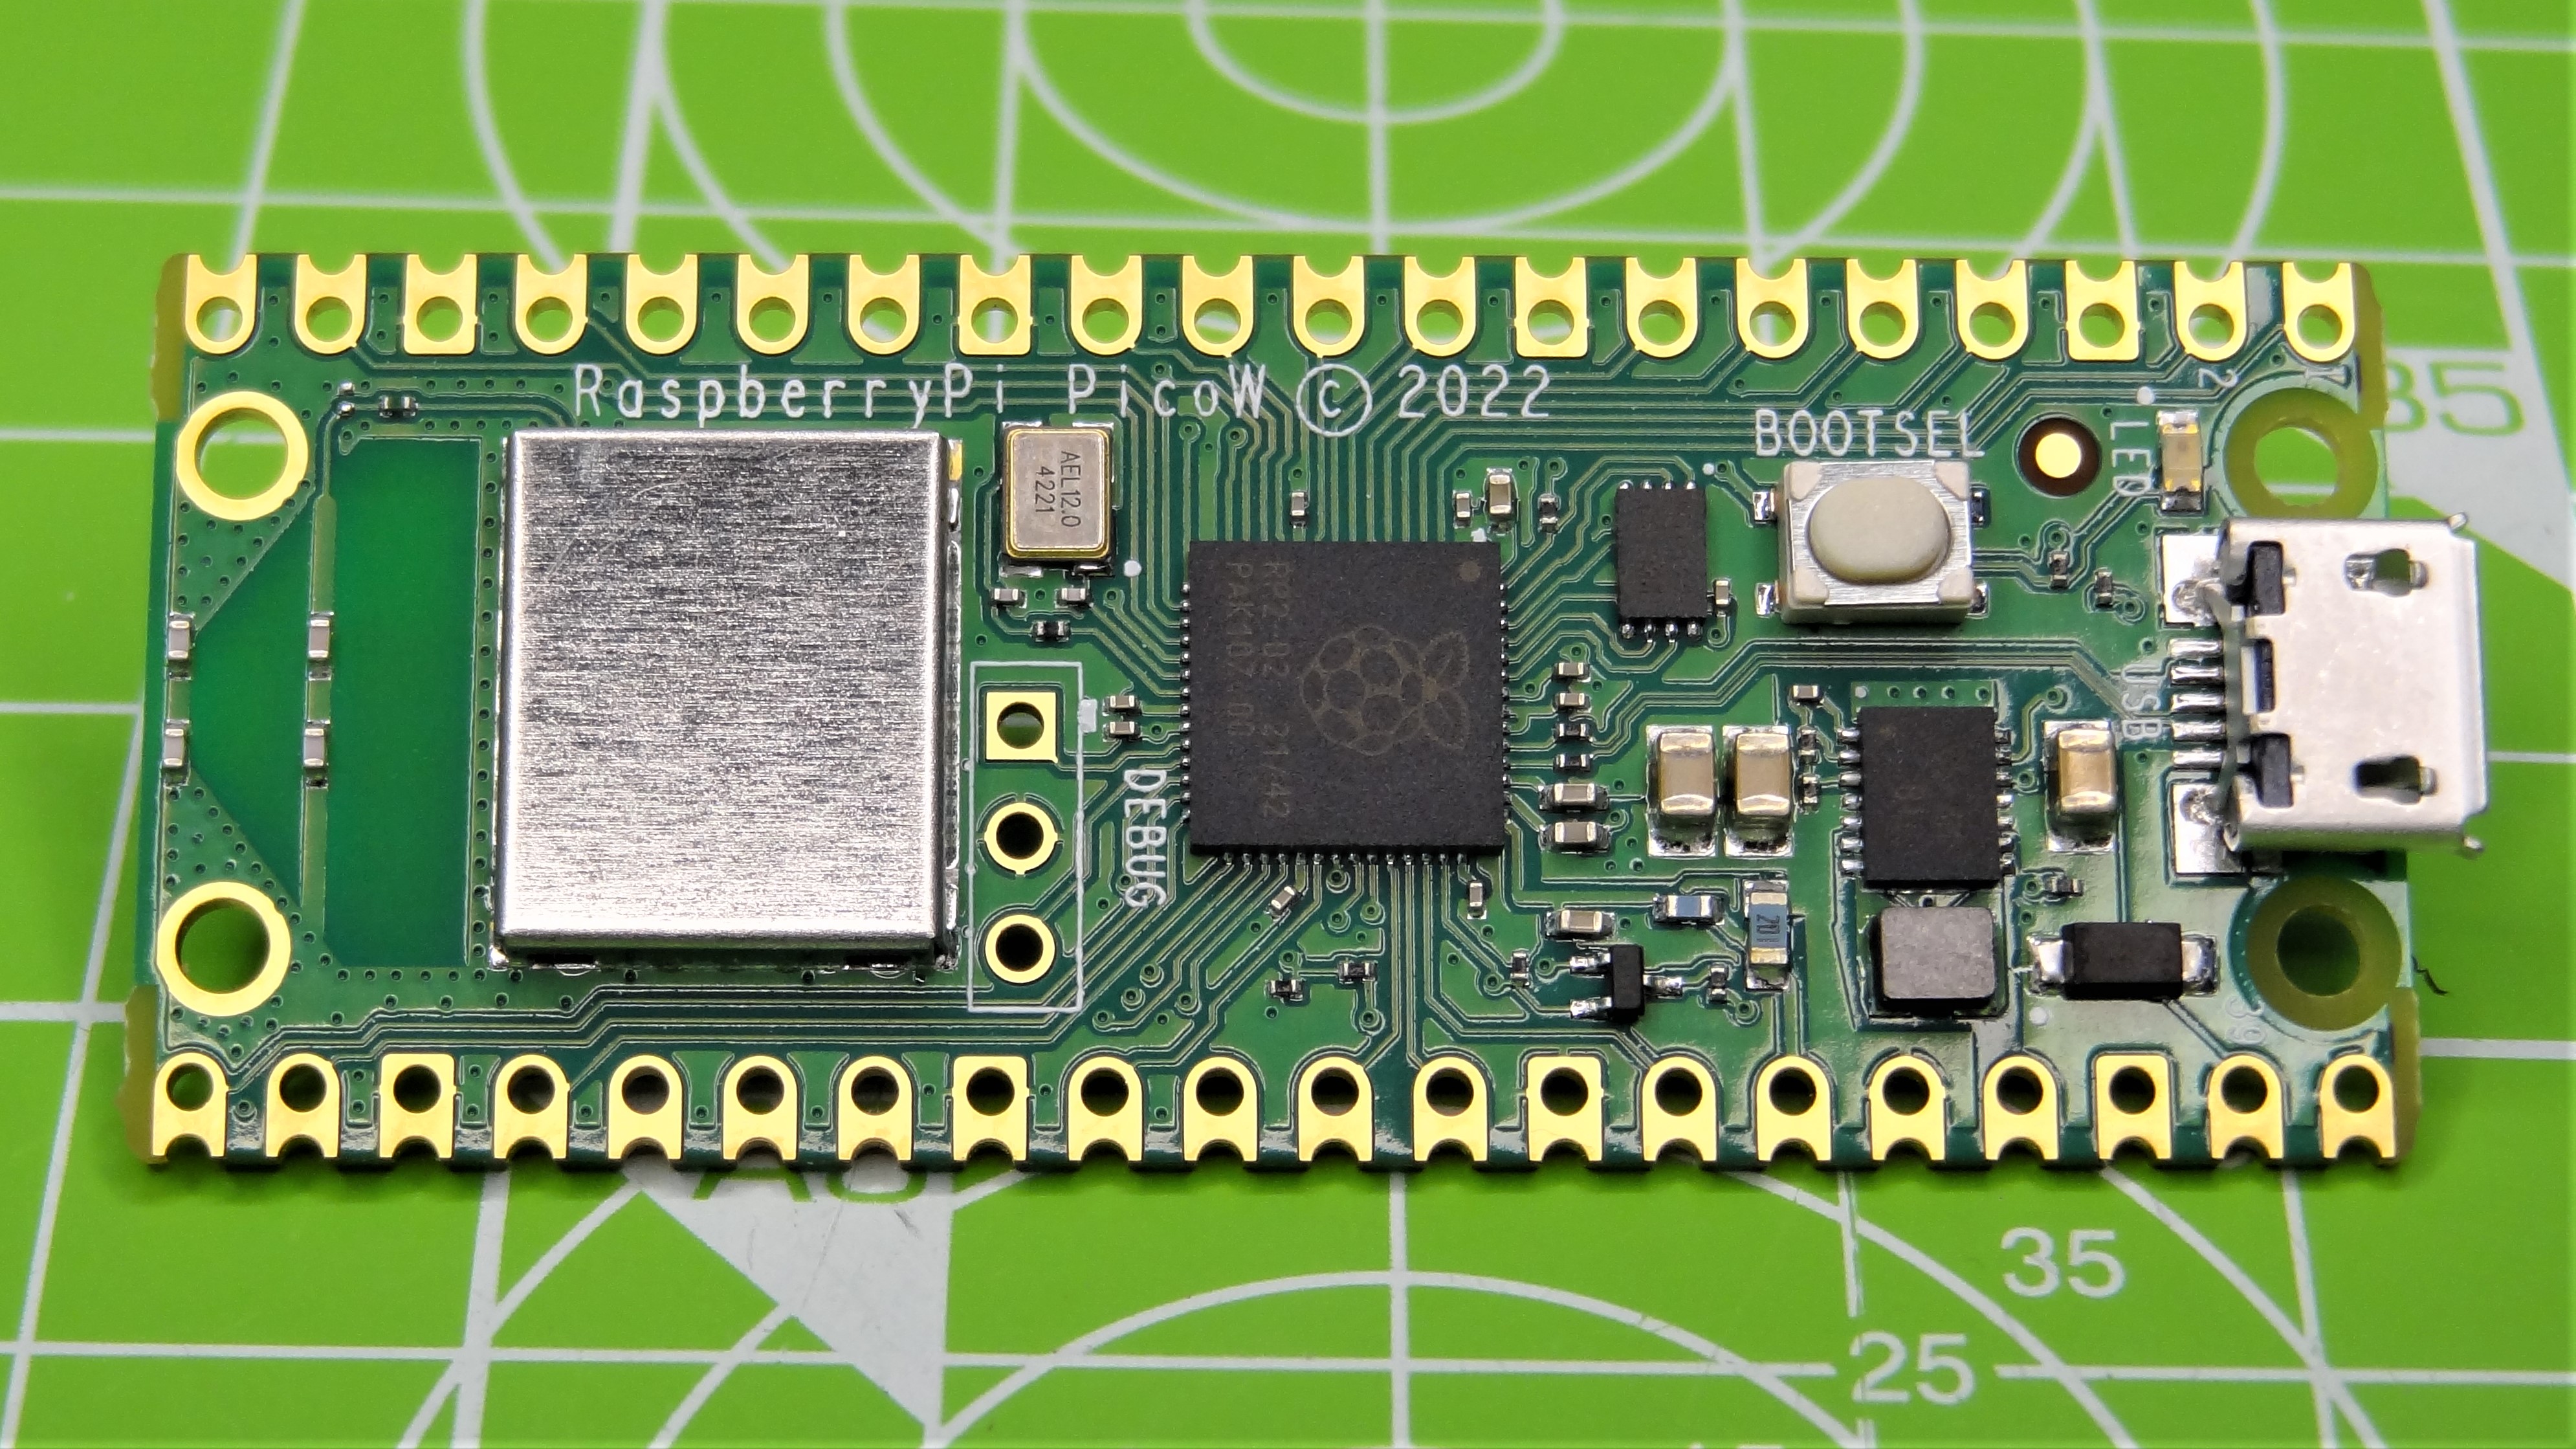
With the arrival of the Raspberry Pi Pico W we have a low power, microcontroller with a competent Wi-Fi chip, in the Pico form factor and only $6!
So where do we start? How do we get our Raspberry Pi Pico W online, and where can we find interesting data to collect? Let us guide you through making the most of your $6 Raspberry Pi Pico W.
Getting the Raspberry Pi Pico W Online
The Raspberry Pi Pico W comes with an Infineon CYW43439 2.4 GHz Wi-Fi chip and onboard antenna. This means we get good Wi-Fi reception without the need for lots of wires. We’re using the latest MicroPython release for the Pico W as it offers the easiest means to get online and do fun projects.
1. Setup your Raspberry Pi Pico W by following our getting started guide. You will need to install MicroPython on your Pico W before you can proceed further.
2. Open the Thonny editor to a blank document.
3. Create an object called SSID and in it store the SSID of your Wi-Fi access point.
Get Tom's Hardware's best news and in-depth reviews, straight to your inbox.
SSID = "YOUR WIFI AP"4. Create an object called PASSWORD and store your Wi-Fi password.
PASSWORD = "TRUSTNO1"5. Save the file to the Raspberry Pi Pico W as secrets.py By storing our sensitive details in a secrets file, we can freely share the project code with friends, or online. Just remember not to share the secrets file too.
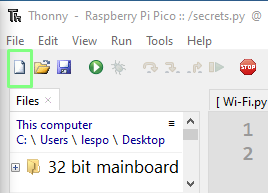
6. Click on New File to create a new blank document.
7. Import three modules of code, network, secrets and time. These three modules enable our Pico to connect to a Wi-Fi network, use the data stored in secrets.py and to add a pause to the code.
import network
import secrets
import time
8. Create an object, wlan, to create a connection from our code to the Pico W wireless chip. We use this connection to issue commands that will connect and check our Wi-Fi connection.
wlan = network.WLAN(network.STA_IF)9. Turn on the Raspberry Pi Pico W’s Wi-Fi.
wlan.active(True)10. Connect to your router using the SSID and PASSWORD stored in the secrets.py file.
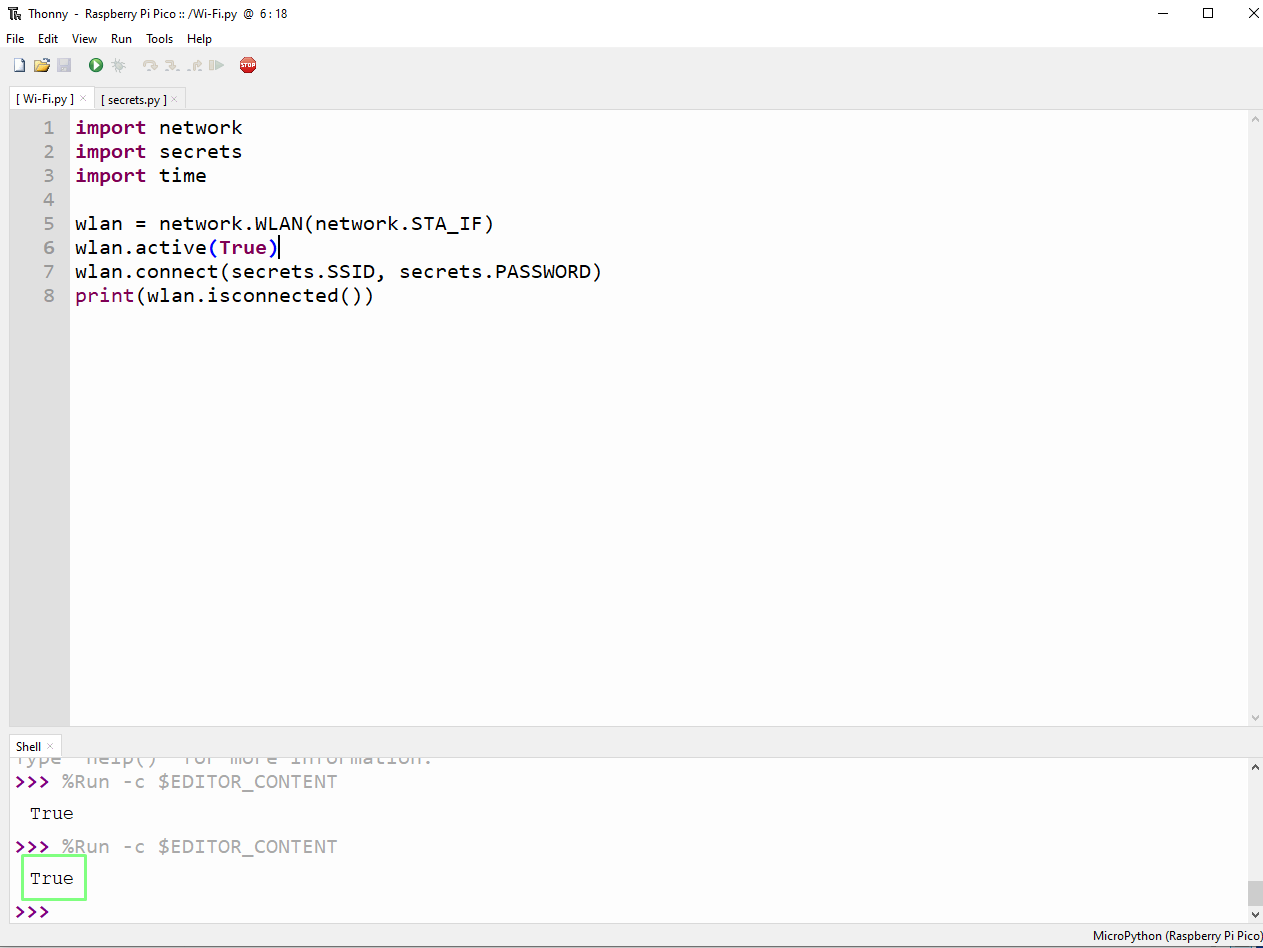
wlan.connect(secrets.SSID, secrets.PASSWORD)11. Print the connection status to the Python shell. This will print True if connected, and False if the connection failed.
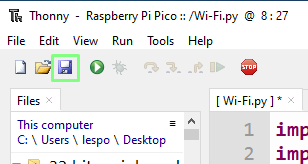
12. Click Save and then select “Raspberry Pi Pico”. Save the file as Wi-Fi.py to the Raspberry Pi Pico W.
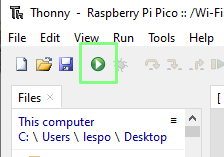
13. Click on Run to start the code.
14. Look in the Python Shell for True or False. True means we are connected.
Complete Code Listing
import network
import secrets
import time
wlan = network.WLAN(network.STA_IF)
wlan.active(True)
wlan.connect(secrets.SSID, secrets.PASSWORD)
print(wlan.isconnected())
Using the Raspberry Pi Pico W With External Data
Now that we have an Internet connection, we will use it with publicly available datasets to pull data from external sources and display it on the Pico W. For this example we are going to use Open Notify’s “How many people are in space right now” dataset. This has the number and names of all the astronauts currently on the International Space Station.
We are going to adapt our previous example code, Wi-Fi.py.
1. Add a line after “import time” and import the urequests module. This module enables us to work with network requests such as HTTP and JSON.
import urequests2. After print(wlan.isconnected()) add a new line which creates an object “astronauts” and then uses urequests to get the information in a JSON format. JavaScript Object Notation is an open standard file format which bears a striking resemblance to Python’s Dictionary which uses keys (names) to retrieve values from the object.
astronauts = urequests.get("http://api.open-notify.org/astros.json").json()3. Create an object, number, which will open the astronauts object, and look for the key ‘number’. The value linked to that key is then stored in the number object.
number = astronauts['number']4. Create a for loop that will iterate for the number of people on the International Space Station. This value could change as astronauts come and go, so rather than hard coding a value we use the live data.
for i in range(number):5. Print the name of each astronaut on the International Space Station using a series of keys that target the specific data. Our dictionary ‘astronauts’ has many keys, but we are interested in the ‘people’, the value of “i” will increment each time the loop goes round, and it selects each person from a list embedded in the dataset. We then use another key, ‘name’ to get the name of that astronaut.
print(astronauts['people'][i]['name'])6. Save the code and when ready click on Run to start the code.
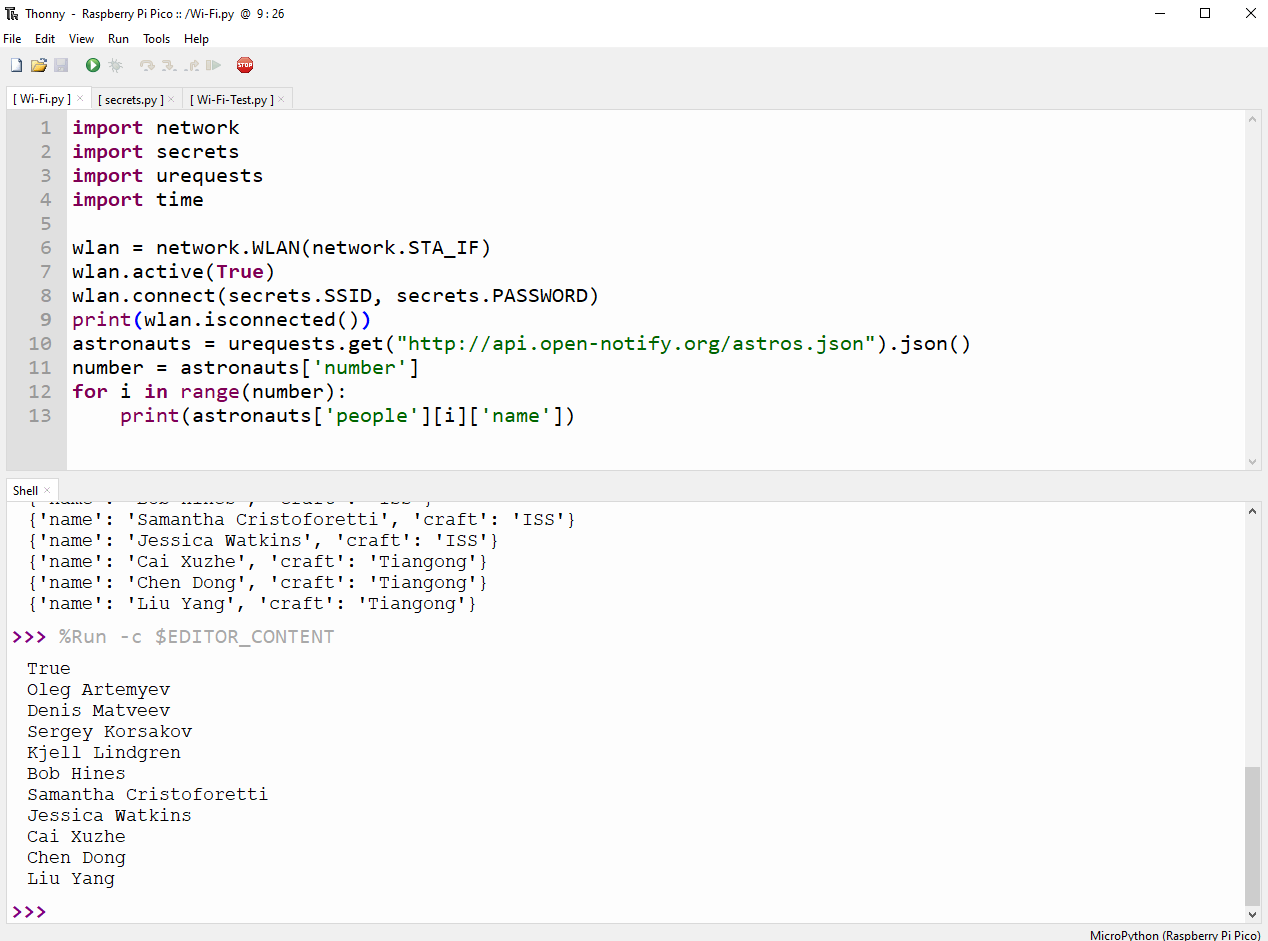
7. The names of all the astronauts on the International Space Station will appear in the Python Shell. Note that “True” still appears, confirming that our Internet connection is established.
Complete Code Listing
import network
import secrets
import time
import urequests
wlan = network.WLAN(network.STA_IF)
wlan.active(True)
wlan.connect(secrets.SSID, secrets.PASSWORD)
print(wlan.isconnected())
astronauts = urequests.get("http://api.open-notify.org/astros.json").json()
number = astronauts['number']
for i in range(number):
print(astronauts['people'][i]['name'])
Les Pounder is an associate editor at Tom's Hardware. He is a creative technologist and for seven years has created projects to educate and inspire minds both young and old. He has worked with the Raspberry Pi Foundation to write and deliver their teacher training program "Picademy".
-
cincfleet Hi I spent most of Saturday unable to get the new pico w connected :mad:, untill I found your link and instructions on Sunday. It probably took 5 mins and it now works a treat. Thank you for the information. :D(y)(y)Reply
Rgds
Steve -
kaz451 im all new to this and all i get is this ...Reply
Traceback (most recent call last):
File "<stdin>", line 1, in <module>
ImportError: no module named 'network'
where do i find the network moduel ? -
Guilamine Hi,Reply
I also get an error as below
I copied and pasted all the code from the webpage.
Traceback (most recent call last):
File "<stdin>", line 12
SyntaxError: invalid syntax
That line is
print(astronauts)
Any ideas why that line gives a syntax error?
Thanks
Guilamine
