How to Create a Zoom Meeting “On Air” Light with Raspberry Pi
Let others know not to bother you.
With work from home here to stay, I need a way to make sure I don’t get interrupted when I’m on a call or in important meetings - and what better way to do that than an on-air light that shows everyone in my home that I’m busy. I primarily use Zoom for my conference calls, so today we’ll be using the Zoom API, a Raspberry Pi, and some programmable LEDs to make an automatic, zoom-detecting, on-air light. This is a great first Raspberry Pi project if you’re just getting started with Pis or electronics - here’s how you do it.
What You’ll Need For This Project
- Raspberry Pi 4 or Raspberry Pi 3 or Raspberry Pi Zero with power adapter
- 8 GB (or larger) microSD card with Raspberry Pi OS. See our list of best microSD cards for Raspberry Pi.
- Small wooden project box with a lid, and thin wood
- Drill & drill bit set
- Soldering Iron & Solder
- WS281x 5v LEDs
- At least 3 Jumper wires
- Printer & paper
- Hot glue & hot glue gun
- A Zoom account
- Double sided tape or glue stick
How to make a Raspberry Pi “On Air” Light
Before you get started, make sure that you have your Raspberry Pi OS set up. If you haven’t done this before, see our article on how to set up a Raspberry Pi for the first time or how to do a headless Raspberry Pi install (without the keyboard and screen).
1. Install git, which will allow us to clone the code from github.com
sudo apt-get update && sudo apt-get install -y git
2. Clone the repository and descend into the directory created.
git clone https://github.com/rydercalmdown/on_air_light.git
cd on_air_light
3. Run the installation command. It will take care of installing a virtual environment, any necessary low level dependencies, and the python requirements.
make install
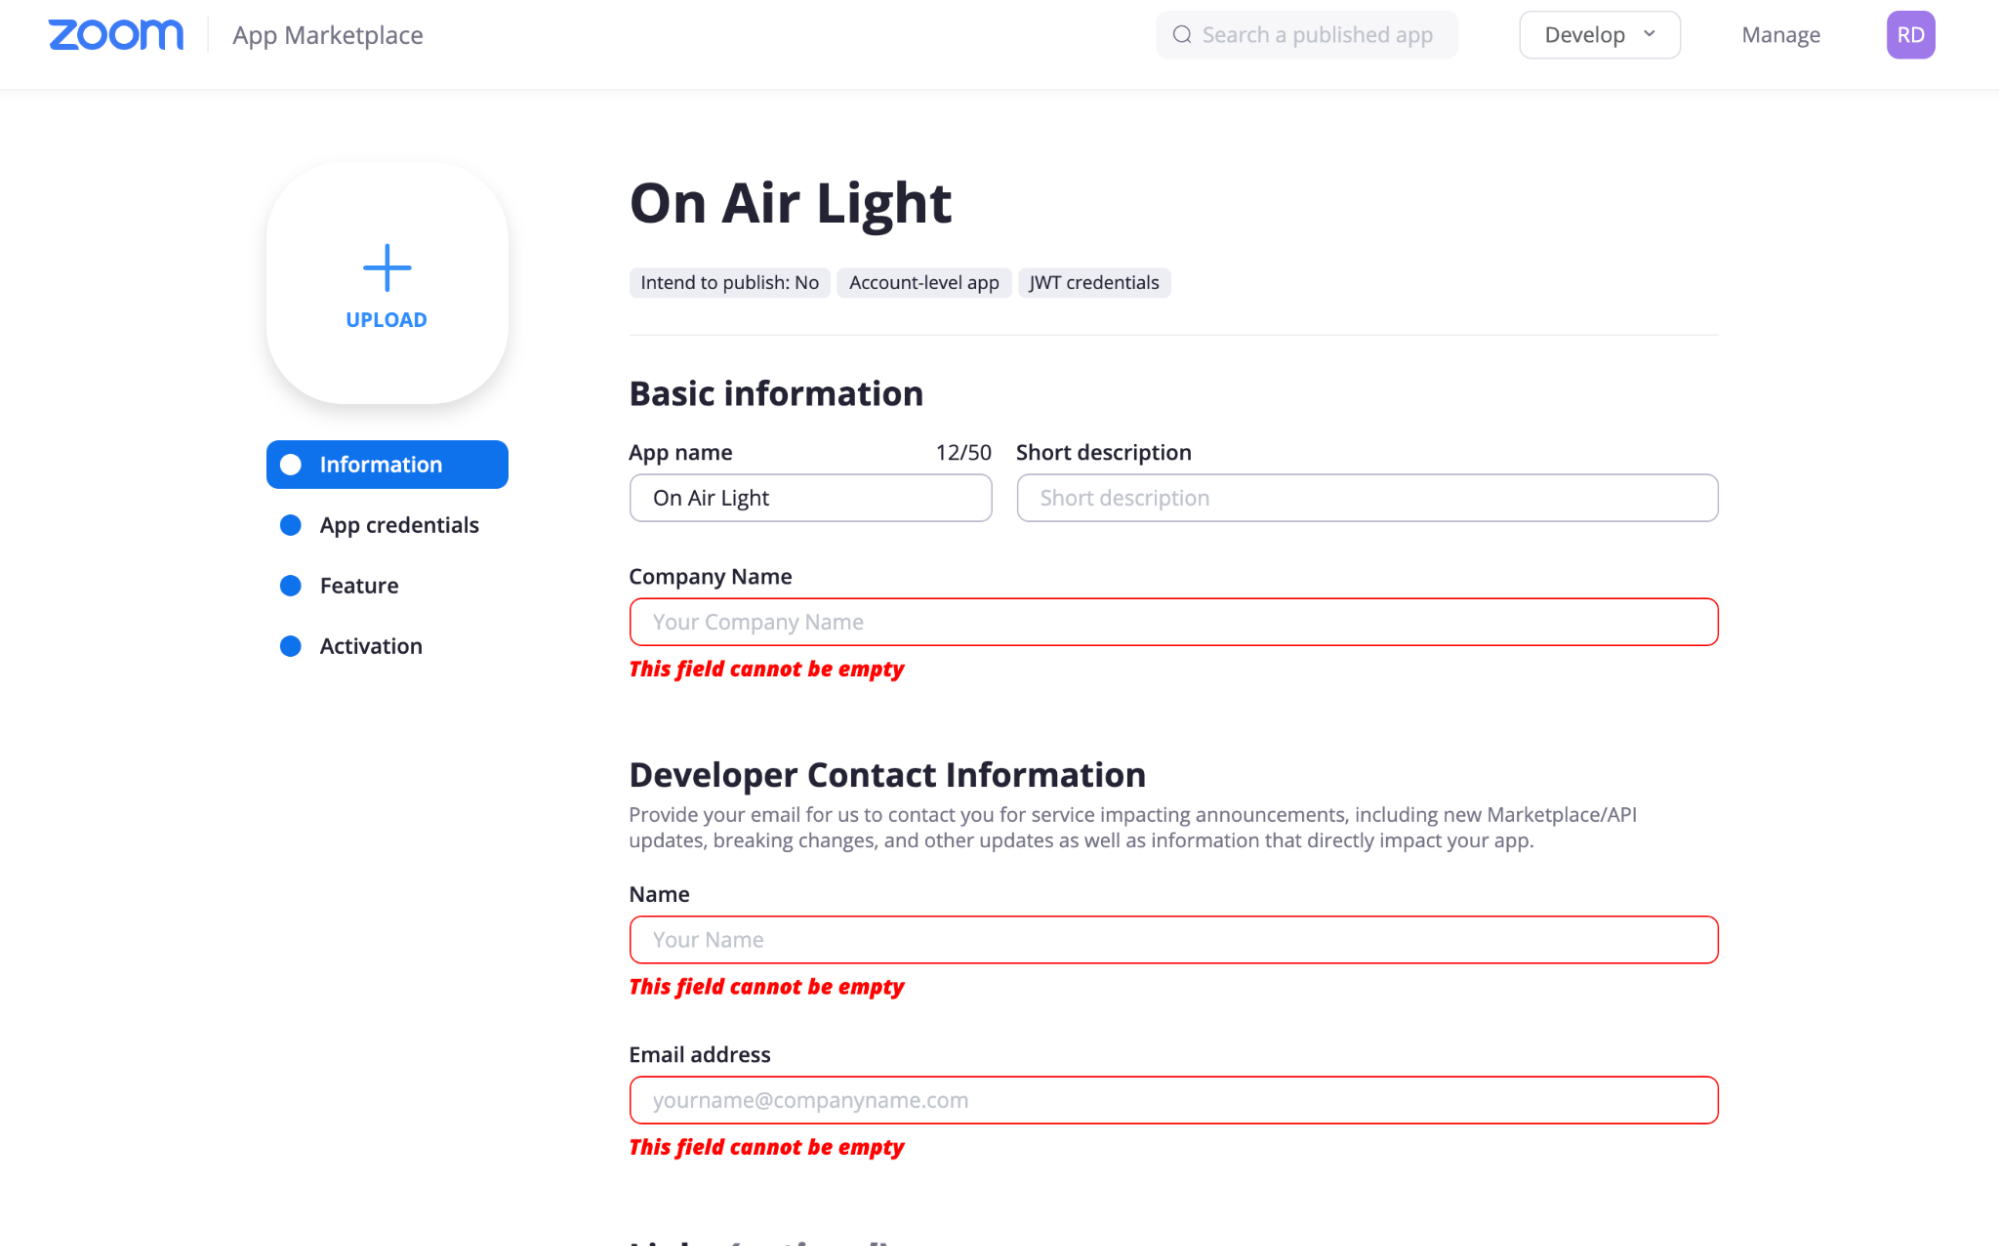
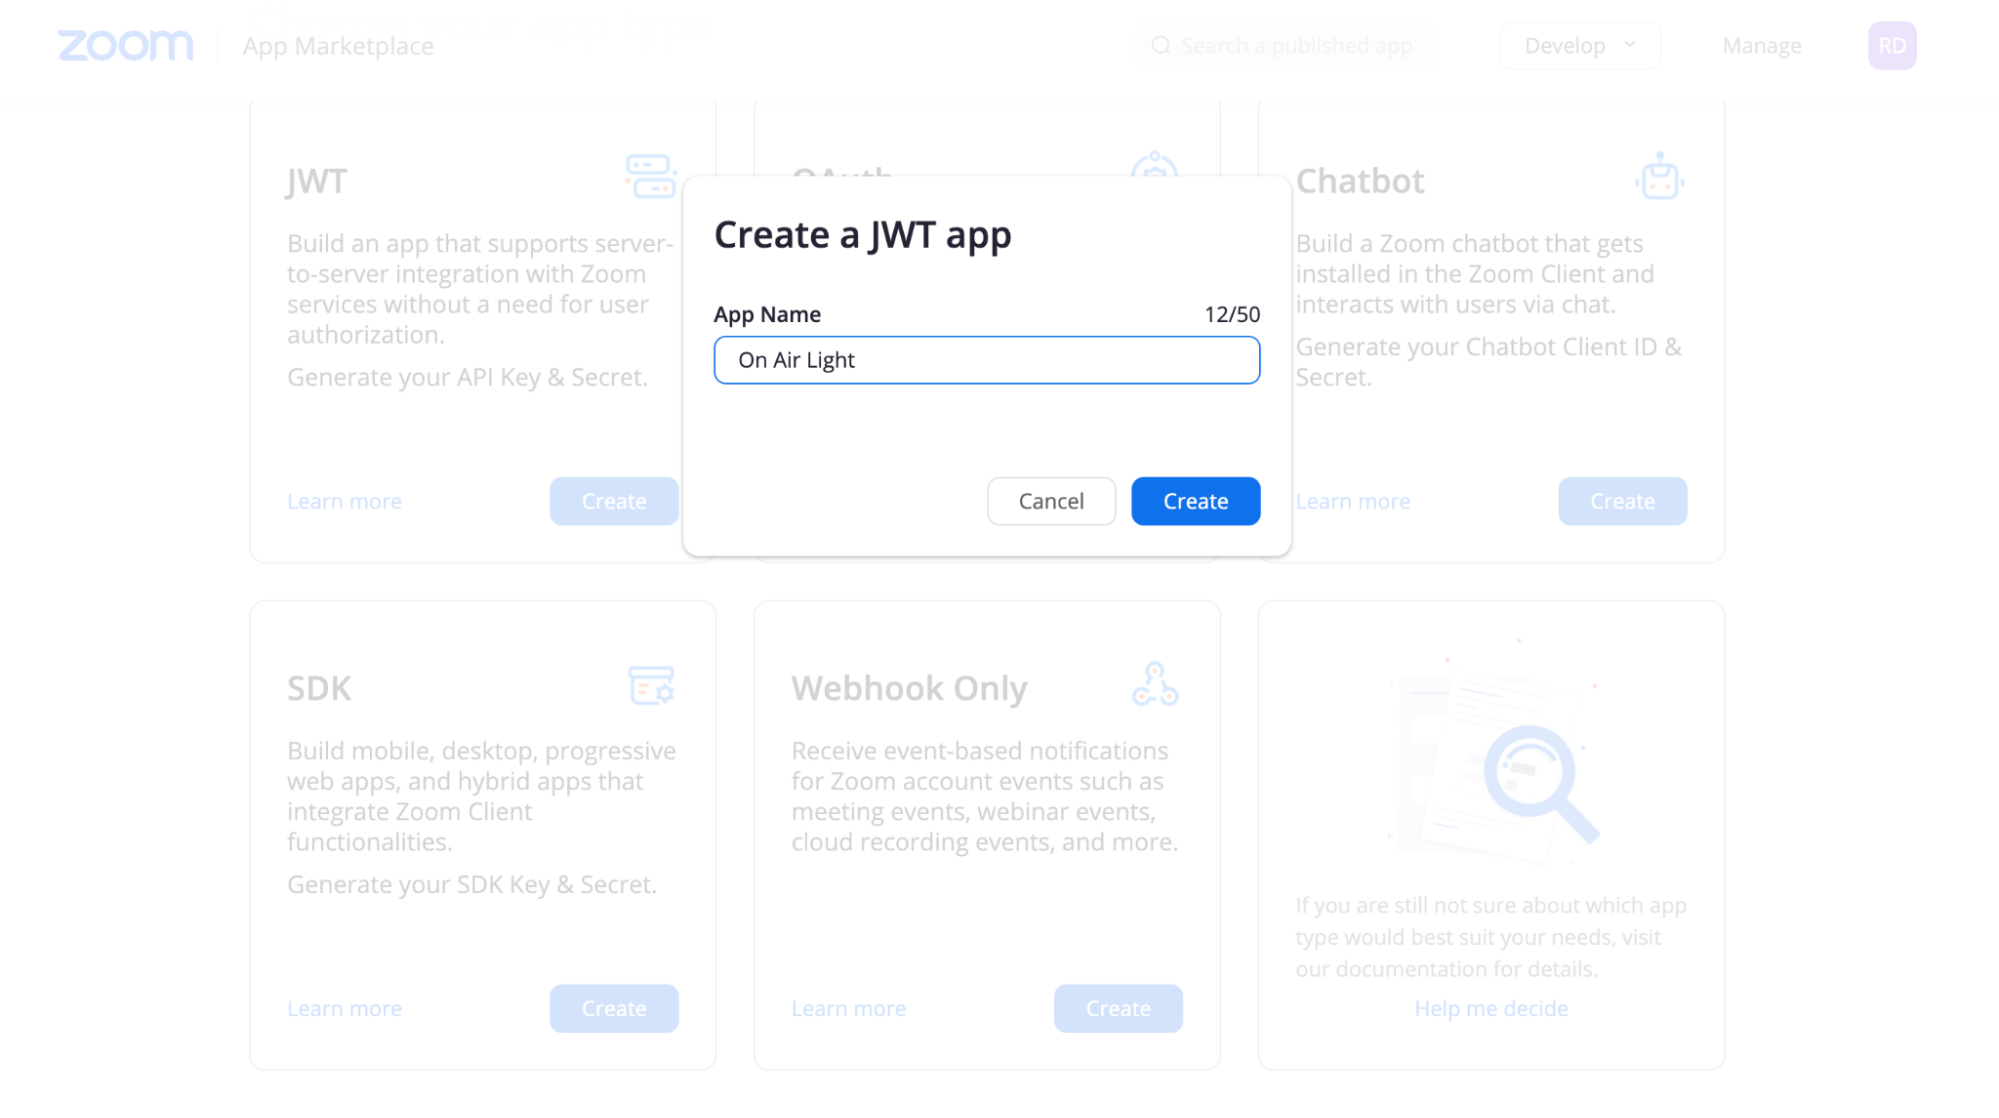
4. Create a Zoom Application with your personal account by visiting marketplace.zoom.us and creating an application. The name or details don’t matter, since this application will just be for you.
5. Download the JWT credentials for your application and keep them for a later step.
Get Tom's Hardware's best news and in-depth reviews, straight to your inbox.
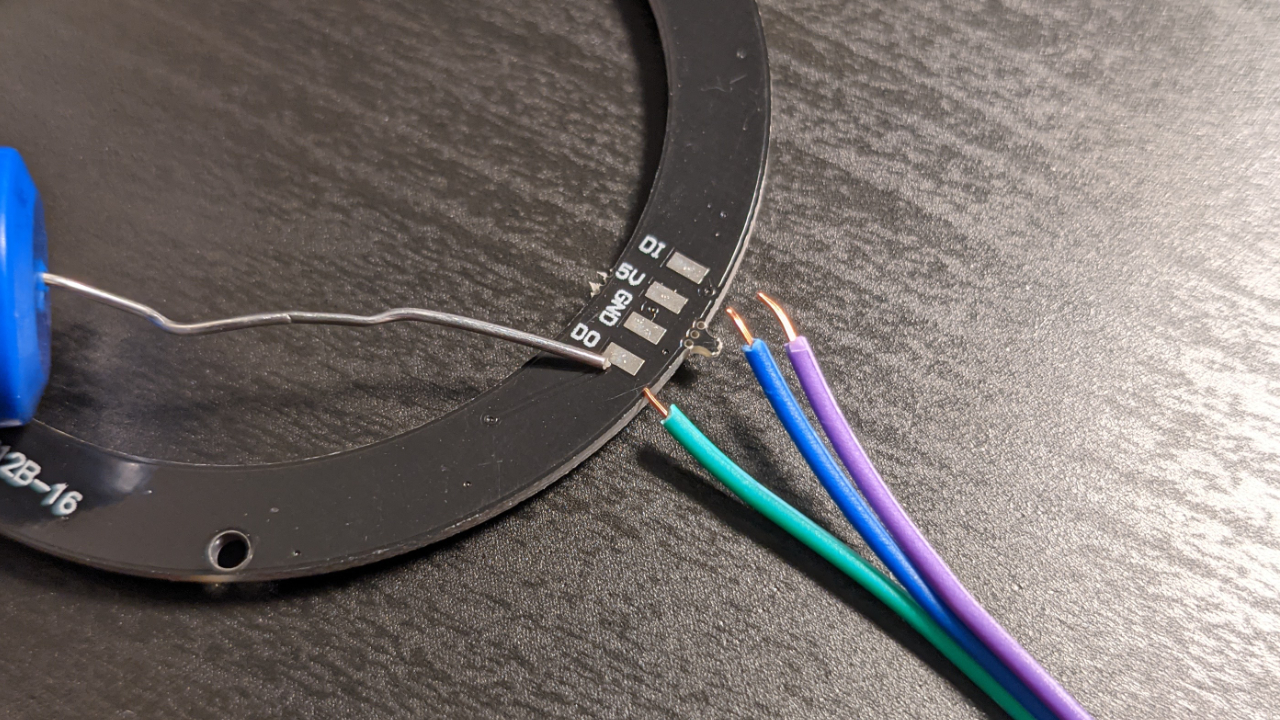
6. Solder jumper wires to your WS28x individually addressable LEDs; you’ll need to solder 5v, ground, and data in (Din). Keep note of which color is which.
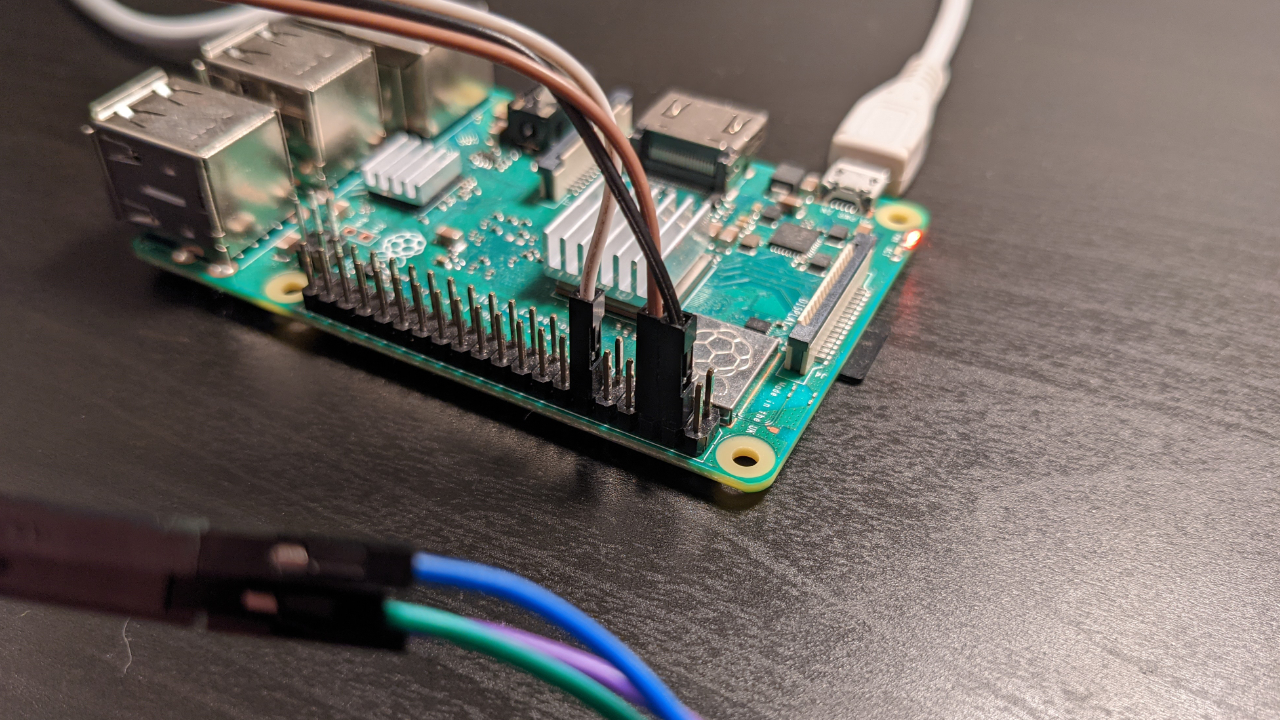
7. Connect the 5V jumper wire and ground to Raspberry Pi board pins 4 and 6 respectively.
8. Connect the data in jumper wire to Raspberry Pi board pin 12 (BCM pin 18).
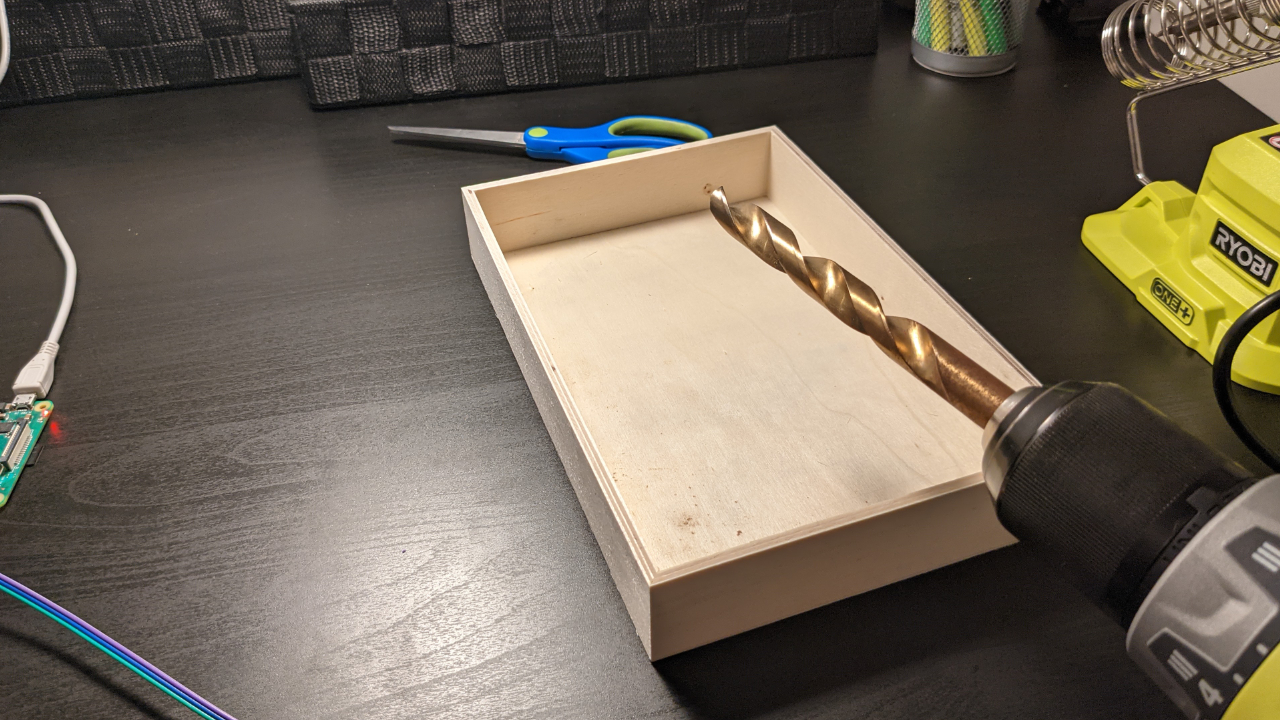
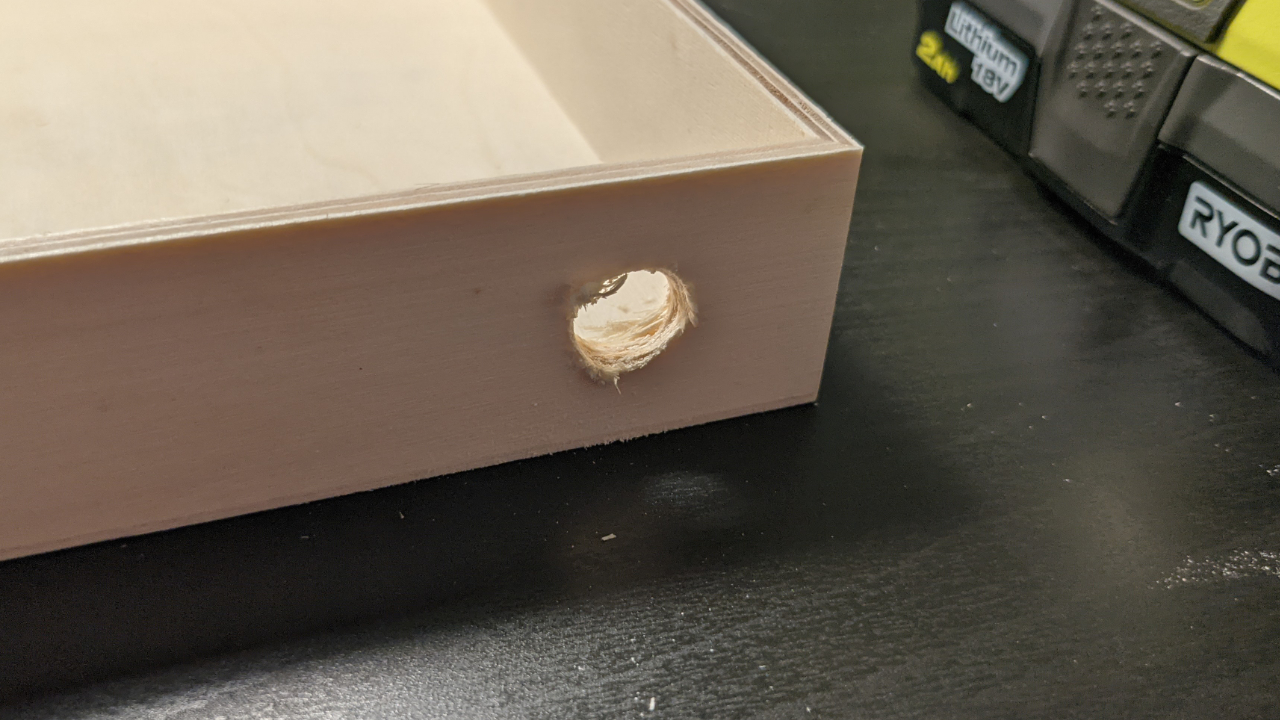
9. Using a drill and a bit large enough to create a hole to fit a USB adapter through, drill a hole in the side of your project box.
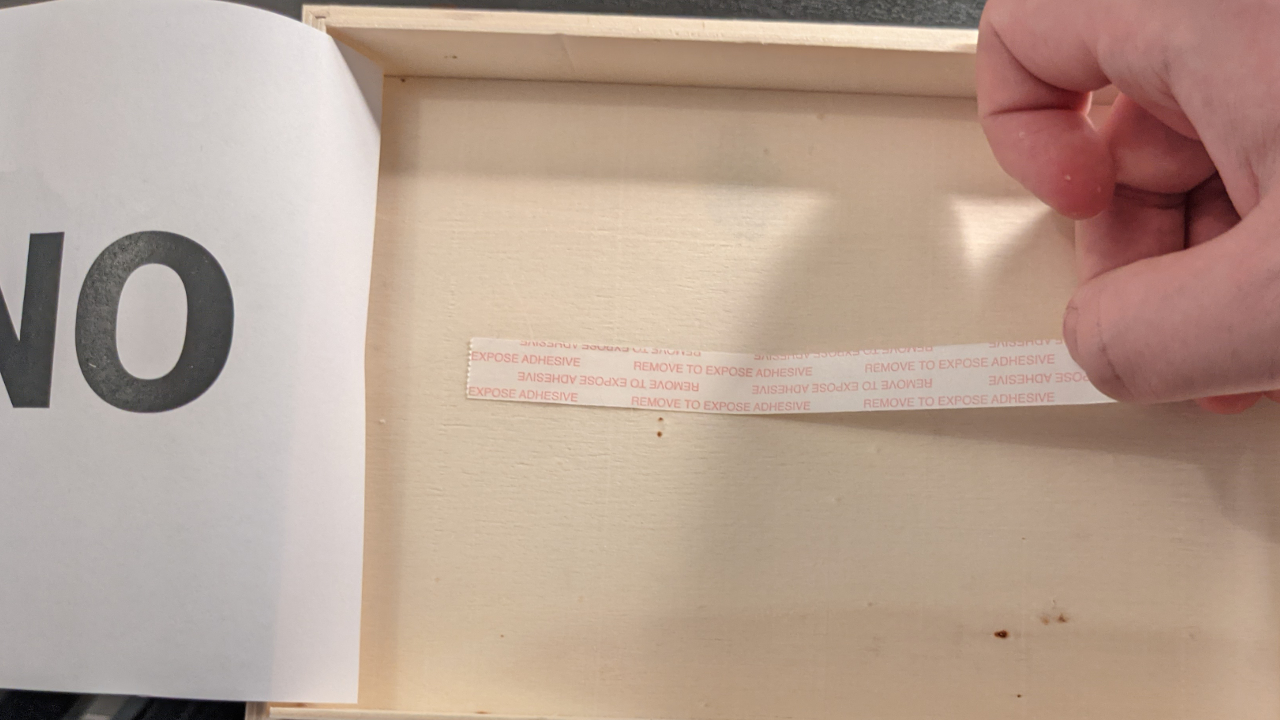
10. Print out the words “On Air” in the centre of a piece of paper, and cut it to fit into the lid of your box.
11. Attach it printed side down with double sided tape or a glue stick.
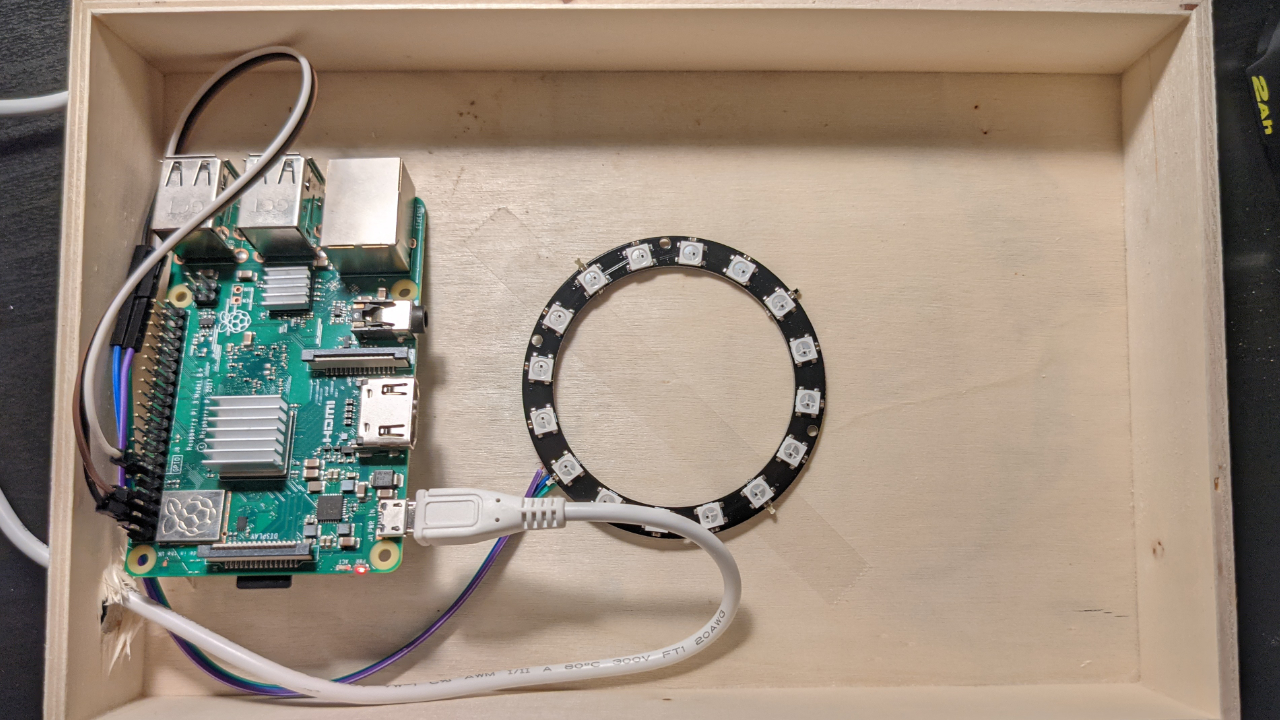
12. Attach your LEDs and Raspberry Pi to the back of the project box with hot glue, feed in the USB adapter through the hole and plug in your Pi.
13. Close up the lid of your box.
14. Using the credentials received from the Zoom marketplace, export the following environment variables
export ZOOM_API_KEY=your_api_key_from_marketplace
export ZOOM_API_SECRET=your_api_secret_from_marketplace
export ZOOM_USER_EMAIL=the_email_address_you_use_to_sign_into_zoom_with
15. Next, start the application with the following command.
source env/bin/activate && cd src && sudo --preserve-env $(which python) app.py
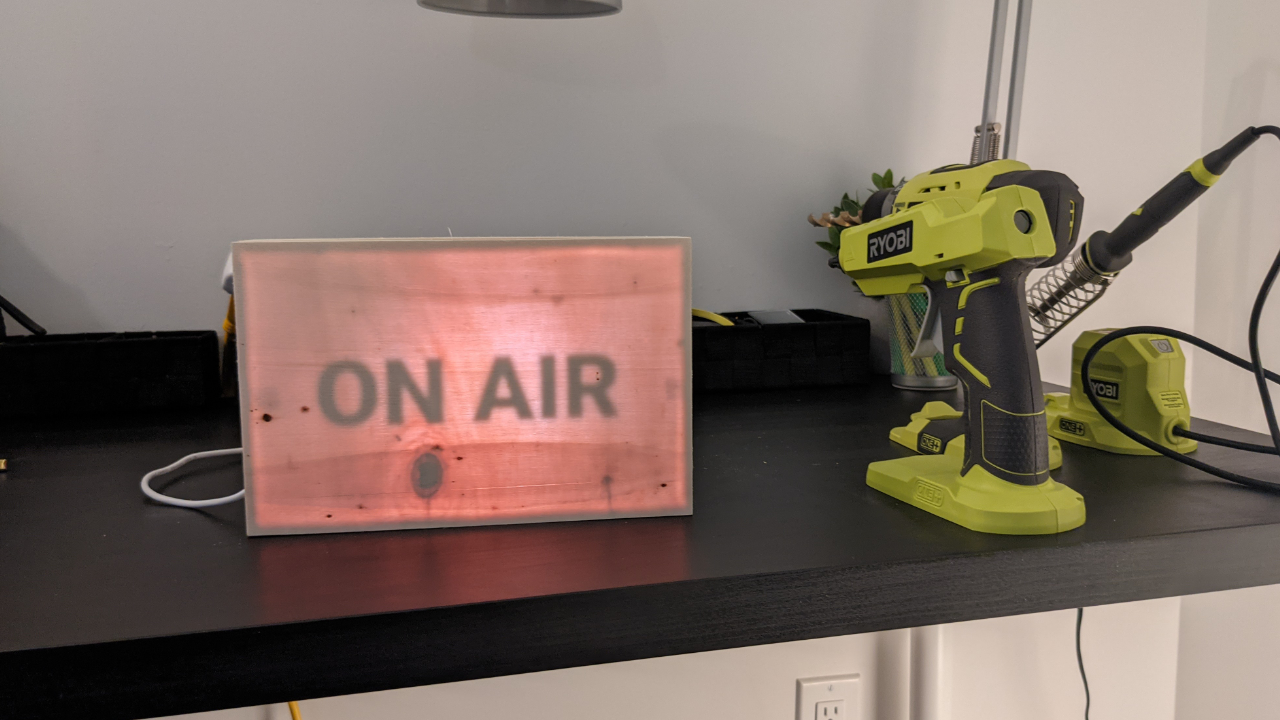
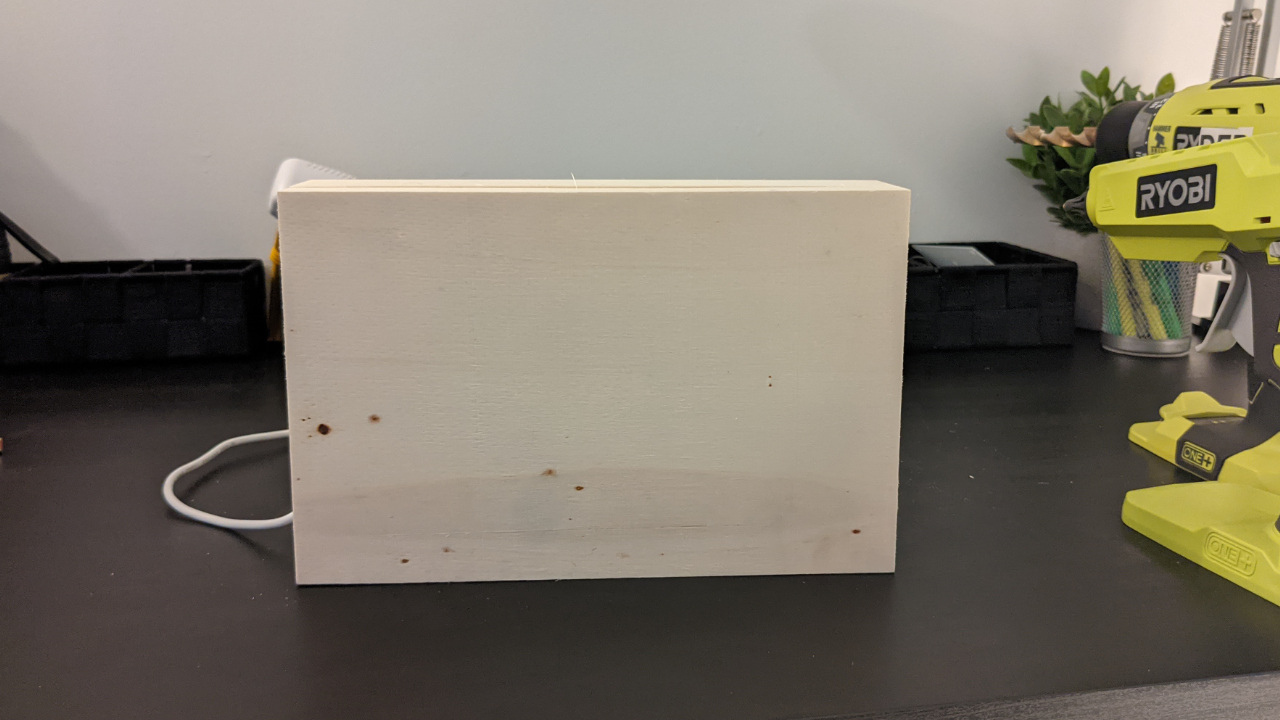
The application will start and flash the lights to test them immediately. Once the test is complete, it will continuously ping the Zoom API to check if your account is in a meeting. When you join a meeting, the box will flash, and then remain steady until you exit the meeting, at which point it will return to a normal looking wooden box.

Ryder Damer is a Freelance Writer for Tom's Hardware US covering Raspberry Pi projects and tutorials.
-
husker Yes, here is a schematic:Reply
Electricity here ------> Switch here -------> On Air Light here
When busy, flip switch to on. When not busy flip switch to off. For more detailed instructions visit https://www.abcmouse.com/ -
jdeboer14 I attempted this build, but it is giving meReply
File "/home/pi/on_air_light/src/app.py", line 40, in _set_current_user
raise Exception('User email not found')
Exception: User email not found
Any thoughts? Thanks!
