How To Remove Image Backgrounds Using Gimp
GIMP has many tools that allow us to select and remove backgrounds.
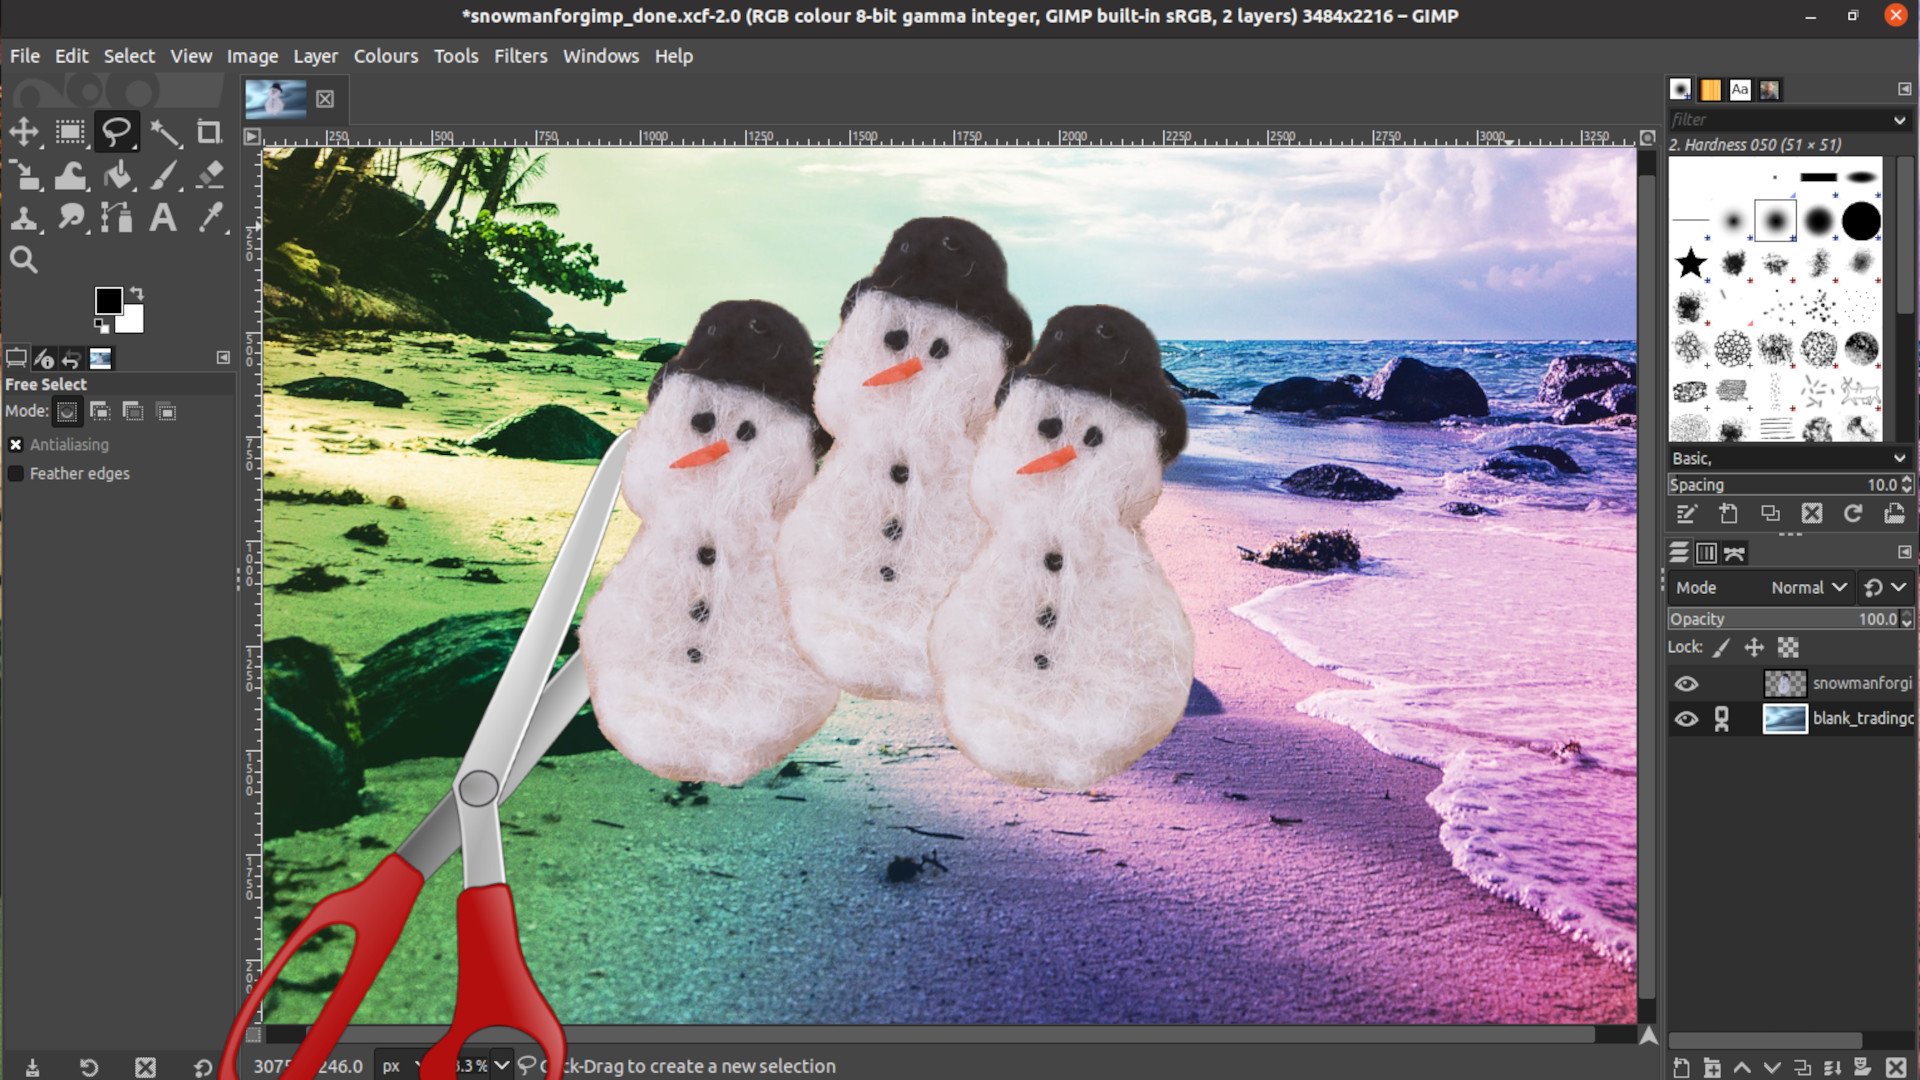
The GNU Image Manipulation Program or “GIMP” is an amazing piece of free and open source software created and maintained by a dedicated group of volunteer developers. It’s an incredibly fully featured image editor with powerful tools to make the best of your graphics and photographs. Don’t be daunted by its complexity; sometimes it’s just a really useful tool for simpler tasks. We’ve published other tutorials on how to resize images in GIMP and how to make GIMP look more like Photoshop, but what if you just want to remove the background from an image in GIMP:
There are numerous reasons you might want to remove a background from an image but it can be a challenging process. There are however numerous excellent tools and approaches to completing this task and in this how-to we shall explore how to use them in GIMP.
Preparing the Image in GIMP
1. Launch GIMP and use “File – Open” to select the image you wish to remove the background from. We’ve used this picture of a wool craft project snowman as it has some trickier aspects, such as a very wooly and fuzzy outline which will allow us to show a variety of approaches.
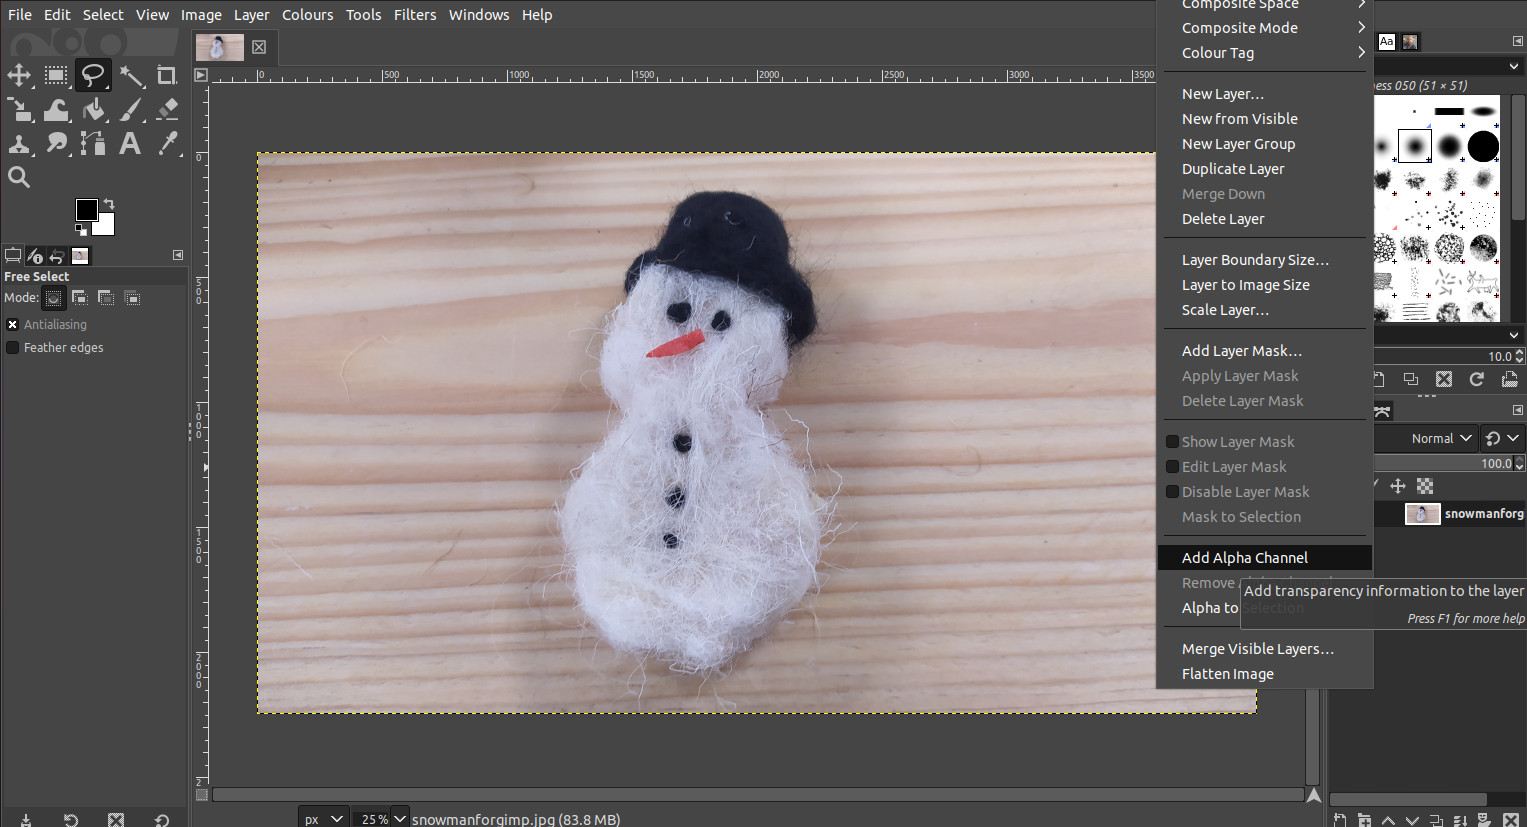
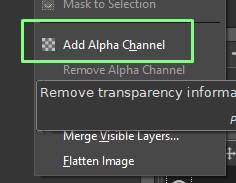
2. Add an “alpha channel” to the active layer by left clicking on the active layer, then right click and select “Add Alpha Channel”.
We are now ready to start to use various tools to remove the background. It’s worth noting though that the tools we are about to explore are all types of selection tools, although for this task we are always deleting what we select, these selection methods can be used with other tools; moving, scaling, the bucket fill tool and many more.
Using Fuzzy Select in GIMP
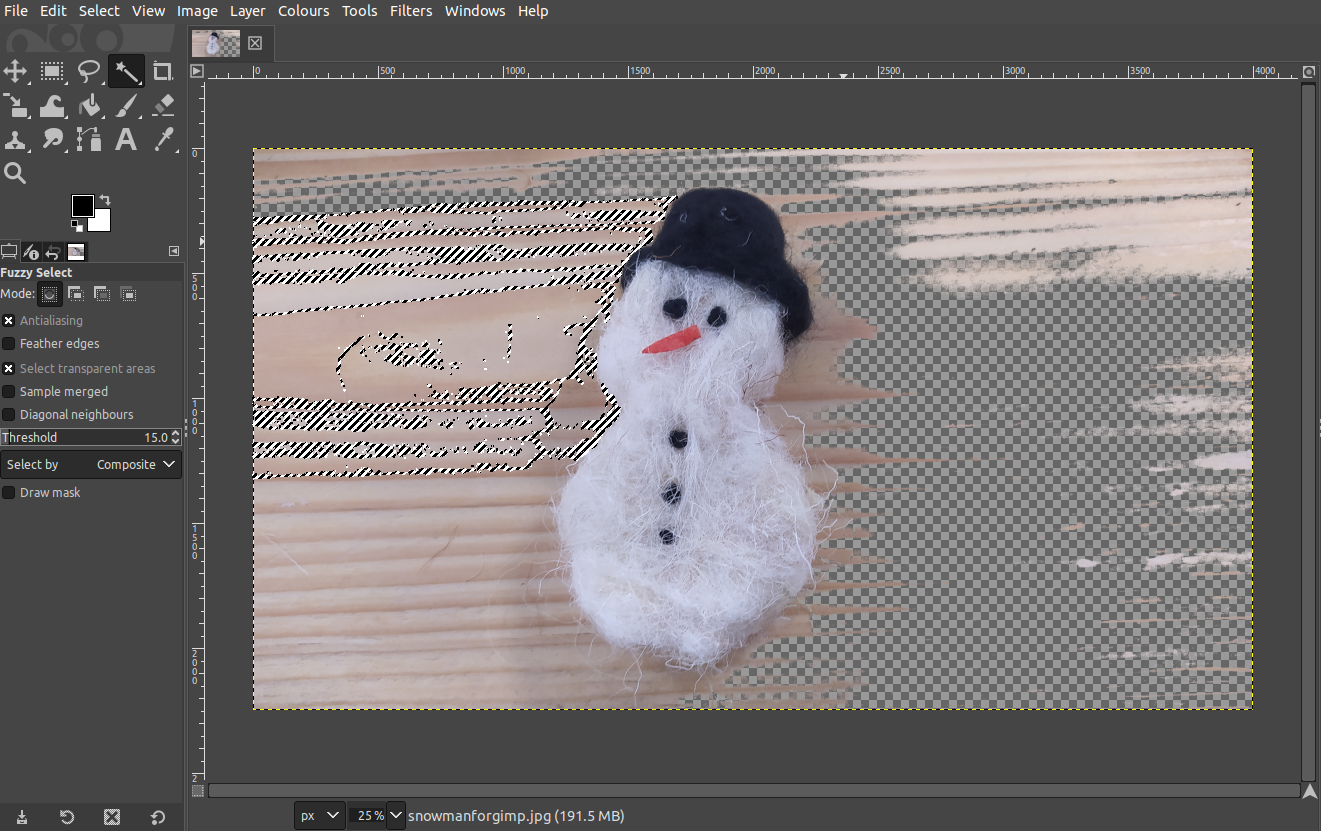
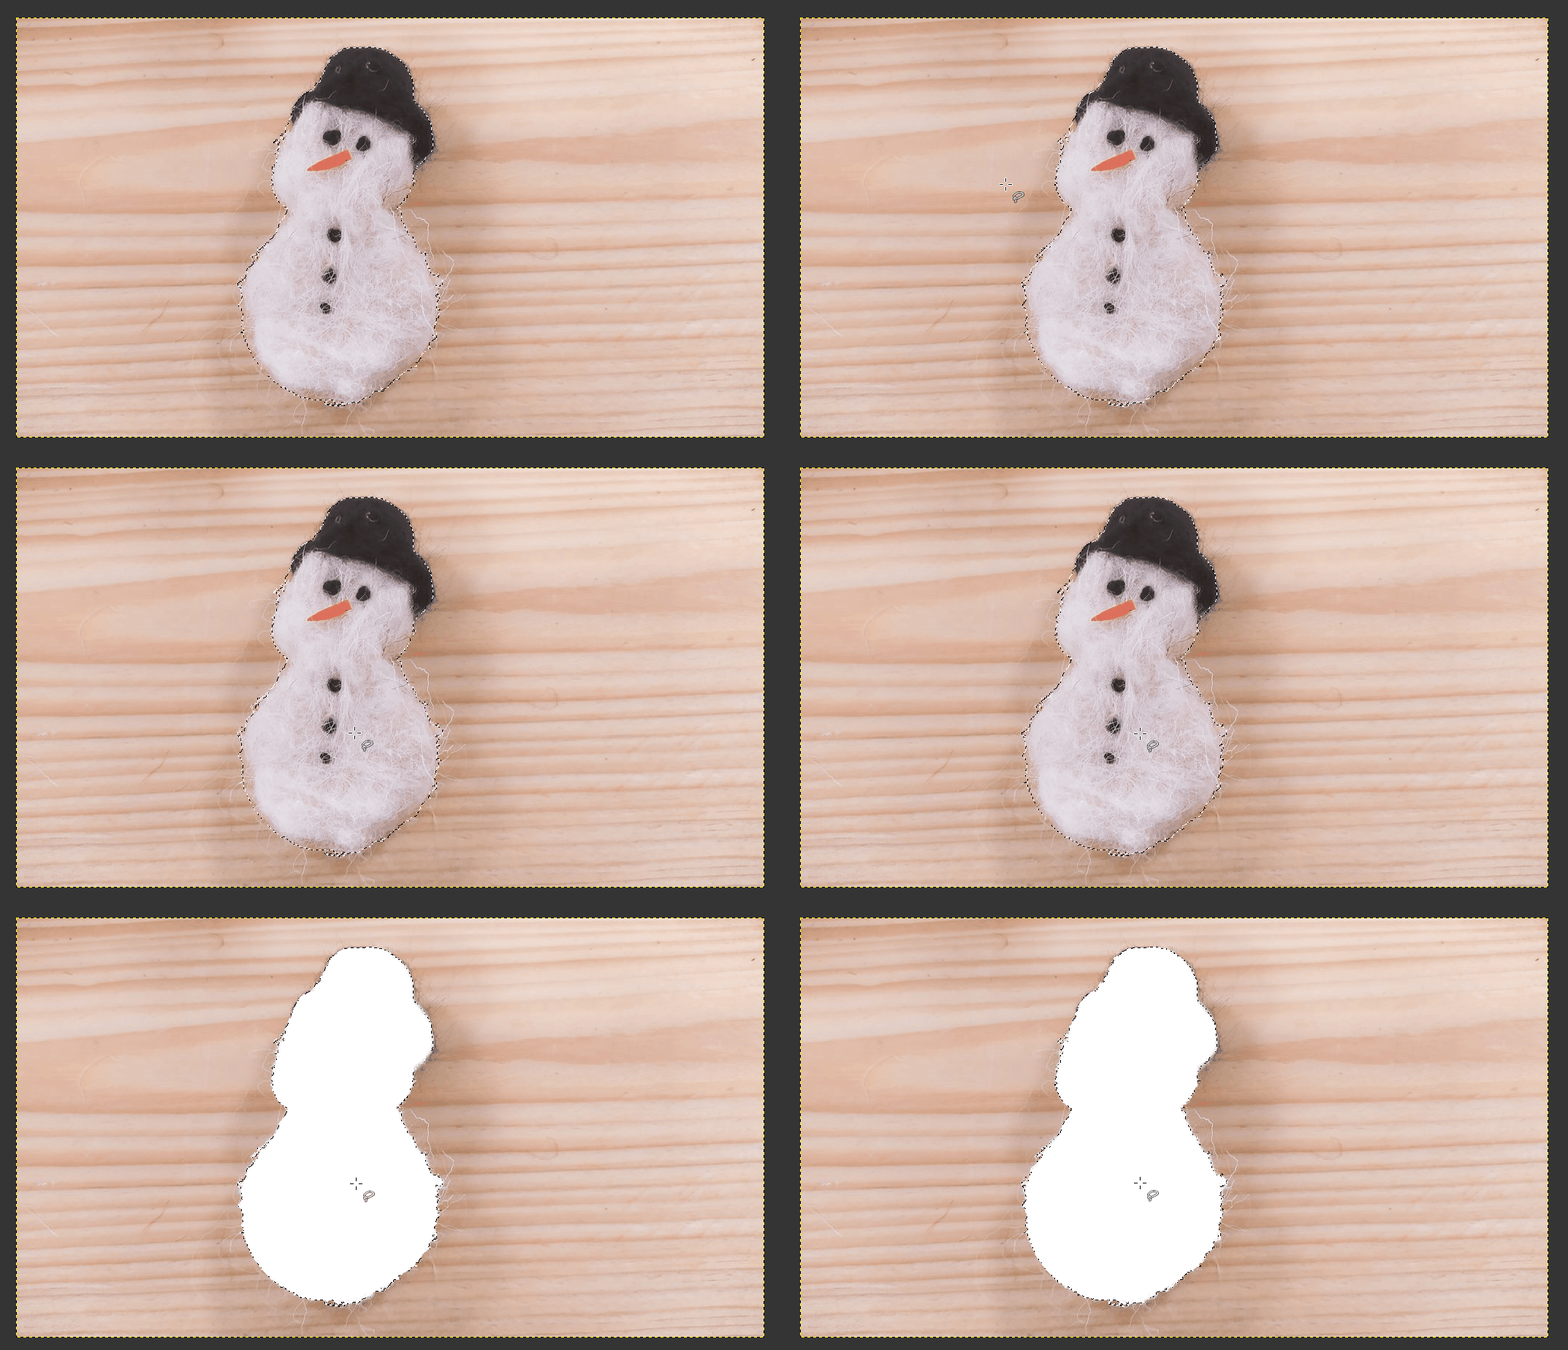
1. Select the Fuzzy Select tool, it looks like a wand and left click anywhere in a background area of the picture. The Fuzzy Select tool will now select an area of background that matches the color of the area where you clicked. In our case it selects a continuous area of the wood grain in the background of the image that is all the same color. An image with a consistent background, such as an object against a clear blue sky would select the entire background in one go.
2. Press the delete key to remove that area. Repeatedly selecting areas with the Fuzzy Select tool we can remove a lot of the background area of our image but it would require a lot of repetition to fully complete the task. If you ever need to cancel all the selected areas on an image a good keyboard shortcut is to press “control + shift + A”, this works for any selection area created by any of the selection tools.
Get Tom's Hardware's best news and in-depth reviews, straight to your inbox.
Using the Rectangle or Ellipse Select Tool in GIMP
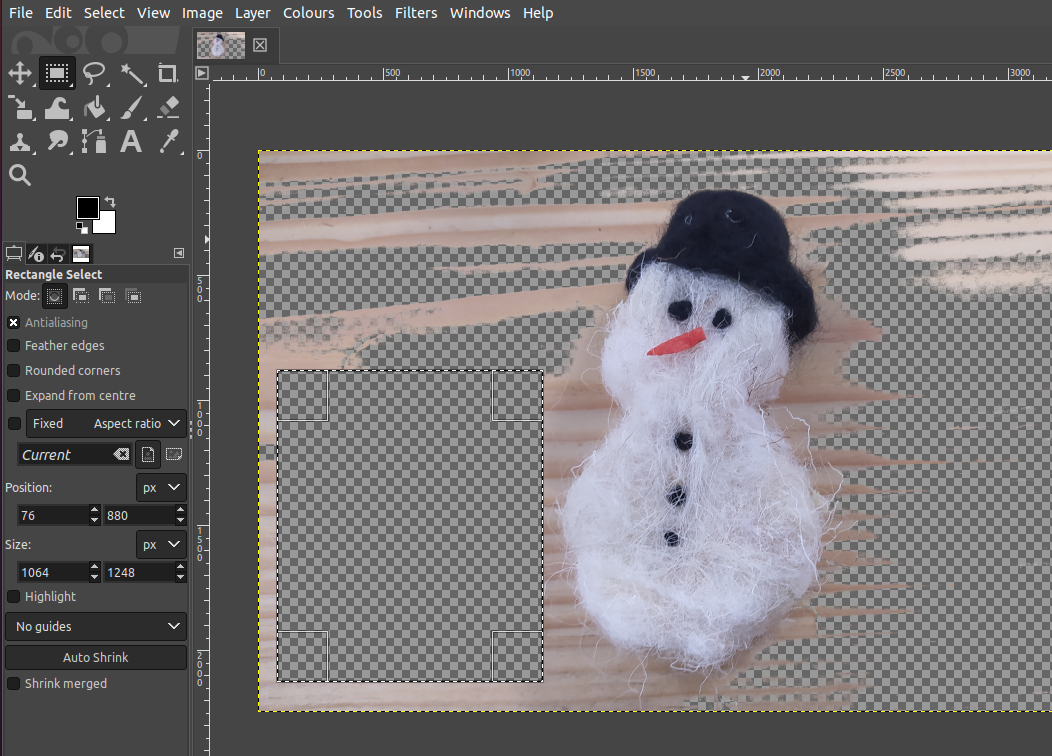
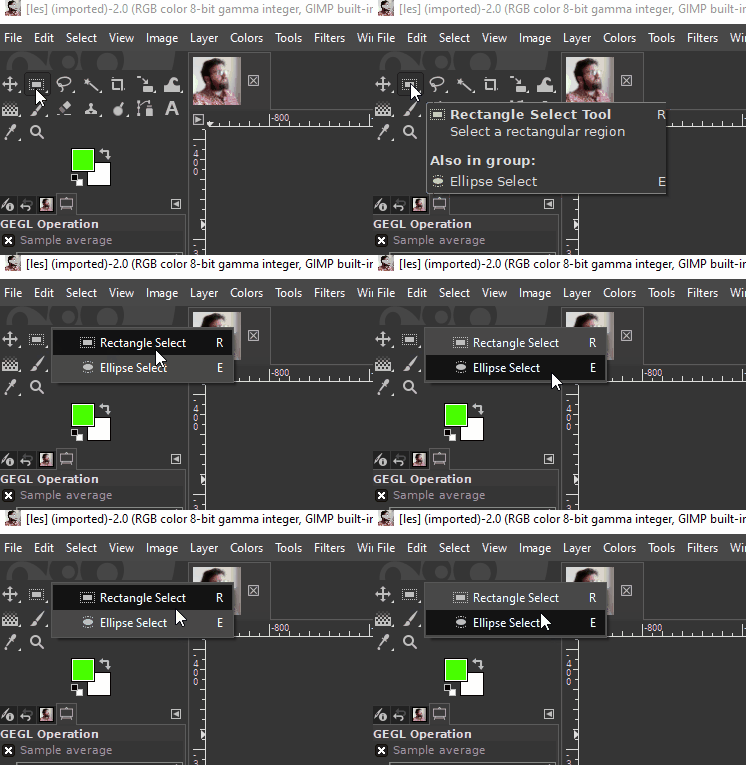
There are large parts of our image background that we could select using the rectangle selection tool. This tool is fairly intuitive to use and can save time by simply removing lots of the background in blocks. This tool can also be switched into an ellipse tool to create elliptical or circular selections.
1. Right click the Select Tool icon and select which shape tool you require. You can also select either of these tools under the “Tools – Selection tools” menu.
2. Click and drag in the background area of the image to create a shaped selection.
3. Press the delete key to remove that part of the background.
Using the Free Select Tool in GIMP
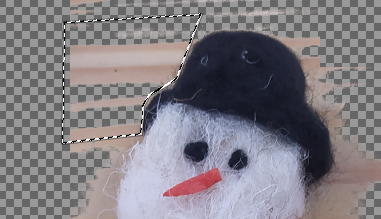
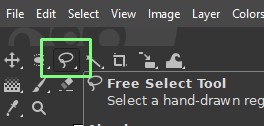
For more complex shaped area selection we can use the Free Select tool. The free select tool allows you to draw connected straight lines to create custom shaped selection areas.
1. Click on the icon, it resembles a lasso.
2. Left click to start a line, move to a new spot and left click again to add a new line segment. To complete the selection you must join the final line to the very first node point where you started. Hovering over the starting node it will turn yellow and then you left click to create a selection area within the lines you created.
3. Use the delete key to remove the selection.
Using the Paths Tool in GIMP
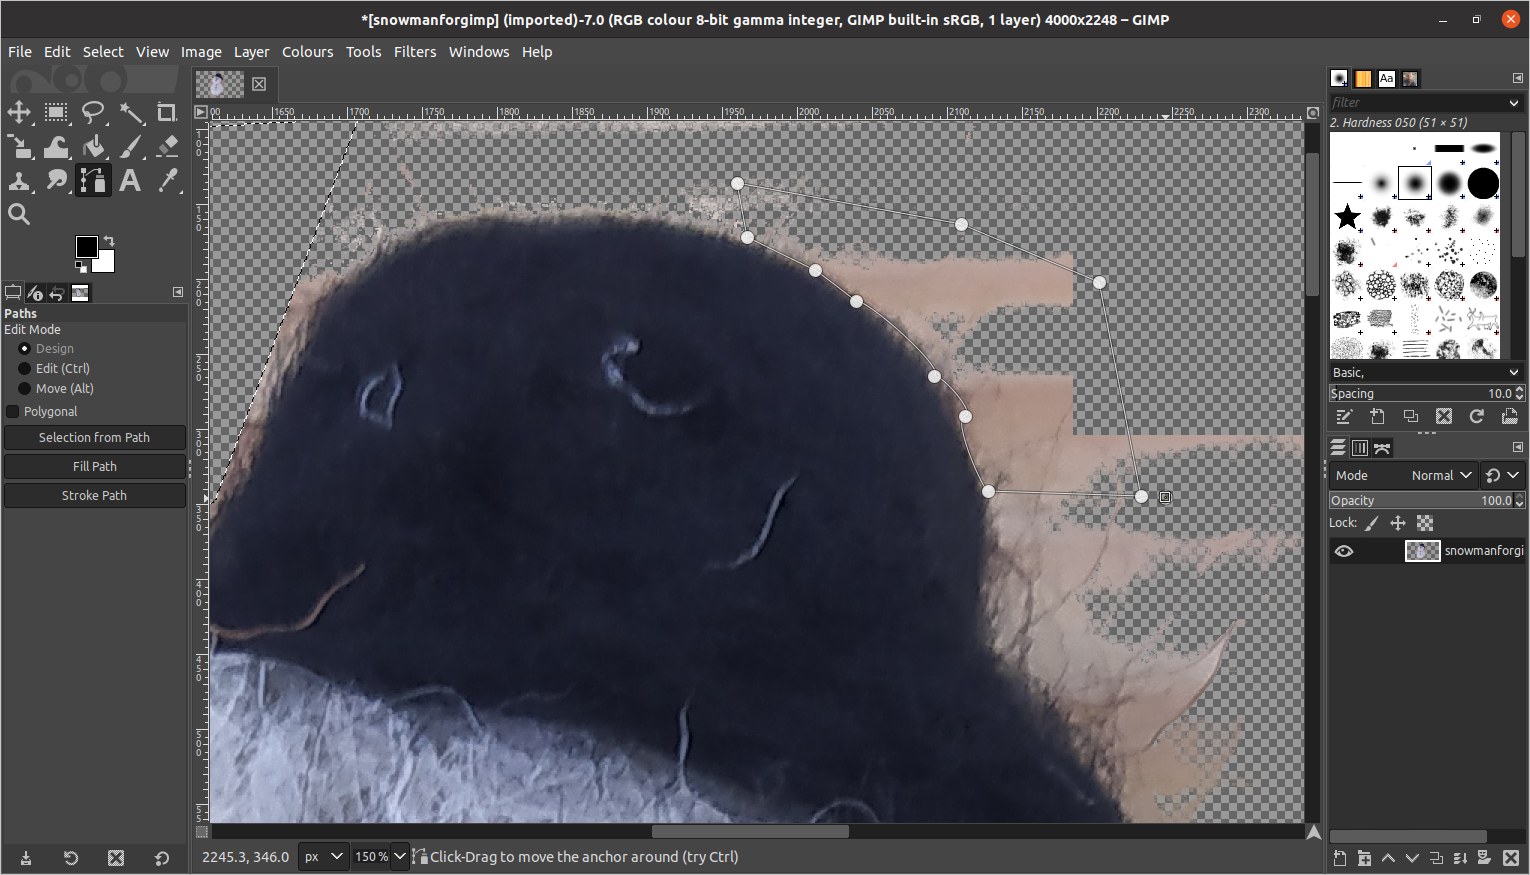
The Paths Tool is not just a selection type tool, it is a tool that allows the creation of complex selections (Bézier Curves) that we can edit and paint with. However it can also be used as a selection tool in a similar way to the free select tool but with the added advantage of straight and curved lines. This gives you both control and accuracy when tracing around a complex object.
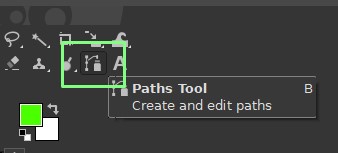
1. Select the Paths Tool from the tool icon area or you can find it at “Tools – Paths”.
2. Left click to start a path and then add more lines by moving and left clicking.
3. Hover over a line section, left click and drag the line to create a curve and control handles.
4. To close a path, hover over the first path node, hold down the control key and left click.
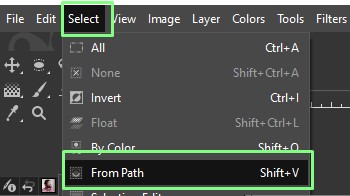
5. To turn your enclosed path into a selection, click Select >> From Path. You should now see that your path outline becomes a selection and you can delete this section of background with the delete key.
Using the Foreground Select Tool in GIMP
There is another way to remove an object from an image using the Foreground Select tool. Using this tool we can specify what is the foreground and what is the background by setting a boundary and a mask.
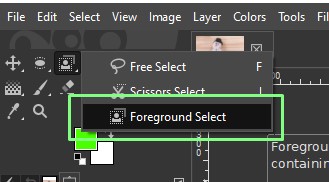
1. Click on the Foreground Select tool.
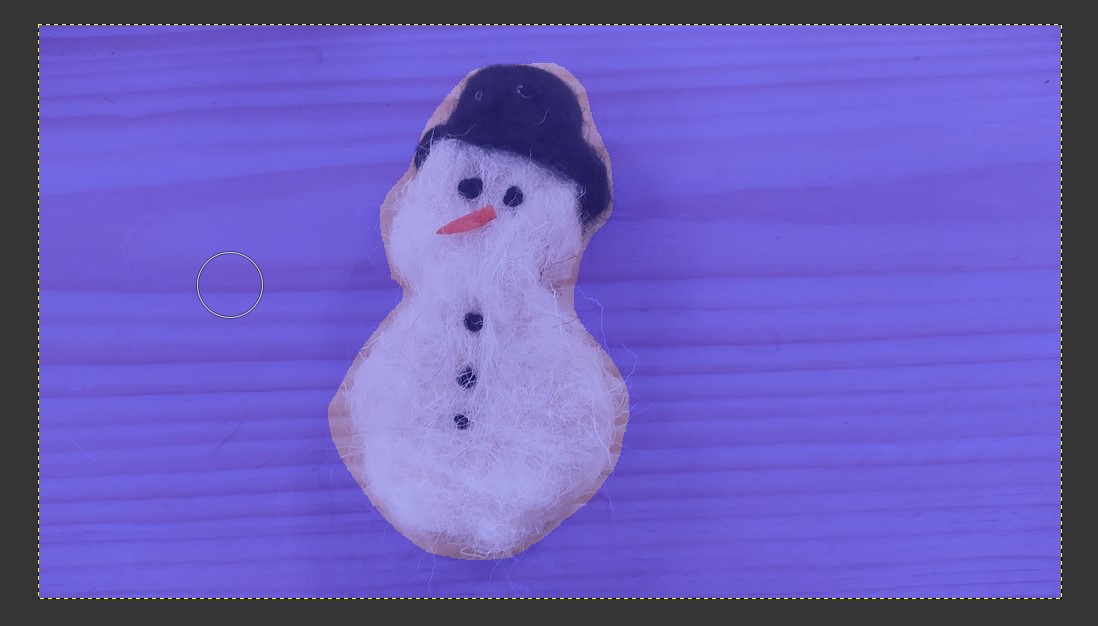
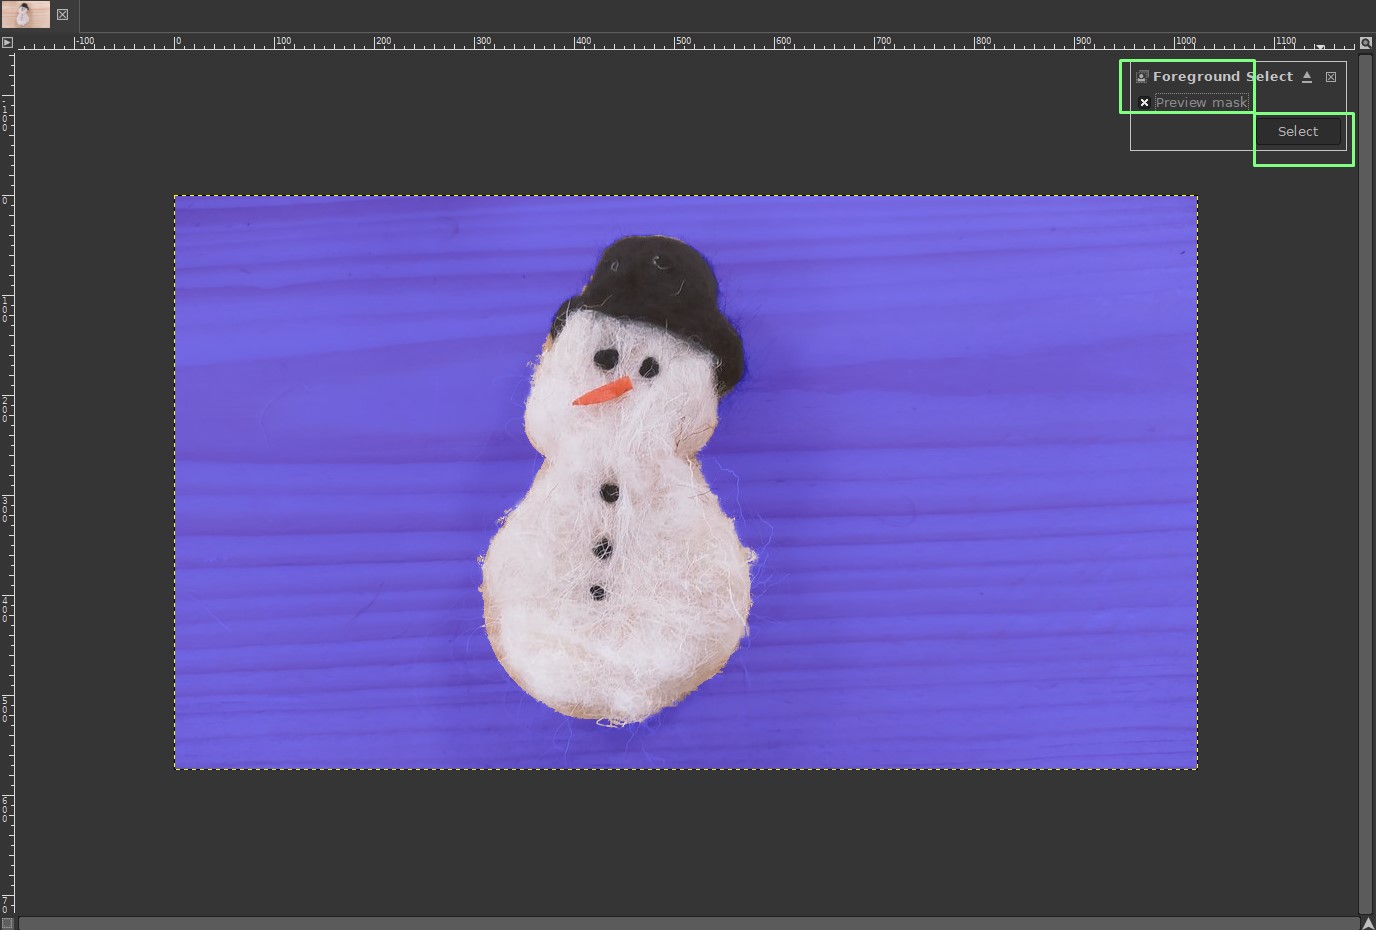
2. Draw a crude outline around the object and press Enter. This specifies what is the foreground (light blue) and what is now set as the background (dark blue).
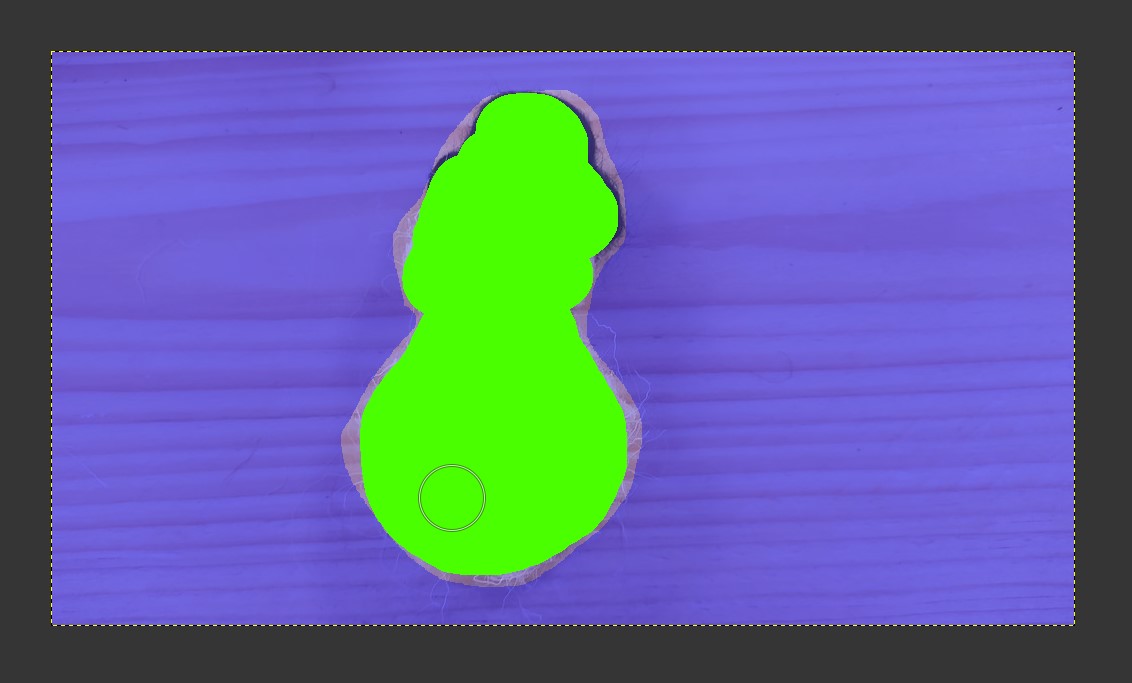
3. Inside the foreground area, use the already selected brush to loosely define what the foreground image will be. Don’t get too close to the boundary, and change the size of the brush by pressing [ (smaller_, or ] (larger).
4. Click on Preview to review the mask. When happy click on Select.
5. The foreground can now be cut from the image using CTRL + X or Edit >> Cut.
With this collection of tools at your disposal, you now have a varied number of approaches to remove backgrounds, with the added bonus that you have learnt how to use multiple styles of selection tool useful for many other functions in GIMP.
Jo Hinchliffe is a UK-based freelance writer for Tom's Hardware US. His writing is focused on tutorials for the Linux command line.
-
mitch074 Under Gimp, for that same operation, I'd rather use a fusion mask with inverted grayscale, some contrast adjusting and a brush - it's much better at keeping fuzzy edges "whole" and it allows touch-ups, too, since the original layer stays untouched. And once it's done you can fuse the mask. That technique also works in Photoshop, BTW.Reply
