How To Resize Images in GIMP
Resize images, layers and objects in your GIMP projects
The GNU Image Manipulation Program or “GIMP” is an amazing piece of free and open source software created and maintained by a dedicated group of volunteer developers. It’s an incredibly fully featured image editor with powerful tools to make the best of your graphics and photographs. Don’t be daunted by its complexity; sometimes it’s just a really useful tool for simpler tasks.
There are numerous reasons you might want to resize an image. You may need a very specific size to print, you may need to reduce the size to reduce the filesize or you may be using multiple images in a design and need to size different parts of your composition. In this article we will look at numerous tools GIMP uses to resize images.
How to Resize an Image with Scale Image in GIMP
The easiest way to resize an image in GIMP is to use the Scale Image feature. Using Scale Image we can precisely set the image size in a number of units (percentage, pixels, mm, inches etc) and set the image resolution, essential for images set to be rendered on screen or print.
GIMP’s Scale Image feature resizes everything in the image canvas regardless of layers, so if you have a background image layer and multiple logos on layers above the background all these layers will be scaled accordingly. It’s useful therefore if you have worked on a larger design image and then need to scale it to a specific size for a web application or other size critical use.
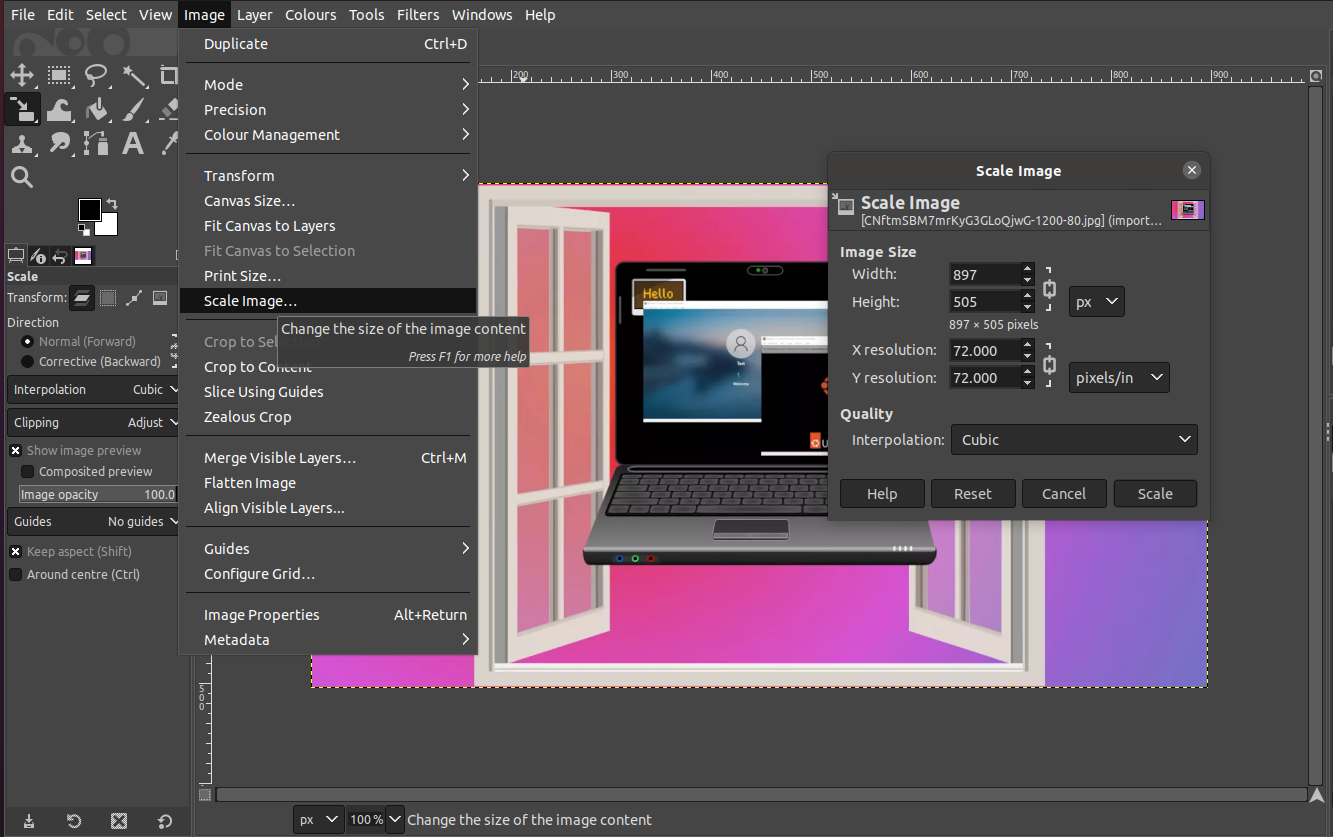
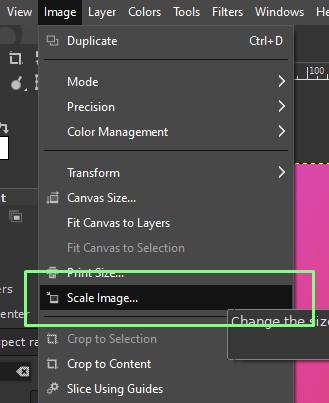
1. Click on Image >> Scale Image.
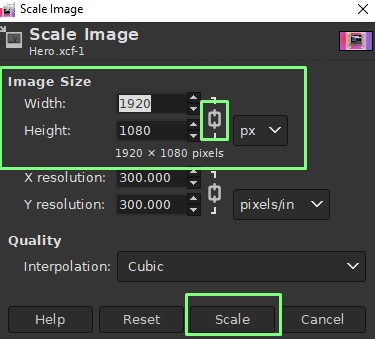
2. Change the size of the image by setting the width and height. The “chain icon” can link the two dimensions together, so changing one will alter the other, based on the image's aspect ratio. These can be unlinked, but the image may become distorted. Image units can be changed using the px dropdown menu.
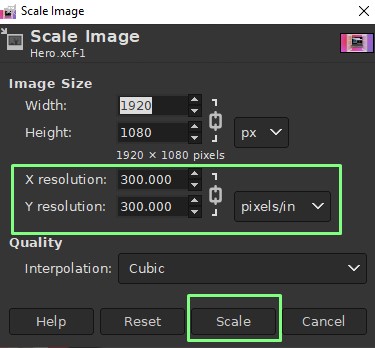
3. Use X and Y resolution and click Scale to set the image resolution. Typically print resolutions are higher than screen resolutions and are measured in pixels per in (ppi).
Get Tom's Hardware's best news and in-depth reviews, straight to your inbox.
How to Resize an Image with the GIMP Scale Tool
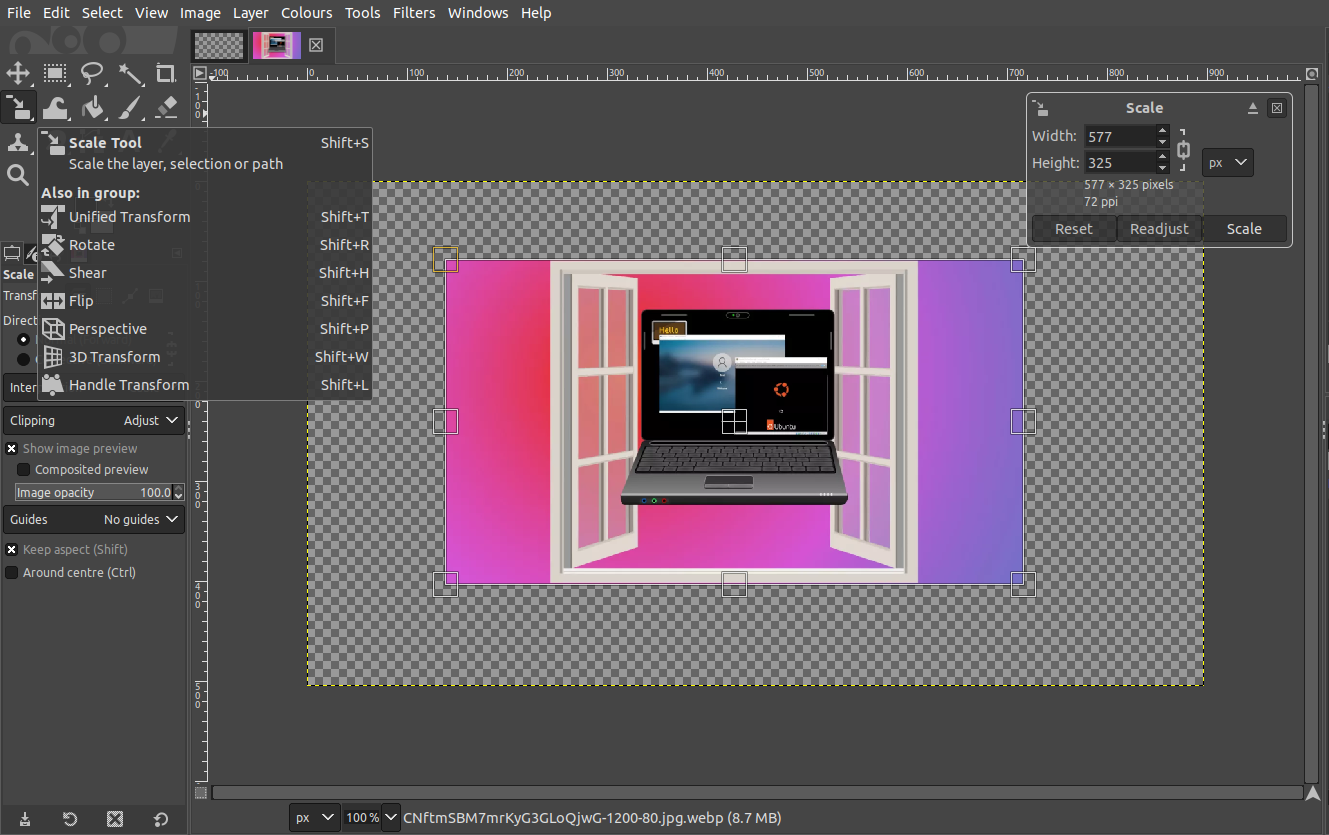
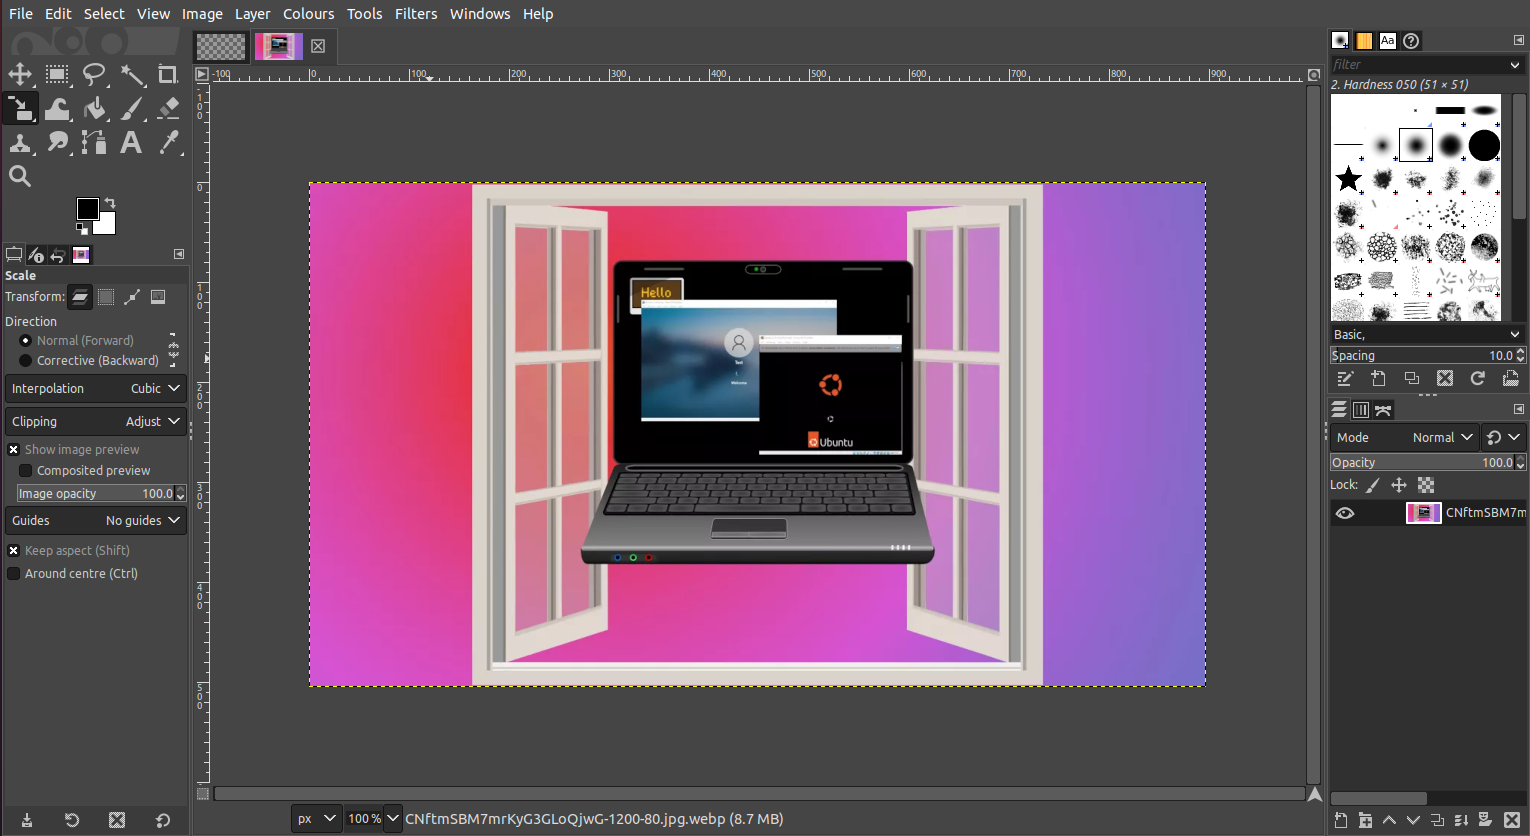
The tool palette, located in the top left of the screen is home to many useful tools, some hidden. The scale tool selects the currently active layer, or any area you have selected and scales it in a similar manner to Scale Image.
The scale tool is particularly of use when scaling an image on a separate layer. You can import an image onto a separate layer in GIMP by clicking File >> Open as Layers and selecting the image you want to add. Each layer can be selected using the layers menu (bottom right) and scaled independently of the overall image.
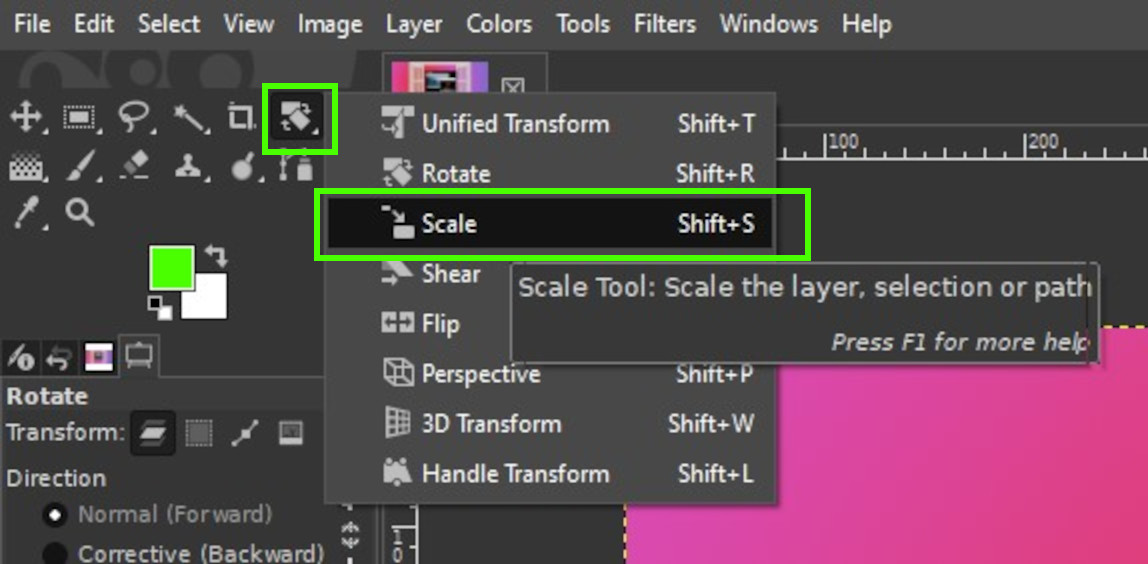
1. Click on the Scale tool, hidden in the top left palette. Hover the mouse over the icons to see all of the tools contained within.
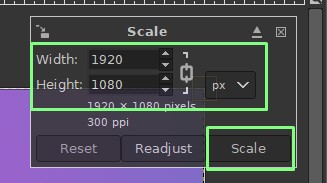
2. Set the desired size and click Scale. Notice that the interface is very similar to the Scale Image. We can scale using the image’s aspect ratio Scaling without stretching or distorting. The measurement units can also be altered using the dropdown menu.
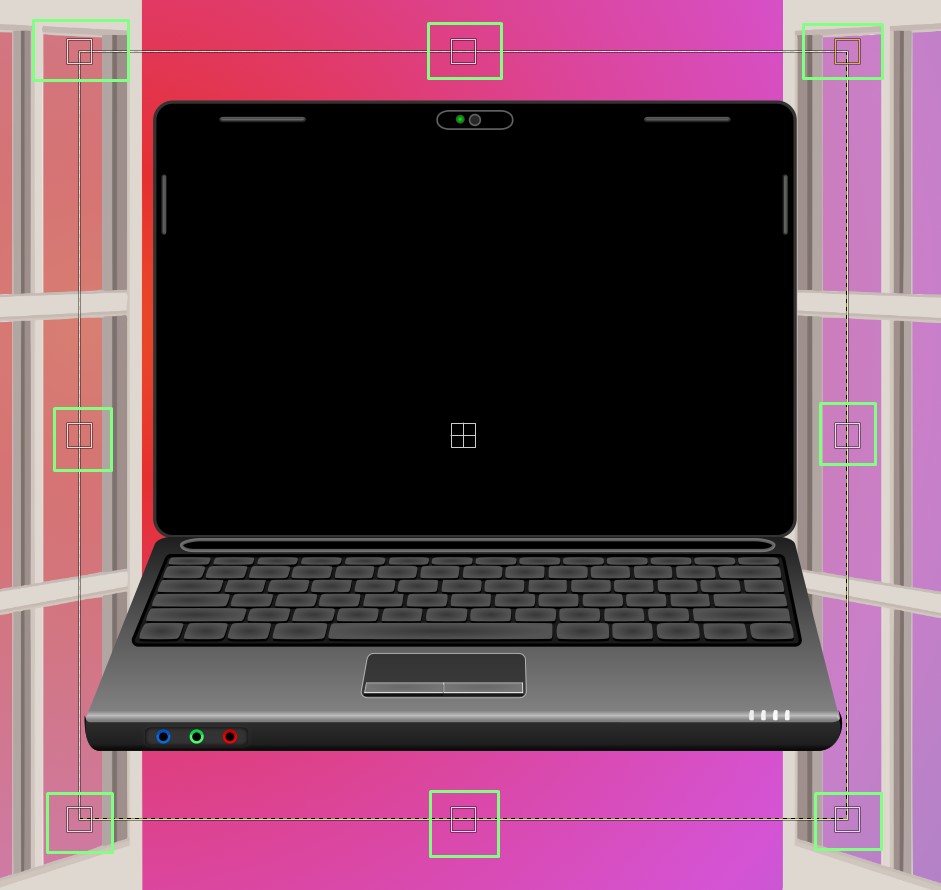
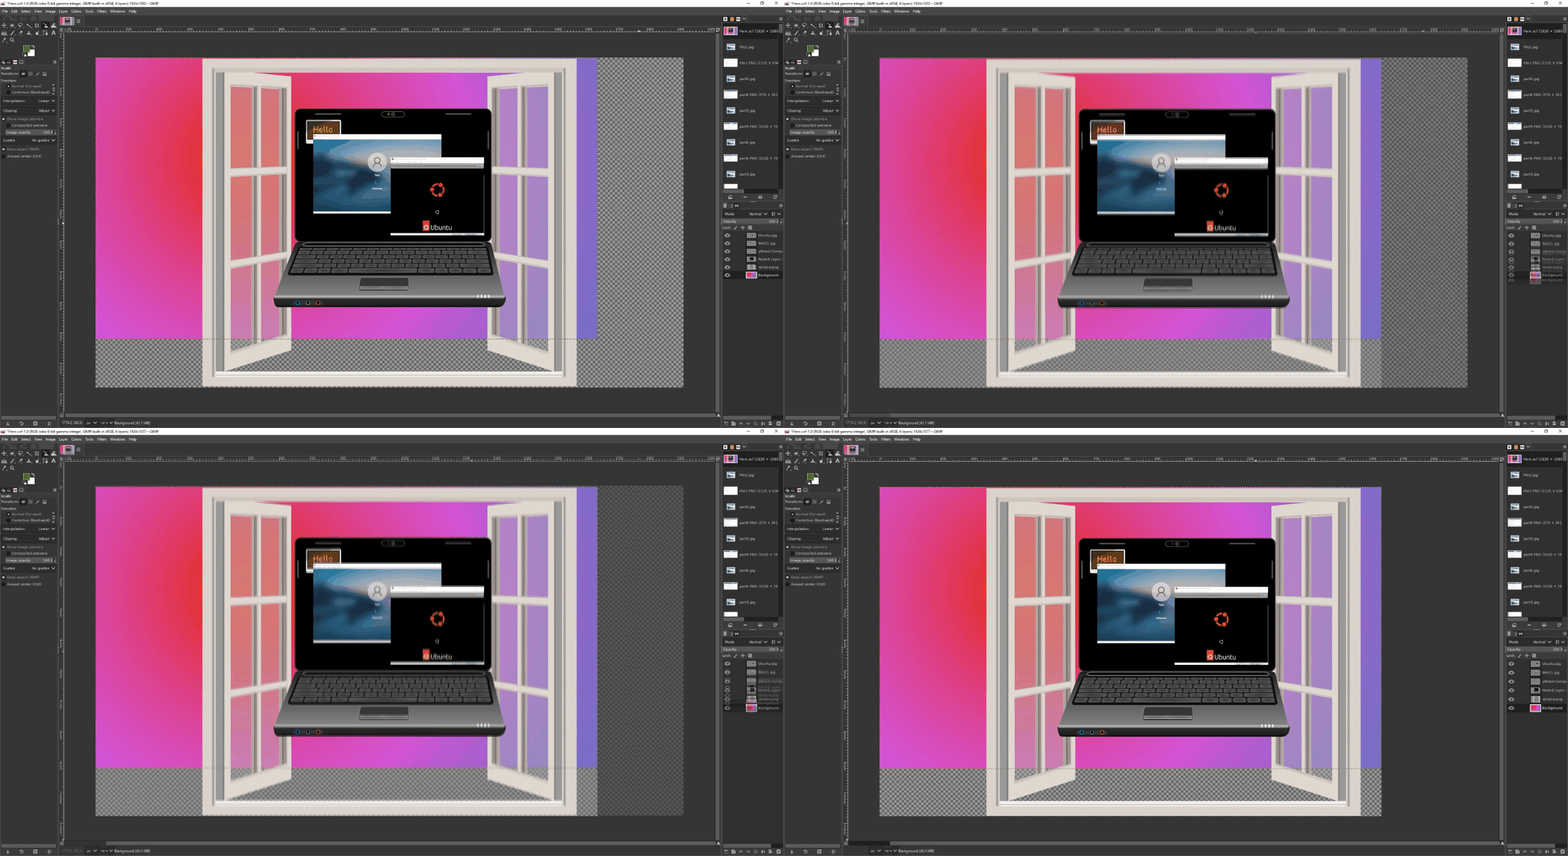
3. Left click and drag on the handles around the image to interactively scale the image. You’ll notice that if you have the lock icon selected in the scale tool dialogue that you maintain the aspect ratio of the image and that the new dimensions of the image are updated in the relevant input boxes.
4. Click Scale in the dialogue box to apply the scale and close the tool.
How to Crop to Content in GIMP
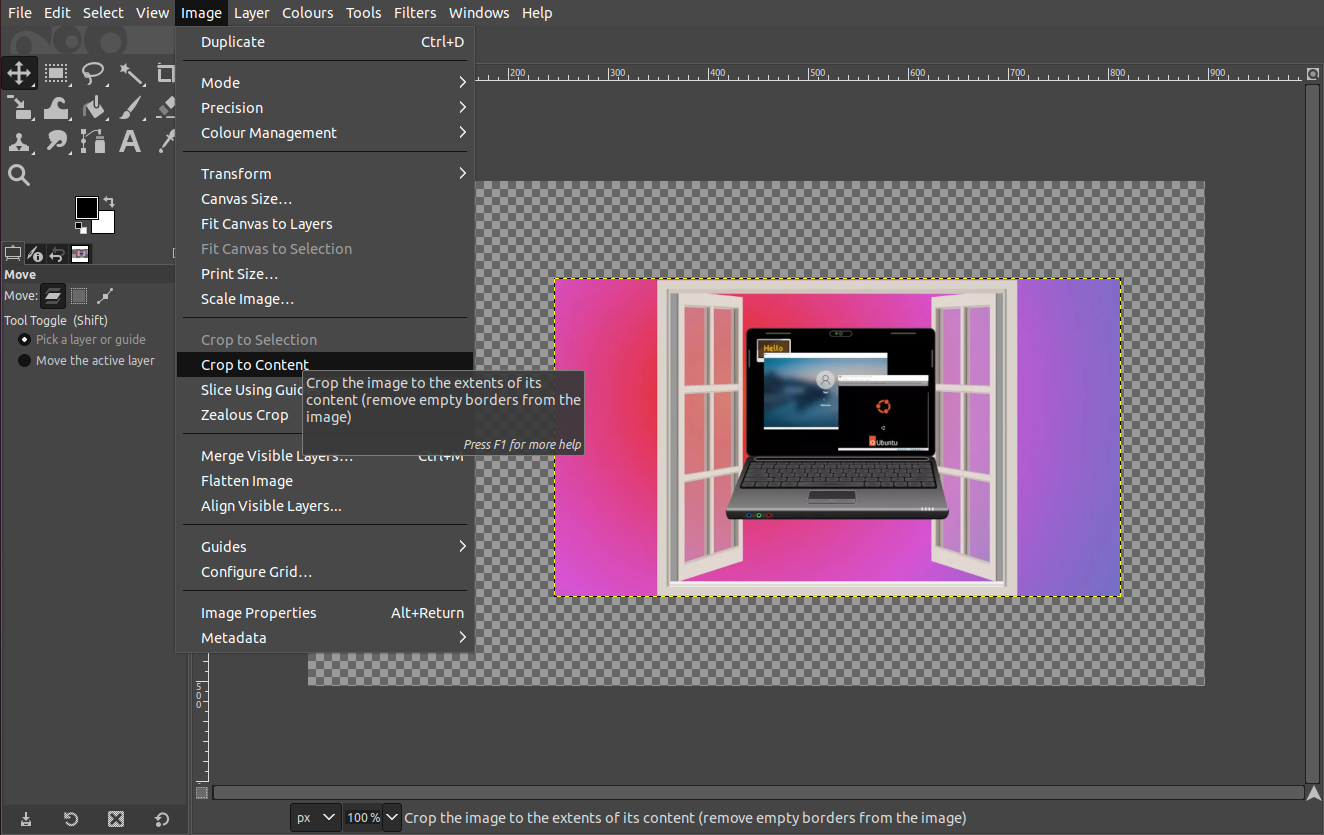
If you have used the scale tool to reduce your image size you’ll notice that the canvas has remained at the original size of the image. This appears as chequered sections of blank canvas visible around your image.
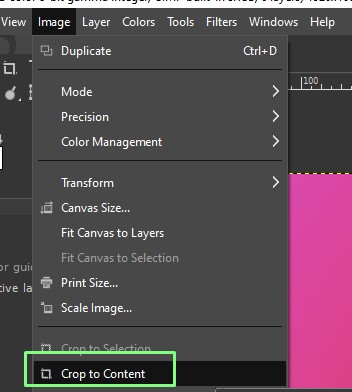
To resize the canvas to the new image size, click on Image and select Crop to Content. This will automatically reduce the canvas to fit your reduced size image.
Fit Canvas to Layers
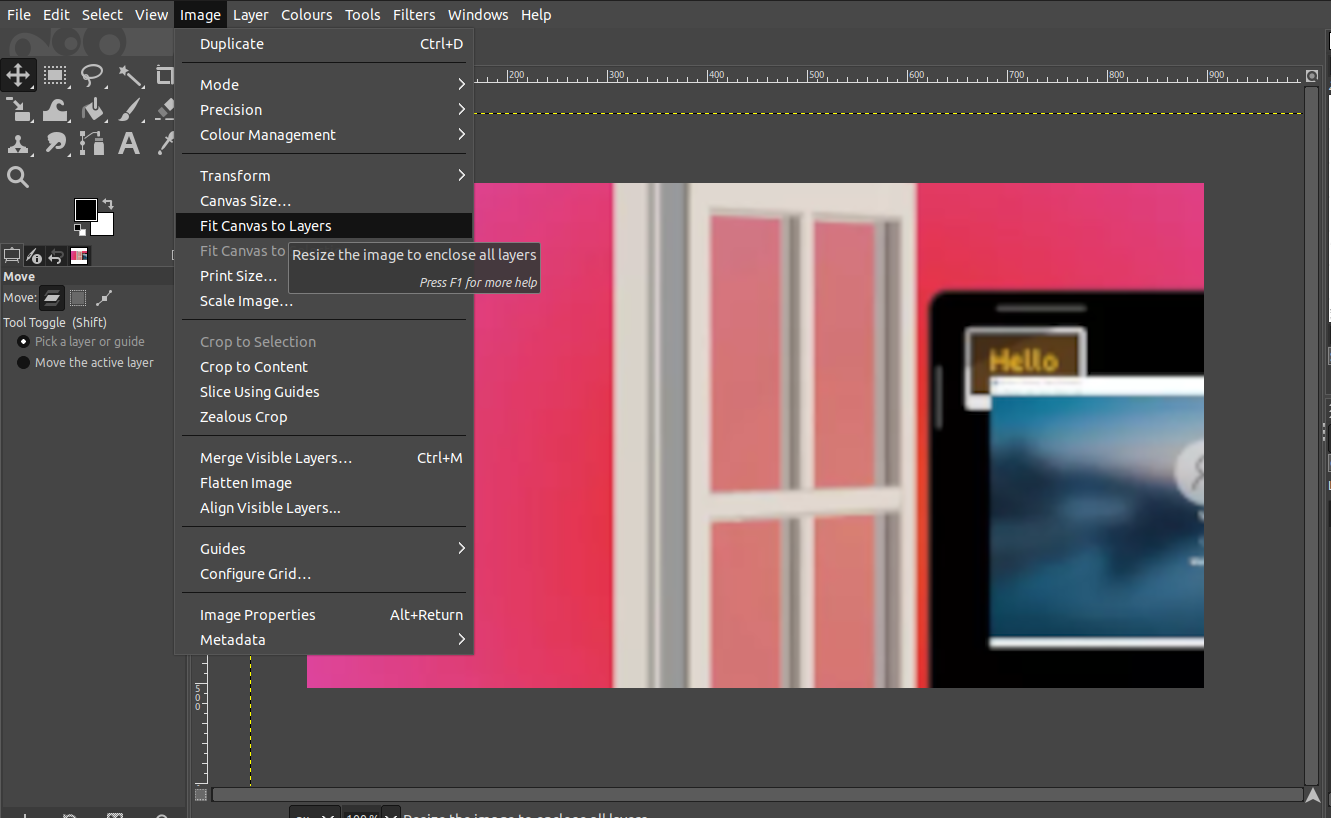
If you have used the scale tool to increase your image size you’ll notice that the image is partially obscured as it doesn’t fit onto the original canvas. To fix this use File >> Image >> Fit Canvas to Layers. Clicking this option will automatically increase the canvas to fit your larger image.
Resizing the Print Size in GIMP
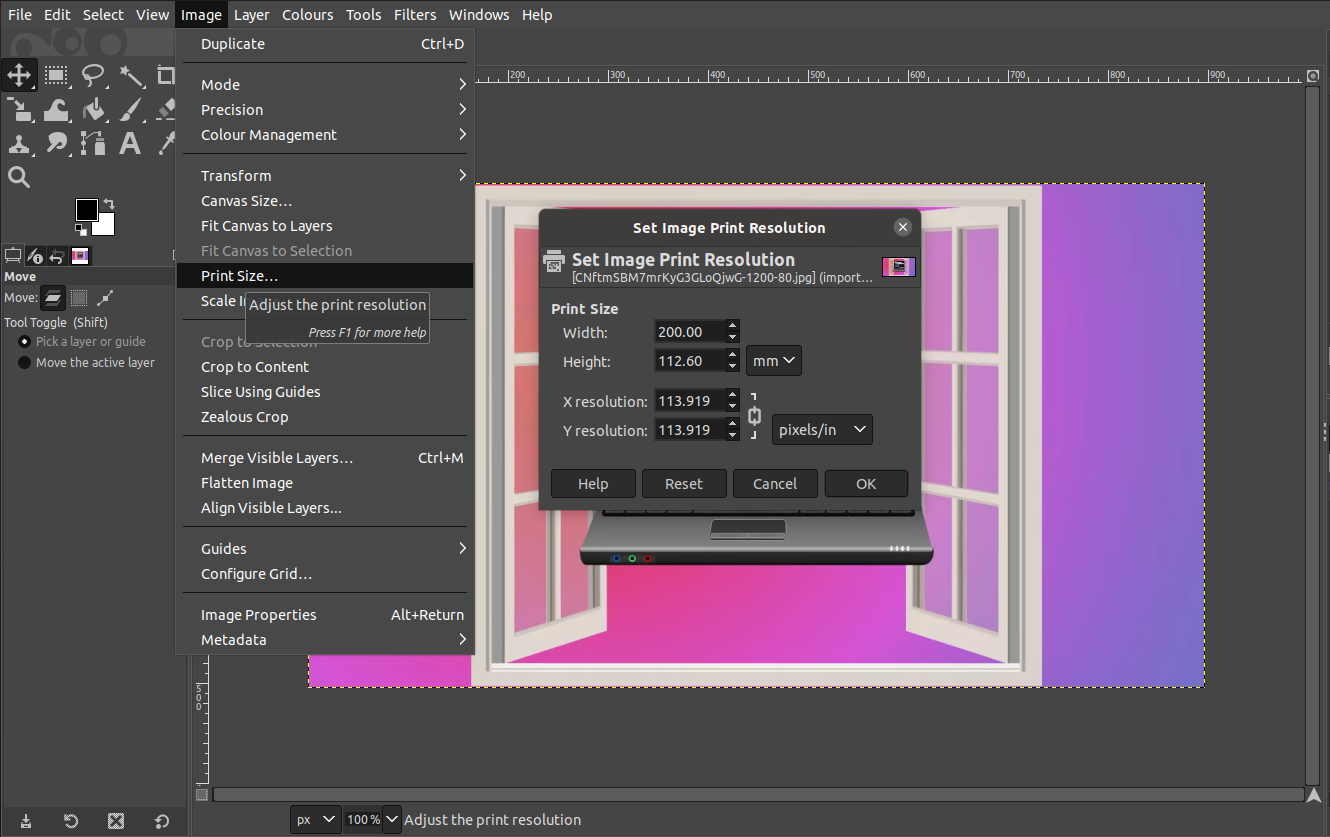
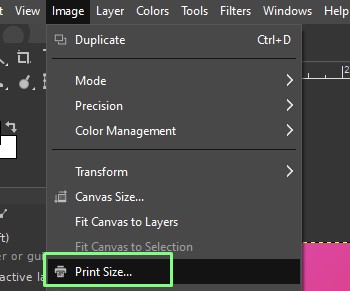
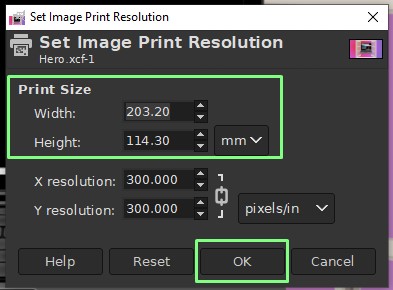
1. Click on Image >> Print Size to open the dialog.
2. Set the desired print size of the image and click Ok to set. Remember that the units of measurement can be changed using the dropdown menu. Changing print size does not change the number of pixels that make up an image, so if you reduce an image in size for printing you’ll notice that the resolution, the number of pixels per inch or mm will increase. Similarly if you increase the size of the image you’ll see the resolution decrease. As you increase the size of an image the number of pixels in any given area becomes less as they spread out, this means that if you drastically increase the size of an image you will see the quality of the image decline.
With the above techniques you have a great range of tools to control both the size and resolution of the images and designs you are creating. These are just the tip of the iceberg of GIMP capabilities but they are a good set of tools to learn increasing your confidence as you explore this excellent application.
Jo Hinchliffe is a UK-based freelance writer for Tom's Hardware US. His writing is focused on tutorials for the Linux command line.
-
Colif is it that hard to type resize?Reply
shouldn't have to click link to figure out what it means... -
USAFRet Reply
"re", "up"...whats a few more letters.Colif said:is it that hard to type resize?
shouldn't have to click link to figure out what it means... -
Ahumado More like this. Simple. From simple ya get more advanced. While doing this ya find other featuresReply
