How To Sign a PDF on Mac With the Preview App
Don’t waste your money on “Pro” PDF apps when you can use Preview.

PDFs were never really meant for digital use. It’s a document standard that exists to make sure that What You See Is What You Getwhen you hit that print button. But when you're asked to sign and return a PDF, it's a pain to print it out, sign it with a pen, and then scan it again.
If you’re a macOS user, however, you don’t need to print anything — nor do you need to download paid PDF reader software to add a signature. . With the built-in Preview app, you can just open your PDF and sign it. We’ll show you how to do it right away, but you may want to learn how to convert a Word Doc to a PDF so you can use this method with documents formatted for MS Word as well.
How to Create Your Signature
Before you can sign a PDF using macOS, you need to create a signature that you can easily reuse every time you need to sign. Here’s how:
1. Open a PDF in the Preview app. In this case, we’ve created a blank PDF for illustrative purposes. The PDF should open in the macOS Preview app. If your PDF does not open in the Preview app, right-click on it in Finder and select Open With > Preview.
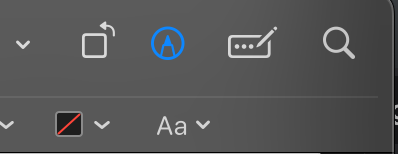
2. Open the Markup toolbar. If it's not open already, click on the pen in the top right corner of the app for more options.
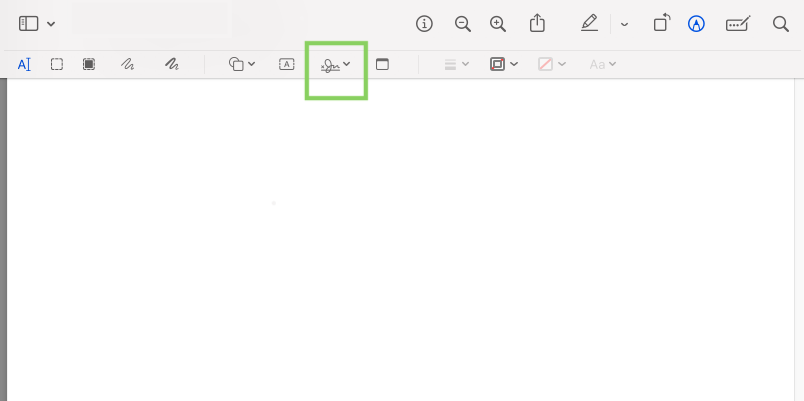
3. Click on the Sign button. It looks like a little signature. From there, you’ll see three options to create a signature - trackpad, camera, or an iOS device such as an iPhone or iPad. If you’re using a Mac without a trackpad, you won’t see that option.
4. Choose a creation method. If you’re using a Mac with a trackpad, this is the fastest way to create your signature. If you choose camera, you can hold up a paper copy of your signature to your Mac’s webcam, or you can use your iPhone’s camera, if it’s signed into the same iCloud account as the Mac. If you have an iPad or iPhone nearby that’s signed in, you can also choose iPhone or iPad.
Get Tom's Hardware's best news and in-depth reviews, straight to your inbox.
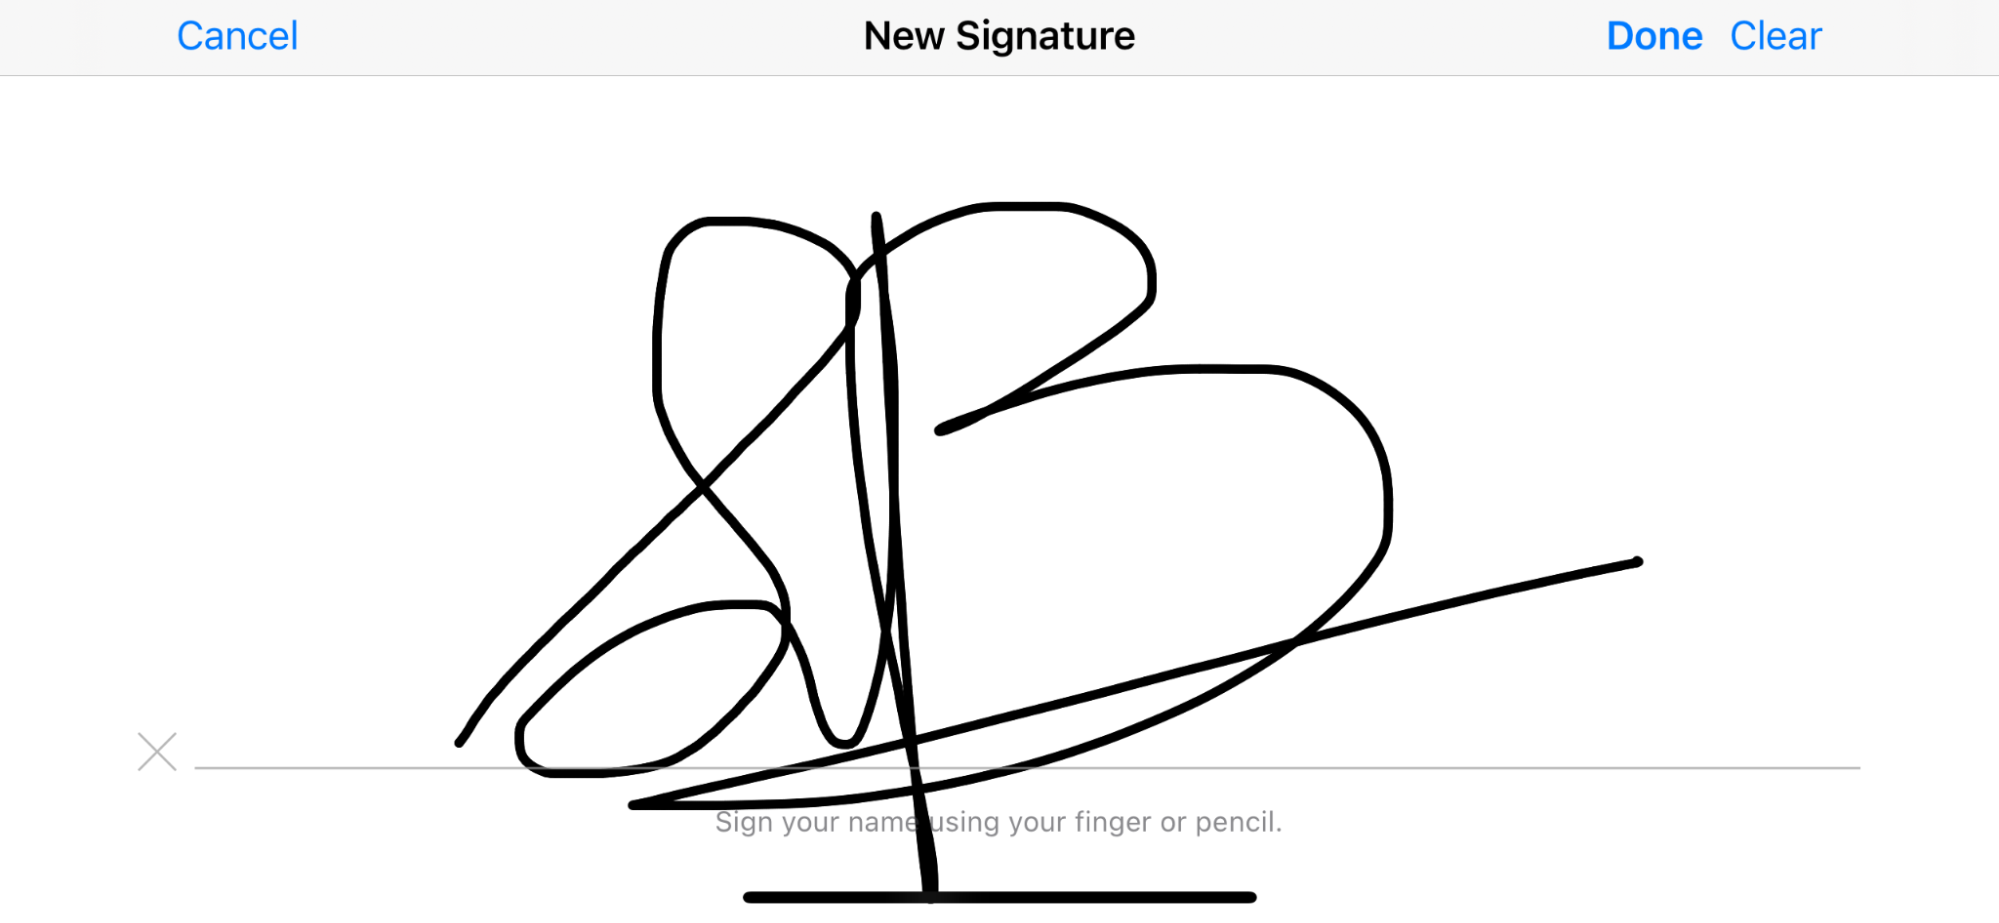
5. Create the signature. Whichever method you’ve chosen, follow the instructions to complete the process. In this case, we’ve chosen to create the signature on our iPhone. Select “Done” once you’re happy.
You can create multiple signatures or initials you’ll want to use over and over again in your PDF. You don't need to do this every time you sign something. Once you create the signature, Preview will store it.
Inserting Your Signatures
Now that you have one or more signatures saved in Preview, it’s time to insert them into your PDF:
1. Open your PDF in Preview.
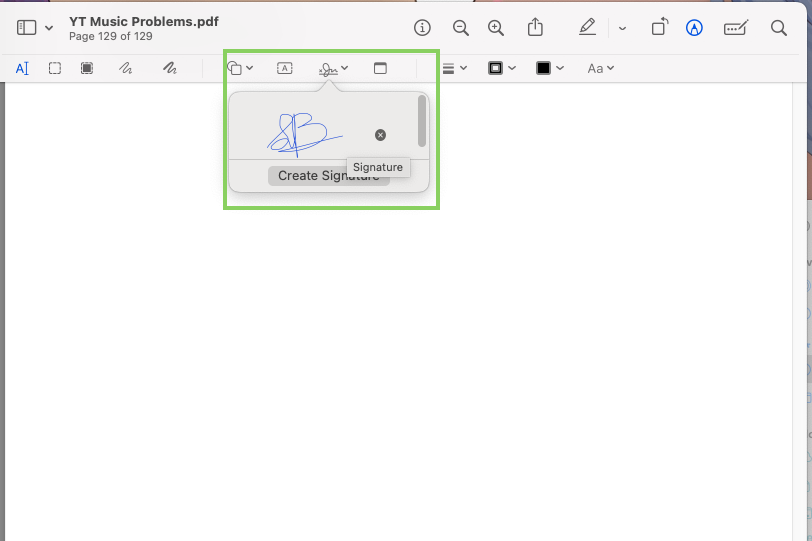
2. Click on the Sign button.
3. Click on your signature. If you have more than one signature stored, make sure you choose the correct one.
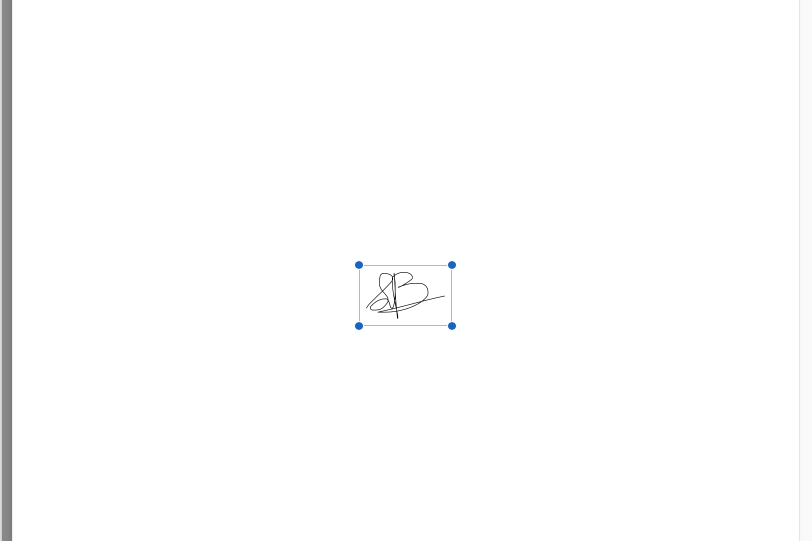
4. Size and place the signature. You can grab the signature by clicking anywhere within its borders. You can also resize it by clicking and dragging one of its four corners.
5. Close the PDF. No need to save manually (though it never hurts!), your changes are locked into the PDF.
Now your PDF is signed and sealed, ready so share with your intended recipient, any need to print anything!
Sydner Butler is a freelance writer for Tom's Hardware. He is a PC technician with decades of experience in system building. He covers a wide range of topics from PC hardware troubleshooting, software guides, to VR gaming.
