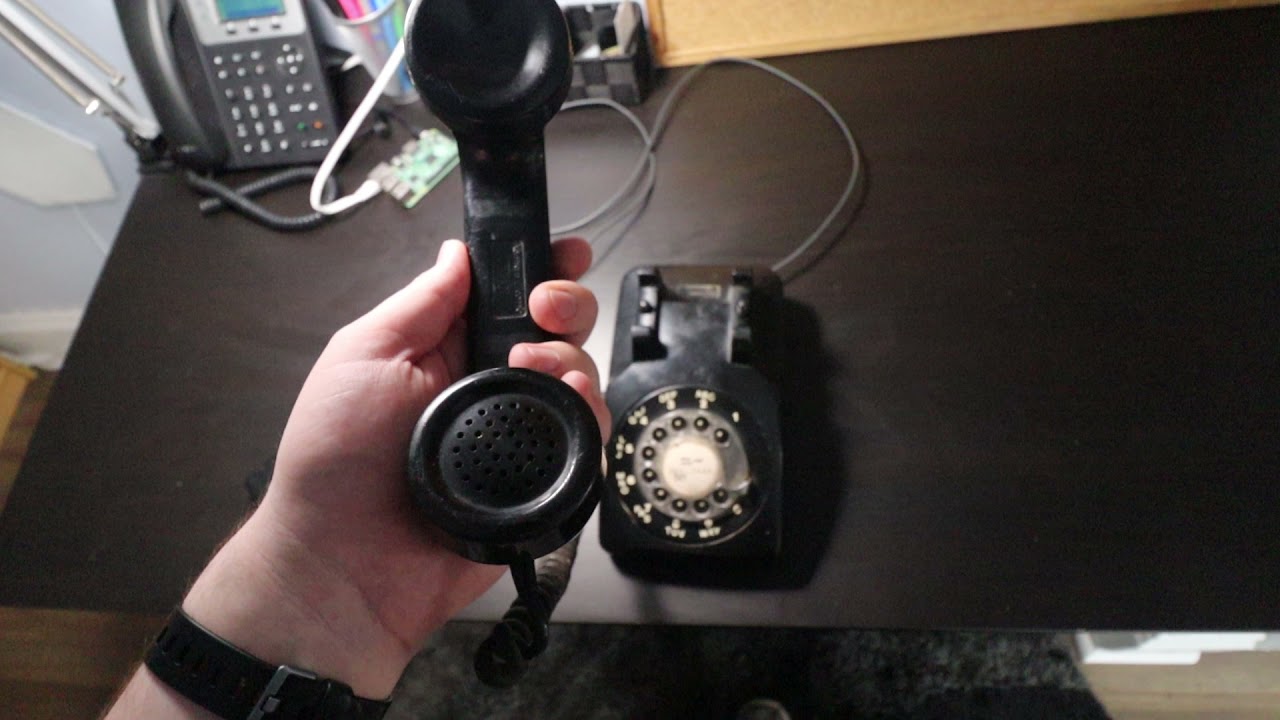
I have some old telephones lying around - few of them fully functional anymore. I was going to throw out one of them when I realized I could replace the inner wiring with a Raspberry Pi, and have the Google Assistant running on it.
While it’s certainly easier to call “hey google” across the room, there’s something fun about picking up the phone, asking it a question, and having it immediately respond. This is how to install the Google Assistant on an old rotary telephone with a Raspberry Pi Zero.
What You’ll Need to make an old phone into a Google Assistant
- A Raspberry Pi Zero with soldered GPIO pins, a memory card (with Raspberry Pi OS on it), and power adapter
- An old telephone with a functional receiver (speaker and microphone), and a functioning hook switch that you don’t mind destroying
- A few female jumper cables, wire strippers, and electrical tape or solder
- A few types of screwdrivers depending on your phone
- 1 USB audio adapter compatible with linux
- 1 male-male 3.5mm audio cable
- 1 Raspberry Pi Zero micro USB to USB A female adapter
How to Install the Google Assistant on an Old Phone
This Raspberry Pi project is quite extensive and can take a bit of time, so I’ve split it up into four distinct parts:
Article continues below- Registering with Google
- Authenticating with Google
- Wiring your telephone
- Setting up the assistant
Registering With Google
Before we use a Raspberry Pi as a Google Assistant, we must register the device with Google. This process can be a bit confusing if you’ve never used Google Cloud Platform before, but the steps should be easy enough to follow.
1. Clone this repository to your raspberry pi.
cd ~/
git clone https://github.com/rydercalmdown/google_assistant_telephone
2. Navigate to https://console.actions.google.com in your browser. This site allows us to manage Google Assistant Actions, as well as register custom Google Assistant devices.
3. Click “New Project” and fill in the required information. The name doesn’t matter - just pick something you can remember.

4. In a new tab, visit this link to Google Cloud Platform, and confirm that the name of the project you just created appears in the top bar - if not, select it. Then, click the “Enable” button to turn on the API.

5. In your original tab, scroll to the bottom of the page and click “Are you looking for device registration? Click here”

6. On the next page, click “Register Model”.
7. Fill in the required information and copy down the Model ID to file - you will need it later.

8. Click Download OAuth 2.0 credentials to download the credentials file your Raspberry Pi will use to make requests.

9. Rename the downloaded file to oauth_config_credentials.json and transfer it to your pi. Place it into the repository folder you cloned in step 1.
# Rename your downloaded file
cd ~/Downloads
mv your_unique_secret_file_name.json oauth_config_credentials.json
# Move the file into your repository
scp oauth_config_credentials.json pi@your_pis_ip_address:/home/pi/google_assistant_telephone
10. Back in the browser, after downloading and renaming the credentials, click the “Next” button.
11. On the “Specify traits” tab, click “Save Traits” without adjusting any settings to complete the setup.

Authenticating With Google
We’ve now registered a device with Google. Next, it’s time to authenticate this device so it has access to our Google account and personalized assistant.
1. Navigate to https://console.cloud.google.com/apis/credentials/consent ensuring that the project matches the name you decided in Step 3 of “Registering With Google”.
2. Select “External” and click the “Create” button.

3. Fill in an App name. Once again, this doesn’t really matter - but to keep it simple I went with the same name as before.
4. Select your email from the dropdown in User support email. This is in case any users of your app need to contact you, but since we won’t be making the app public, there’s no need to worry.
5. Add that same email under “Developer contact information” and click “Save and Continue”.

6. On the next page, click Add or Remove Scopes to bring up the scopes sidebar.
7. Search for “Google Assistant API” in the search bar, and check the /auth/assistant-sdk-prototype scope. Then click update, followed by “Save and Continue” at the bottom of the page.

8. On the next page, click “Save and Continue” to skip Optional Info.
9. With the setup complete, click “OAuth Consent Screen” in the sidebar to refresh the page - then “Add User” under Test Users.
10. Add your Google account’s email, and click save.

11. Next, on your pi navigate to the downloaded repository and run the following command:
cd ~/google_assistant_telephone
make authenticate
12. Follow the link it gives you and complete the Authentication process in your browser. Once the process is complete, copy the code and paste it back in your terminal.
13. If successful, you’ll see a message indicating “credentials saved:” followed by a path to the credentials. Use this path to move the credentials into the current directory. Transfer these credentials to your repository’s root directory
# credentials saved: /Users/test/Library/Application Support/google-oauthlib-tool/credentials.json
mv /Users/test/Library/Application\ Support/google-oauthlib-tool/credentials.json /home/pi/google/assistant/telephone/credentials.json
Wiring Your Rotary Telephone With Raspberry Pi
Depending on your rotary phone, this process will vary widely. These are the steps that I used, but likely this will require a fair bit of trial and error on your part. Make sure you use a phone you don’t care about, as it won’t be able to work normally after this.
1. Take the cover off the telephone. You may need to loosen a screw on the bottom.

2. Find and strip the wires connected to the hook switch. We’ll connect these wires to the pi’s GPIO pins to determine if the receiver has been picked up or set down.

3. Connect the hook switch wires to GPIO Board pin 18 and ground. You may need to solder the wires from the hook switch to jumper wires to connect them easier, or just attach them together with a bit of electrical tape.

4. Connect your USB audio adapter to the raspberry pi zero. You will need a USB-micro to female USB-A adapter to do this.
5. Solder the microphone and speaker in the handset to two separate 3.5mm cables. These will carry the signal from the pi to the speaker, and from the microphone to the pi. You should be able to connect these within the phone case and use the original handset cord. This will take a bit of trial and error to determine which wires belong to the speaker, and which to the microphone.


6. Connect the 3.5mm cables to the USB audio adapter being mindful to connect them in the proper order.

7. Tuck the pi into the phone, and close up the cover - or keep it open while you debug setting up the assistant. Run the power adapter connected to the pi out the back of the case where the original telephone wire would go.

Setting Up The Assistant
1. Run the installation script. It’ll take care of base and python requirements. If you have a Raspberry Pi Zero, the compilation process can take hours and will appear stuck on a step installing grpc (it just moves very slowly). I’d recommend leaving it running over night.
cd google_assistant_telephone
make install
2. Configure your USB audio by running the following command. It will take care of editing your alsamixer config, setting your USB card as your default audio output, and setting volumes for the speaker and microphone.
make configure-audio
3. Test and adjust your volumes by running the following command, speaking, and listening through your phone’s handset. If your volume is not high enough on your microphone or speaker, set it with the alsamixer command.
# Run, speak something into the microphone, and listen
make test

# Set volumes
alsamixer
4. Export your project ID to an environment variable. You can retrieve your project ID by visiting this URL, selecting your project, clicking the three dots next to your profile photo in the top right, and clicking “Project Settings”
export PROJECT_ID=your-project-id
5. Export your model ID from the Registering With Google steps to an environment variable.
export DEVICE_MODEL_ID=your-model-id-from-the-earlier-steps
6. Run the make run command. It will take care of registering this device, and saving the configuration to disk so you won’t need the environment variables in the future.
make run
7. Test your assistant by picking up the phone, and asking it a simple question, like “What is the capital of Canada?” If all goes well, you’ll see some logs in the terminal, and the assistant will respond. To ask another question, hang up the receiver and pick it up again.
8. Finally, run the following command to configure the assistant to run on boot.
make configure-on-boot