Raspberry Pi Zero Guide: Projects, Specs, GPIO, Getting Started
The Raspberry Pi Zero W may be the smallest Pi, but what it lacks in size it provides in possibilities.
Get Tom's Hardware's best news and in-depth reviews, straight to your inbox.
You are now subscribed
Your newsletter sign-up was successful
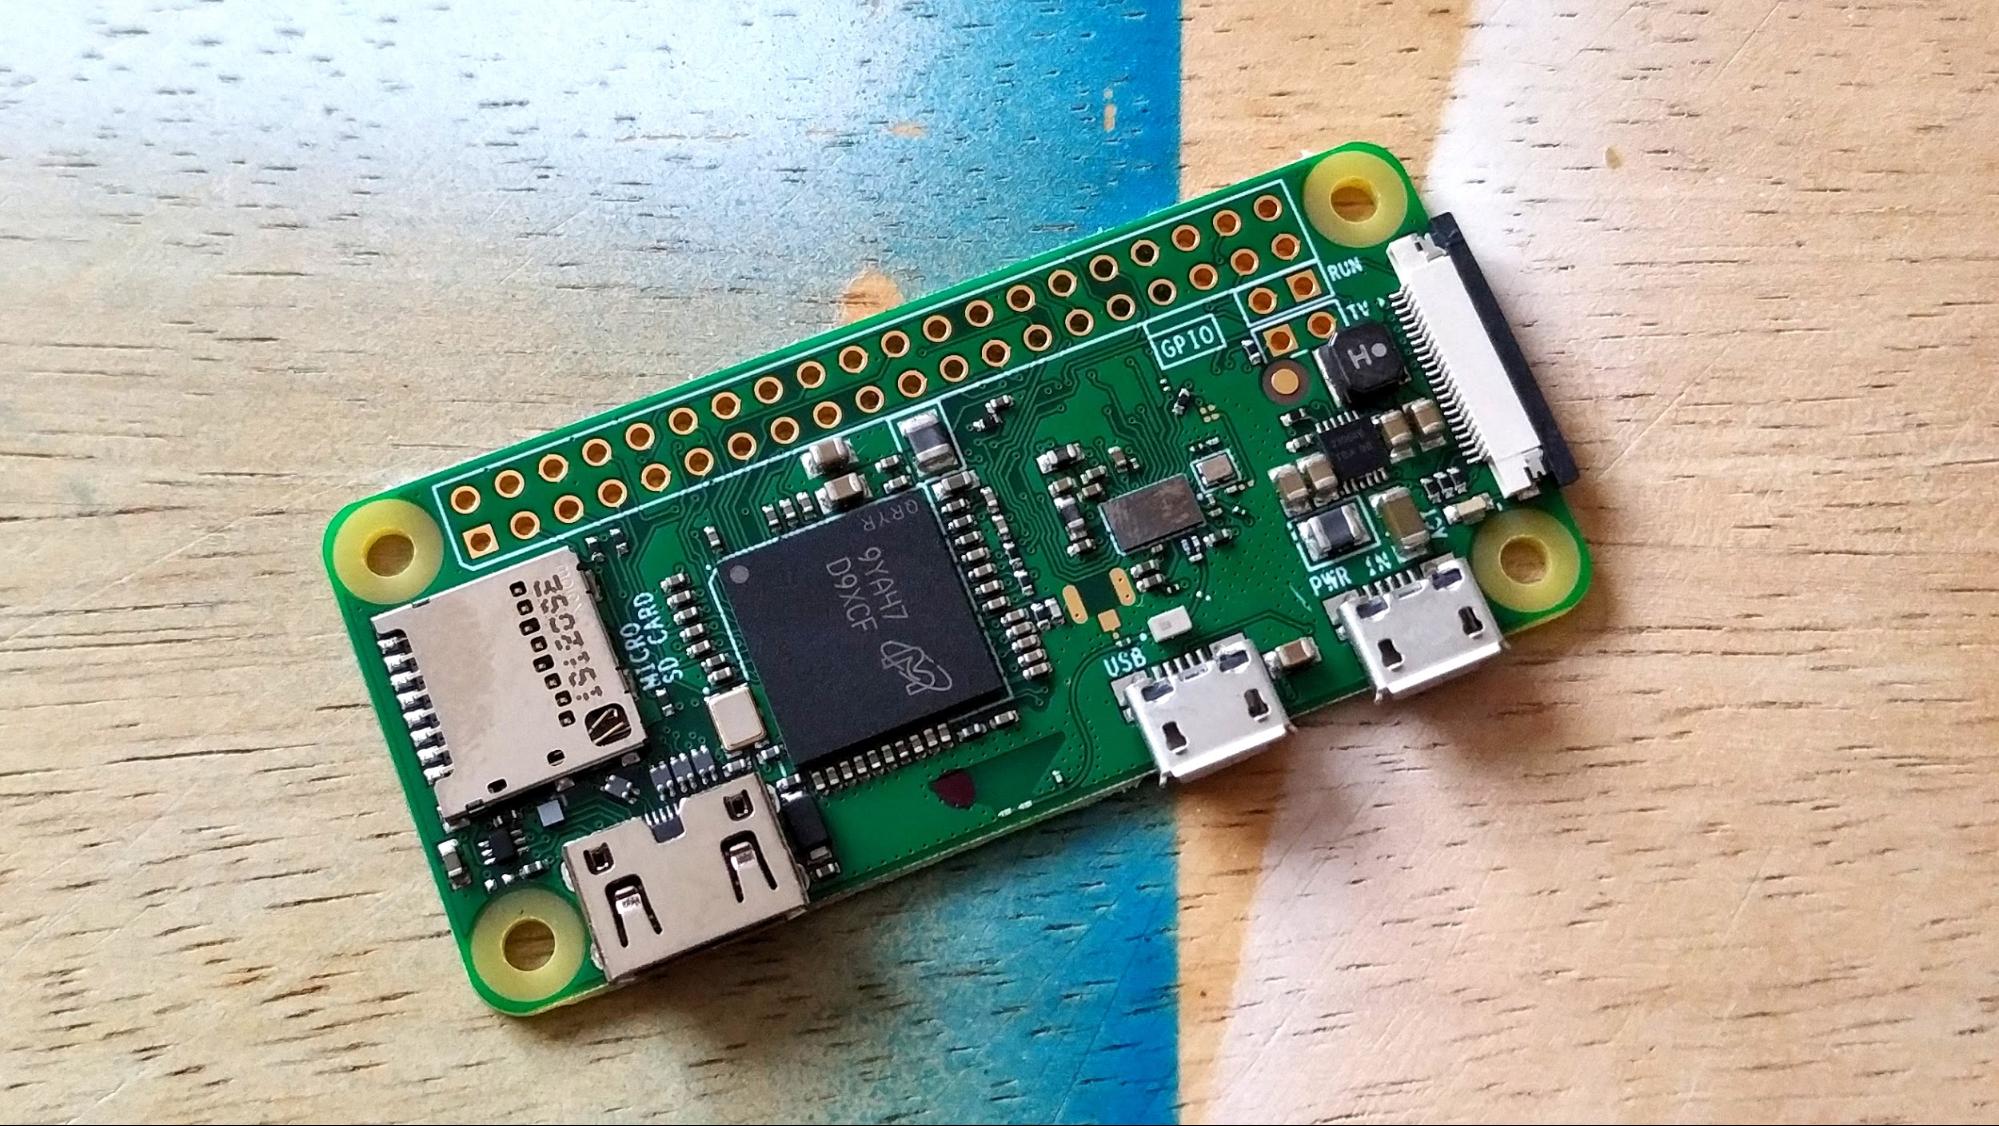
The Raspberry Pi Zero is a computer the size of a stick of gum, which is designed to be as cheap as possible, with a starting price of $5 (or $10 for a version with Wi-Fi). With dimensions of just 2.6 x 1.2 x 0.2 inches (66.0mm x 30.5mm x 5.0mm), about the size of a USB Flash drive, the Pi Zero is small enough to be embedded in a project and cheap enough to be left there! The same Raspberry Pi OS and software runs on the Raspberry Pi Zero as on larger Pis such as the Raspberry Pi 4, though the smaller board cannot handle the new, 64-bit version of the OS. It may only be a single core machine, but the Pi Zero packs enough power to get the job done.
No matter your interest in the Raspberry Pi, a Pi Zero should definitely be in your bits box. But what can you do with it? What boards can be used? Why choose a Pi Zero? We shall answer that and more here.
Raspberry Pi Zero Specifications
There are three SKUs in the Raspberry Pi Zero line, but all have the same CPU and 512 MB RAM. The Broadcom BCM2835, ARM11 32-bit CPU is the same as found in the original Raspberry Pi 1, but it has been overclocked to 1 GHz. The only differences between the SKUs involve wireless support and camera module support.
Raspberry Pi Zero Specs
| CPU | 1-GHZ, Broadcom BCM2835 |
|---|---|
| RAM | 512MB |
| Wireless (Pi Zero W only) | 802.11n / Bluetooth 4.1 / LE |
| Ports | Micro USB, mini HDMI |
| I/O | 40 GPIO Pins, CSI camera connector (not on version 1.2) |
| Size | 2.6 x 1.2 x 0.2 inches (66.0mm x 30.5mm x 5.0mm) |
| Weight | 0.31 ounces (9 grams) |
Which Raspberry Pi Zero Should I Buy?
There are three models of Raspberry Pi Zero, though only two of them are current.
- Raspberry Pi Zero W: Clearly the best choice, but with an MSRP of $10, slightly more expensive than the regular Pi Zero, this version includes Wi-Fi and Bluetooth connectivity.
- Raspberry Pi Zero (version 1.3): The current version of the Zero lacks wireless connectivity, but has an MSRP of just $5, which makes it attractive for a project where you either don’t need network access or can have it USB connected to a PC.
- Raspberry Pi Zero (version 1.2): The original version of the Pi Zero lacked the CSI camera connector that version 1.3 and Pi Zero W have. This model has been replaced so you’re unlikely to see it for sale anywhere.
All three models share the same layout, size and HDMI / USB ports and if you are thinking of purchasing your first board then the Raspberry Pi Zero W should be your only consideration.
Raspberry Pi Zero Trade-Offs
When thinking about the Raspberry Pi Zero there are some caveats to consider. To save the money and size over a full-fledged Raspberry Pi 4, you have to make some compromises.
- One data port: There is a single micro USB port for data (plus one for power), so to connect a keyboard and mouse we either need a USB hub or to use Bluetooth peripherals.
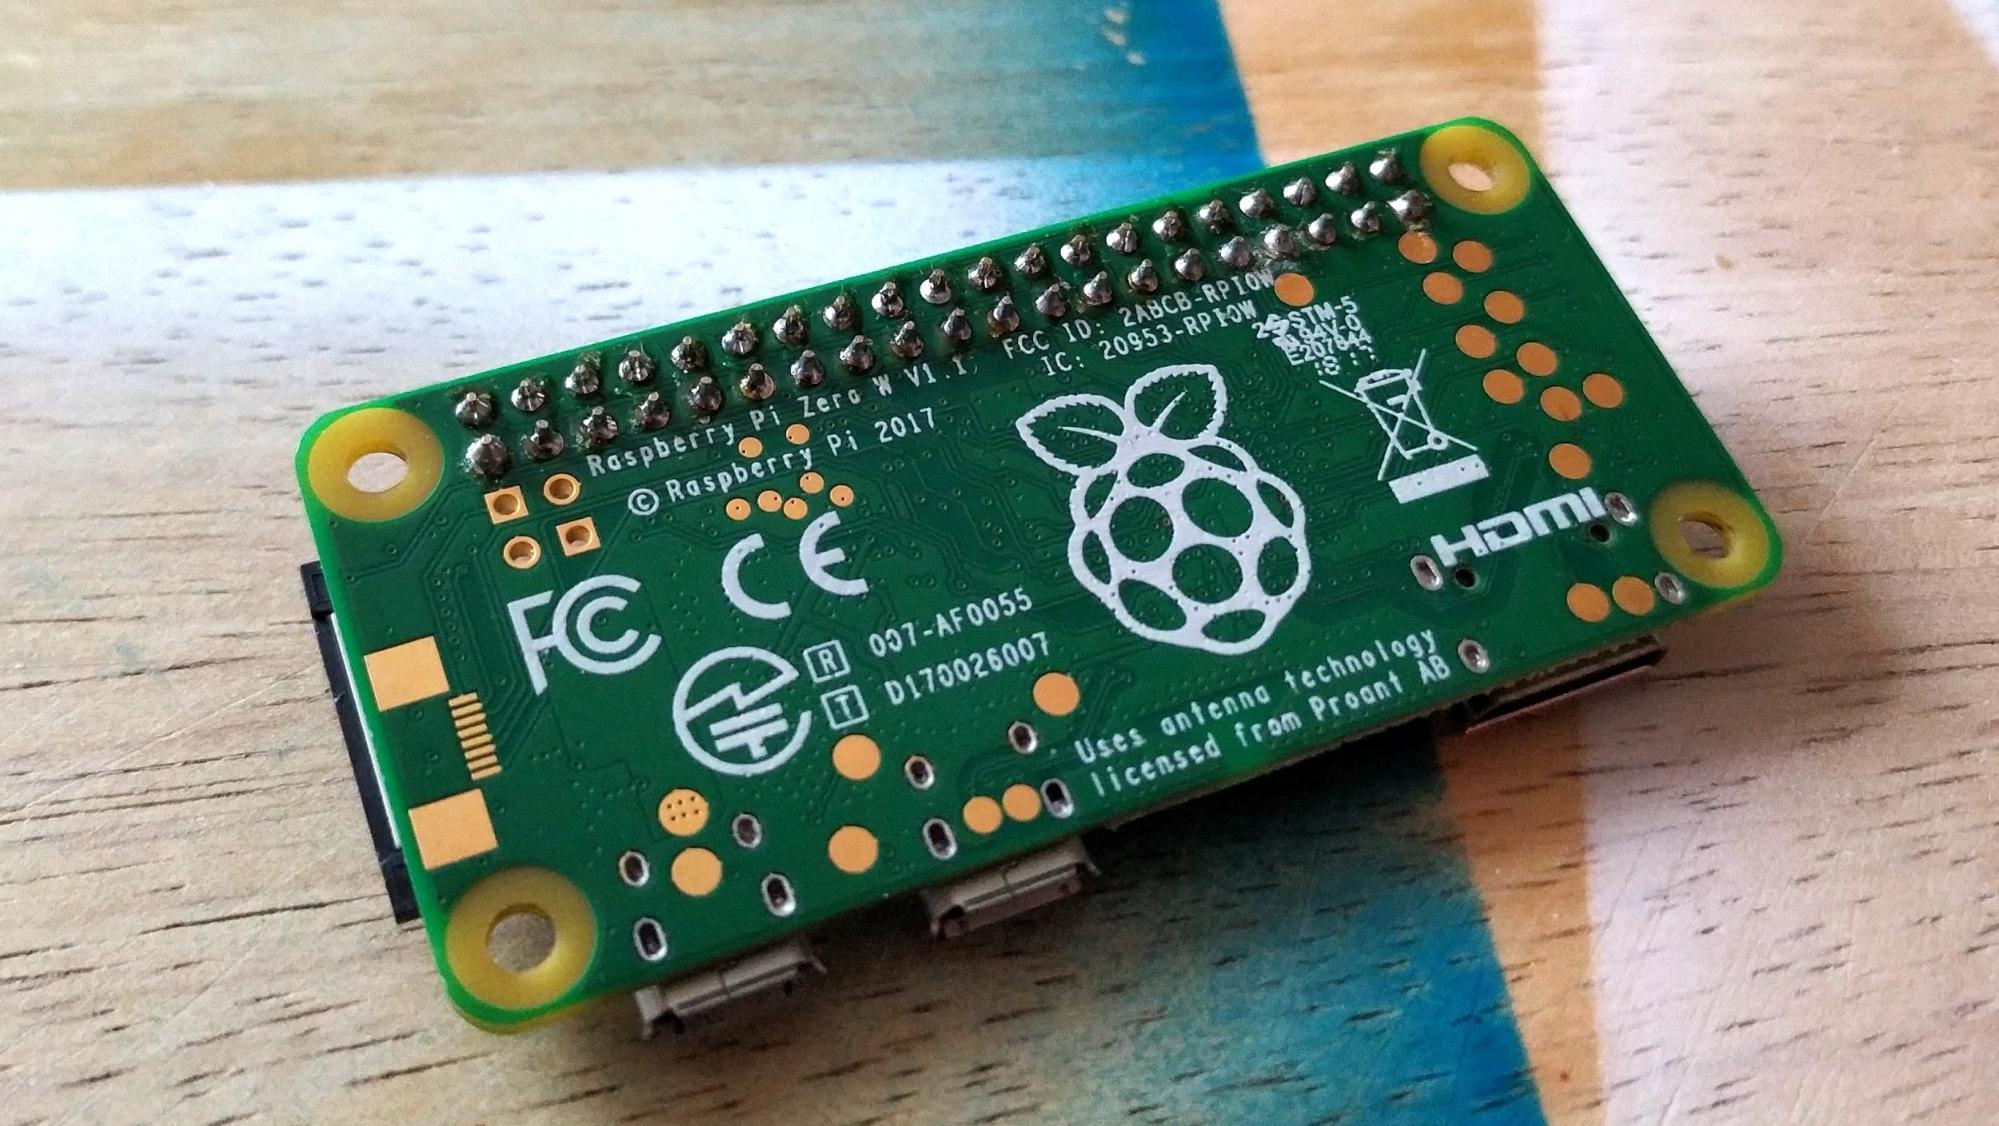
- Bring your own pins: The GPIO does not come pre-soldered, though you can find some stores that sell pre-soldered models for extra. There are also some solder-free ways to attach pins. But look at this as an opportunity to learn soldering, and with one of the best soldering irons from our list, you will make short work of the 40 pin GPIO.
- Special camera cables: You’ll need special Pi Zero camera cables if you want to use a Raspberry Pi camera module. Regular Pi camera cables won’t fit.
- Obscure video port: Very few devices use mini HDMI, but the Raspberry Pi Zero is one of them. You’ll need a mini HDMI to HDMI cable or adapter to connect to a monitor or TV.
Why choose the Raspberry Pi Zero?
The price and size of the Raspberry Pi Zero make it ideal for embedded projects such as data collection, home automation and body cameras. There is enough power to run our code, process the results and upload for later analysis, all via this tiny computer. Old technology such as printers can be upcycled into wireless printers available to all our devices by connecting a Raspberry Pi Zero W and running some simple code.
Get Tom's Hardware's best news and in-depth reviews, straight to your inbox.
Robotics projects are another area where the Raspberry Pi Zero W is strong, again due to its size and connectivity. Bluetooth and app controlled robots can be easily made using the Raspberry Pi Zero W as the brain and add on boards called HATs / pHATs are used to provide features like motor control and sensors.
Another key feature of the Raspberry Pi Zero is that it is a low power computer. Via the micro USB power interface It runs at 5.2V. When connected to WiFi it draws around 200mA which is a total of 1W! An Internet connected Linux computer running using 1W of power! Because the Raspberry Pi Zero W uses so little power we can easily run the Pi from a USB battery pack enabling projects to go “off the grid”.
What can you do with a Raspberry Pi Zero?
There are a ton of projects you can use a Raspberry Pi Zero for, but here are a few good examples.
- Body Camera: Record the important moments of your life and upload them to the cloud for safety, all using a Raspberry Pi Zero W and the official Raspberry Pi Camera.
- Wireless Printer Server: Bring an old printer to life and give it new capabilities.
- Scoreboard: Build a web controlled scoreboard for your next game.
- DSLR Camera Tether: Remotely control your DSLR camera over the Internet.
- Webcam: You can turn a Raspberry Pi Zero into a webcam that connects to your PC and makes video calls.
- Mini Retro Arcade Machine: Though it won’t run all the emulators well, you can run RetroPie on a Raspberry Pi Zero. In fact, Retroflag makes a case that effectively turns a Pi Zero into a Gameboy.
Setting Up a Raspberry Pi Zero
Getting started with a Raspberry Pi Zero is the same as setting up any Raspberry Pi for the first time. However, you cannot choose the 64-bit version of Raspberry Pi OS, but instead must go with the 32-bit one. Right now, the 32-bit version is the default and the 64-bit flavor, which looks and feels the same, is primarily for those with 8GB Raspberry Pi 4 models.
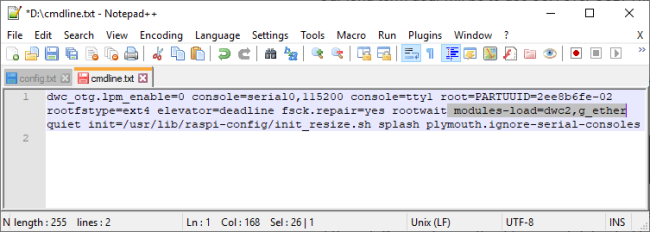
To avoid the hassle of plugging in a separate monitor, keyboard and mouse, many people do a headless install of the Raspberry Pi OS, which means that they can control the Pi Zero remotely using SSH or VNC. If you have a Pi Zero, you can connect the board directly to a USB port on your PC and control it that way, with the Pi sharing your computer’s Internet connection. To accomplish this, you just add the line dtoverlay=dwc2 to the bottom of /boot/config.txt and add modules-load=dwc2,g_ether to /boot/cmdline.text after the word rootwait.
Adding GPIO Pins
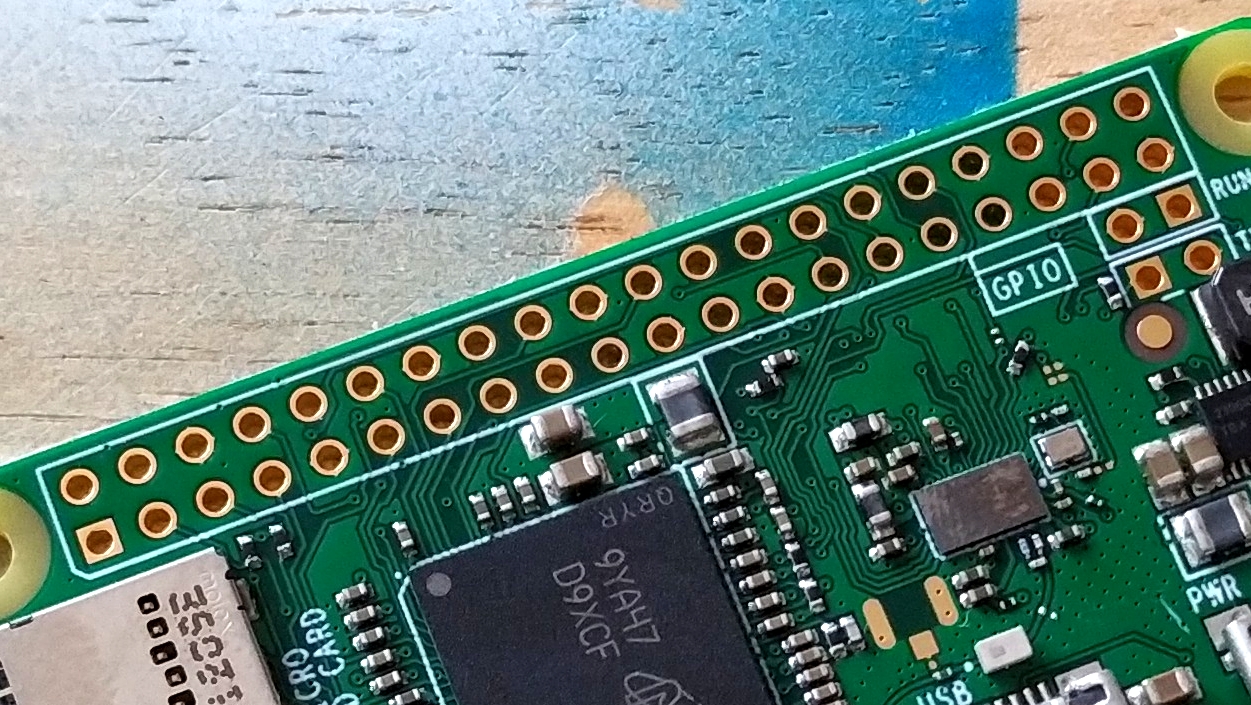
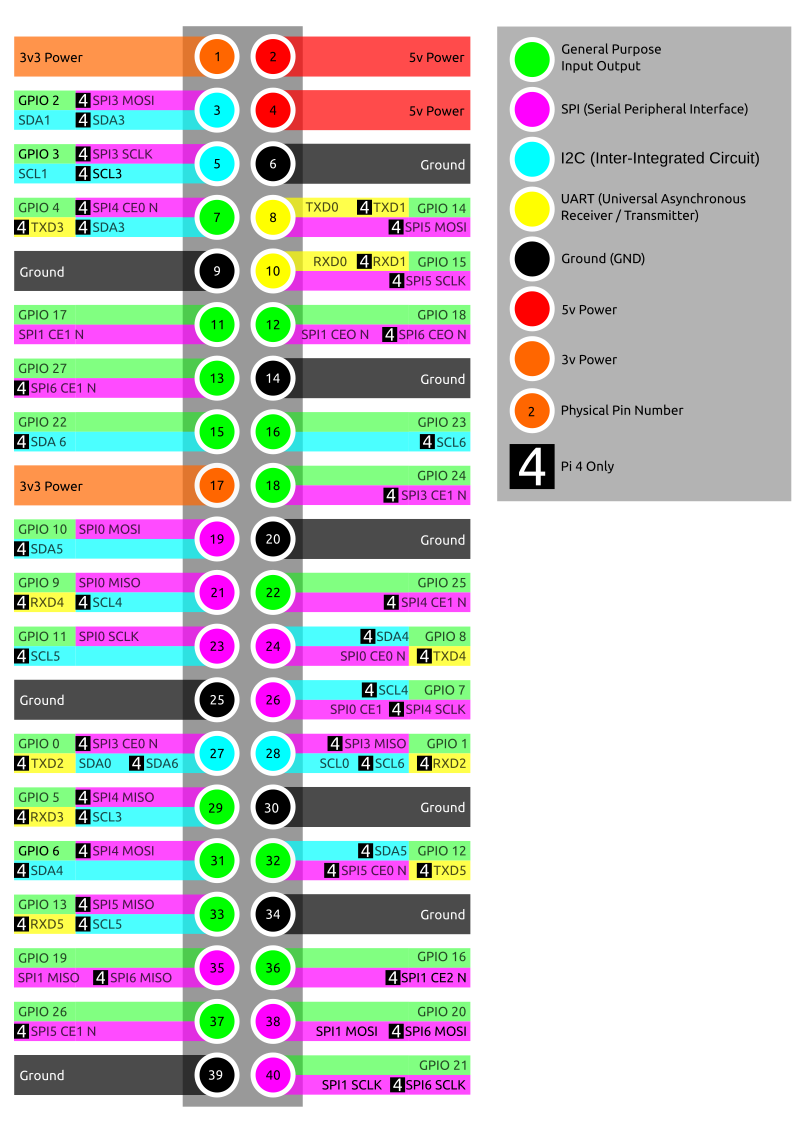
The GPIO (General Purpose Input Output) pins are 40 pins which enable the Raspberry Pi to interact with electronics and add on boards. The GPIO of the Pi Zero is not pre-soldered, unlike other models of Pi.
If you can solder, then it is simple to add your own GPIO header pins. But, if not, then there are alternatives such as Pimoroni Hammer Headers which use special header pins which are “hammered” in place using a jig.
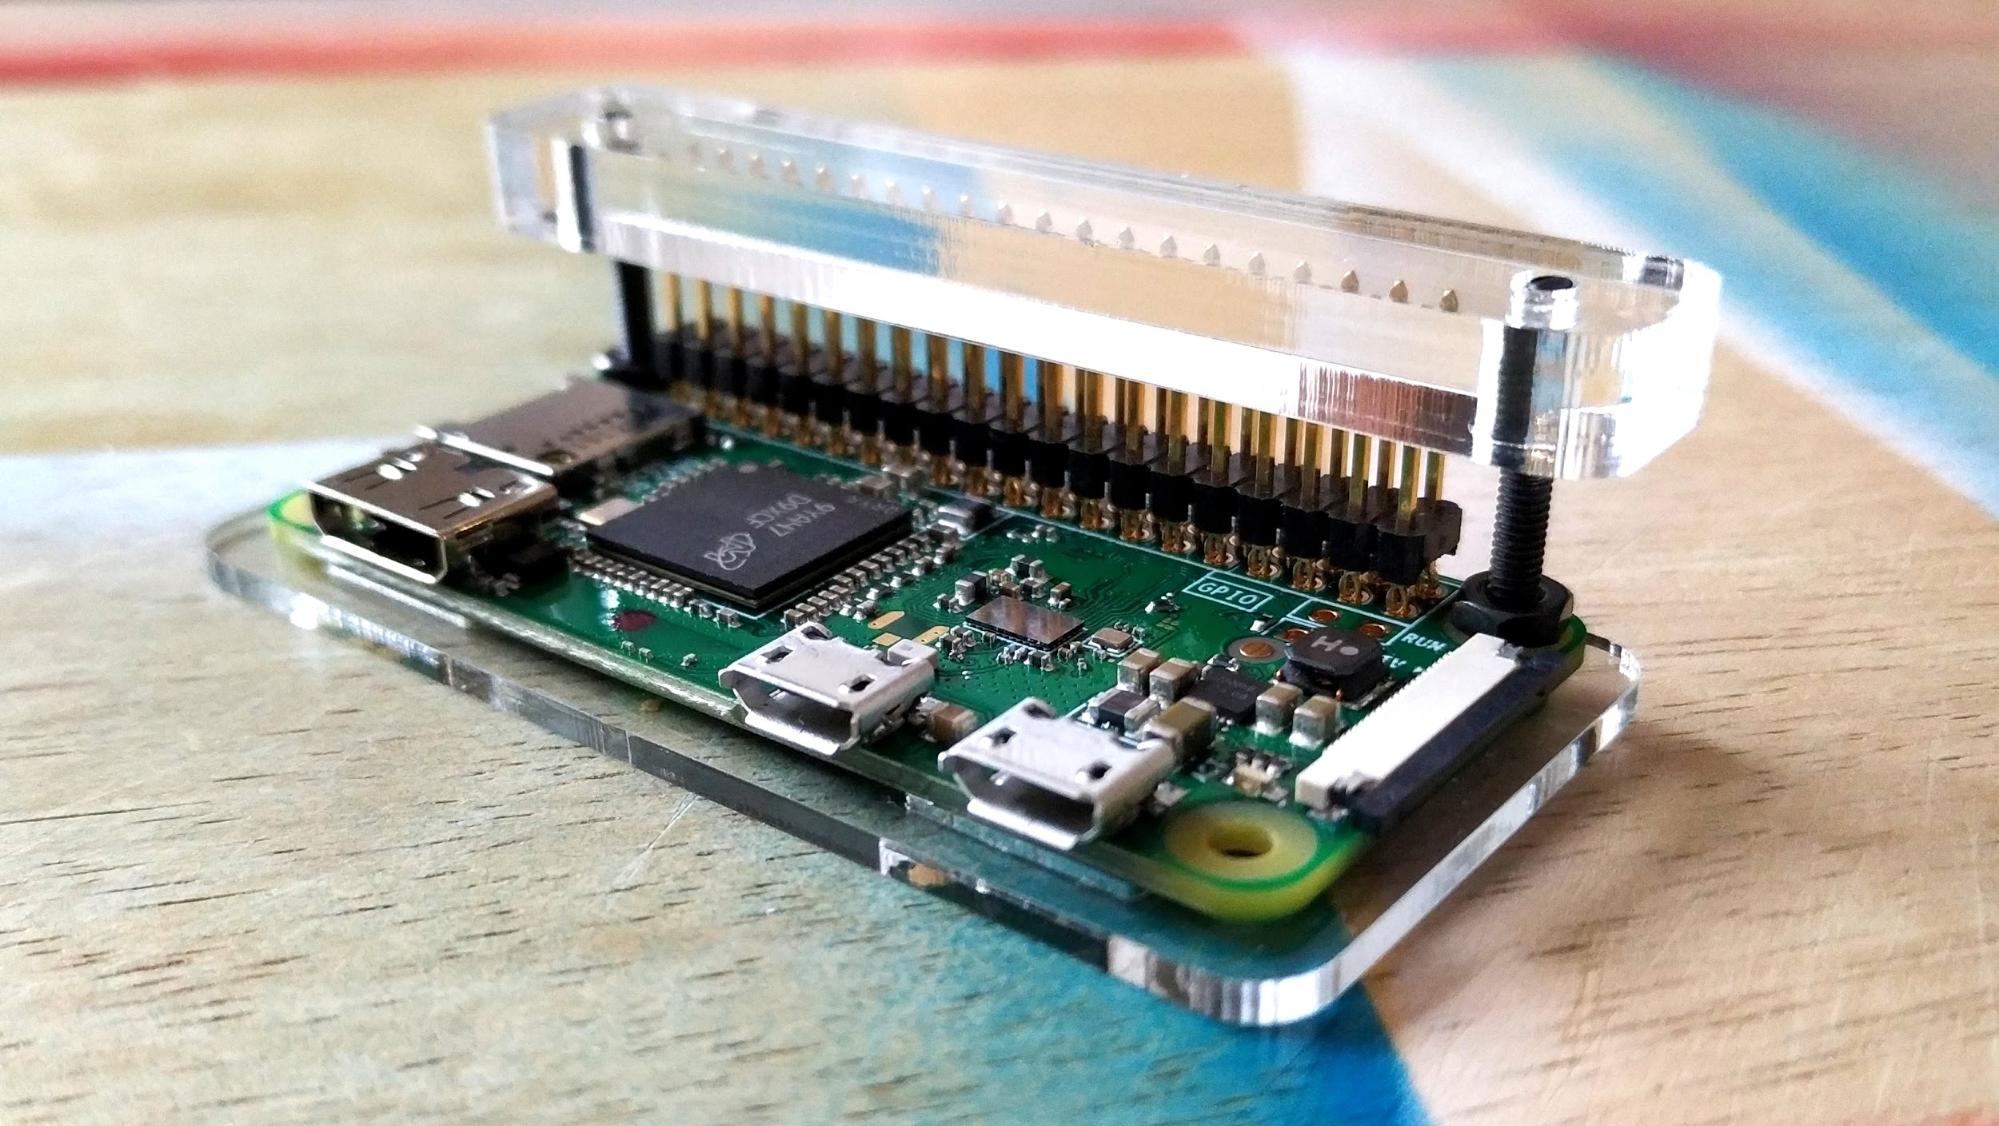
The header pins are designed to be hammered in place and will gently squeeze into the holes on the Raspberry Pi Zero and lock in place.
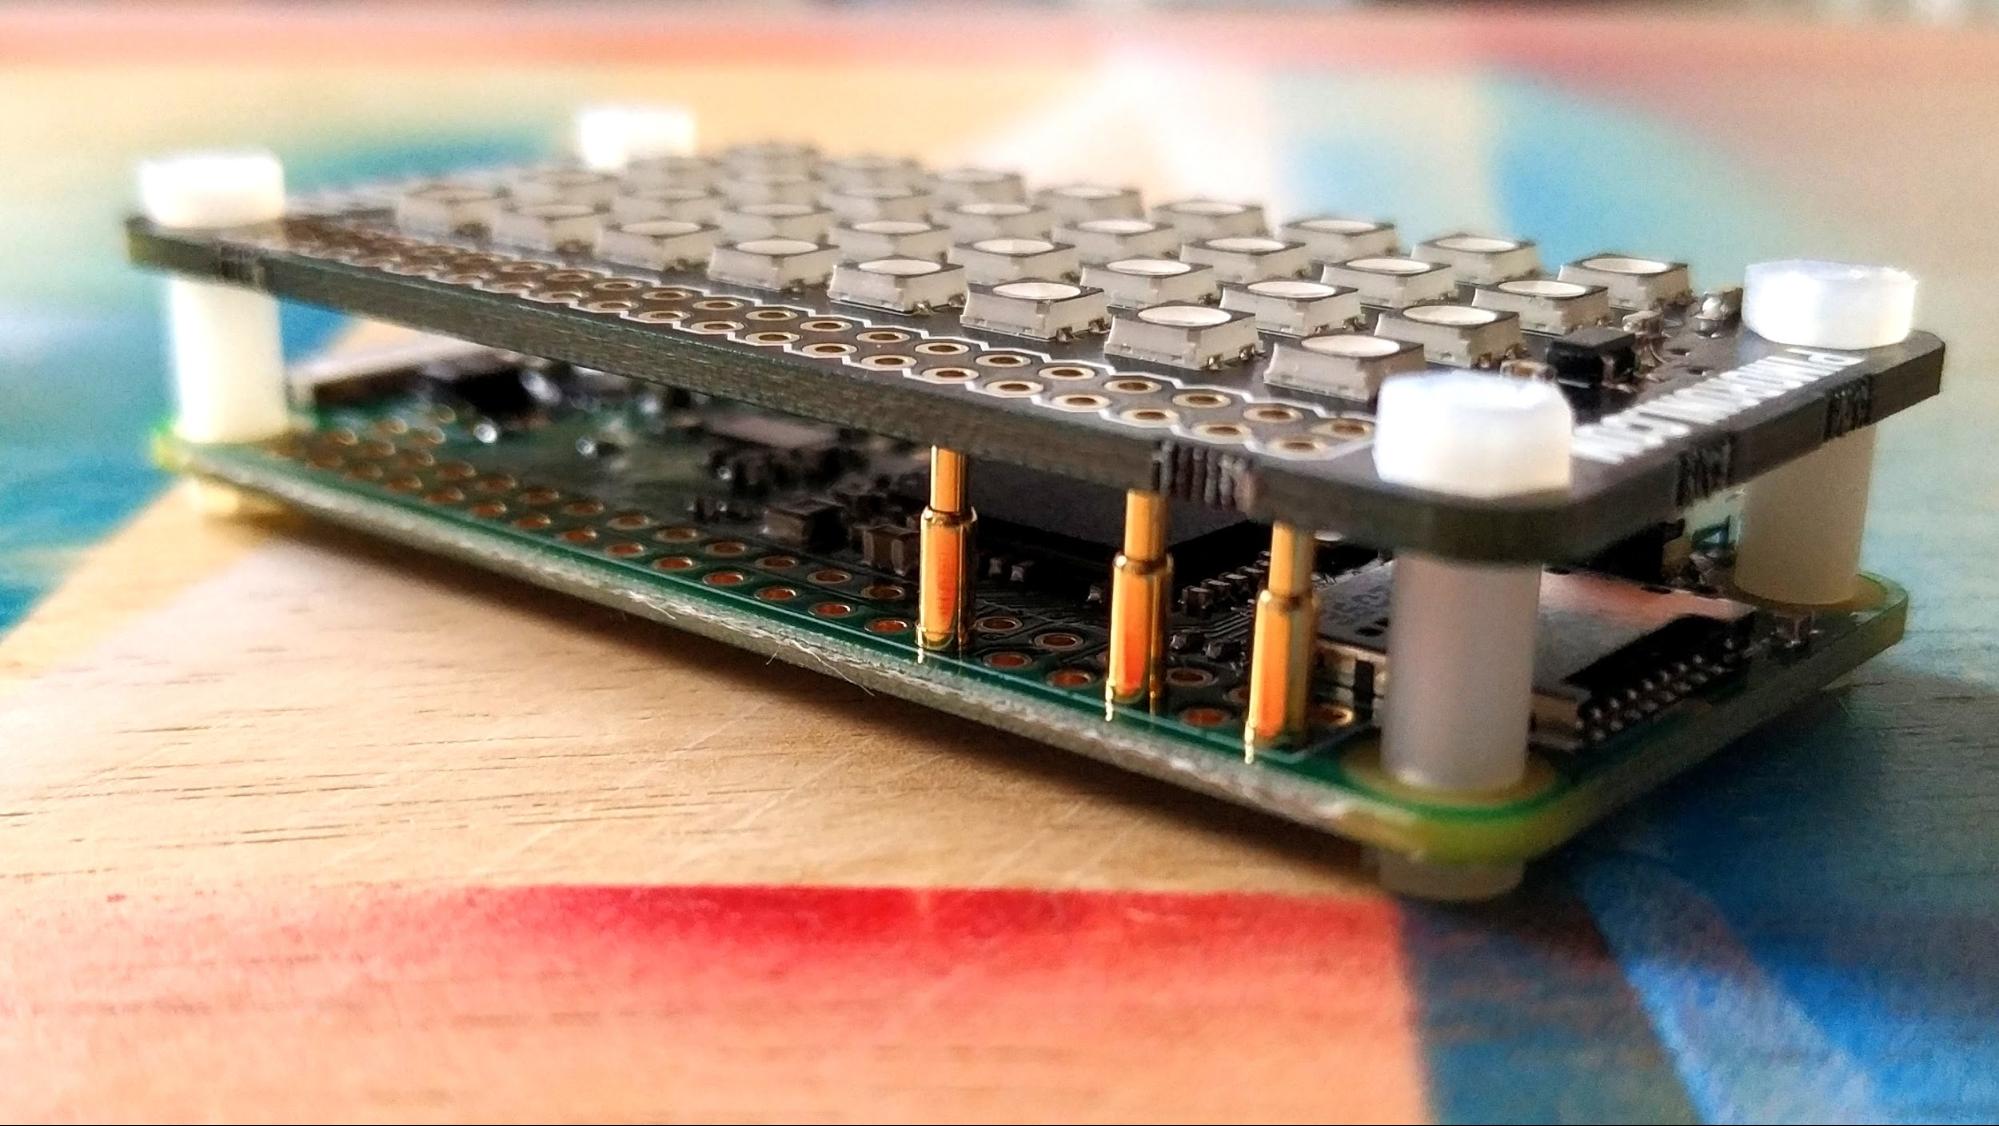
If you only need a few GPIO pins to be connected then using pogo pins, spring loaded pins, is a simple, solder free way to quickly get connected.
The GPIO is an important part of the Raspberry Pi, more so for the Pi Zero. These pins offer connections to the System on Chip (SoC) which can be used to communicate and control with electronic components.
Using HATs
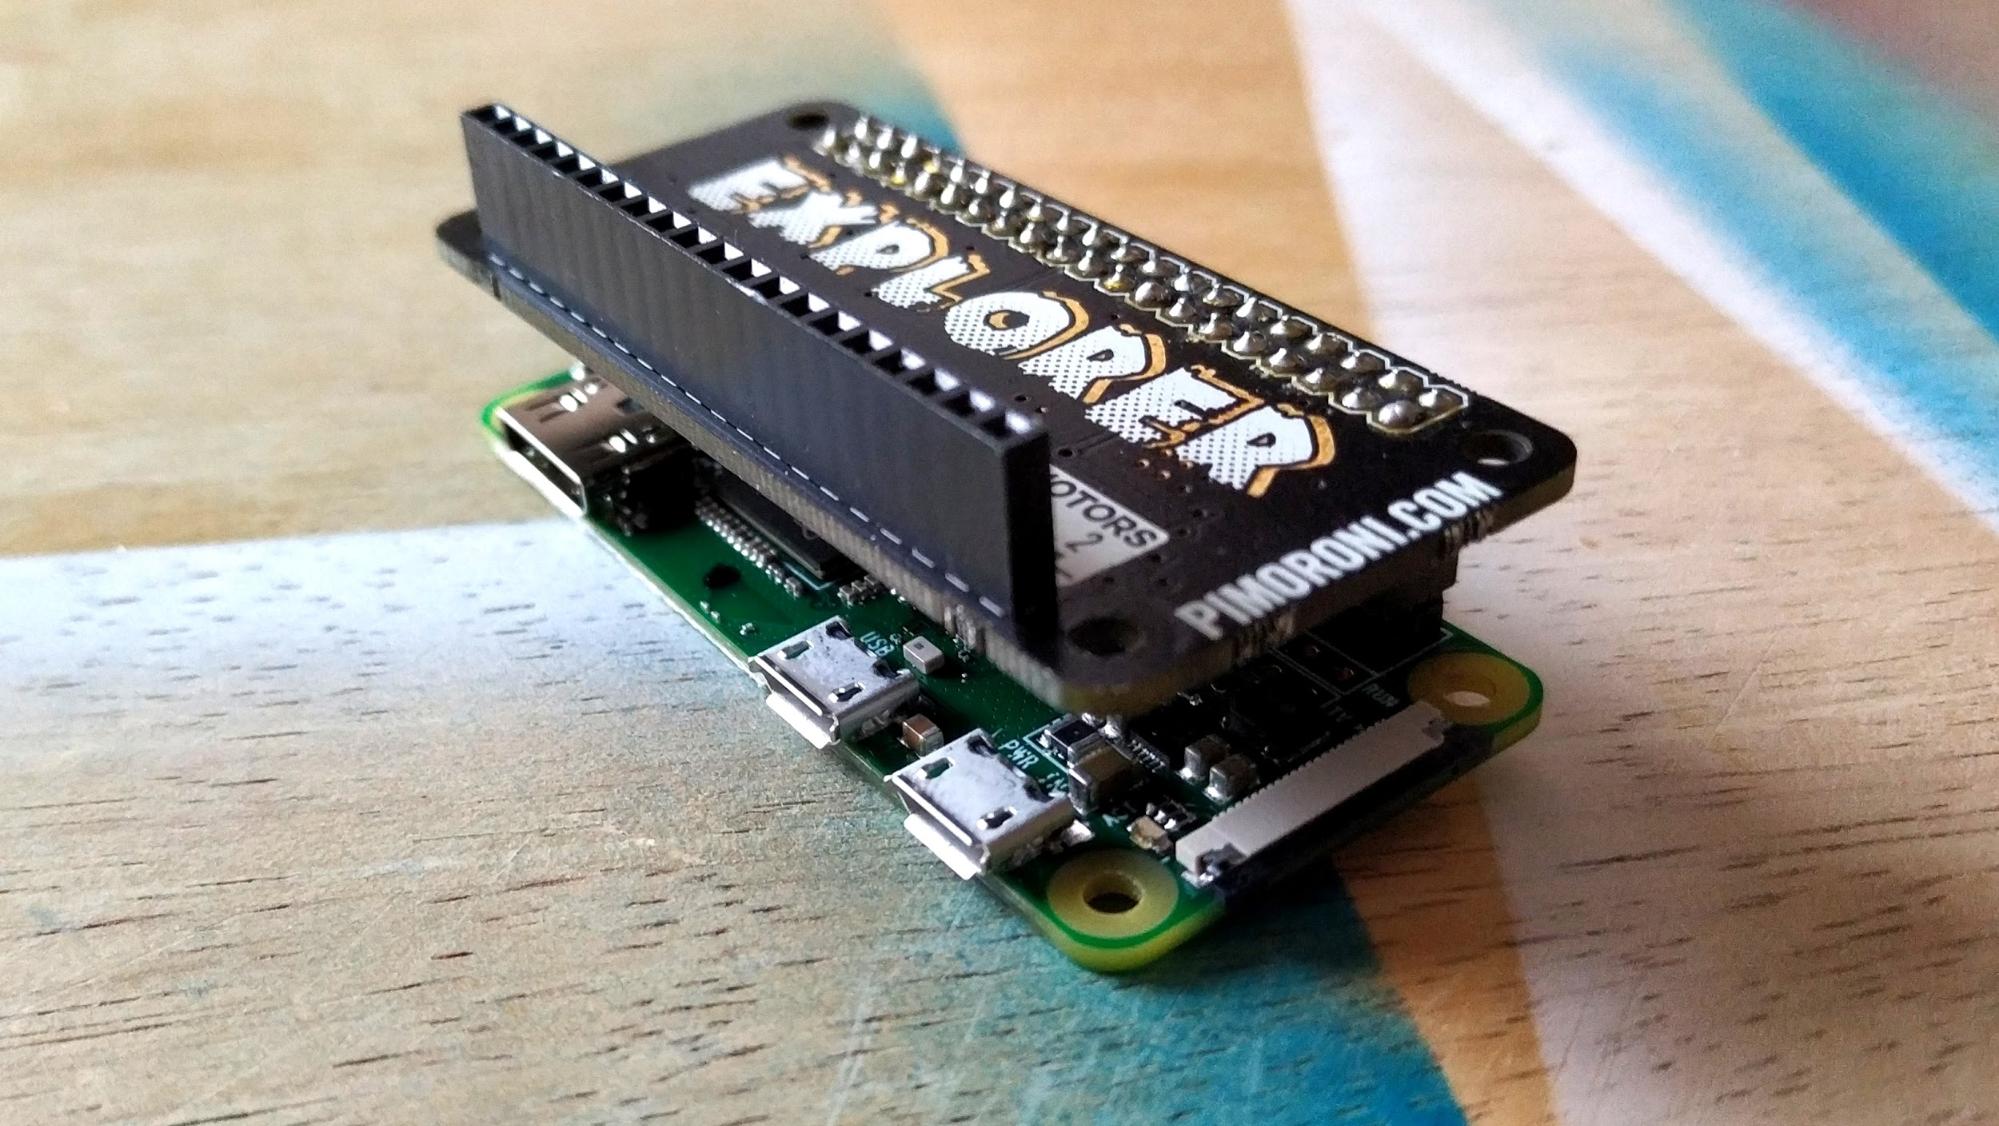
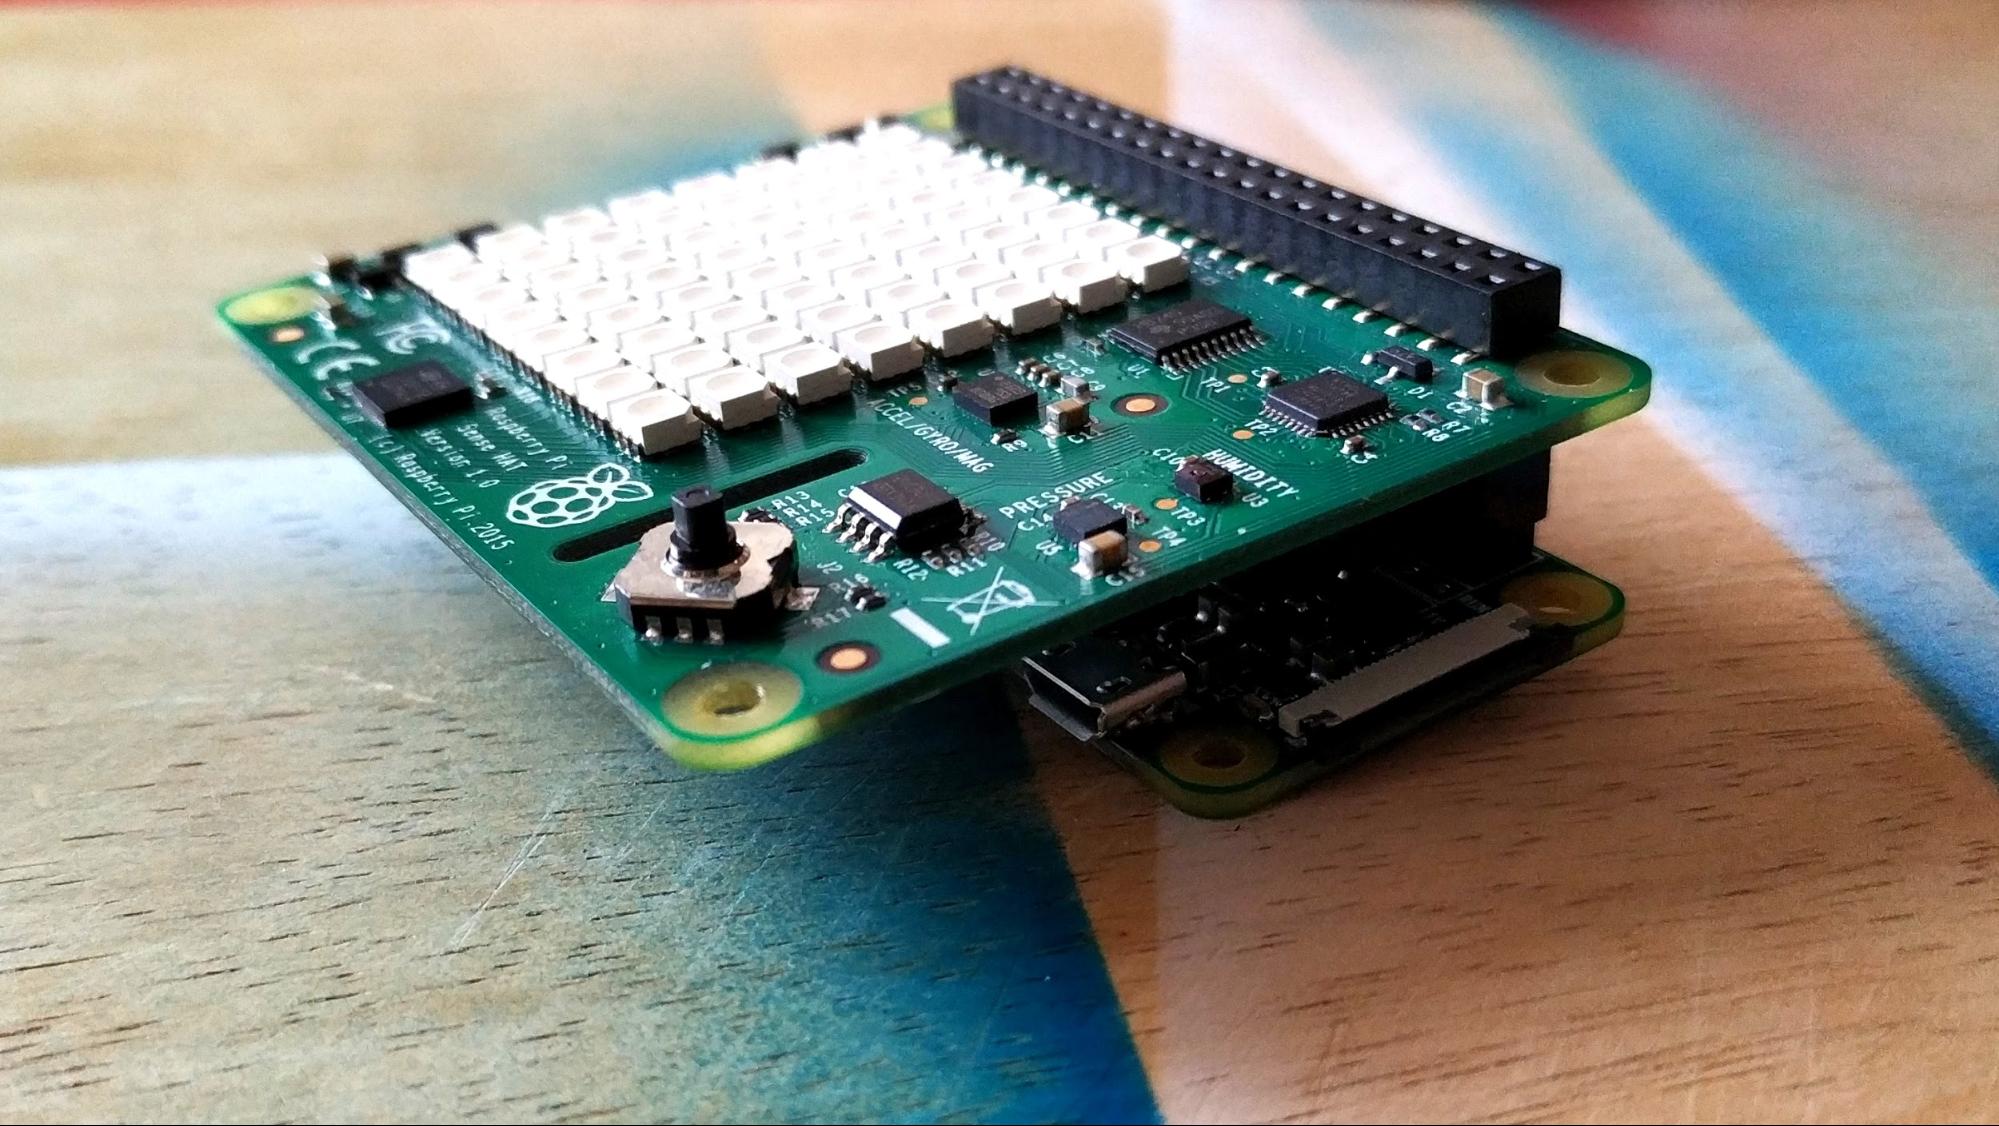
Featuring the same 40 pin GPIO as previous models, the Pi Zero is compatible with most HAT boards, despite the apparent difference in size between the HAT and the Pi Zero. There are only a few exceptions for compatibility; an example is the Raspberry Pi POE HAT which uses the GPIO and extra POE pins only found on the Raspberry Pi 3 and 4.
There are add on boards designed especially for the Raspberry Pi Zero, and compatible with the main models of Pi. The “pHAT” range of boards are designed to match the form factor of the Raspberry Pi Zero. While HAT is an official term, pHAT is not. The official name is uHAT but pHAT has been the most commonly used name.
The HAT / pHAT ecosystem is where we see the most creative projects. There are boards for simple projects such as LEDs, buzzers and buttons and there are boards for advanced projects like machine learning and computer vision. All of these boards connect to the GPIO and provide extra features that we can use in our projects.
MORE: Best Raspberry Pi HATs: Expansion Boards for Every Project

Les Pounder is an associate editor at Tom's Hardware. He is a creative technologist and for seven years has created projects to educate and inspire minds both young and old. He has worked with the Raspberry Pi Foundation to write and deliver their teacher training program "Picademy".
