 Join Tom’s Hardware today


The Astro Pi project sees experiments, written by school children running on real Raspberry Pis. This might not seem very exciting until you hear where those Raspberry Pis are located, the International Space Station, in orbit high above the Earth.
Launched, literally, in December 2015 via the Principia mission, Astro Pi began when UK astronaut Sir Tim Peake took two Raspberry Pi B+, Pi cameras and Sense HAT add-on boards enclosed in aluminum chassis designed to manage the Raspberry Pi thermals to the ISS. The two Astro Pi computers, affectionately named Izzy and Ed were able to measure temperatures, humidity, air pressure, orientation and acceleration forces thanks to the Sense HATs plethora of onboard sensors. These two Raspberry Pi were used in multiple experiments since 2015, but the B+ models inside were getting a bit long in the tooth.

Fast forward to 2021 and the International Space Station is getting an upgrade with Astro Pi Mark II. Two Raspberry Pi 4 8GB boards are being sent to replace the older models. Inside the familiar looking 6063-grade aluminum is the Raspberry Pi 4, the Sense HAT and two extra additions. The official Raspberry Pi HQ camera, and a Google Coral machine learning accelerator. On its own the Raspberry Pi 4 is quite a capable machine, but with Google Coral machine learning projects will get an extra boost in performance, including real-time image processing.
Back here on terra firma, we can perform our own experiments and learn how to use the Sense HAT in our projects, so let's get ready to blast off another “stellar” project.
Getting to know the Sense HAT

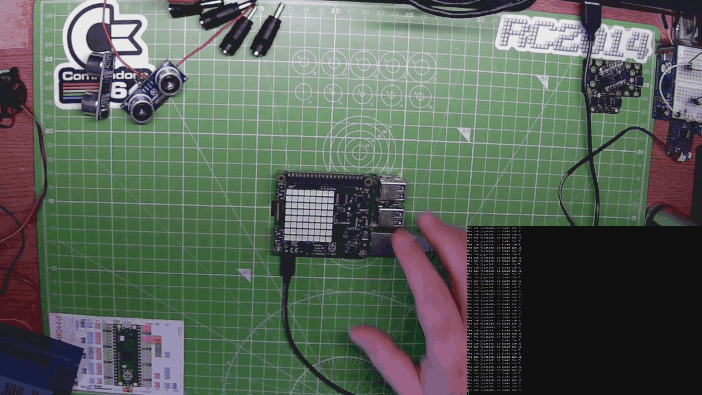
Astro Pi is powered by the Sense HAT, a first party accessory which provides a plethora of sensors, contained in a HAT (see our list of best Raspberry Pi HATs). On the Sense HAT, we have sensors for temperature, humidity, air pressure, pretty common sensors used in many projects. But what the Sense HAT brings is a combined accelerometer, magnetometer and gyroscope. A single joystick, located in the bottom right of the board is used as input, mimicking keyboard cursor keys. The most noticeable feature of the Sense HAT is a large 8 x 8 matrix of RGB LEDs that can be used to scroll text, show colors and create basic animations.
All of these features can be controlled by a simple Python library, and the best thing is, it is pre-installed in Raspberry Pi OS and ready to use.
Our project is a simple test of inputs, sensors and the RGB matrix. We will create a means to use the joystick to start one of four actions, including one action that uses our orientation to set the color of the RGB LED matrix. We will also scroll the current temperature across the RGB LED matrix each time the Sense HAT is shook.
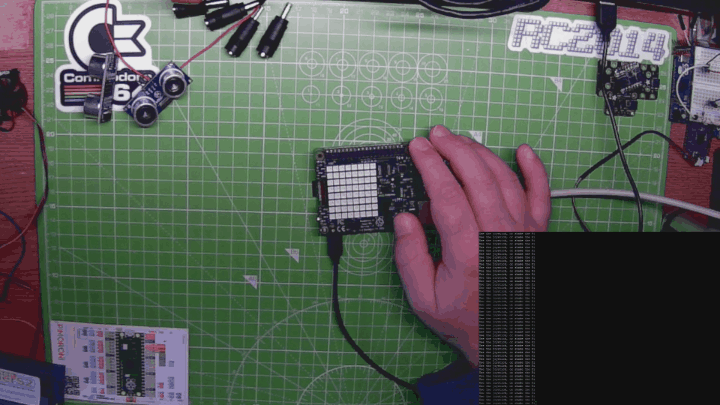
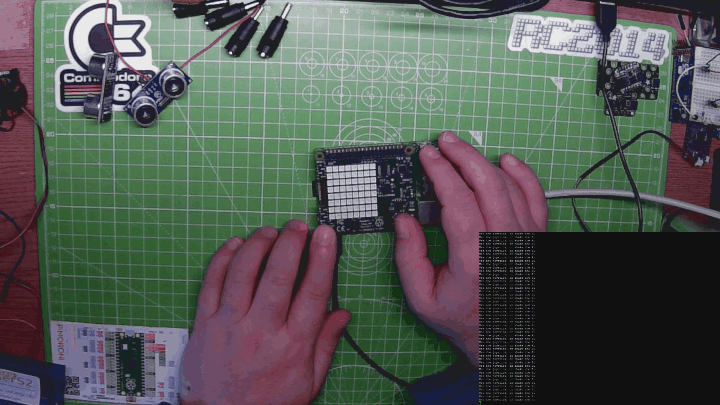
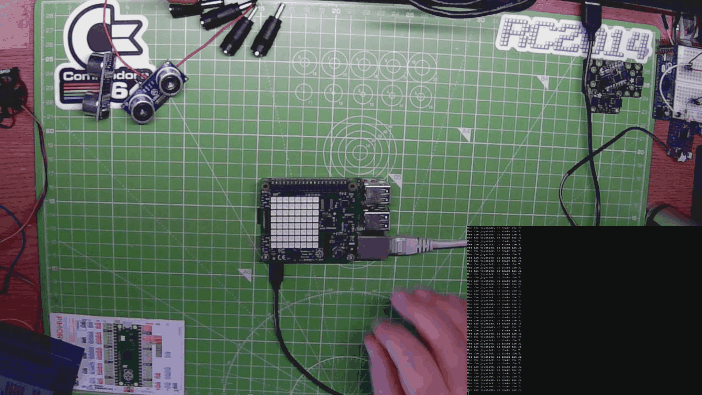
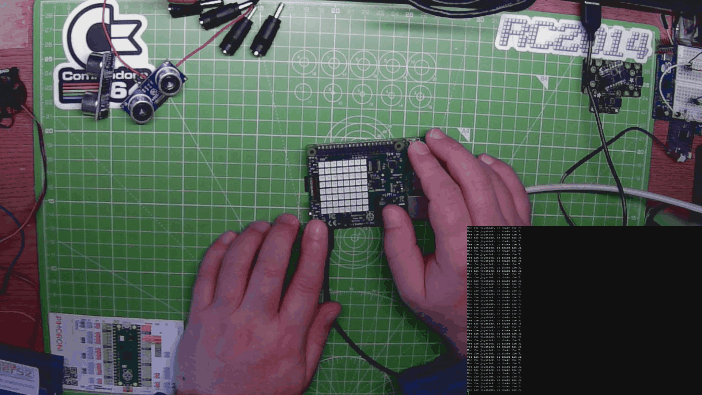
1. Attach the Sense HAT to all 40 GPIO pins with the Pi turned off. You may want to use some M2.5 standoffs to support the front of the Sense HAT.
2. Power up your Raspberry Pi.
3. Open Thonny, found in the Programming menu.
4. Import three libraries of code. The first enables us to use the Sense HAT and the second allows us to add pauses to the code. The final import sees us import the random integer generator function from the random library.
from sense_hat import SenseHat
import time
from random import randint
5. Create four objects to create a connection to the Sense HAT, and to set the colors of the RGB LED Matrix. The sense object creates an easy to use connection to the Sense HAT hardware. Then we create three tuples that contain the RGB values for the RGB LEDs. In this case it contains, white, red and off.
sense = SenseHat()
white = (128, 128, 128)
red = (128,0,0)
off = (0,0,0)
6. Create a function called “humidity” tol scroll the current humidity levels across the RGB LED matrix. We use the show_message function to scroll a string of text, starting with “Humidity: “ and then we read the current humidity level using sense.humidity but this is wrapped in a round() function that rounds the value to one decimal place and then it converts the float value to a string. We then set the text color (note the UK spelling of color) and the background color before finally setting the scroll speed.
def humidity():
    sense.show_message("Humidity: "+str(round(sense.humidity,1))+"%", text_colour=white, back_colour=off, scroll_speed=0.05)

7. The next function to create is “pressure” and it works in the same manner as the previous, except that we use sense.humidity to read the sensor data. We also change the text and background colors for easy identification.
def pressure():
        sense.show_message("Pressure: "+str(round(sense.pressure,2))+" Millibar", text_colour=red, back_colour=off, scroll_speed=0.05)
8. Create a function, “disco” that uses a for loop to randomly change the color of the LEDs in the RGB matrix. Create a for loop that iterates 64 times, and inside the for loop create variables for x, y, r, g, b. Each of these variables stores a randomly generated number between 0 and 7 for x and y, and 0 to 255 for r, g, b.
def disco():
    for i in range(64):
        x = randint(0,7)
        y = randint(0,7)
        z = randint(0,7)
        r = randint(0,255)
        g = randint(0,255)
        b = randint(0,255)
9. Set the LEDs in the RGB matrix using the values stored in the x, y, r, g, b variables. We set an individual pixel (x,y) to the color (r,g,b) before pausing for 0.1 seconds.
        sense.set_pixel(x, y, (r, g, b))
        time.sleep(0.1)
10. Create a final function called “flashlight” that uses the pitch, roll and yaw orientation data to set the color of the RGB matrix. Create a for loop which iterates 10 times, then create an object, o, to store the orientation data.
def flashlight():
    for i in range(10):
        o = sense.get_orientation()
11. Create three variables pitch, roll and yaw and in each of these variables store the relevant data, divided by 1.42 so that the maximum value returned is 255, and then formatted into an integer.
        pitch = int(o["pitch"] / 1.42)
        roll = int(o["roll"] / 1.42)
        yaw = int(o["yaw"] / 1.42)
12. Insert two for loops for the x and y axis of the RGB matrix, then use the pitch, roll and yaw data to set the color of the LEDs. Add a 1 second pause enabling us to easily see the color change.
for x in range(8):
            for y in range(8):
                sense.set_pixel(x, y, (pitch, roll, yaw))
        time.sleep(1)
13. Create a while True loop to run the main body of code.
while True:14. Inside the loop create four events that will activate when a specific joystick direction is selected. Each direction has one of our four functions assigned to it.
    sense.stick.direction_up = humidity
    sense.stick.direction_down = disco
    sense.stick.direction_left = pressure
    sense.stick.direction_right = flashlight
15. Using an object, store the raw accelerometer data and then create three new objects to store the raw data for each axis. This data will be used to detect when the Sense HAT is shaken.
acceleration = sense.get_accelerometer_raw()
    x = acceleration['x']
    y = acceleration['y']
    z = acceleration['z']
16. Using Python's abs() function we ensure that any number stored in the x, y, and z objects are positive. The abs() function in reality shows how far a number is from zero. So -2 and 2 both return the value 2.
    x = abs(x)
    y = abs(y)
    z = abs(z)
17. Create a conditional test that will check the values stored in x, y, and z. If those values are greater than 2, it will trigger a sequence of code.
if x > 2 or y > 2 or z > 2:
18. Insert a for loop which will scroll the current temperature across the RGB LED matrix, in a similar manner to our earlier functions.
for i in range(2):
            sense.show_message(str(round(sense.temperature,1))+" Celsius", text_colour=white, back_colour=off, scroll_speed=0.05)
19. Create the final part of the conditional test, an else “catch all” statement that will activate if the Sense HAT is not being used. It will print a message to the screen every 0.1 seconds.
    else:
        print("Use the joystick, or shake the Pi")
        time.sleep(0.1)
20. Save the code as sense_test.py
21. Click on Run to start the code. Now test each of the joystick functions, before lightly shaking the Raspberry Pi to trigger the temperature sensor function.
Complete Code Listing
from sense_hat import SenseHat
import time
from random import randint
sense = SenseHat()
white = (128, 128, 128)
red = (128,0,0)
off = (0,0,0)

def humidity():
    sense.show_message("Humidity: "+str(round(sense.humidity,1))+"%", text_colour=white, back_colour=off, scroll_speed=0.05)
def pressure():
        sense.show_message("Pressure: "+str(round(sense.pressure,2))+" Millibar", text_colour=red, back_colour=off, scroll_speed=0.05)
def disco():
    for i in range(64):
        x = randint(0,7)
        y = randint(0,7)
        z = randint(0,7)
        r = randint(0,255)
        g = randint(0,255)
        b = randint(0,255)
        sense.set_pixel(x, y, (r, g, b))
        time.sleep(0.1)

def flashlight():
    for i in range(10):
        o = sense.get_orientation()
        pitch = int(o["pitch"] / 1.42)
        roll = int(o["roll"] / 1.42)
        yaw = int(o["yaw"] / 1.42)
        for x in range(8):
            for y in range(8):
                sense.set_pixel(x, y, (pitch, roll, yaw))
        time.sleep(1)

while True:
    sense.stick.direction_up = humidity
    sense.stick.direction_down = disco
    sense.stick.direction_left = pressure
    sense.stick.direction_right = flashlight
    acceleration = sense.get_accelerometer_raw()
    x = acceleration['x']
    y = acceleration['y']
    z = acceleration['z']

    x = abs(x)
    y = abs(y)
    z = abs(z)
    if x > 2 or y > 2 or z > 2:
        for i in range(2):
            sense.show_message(str(round(sense.temperature,1))+" Celsius", text_colour=white, back_colour=off, scroll_speed=0.05)
    else:
        print("Use the joystick, or shake the Pi")
        time.sleep(0.1)
