'Everest VR' Hands-On: See The Top Of The World Without The Risk Of Death
Mount Everest has long been a fascination of mine. I remember reading John Krakauer’s Into Thin Air more than 15 years ago and being completely enthralled and absolutely horrified by the harrowing account of his ascent to the top. I’ve always wondered why anyone would ever risk their life to reach the world’s tallest peak. It’s not something I’ve ever wanted to experience firsthand (I still don’t), but after playing through Sólfar Studio’s Everest VR experience, I have a newfound understanding of those that do.
We’ve all seen pictures of Mount Everest, but unless you’re one of the brave souls who has been there and made it back, there’s no way to truly understand the astounding scale of the mountain. The Everest VR experience gave me the first true understanding of how magical reaching the top would be.
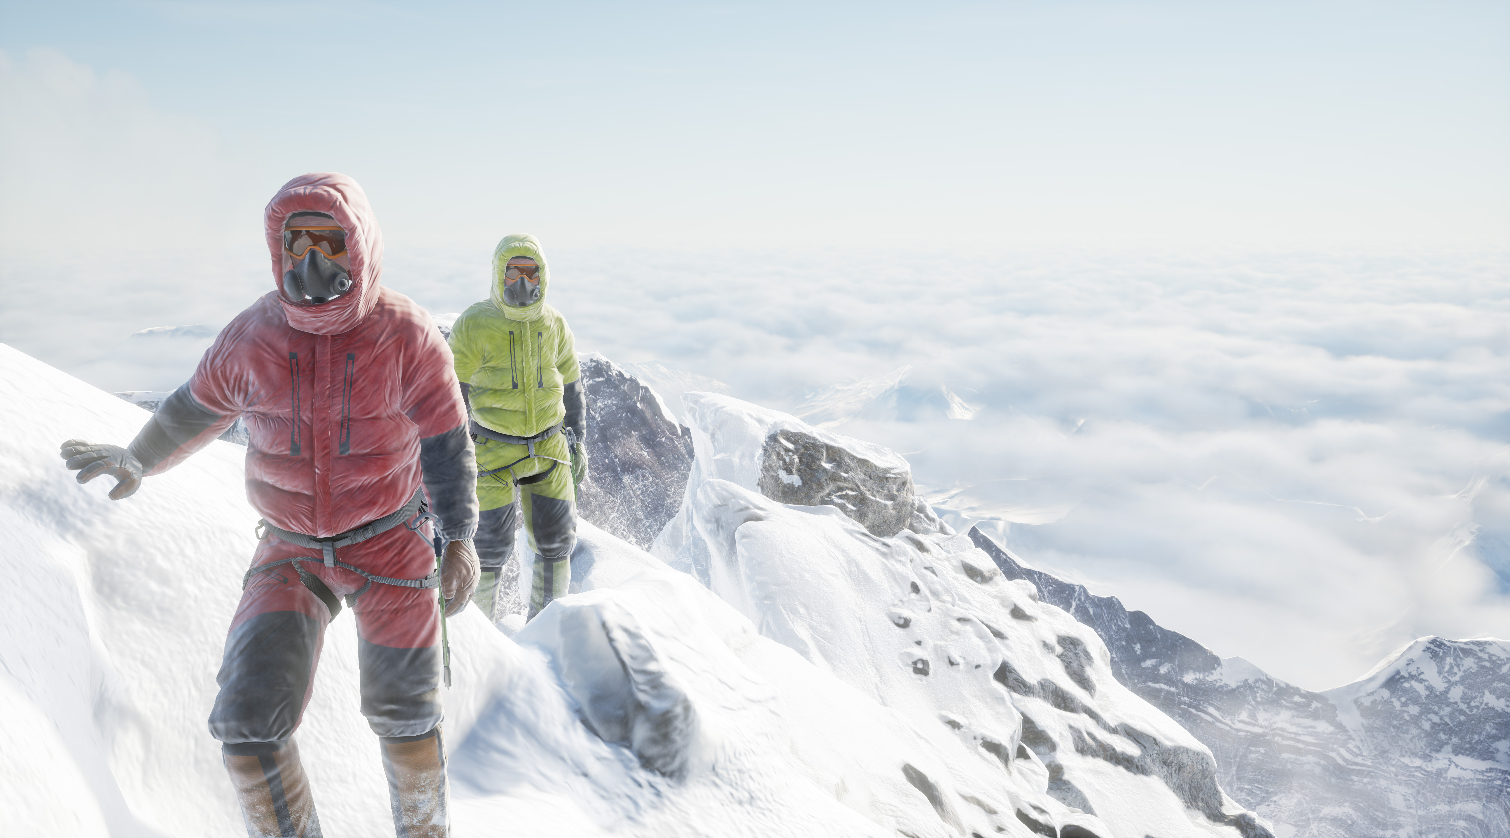
Sólfar Studios partnered with RVX, and the two companies took the painstaking effort of capturing 300,000 high-resolution images of Mount Everest and stitching them together to produce a photorealistic virtual representation of the world’s tallest mountain and several of the notable sights and stops that climbers encounter on their journey to the summit.
A real expedition to the top of the world takes two intense and grueling months of battling the elements, but in virtual reality, you can visit the Everest Basecamp, the Khumbu Icefalls, the Lhotse Face, the Hillary Step, and plant your flag at the top of the summit in a single afternoon. And you won’t even have to risk your life once to do it.
Before You Begin
The Everest VR experience is mostly an educational one, but it’s less about teaching you facts about the mountain than it is about showing you what it’s like to be there. To that end, Everest VR is not simply a passive experience. It’s important to know the mechanics of the tasks you’ll encounter, but these actions are meant to sell the idea that you are on Everest versus just watching a video of someone else’s trek. I wouldn’t go so far as to call it a game, though. It’s more like an interactive ride-along.
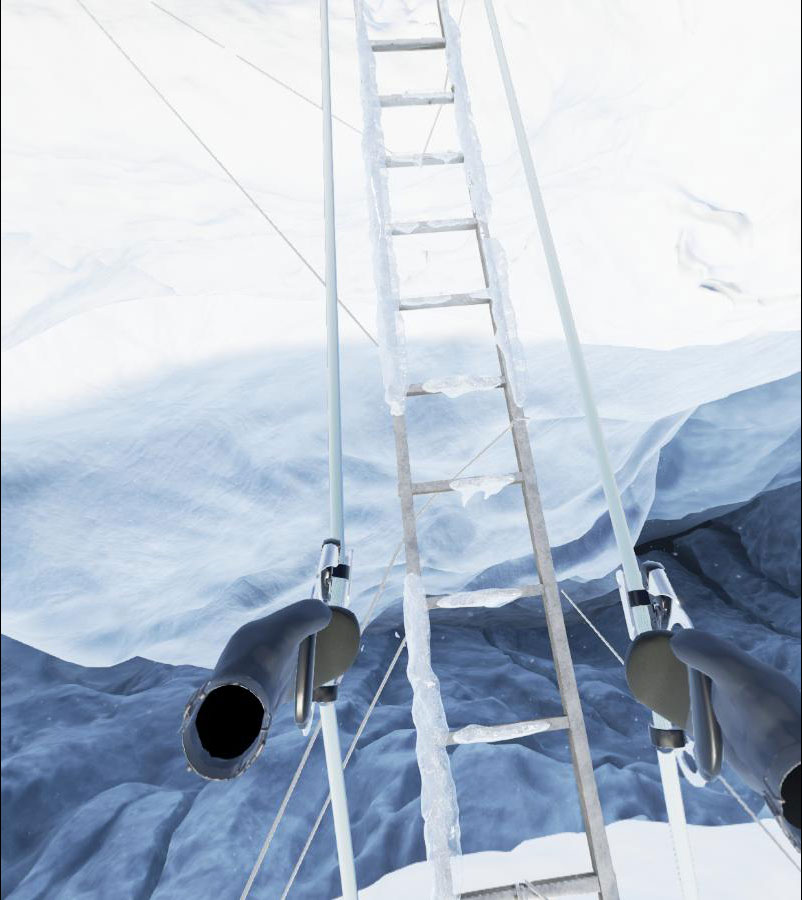
Before you get dropped off at Basecamp, the Sólfar puts you through a short tutorial that runs you through the different items you’ll need to use on your path to the peak. The controls are simple to pick up. When you pull the trigger on either hand, you’ll grip whichever item you're reaching for. To climb a ladder, reach up, grab onto a rung and pull down. You repeat this process with both hands until you reach the top.
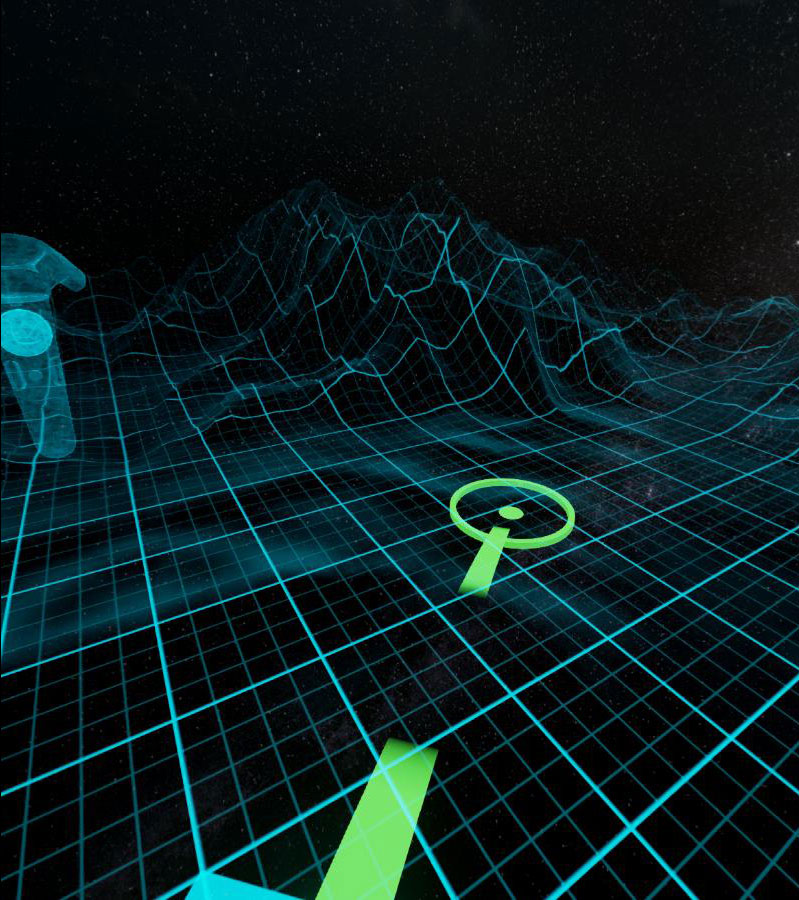
The touchpad on the front of the Vive controllers manages the movement system, called the "relocation beam." When you press down on the touchpad, you’ll see a marker in front of you that will be green or red. When you can’t move to where the marker is, it will be red. It turns green to indicate where you can move.
Get Tom's Hardware's best news and in-depth reviews, straight to your inbox.
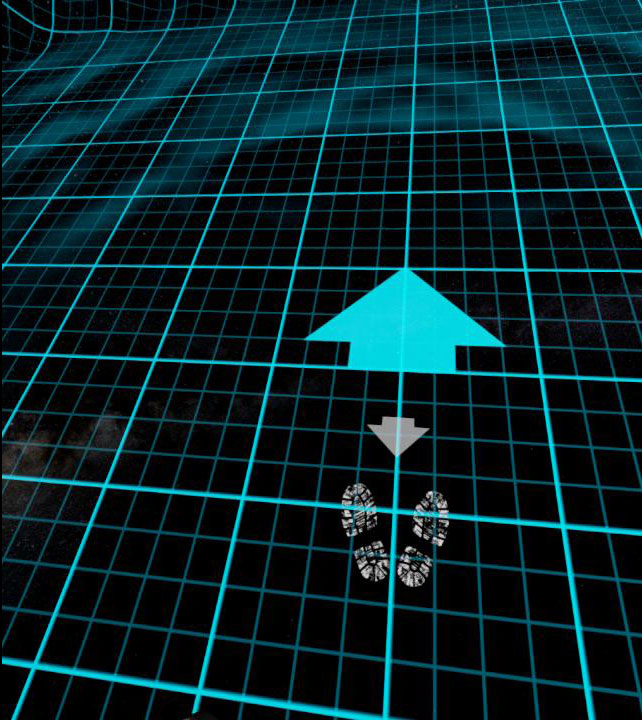
Sólfar also figured out a way to incorporate your feet into the game. The company included marker points that you have to stand on to initiate certain parts of the experience. Of course, it doesn’t track your feet directly because the Vive can’t do that (yet). Your position is estimated based on the HMD's position in space.
There are pros and cons to initiating sequences by moving to specifically marked locations. On one hand, Sólfar is able to take advantage of your available space to the full extent, by placing you on the outer edges and facing you back into your play space. One the other hand, I found that my Vive cable was getting tangled up from turning around so many times. I had no concept of the direction I was facing in the real world anymore.
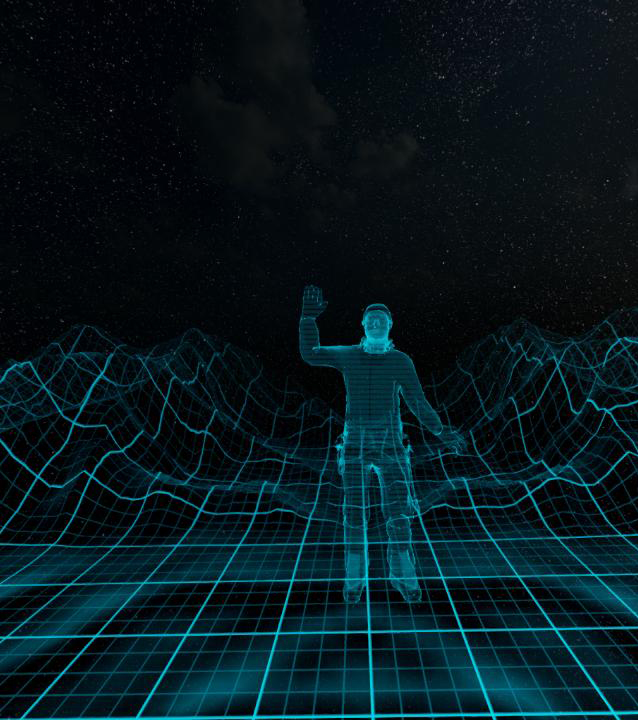
The final control mechanic is just a simple gesture. When you finish a sequence and are ready to move on to the next one, find the white hand waving symbol and wave your hand (Vive controller) at it like you’re saying hello or goodbye.
Meet Me In The Himalayas
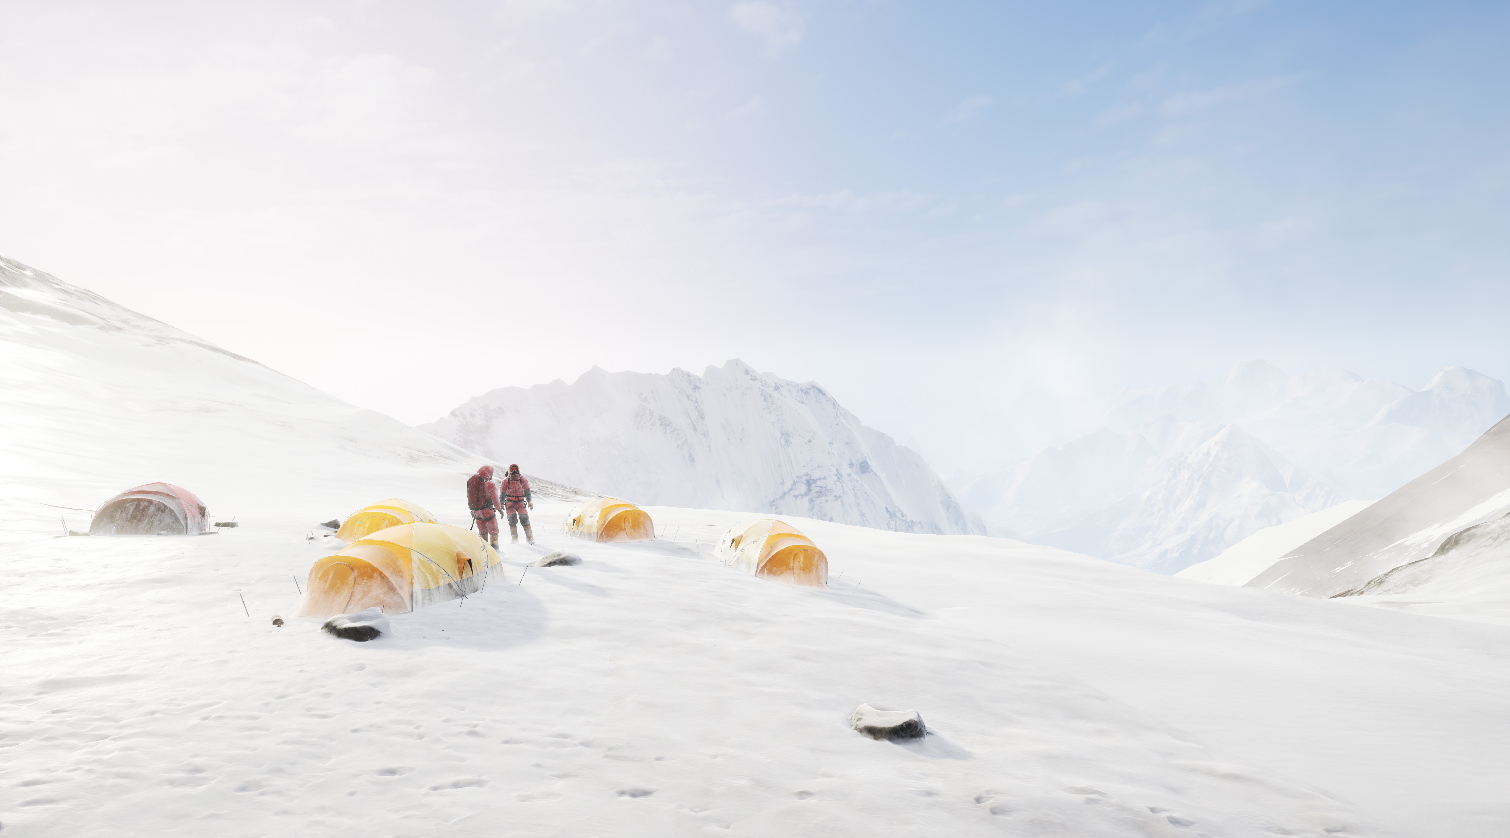
The first stop on your journey is the Basecamp, which is located on the south side of the mountain, nearly 18,000 feet above sea level. From there, climbers start their multi-day ascent above the clouds. There isn’t much to do at the Basecamp except wait. You’ll have to put on your pack, grab your ice pick, protect your noggin with a climbing helmet, and grab the crampons so you can walk over the ice falls. With your gear in hand, you can move on to the next location.
Next stop: Khumbu Icefalls. This is where you really start to appreciate the difficulty of scaling such a monumental rock. You’ll have to make your way over a deep crevice by walking over an extension ladder suspended across the gaping hole. I’m afraid of heights, and I found that peering down at the drop was giving me vertigo. I quickly scurried across the makeshift bridge to safety.
In order to get all the way across the expanse, I had to use the relocation beam. Sólfar designed the game to scale with your space by adding that movement system. My play space is approximately the minimum for room-scale, which is smaller than some of the distances that you have to travel. If you have a large enough room, the relocation beam system doesn’t even come into play.
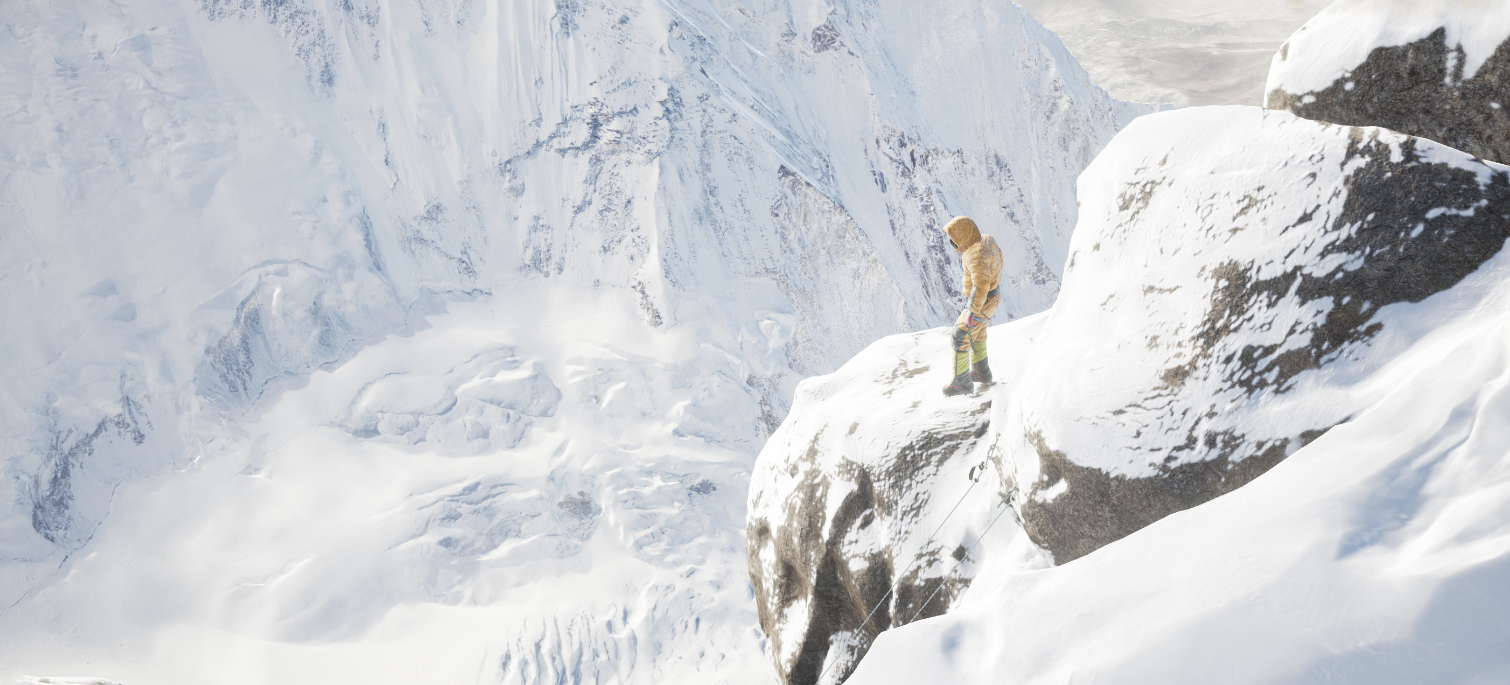
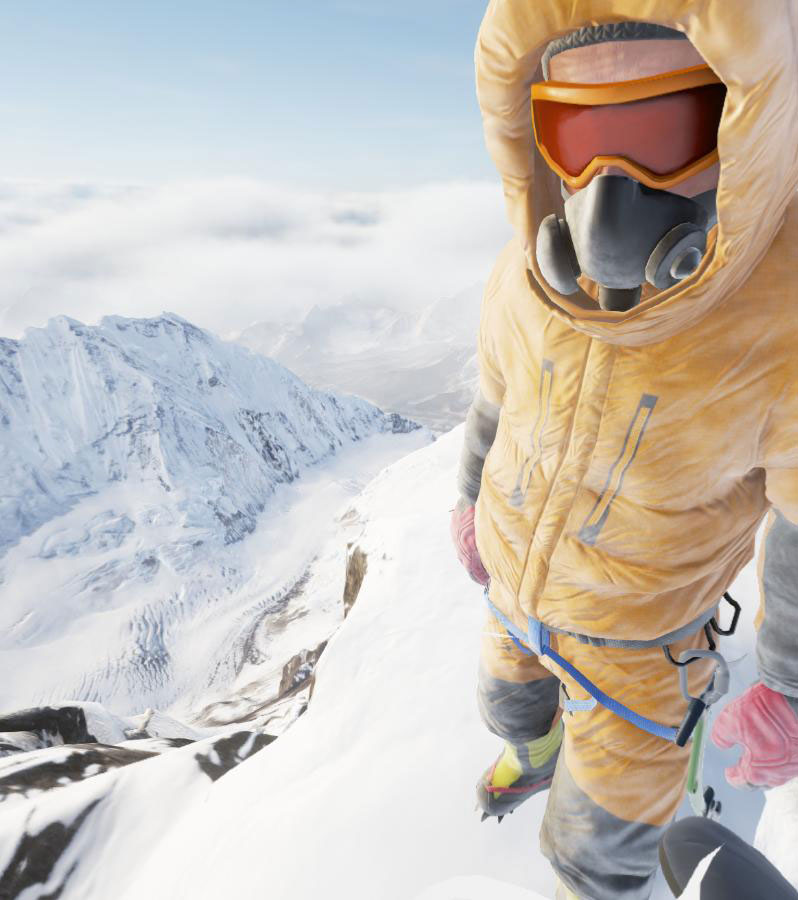
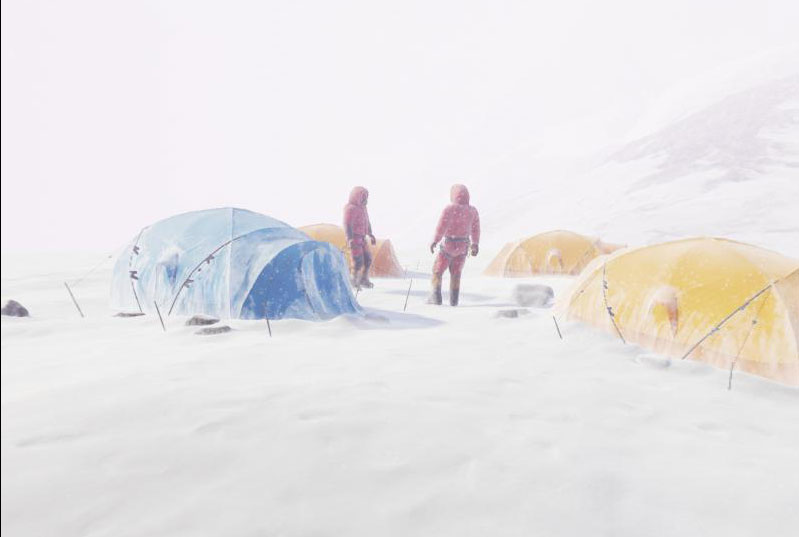
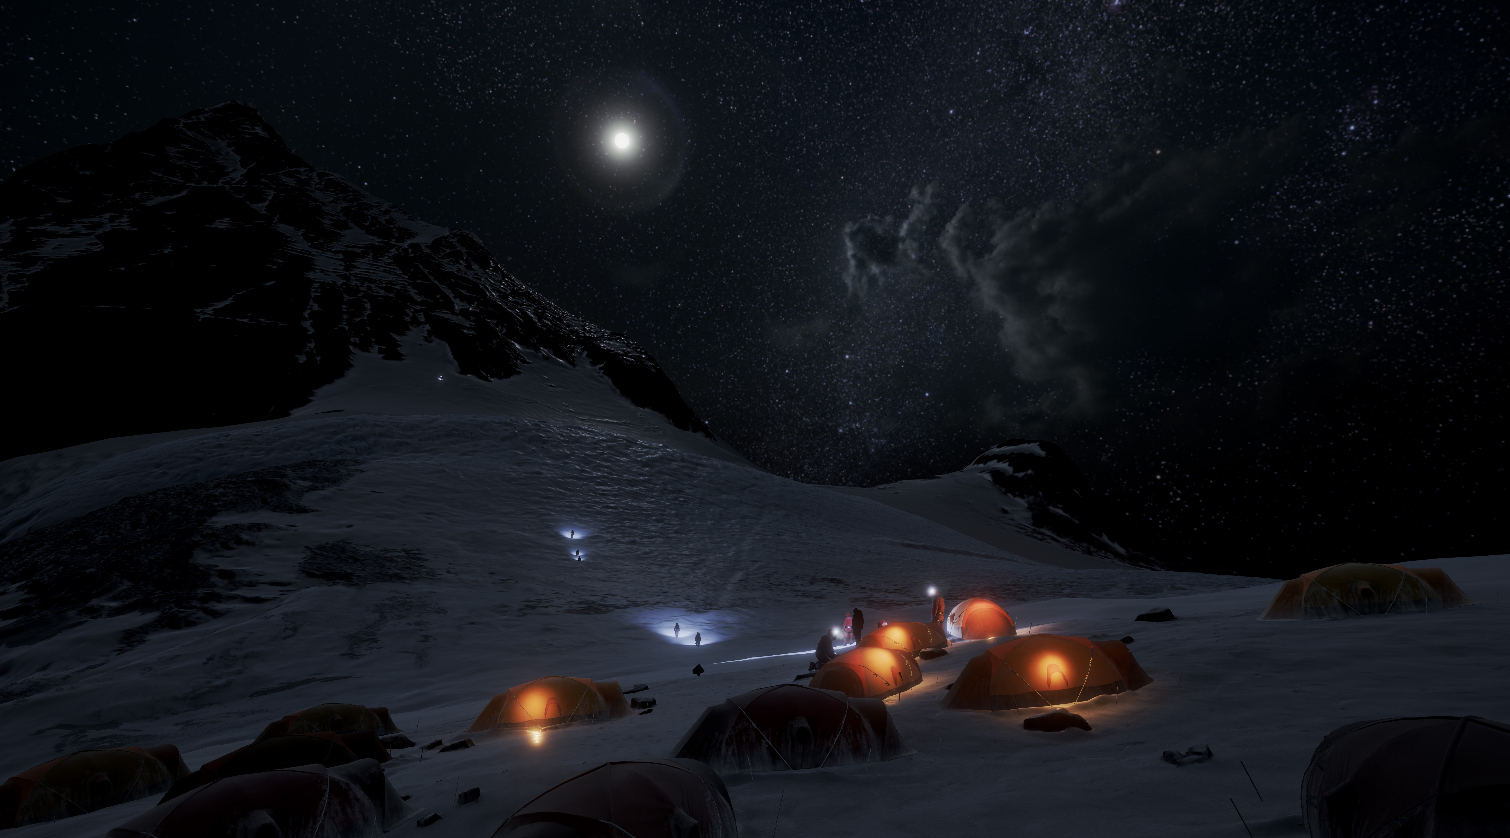
Throughout the Everest experience, you’ll be placed in situations that paint a picture of how menacing a trek to the top can be. You’ll face high winds and blowing snow. You’ll experience traversing the narrow edge of the Hillary Step that can accommodate only one climber at the time, and you’ll experience what it’s like to meet nightfall while traipsing through the thick snow at the top of the world.
Impressive Visuals Require Impressive Power
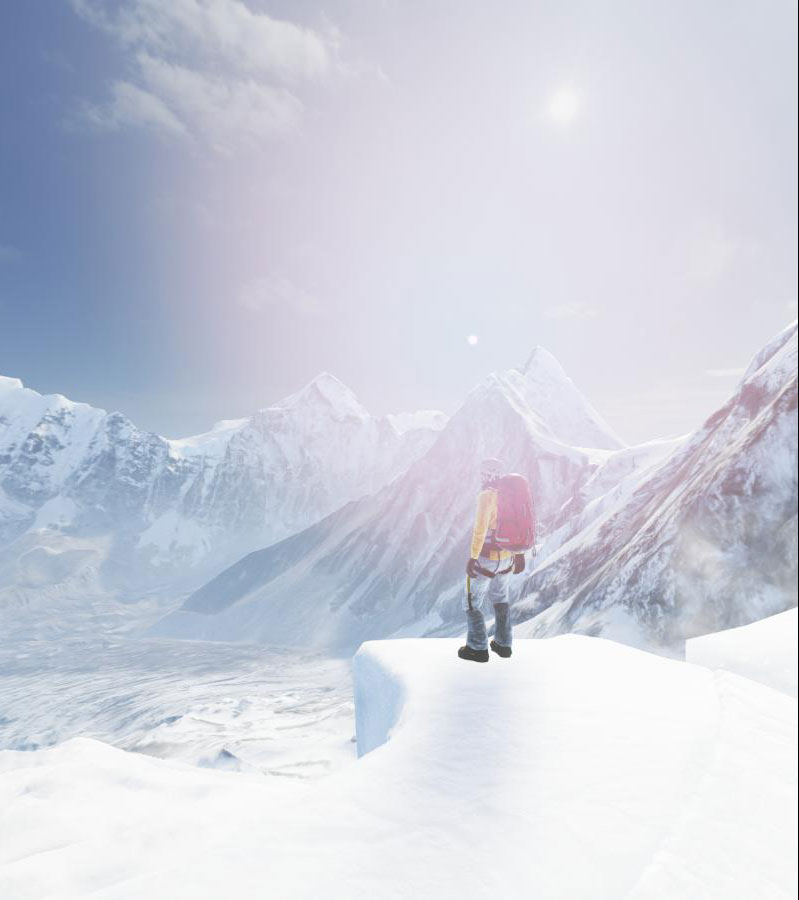
The Everest VR experience is one of the most visually stunning virtual environments I’ve ever witnessed. The scenery is essentially photo-realistic thanks to the hundreds of thousands of real images that were stitched together with advanced stereophotogrammetry techniques to produce the most accurate representation of the famous mountain that you’re likely to encounter.
Everest VR was built in Unreal Engine 4 and takes advantage of several Nvidia VR Works technologies. When we were first shown the early demo of Everest VR, we were told that an Nvidia Titan X was required because no other GPU had a large enough frame buffer to handle the stitched texture images. Sólfar Studios has since adopted the Granite SDK from Graphine Software to reduce the GPU workload. The developer managed to optimize the visuals to work on a minimum spec VR-ready system—provided that system is equipped with an Nvidia graphics card.
Everest VR was built with Nvidia-specific technology that doesn’t work with AMD hardware. Sólfar Studios said that it is currently working on stabilizing the experience on AMD hardware, but at the present time, AMD GPUs aren’t working properly. We did try out the game on an XFX R9 Fury and a Sapphire R9 390 Nitro, but the experience was unplayable. Textures were missing in the intro sequence with either the R9 Fury or the R9 390 installed. Objects you have to interact with to get through the tutorial were not rendered at all.
Graphics Performance Options
If you have a VR-ready Nvidia graphics card in your PC (GTX 970 or higher), you should have no problems getting the experience running. The default settings will probably work just fine, but you can tweak the graphics settings for better performance if that suits your fancy. Sólfar included a number of parameters that you can adjust to get the best experience out of your hardware configuration.
Everest VR supports VRWorks Multi-Res Shading, which can improve overall performance by limiting the resolution of the pixels that end up in your peripheral vision. There are four settings for Multi-Res Shading. Set the parameter to 0 to disable the feature or select from 1, 2 or 3 for improved performance. The higher the value, the lower the resolution (but the higher the performance).
Everest VR also allows you to adjust the Supersampling level. Sólfar said that the default setting is 140 (40% higher resolution than the display), but if you have a high-performance gaming system, you’ll be able to crank up the dial a fair bit. The recommended Supersampling setting for a system with a GTX 1080 is 180, but Everest also supports VR SLI, so if you have two cards you can probably go even higher.
You’ll also be able to adjust the weather effects level. This setting controls the amount of particle effects that simulate the inclement weather that climbers face. The higher the value, the more intense the storms will be. The default value for weather is 0.4. You can turn the effects off completely by setting it to 0.0, or you can dial it up much further. Sólfar recommends 0.8 if you have a GTX 1070 or GTX 1080 installed, but the developer didn’t say what the limit is.
Finally, you have control over the LOD Distance. This setting controls the distance at which objects and scenery activate their higher density versions. You can set this to 1, 2 or 4. Sólfar said it’s a multiplier, so we expect that the LOD Distance is cut in half with 2 and chopped down to a quarter of the maximum distance with 4.
Sólfar Studios has three suggested settings for various levels of GPU performance. Normal is optimized for GTX 970, GTX 980 and GTX 1060 cards. If you have a GTX 980Ti or a Titan X, then you can bump the settings to High. The Extreme setup calls for one of Nvidia’s flagship Pascal cards. If you have multiple GPUs, you may be able to push the limits even further. Sólfar suggests that everyone “can and should experiment with” the parameters.
Sólfar Studios also suggested that you make a few changes in the GeForce drivers before launching Everest VR. You should set the Nvidia power management mode to “Prefer Maximum Performance,” and the GPU should be manually set as the default PhysX processor.
The Moment That Truly Sold Me
The Everest VR experience isn’t incredibly long (about an hour or so), so I don’t want to give away too much of what you’ll experience. I’m going to spare you the description of the rest of the stops, but I will tell you about the moment I realized that I was fully immersed in the experience.
Immersion is a funny thing. You never notice the point when you become fully embraced in the moment. I know I definitely didn’t realize how fully swept away I was by the scenery in front of my when I finally reached the summit. As I mentioned before, I have a fear of heights. Well, that fear took over when I stepped close to the edge. Vertigo kicked in, and I started to stumble. I nearly fell on my butt, and my brain thought I was about to fall to my death. My heart skipped a beat before I regained my footing. That, to me, is a powerful experience.
Everest VR from Sólfar Studios and RVX will be available on Steam for $24.99 on August 2. The initial release is exclusive to the HTC Vive, but Sólfar said that Everest VR will come “to all high immersion VR platforms in 2016.”
Kevin Carbotte is a contributing writer for Tom's Hardware who primarily covers VR and AR hardware. He has been writing for us for more than four years.
-
Geekwad Reply
I'm sure AMD support will come (back again). The devs want to sell experiences, and AMD is fully concentrating on expanding the VR user base too.18347610 said:I have an AMD 290 so I guess I'm SOL. -
kcarbotte Reply18347610 said:I have an AMD 290 so I guess I'm SOL.
For now, but they are working on getting AMD cards working.
I'll be testing it periodically to figure out when its working properly on AMD.
