
Old Raspberry Pis often get left in a drawer. In fact, my first Raspberry Pi, the 256MB Raspberry Pi 1 is more of an antique than useful tool. But, perhaps there is a project that it can be used for?
The project that I have in mind uses Mumble, an open source, low-latency high quality voice chat application. Mumble has been used to provide clear communication for gamers and workers for well over a decade. Best of all, it needs very little system resources, so the single core Arm 700MHz CPU in my Raspberry Pi 1 is more than enough for a small Mumble server on my home network. After five hours of use it only used 29MB of RAM and 3.3% of CPU resources. Power consumption hit just 1W!

The goal of this how to is to create a Mumble server and use it for in-house communication between family members in a completely fictitious mansion that I own. Now everyone will know when dinner is ready!
Article continues belowFor this project you will need:
- Any model of Raspberry Pi
- Android or iOS smartphones
Installing and Configuring Mumble
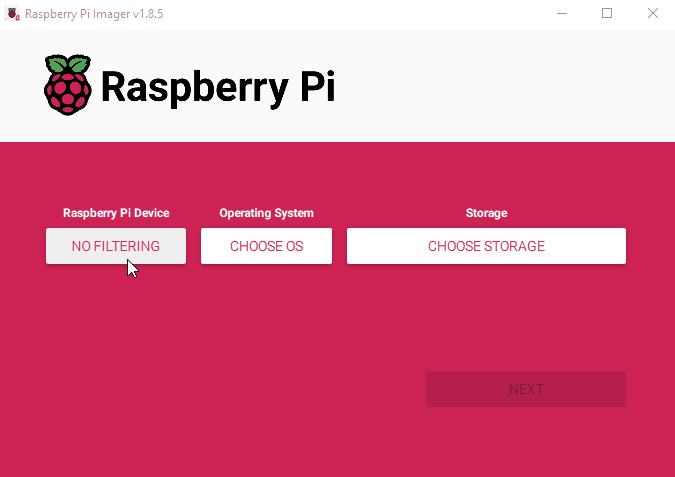
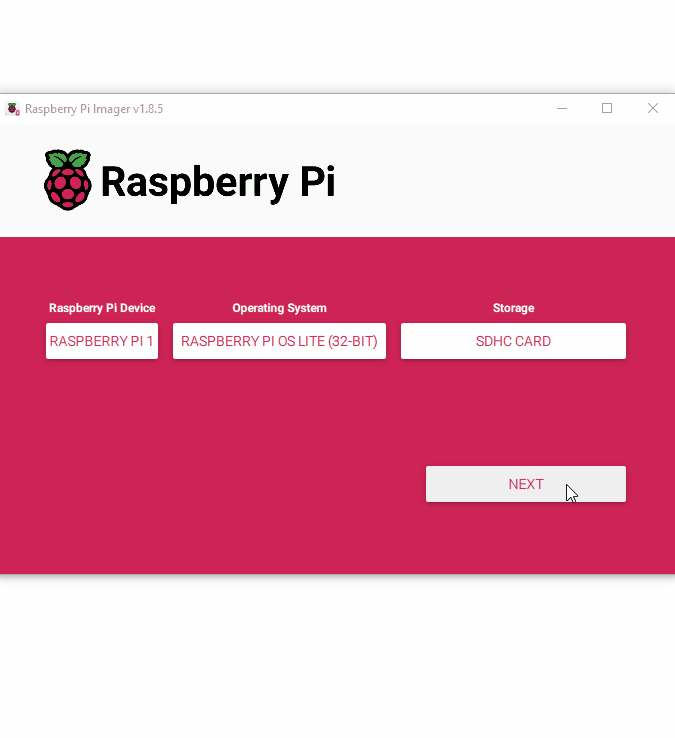
1. If you are using an older Raspberry Pi, install Raspberry Pi OS Lite without a desktop environment. This works well on the Raspberry Pi 1. Newer versions of Raspberry Pi can use whatever Raspberry Pi OS.
2. Click on Next and then Edit Settings. Set the hostname to something memorable, “Mumble” in our example. Set your username and password. Click on Services and Enable SSH. Use password authentication and then click Save. Finally Click Yes to start writing the image to the SD card.
3. Insert the SD card into your Raspberry Pi and then connect Ethernet and power.
4. Give the Raspberry Pi time to boot, a few minutes is best for the first boot. Find the IP address of your Raspberry Pi, we have a guide that can help.
5. Using PuTTY, connect to your Raspberry Pi via SSH.
6. From the terminal, update the software repositories and then install the mumble server.
sudo apt update
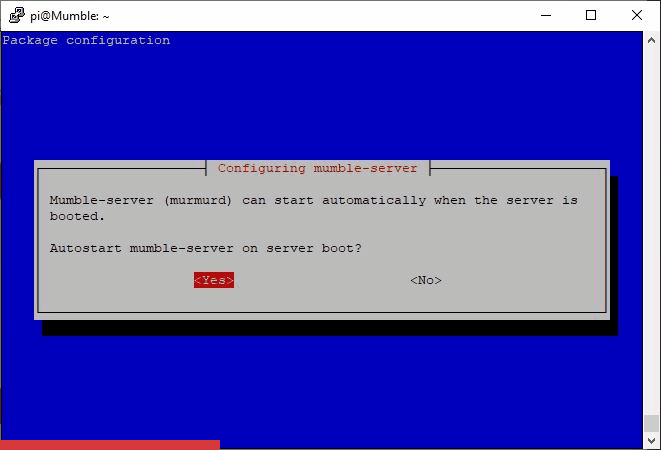
sudo apt install mumble-server7. Once the server is installed, we need to reconfigure the install to set a few options. First we set Mumble to autostart, then we ensure that it always runs with top priority. Finally we set a super user password for the Mumble admin.
8. Get the IP address of your Raspberry Pi. You should already have this from Step 4, but this command will confirm the address should you need to. You will need the IP address later in the how to.
hostname -I9. Open the mumble-server configuration file using nano.
sudo nano /etc/mumble-server.ini10. Using the arrow keys, scroll down to the following entries and make the following changes.
- welcometext=” Your welcome message here”. This is the test that appears at the top of the chat room.
- serverpassword=”YOUR PASSWORD HERE”. This is the password necessary to access the chat server as a normal user.
- users=5. Change this to the maximum number of users that you think will use the server.
11. Restart the Mumble service for the changes to take effect.
sudo /etc/init.d/mumble-server restartConnecting to the Mumble Server as a Client
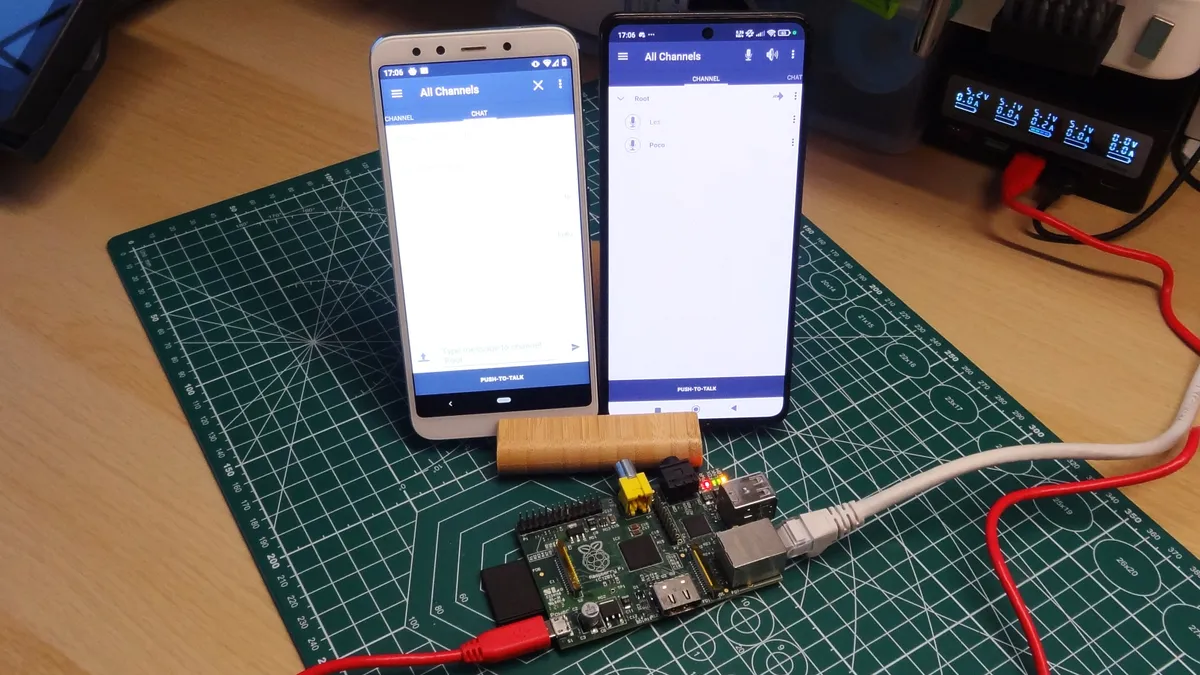
For this part of the how to, we will focus on using old Android smartphones (or tablets) as Mumble clients. We typically have a few old handsets that we press into service.
1. From the Google Play Store, search for and install “Mumla”, a Mumble client for Android.

2. Open Mumla and click on the + to create a new connection.

3. Create a label to identify the service. As ours is used in house, let's call it House Chat.

4. Set the address to the IP address of the Raspberry Pi Mumble Server. Then create a username and enter the server password that you set in Step 9 of the install and config section of this how to. Click Add.

5. Click on the entry to make a connection to the server.

6. In the top right corner, click on the three dots and select Transmit mode. Change this to your preference. Push to Talk is my choice as it prevents erroneous or accidental triggers.

7. Using a different username, repeat this process on another Android device.
8. Give one device to a family member and ask them to go into another room, then press and hold the talk button and speak into the phone. You should hear their voice clearly. If not, adjust the volume settings on your phone. This is how you can call everyone for dinner!
9. Swipe right to left to open the chat window, here we can send messages directly to users, or send to the entire channel. First we will send a message to all users. Just type a message in the box and click on the send button. Every user on the server will get the message read to them by the app.

10.To send a message to one user, go back to Channel and select the user by touching their name.
11. Go back to Chat, and send a message to the user just like we sent a message to all users.
12. To reset sending messages to all users, click on Root at the top of the Channel tab.

