Gigabyte Z390 Gaming SLI Motherboard Review: Dollar Stretcher
Why you can trust Tom's Hardware
Software and Firmware
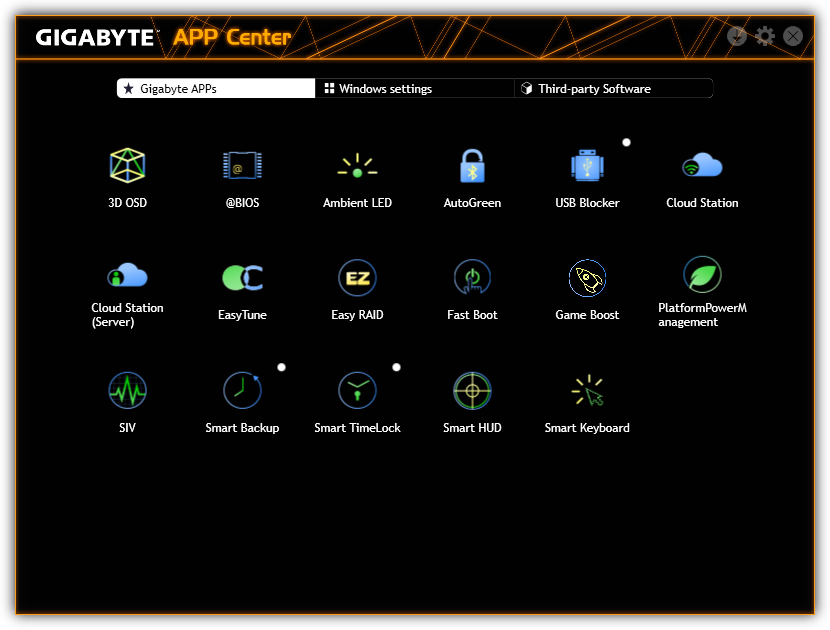
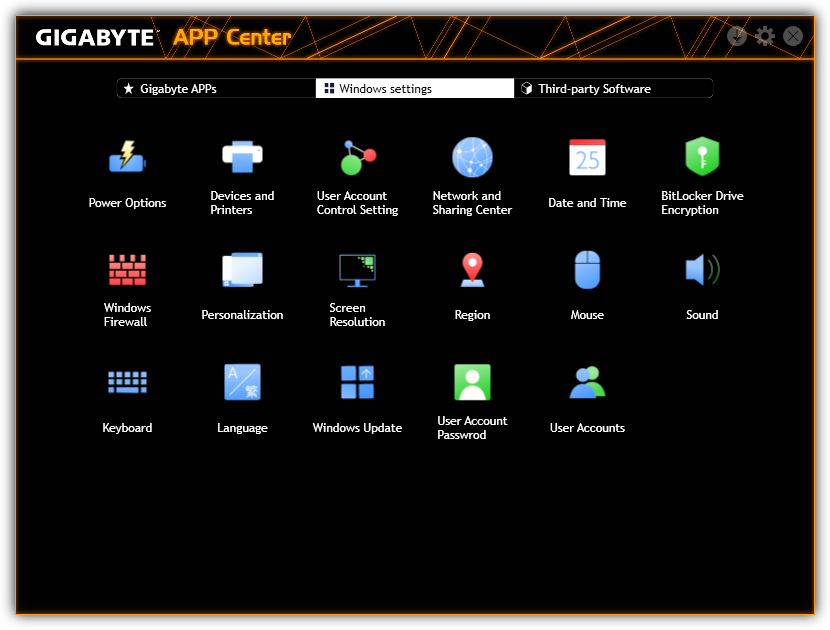
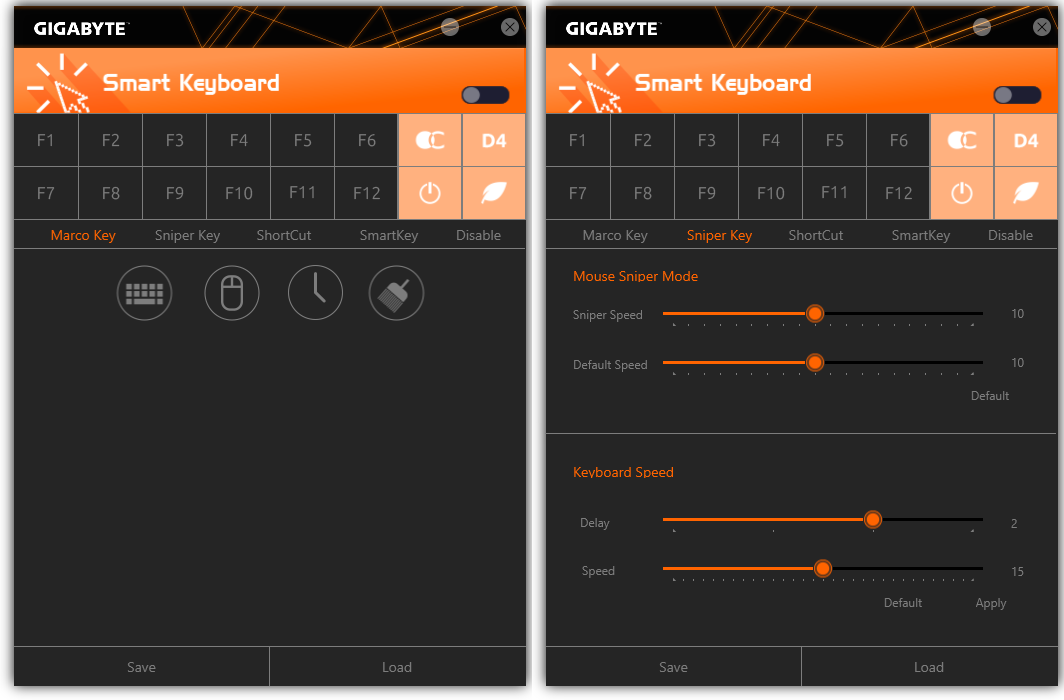
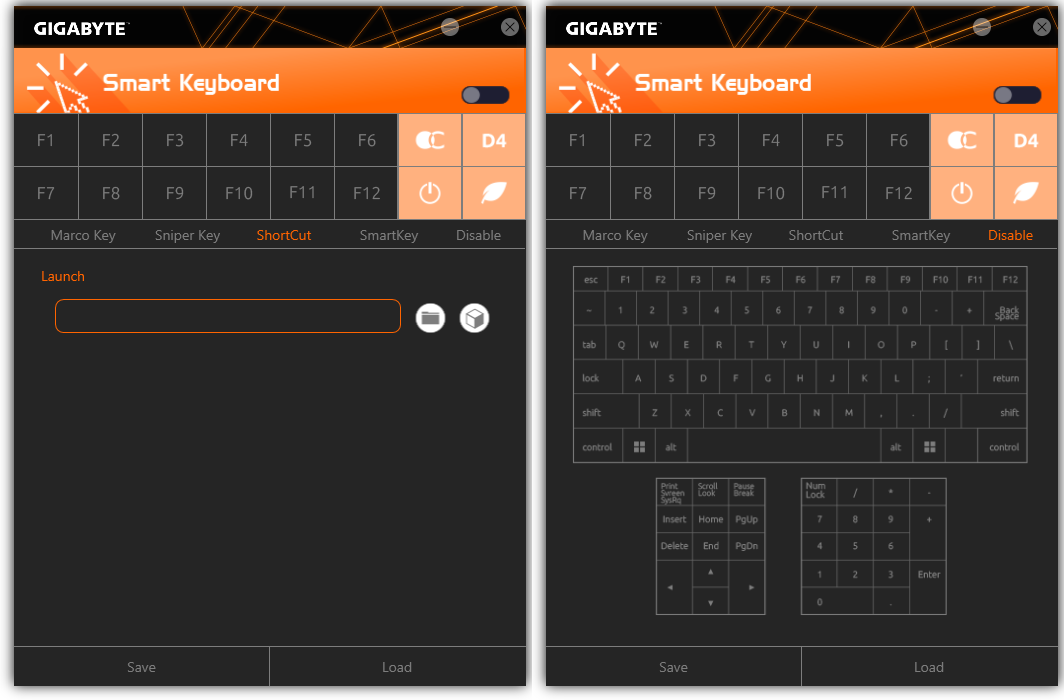
Gigabyte’s taskbar-resident utility menu, App Center, also includes shortcuts to various Windows settings, a download page for third-party applications, and a download utility for Gigabyte (and sponsored) apps. Some of these apps include 3D OSD system monitor overlay, @BIOS firmware updater with Face Wizard splash-screen modifier, Ambient LED lighting control with flashing themes in the user’s single-color choice, AutoGreen power setting, USB Blocker, Cloud Station networking utility, EasyTune overclocking, Game Boost application prioritization, System Information Viewer, and a Smart suite of backup, access scheduling for additional users, a heads-up display for viewing tutorial overlay during games, and keyboard programing.
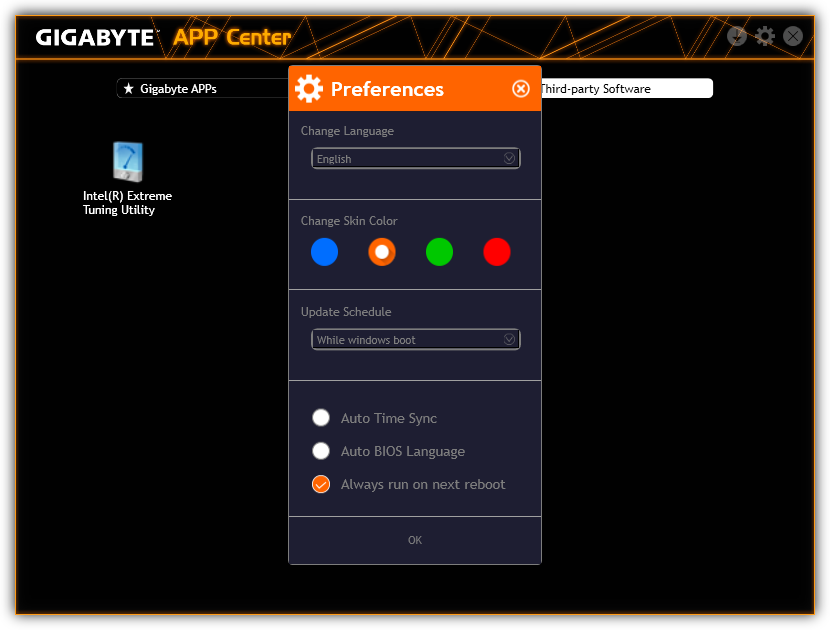
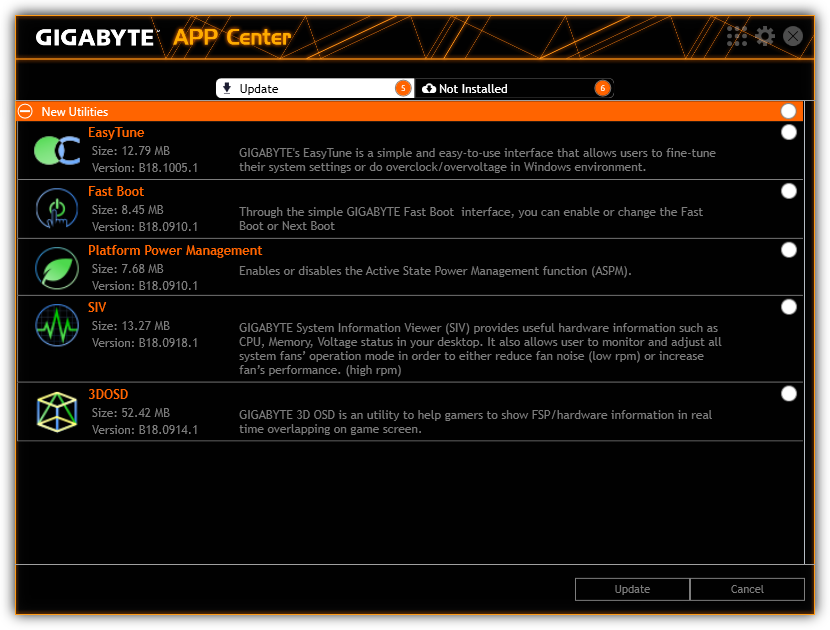
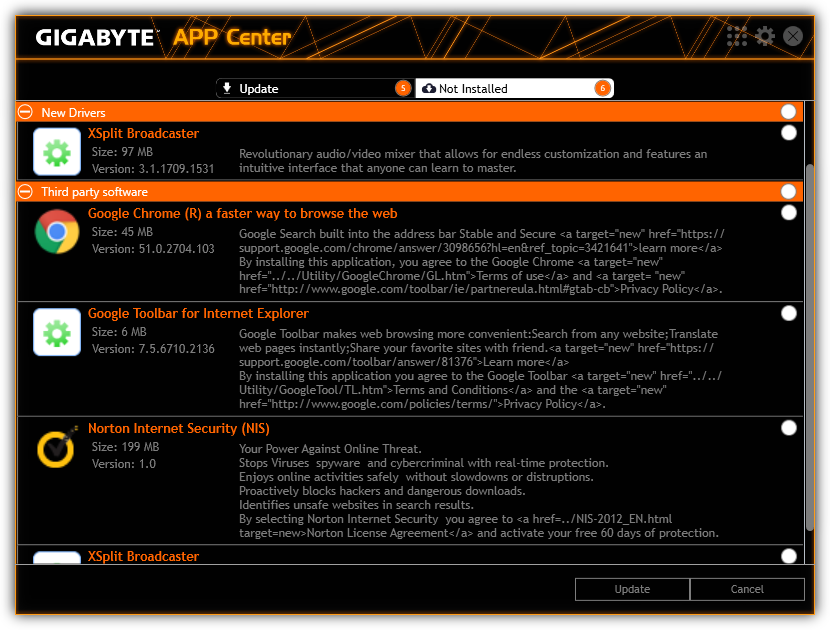
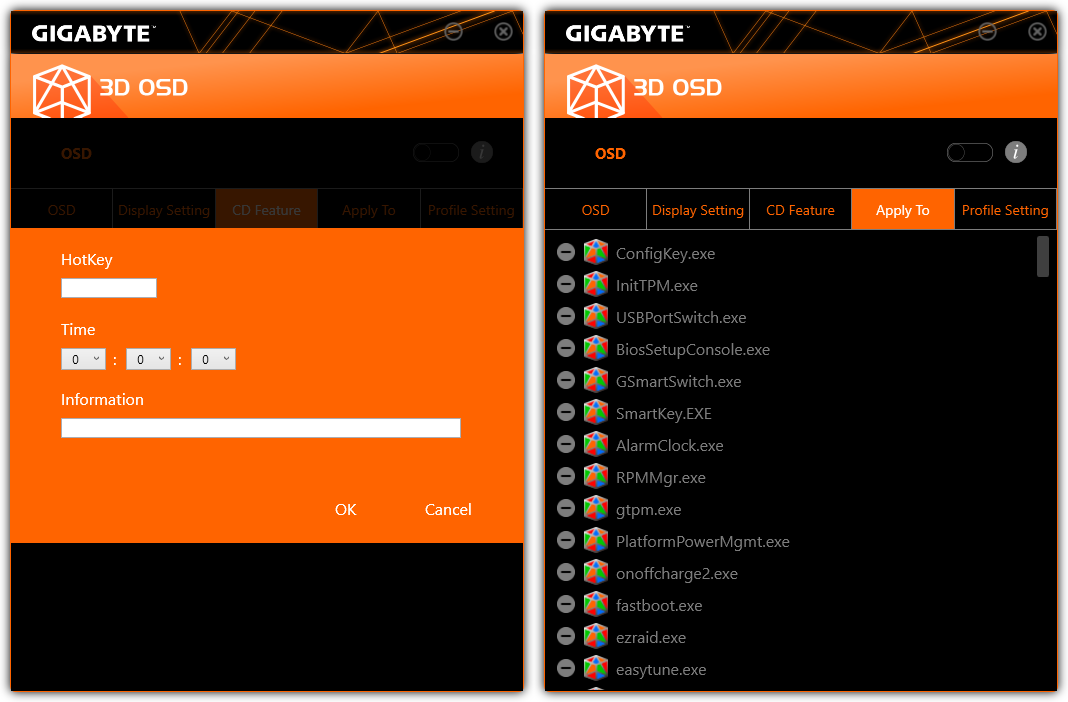
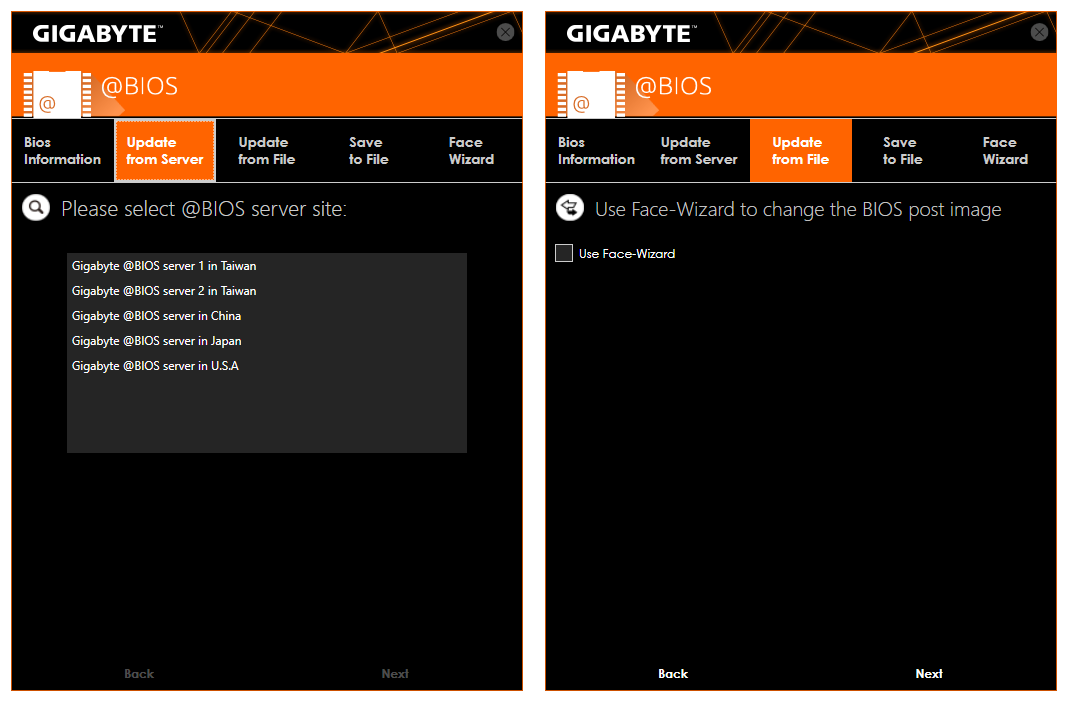
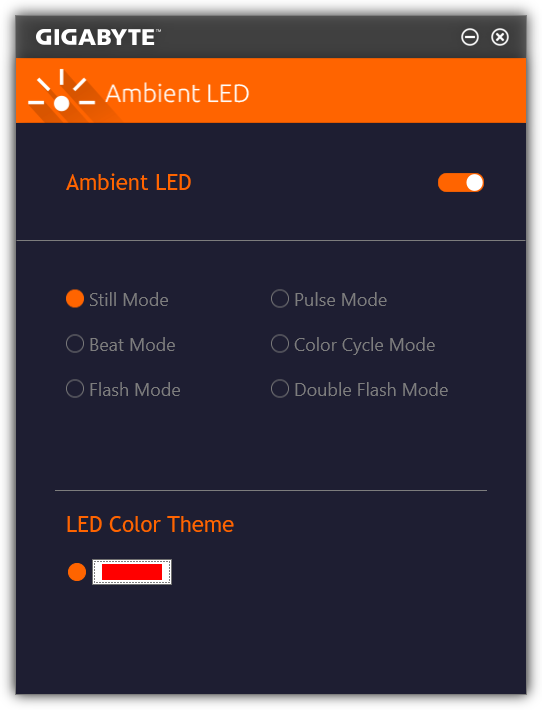
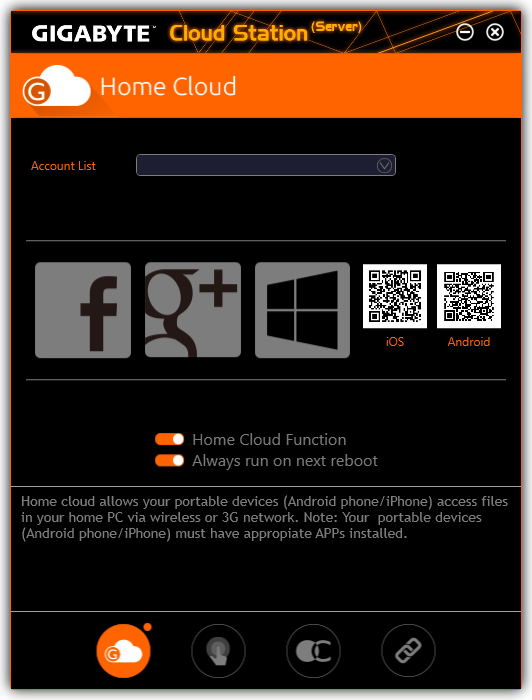
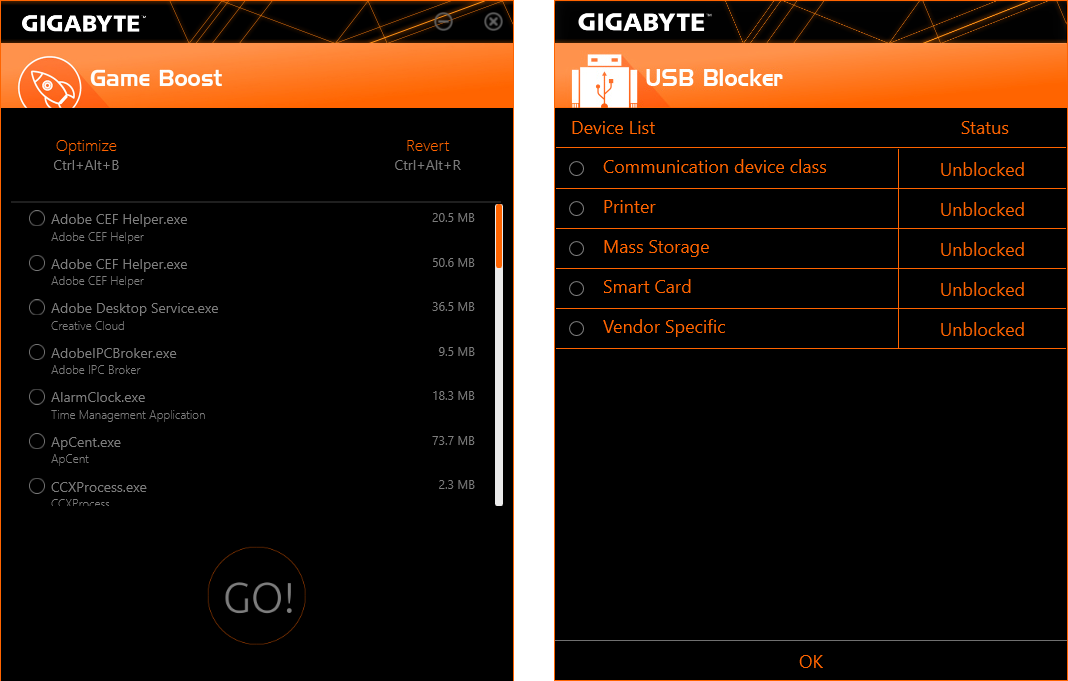
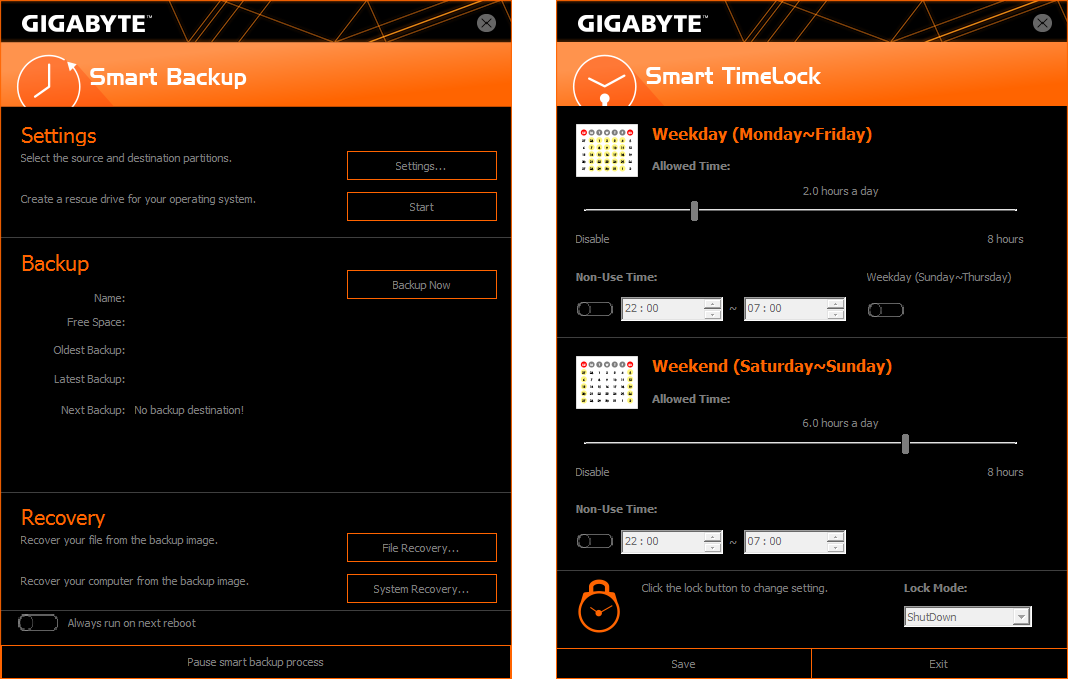
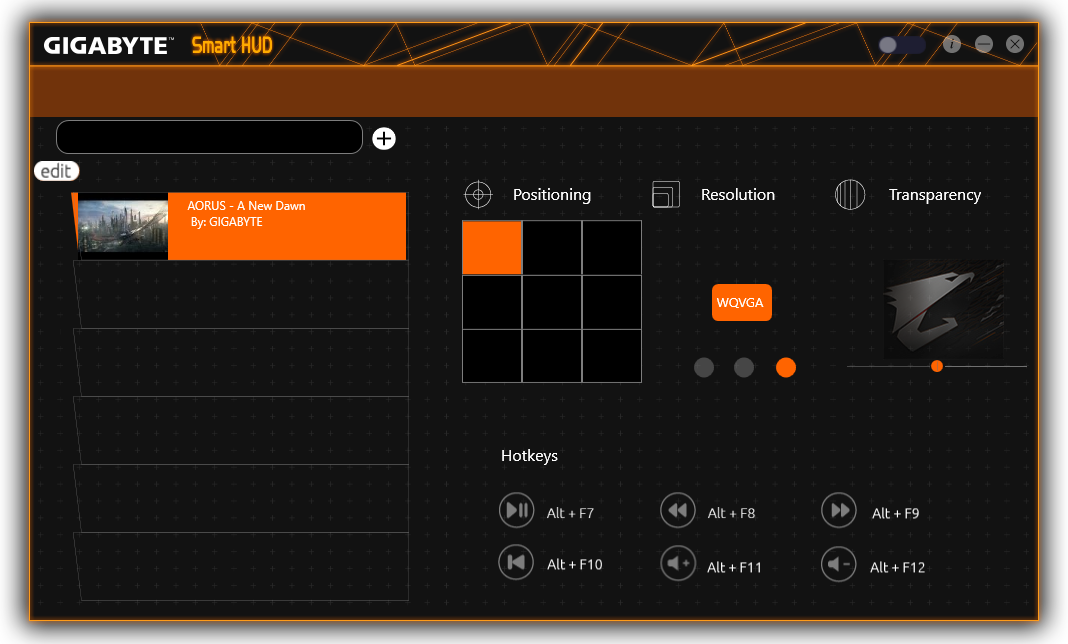
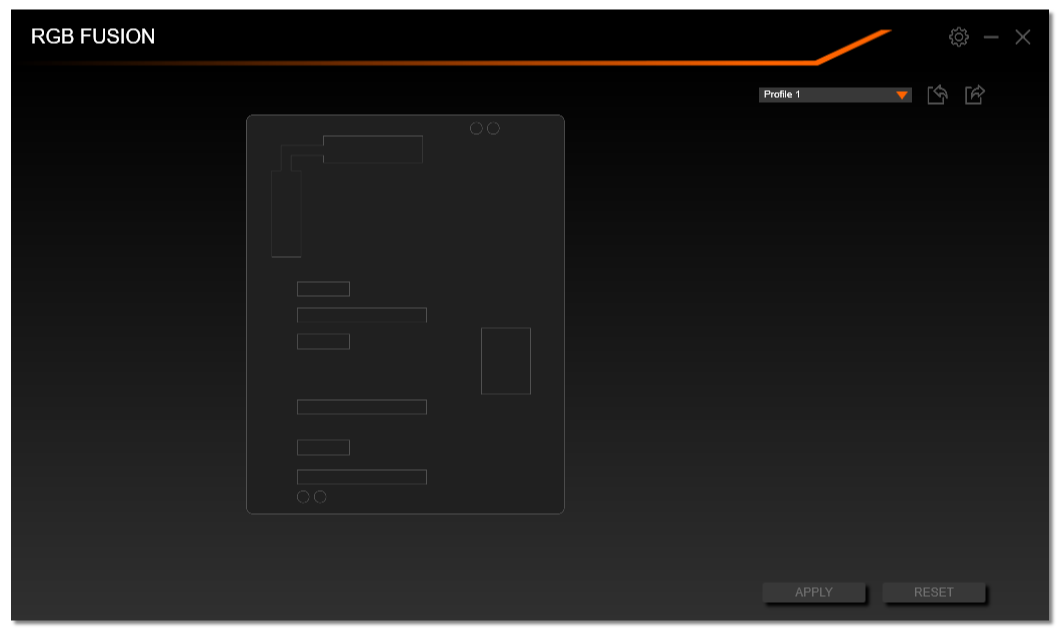
The Z390 Gaming SLI arrived with two-color lighting (red for the audio trace, pale blue for the heat sink covers), but the included Ambient LED application only has the ability to set one color for all onboard LEDs. That’s why we were happy to see that Gigabyte’s downloader offered its more-flexible RGB Fusion utility. But even though the utility installed successfully, it doesn’t support the board.
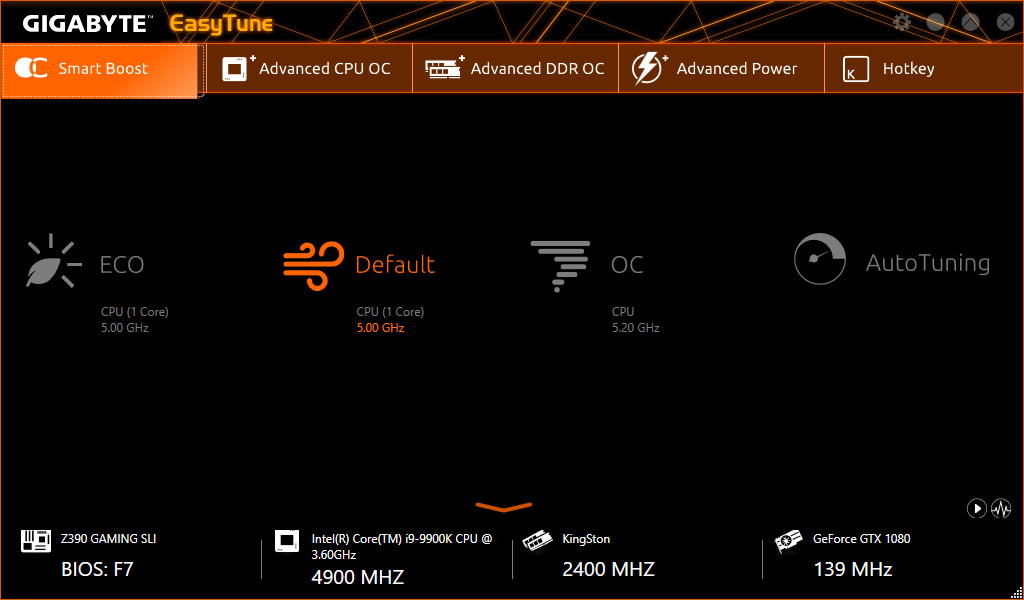
Gigabyte’s EasyTune is where the fun often starts, and the firm even gives the uninitiated a head start with an inbuilt overclocking profile. That 5.20 GHz fixed-frequency profile unfortunately included a 1.45V CPU core, which in turn pushed our CPU to its thermal throttling threshold the instant we started Prime95. Meanwhile, it’s AutoTuning algorithm crashed so hard the program appeared to have amnesia concerning where it left off.
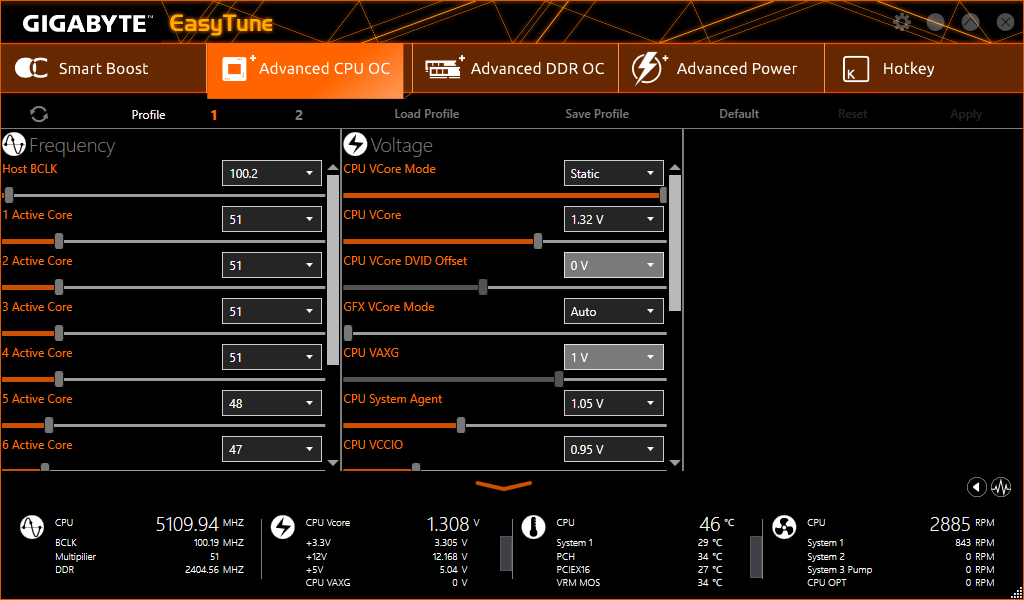
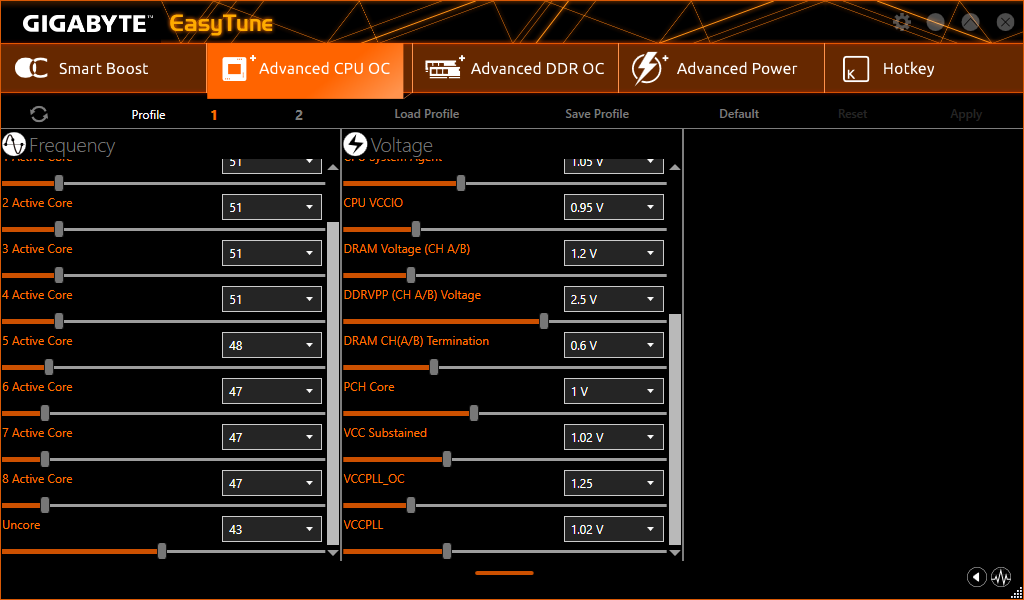
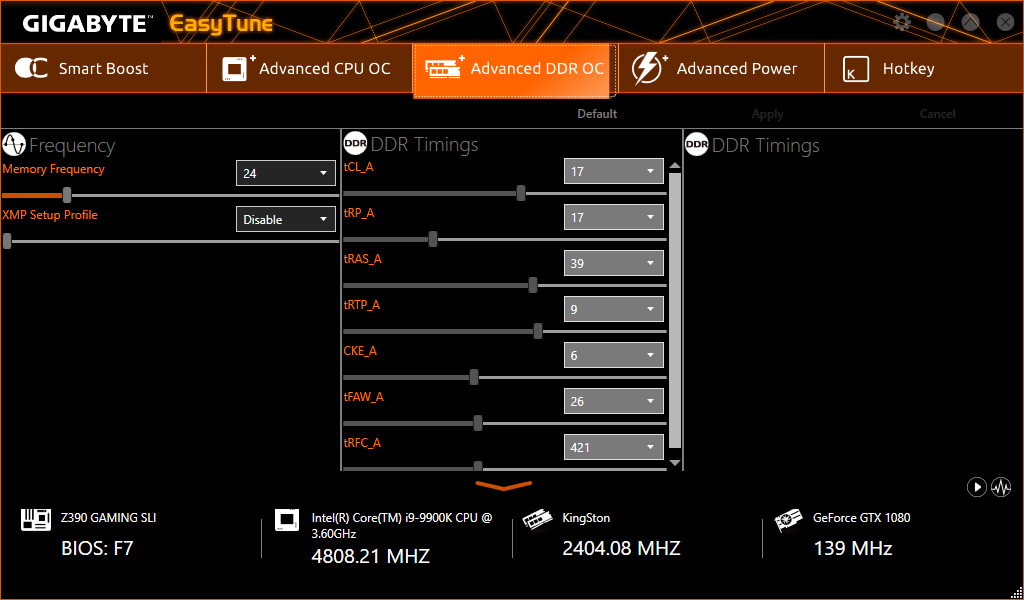
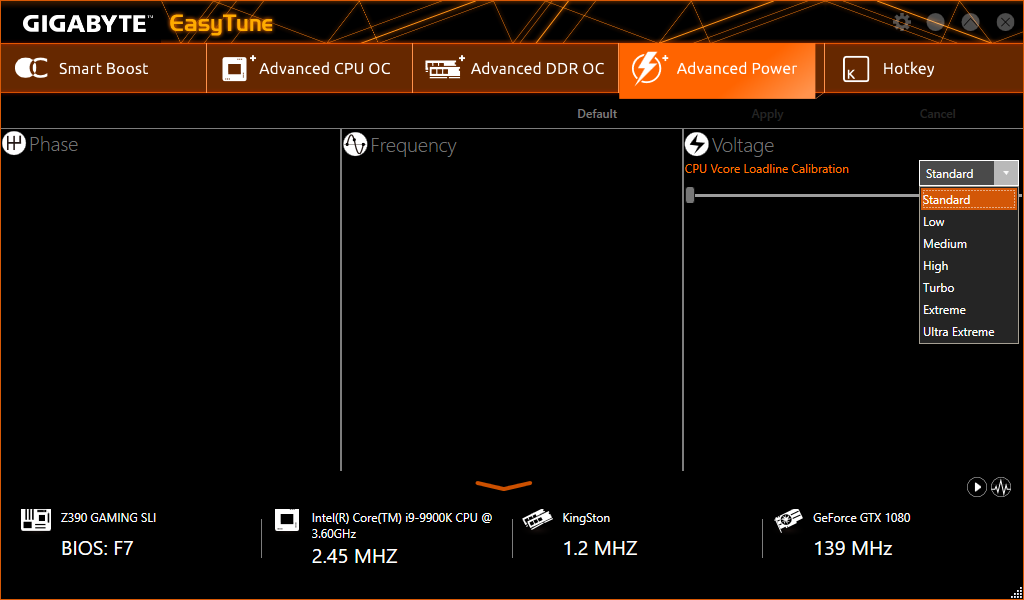
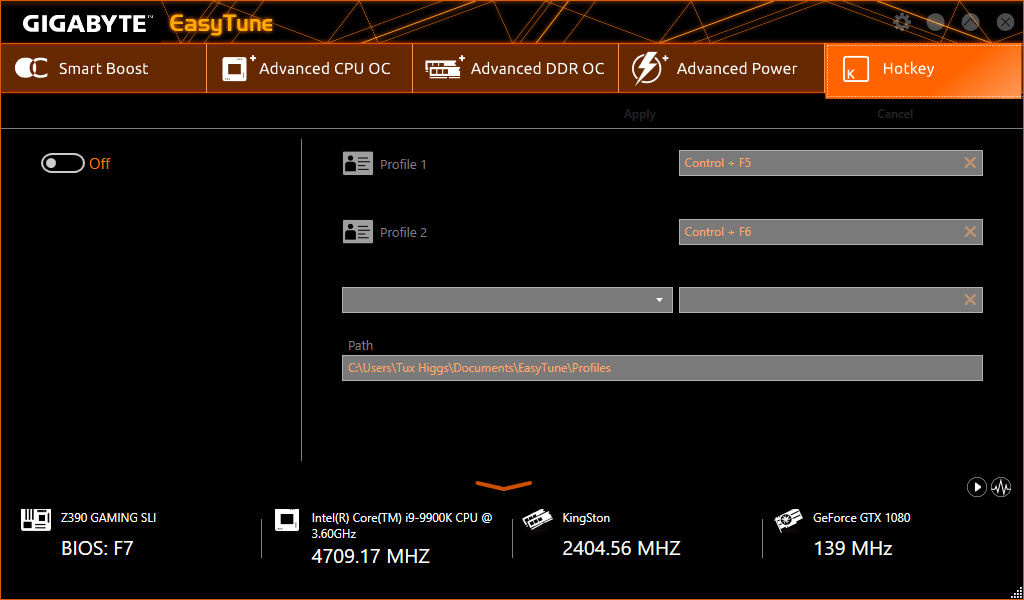
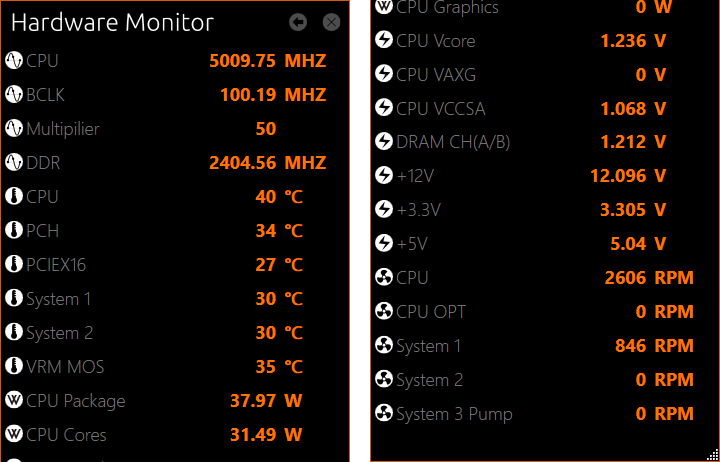
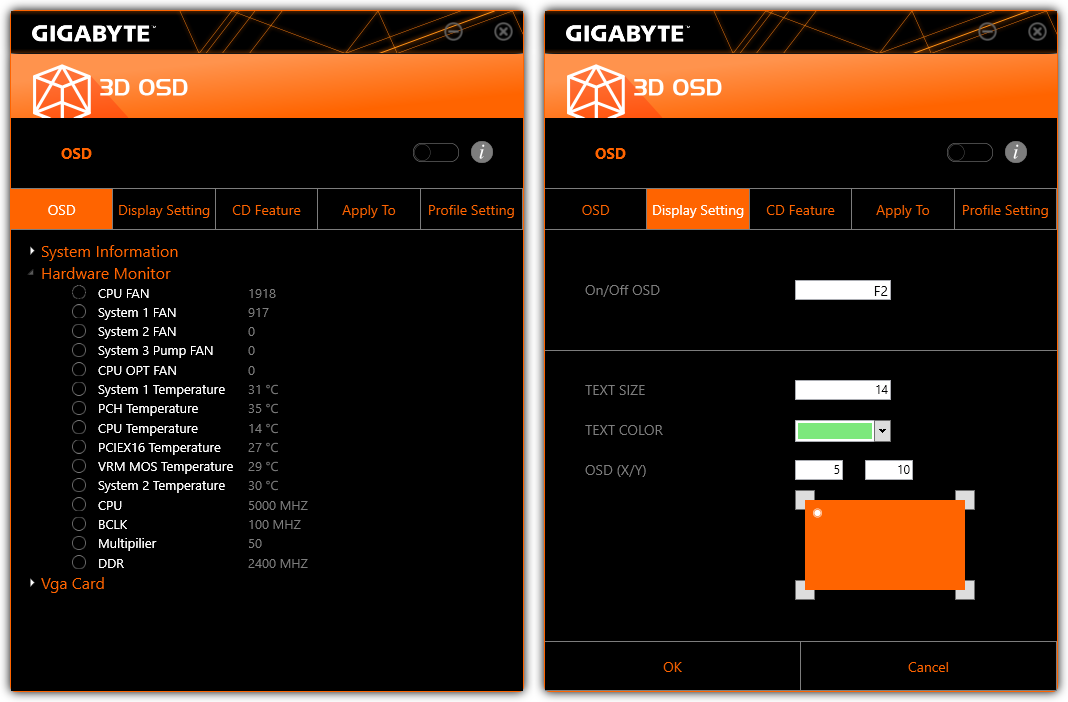
The good parts of EasyTune are all found in its manual overclocking menus, where we successfully changed our CPU’s base clock, multiplier, a core voltage. These levels can be monitored by clicking the wavy line icon near the lower-right corner of the program interface to reveal a monitoring menu on the right-hand side of your screen (we split the screenshot of Hardware Monitor to fit the image on this page).
Though linked to EasyTune, Hardware Monitor is part of Gigabyte’s System Information Viewer utility, and clicking its “back” icon launches the app.
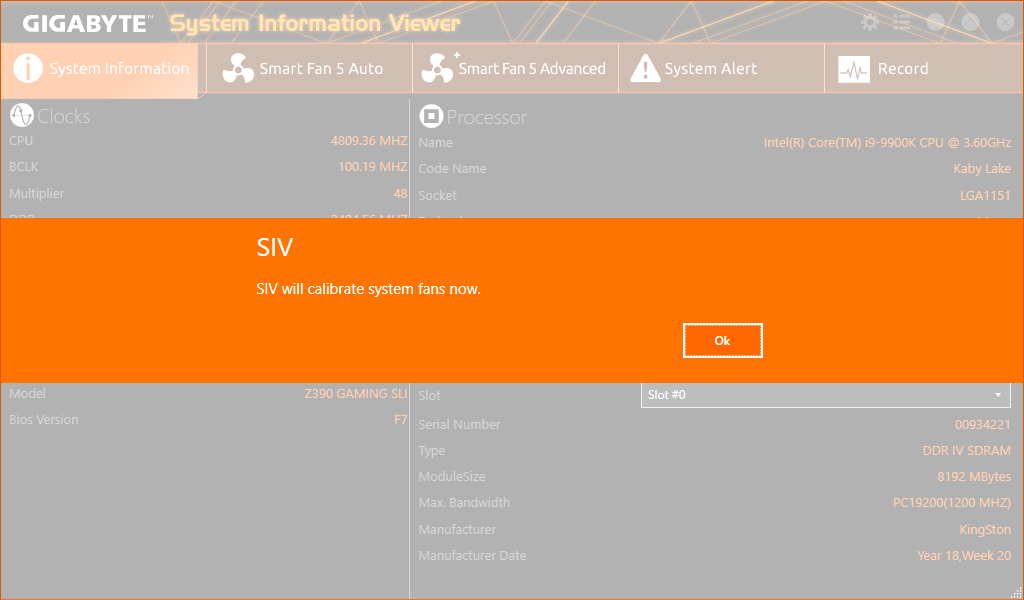
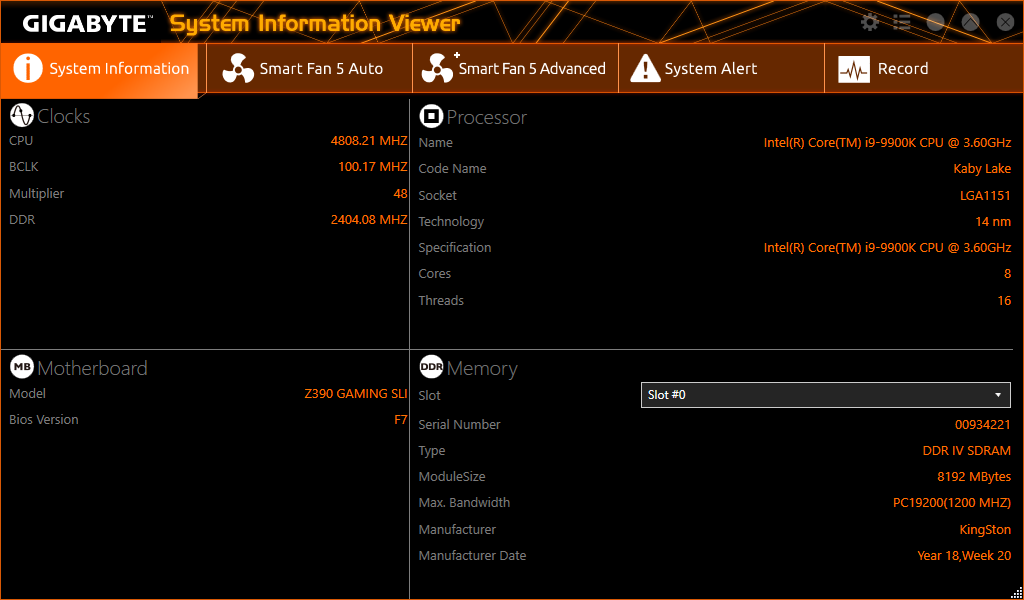
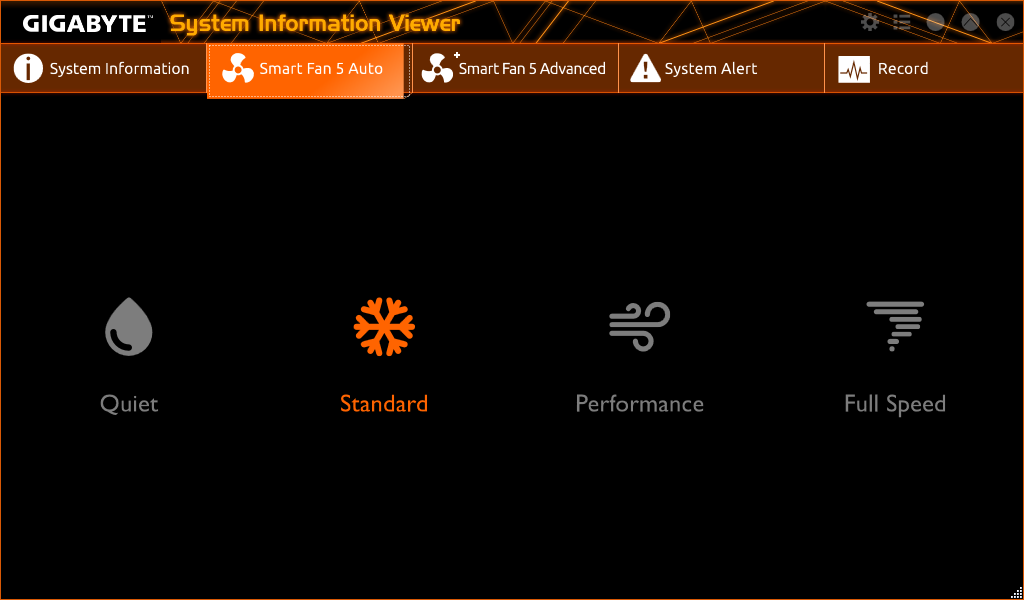
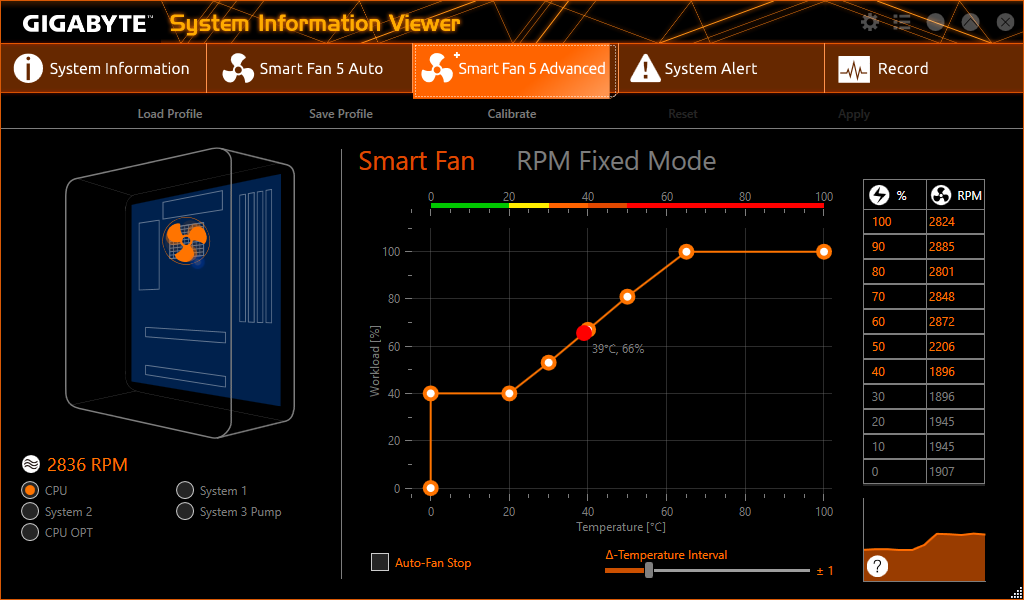
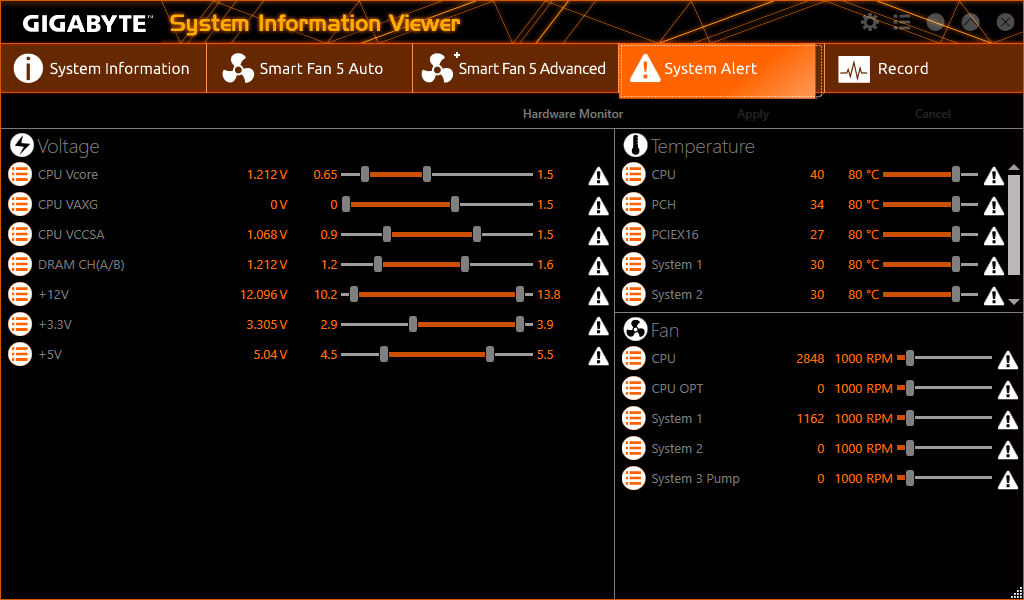
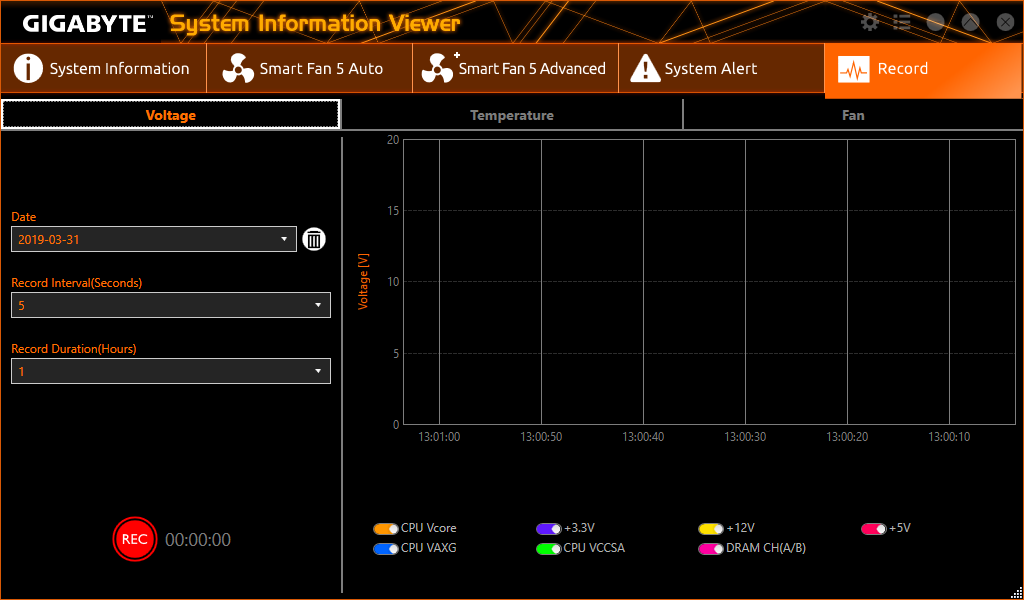
Users hoping to access SIV for such things as fan control will need to wait for it to run its fan calibration utility at first use. The program also offers alert settings and logging for things like fan speed and voltage levels.
Firmware
The Z390 Gaming SLI opens to its Classic mode GUI, where Gigabyte’s “Motherboard Intelligent Tweaker” menu contains submenus for overclocking the CPU and DRAM, adjusting voltage, viewing system status, setting a legacy benchmark mode,(3DMark 2001) and adjusting fans. Note that the Smart Fan 5 menu can also be launched from a popup bar at the bottom of each screen.
Get Tom's Hardware's best news and in-depth reviews, straight to your inbox.
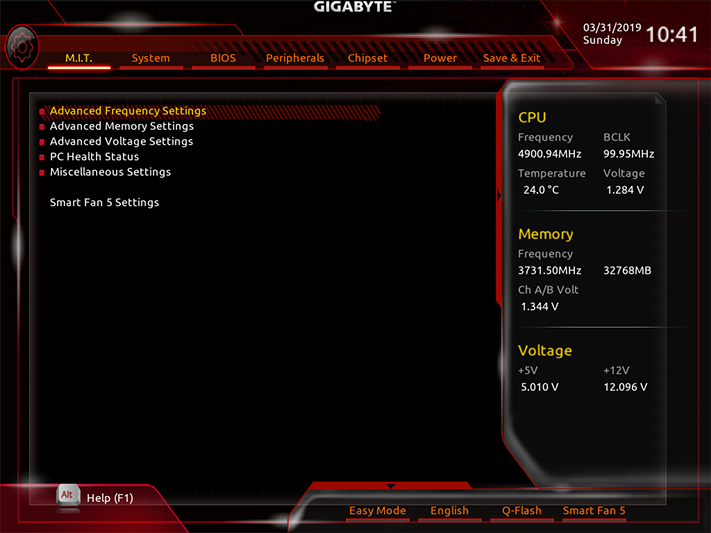
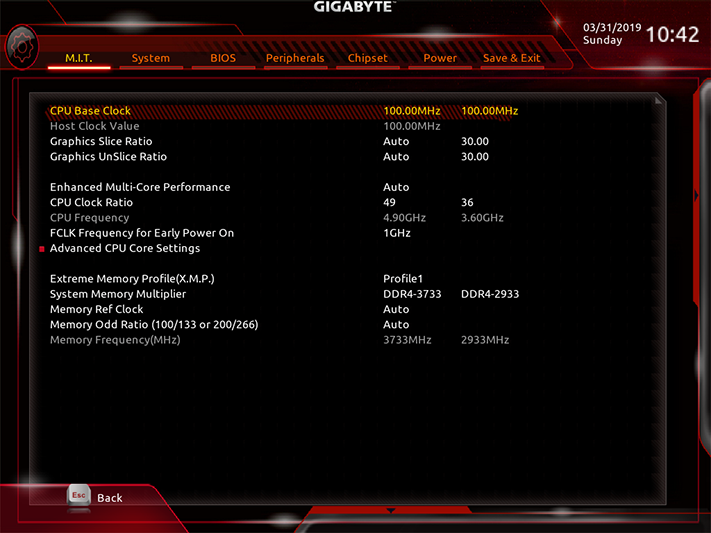
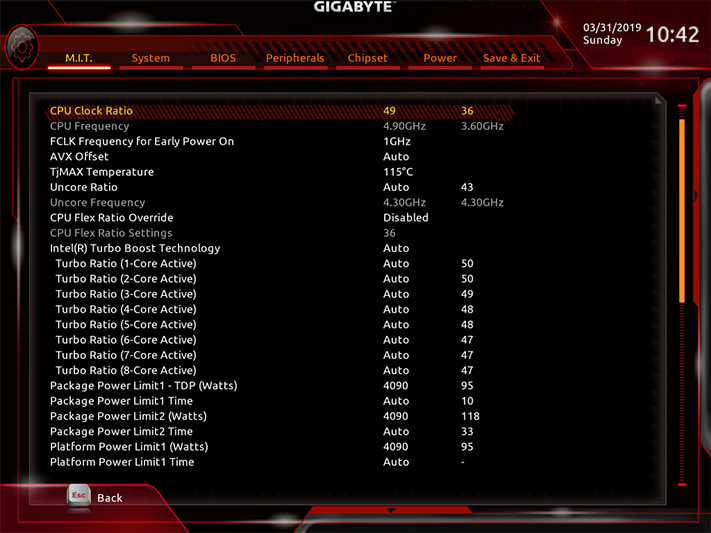
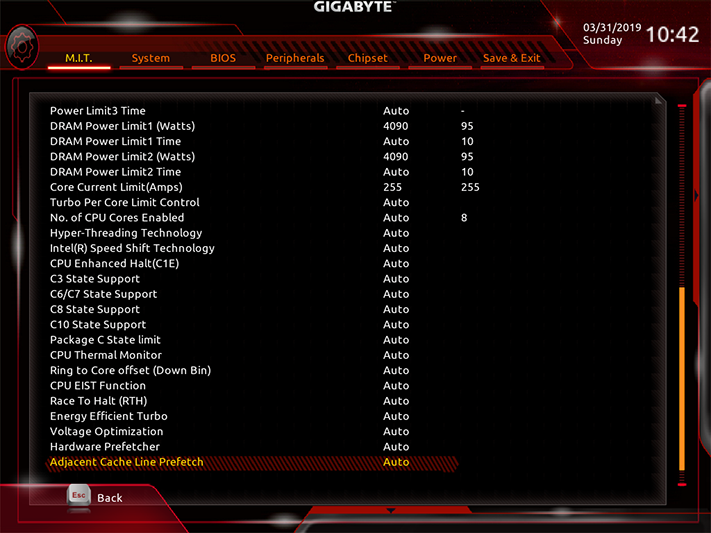
Our CPU’s previously-defined 4949 MHz stability limit is caused by the fact that higher clocks require higher voltage, which in turn causes our CPU to thermally throttle…on any motherboard. We had no difficulty pushing it to 4.9 GHz on the Z390 Gaming SLI, but an initial run at 5.0 GHz that took a long time to crash got our hopes up that the board might achieve that last 49 MHz.
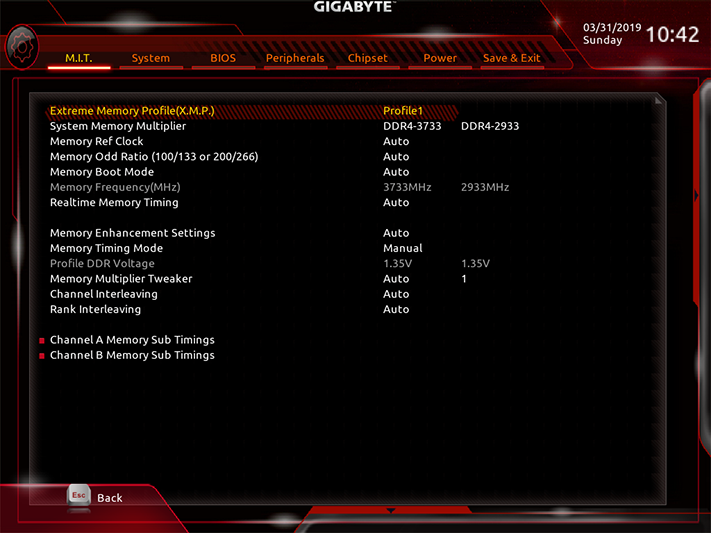
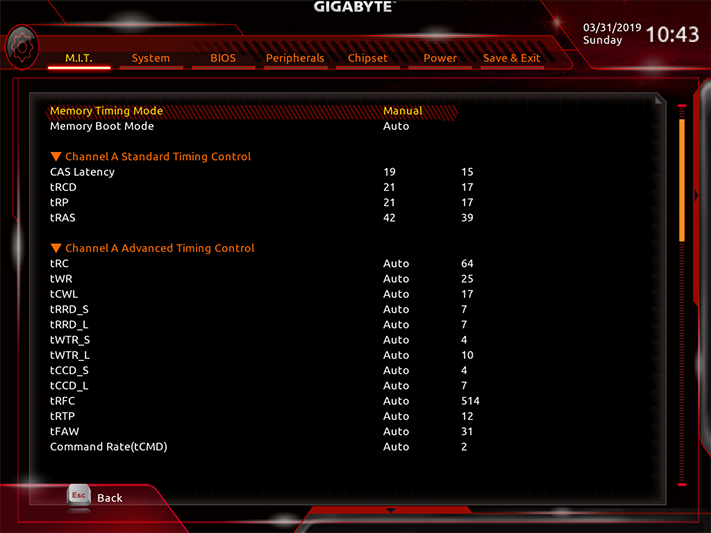
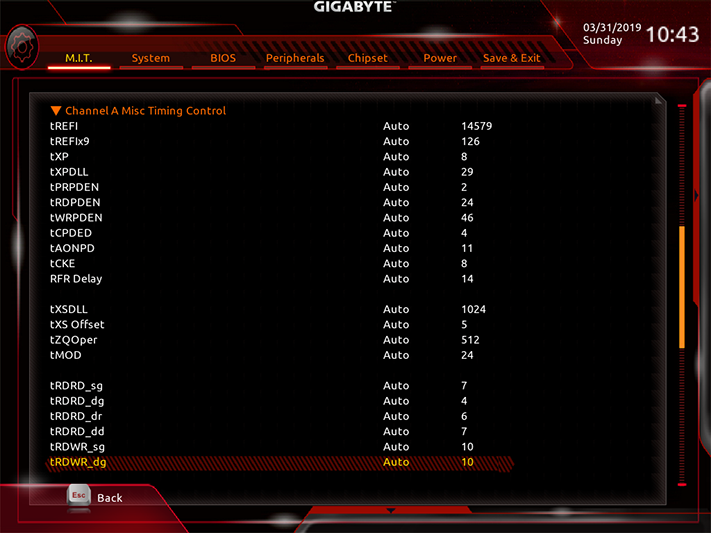
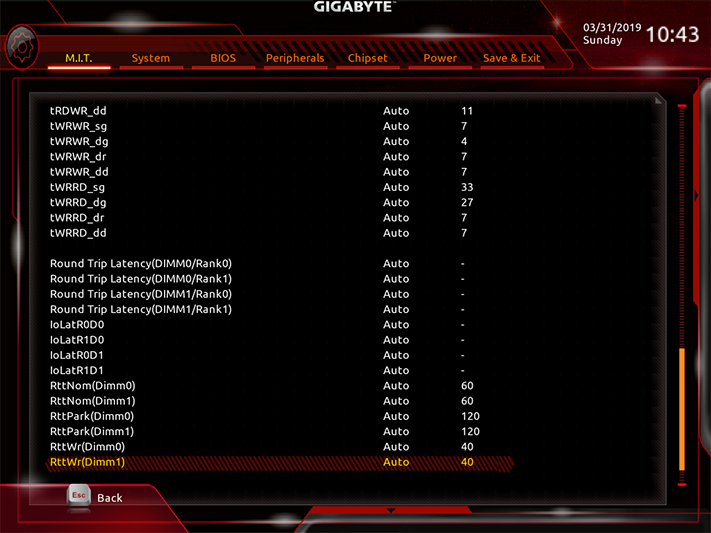
As with most Z390 boards, the Z390 Gaming SLI does not produce increased memory stability for our DDR4-2933 modules by using anything greater than CAS 19. In fact, it’s a little less stable at 21-21-21-42 timings than at 19-21-21-42. At 1.345 to 1.346 volts (measured), these timings got our four DIMM kit to DDR4-3733.
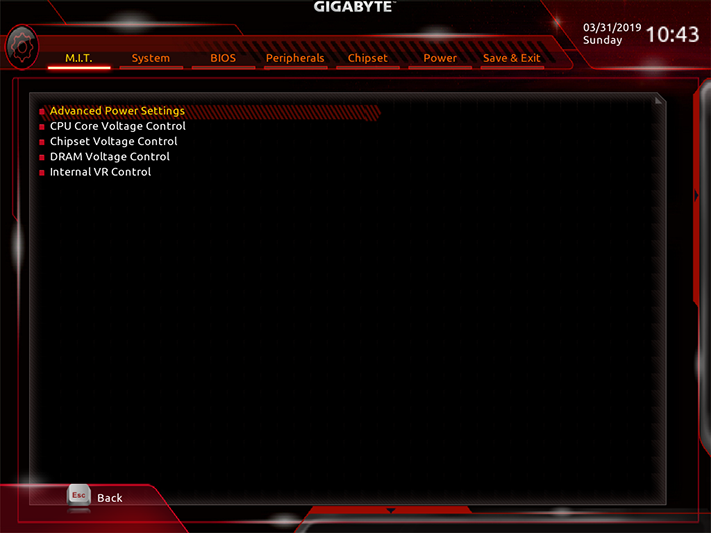
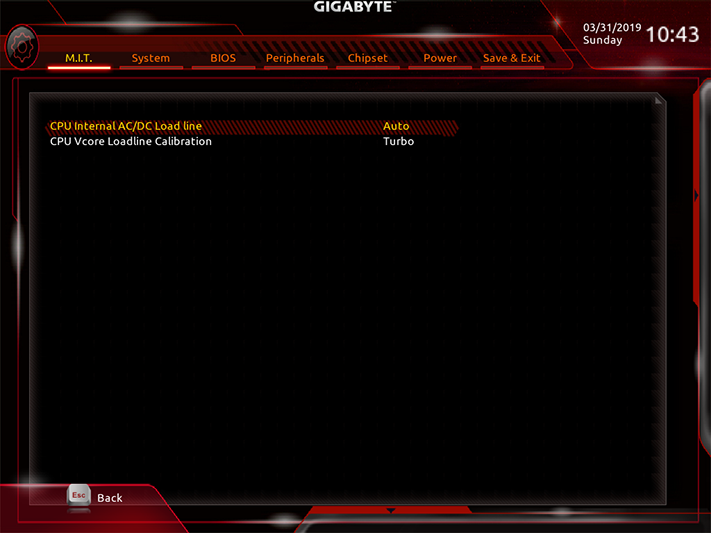
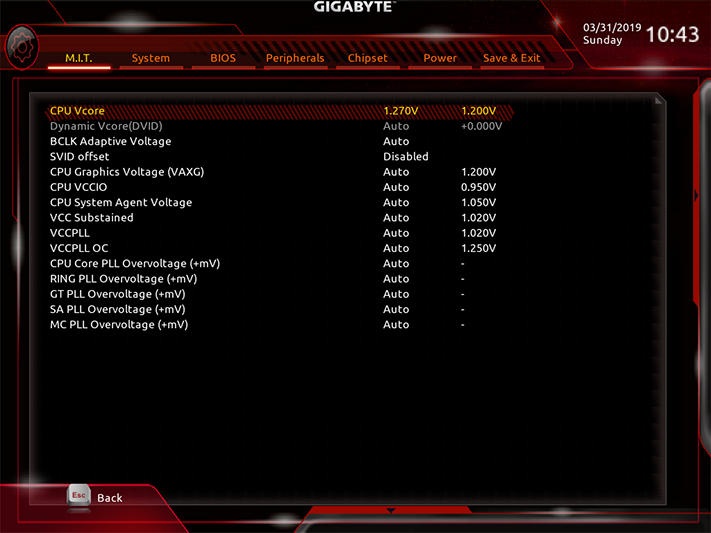
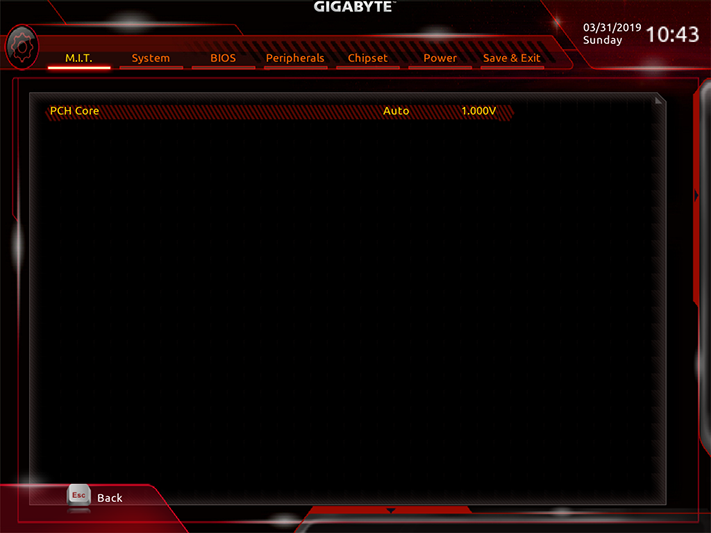
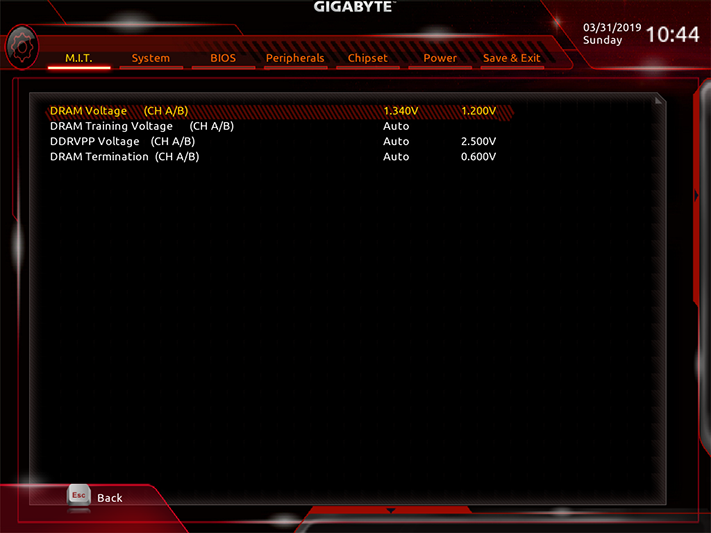
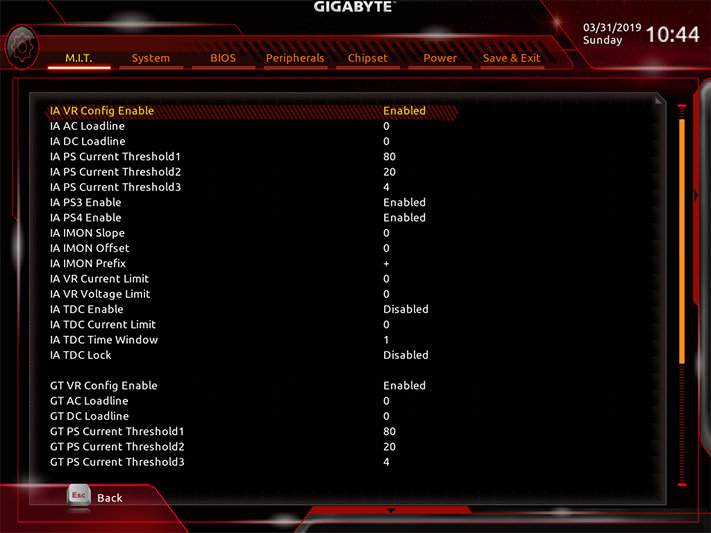
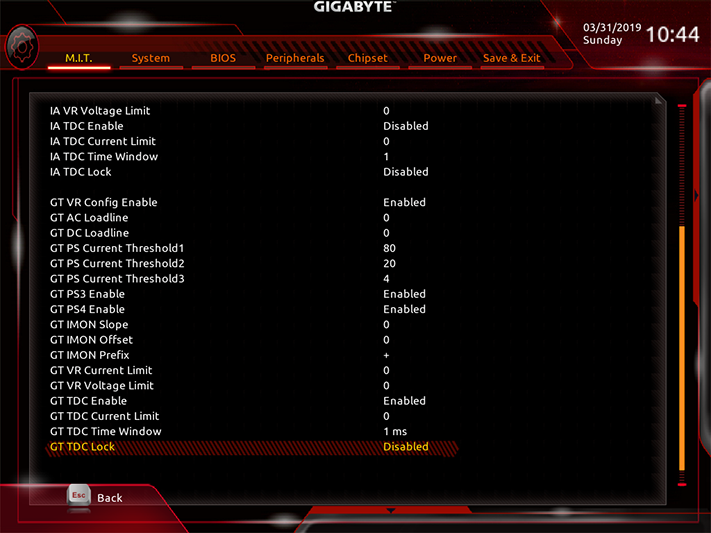
The Advanced Voltage menu contains a bunch of submenus, and several settings needed to be altered to reach these clocks at the desired voltage levels. The Advanced Power menu, for example, includes a CPU VCore Loadline Calibration selection that offsets voltage drops under heavy software load, but its “High” setting was around 30mV too low and its “Turbo” setting was around 30mV too high, so we chose “Turbo” and lowered the CPU Core Voltage setting to 1.270V to produce 1.30V. Meanwhile, our meter showed memory voltage at 5-6mV above the board’s setting, but its adjustments were only in 10mV increments. So we had to choose 1.340V to stay under our 1.355V ceiling.
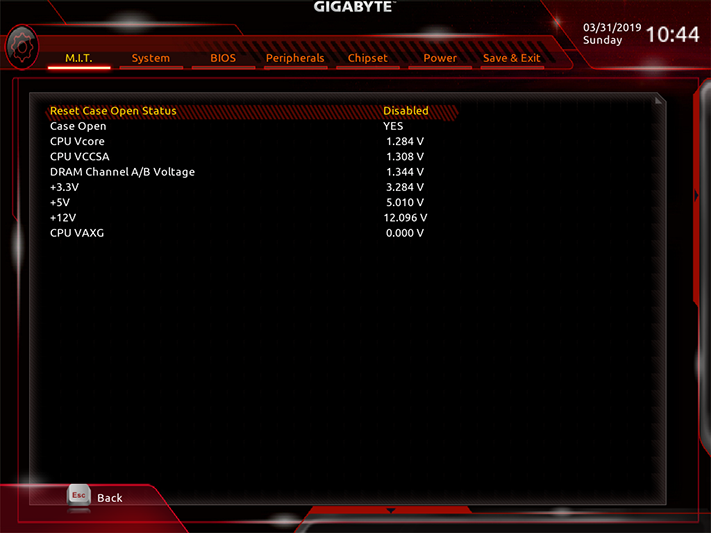
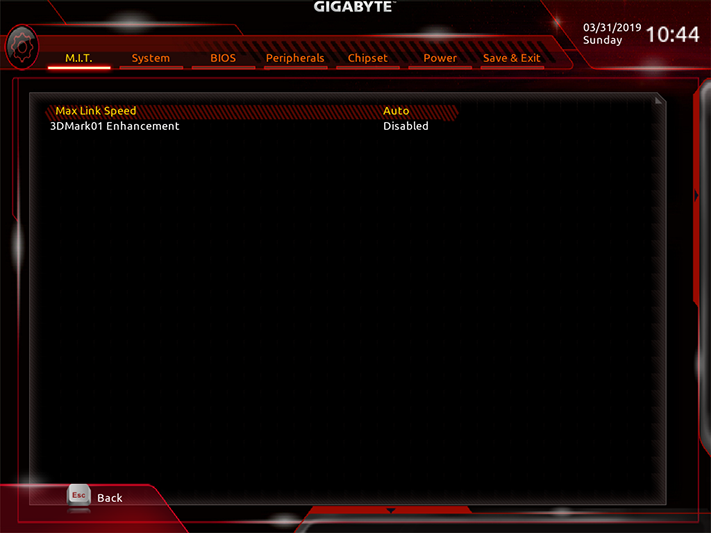
Other M.I.T. submenus weren’t very useful to us: DIMM voltage within the PC Health menu was reported as bouncing between 1.344 and 1.356V due to a lack of granularity for its monitor (the actual difference was around 1mV), the 3DMark01 booster within Miscellaneous Settings is designed for a defunct benchmark, and the Smart Fan 5 menu needs not be accessed from M.I.T., since it’s also accessible from the lower popup menu.
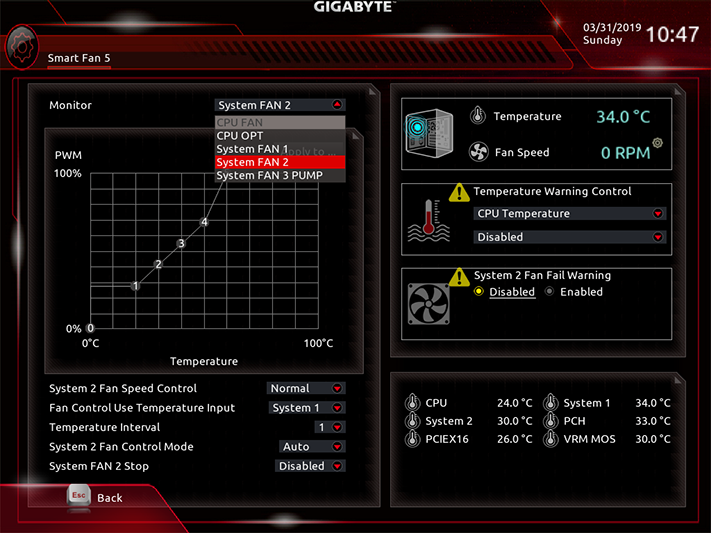
However you launch Smart Fan 5, being able to control all four headers with customizable curves using both PWM and voltage-based RPM methods is far better than we’d typically expect from a budget-priced enthusiast motherboard.
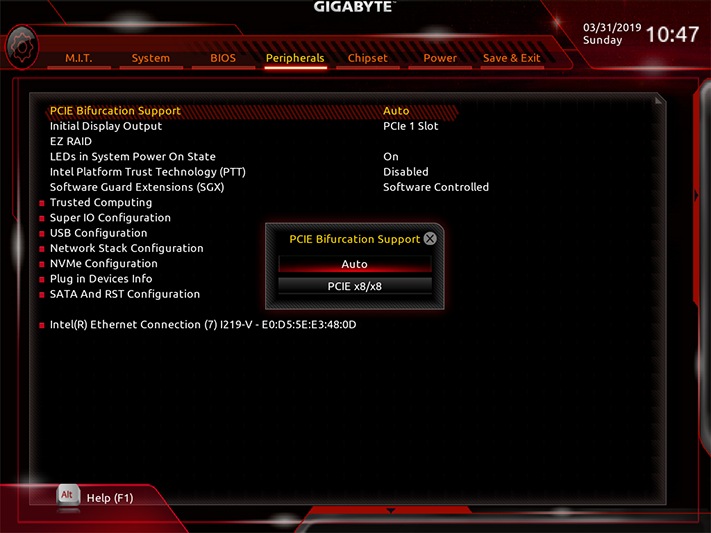
If automatic card detection isn’t good enough for you, the Z390 Gaming SLI allows you to force bifurcation to enable the second x16-length slot to get its eight PCIe 3.0 lanes. But manually turning the second slot off is not an option.
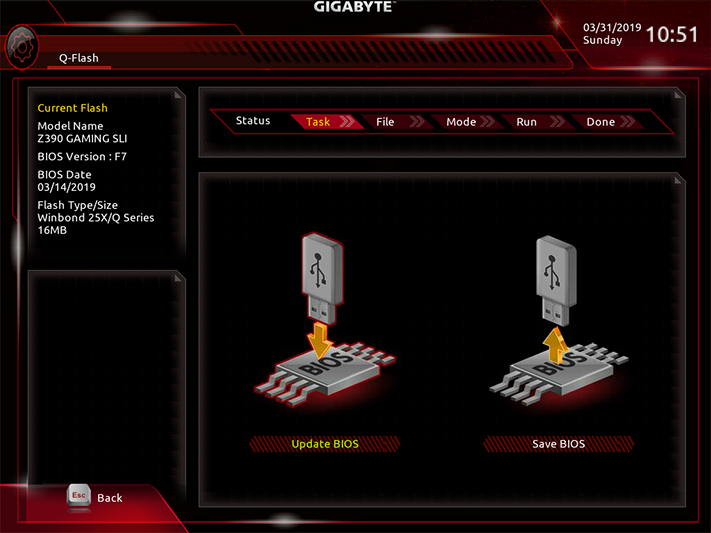
Gigabyte’s firmware flashing utility is another option from the popup menu at the screen’s bottom. We used it to install version F7 thee times, since every missed boot during our memory overclocking attempts caused the board to annoyingly reflash its old 1.3 firmware from its backup ROM.
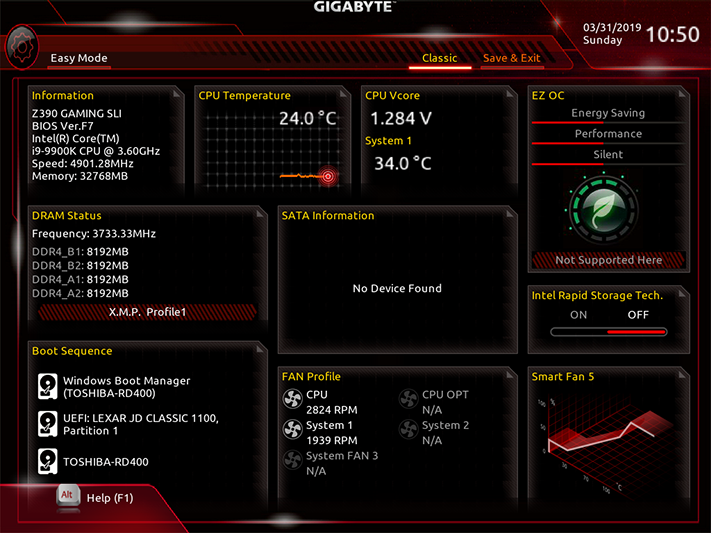
Finally, those who panic at the thought of manually adjusting most things can get to Gigabyte’s Easy Mode GUI by clicking another option at the bottom popup of its Classic mode interface. There you’ll find simple options such as fan profile and boot order selection and an XMP-enable icon.
MORE: Best Motherboards
MORE: How To Choose A Motherboard
MORE: All Motherboard Content
