MSI MPG Z390M Gaming Edge: A Mid-Sized Value
Why you can trust Tom's Hardware
Software and Firmware
Software
The MPG Z390M Gaming Edge AC includes the software suite of its ATX sibling, including MSI App Player and OBS Multiplatform. Minor changes to MSI Dragon Center and Mystic Light reflect the Micro ATX board’s altered layout.
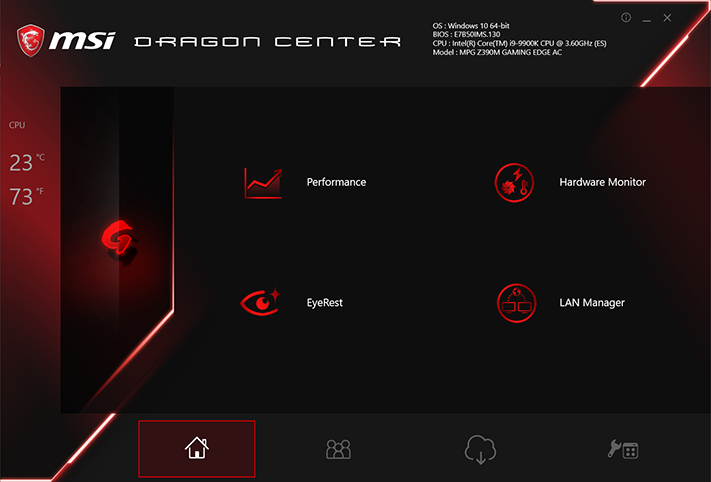
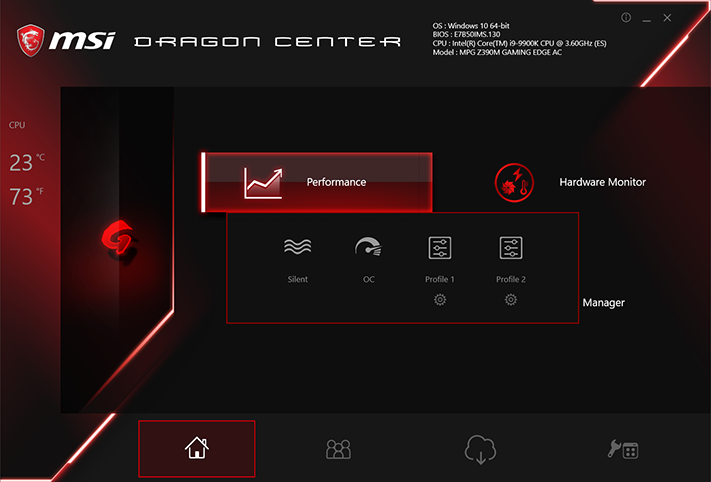
Dragon Center includes an overclocking suite, hardware monitor, gamma control app, and network optimizer. The “Performance” tab shows four profiles, but neither the Silent nor factory OC modes appeared to impact our CPU performance. The other two settings access user-defined profiles.
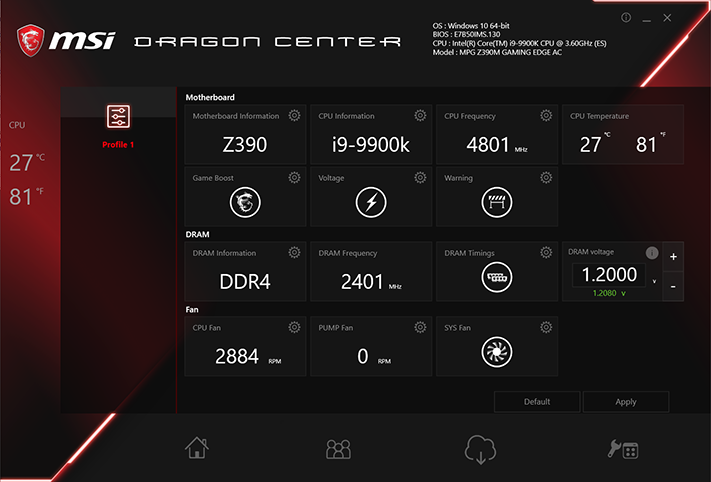
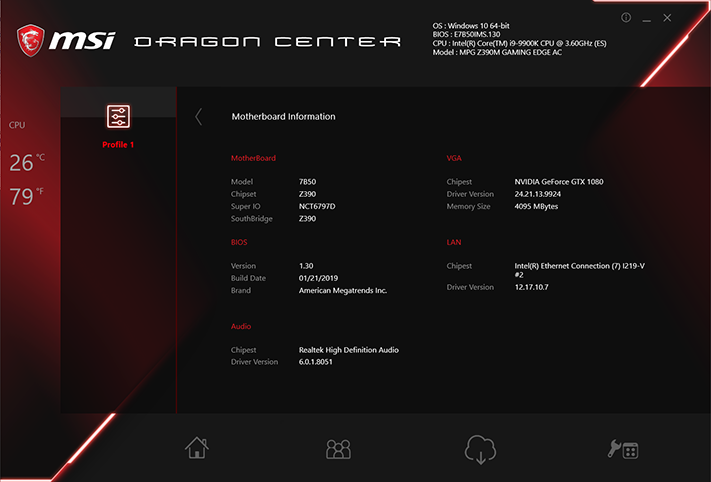
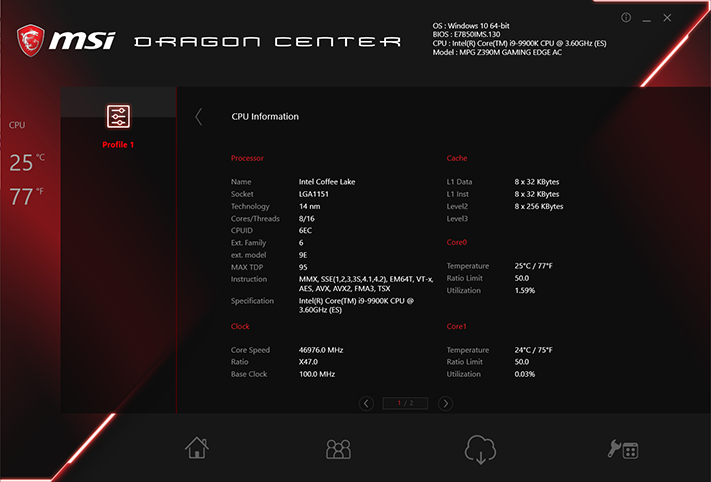
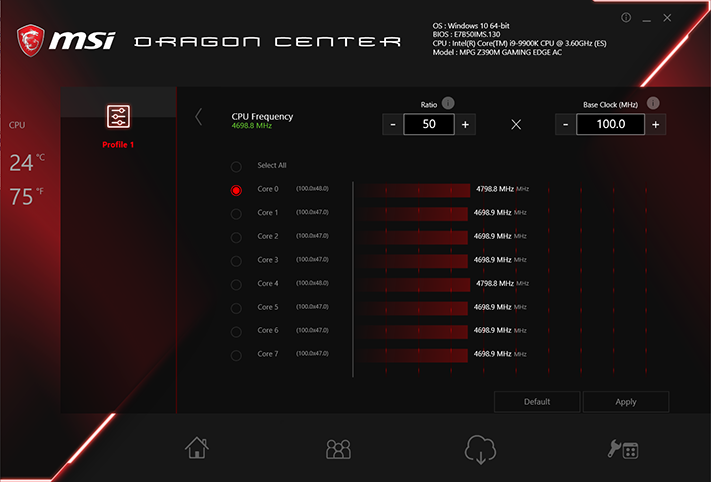
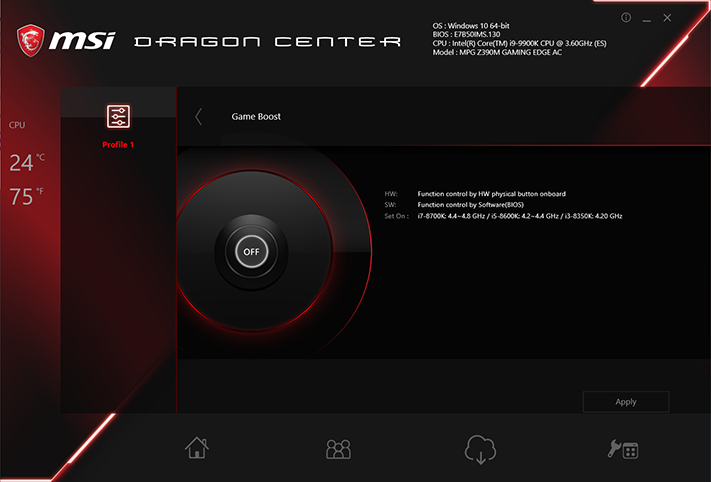
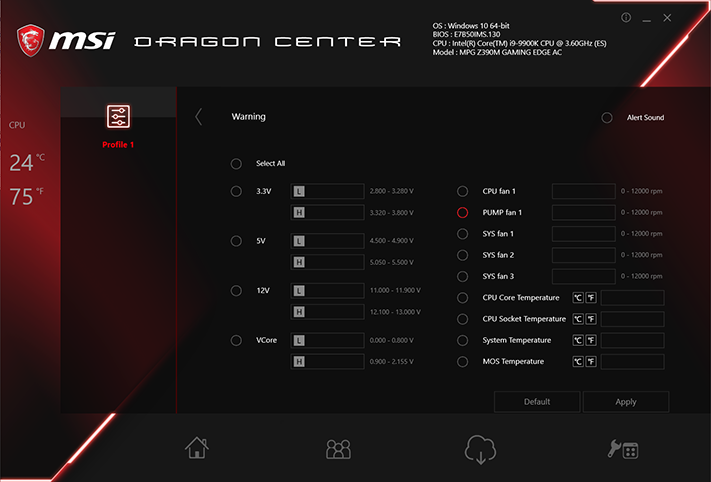
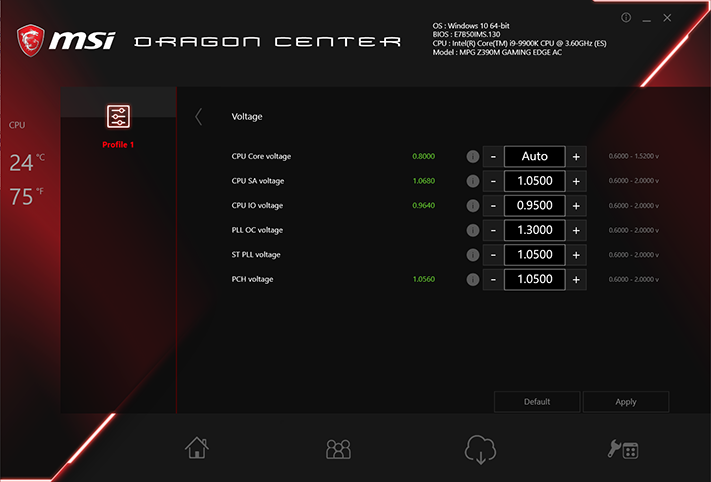
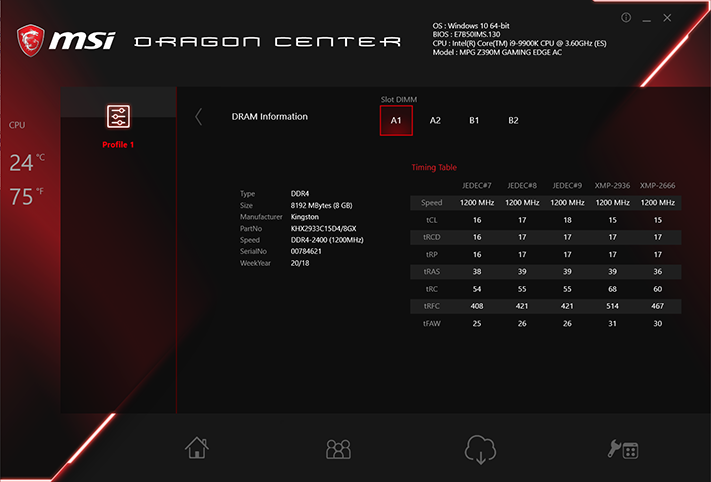
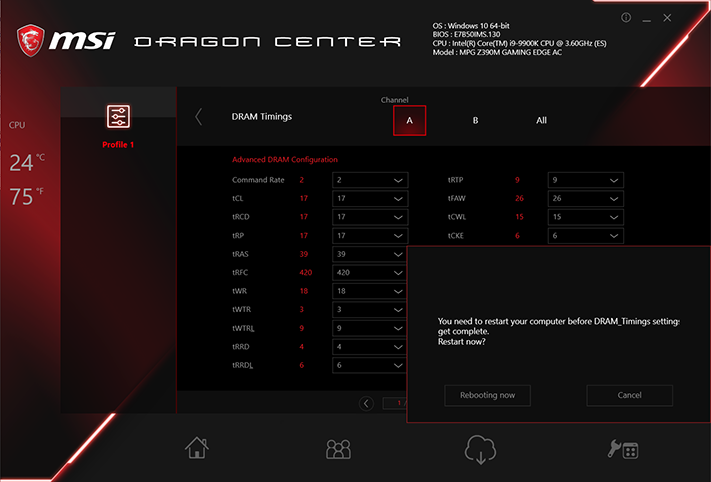
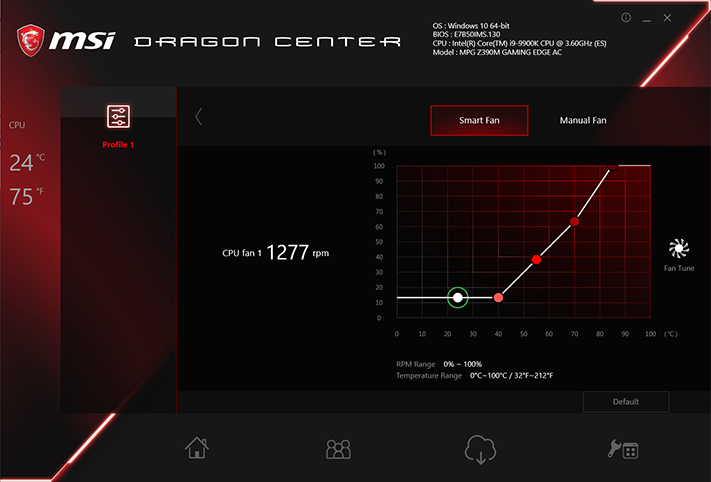
Each “Profile” selection has its own home page, which includes motherboard, DRAM, and Fan settings subgroups. We had no difficulty altering our CPU BLCK, multiplier or core voltage, but DRAM timing adjustments require a reboot. And if you’re rebooting, you’d might as well do it within UEFI, right?
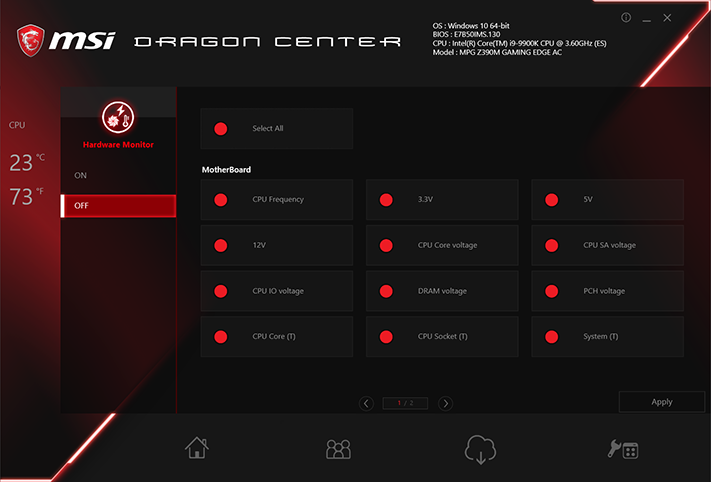
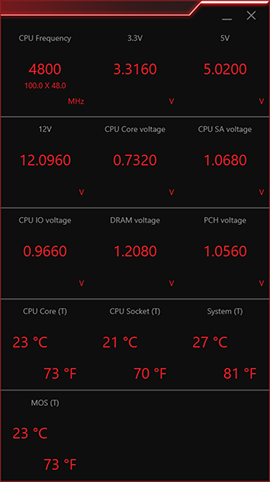
Jumping back to the Dragon Center home page, we found that the Hardware Monitor button offered complete configuration settings for a popup menu. Adding monitors causes the popup menu to grow until it reaches the limit shown, whereupon it spills over onto a second page.
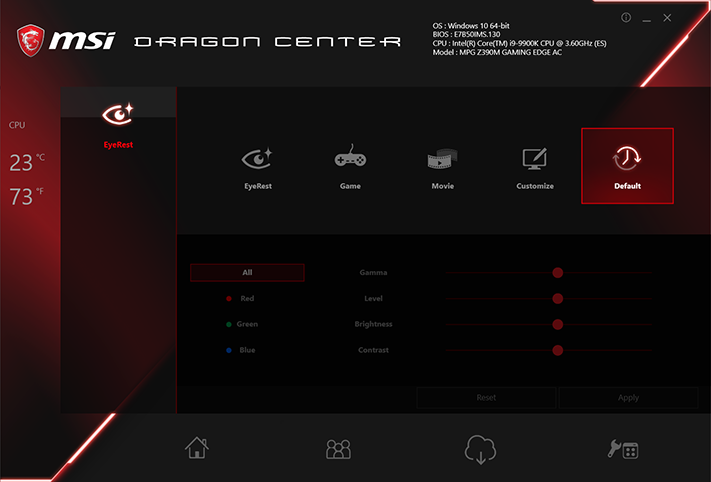
“Eye Rest” reduces blue light on your display, but the menu also includes gamma optimization for games and movies, as well as a user-defined profile.
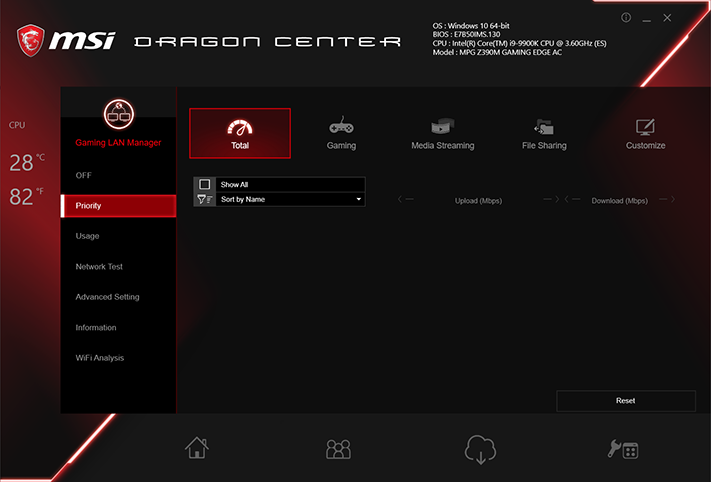
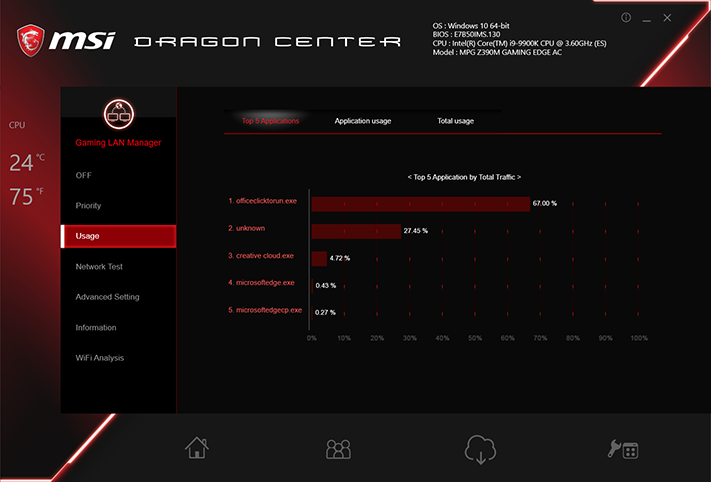
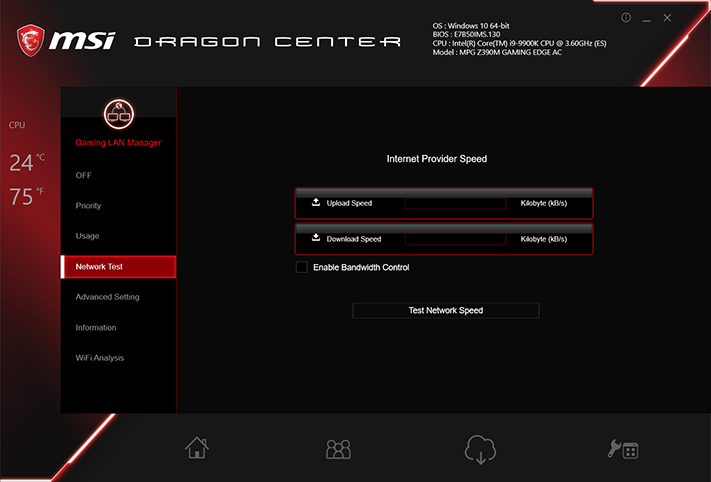
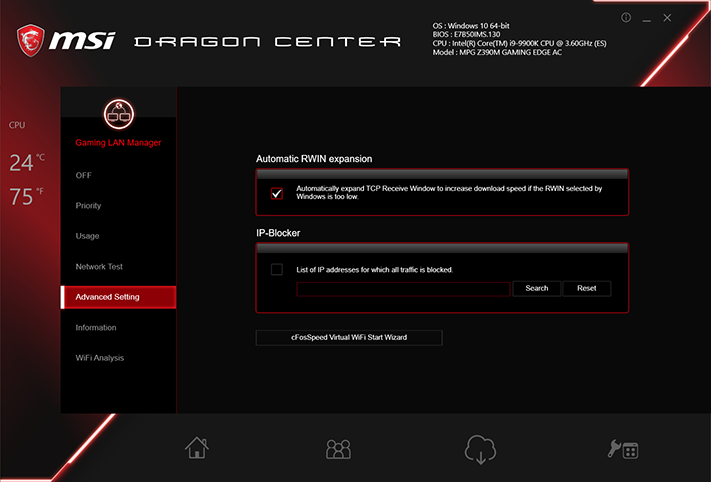
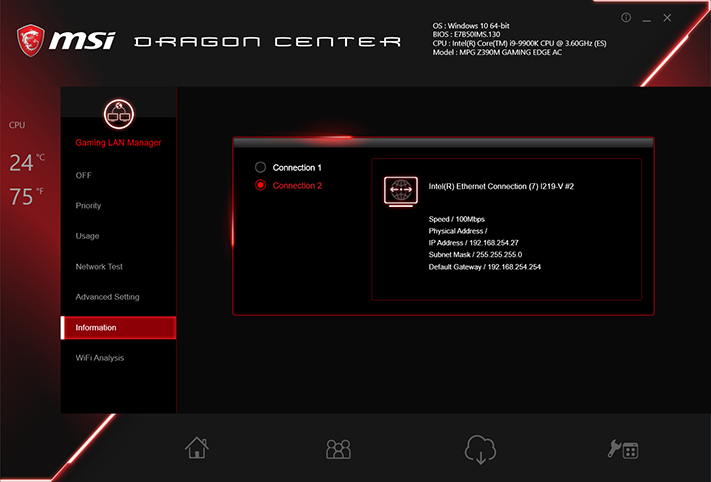
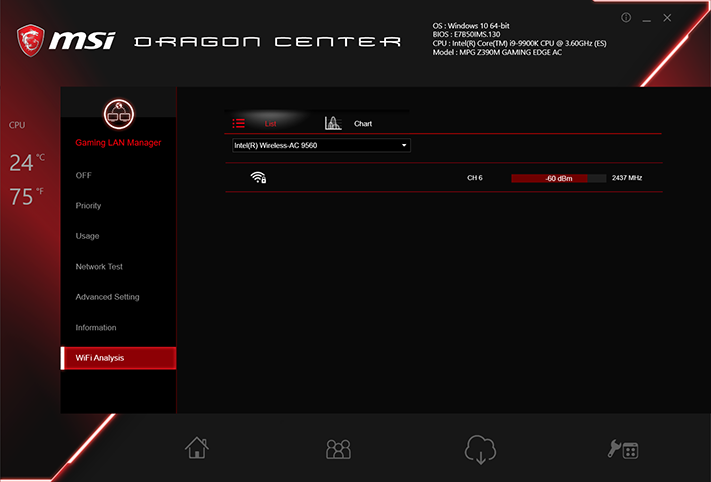
MSI LAN manager is a custom wrapper for the cFosSpeed packet prioritization suite.
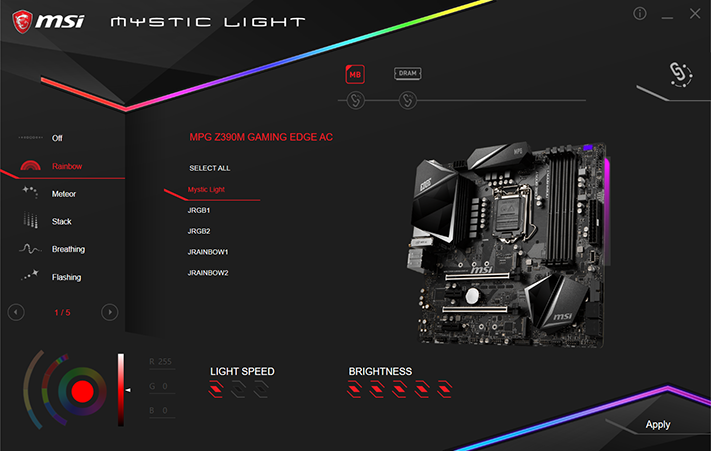
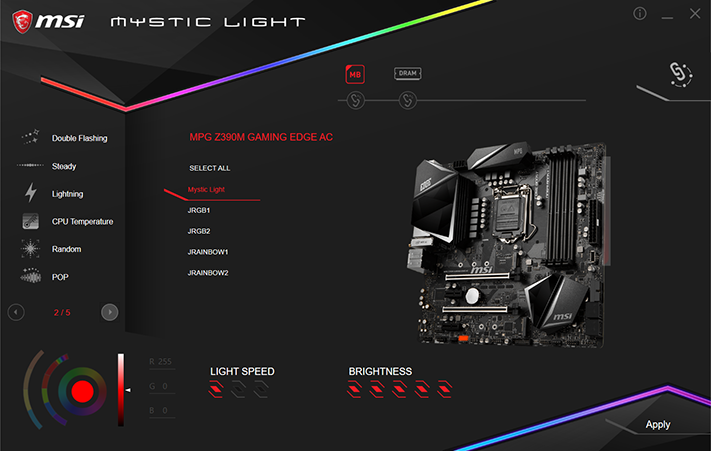
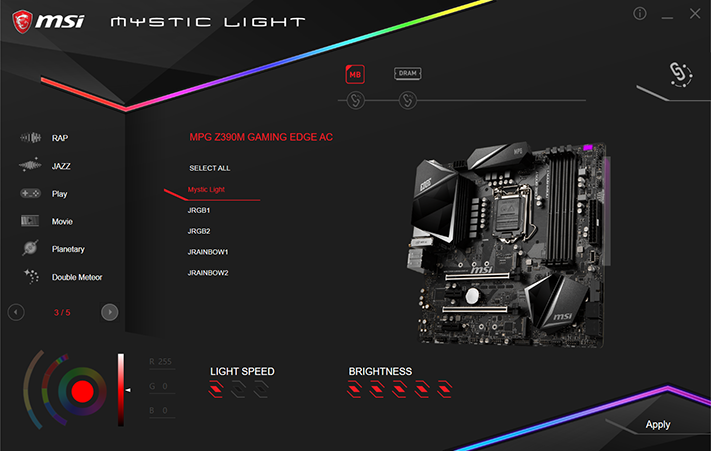
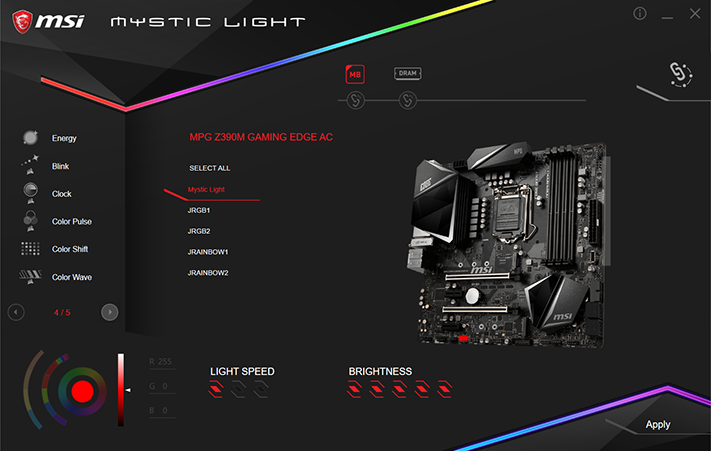
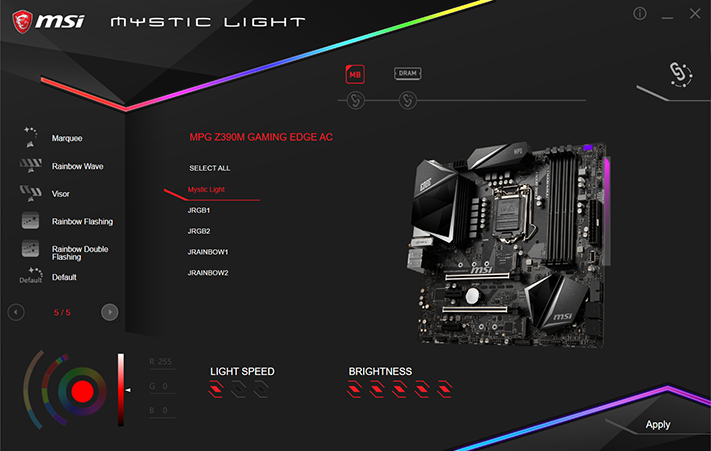
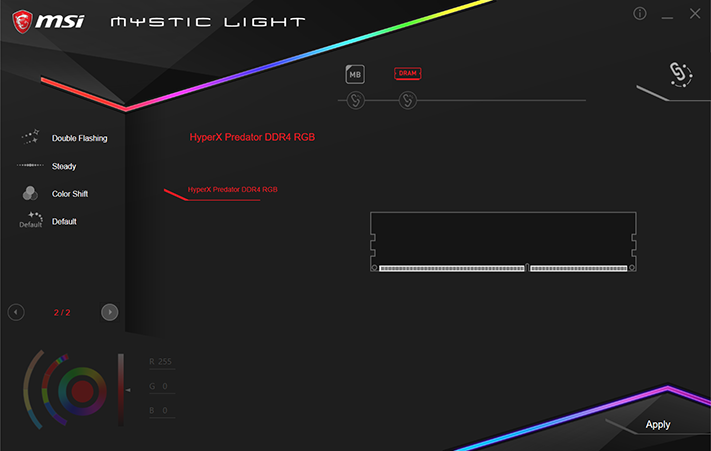
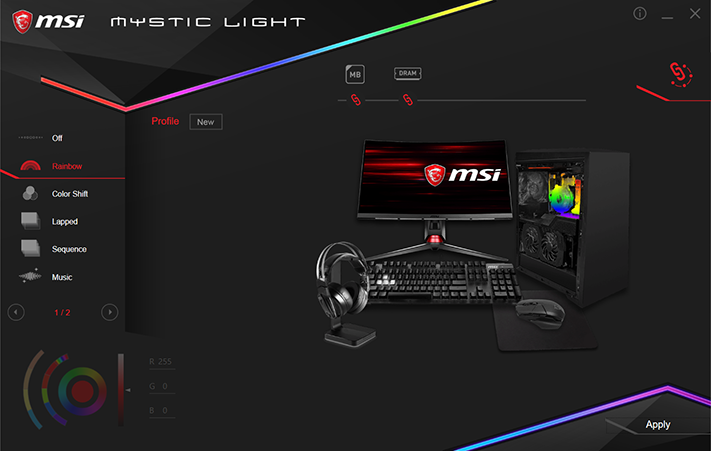
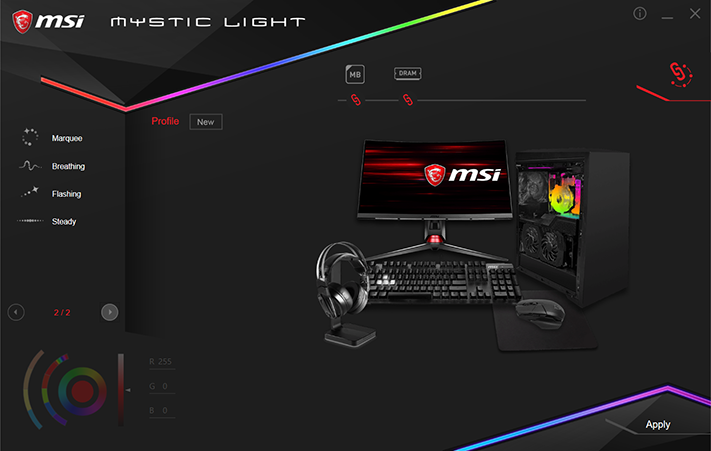
MSI’s Mystic Light RGB control interface changes to suit each board’s LED layout, and offers 28 lighting patterns. Of those, only nine were available for our test memory. Synchronized settings allow the same pattern to show on both the memory and motherboard lighting, but the rate at which patterns cycle is different, so that they’re never really synchronized.
Get Tom's Hardware's best news and in-depth reviews, straight to your inbox.
Firmware
MPG Z390M Gaming Edge AC firmware opens the first time to an “EZ Mode” interface, but remembers the interface that was being used when exited, so that exiting from Advanced mode causes that interface to appear at the next entry. Switching between these is enabled with the keyboard’s F7 key. EZ Mode includes XMP settings, boot order, a shortcut to the same fan menu that’s available in Advanced mode, an option to reboot to M-Flash firmware programming mode, and Hardware Monitor. Fans can be set to a factory profile or a user-defined curve, but while all five headers support both PWM and voltage-based speed control, only the main CPU fan header has an automatic mode detection.
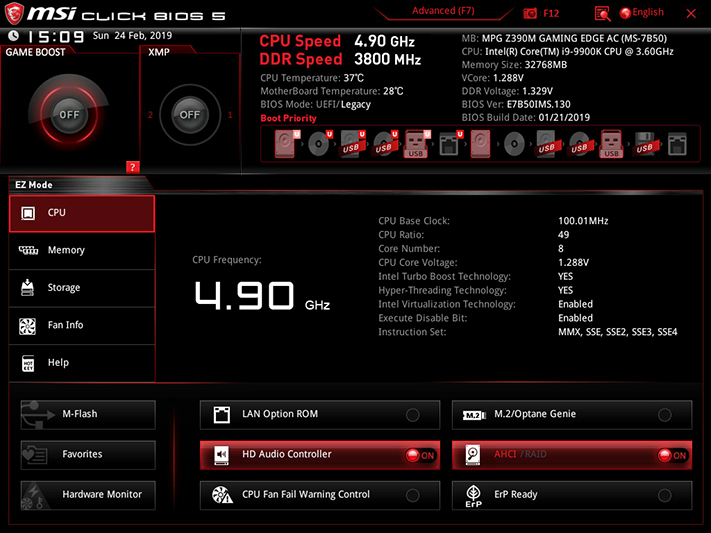
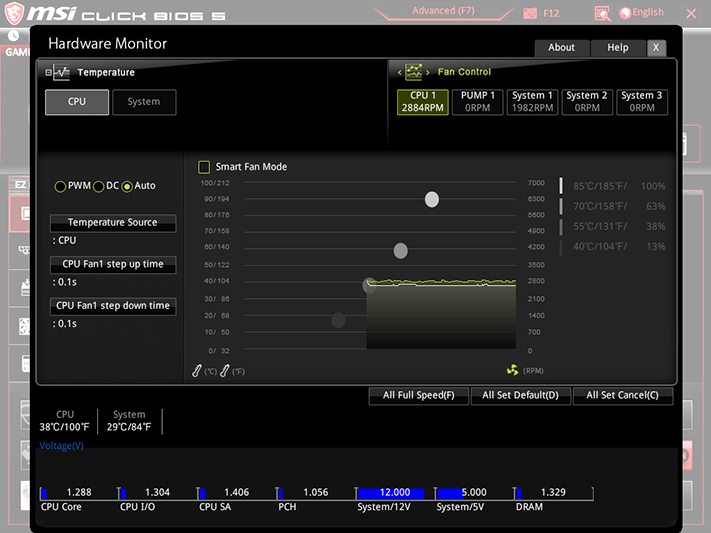
The MPG Z390M Gaming Edge AC pushed our Core i9-9900k to 4.90 GHz with all cores fully loaded using Prime95 small-FFTs, which is up from its 4.70 GHz Intel Turbo Boost rating for lesser loads on the same number of cores. It’s also only 49 MHz shy of what we expect from this processor at our chosen 1.30V core setting. While that sounds well and good, we’re at the voltage regulator’s thermal limit, and that’s with a 58 CFM fan added directly to the top of its heat sinks. The only way more voltage could get us higher clocks is with fewer cores.
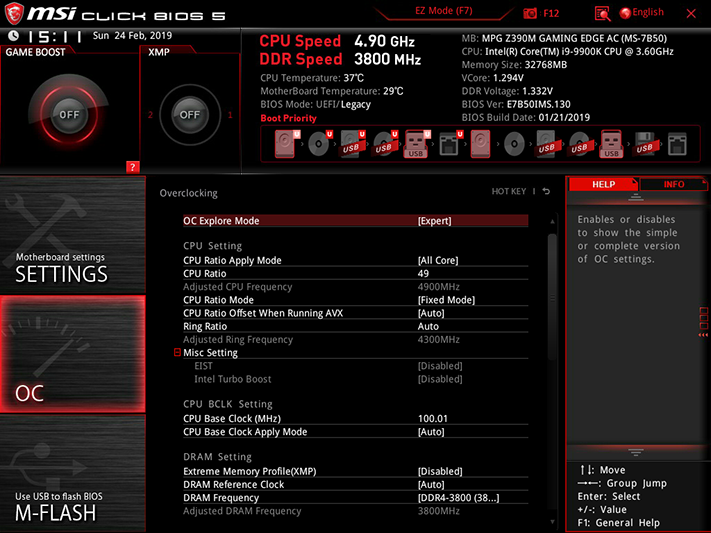
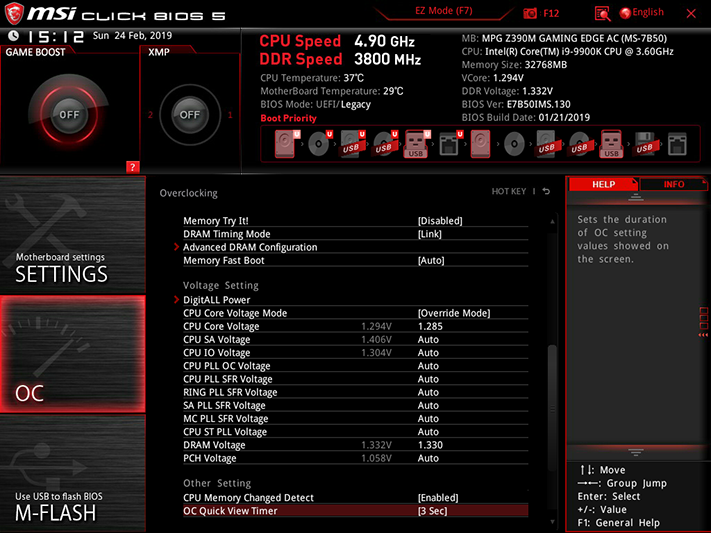
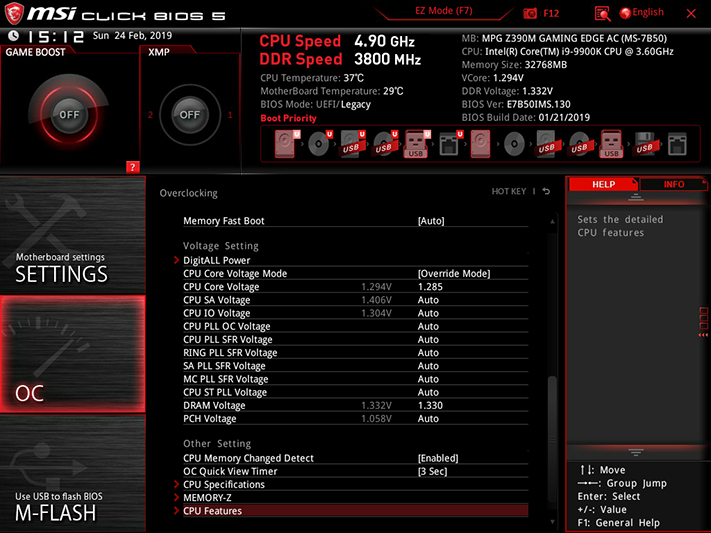
Getting a loaded core voltage of 1.30V required us to use a higher level of load compensation and a lower baseline setting of 1.285V. Memory voltage was a little more straightforward: We measured 19mV more than whatever we set in firmware, so that setting 1.330V got us 1.349V at the DIMM slots. Our 1.355V limit for memory overclocking validation is intended to keep things fair, but we simply couldn’t add another 5mV, since the board supports only 10mV increments.
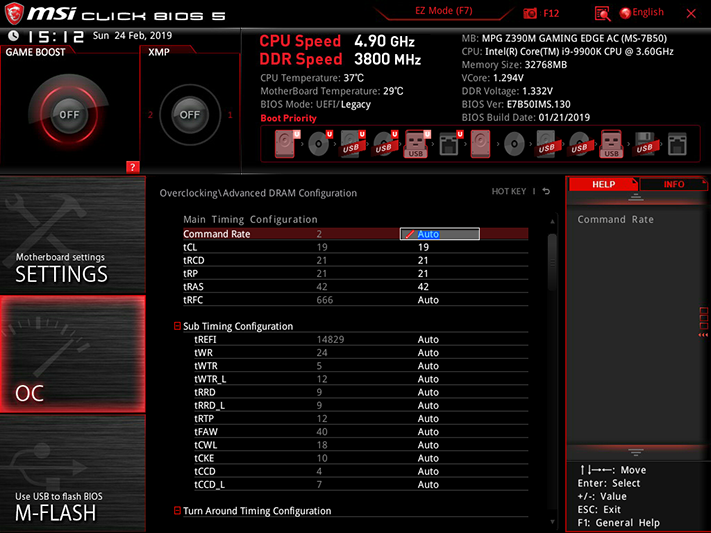
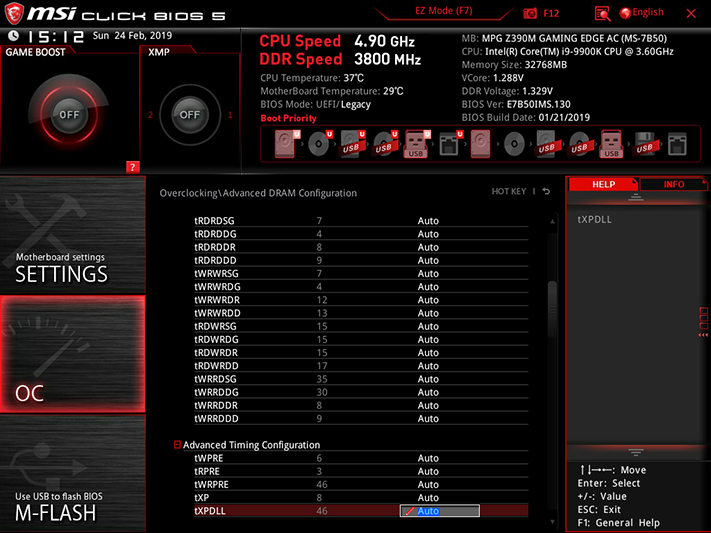
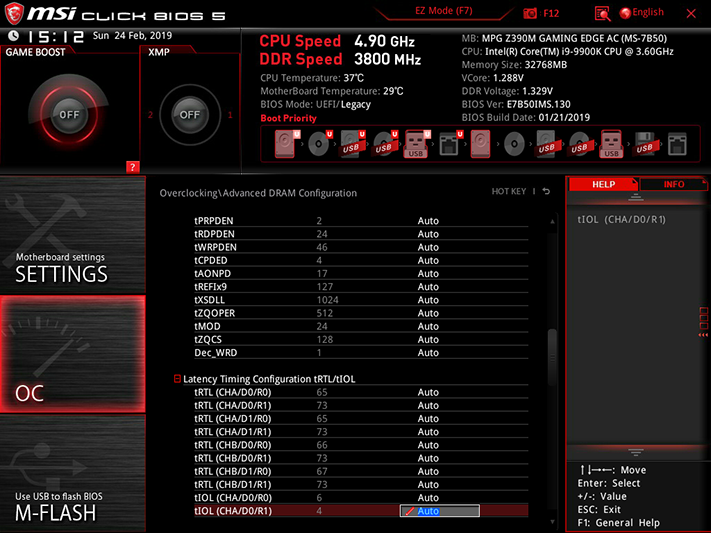
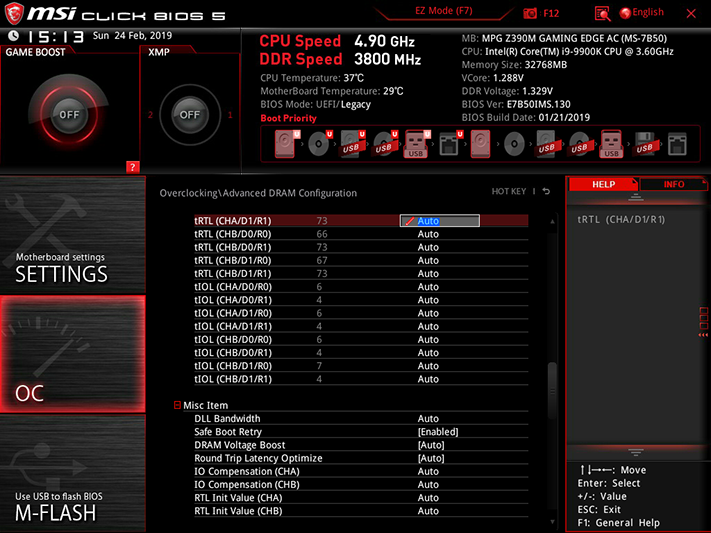
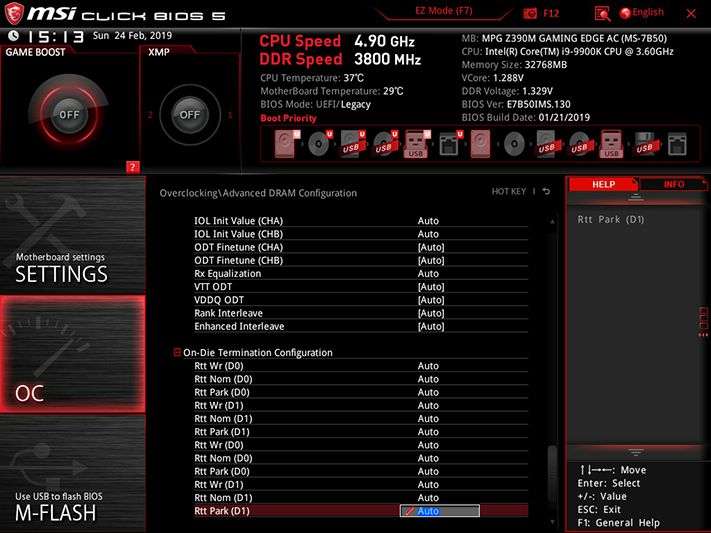
More tweaks can be done with memory, as the MPG Z390M Gaming Edge AC supports just about every timing adjustment we could imagine. While CAS 21 timings were more of a hinderance than a help to our overclock, 19-21-21-42 got our DDR4-2933 kit to DDR4-3838. Moreover, removing two modules allowed the board to push the remaining pair to a class-leading DDR4-4175. And these aren’t even Samsung B-Die, but Hynix!
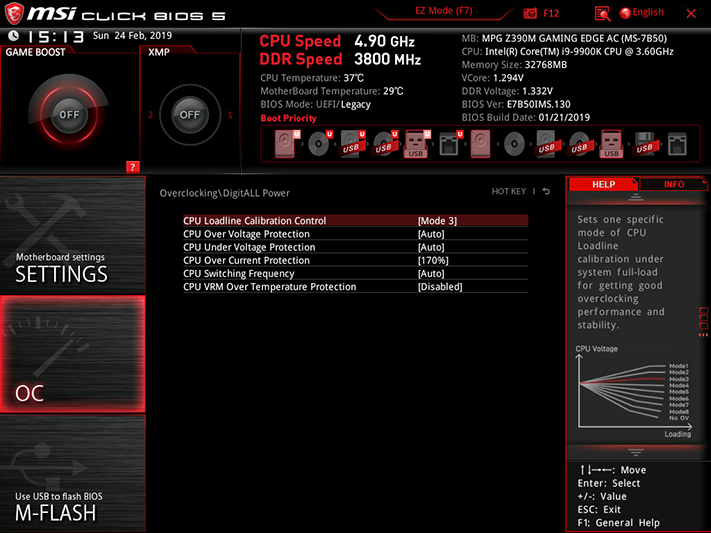
CPU Loadline Calibration increases core voltage to compensate for drops under load (aka “vdroop”), and a setting of “Mode 3” allowed it to push 15mV beyond our intended setting. Mode 4 allowed too much “vdroop” to reach a reasonable overclock, while Mode 2 pushed voltage far too high to keep either the CPU or voltage regulator within thermal limits. Overclocking also required us to increase CPU overcurrent protection. Pro tip: Only disable VRM Over Temperature Protection if you’re going to be available to monitor the temperatures yourself, as we fried a lesser board doing this.
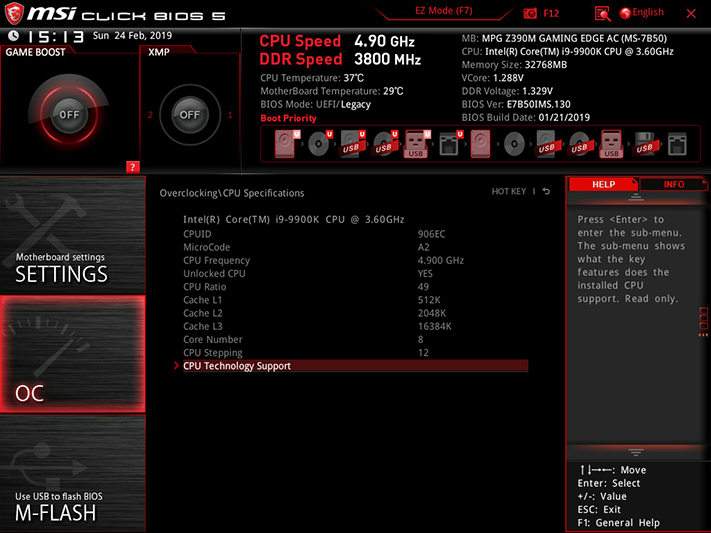
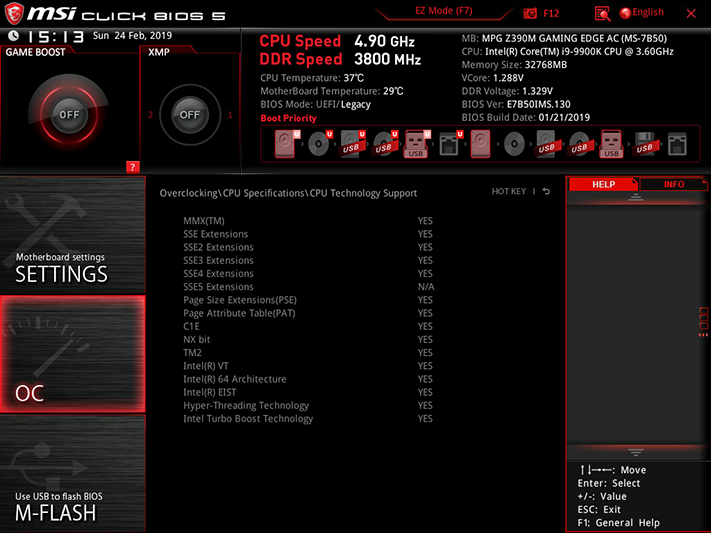
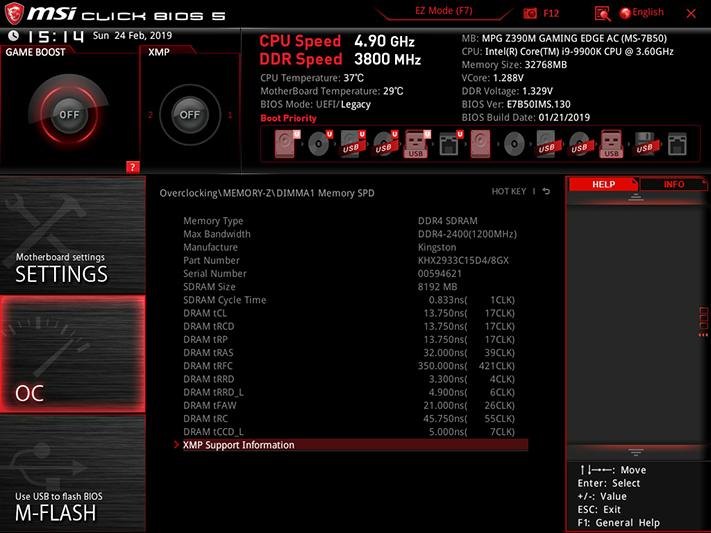
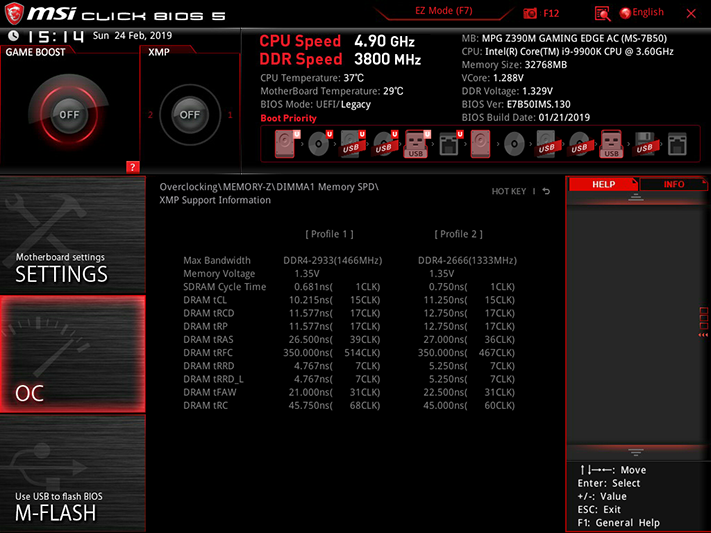
Other menus include CPU and DRAM reports, with Memory Z indicating both basic SPD and XMP configurations.
Running Prime95 small-FFTs at a constant frequency requires several additional changes to the CPU Features menu. We used the maximum settings for long and short duration power limits, CPU Current, and CPU Over-Temperature protection (the default is 100°).
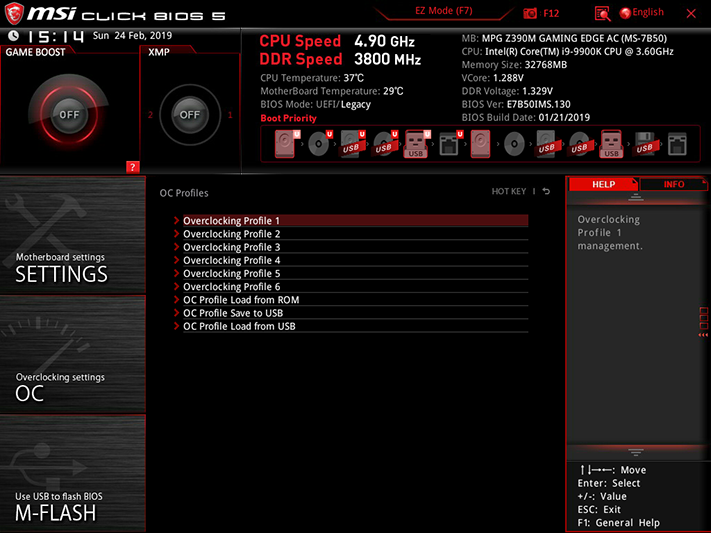
Enough space remains on the firmware IC to store six user-defined configurations (clocks, boot order, fan speed, etc). These profiles can also be transferred to and from a USB flash drive.
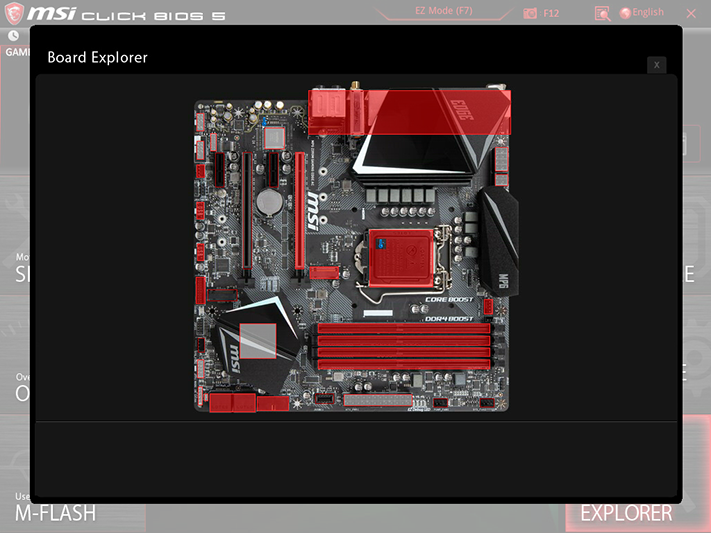
MSI Board Explorer allows users to mouse over the red zones to see device descriptions, and is particularly useful in determining whether a device that isn’t showing in windows has been detected by the board.
MORE: Best Motherboards
MORE: How To Choose A Motherboard
MORE: All Motherboard Content
