Tom's Hardware Verdict
The Pimoroni Inventor 2040 W is a great board to begin your Pico W adventures. What we lose in GPIO, we gain in a great form factor and easy-to-use software.
Pros
- +
Compact form factor
- +
Simple MicroPython module
- +
Compatible with other MicroPython firmware
Cons
- -
Bespoke motor connections
- -
Lack of GPIO pins
Why you can trust Tom's Hardware
The Raspberry Pi is synonymous with invention. Just look at the tens of thousands of projects which use the credit card-sized computer. The $4 Raspberry Pi Pico continued this tradition, and now the $6 Raspberry Pi Pico W is following suit with low-cost, Wi-Fi-enabled embedded projects.
The Raspberry Pi Pico W release day also saw new boards from UK Raspberry Pi reseller, Pimoroni. The new “Pico W Aboard” range of kits spans small citizen science platforms for weather and air quality sensors, to large full-color ePaper displays and the mysterious “Galactic Unicorn.” Right in the middle of this range is the $32 Inventor 2040 W, the spiritual successor to Pimoroni’s Explorer HAT (which features on our Best Raspberry Pi HATs) addon for the Raspberry Pi. Inventor 2040 W is a place where we can test out new project ideas. We can build robots and science experiments with relative ease, linking them to the Internet using service such as IFTTT, Anvil or MQTT.
Will the Inventor 2040 W claim a spot in our Best RP2040 Boards? The short answer is yes, but we’ll qualify that by putting it through its paces, and by building a project which takes advantage of the Pico W’s Wi-Fi, and Inventor 2040 W’s range of functions.
Inventor 2040 W Specifications
| SoC | Raspberry Pi Pico W |
| RP2040 Arm Cortex M0+ Dual Core at 133 MHz | |
| RAM | 264KB SRAM |
| Storage | 2MB Flash |
| Connectivity | Infineon CYW43439 2.4 GHz Wi-Fi with onboard antenna |
| Connected via SPI | |
| GPIO | 2 x JST-SH connectors (6 pin) for attaching motors |
| Audio connector | |
| 6 x Servo headers | |
| 6 x GPIO pins (including 3 analog inputs) | |
| 12 x WS2812B NeoPixels | |
| 2 x QwST (Qwicc / Stemma QT compatible) ports | |
| User button | |
| Reset button | |
| Breakout Garden headers (unsoldered) | |
| Power / Data | Micro USB for data and power |
| JST-PH (2 pin) connector for attaching battery (input voltage 2.5V - 5.5V | |
| Dimensions | 51 x 66 mm |
| Price | $33 (£34.50) |
Using Inventor 2040 W
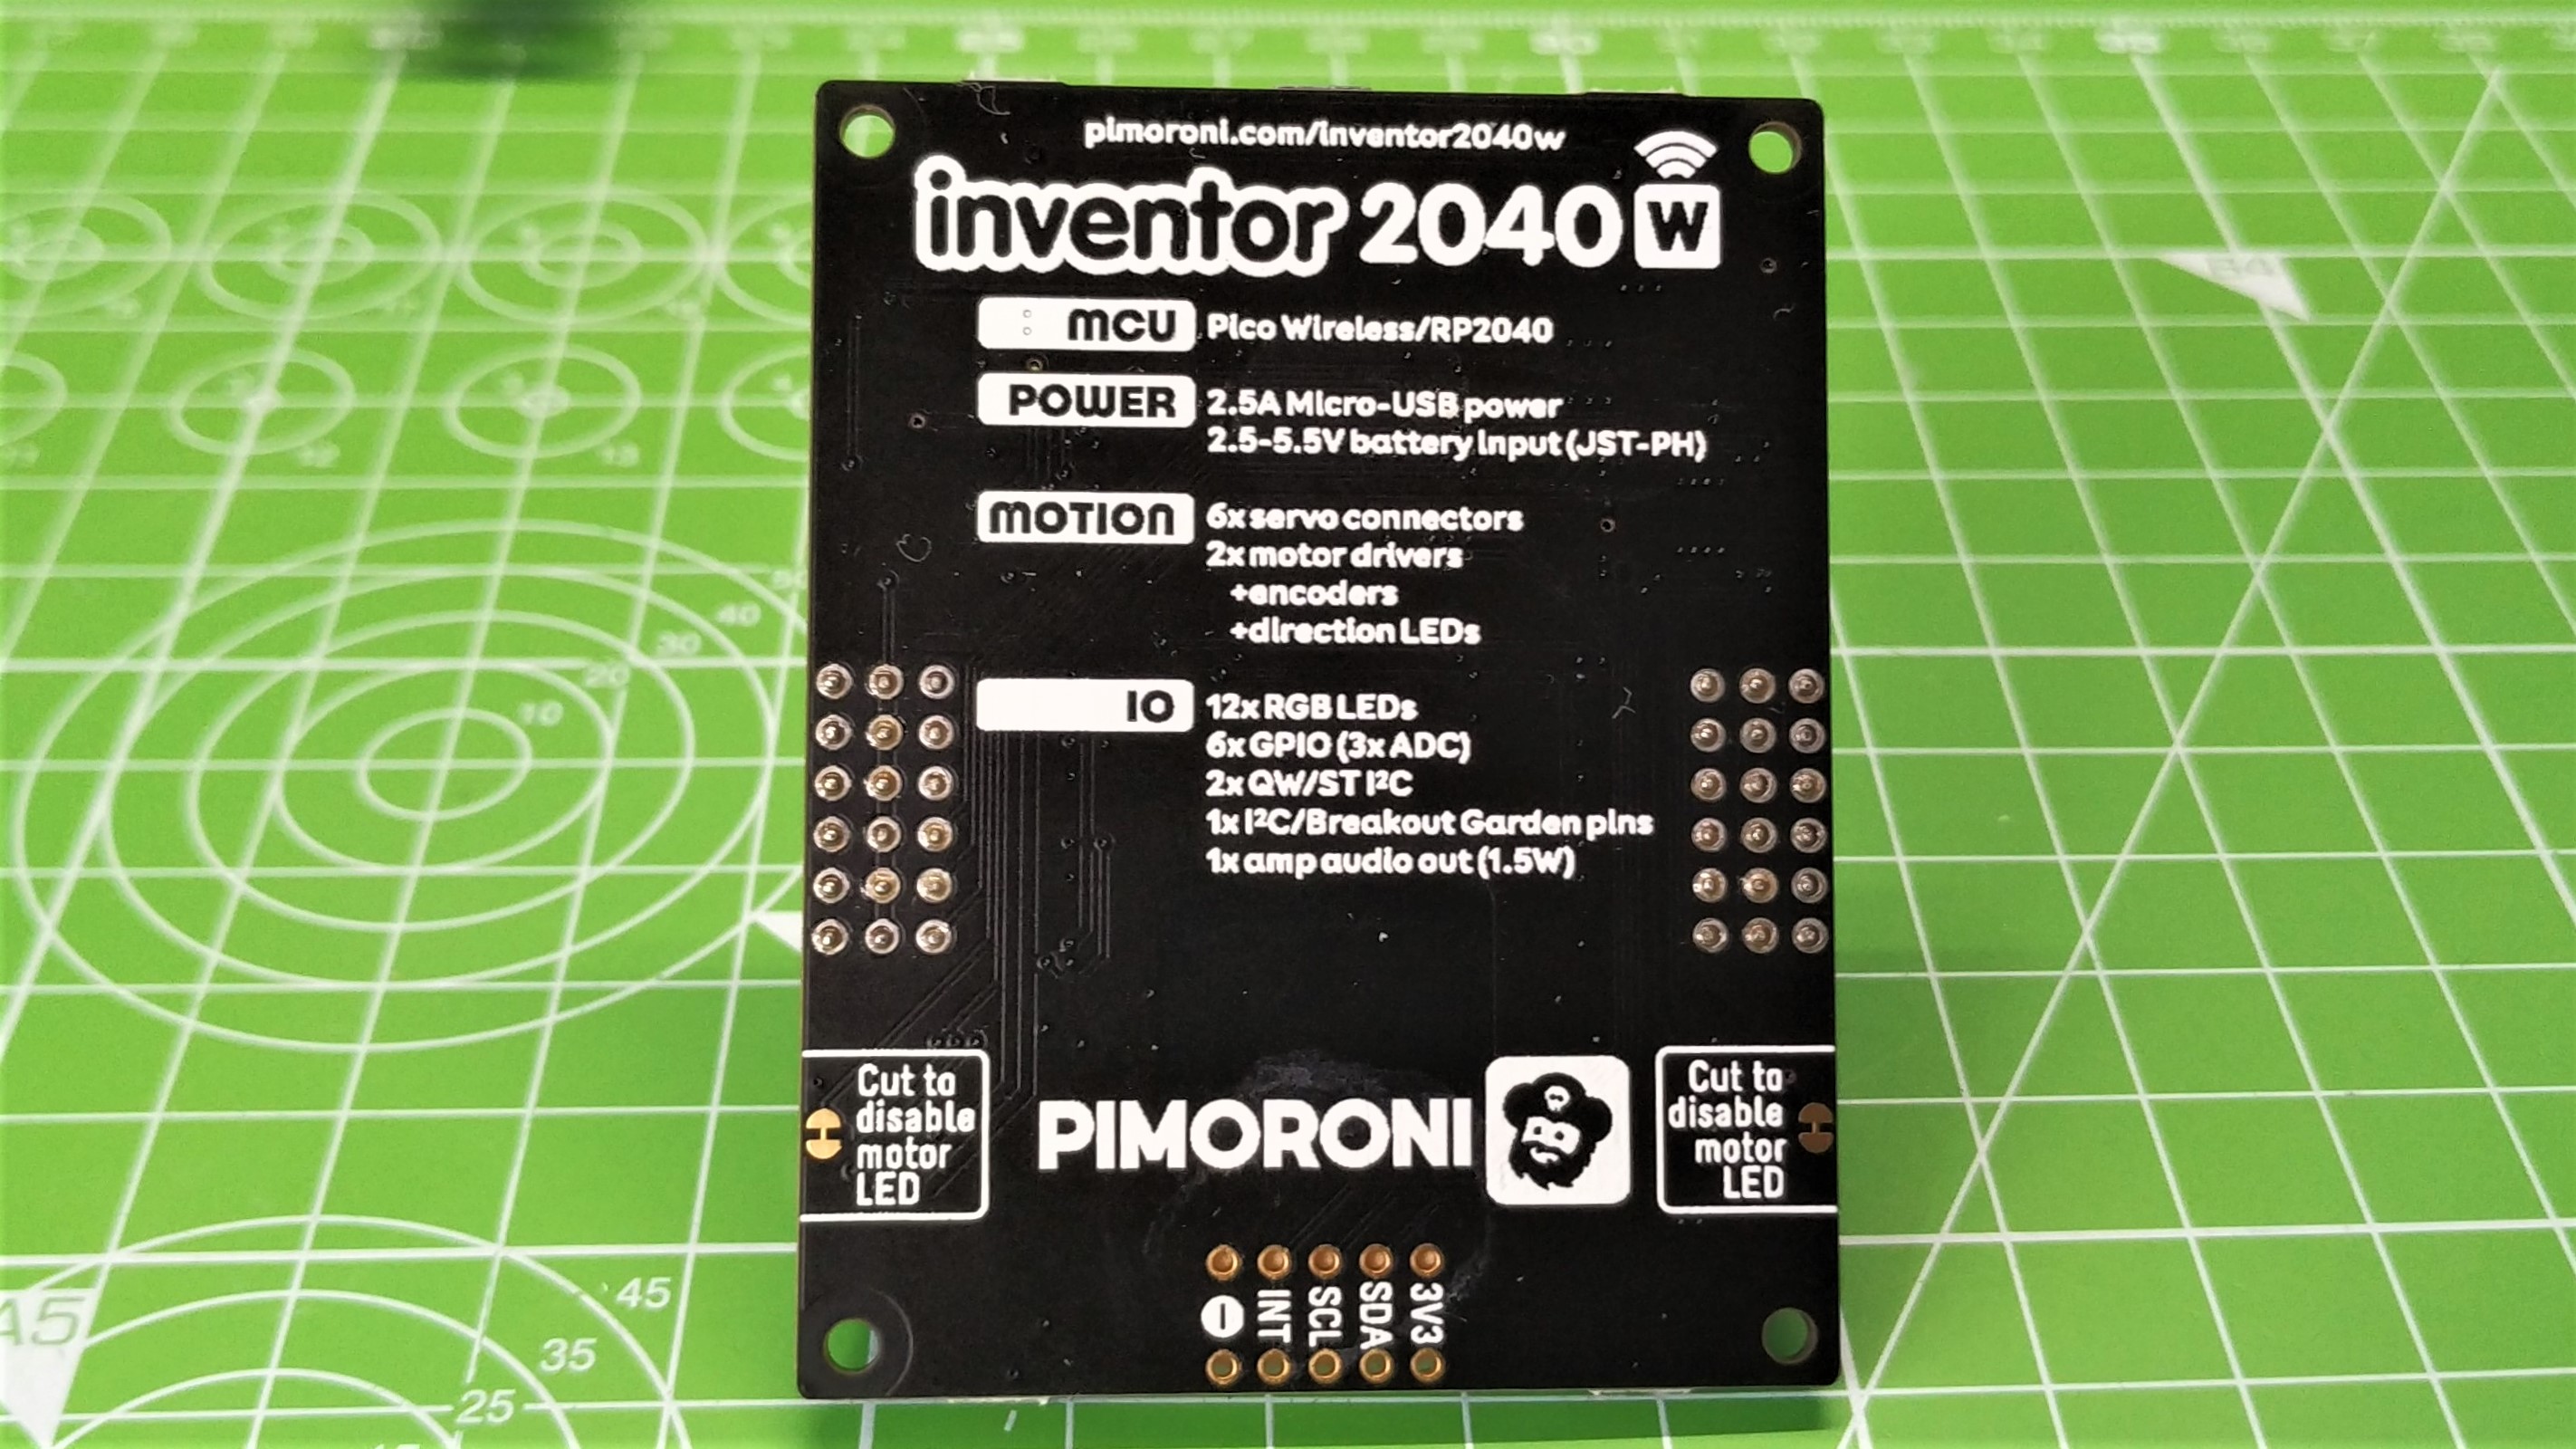
Pimoroni has its own MicroPython release, which covers its range of Pico and Pico W based boards. We downloaded the latest compatible version for Inventor 2040 W and flashed it to the board. We then went through the example projects to control each of the features of the board.
Inventor 2040 W also supports C++, and Pimoroni have example projects which take advantage of this powerful language. At this time there is no CircuitPython release for Inventor 2040 W, nor for the Raspberry Pi Pico W. For our review, we stuck with MicroPython, specifically Pimoroni’s own release, and later a release designed for Internet-enabled projects.
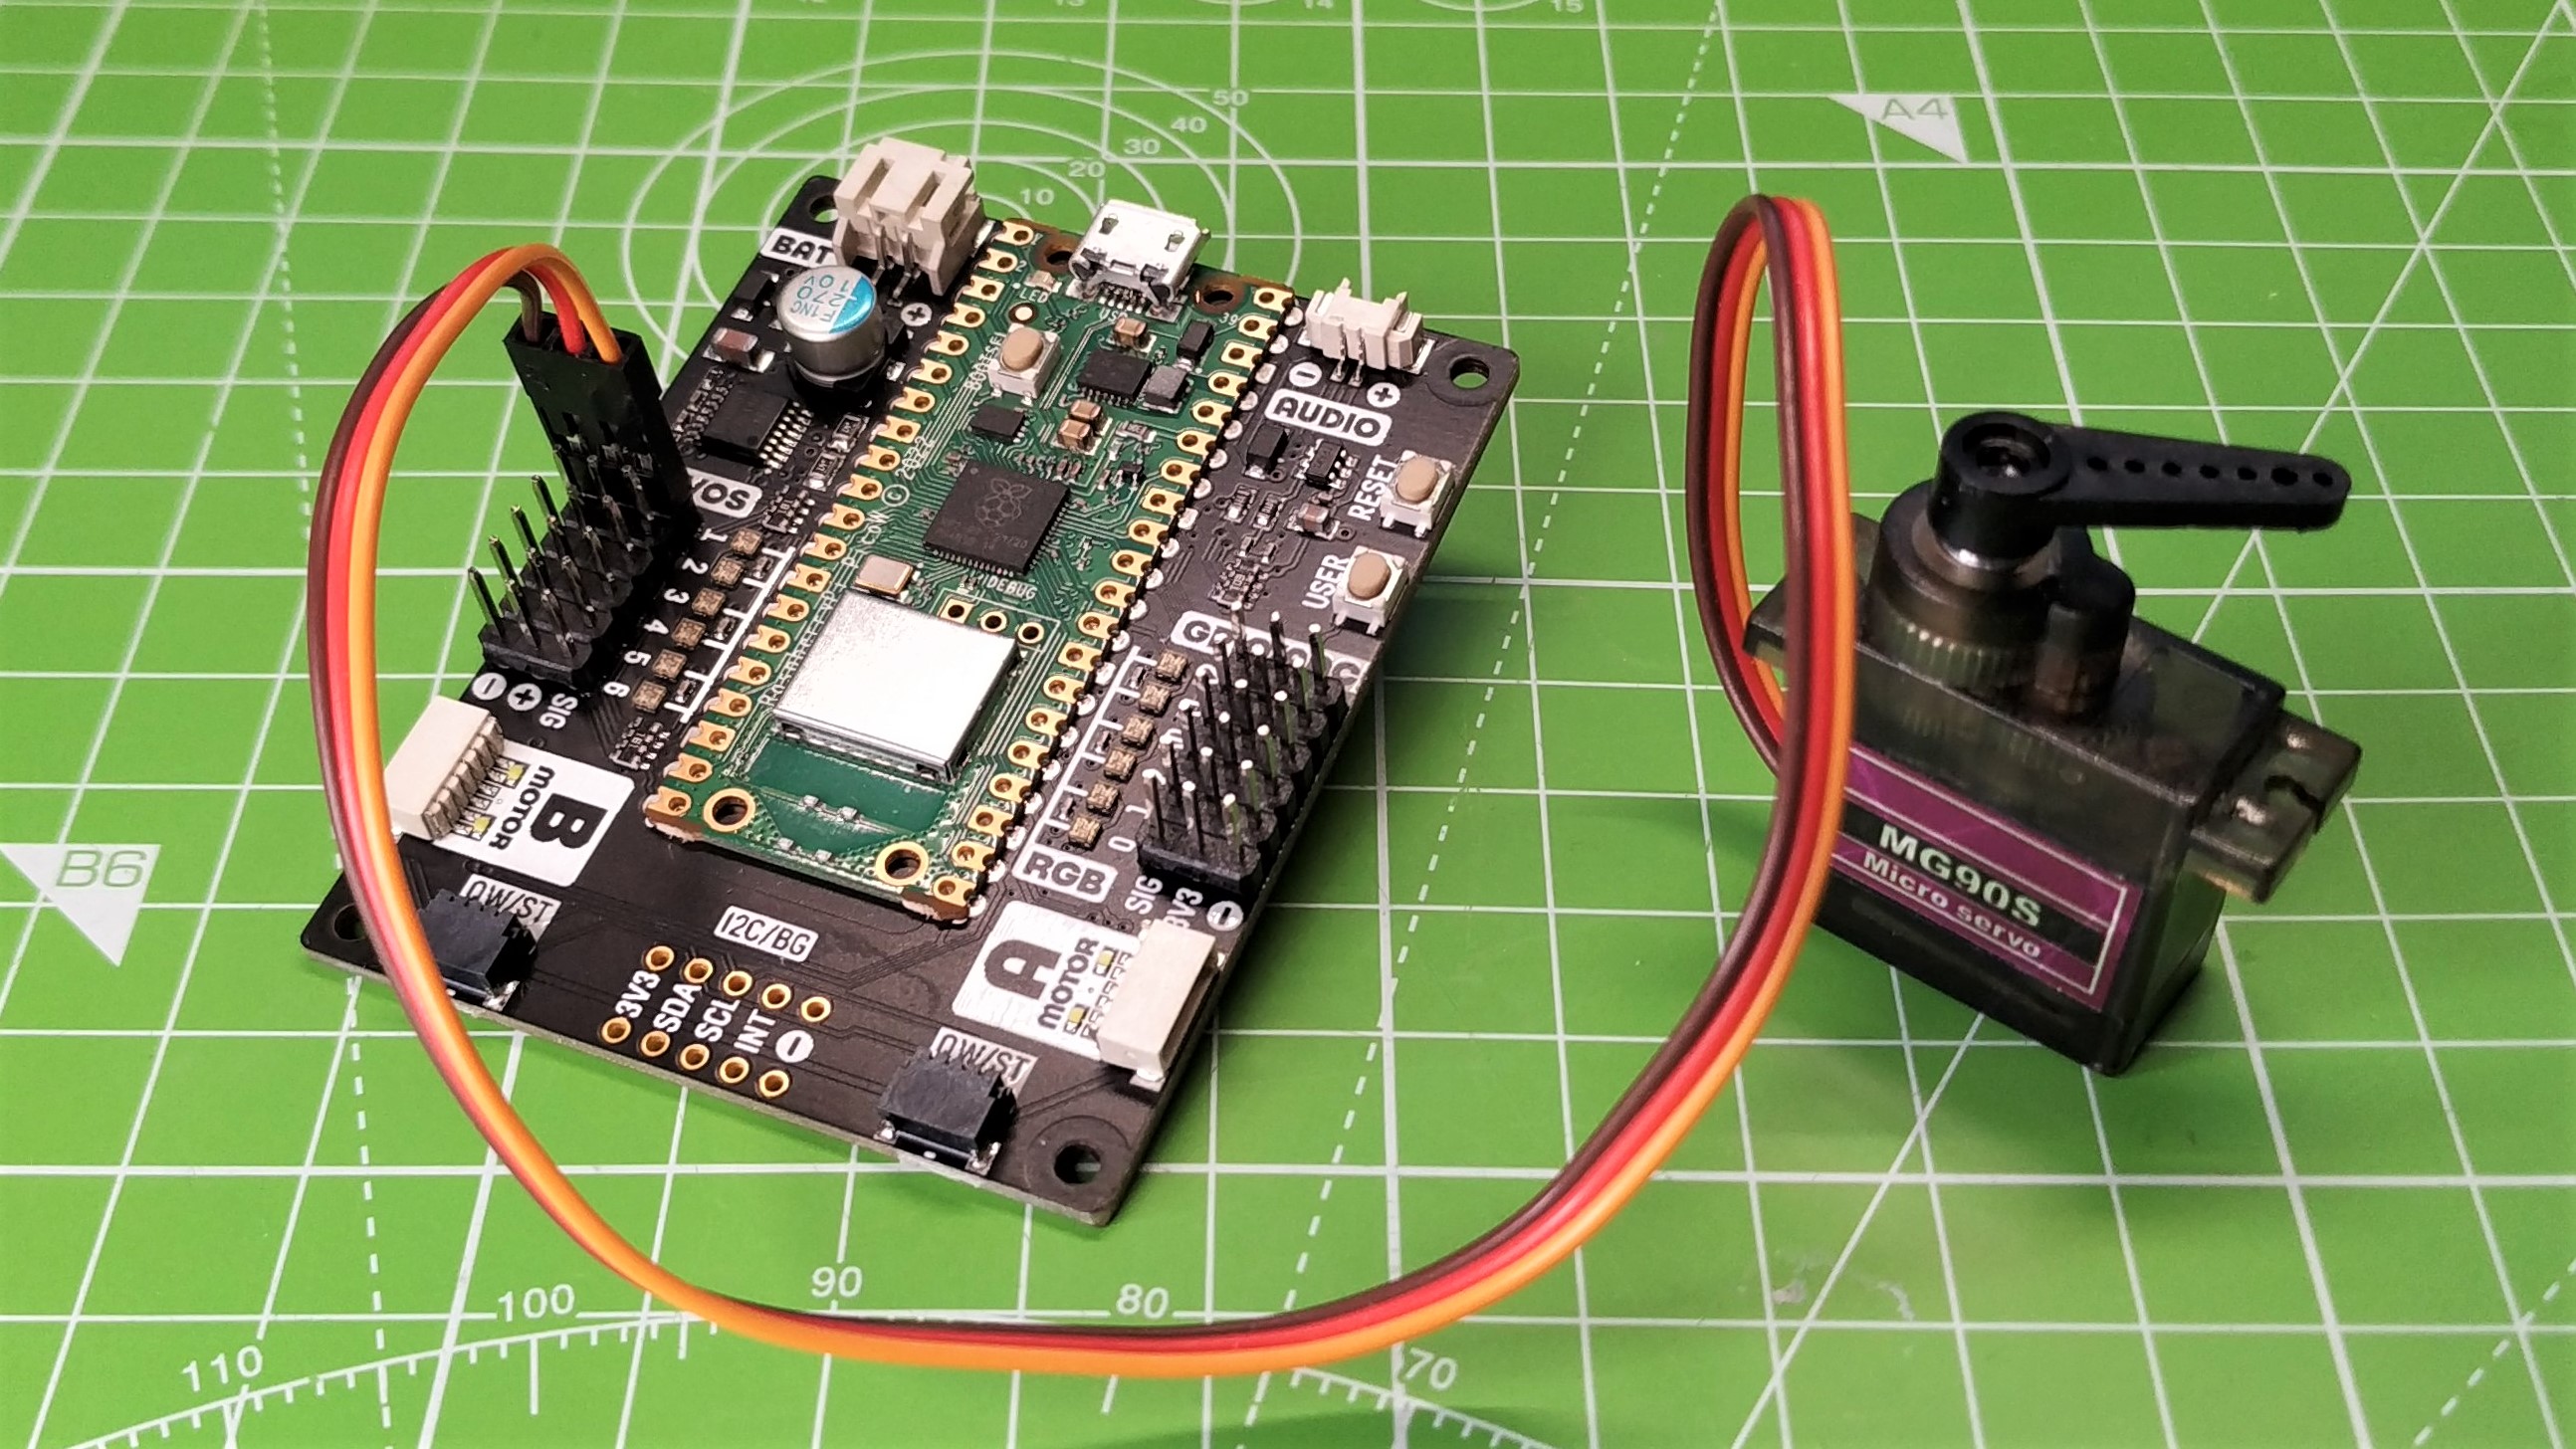
Pimoroni’s MicroPython release features an abstracted MicroPython module that makes short work of the board’s functions. Within moments we had precise control of an MG90S servo, colorful rainbows of RGB light, and even managed to play a few bars of a sea shanty on the audio output.
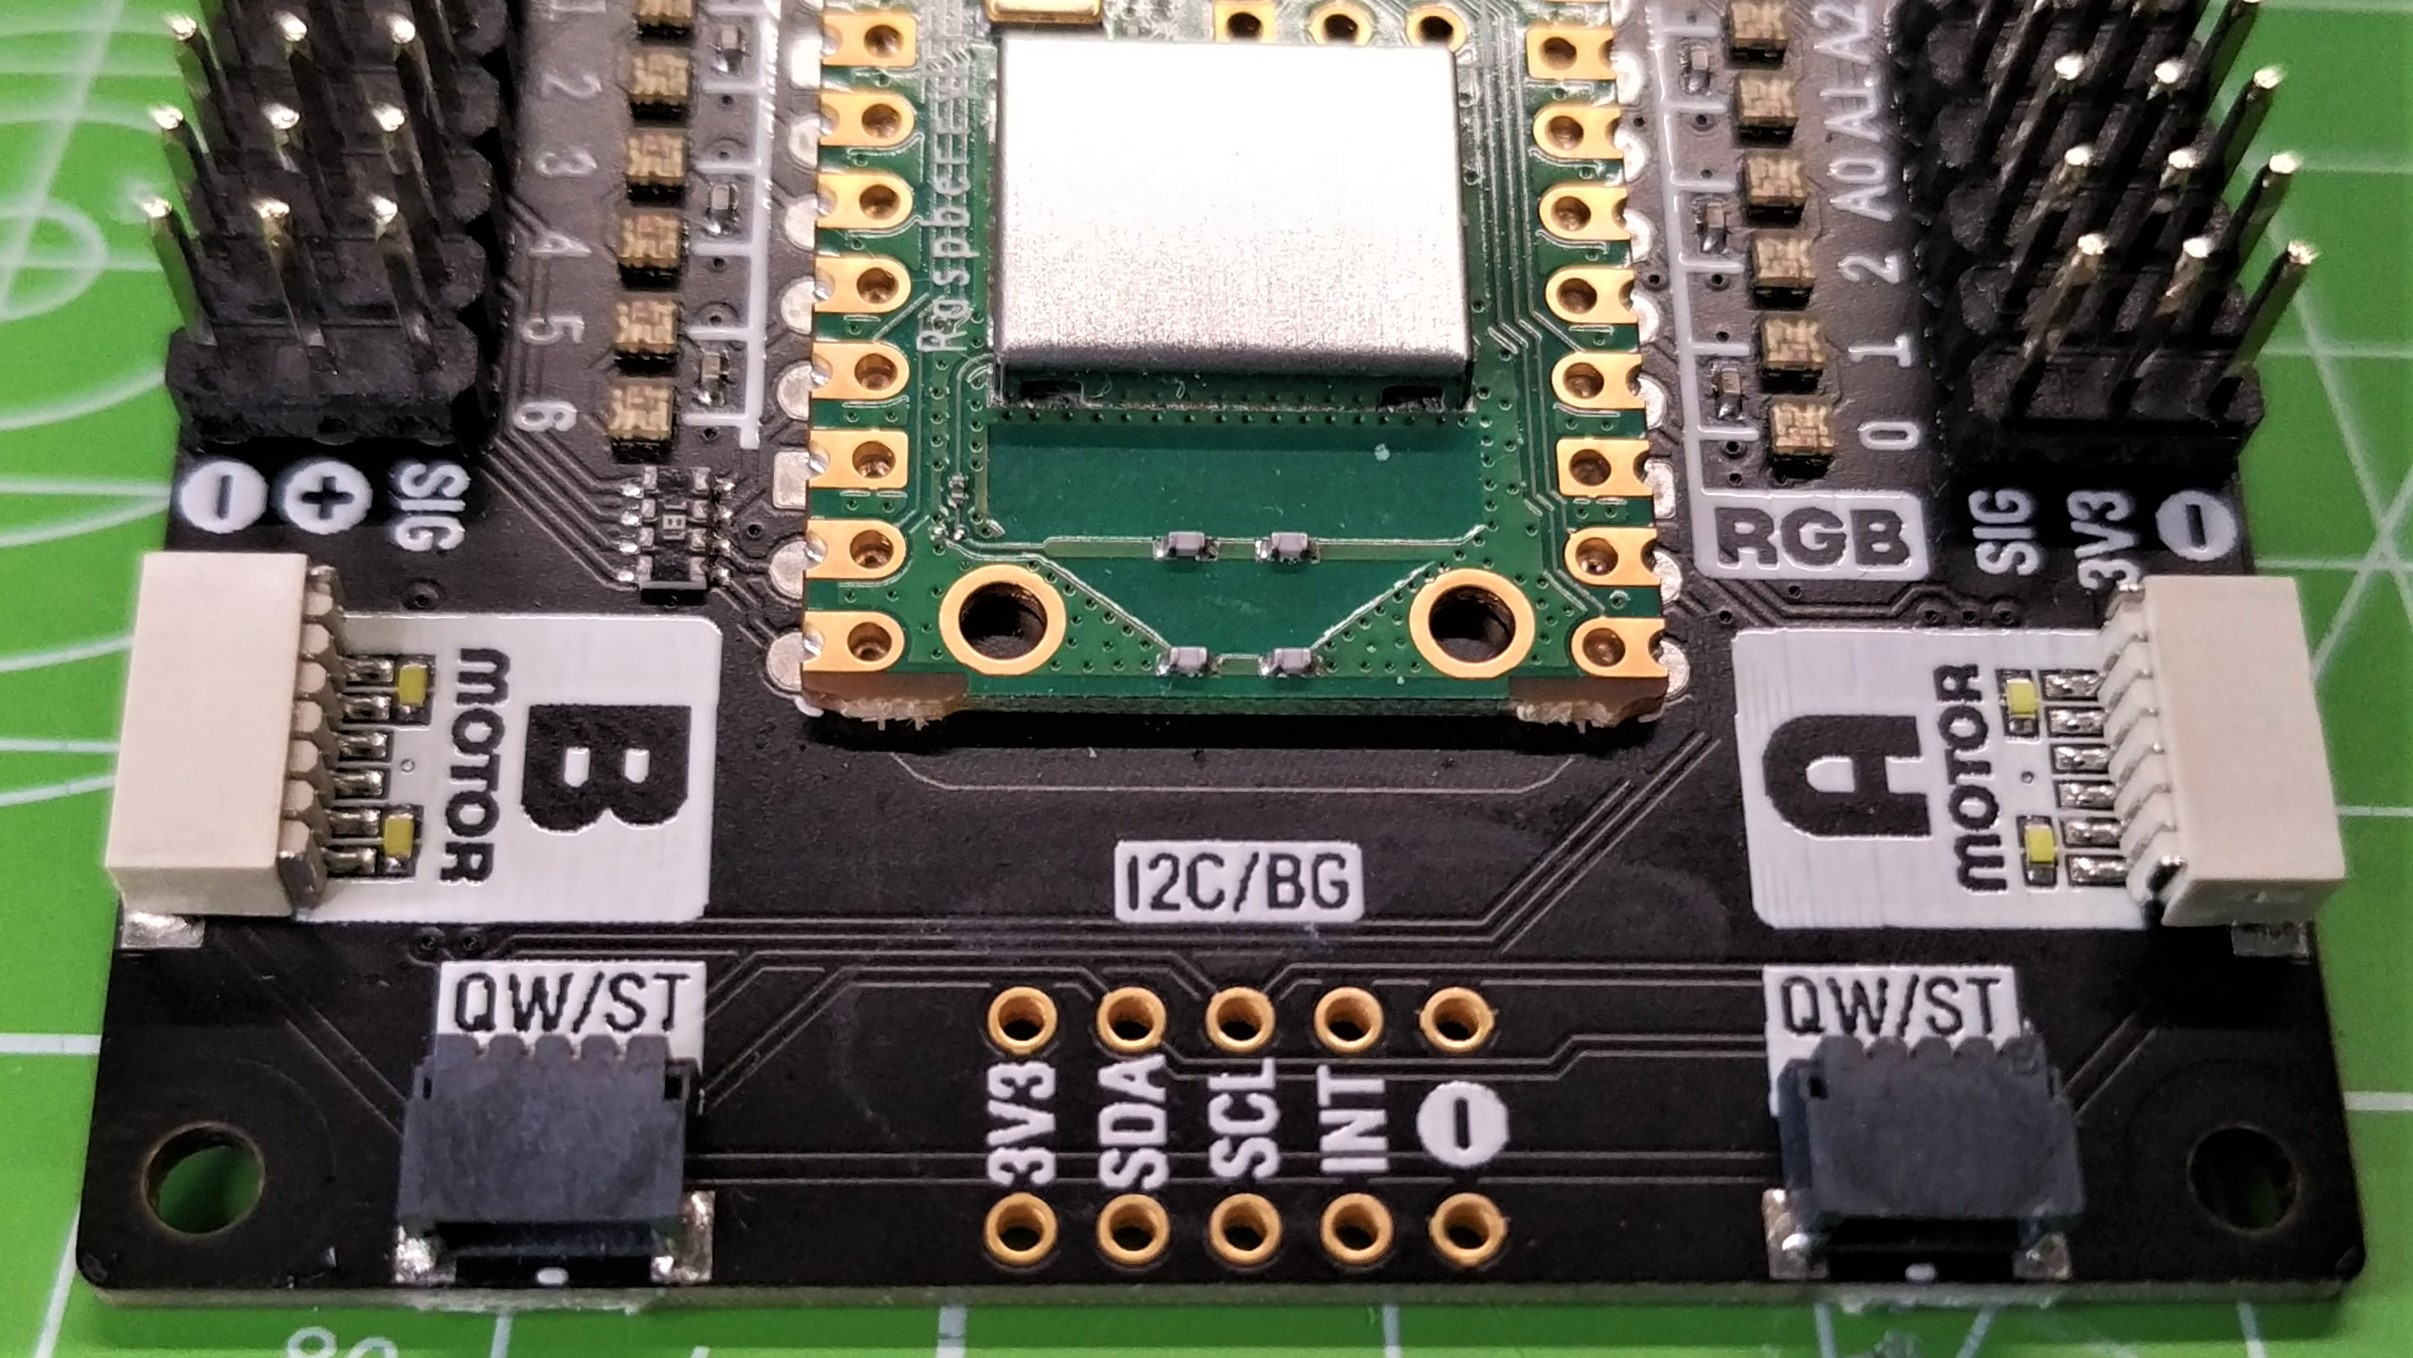
Controlling motors is a breeze, thanks again to a well-thought-out MicroPython module and a DRV8833 motor controller. There is a caveat to bear in mind. Motor compatibility is limited to DC motors using a JST-SH 6 pin connector, rather than a traditional two-pin breakout. Pimoroni adopted this standard for its Motor 2040 product, and it is by no means a deal breaker. This new connection is neater and easier to use. If you just want to plug and play. Buy these motors and you are off to the races. If you already have a stock of micro gear metal motors, then you can buy adaptor boards to convert two motors for around $7.
Get Tom's Hardware's best news and in-depth reviews, straight to your inbox.
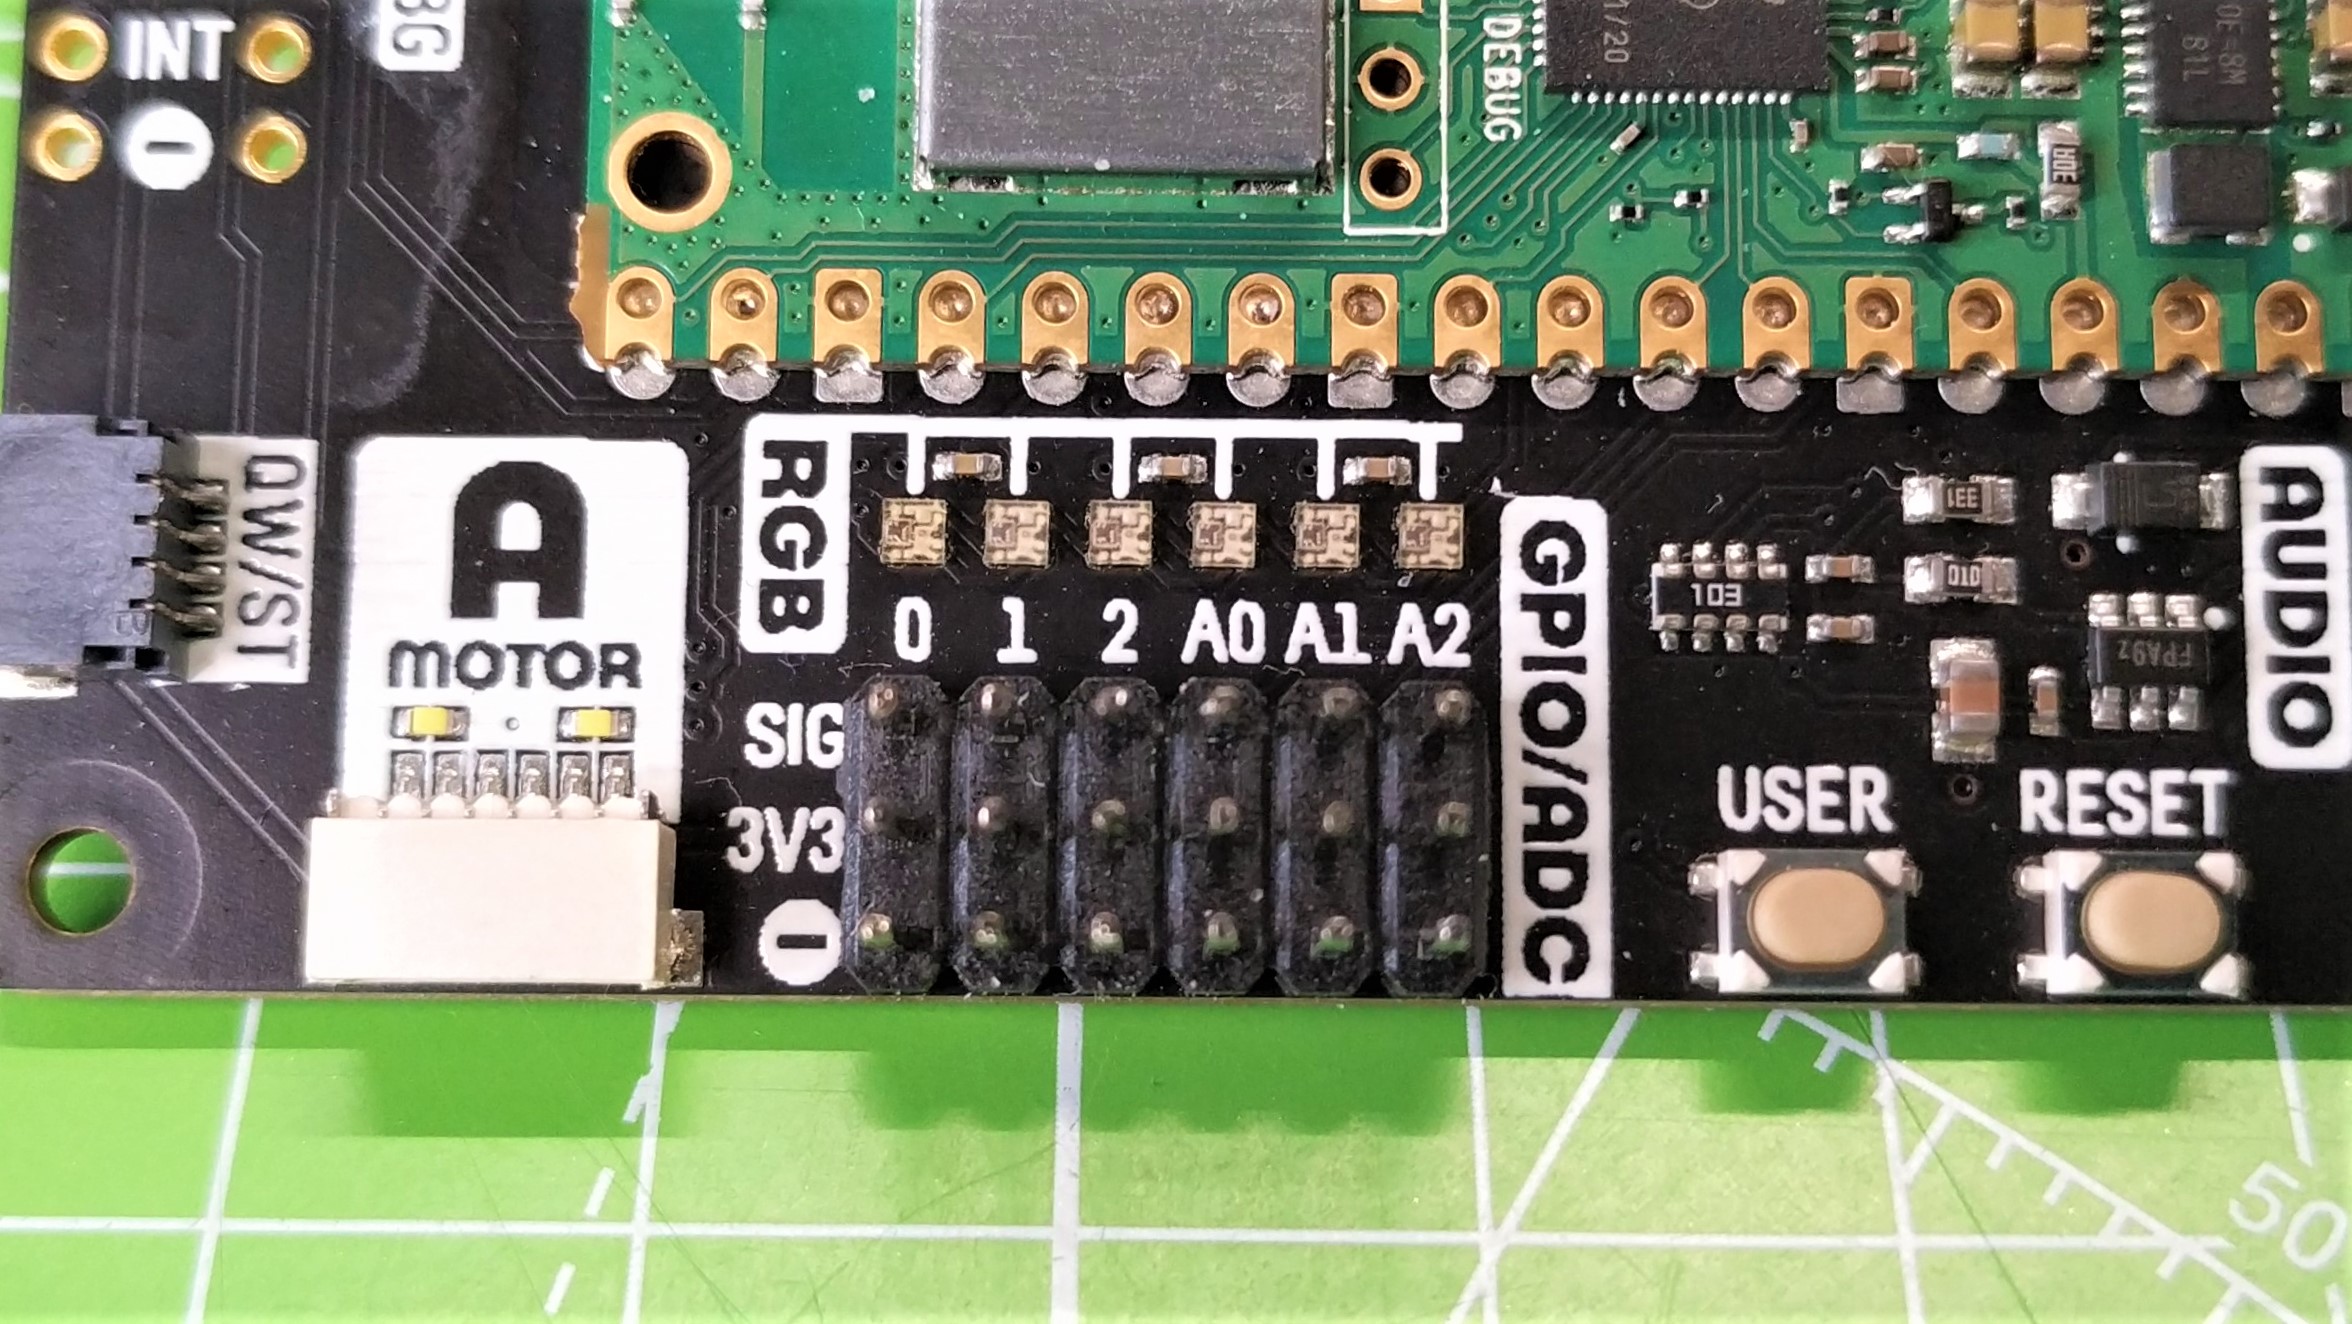
Servo breakouts are a more traditional three-pin SVG (Signal, Voltage, Ground) configuration. We can control up to six servos at once, enough for a robotic arm or an animatronic puppet. The same breakout configuration is used for the six GPIO pins, of which three are used for analog inputs. This configuration is useful, and gives each pin its own dedicated 3.3V and GND pin, reducing the need for a breadboard to create a common GND or voltage reference. We would’ve liked to have seen more GPIO pins, but after a quick conversation with Pimoroni we have been informed that all of the GPIO pins are being used, and it is not physically possible to breakout any more.
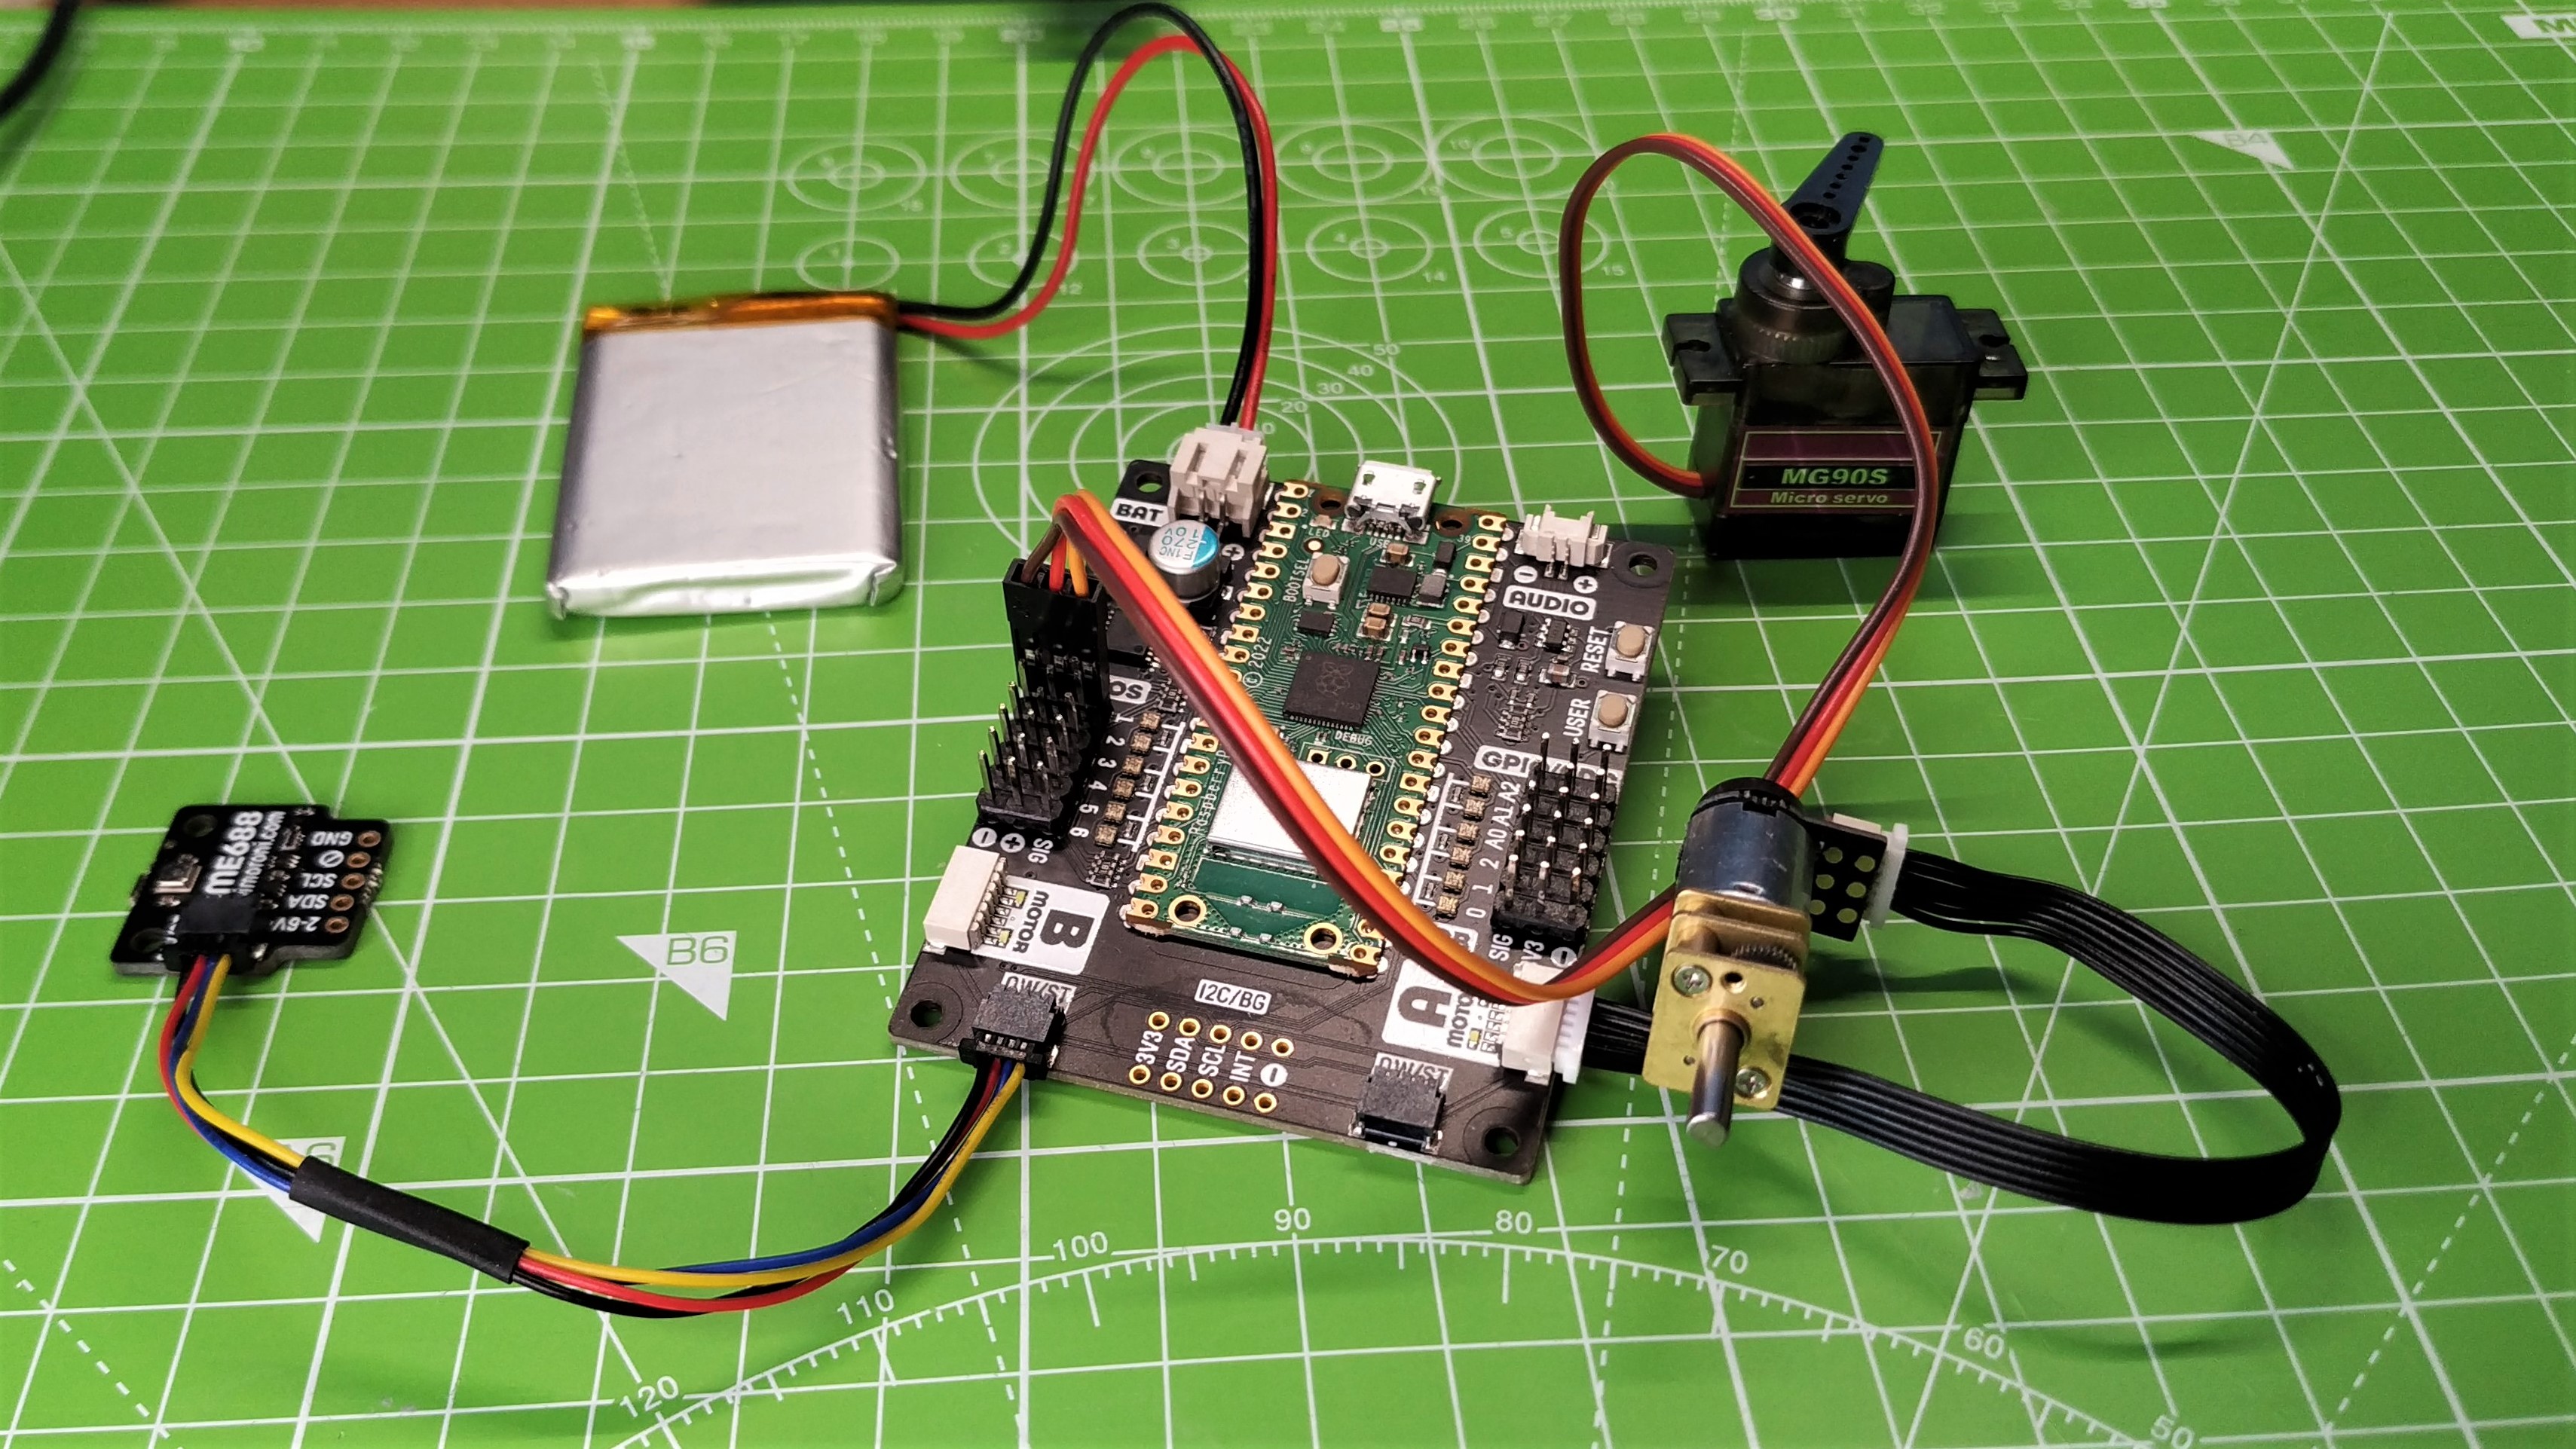
What if you need to connect sensors, screens, inputs? Luckily Pimoroni has added two Qw/ST connectors. This portmanteau of SparkFun’s Qwiic and Adafruit’s StemmaQT connection is essentially I2C in a neat package. We performed our usual test using a BME688 temperature sensor, and within moments we had live data streaming from Inventor 2040 W.
There are also unpopulated headers for use with Pimoroni’s Breakout Garden boards. These boards use I2C, just like Qw/ST, but use Pimoroni’s own form factor. Soldering the header requires an adaptor, designed for the Breakout Garden boards. Once soldered you are free to use any of Pimoroni’s breakouts in your projects.
In general use, Inventor 2040 W is powered via the micro USB port present on the Raspberry Pi Pico W. But what if you want to make your project portable? For this, we will need a battery and luckily Inventor 2040 W has a JST-PH connector for a compatible LiPo or AA / AAA battery pack. We tested with a 1,000 mAh LiPo battery, wrote a few lines of code to control a servo, and saved into “main.py,” which MicroPython executes on boot. We removed the USB lead, connected the LiPo and our servo sprang into life.
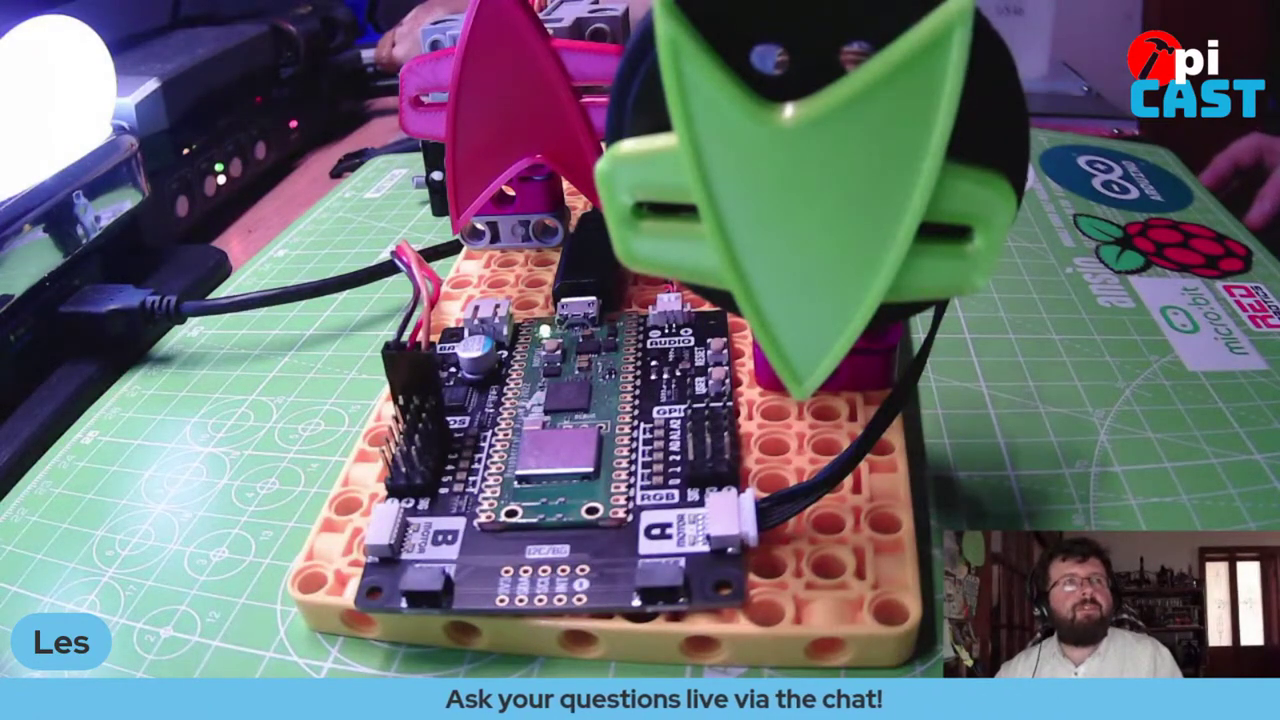
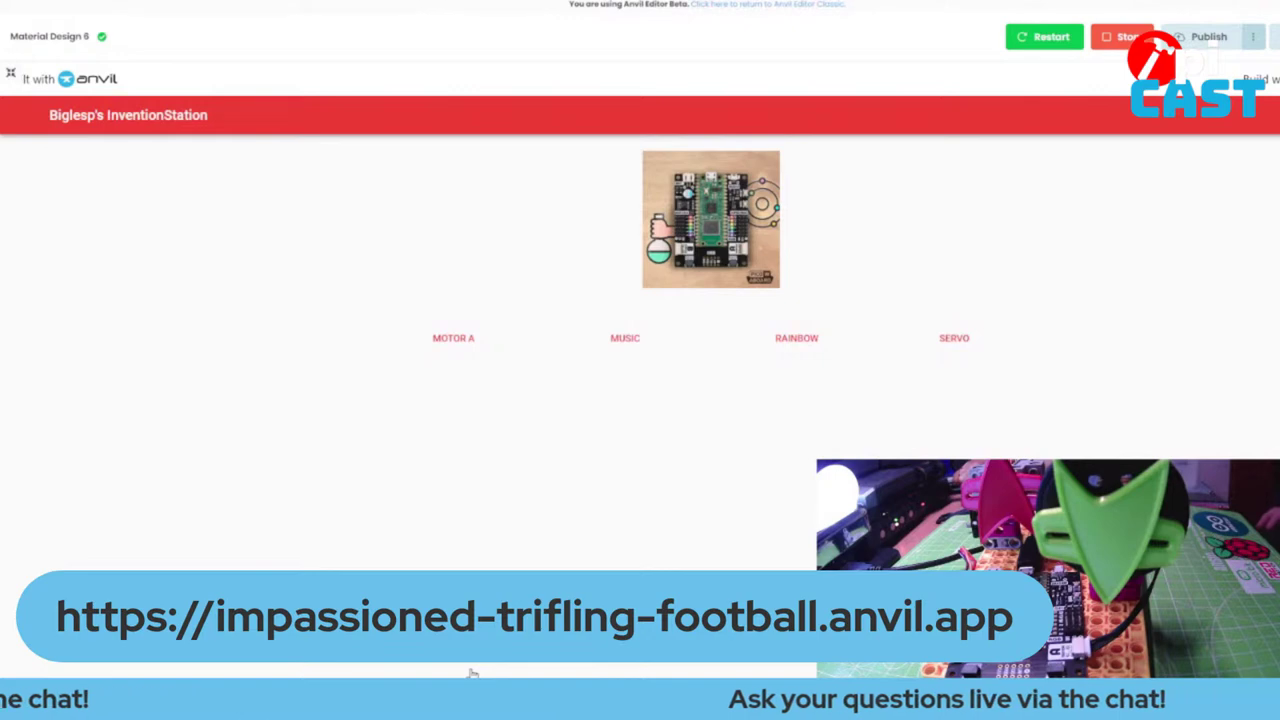
All of this functionality is great, but the heart of the board is the new Raspberry Pi Pico W, and we can confirm that it is incredibly simple to get online. The same five lines of MicroPython we used in our review can connect the Pico W to the world, and from there we are free to use services such as IFTTT to send data to Twitter, Google Docs etc. What if we want two-way communication? To create a means to control the servos, motors, LEDs and audio, we used Anvil. This required us to use the custom Anvil MicroPython firmware instead of Pimoroni’s. To use Inventor 2040 W’s functions we were happy to find that Pimoroni has a MicroPython module that we can install to the root of the Pico W drive. We can then use the functions as if we were using Pimoroni’s firmware. Using Anvil and the MicroPython module, we created a web interface to control the functions, even opening the app up to the general public on our live “Tom’s Hardware: The Pi Cast” show.
Who is Inventor 2040 W for?
Inventor 2040 W is the spiritual successor to the popular Raspberry Pi addon, Explorer HAT. It is a playground for learning: With the code abstractions and easy-to-use interfaces, we can put this in front of a learner with minimal instructions, and watch what they create. Learners and educators will benefit the most from Inventor 2040 W, but this does not discount the rest of us. Makers of all levels and abilities will appreciate the simplicity of a well-made board and accompanying software, and Inventor 2040 W meets both of these criteria.
Bottom Line
Inventor 2040 W is an apt name. With this little board, we can invent new projects, safe in the knowledge that the simplicity afforded to us will help our creations come to life. Think of it as a means to explore and test new ideas for a product. For educators, you get plenty of features with very few wires, helping your learners to get to grips with electronics. We like Inventor 2040 W, and we can see it being used in many different projects.

Les Pounder is an associate editor at Tom's Hardware. He is a creative technologist and for seven years has created projects to educate and inspire minds both young and old. He has worked with the Raspberry Pi Foundation to write and deliver their teacher training program "Picademy".
