Team BlackSheep Discovery Pro: Building A $3000 Quadcopter
Is it any surprise that PC enthusiasts also dabble in other technology-driven hobbies? Our editorial team recently purchased a high-end quadcopter to gauge the accessibility of first-person-view flight. Follow along as we build and critique the process.
Weighing In On TBS’ Discovery Pro
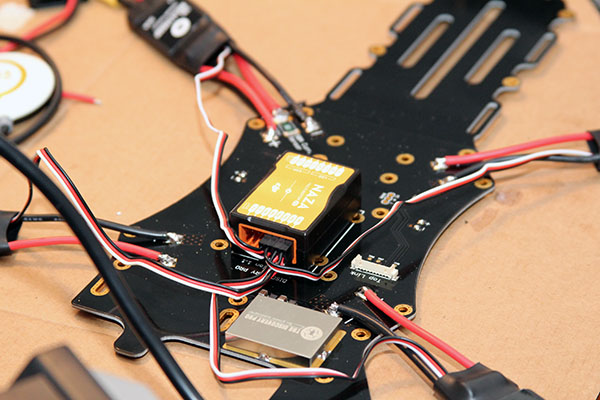
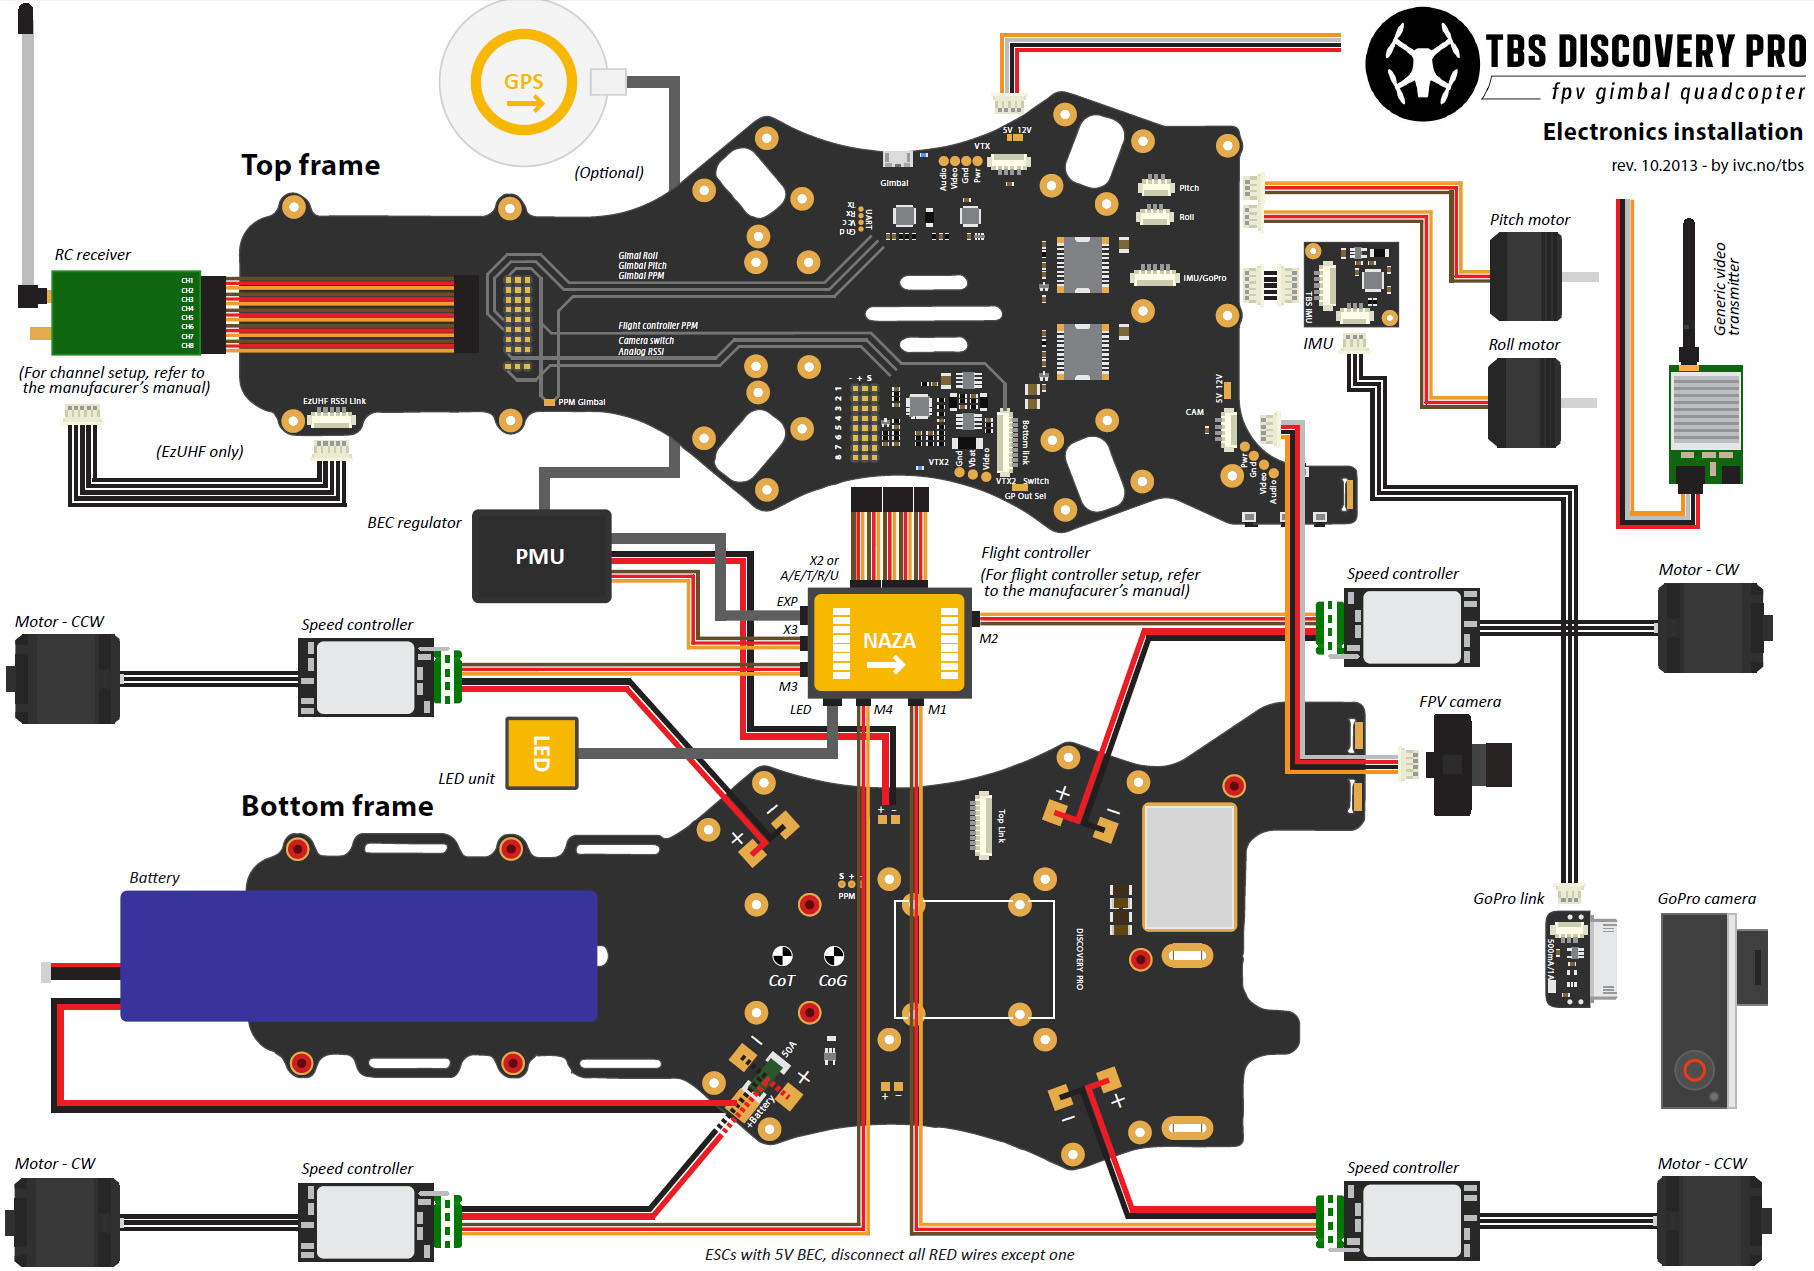
Perhaps more relevant is a commentary on TBS’ package and presentation. The Discovery Pro really cannot get any more base—after all, it shows up as a couple of black fiberglass boards, screws, frames and the modular components you can buy separately on the company’s website. It’s a lot like a PC in that way. And yet, a lot of steps are taken to simplify the build, yielding a cleaner finished product. Much of the quad’s wiring is built into the frame, so power distribution and certain control signals only jump from bottom to top through one connector cable. TBS’s CORE on-screen display and current sensor come integrated, so there’s no need to solder and shield those components yourself. And although TBS took quite a bit of heat at one time for leaving out odds and ends like screws and straps, the latest iteration is quite complete.
The CORE module is the one piece of circuitry TBS secures in place prior to shipping. It conveys vital statistics about your quadcopter over the pilot camera video feed. You’ll find a great many options for third-party OSDs, but there appears to be a consensus that CORE covers the basics, including flight pack voltage, mAh consumption, a flight timer, and R/C signal strength. Fancier alternatives might enable distance meters, home indicators and flight tracking, but of course those aren’t necessities. In fact, some enthusiasts consider them distractions. By exploiting the EzUHF OSD Link built into the Discovery’s top frame, it’s easy enough to extract additional uplink information without any special configuration. That data is piped straight to the CORE through on-board traces.
I can imagine a past when you had to pay close attention to the voltage output of your battery and the quad’s cumulative current draw. But not once was this an issue for me. TBS preconfigured my frame for 5V, and I attached all of the kit’s components using bundled cables. This is part of why I went with TBS’ package to begin with—knowing that the hardware is vetted for compatibility takes guesswork (and math) out of the pre-purchase research. Moreover, if you do decide to deviate from the path most traveled, a trio of buttons facilitate easy navigation of the CORE’s menu system through your FPV goggles or groundstation, which you can use to change TBS’ default settings.
One feature not enabled from the factory is PPM support for the gimbal. Adding a solder bridge between two pads on the top plate fixes that. And, when everything was said and done, I had eight channels streaming sequentially through a single header as a result.
Based on the degree of integration, this is clearly the product of much learning and experience. As a frame, the Discovery Pro is excellent—a complementary challenge for anyone who considers themselves a PC enthusiast. One of my only complaints concerns the grub screws holding the tilt motor in place—they don’t grip the motor shaft tight enough, so any time the gyroscope fights an opposing force, enough play is introduced to require retightening. Overall I seemed to have more trouble than most getting the gimbal communicating and calibrated. Fortunately, TBS hosts a helpful FAQ section that addressed the toughest issues. And a number of forum posts solved the rest.
The Software Side Of TBS’ Discovery Pro
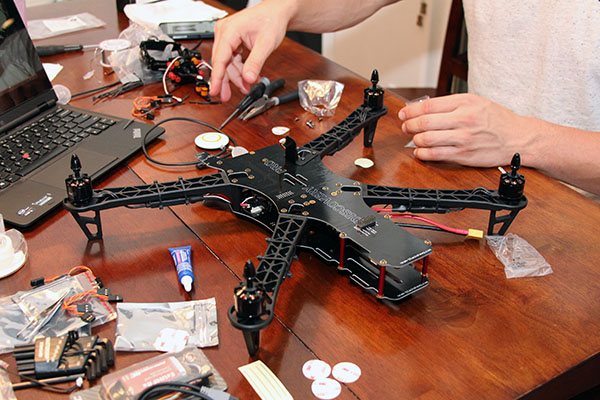
What caught me most off-guard was the abruptness with which TBS’ Discovery Pro manual ended. I sat at my kitchen table with an assembled quad-copter and no real idea what to do next. I should have known better, but I assumed that the kit I purchased would come with guidance that’d flow together cohesively from start to finish. Instead, I found myself hitting forums, flipping through other manuals and copying the work of those who went before me.
Again, this is something greatly improved today by instructional videos, which better-connect the construction process and software-based configuration. At the time, though, I struggled to set up the highly-programmable FrSky Taranis, which worked through the EzUHF receiver and interfaced with DJI’s Naza—each component complemented by its own software utility. Getting video output from the 69 FPV camera was far easier, though I ran into another roadblock trying to stabilize the gimbal’s chattering motors. Overwhelmed by the handful of knots left to untie, I set the project aside for a couple of weeks and regrouped.
Get Tom's Hardware's best news and in-depth reviews, straight to your inbox.
It helped to mentally break the pieces down into subsystems and tackle each on its own. Most of the hardware is installed in a logical order as part of the frame construction process. However, the build is more about working around tight spaces rather than dialing in specific functions from start to finish. So the final bit of finessing requires a different approach.
Current page: Weighing In On TBS’ Discovery Pro
Prev Page The Build: Are We Ready For This? Next Page Remote Control: FrSky And ImmersionRC


