Turning Your Printer Into A Paper Shredder (On Purpose)
Testing And Configuration
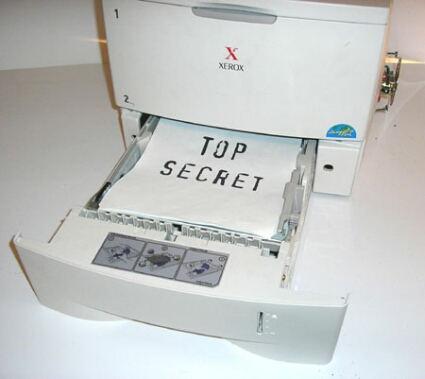
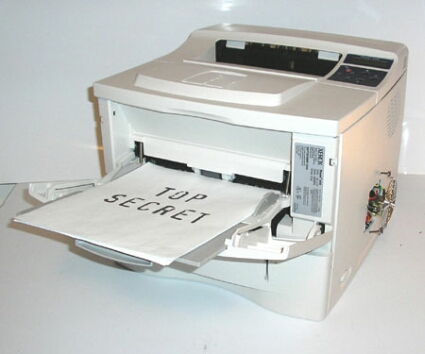
The testing phase of this build is really fairly straight forward. We loaded the printer with all our "Top Secret" documents... you know the type... secret government projects, or our tinfoil hat patterns, some alien autopsy documents, and our report cards from the eighth grade.... Anyhow, using the switch we installed in the rear for the solenoid control (remember the glorified LED flasher?), select the lower tray and press the power button. If you have tested this right, it should work without a hitch. Now, depending on how you constructed your solenoid controller you may also have a variable resistor instead of a fixed speed. This is the time to really tune the printer and make sure you are feeding at a rate the shredder can handle.
With the printer feeder selector in the upper tray mode, load the upper tray with up to 100 sheets of paper and make sure it feeds appropriately. Now, we found that the feed rate is a bit different with upper feeder selected, and I am sure this is similar on other printer types. We used a different resistor to set the pulse rate a little slower and it worked well. If you are using the variable resistor model, now is a great time to give it that little tweak.
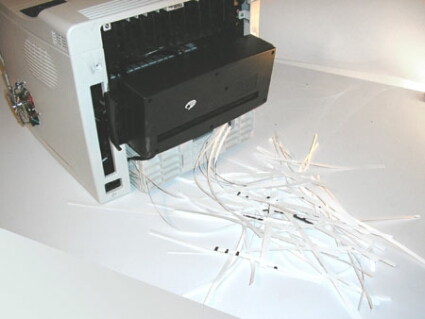
So there is the output. One item we failed to include in this build was a bagging system. We actually used a large 60 gallon trash can as ours, with a sheet of plywood as a table top, and a hole into which the paper falls. I don't recommend attaching a bag to the paper shredder directly, as it does get rather warm in extended operation. But left unattended at 25 pages per minute, it really gets the job done. So you can move on to the important task of creating more of the documents that will see the anti-printer in a few more days.
Get Tom's Hardware's best news and in-depth reviews, straight to your inbox.
Current page: Testing And Configuration
Prev Page Assembly And Fabrication, Continued Next Page Conclusion

