
Alongside the recent launch of the 8GB Raspberry Pi 4, there was another announcement, a new 64-bit operating system currently in public beta. On face value, this new operating system looks just like its predecessor, Raspberry Pi OS (formerly known as Raspbian). But under the hood we have a more powerful operating system that will offer a performance boost over 32-bit systems on any modern Raspberry Pi.
Despite looking identical to the 32-bit version, there is one application that is missing from the new Raspberry Pi OS 64-bit install, and that is a VNC server, which can be used to remotely control the system desktop, perhaps as part of a headless Raspberry Pi setup. Yes, you can remotely get a terminal window in the 64-bit OS using SSH, but what if you want to get to the GUI from your PC or Mac?
RealVNC comes preloaded on the 32-bit Raspberry Pi OS and has for many years, but at the time of writing, their VNC server isn't available on the 64-bit platform. Fortunately, there's an alternative in TightVNC. Here's how to use it.
Before You Get Started
For purposes of this tutorial, we'll assume that you already have a Raspberry Pi 3 or 4 running Raspberry Pi OS (64-bit), which is currently in beta. If you want to try the 64-bit beta and haven't already, you can download it from here.
How to Install VNC on Raspberry Pi OS (64 bit)
1. Open a terminal window either directly on the Raspberry Pi or by connecting remotely via SSH.
2. Update the list of available software for the Raspberry Pi by typing:
sudo apt update3. Install tightvncserver by typing:
sudo apt install tightvncserver4. Start the TightVNC server at 720p by typing:
tightvncserver -geometry 1280x7205. Create a password to use the VNC session, set this to be the same as your pi login. There is no need to set a view only password.
The Raspberry Pi has now started a VNC server session at raspberrypi.local:1 remember this address as it is needed later.
6. Download and install the RealVNC viewer for your operating system from RealVNC.com.

7. Open the VNC Viewer on your PC or Mac and type in the address of the Pi, in this case raspberrypi.local:1 and press Enter to connect.

8. Click continue if you encounter a security warning.

9. Enter the VNC password and click OK.

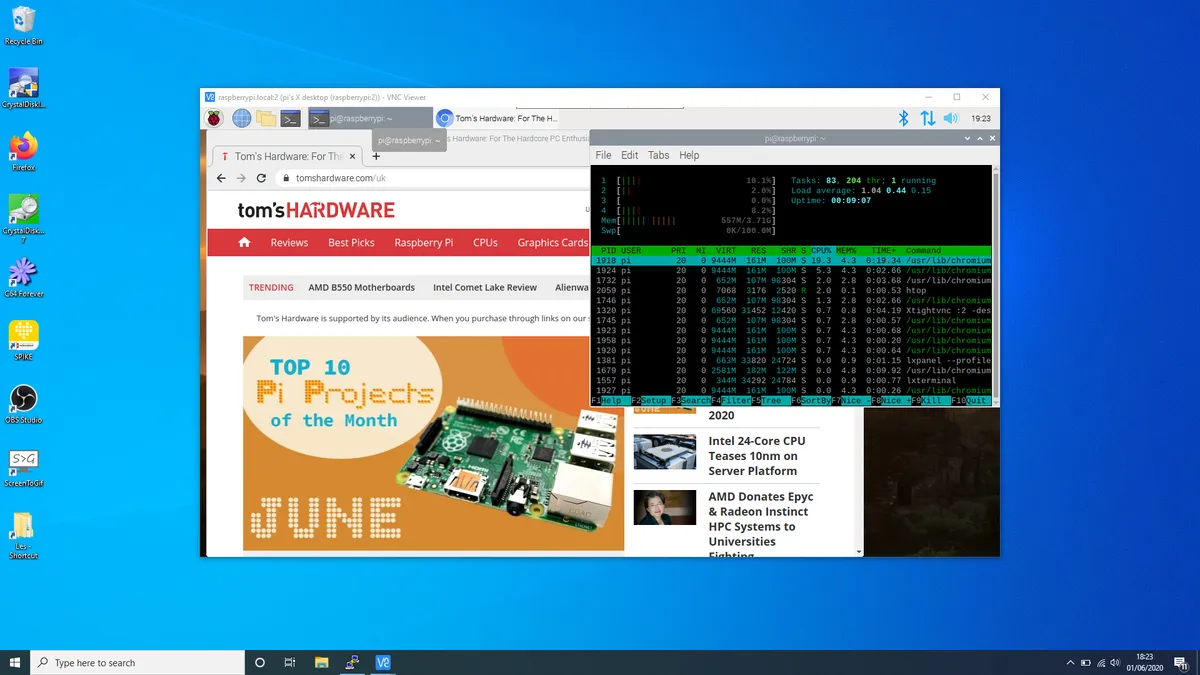
10. You can now control your Raspberry Pi remotely.
11. Edit crontab via a Terminal to start tightvncserver on boot
sudo crontab -e12. Add this line to the bottom of crontab.

@reboot su - pi -c '/usr/bin/tightvncserver -geometry 1280x720'
13. Press CTRL + X, Y then Enter to save and exit. Now when the Pi is booted up, the VNC server will start.
