MSI H310M Gaming Plus Motherboard Review: Affordable Basics
Why you can trust Tom's Hardware
Software and Firmware
MSI motherboards include a long list of software designed to maximize the features of the company’s hardware. Like other board partners, there is a mix of monitoring and overclocking tools, gaming applications, audio suites, as well as App Manager software.
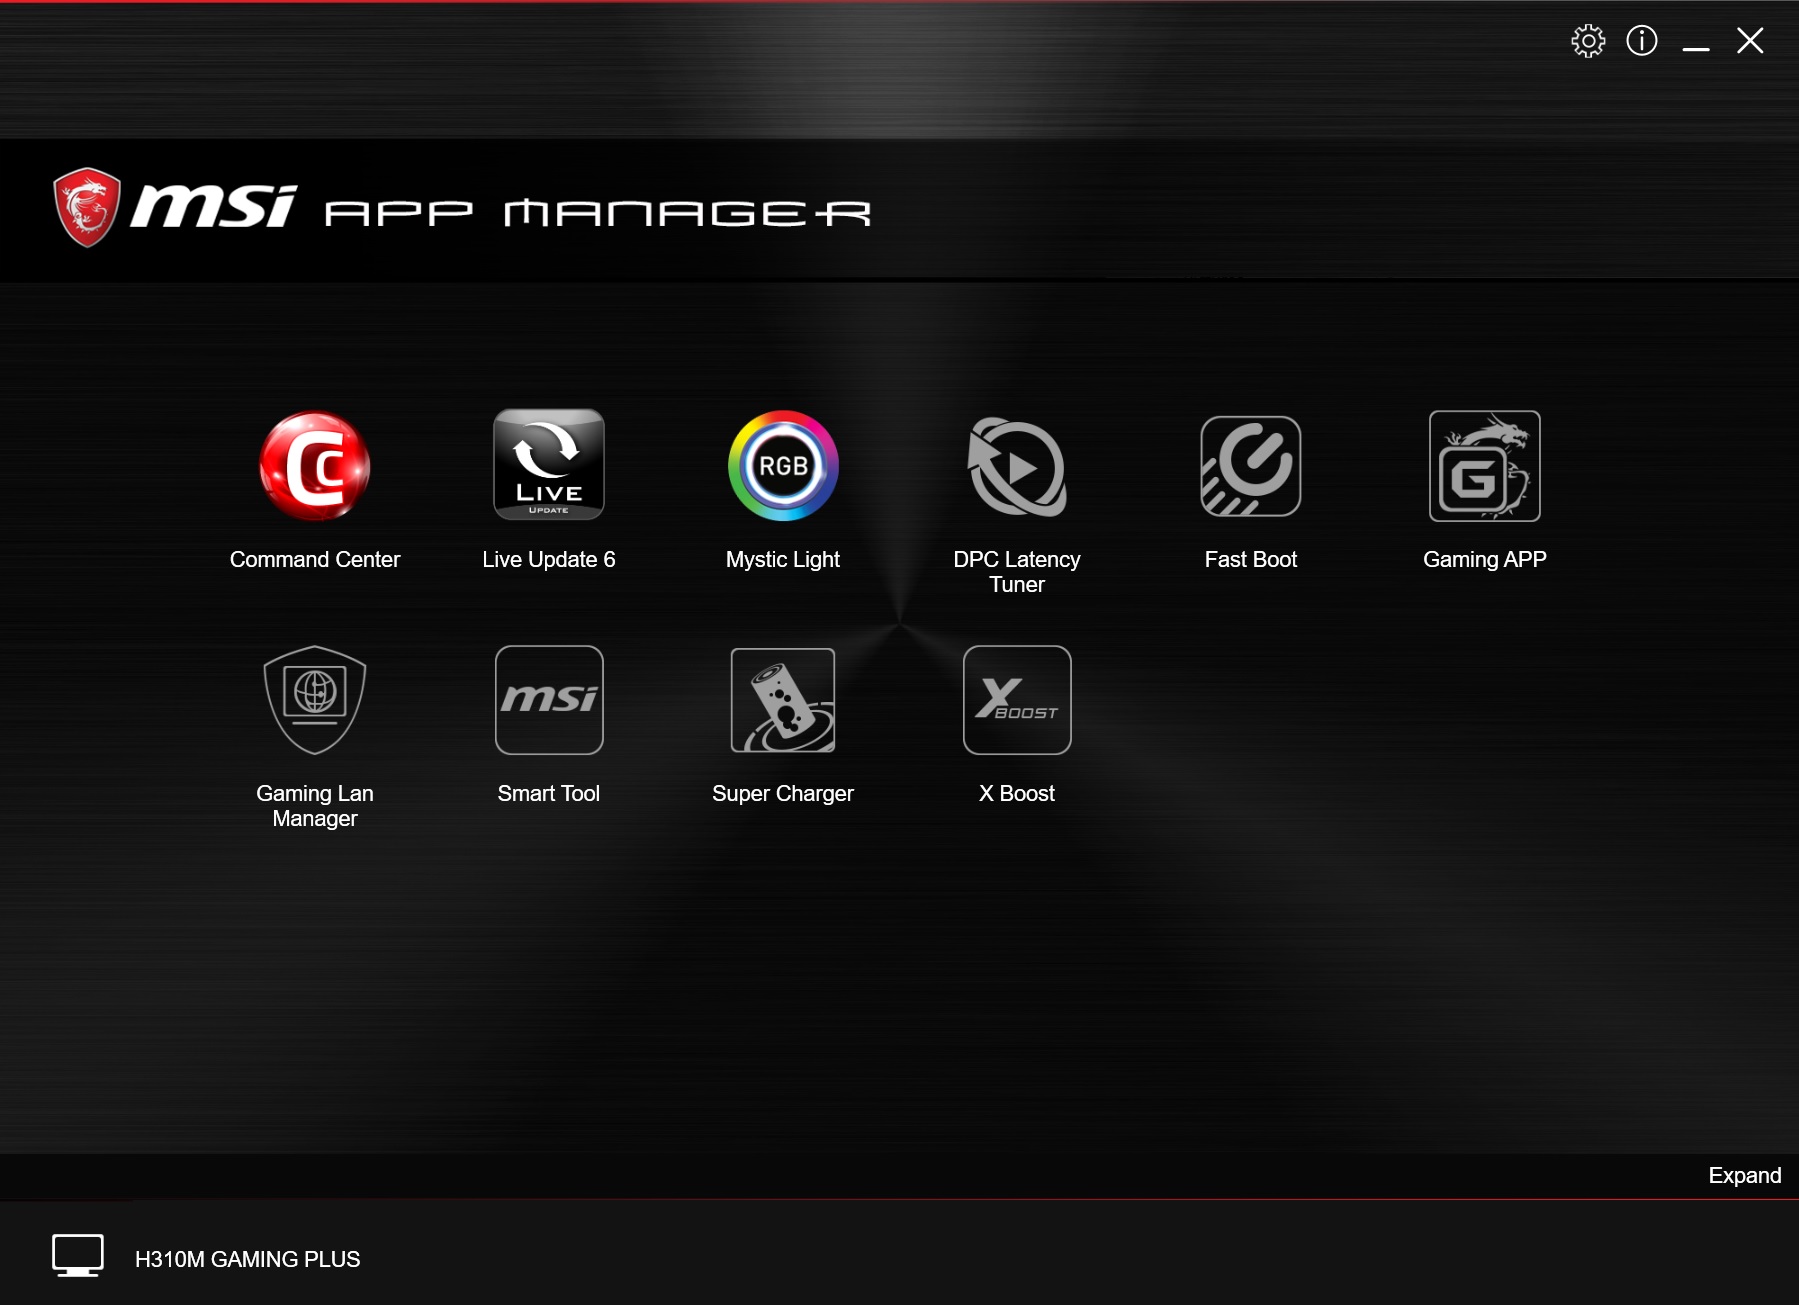
MSI’s App Manager presents users with a dashboard listing the major applications, including the Command Center, Live Update 6, Mystic Light, Gaming APP, Gaming LAN Manager, and more. While connected to the internet, simply click on the icon and the application will be downloaded and installed on your system.
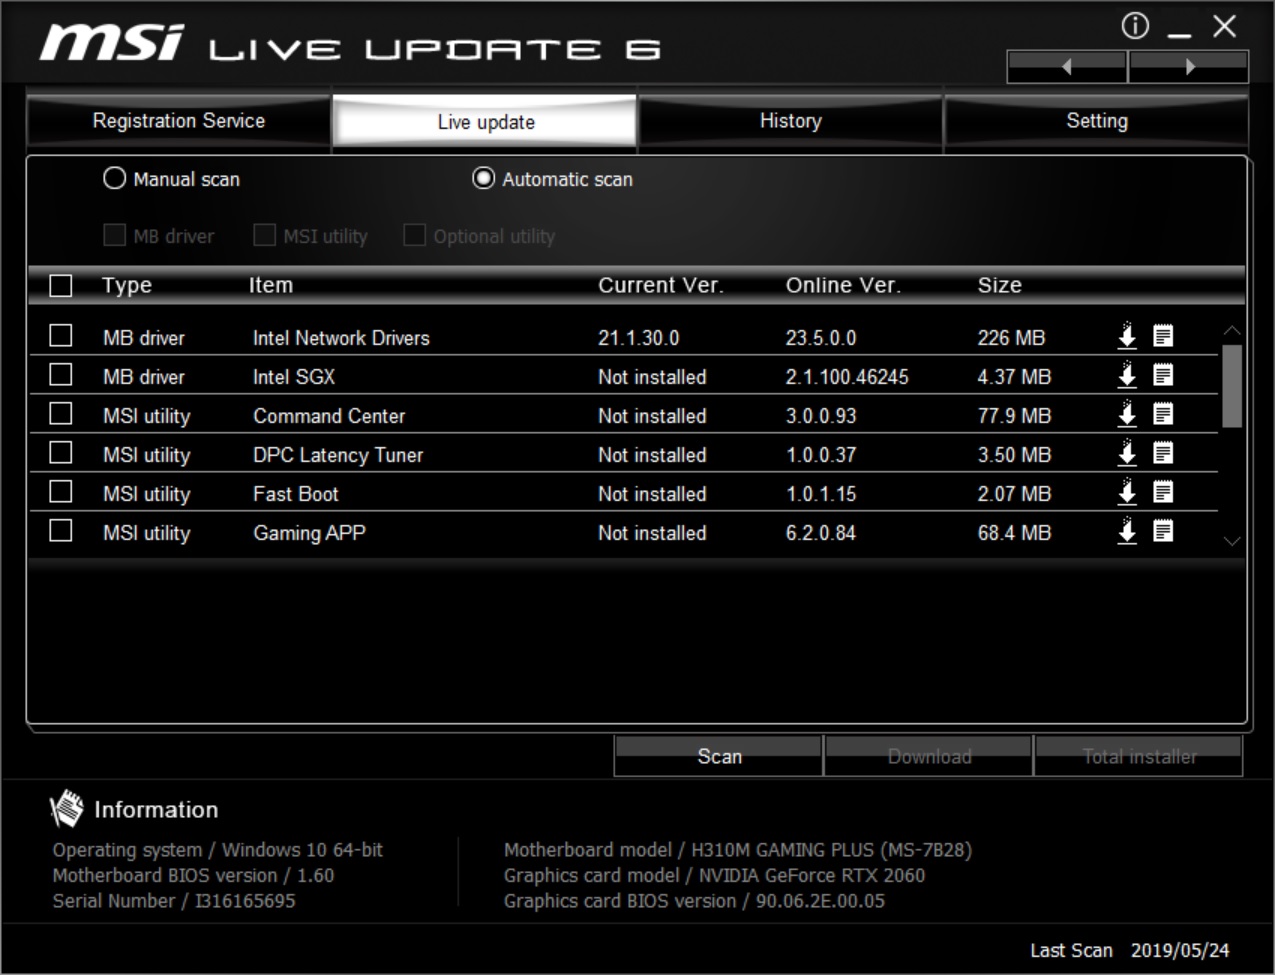
The Live Update 6 application serves as a complementary piece to the App Manager where the update application is able to scan for and update software, drivers, BIOS, and other firmware. The intuitive app will periodically scan (once a week by default) the MSI site for the latest versions and notify the user id there’s a new update available.
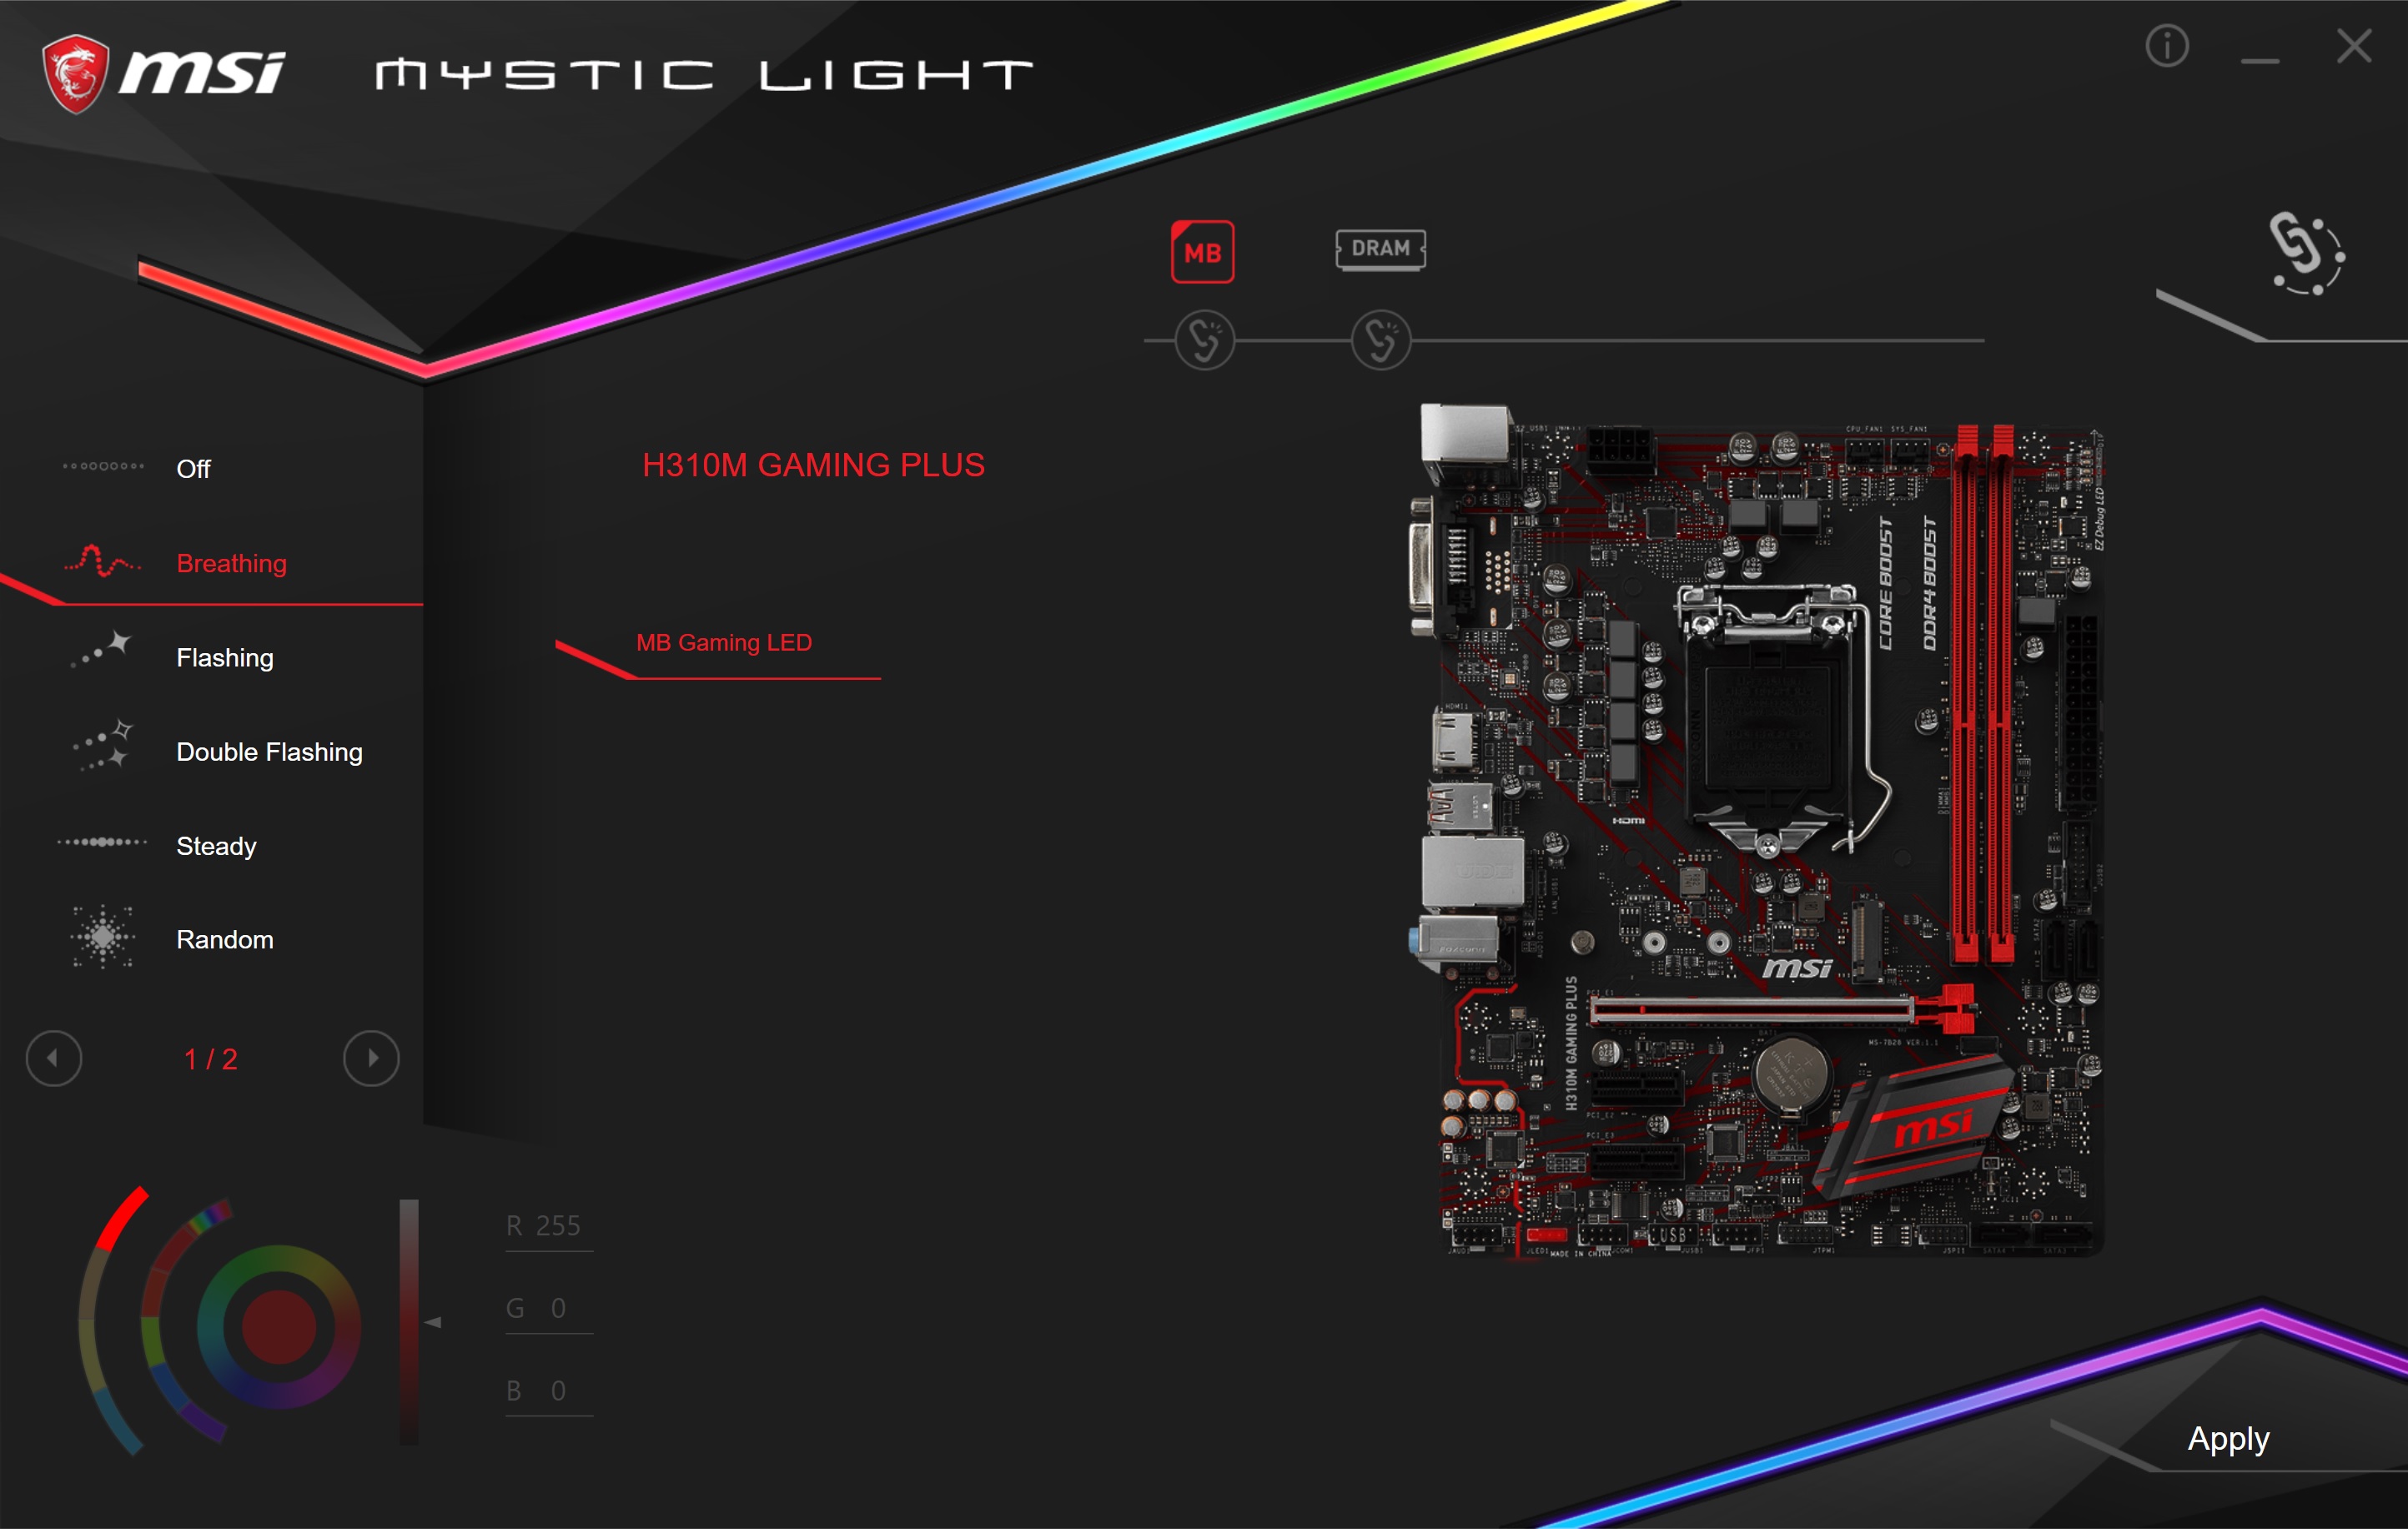
Although the H310M Gaming Plus does not include RGB LEDs, you are able to control how the red LEDs are displayed through the Mystic Light 3 application. If you have any other devices attached to the motherboard through the RGB header (or compatible RAM, etc.), the application will control any Mystic Light supported devices also.
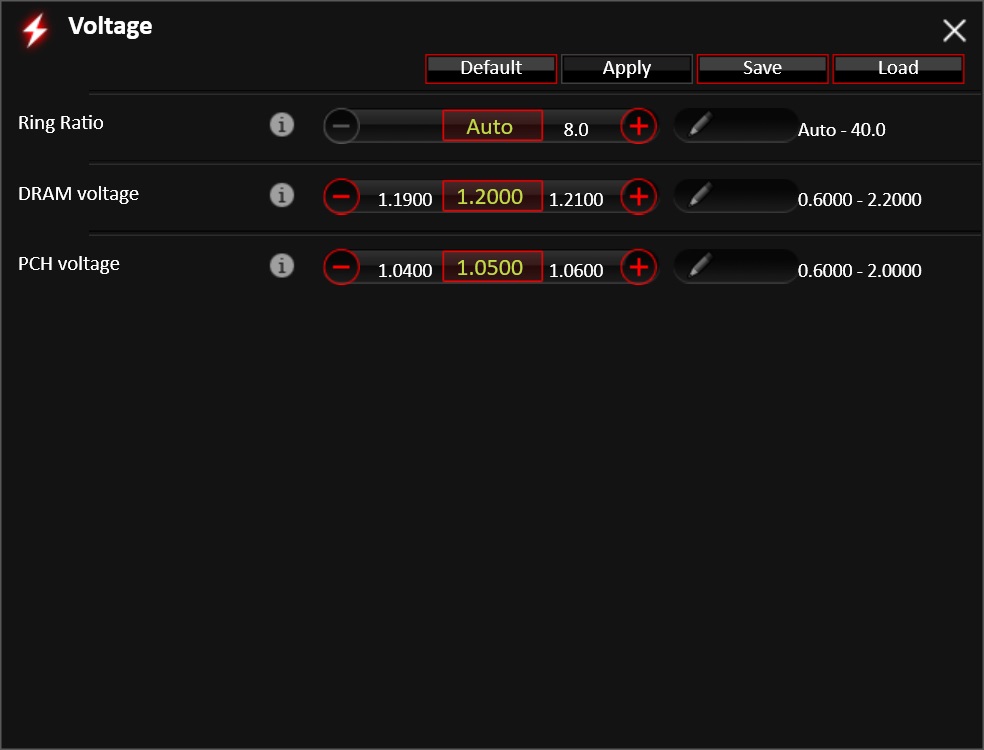
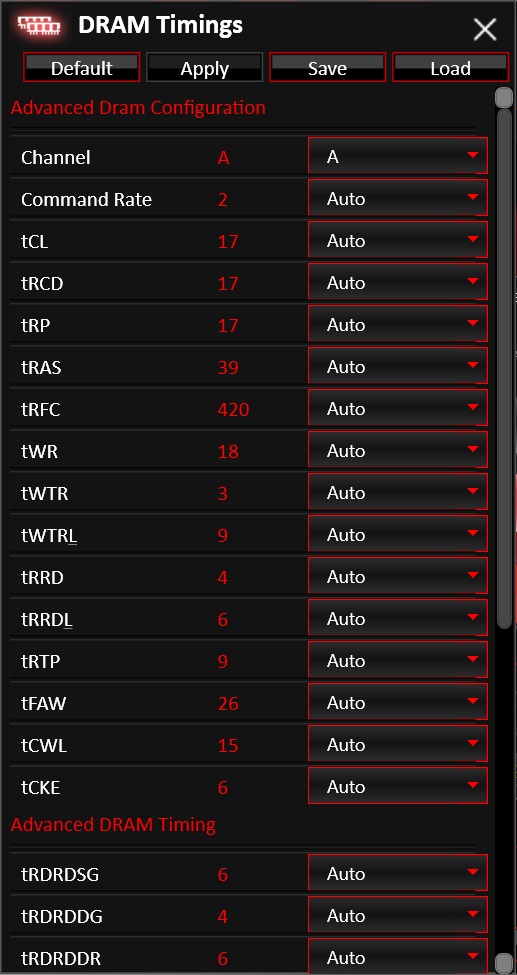
Last up is the MSI Command Center, which serves as a monitoring, fan control, and overclocking application in one. Since the board we are dealing with is based on the H310 chipset, overclocking is not possible, however DRAM and PCH voltage can be controlled. The application can be used to change memory timings, though we recommend doing this within the BIOS anyway.
Command Center has a real-time onboard temperature sensor control, which displays the integrated sensors (in this case, CPU core and socket, as well as the system/motherboard) as well as the current fan speeds.
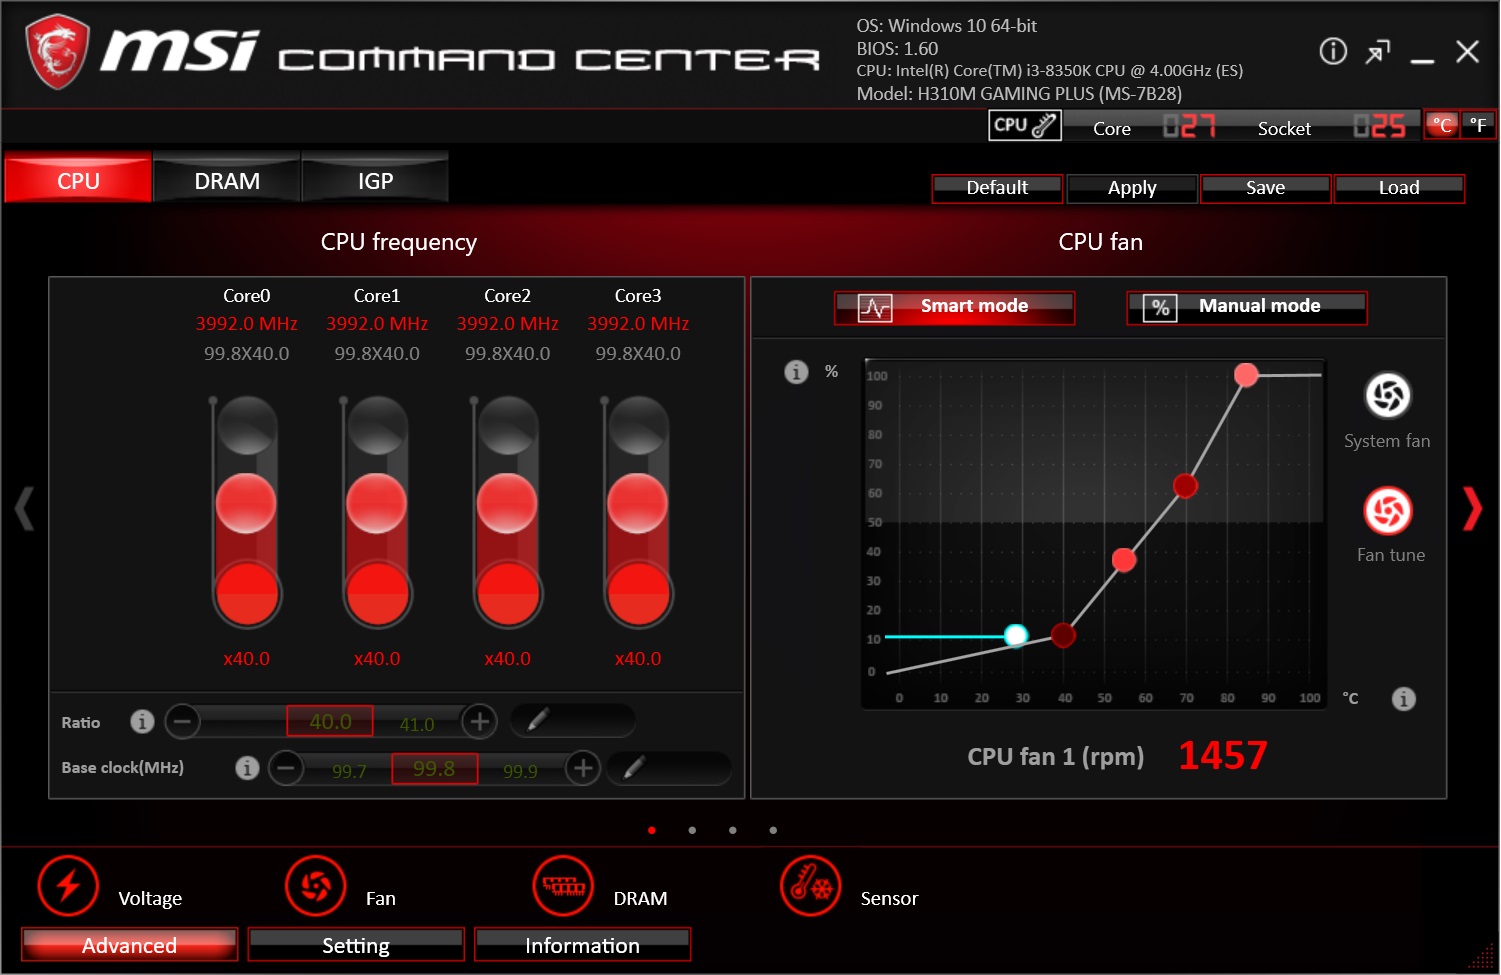
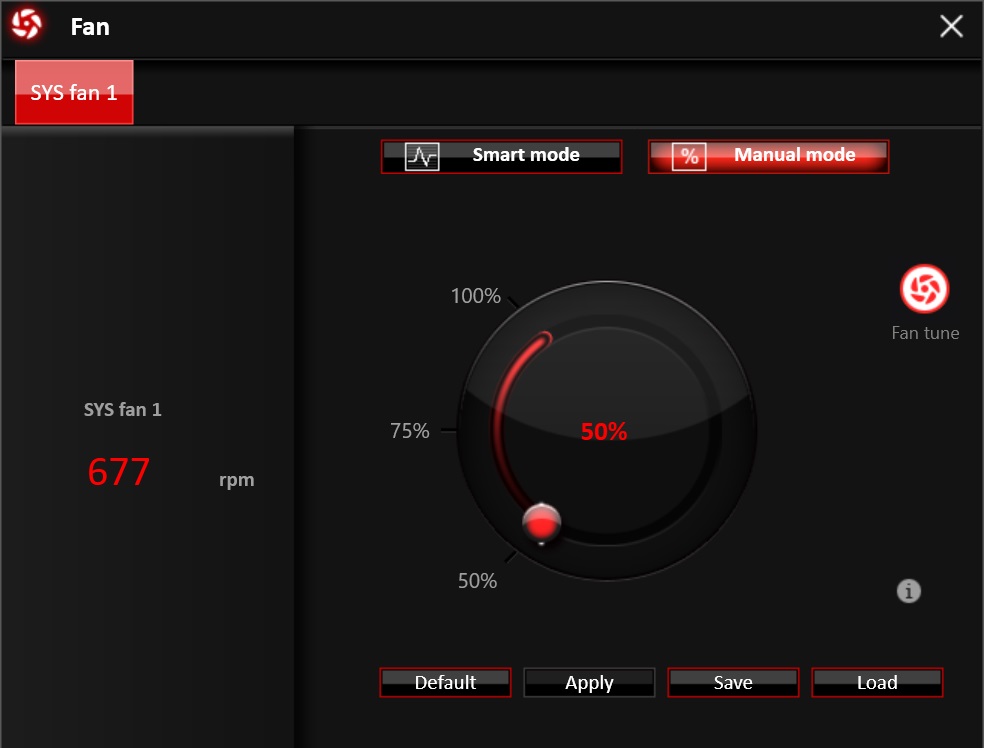
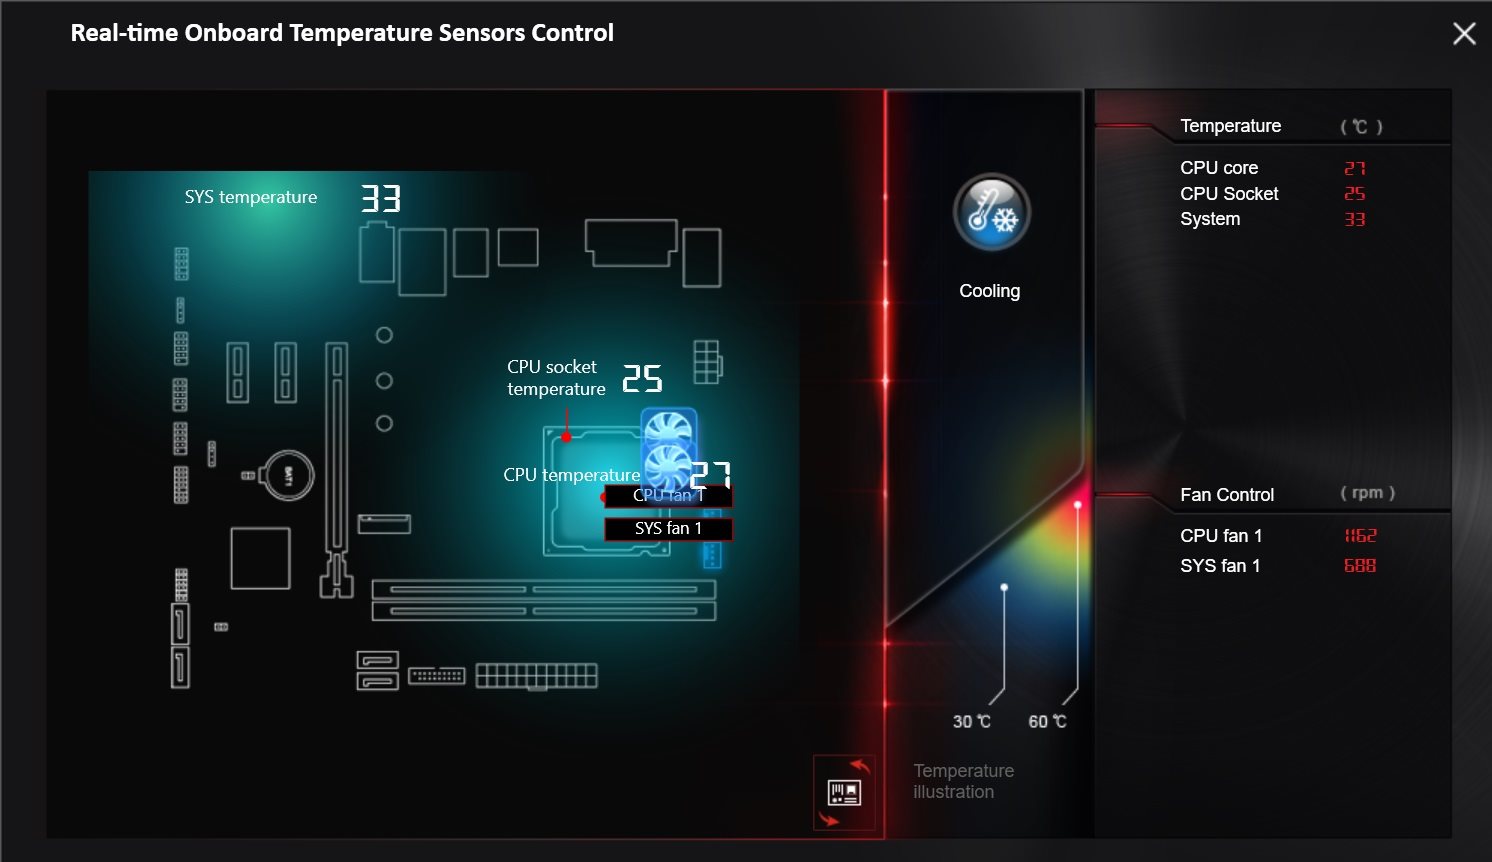
Fan speed control is quite easy to adjust and handled by a simple dial that lists fan speed in percent while in manual mode. The smart mode allows you to set custom curves for each header. For best results, be sure to run the fan tuner in order for the software to learn the minimum fan speed so you can work with the appropriate curves.
Get Tom's Hardware's best news and in-depth reviews, straight to your inbox.
Firmware
MSI’s BIOSes are set up a bit different than other board partners. We’re all used to a BIOS with different headings across the top. Here though, the different sections/headings are located on the left and right sides with system information located across the top. It’s a unique design which sets it apart from other boards.
The overall color and theme will vary by board type. But in this case with a gaming-focused board, we see a black background with red highlights and white/grey writing. Maneuvering around within the BIOS was simple and intuitive.
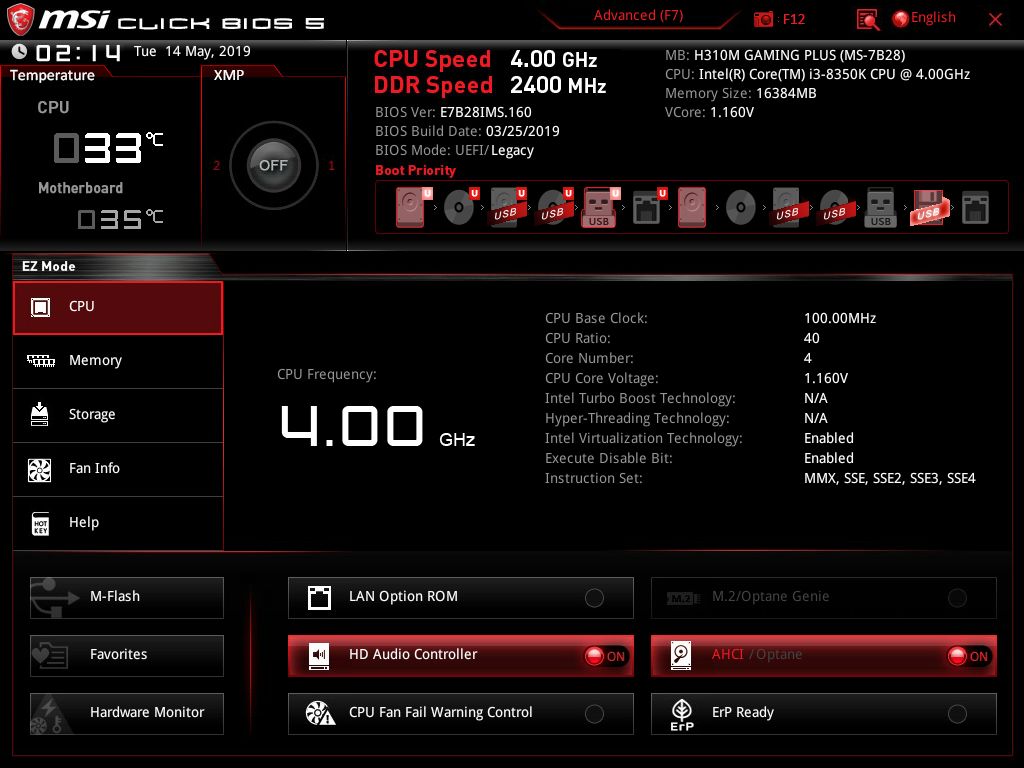
The MSI BIOS has an Easy and Advanced modes like the other AIBs do. By default the BIOS we are using (v1.60, the latest at the time of writing) defaults to advanced mode. When switching to Easy Mode, the bottom portion with the sections/headings is replaced by a more informational screen covering the CPU, memory, storage, and fan information, which can be selected on the left side. Across the bottom, you can access M-Flash, Favorites, or the Hardware Monitor as well as enable and disabling the audio controller and set HDD modes (AHCI/Optane). Boot order can be changed from here as well using the icons up top.
Stepping into the Advanced Mode is where most of the work will get done, regardless if it isn’t overclocking. In this mode, the top displays the same information mentioned above. The bottom portion is where we see the sections on each side. We have Settings, OC, and M-Flash on the left, while OC Profile, Hardware Monitor, and Board Explorer are on the right. Like Easy mode, users are able to adjust the boot order from here as well as set XMP profiles (although again, you can’t go past the JEDEC spec of 2666 MHz, since the H31 chipset does not overclock).
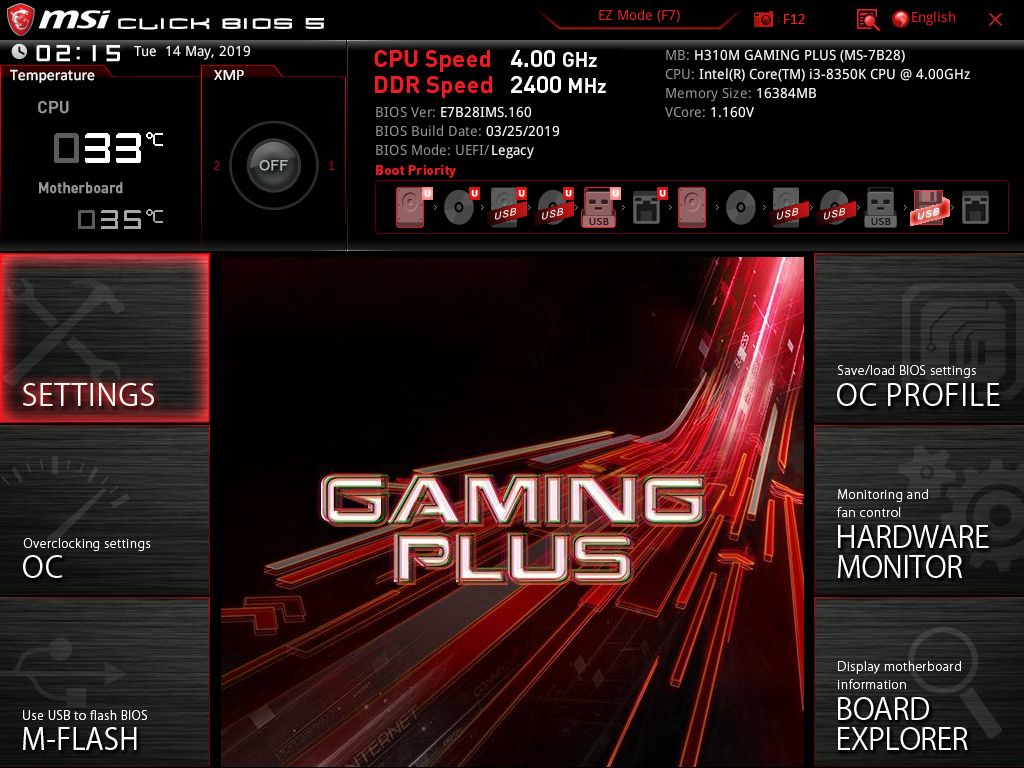
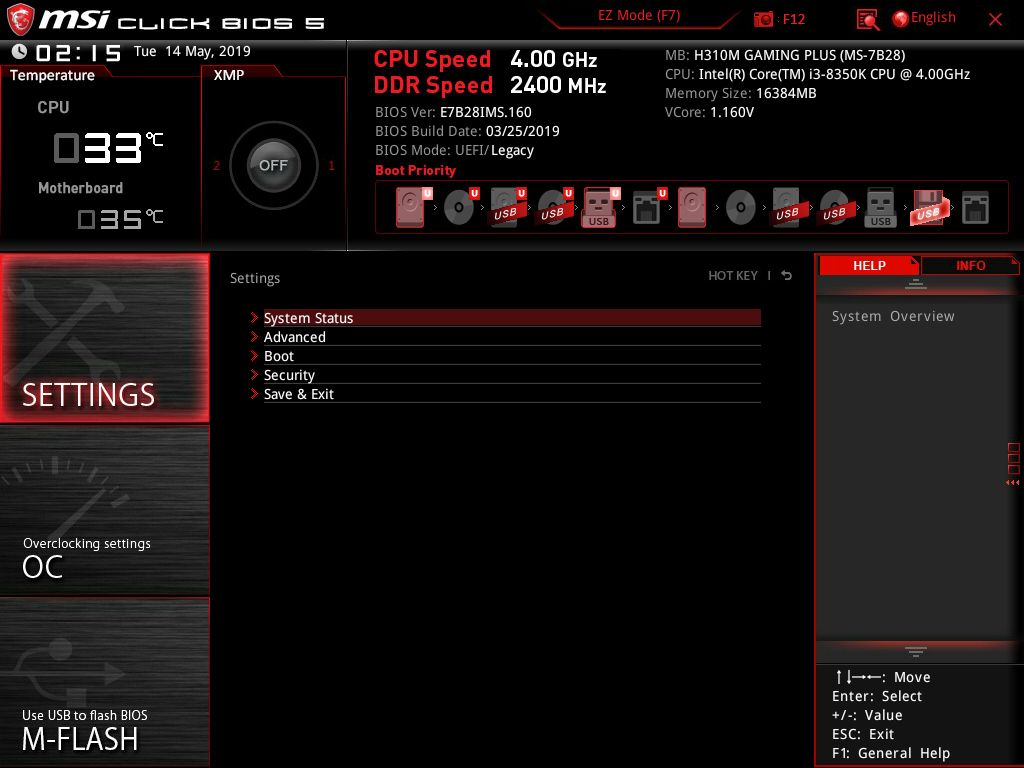
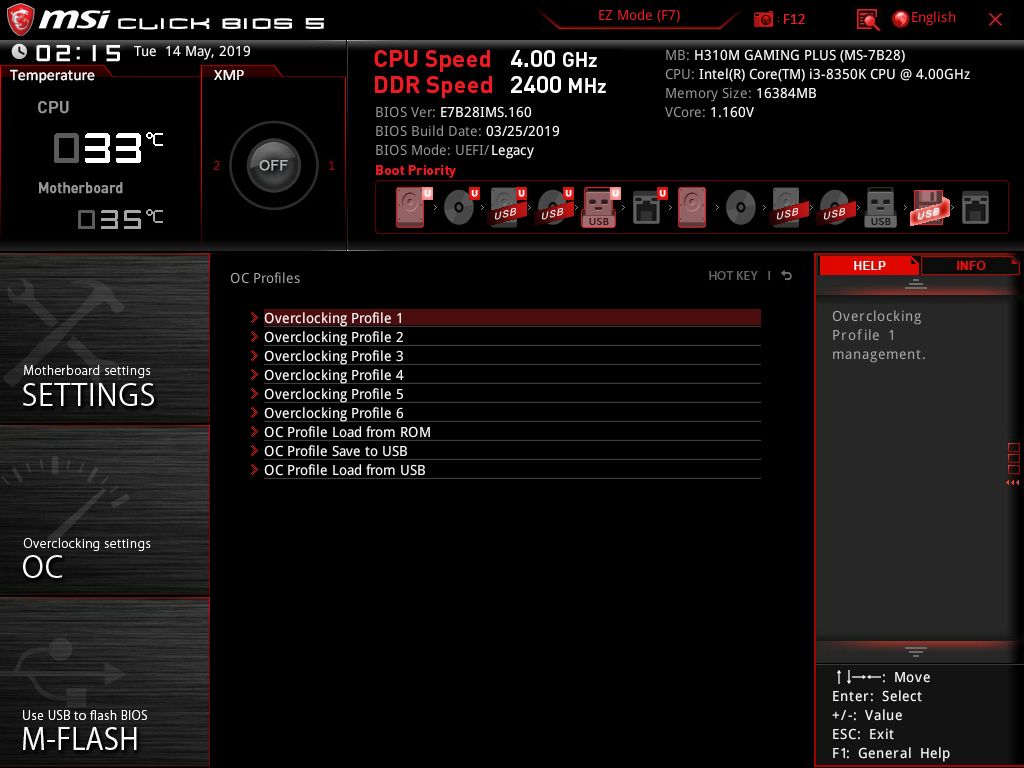
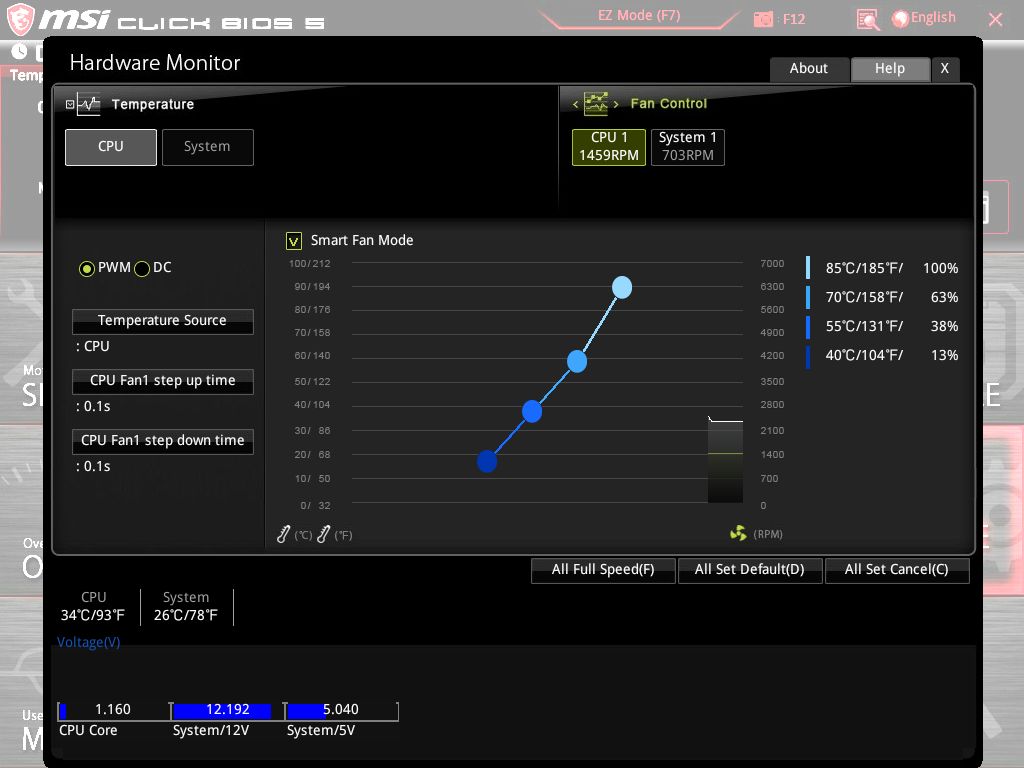
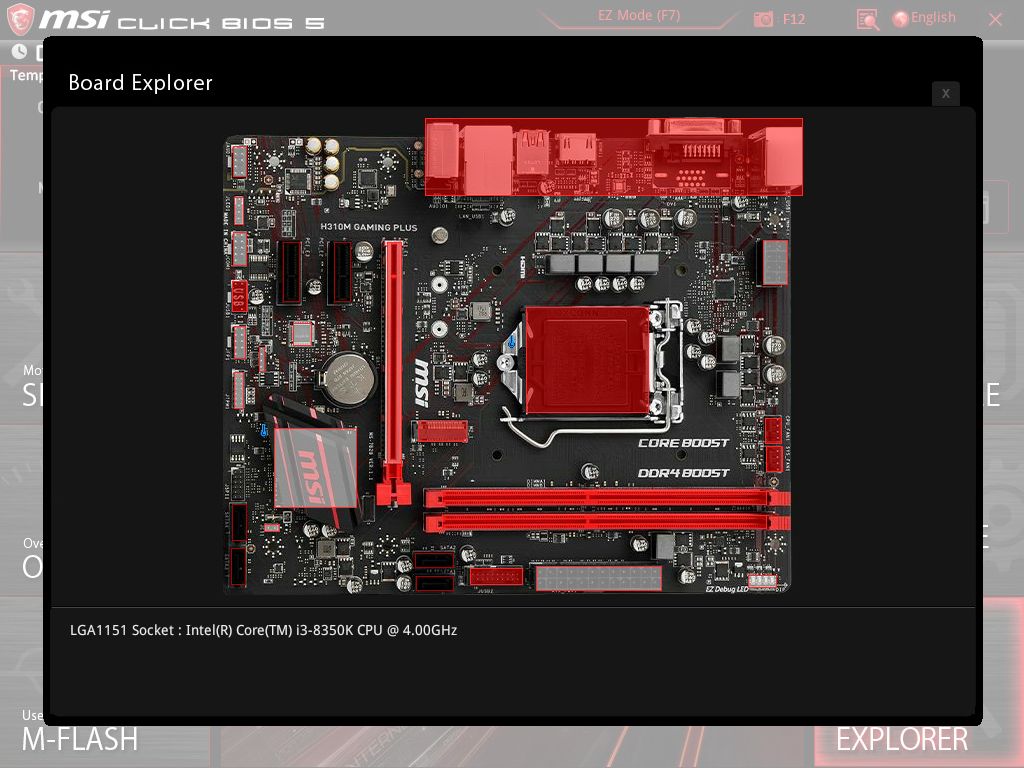
Within the Settings section, you’ll find five sub-sections, including System Status, Advanced, Boot, Security, and Save and Exit. Here users can dig down in the advanced subheading to change PCI subsystem settings, ACPI, integrated peripherals and graphics configuration, USB and Super IO configuration as well as power management and windows OS setups. You can also secure erase a drive from here as well.
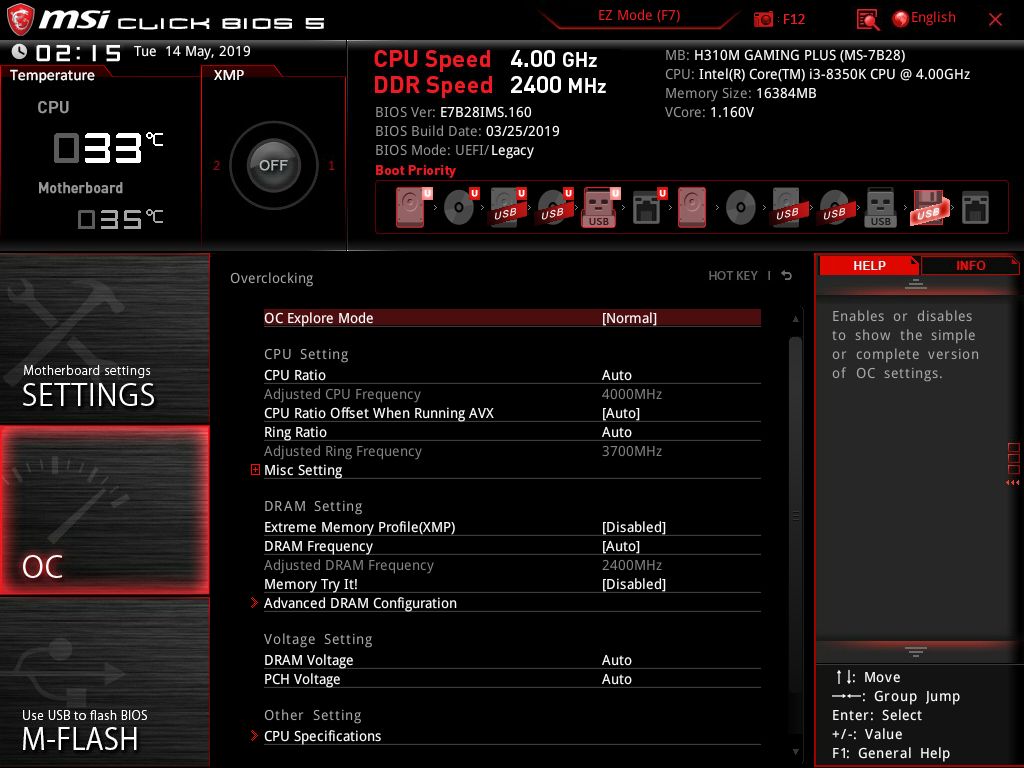
Inside the OC Section is where users are able to adjust any system parameters including memory speed, timings and voltages. Typically we would spend more time in this section but since the chipset doesn’t allow overclocking, we’ll leave it at that high level.
The M-Flash section allows you to flash the BIOS through a file located on a drive, or through the internet. I used the flashing function through a file on a USB drive without issue.
The OC Profile section functions as the name implies. In this case you would be saving other parameters that were set, instead of BCLK, CPU Multiplier, or voltage.
Hardware Monitor is where you’ll find system information like temperatures, fan speeds and voltages for the CPU and the main voltages from the power supply. Also found within this section is fan control with a nice GUI that pops up showing temps and the existing fan curve for the selected device. Users are able to control the mode (PWM/DC) and what temperature threshold it’s based around. There isn’t a delay/hysteresis setting here as we found in the ASRock board which can be helpful to tame fans ramping up and down too frequently.
The Board Explorer section displays a picture of the motherboard and anything connected to the headers, socket, PCIe and M.2 slots, DRAM slots, as well as the rear IO. It's a convenient visual to see what is attached to your system.
Overall, I like MSI’s firmware layout. All the major options can be found without digging too deep into subheadings and losing your way. Both cursor and mouse movement also worked smoothly and without issue.
MORE: Best Motherboards
MORE: How To Choose A Motherboard
MORE: All Motherboard Content

Joe Shields is a staff writer at Tom’s Hardware. He reviews motherboards and PC components.
-
helpstar Hi there, just had a look at the review´s specification.Reply
The form factor is not ATX, it´s micro-ATX
legacy port is missing: PS/2 Combo Port as well as supported CPU generations of Intel
In the RAM section, it would be nice to write in there, that this board will only use 2666MHz, no matter if better clocked RAM is installed
What I missed in the review: the audio chip will work in 7.1 HD sound, if the front audio is used in combination with the rear ports
Other than that, thanks for the nice review -
rsquared "for those on a tight build budget who don’t not plan on overclocking " ... What, "don't not"?? So who DO plan on overclocking?Reply -
TJ Hooker I wish people wouldn't refer to total # of phases as a single number, i.e. "7-phase VRM" in this article. If you're going to list a single number it should be the # of phases for the CPU core IMO, otherwise list it as Core+Uncore (or Core+Uncore+Memory). This board appears to be 4+2+1.Reply -
NightHawkRMX Yea, agree there.Reply
Reminds me of the people selling "10 core gaming pcs" but in reality it has 4 bulldozer cpu cores and 6 radeon cores.
