Tom's Hardware Verdict
Exceptionally cost effective and easy to build, let down by poor instructions and lack of Python module.
Pros
- +
Cost effective
- +
Easy to build
- +
Controls up to 16 servos
Cons
- -
No Python module, we have to use a module from another source
- -
The included wiring instructions are very easy to confuse
Why you can trust Tom's Hardware
You can do a lot of interesting things with a Raspberry Pi camera module: shoot photos, detect faces and objects, guard your home or conduct a video chat. If you have any camera module but the recently-released Raspberry Pi HQ Camera, which uses a different mounting style, a pan-and-tilt hat that rotates and allows you to change the view via software can be a huge help. Just imagine programming the Pi to follow your cat around the room or remote controlling a telepresence robot with a moveable camera.
At just over $20 the Pan Tilt Platform from The Pi Hut is a good deal when compared to competitors that often cost twice as much. The Pi Hut Pan Tilt comes with everything you need: an expansion board (though not a HAT), two servos and the 3D printed parts necessary to mount a standard Raspberry Pi camera module and rotate it around, using software. This kit gets the job done, though you may wish it were a full-fledged Raspberry Pi HAT and had better instructions and software.
Pan Tilt Platform Kit
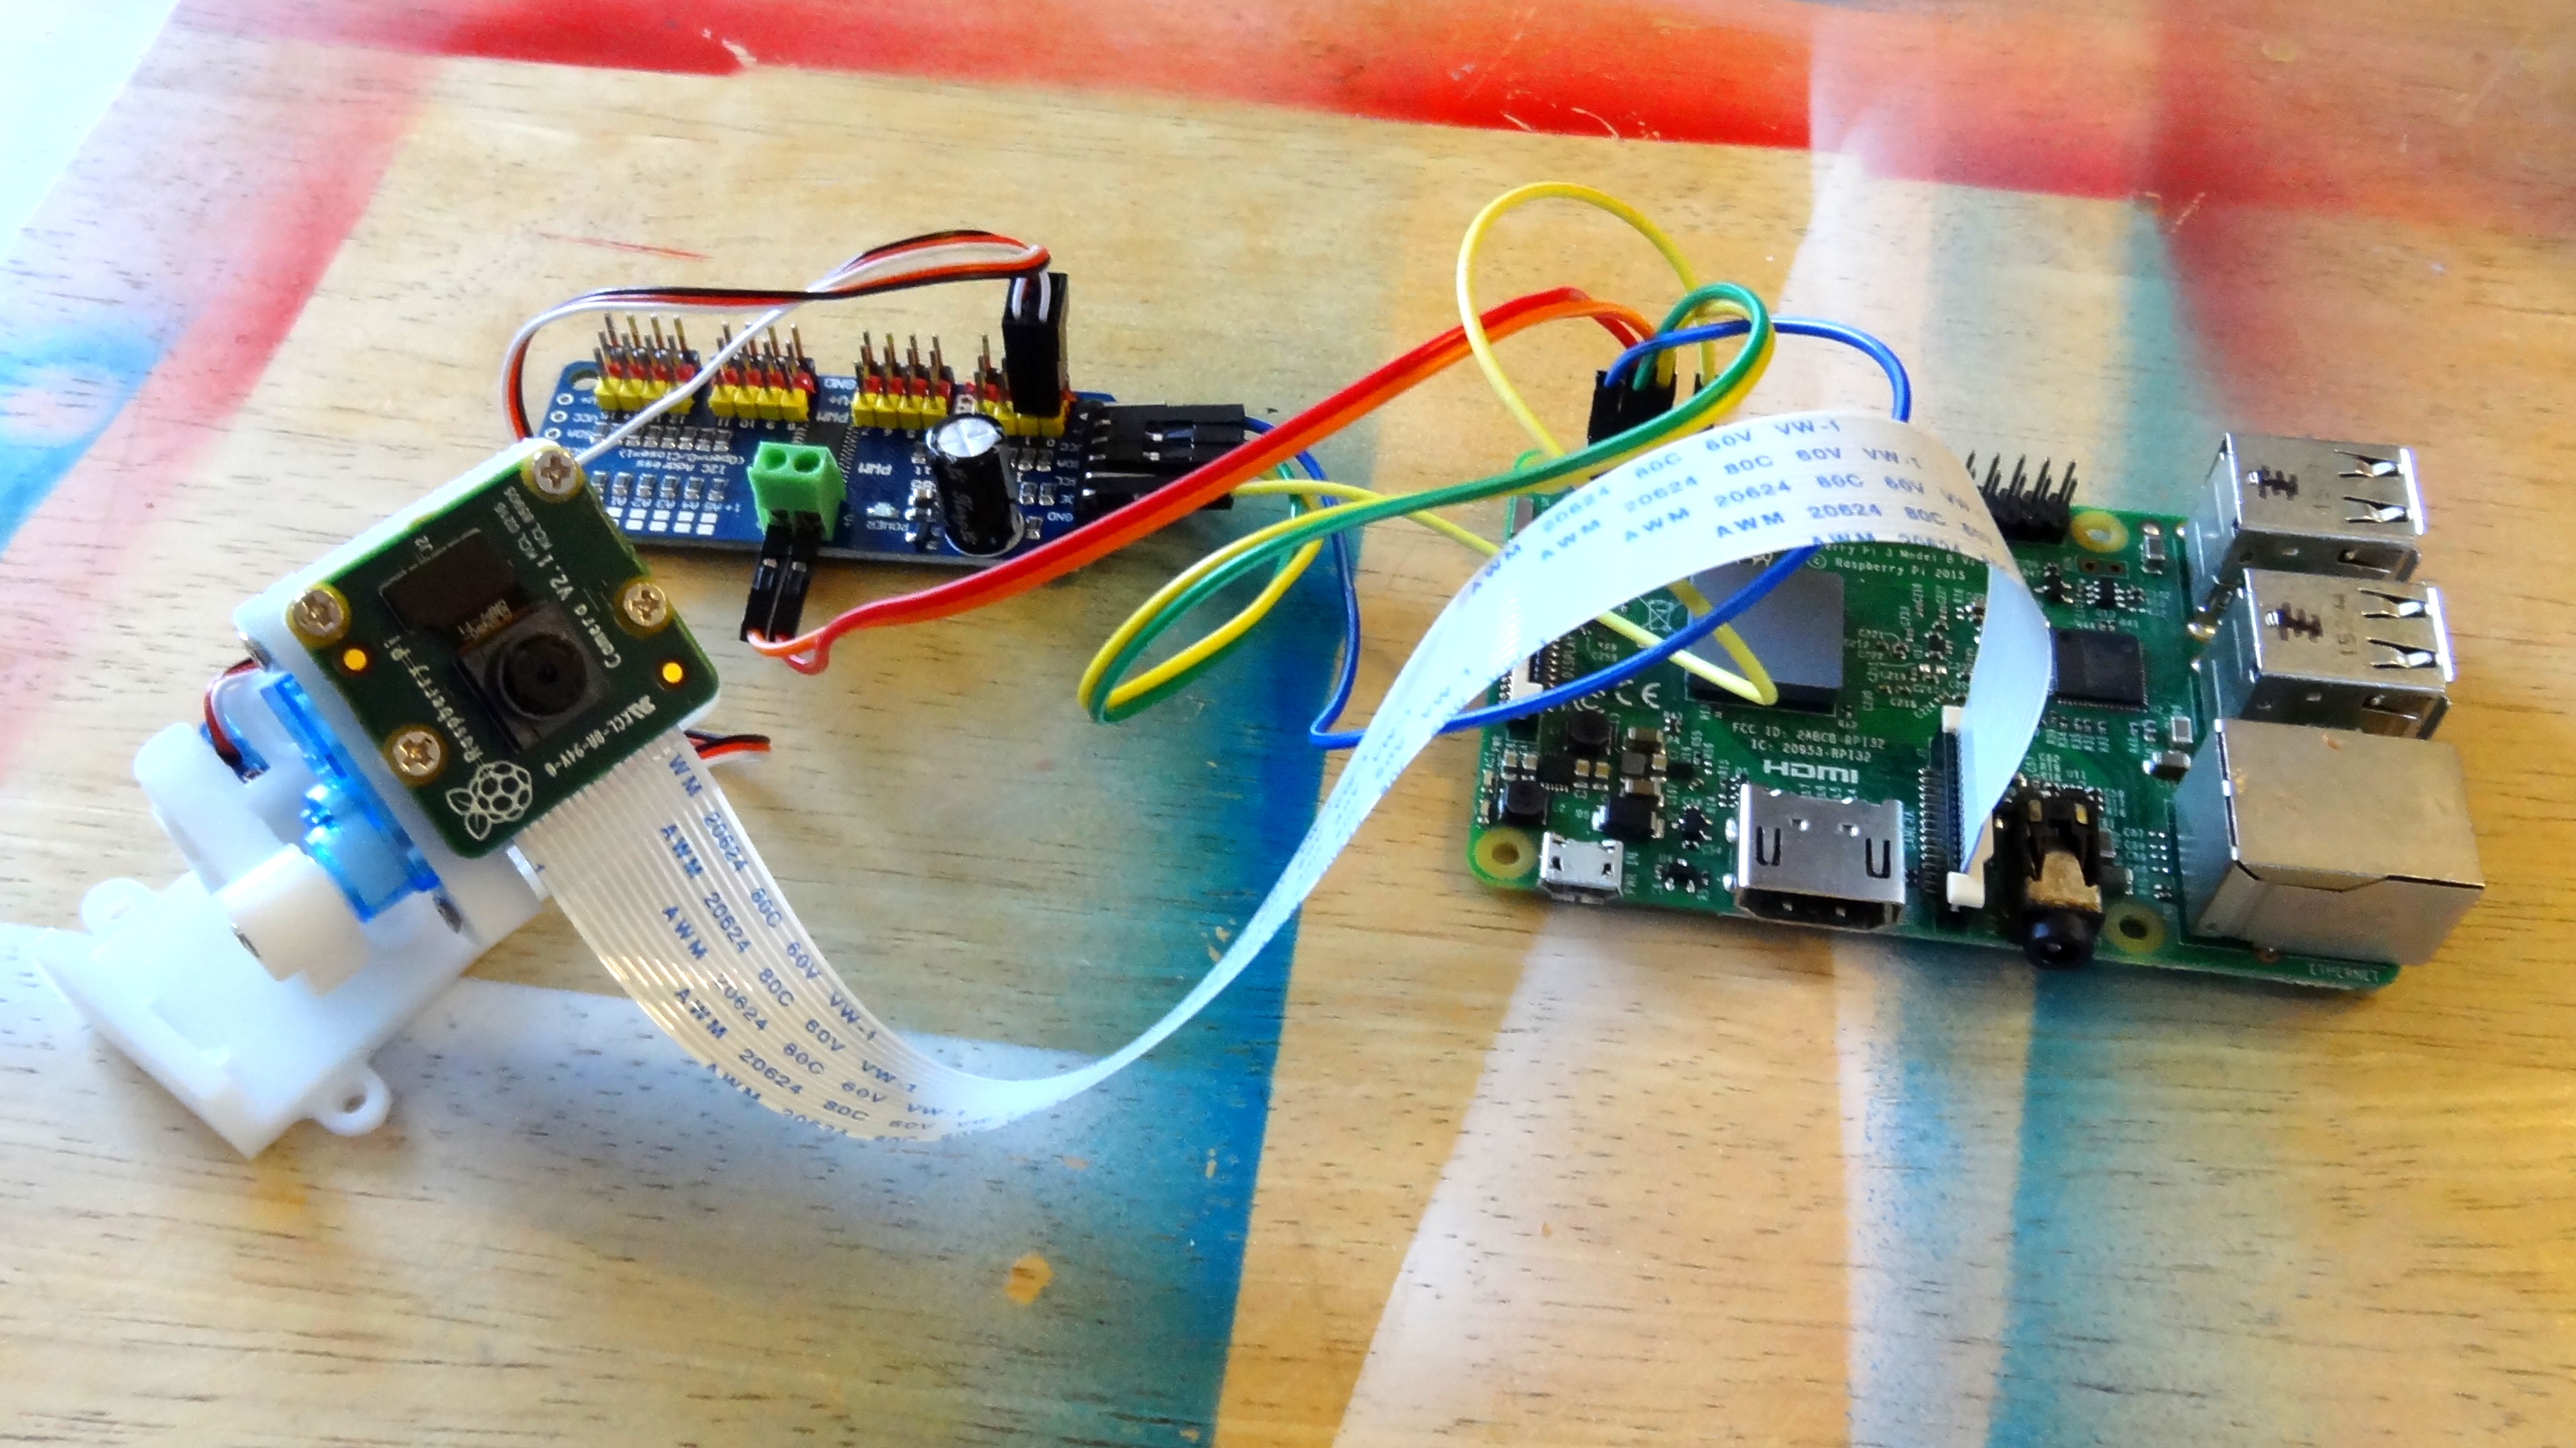
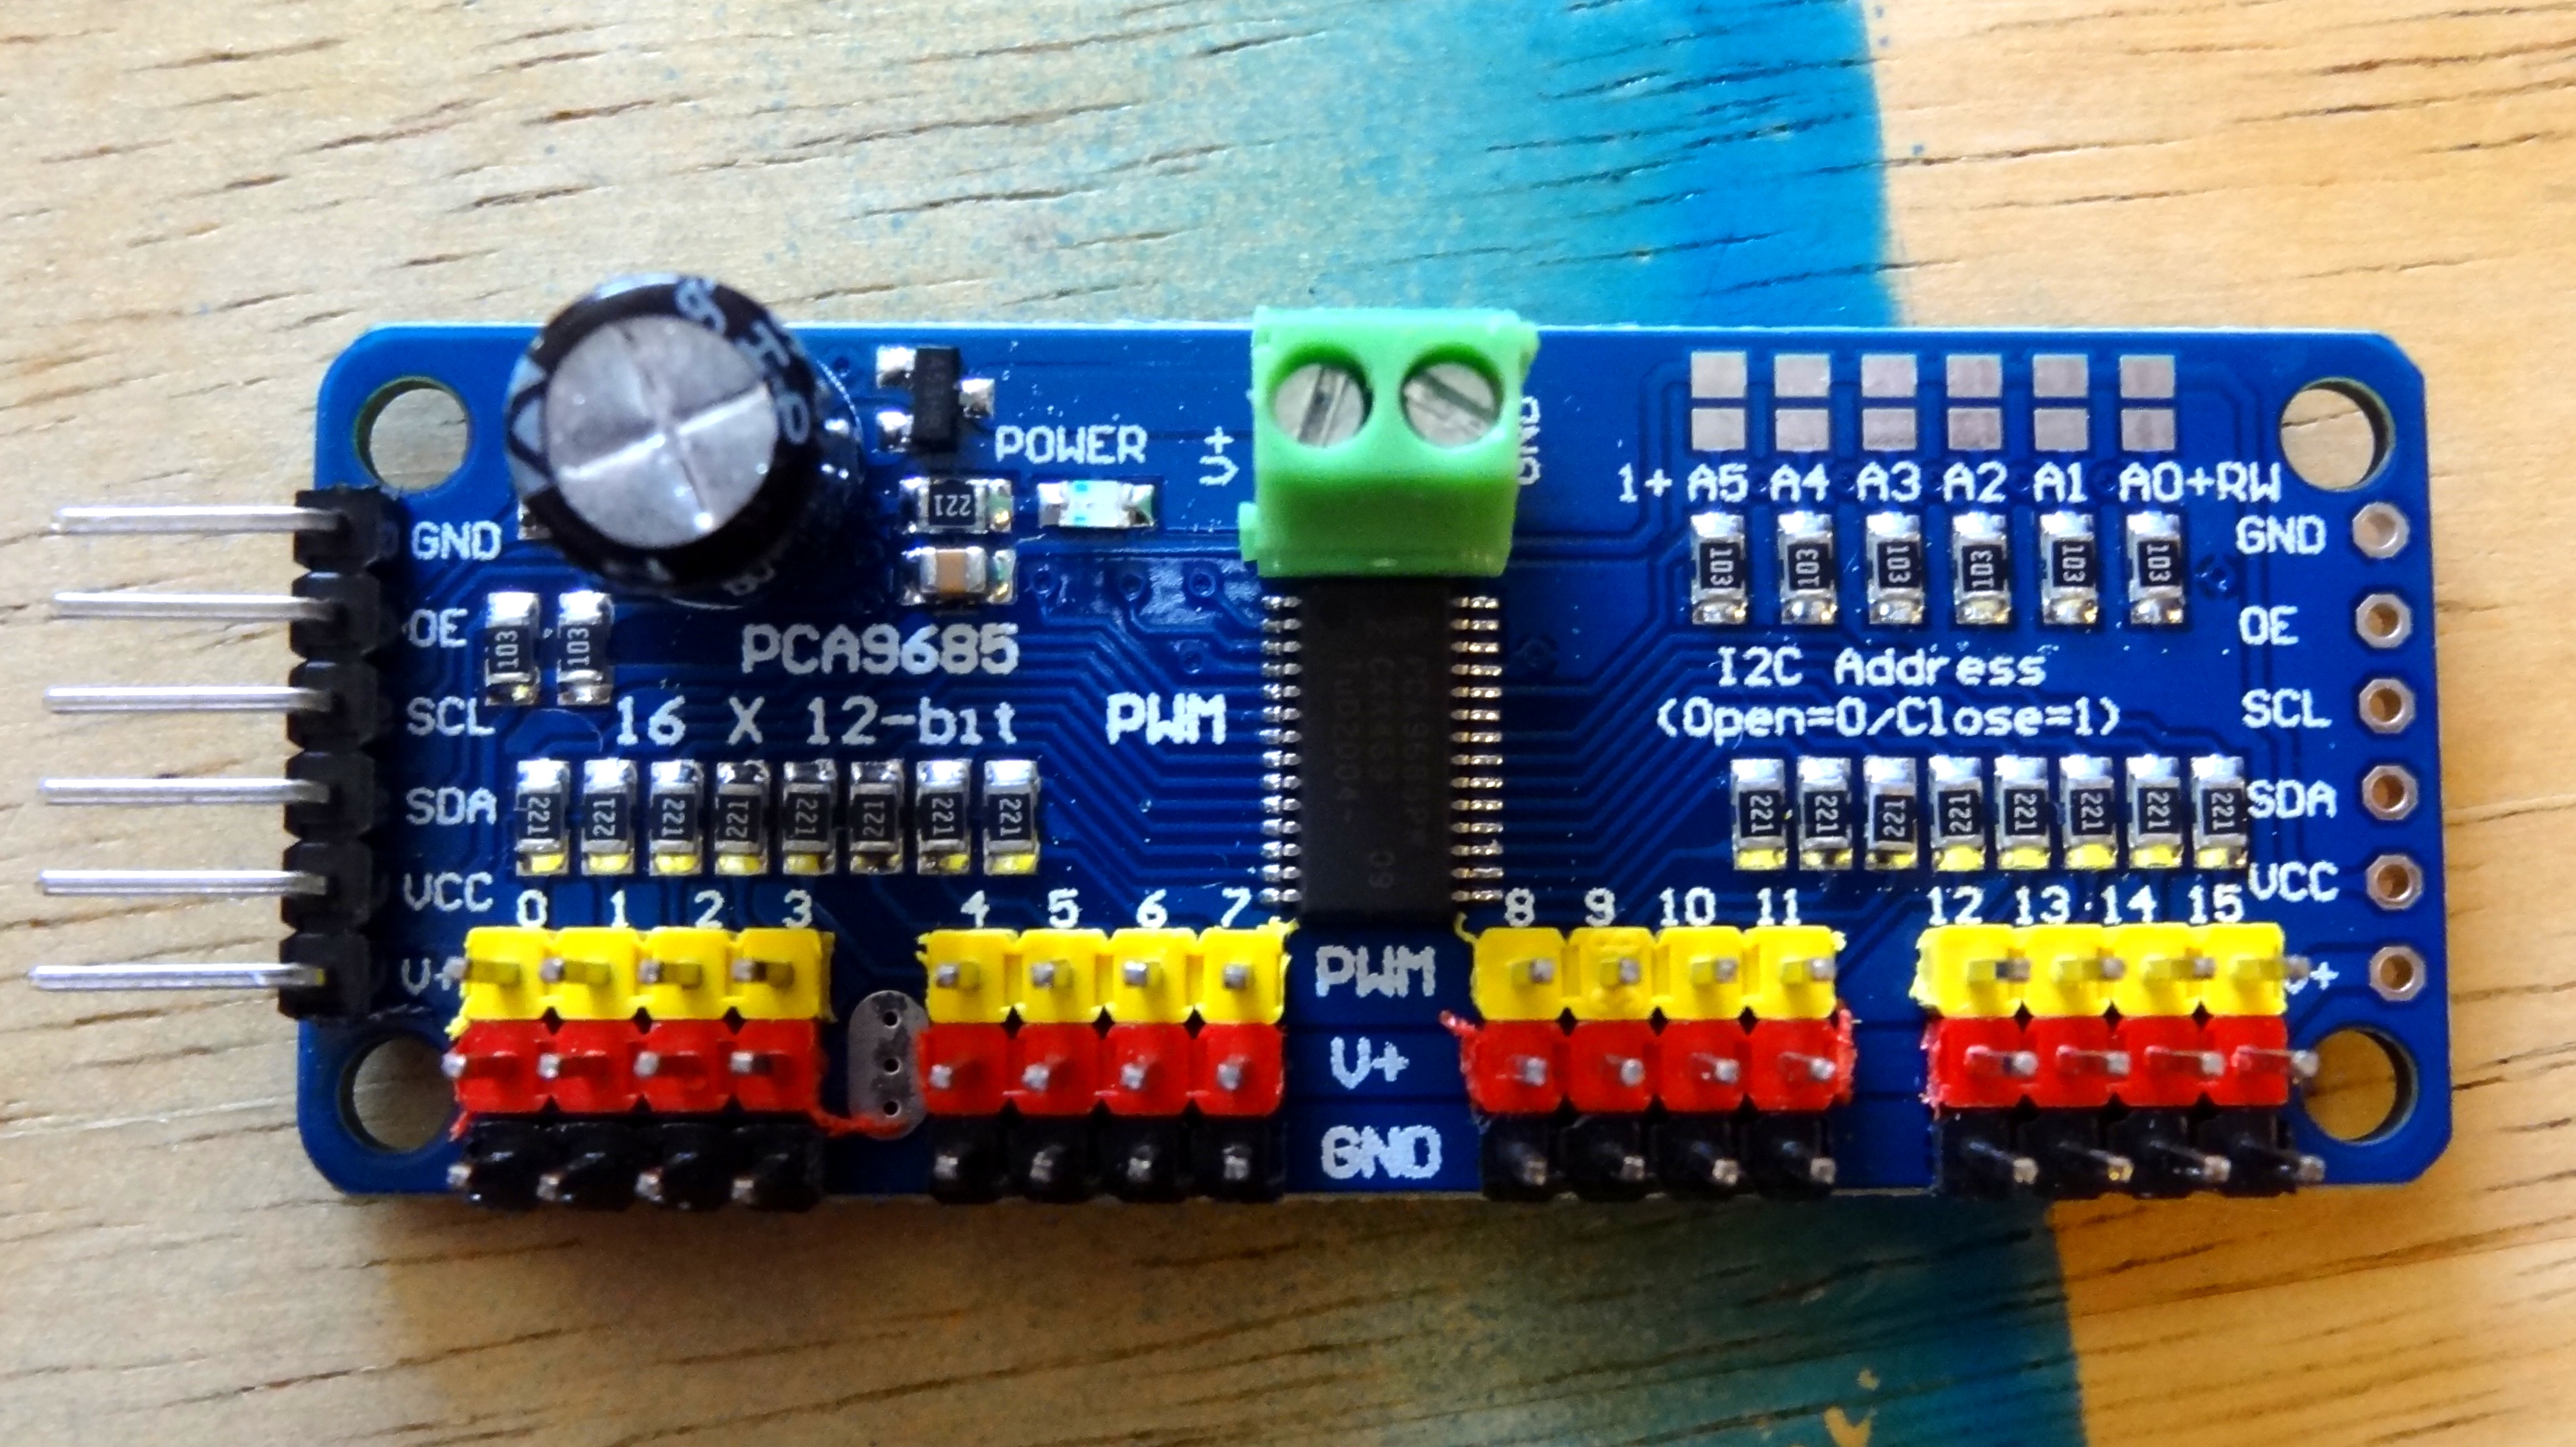
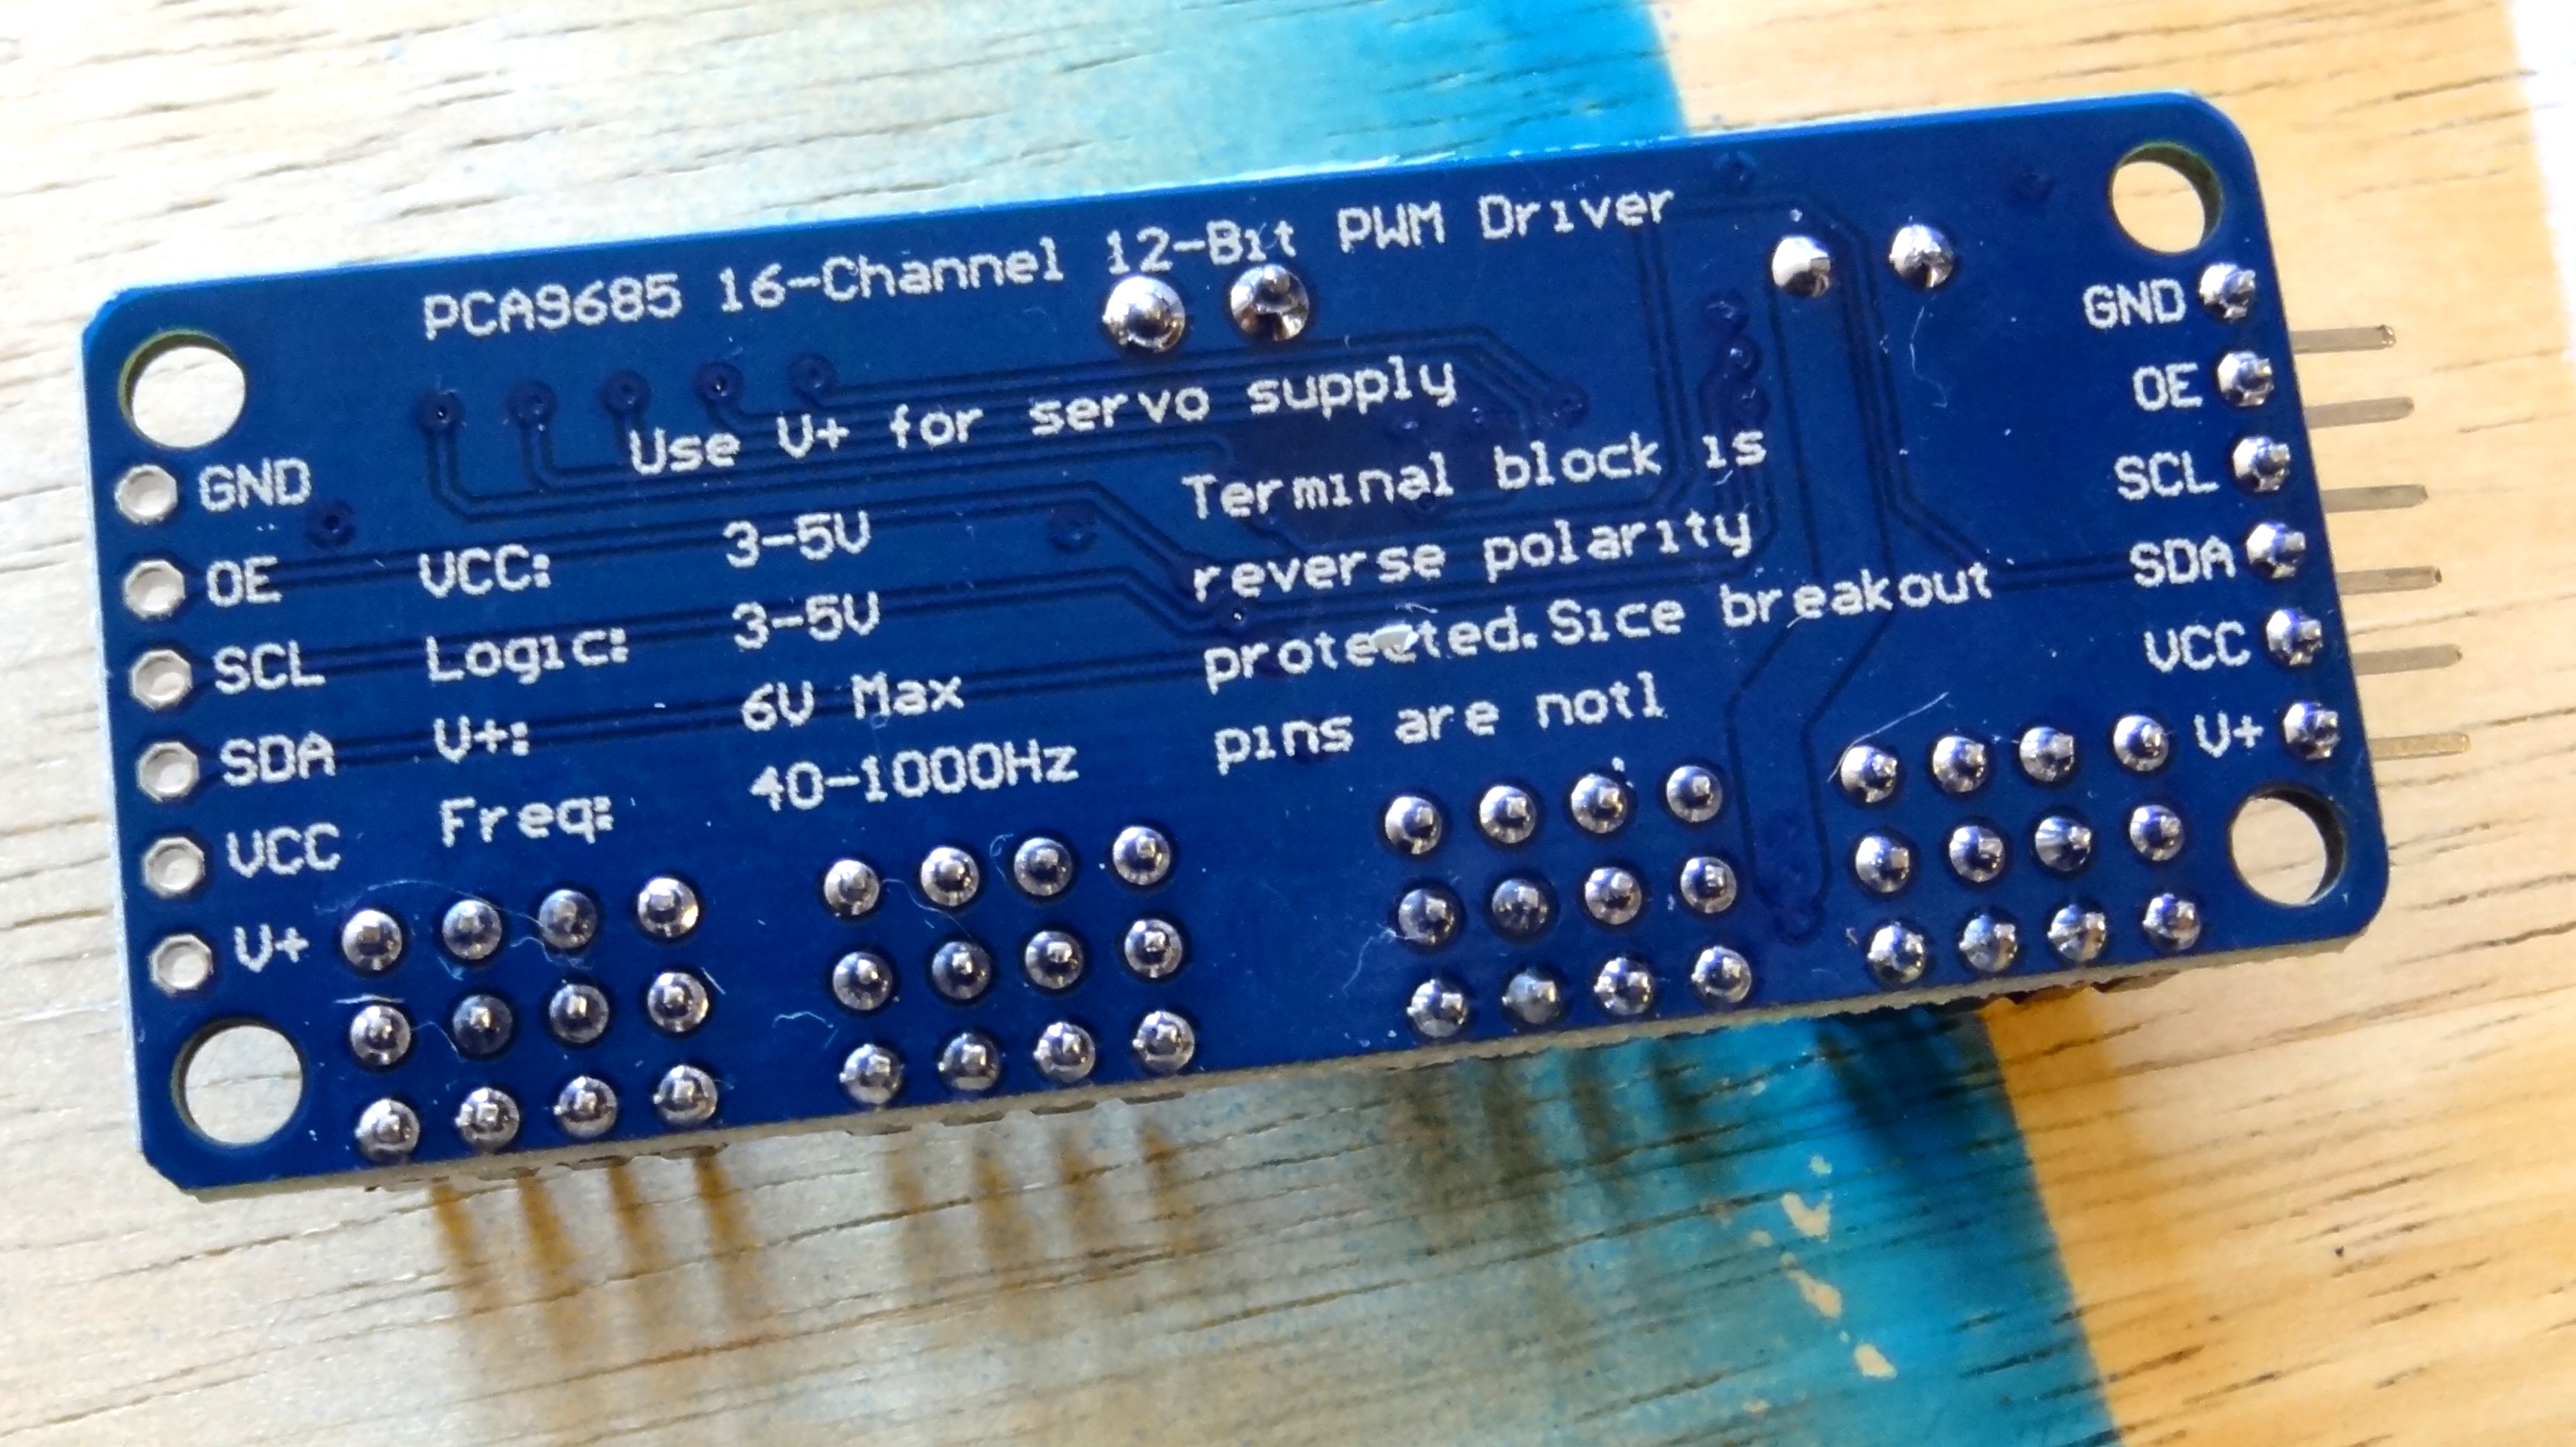
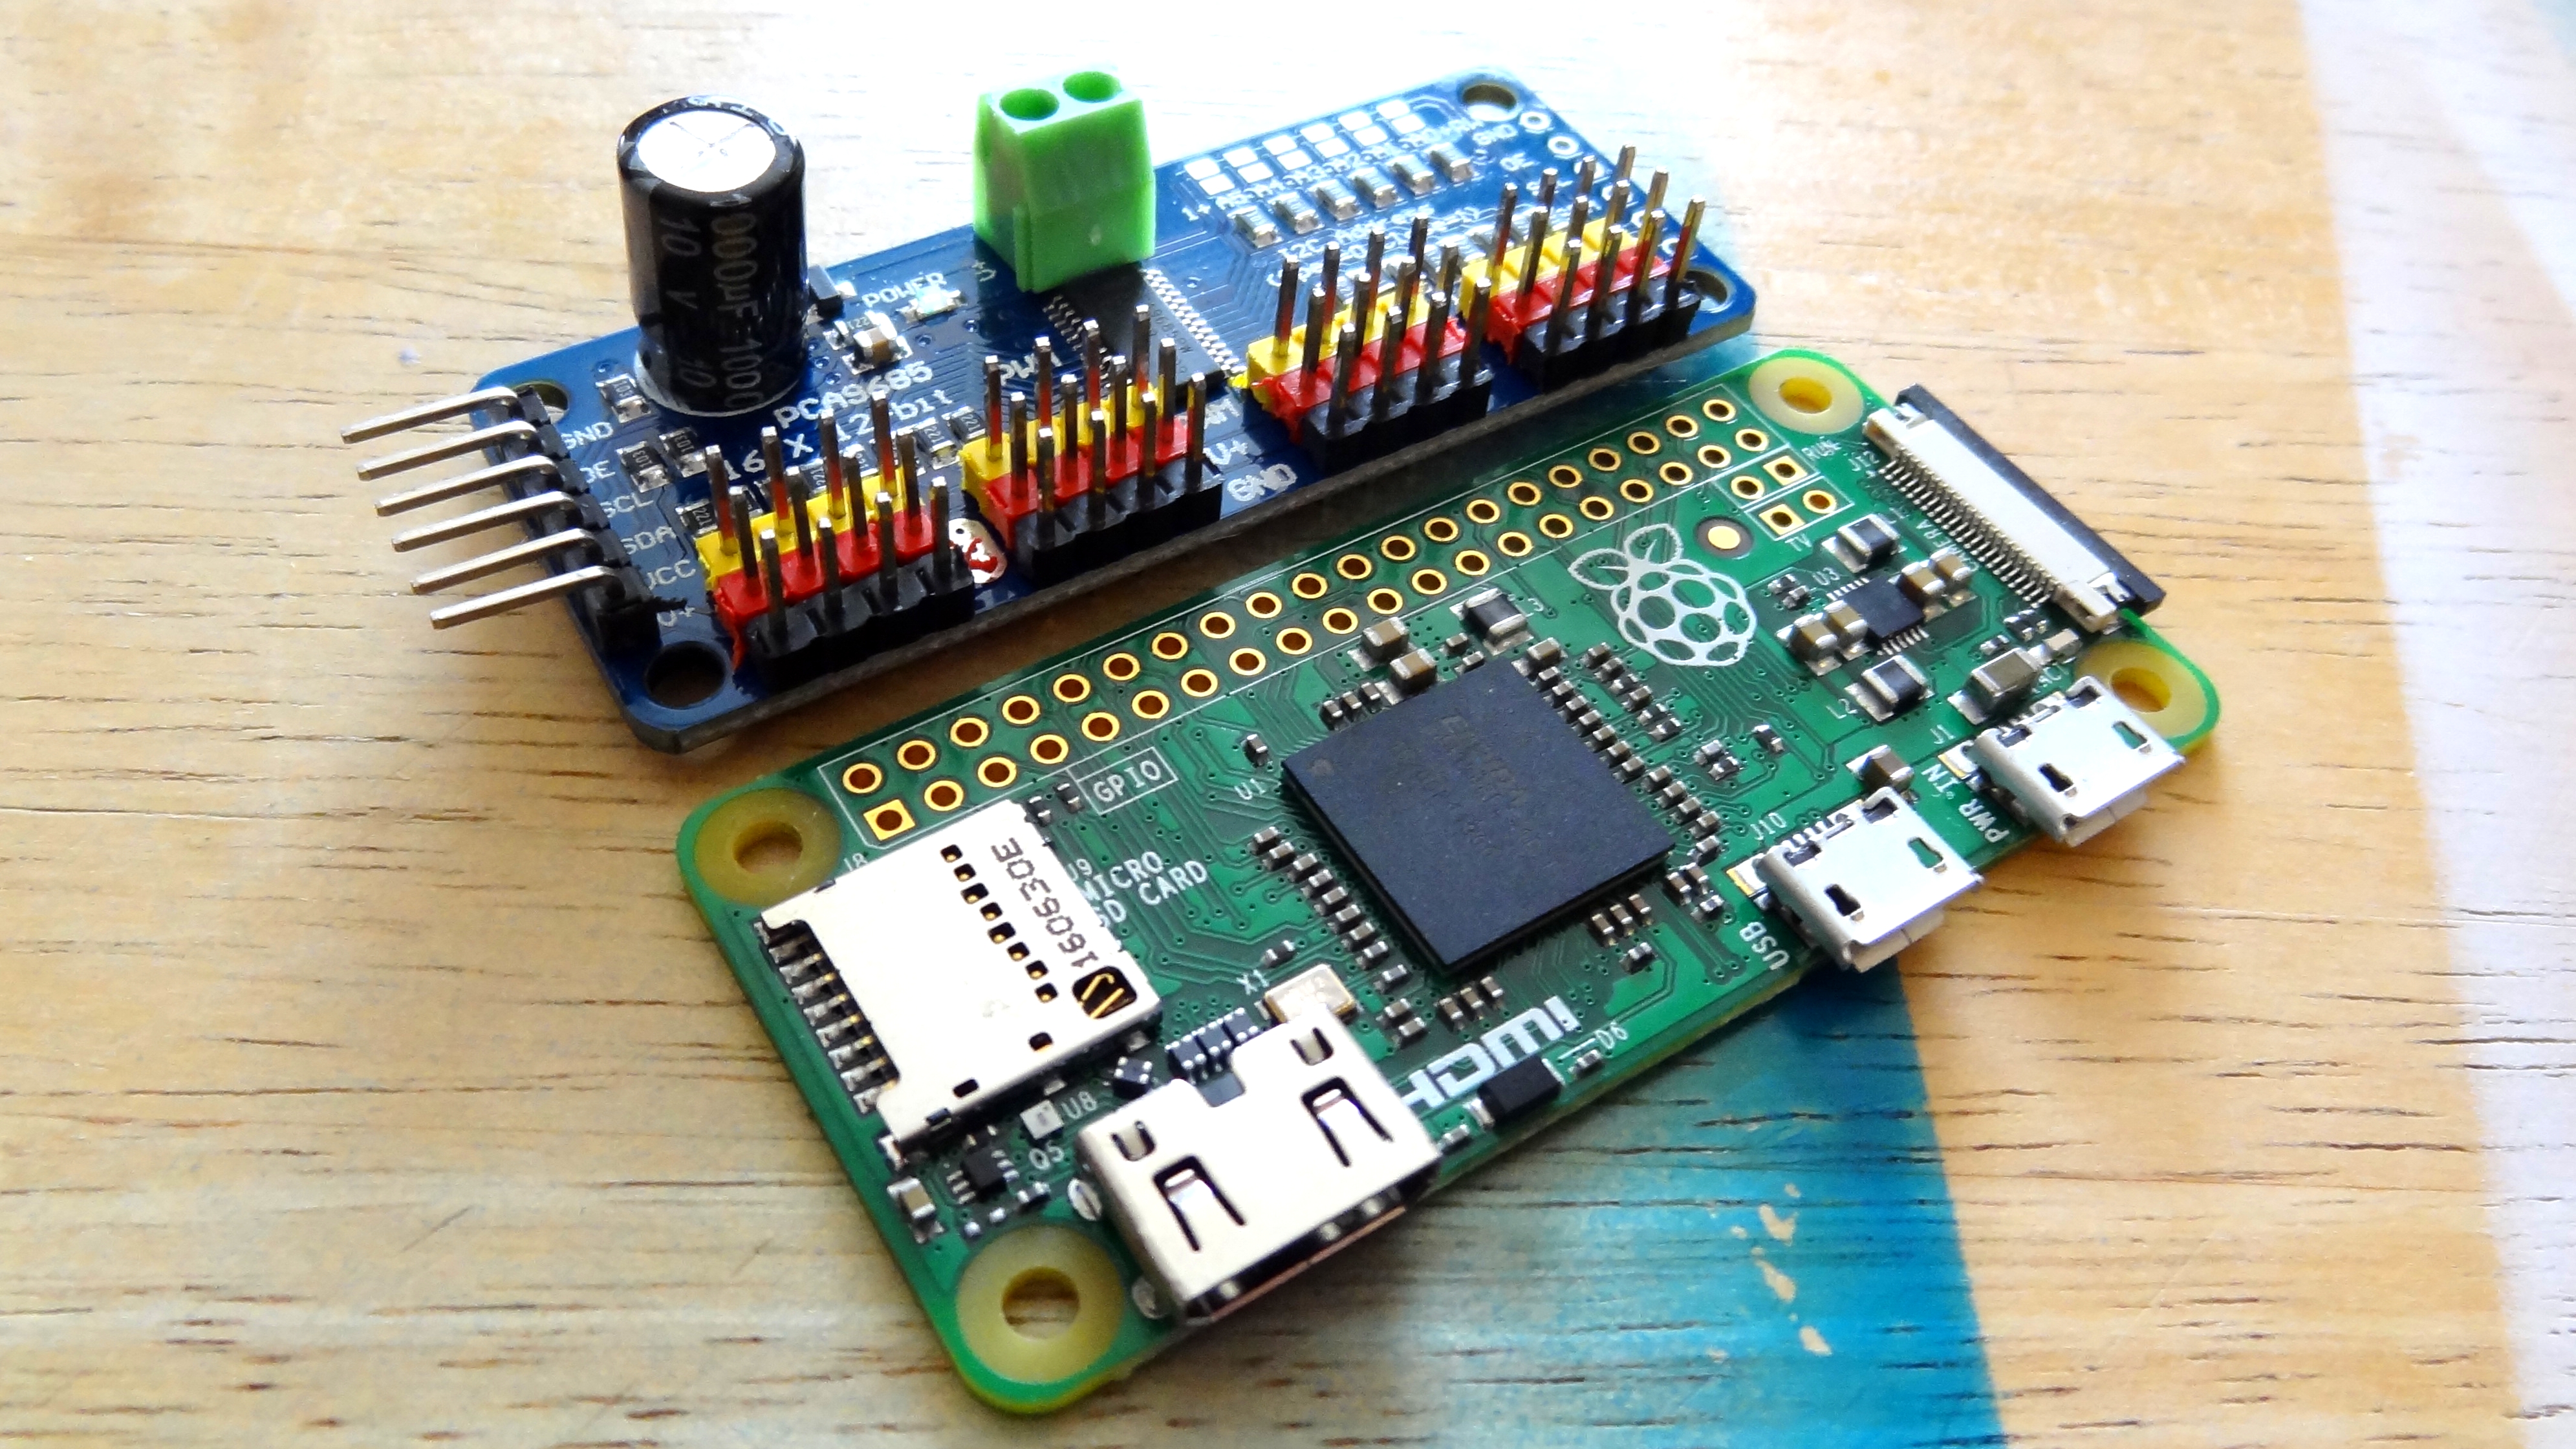
Measuring 0.9 x 2.4 inches (25 x 61mm) the Pan Tilt Platform is just a fraction different in size from a Raspberry Pi Zero W, being shorter, yet narrower than the Zero. It would’ve been great if the two boards were a perfect match and could be stacked on top of each other. The Pan Tilt Platform board has 16 sets of color coded pins for signal, voltage and ground (yellow, red and black respectively) and these correspond to the pinout for typical hobby servos. This means that we can control 16 servos at once, an enticing opportunity for those seeking to build robotic arms and crawling robots or just wanting to control more cameras at once.
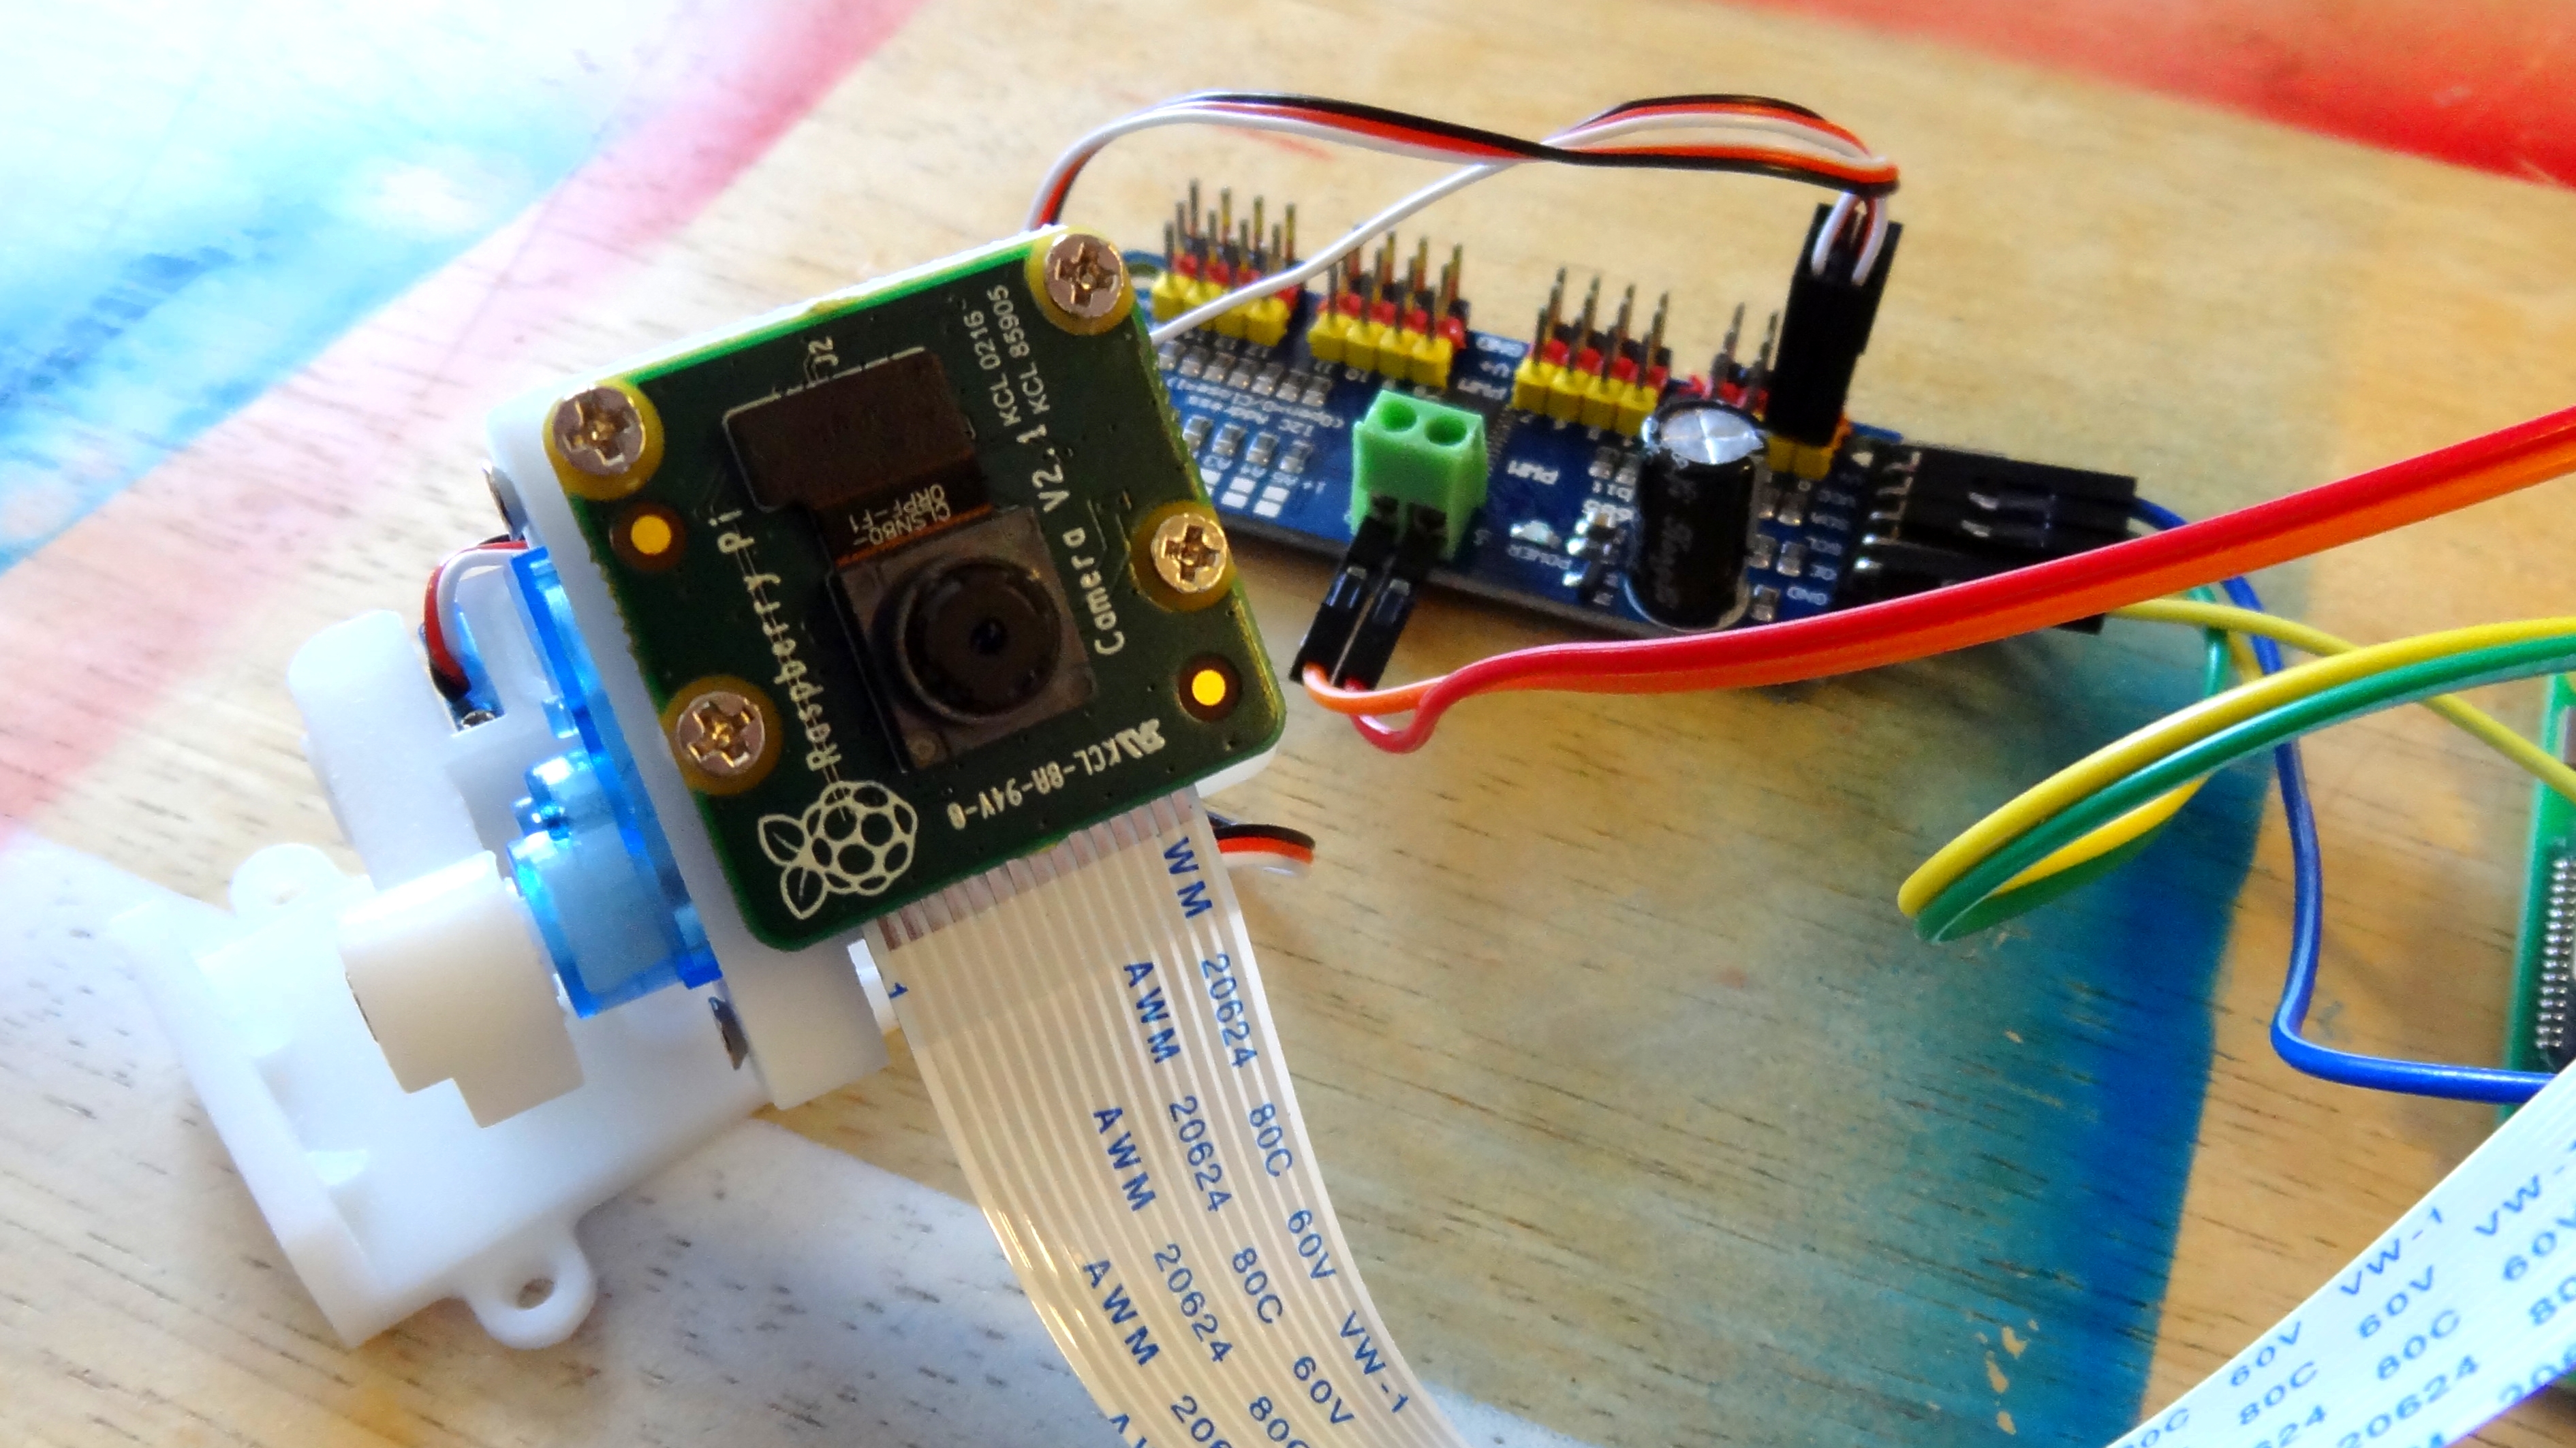
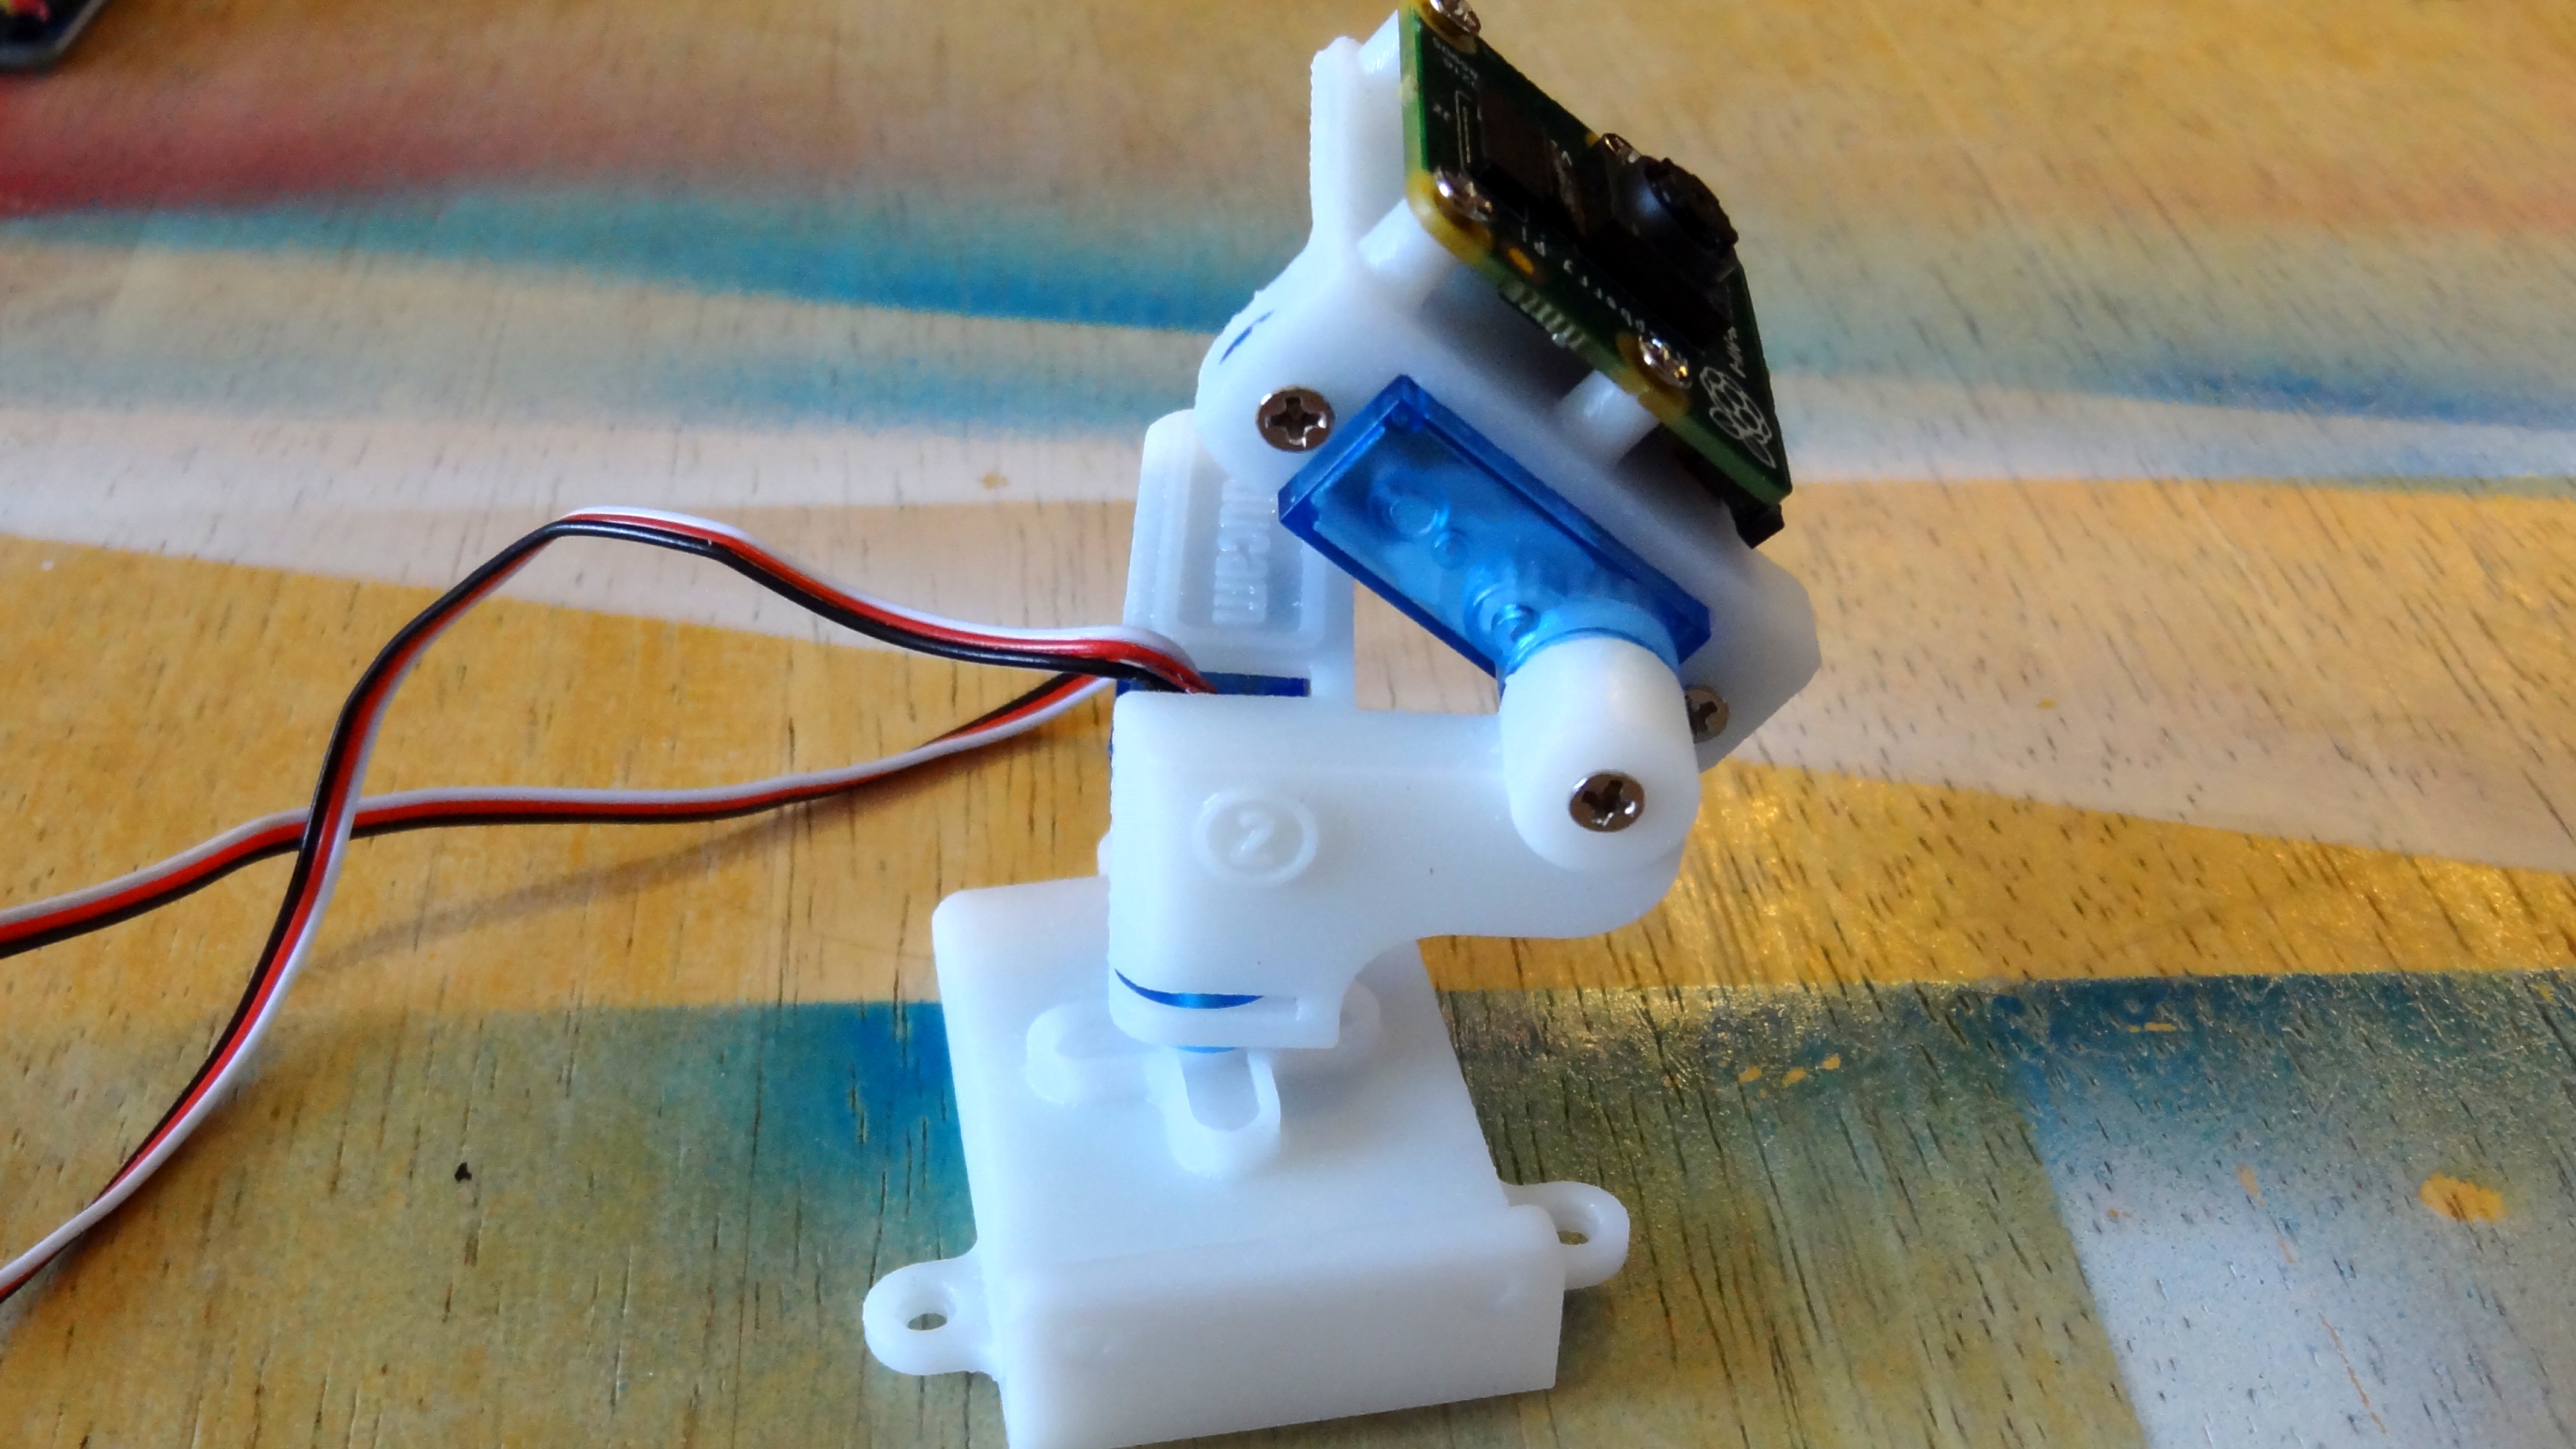
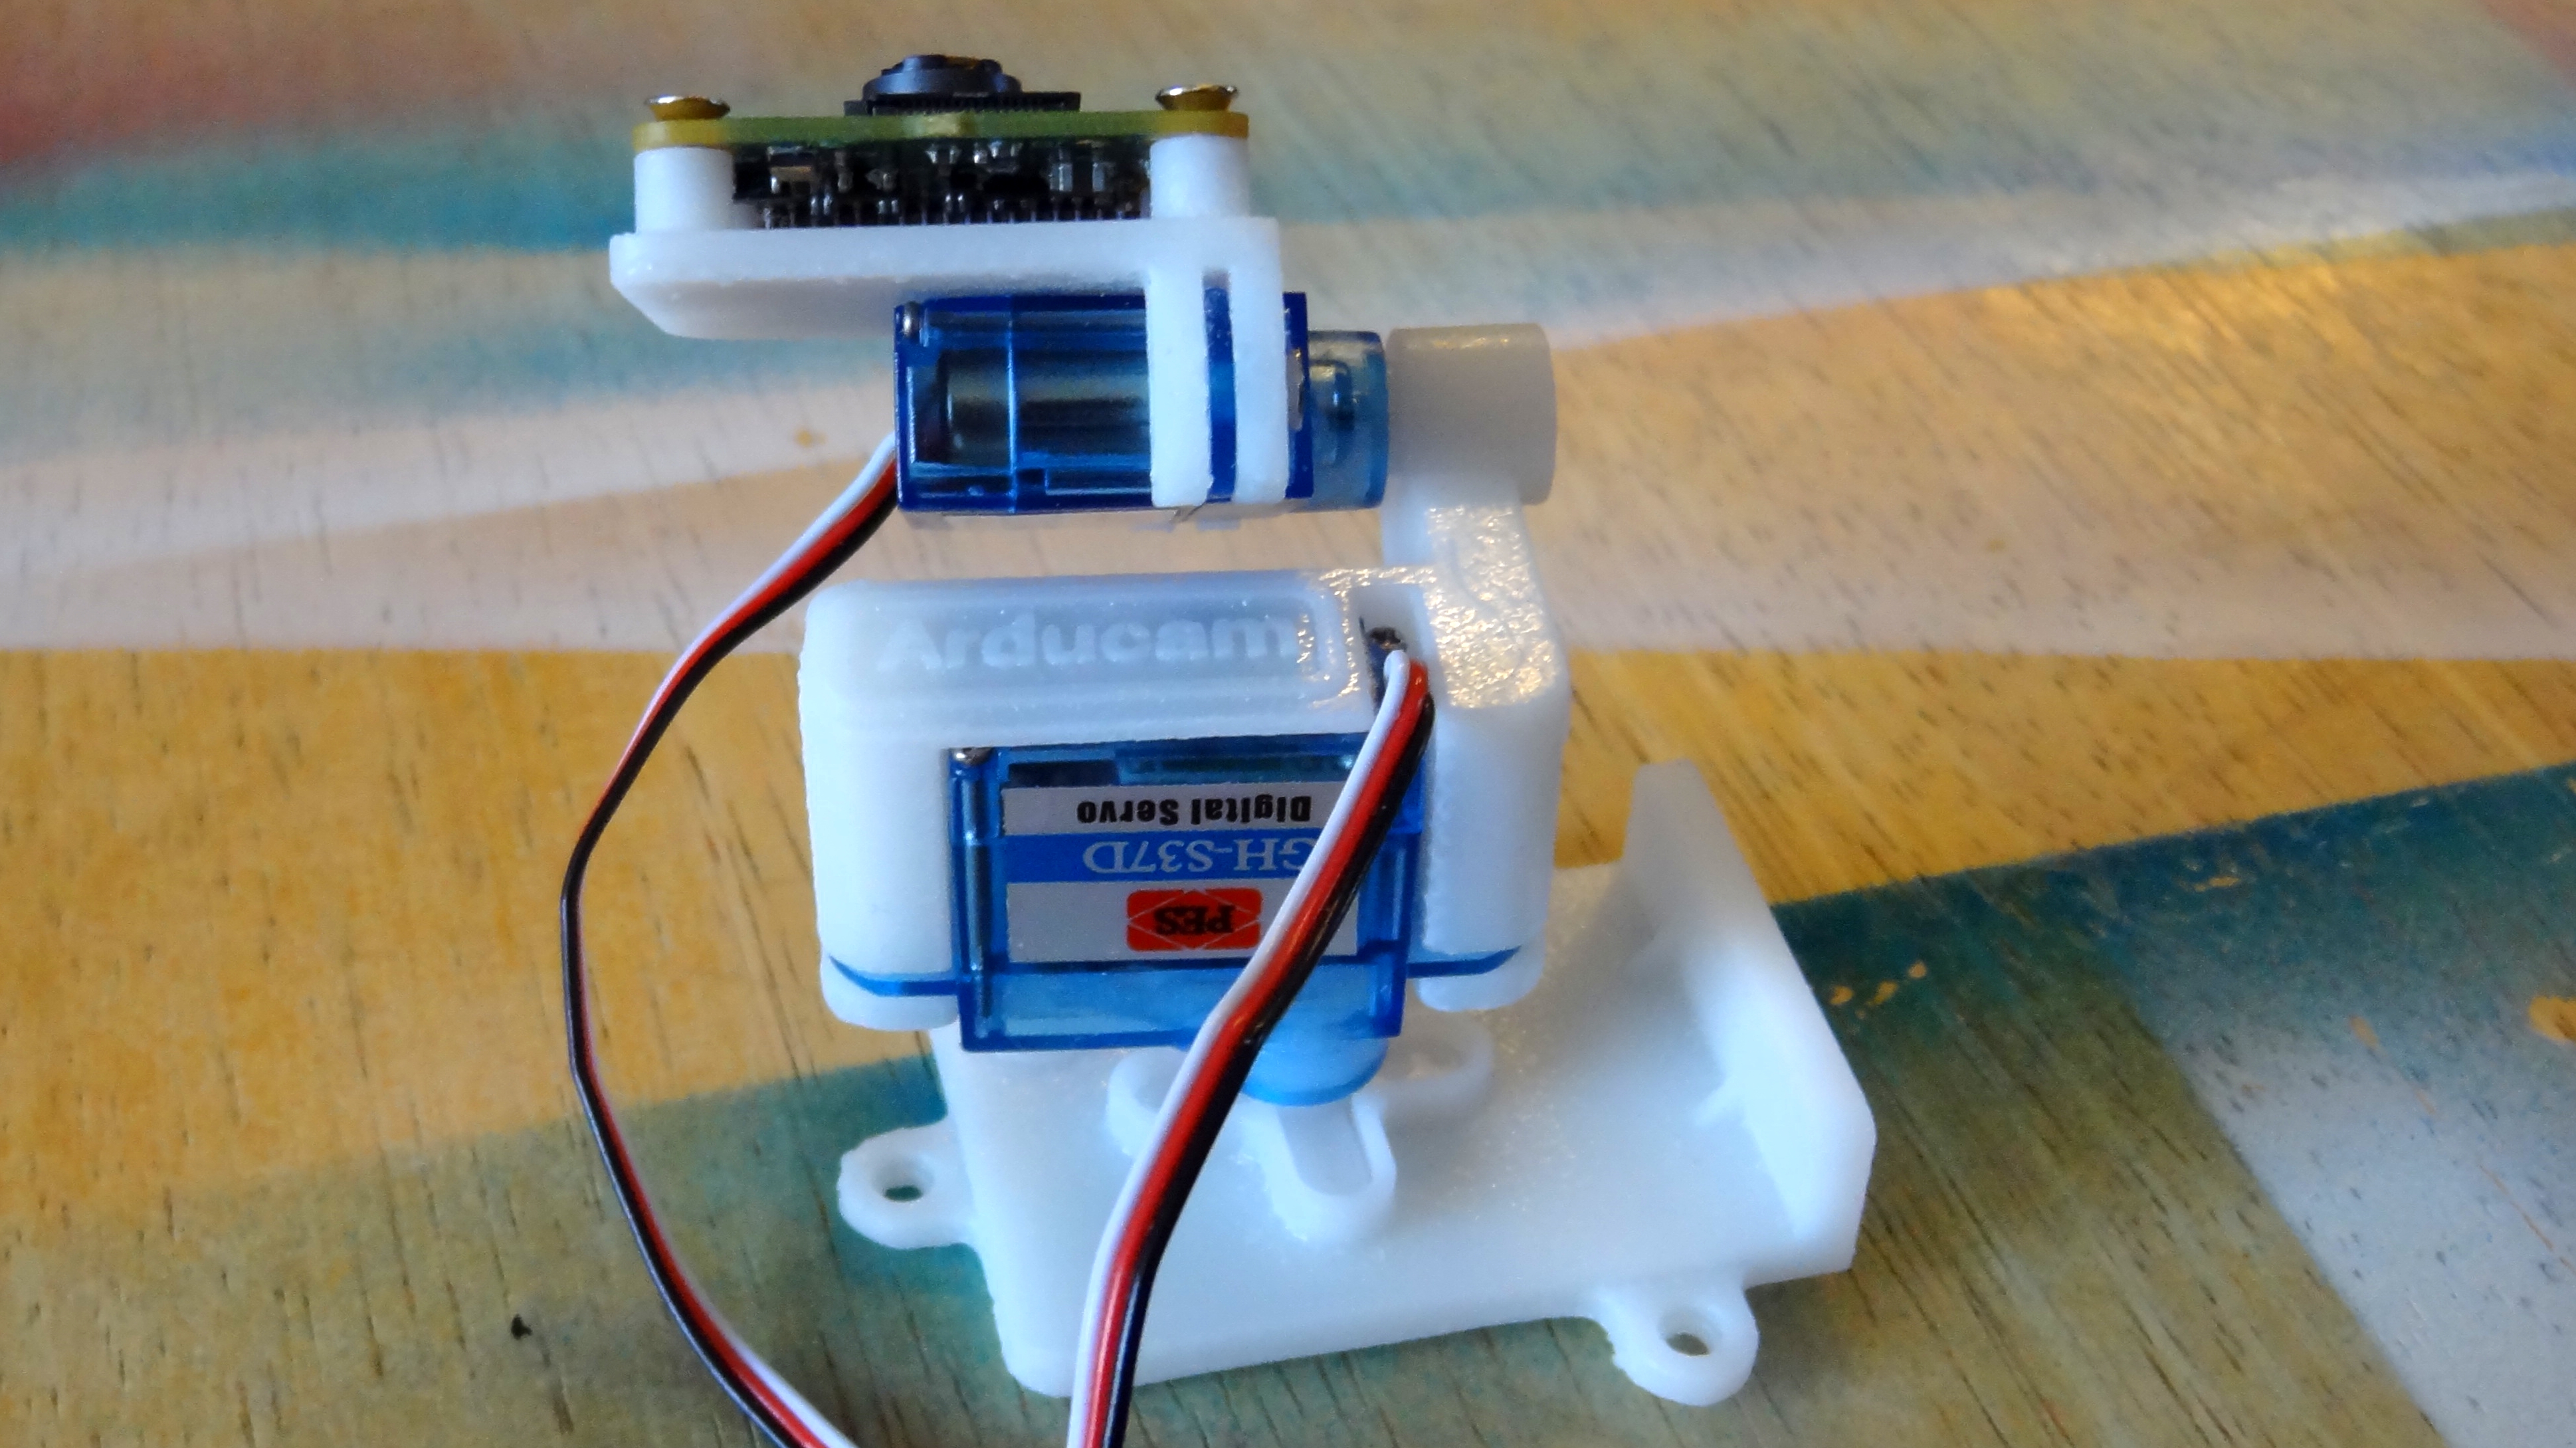
Controlling servos requires a dedicated, PCA9685 control chip that uses the Raspberry Pi’s I2C interface. Power for the Pan Tilt Platform board is provided in two ways. First the board itself is powered from the 3.3V pin of the Raspberry Pi and this connects to the VCC pin of the board. Do not connect your Raspberry Pi to the V+ pin of the Pan Tilt Platform, as this will damage your Pi, something we can attest to. The servos require 5V and this is provided from the Raspberry Pi via a screw terminal on the board. The other part of this kit are three 3D printed components that house the two servos used for motion and provide the pan and tilt functionality. One of these pieces is printed with mounts for the official Raspberry Pi Camera (v1.3 to 2.1). The Pan Tilt Platform is not compatible with the new HQ Camera.
Building the Pan Tilt Platform
Assembling the kit is trivial and took us only five minutes to do. The included instructions are sparse but have just enough information to complete the task . A word of warning though: the included instructions are a little unclear as to the wiring of the Pan Tilt Platform. The instructions are printed quite small and in black and white which was problematic for our old eyes.
A much easier to read PDF of the instructions helped with our assembly.
The Pan Tilt Platform’s nearest comparison comes from Pimoroni’s Pan-Tilt HAT which as the name suggests, comes as a HAT that fits on top of the Raspberry Pi. Both Pan Tilt kits offers two servos, andares controlled via I2C. But Pimoroni’s kit can only support two servos, unlike the 16 supported by the Pan Tilt Platform.
Get Tom's Hardware's best news and in-depth reviews, straight to your inbox.
Using the Pan Tilt Platform
To control the Pan Tilt Platform there is an example Github repository which contains a test script that uses the arrow keys to move the pan tilt mechanism. This example script cannot be edited and serves merely as a means to test and play with the kit. What if you wanted to control the servos using code? Inside the Jetson folder, found in the example folder, there is a Python script called ServoKit.py and while this code is written for the Nvidia Jetson board, it can be used with the Raspberry Pi. To do so a Python module, adafruit-circuitpython-servokit, which was made by Adafruit for a different pan and title device, can be installed and edited to control the Pan Tilt Platform.
Use Cases for the Pan Tilt Platform
A camera which can be positioned for a “better view” would be useful for home security projects where a sensor triggers the servo to move the camera to face the source of the trigger. The Pan Tilt Platform would also be useful for robot vision, providing control of where the robot can see to avoid obstacles or recognise objects.
Bottom Line
Coming in at around half the cost of Pimoroni’s Pan-Tilt HAT, itself a two servo pan tilt mechanism for the official Pi cameras, the Pan Tilt Platform is great value for money. Building this kit is really easy and if you follow the instructions to the letter you will not make the mistake that we did.
The biggest negative we have with the Pan Tilt Platform is that the breakout board is not a HAT / pHAT. The HAT format would offer plenty of support with which to mount the platform, and it would neaten up a few of the wires as it would be directly connected to the GPIO. Also, if it were the same size as a Raspberry Pi Zero W then the Pan Tilt Platform would be perfect.
That being said the Pan Tilt Platform is cost effective, easy to install and with the extra Python module it can be added to your existing camera project.

Les Pounder is an associate editor at Tom's Hardware. He is a creative technologist and for seven years has created projects to educate and inspire minds both young and old. He has worked with the Raspberry Pi Foundation to write and deliver their teacher training program "Picademy".
