Tom's Hardware Verdict
Wrapping up a powerful Pi 4, high-res camera and helpful software into a sturdy package, the Vizy is an ideal choice for learning computer vision. But it doesn’t come cheap.
Pros
- +
+ Easy to get started
- +
+ Well built
- +
+ Great software
- +
+ Excellent camera
- +
+ Interchangeable lenses
Cons
- -
Limited GPIO access
- -
Raspberry Pi gets hot
- -
Pricey
Why you can trust Tom's Hardware
When the Raspberry Pi 4 burst onto the scene, with four 1.5 GHz CPU cores and up to 8GB of RAM there was a gasp from the community. The extra horsepower provided those interested in machine learning and AI to finally use the Raspberry Pi to power their projects. Over time, TensorFlow and TensorFLow Lite saw numerous upgrades and finally cemented the Raspberry Pi as the ideal low cost introduction to the topic. The problem is , where do we start?
Vizy from Charmed Labs, starting at $259 for a unit that comes with a Raspberry Pi 4 2GB or $269 - $299 for 4 or 8GB, is a smart camera for those starting out with machine learning. Using the power of the Raspberry Pi 4 and an exceptionally capable, high-quality camera, Vizy makes it easy for students or more advanced makers to build computer vision projects.
Vizy Hardware Specifications
| Raspberry Pi Model | Raspberry Pi 4 2GB/4GB/8GB |
| Camera | Sony IMX477 12.3 megapixel (Same as Raspberry Pi High Quality Camera) |
| Row 2 - Cell 0 | Switchable IR filter for day or night use |
| Lens | Wide-angle, distortion-free lens |
| GPIO | 8 GPIO pins via screw terminal |
| Row 5 - Cell 0 | 1 x 12V |
| Row 6 - Cell 0 | 1 x 5V |
| Row 7 - Cell 0 | 2 x GND |
| Row 8 - Cell 0 | 4 x Input / output pins |
| Dimensions | 4 x 6 x 4 inches (101 x 152.4 x 101 mm) |
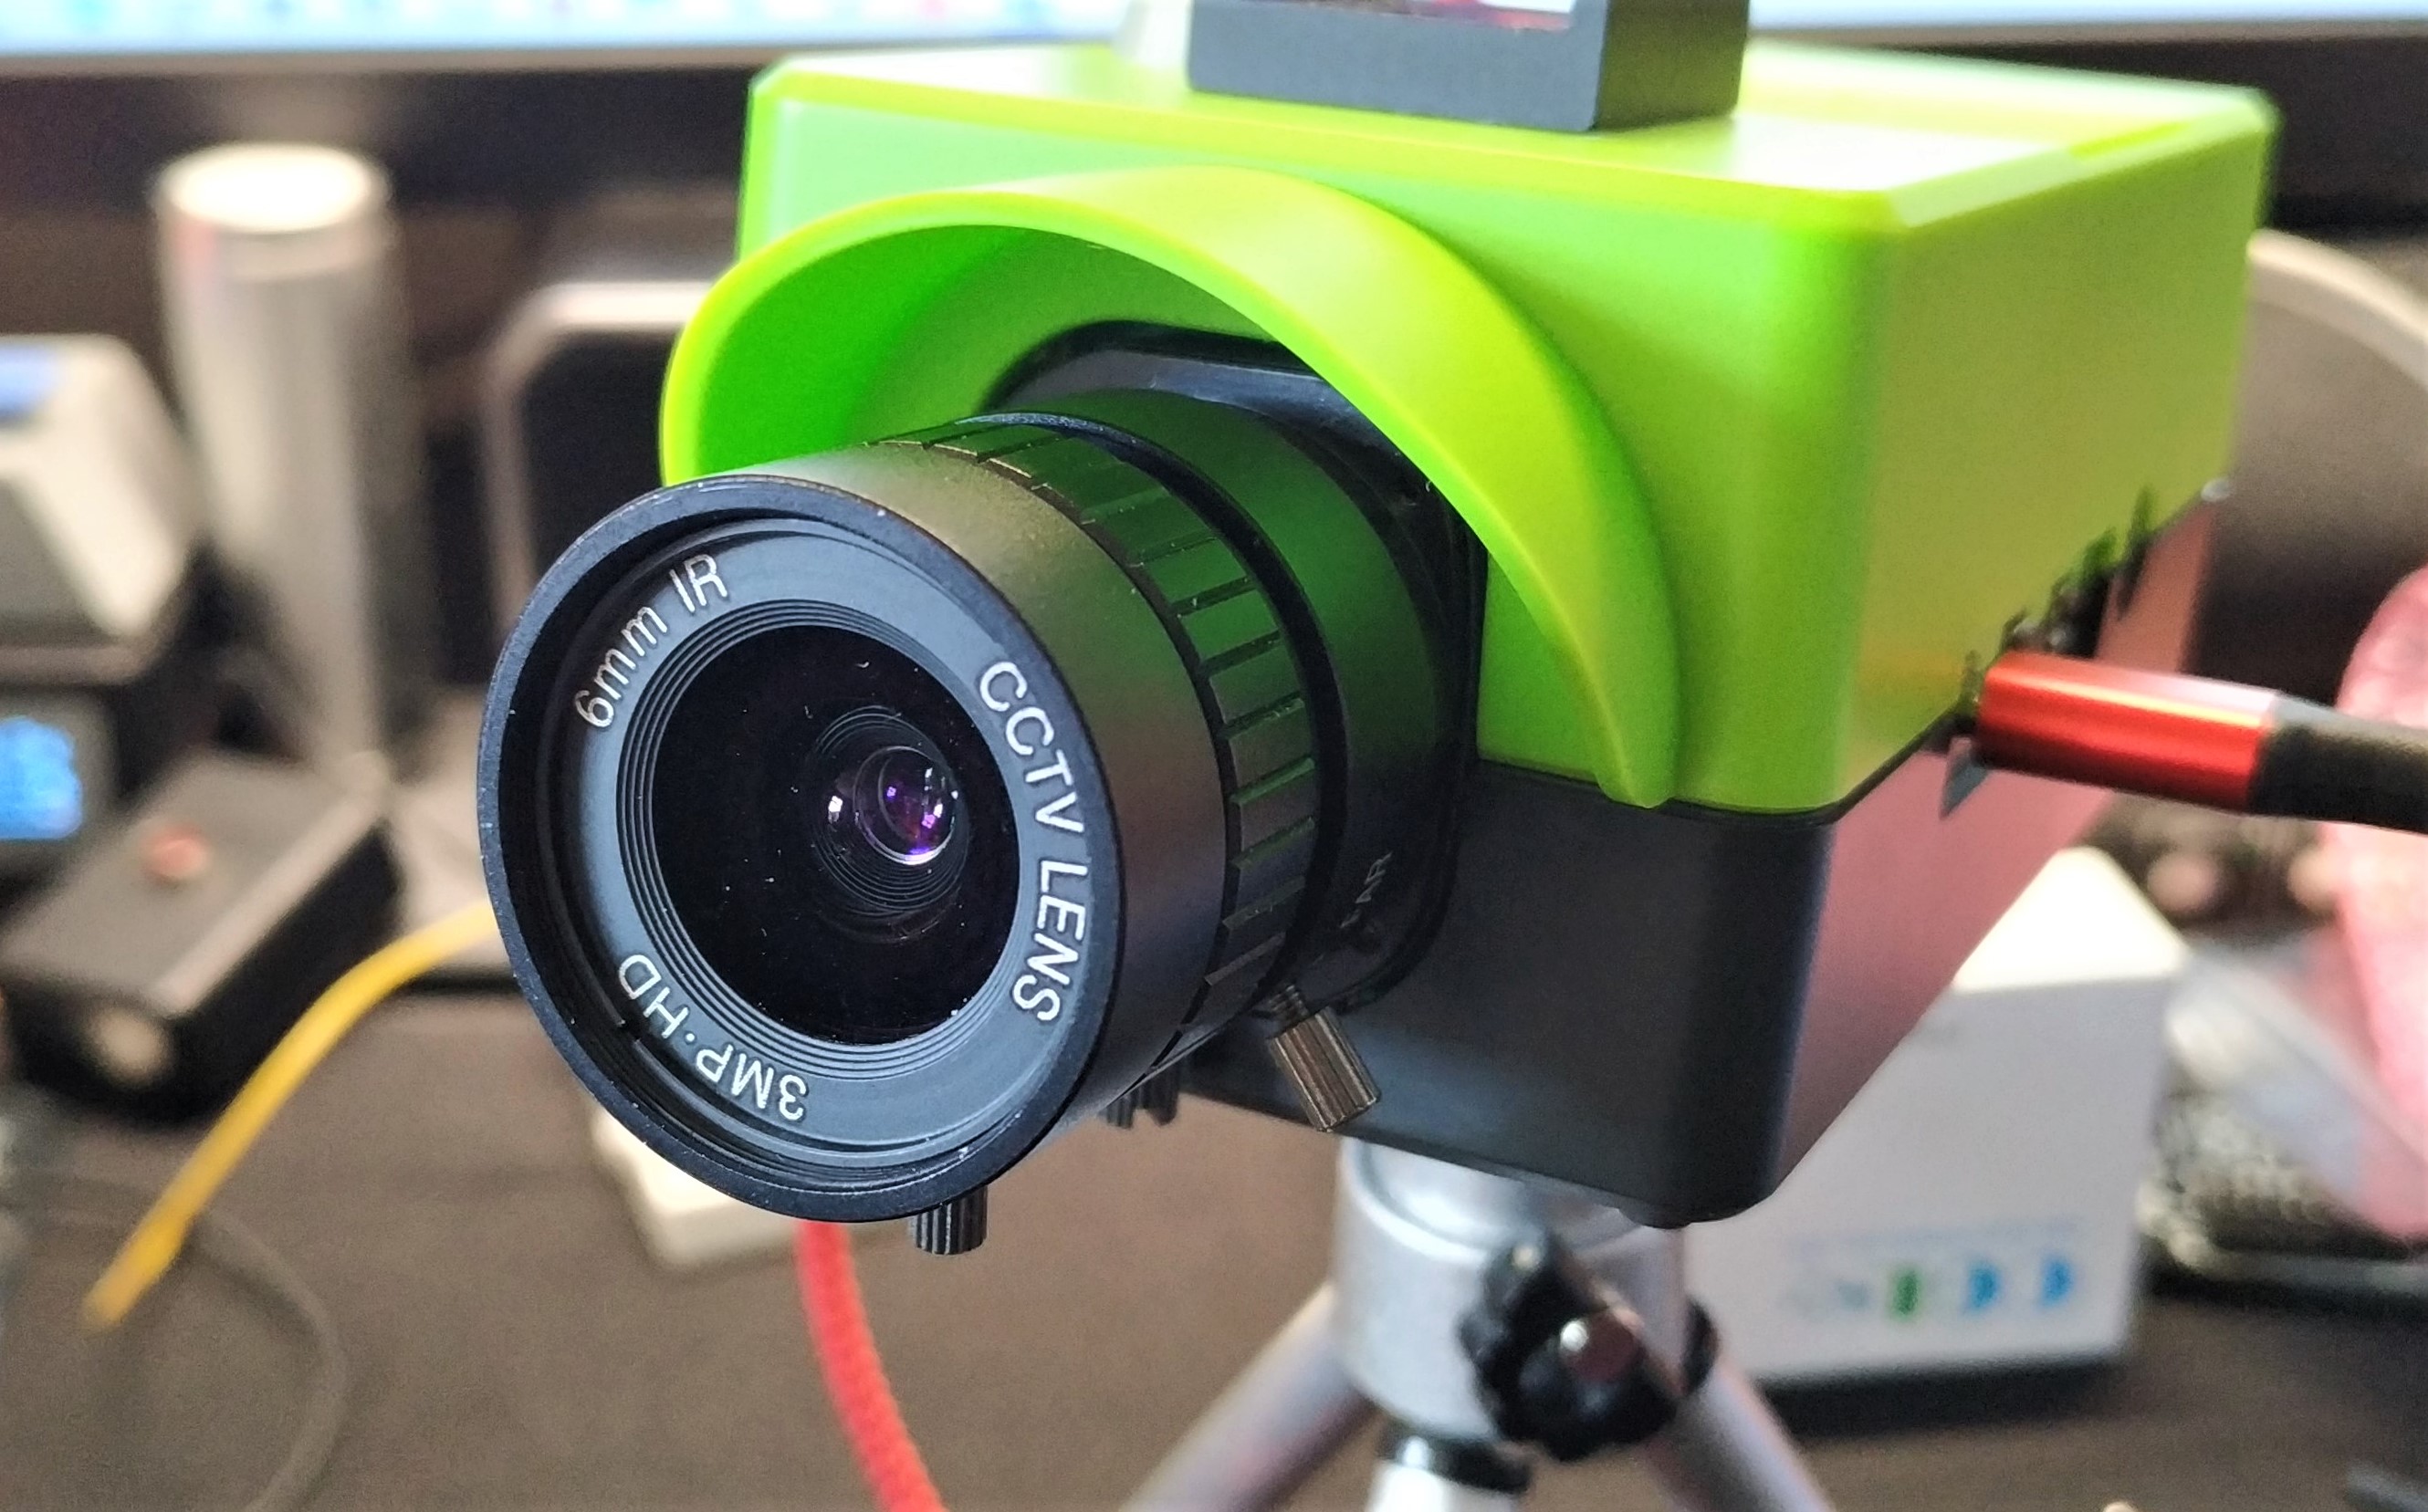
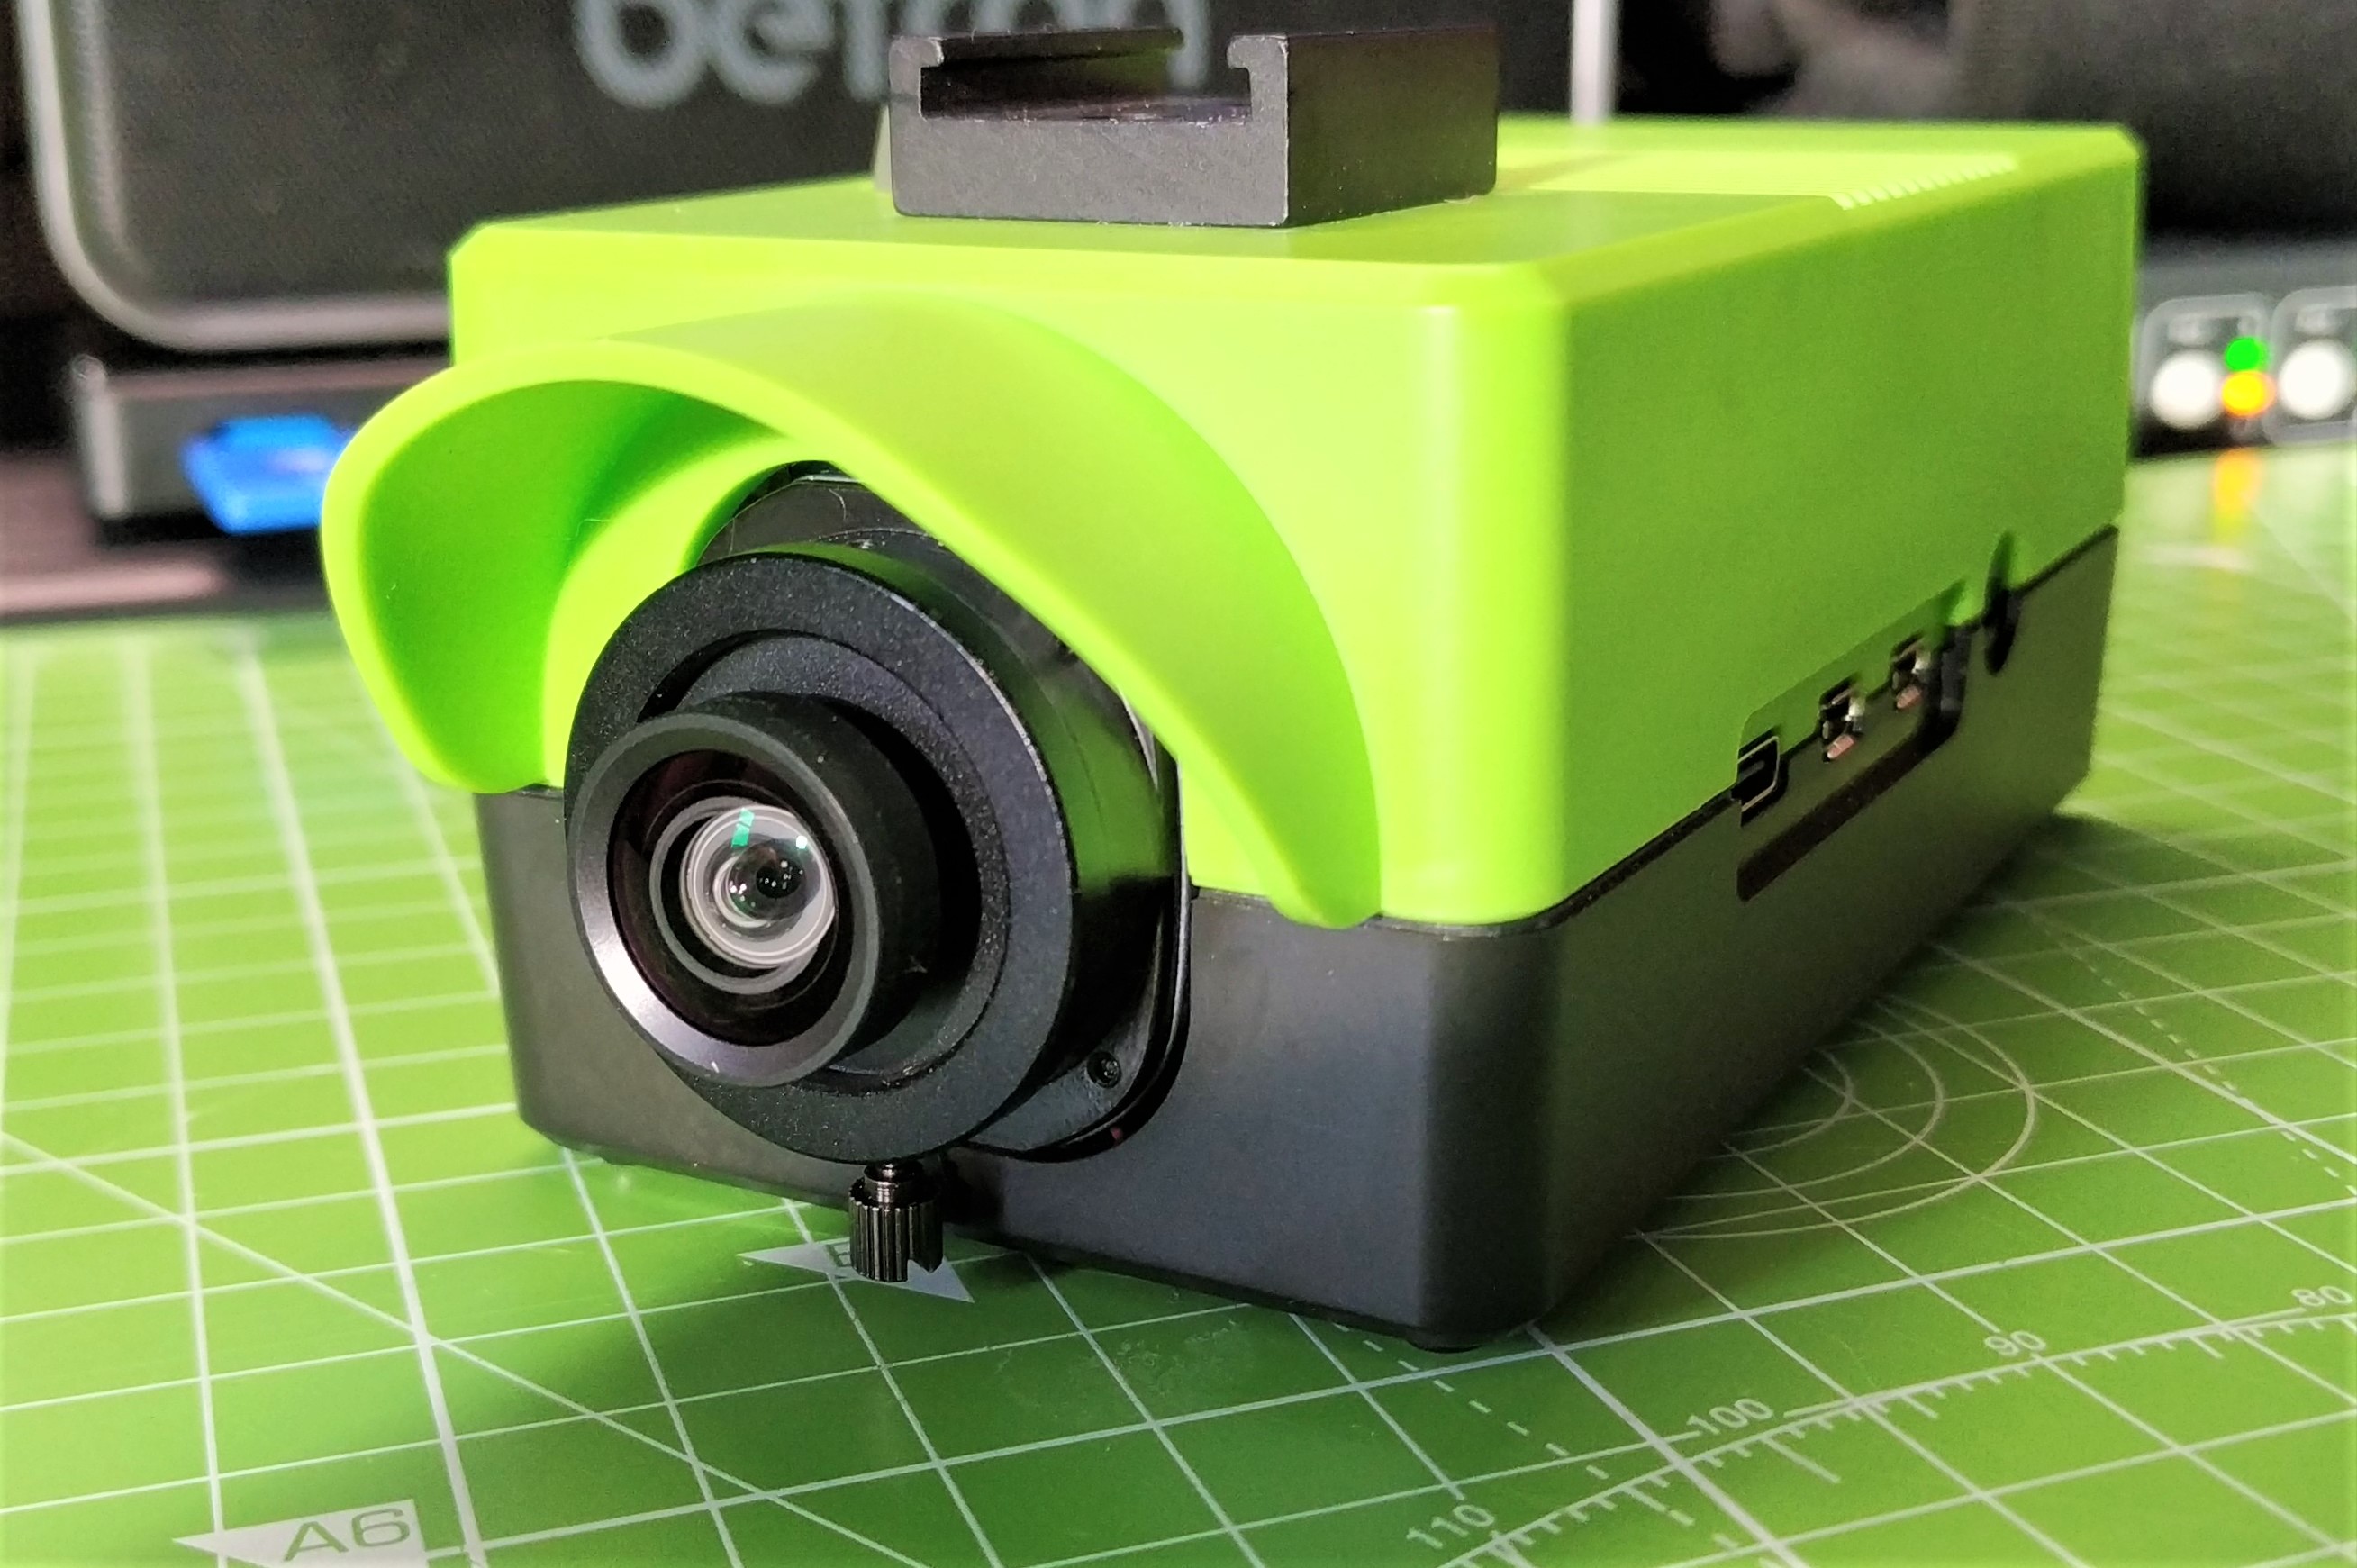
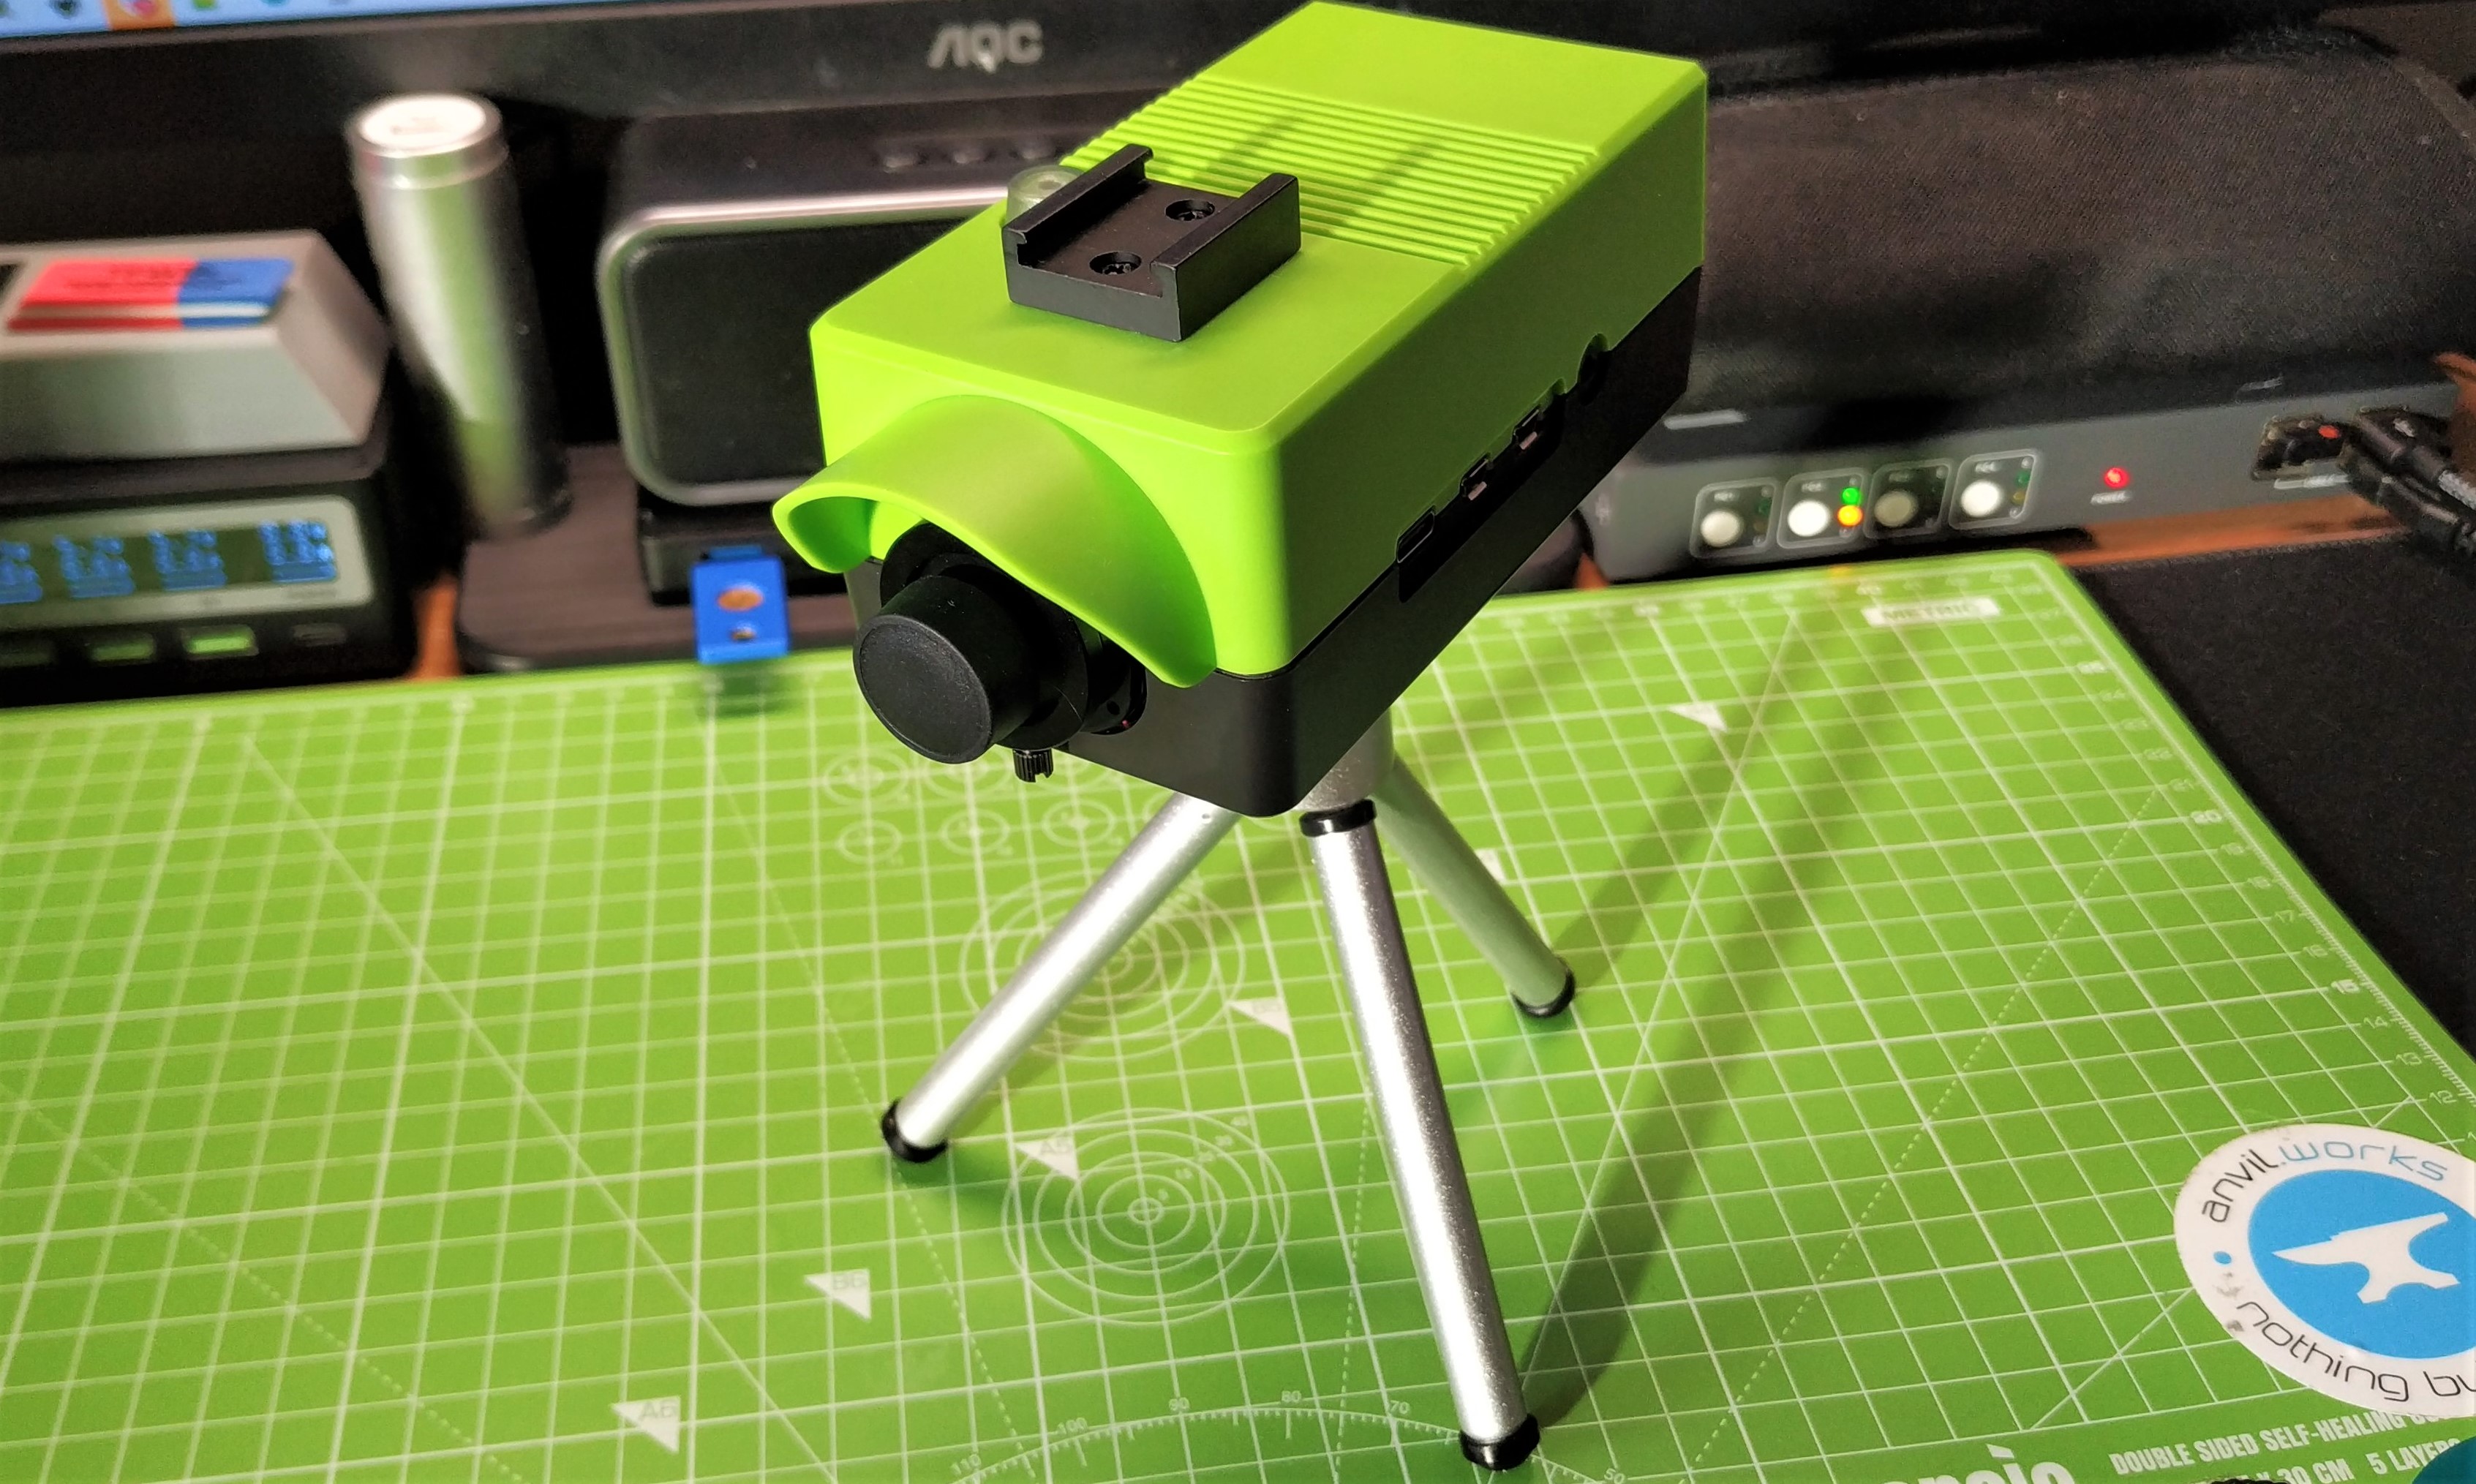
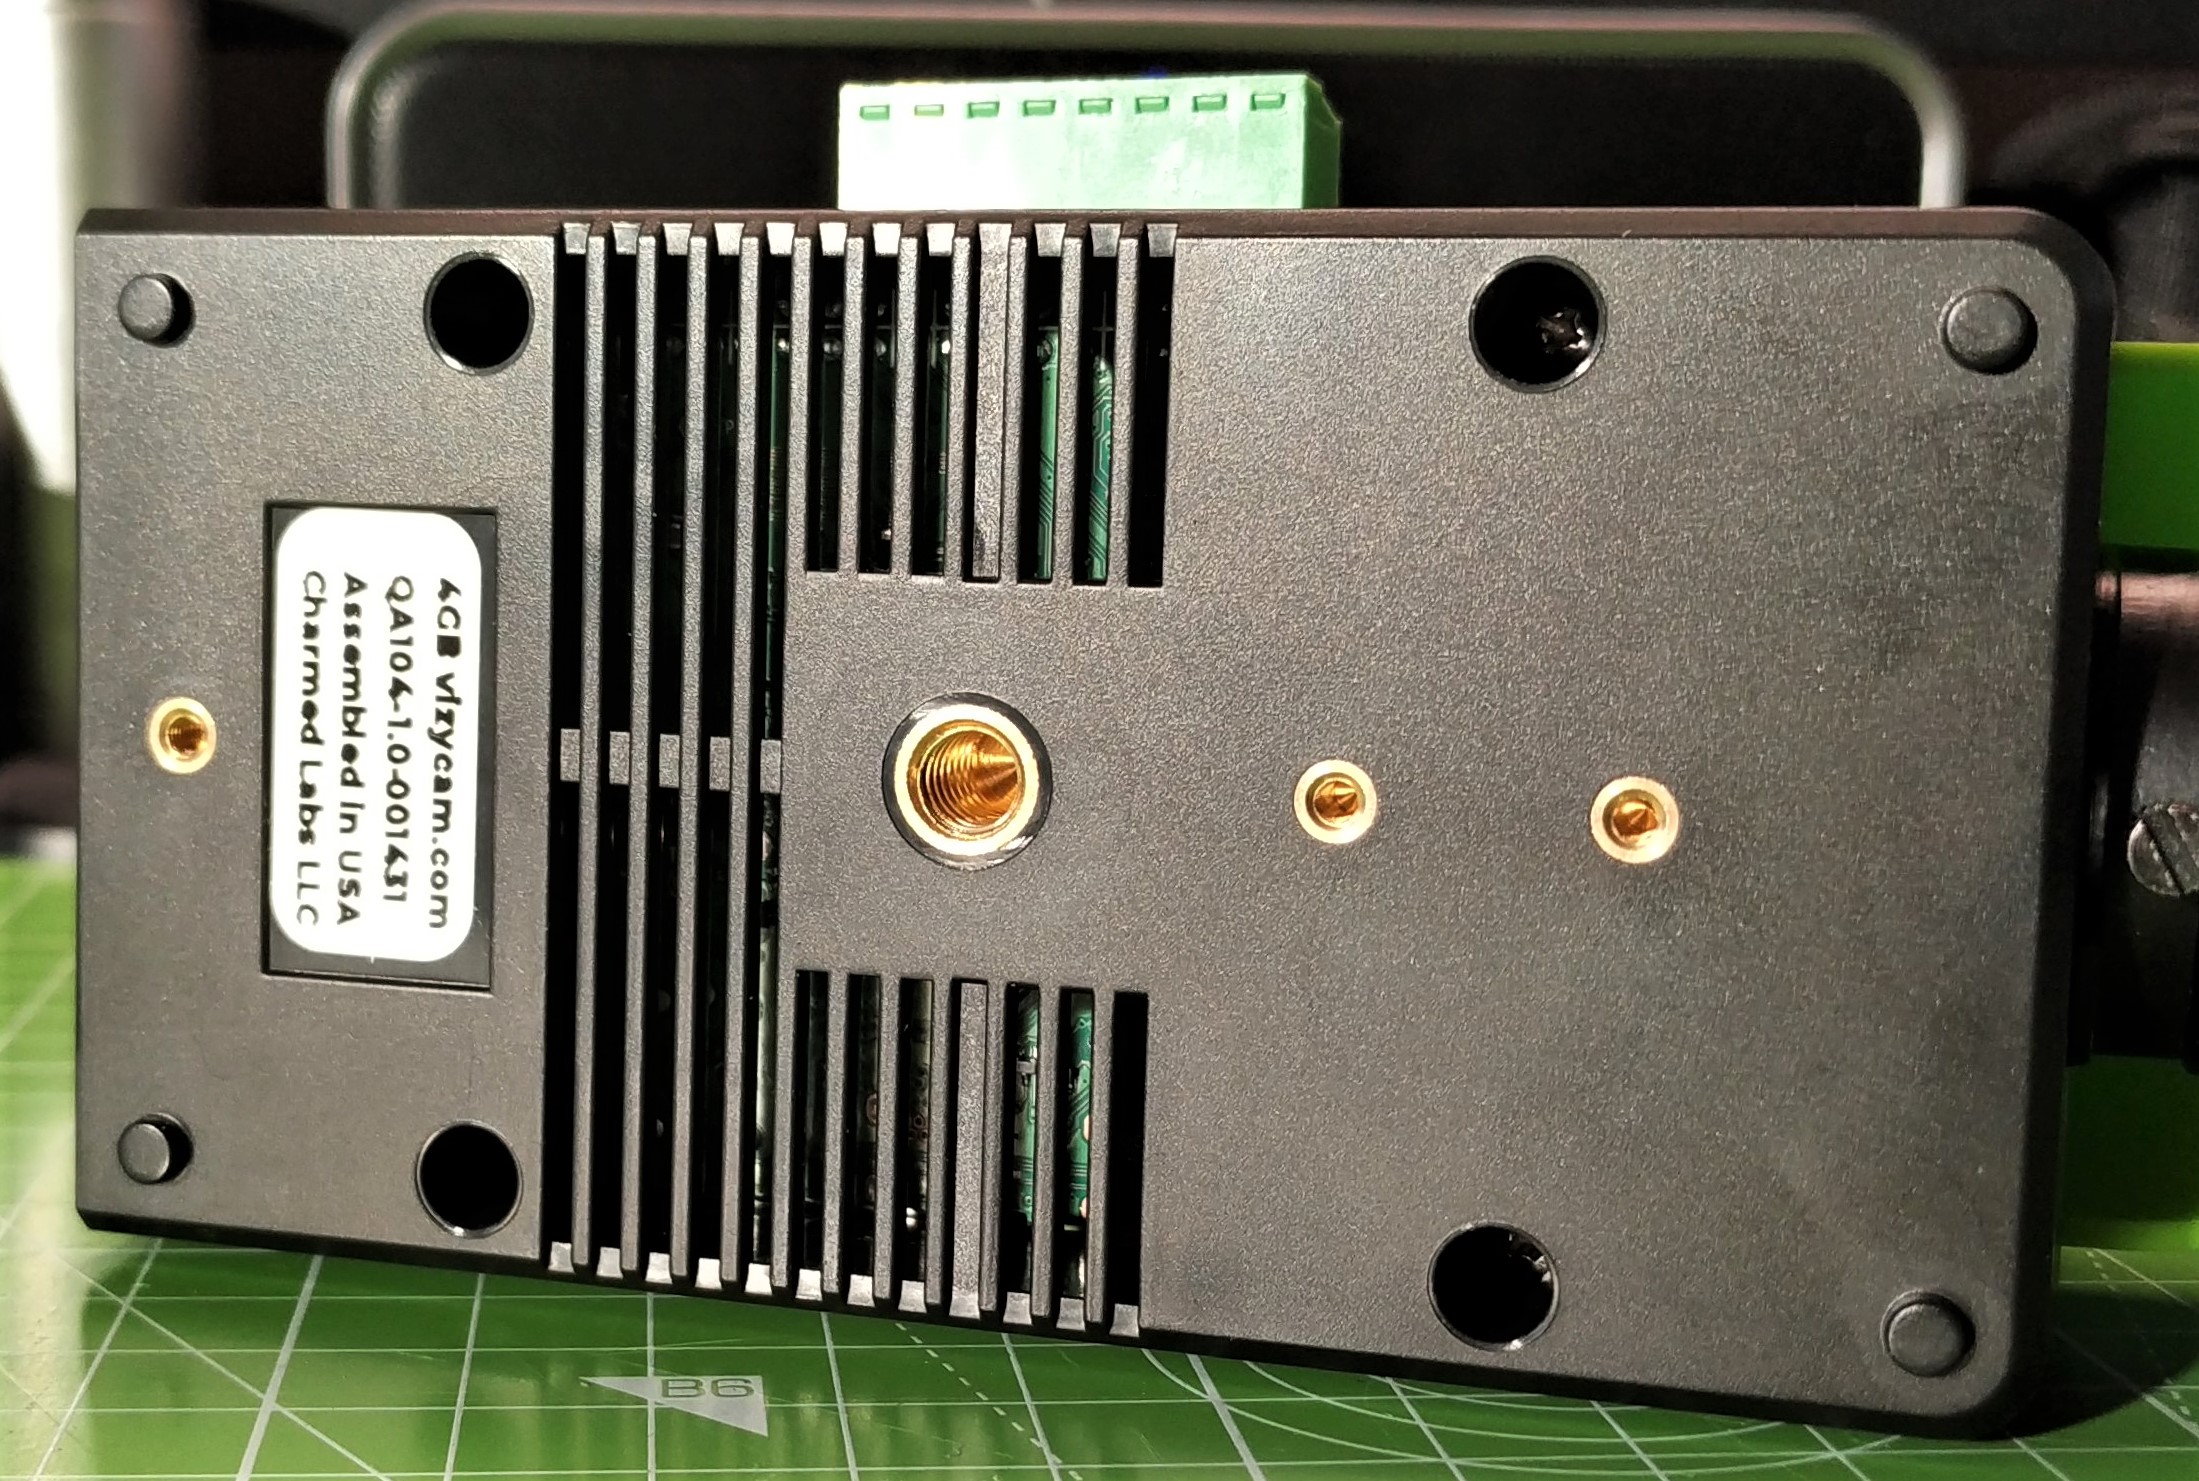
The supplied green case is vibrant, and all plastic. On the underside, we see a ¾ screw mount for tripods, which is very useful and it secures Vizy on your desk, unlike other Raspberry Pi cameras. Power is supplied via the included 120V 2.5A AC wall wart which powers the Pi (via a 5V buck converter on a custom addon board) and provides external power to 12V devices. You can also power the unit via the Raspberry Pi 4’s own USB-C port, which is how we tested the unit.
On the top of the unit is a clear button (that also hides an RGB LED) which is set to power on Vizy, and can be set to toggle the unit on and off. The button also hides an RGB LED that we can control via Python code. Next to the button is a cold shoe mount. These are common in the photography world as most DSLRs come with a “hot shoe”. The difference between a cold and hot shoe is that the hot shoe provides power. Cold shoe mounts are there to hold an accessory in place. For Vizy, you can purchase an LED mount kit to shine a light on the subject of your project.
The Vizy case is great, it looks great and it is solidly made. But this is not a case for your outdoor projects. For that you will need to go up to the Vizy outdoor package which retails between $369 and $409.
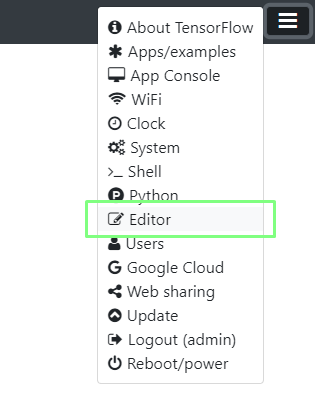
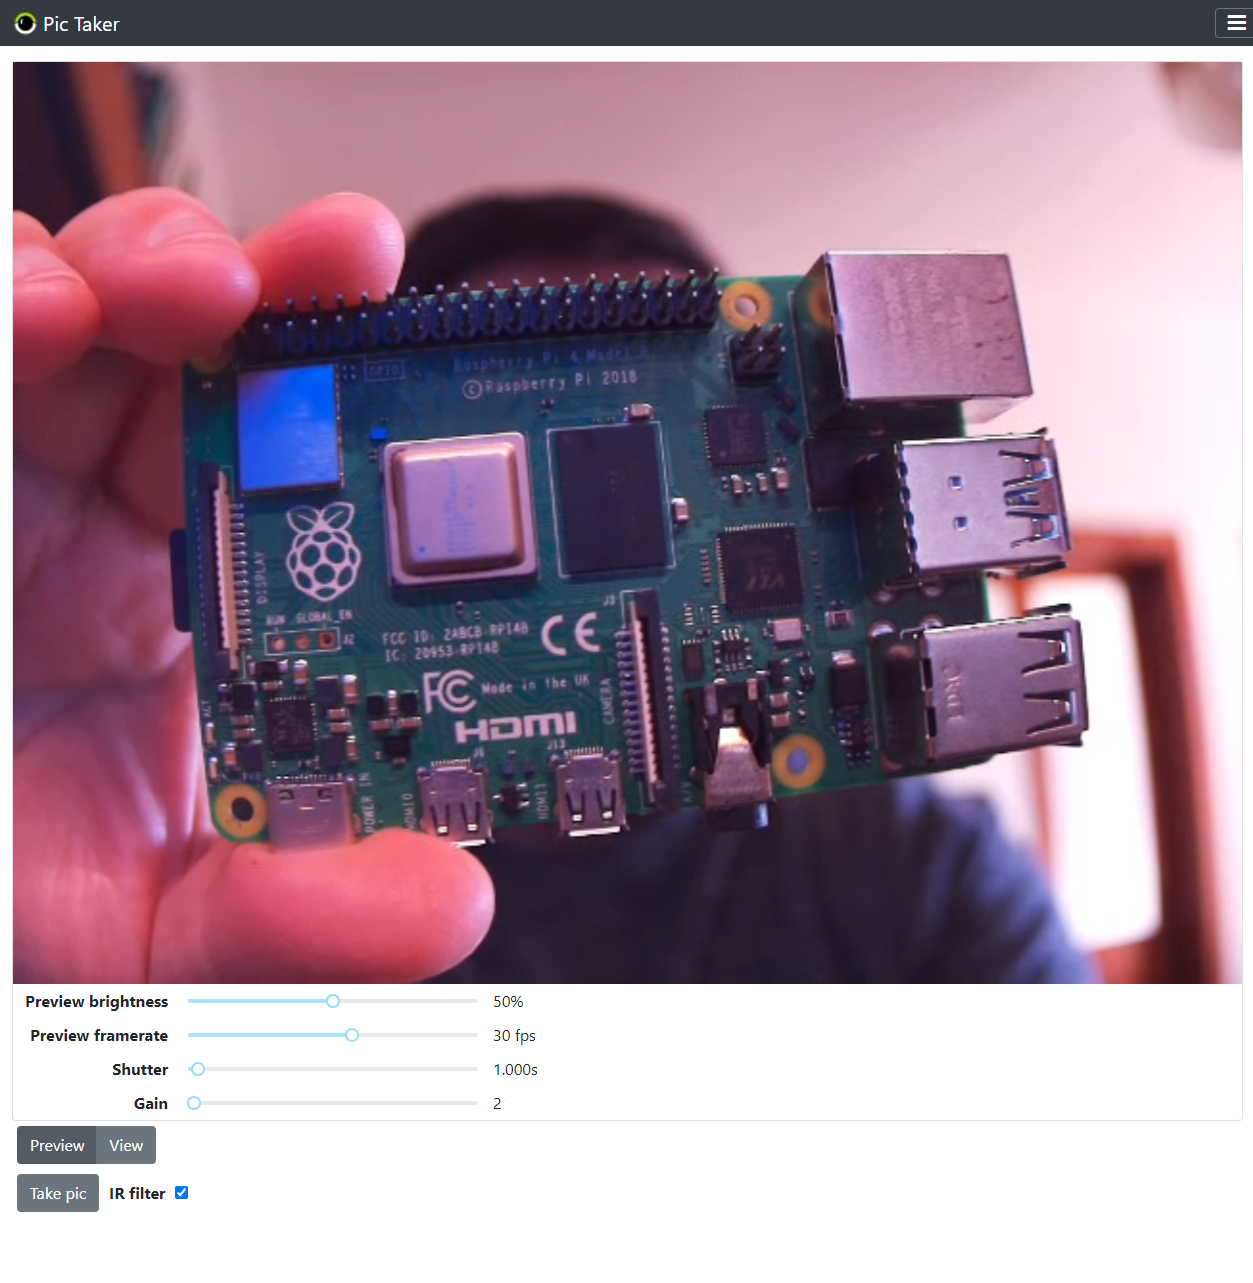
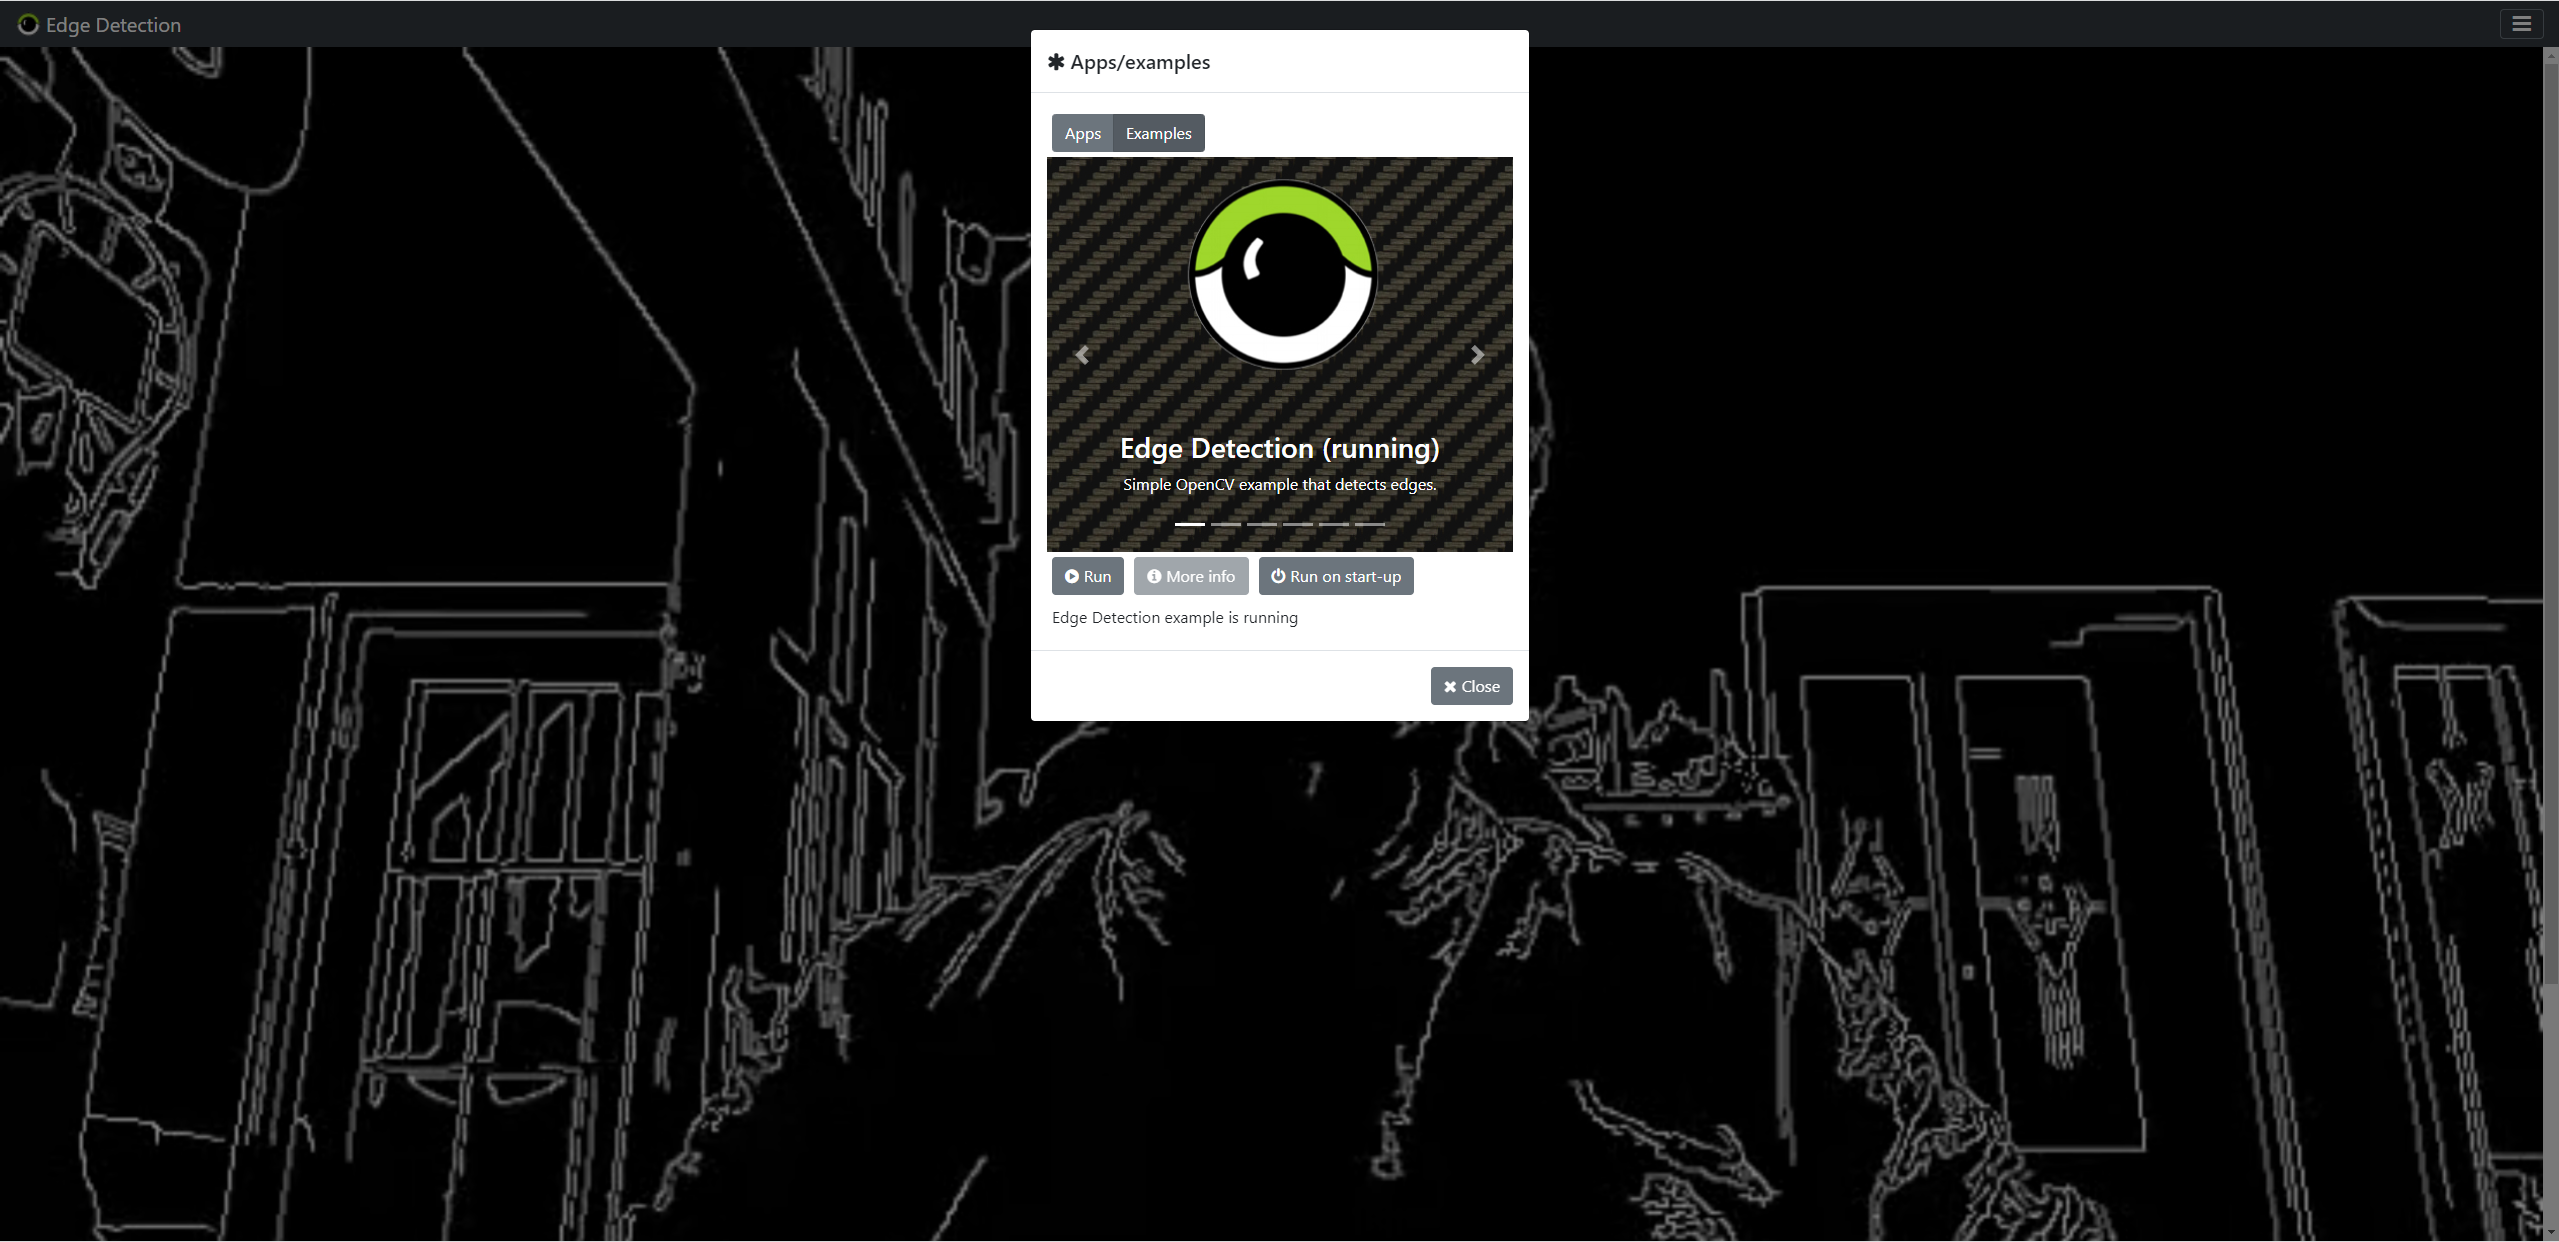
Moving from the hardware to the software, Vizy ships with a series of apps and examples, but it would be worthwhile to update your OS install as new apps and examples have been released. Vizy is controlled via a web interface rather than a desktop and, by opening vizy.local in your browser, you are presented with a login screen. Logging in with the default credentials, remember to change them at the first opportunity, we see the default application is an AI bird feeder, but we can swap the app / example via the menu in the top right corner.
The menu hides options to save our images, video and models to a remote location, be this Google’s cloud or our own home server. But more of interest to us is that this menu also hides a Python shell, Linux terminal and a Python editor from where we can tweak the included apps / examples.
Get Tom's Hardware's best news and in-depth reviews, straight to your inbox.
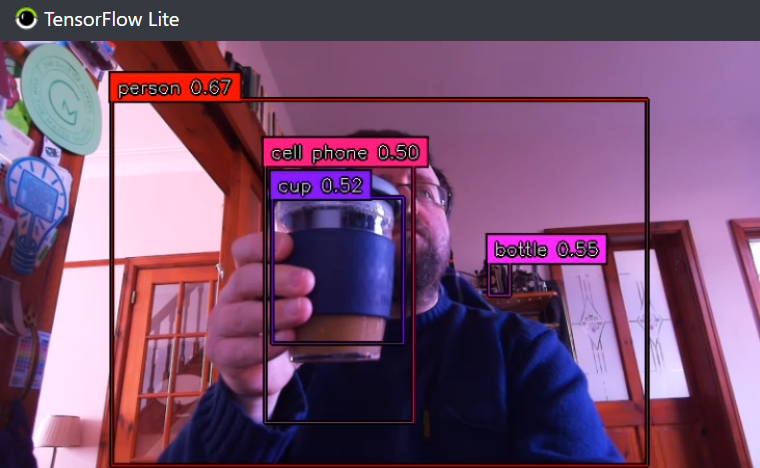
Talking of apps and examples, the AI bird feeder app is a great showcase of what Vizy can do. The smart aspect of Vizy is the AI. Using a TensorFlow model, designed to identify 20 different birds, the birdfeeder can identify, catalog and photograph birds as they feed.
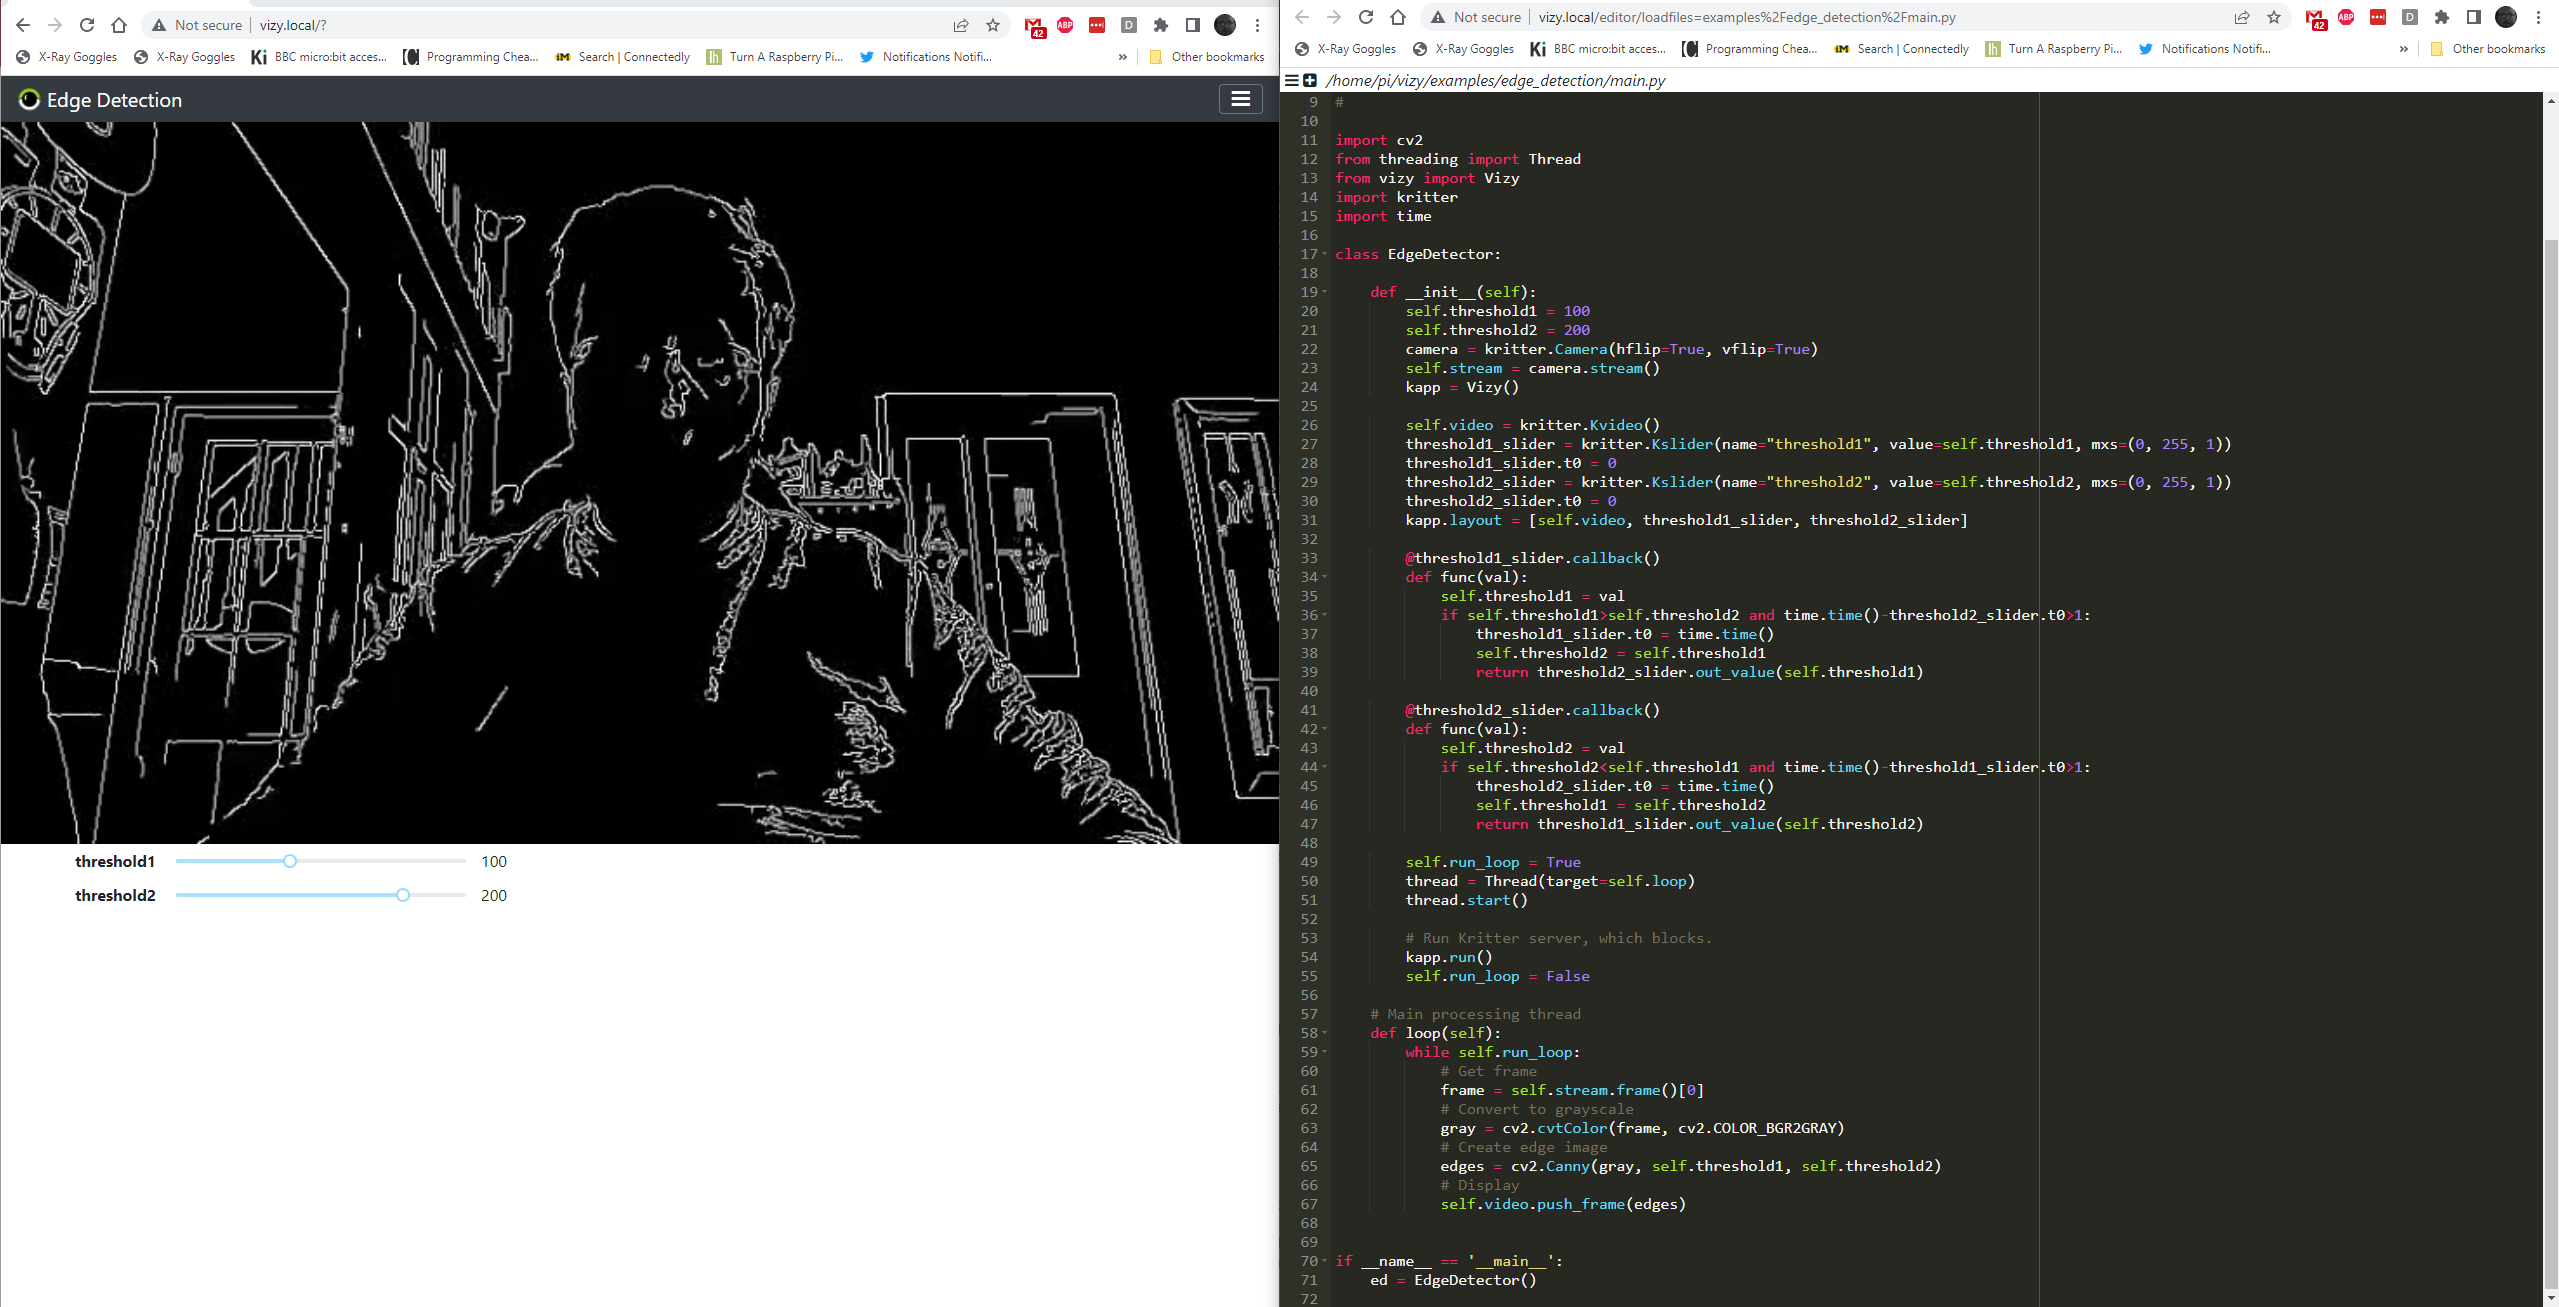
All of the apps and examples can be tweaked. There is an editor button, hidden in the main menu which will launch the online IDE where we can edit and run the code. This is a nice touch, adding a level of immediacy to the learning process. Once an app / example has been updated, the corresponding app window will update to show the changes. This is a nice touch, but once we tested our own script, a simple LED blink we created in the editor, we found that there was no way to run the script. We had to break out of the editor, open a Shell (Linux terminal) and run the code manually. That’s not a difficult task, but for a newcomer, this is a stumbling block.
Creating your own projects is easy enough; the online editor along with Charmed Labs extensive documentation and API reference makes it relatively easy to get started. The power board, a GPIO add-on board, has its own API to control the onboard buzzer, RGB LED, fan controller and IR switch controller for nocturnal photography via the included camera. The camera is controlled using a mix of OpenCV and Kritter. Kritter seems to be the favored module over PiCamera, but the best way to learn is to modify the existing examples and see what happens.
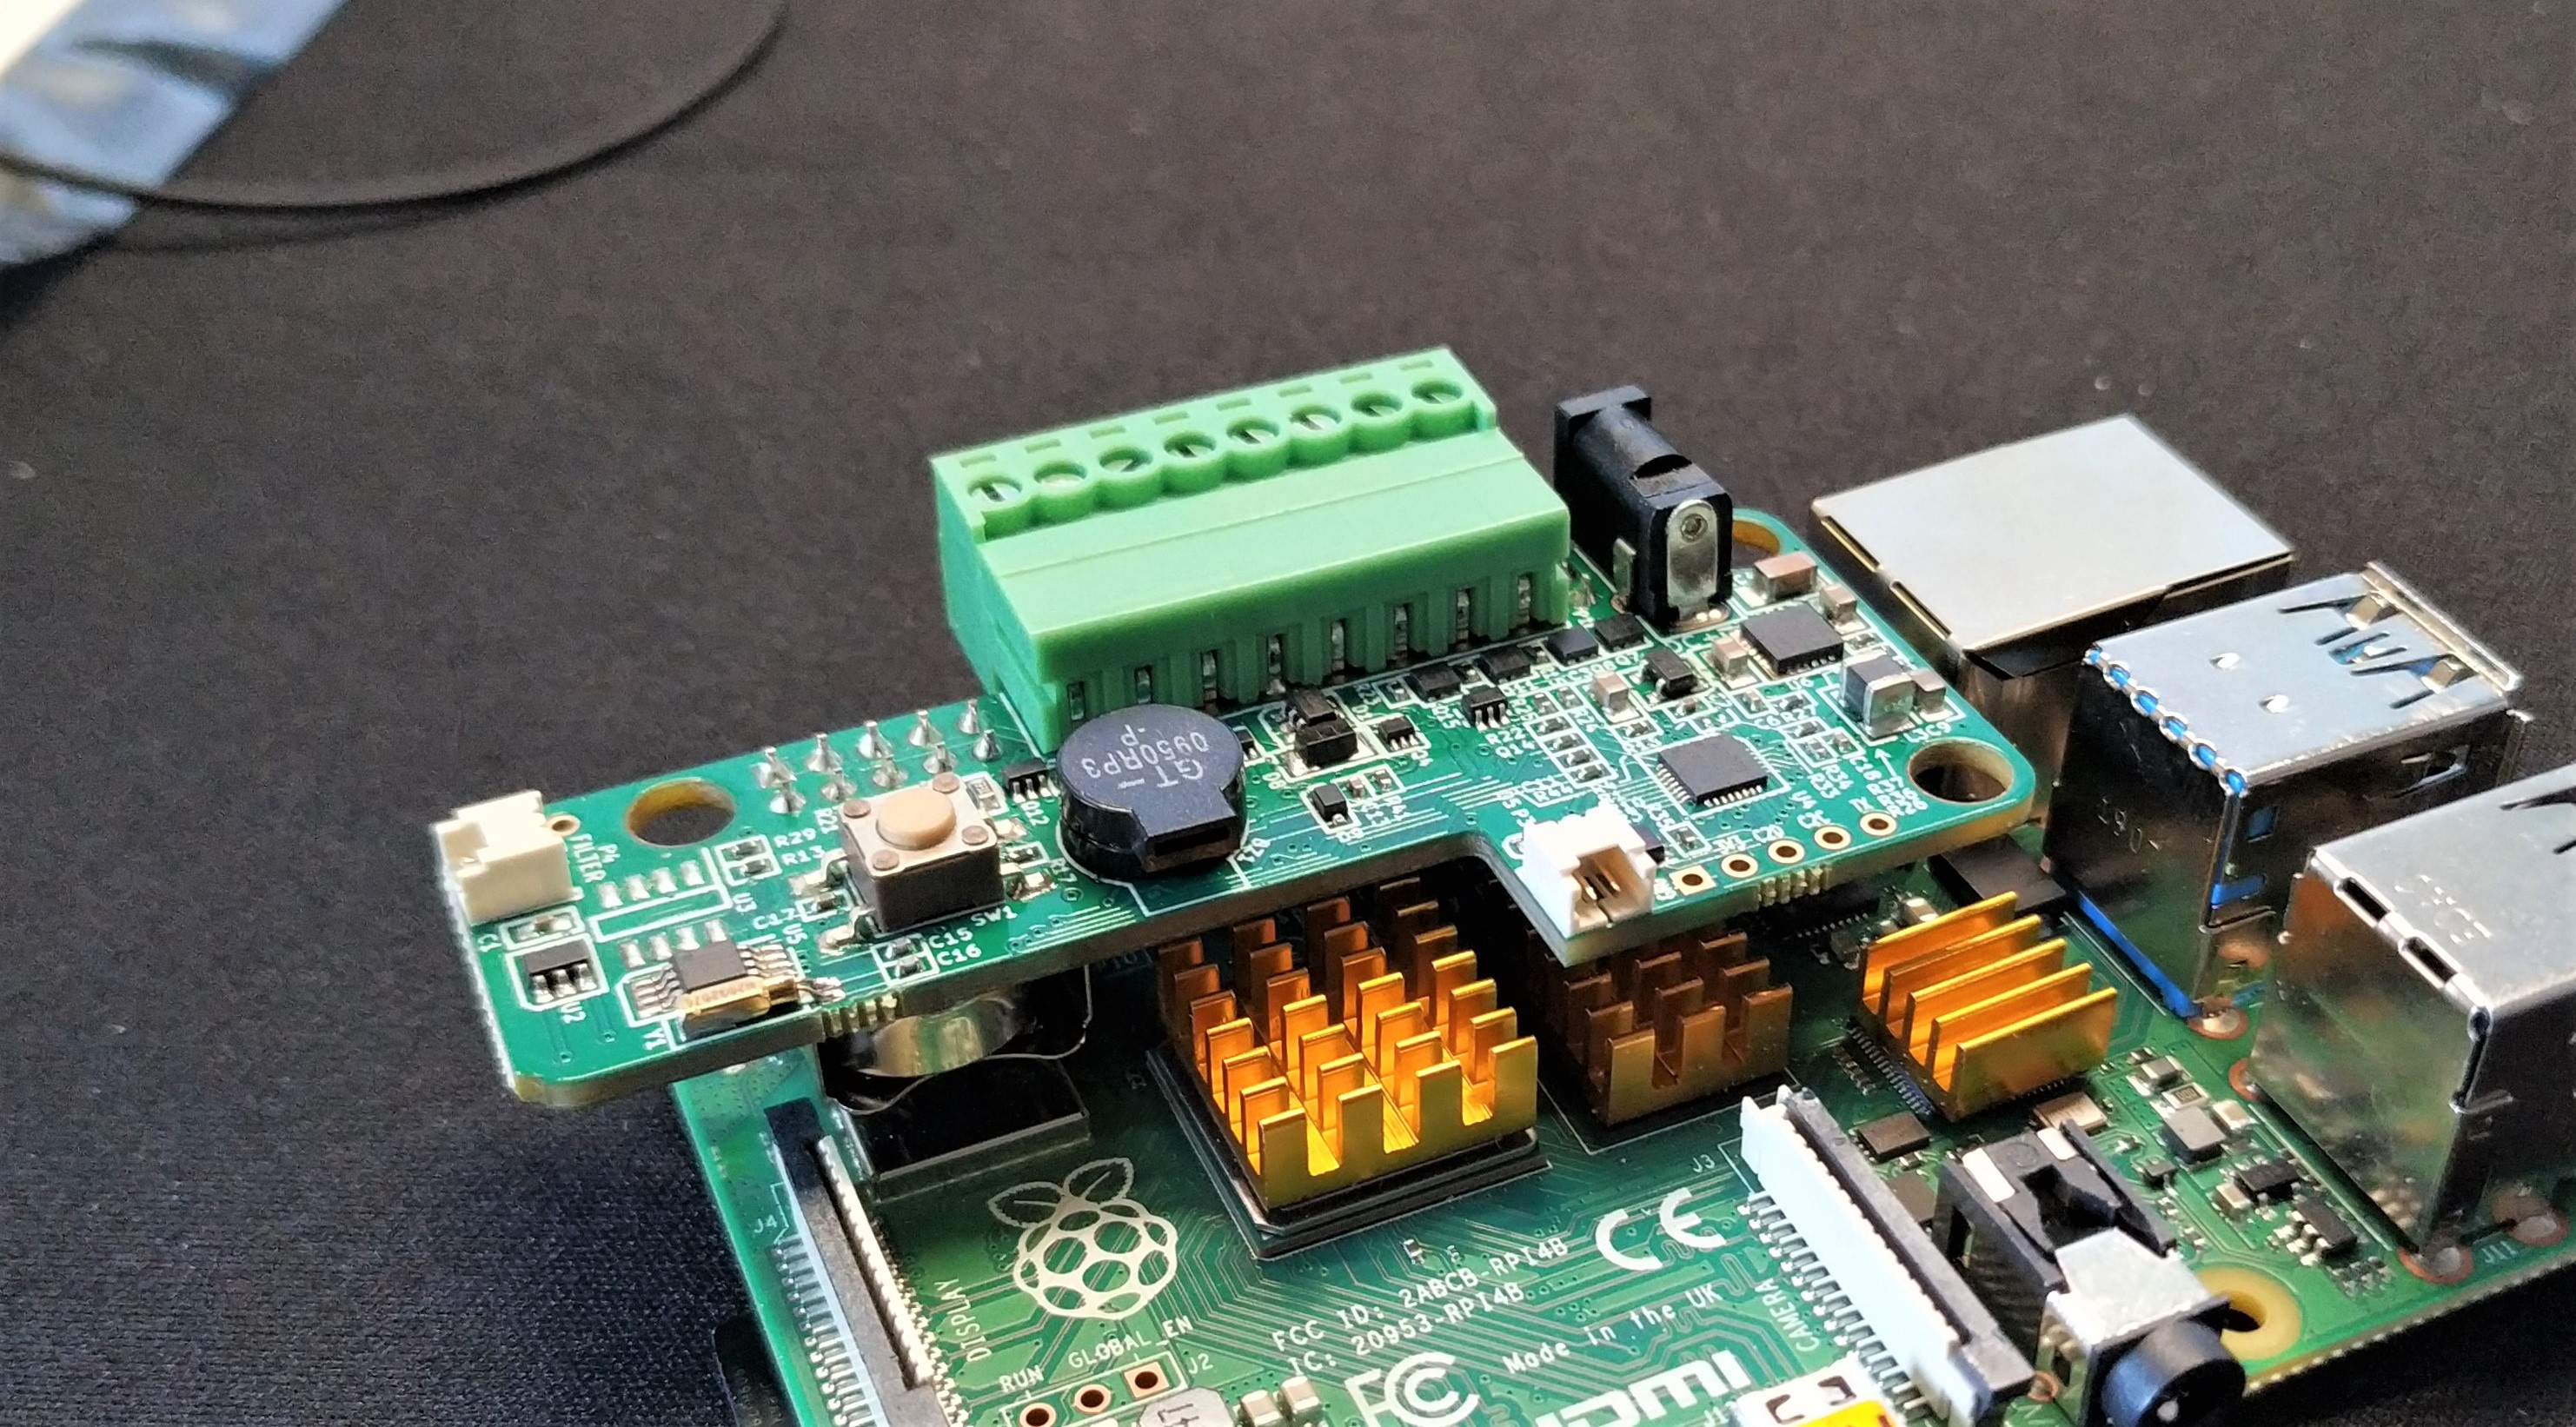
If you were hoping to integrate a HAT or other add-on board, then we’re sorry to dash your hopes. The full 40 pin GPIO is not available, which is unfortunate as the add-on board only uses the 5V, GND, I2C and UART (Serial) pins. Instead of the full GPIO, there is a limited form of GPIO access via a removable screw terminal on the side of the unit. This provides eight GPIO pins, of which only four can be used as digital inputs / outputs.
The first and last terminals are connections to Ground (GND). The second and third provide 12V and 5V voltages at up to 4A (if used with the included power supply). Terminals four to seven are our digital inputs / outputs. Each can sink (provide a path to Ground) 1A of current. Terminals six and seven also double as a serial interface. The add-on board also provides us with a battery backed real time clock, useful for projects which see Vizy away from reliable network connections.
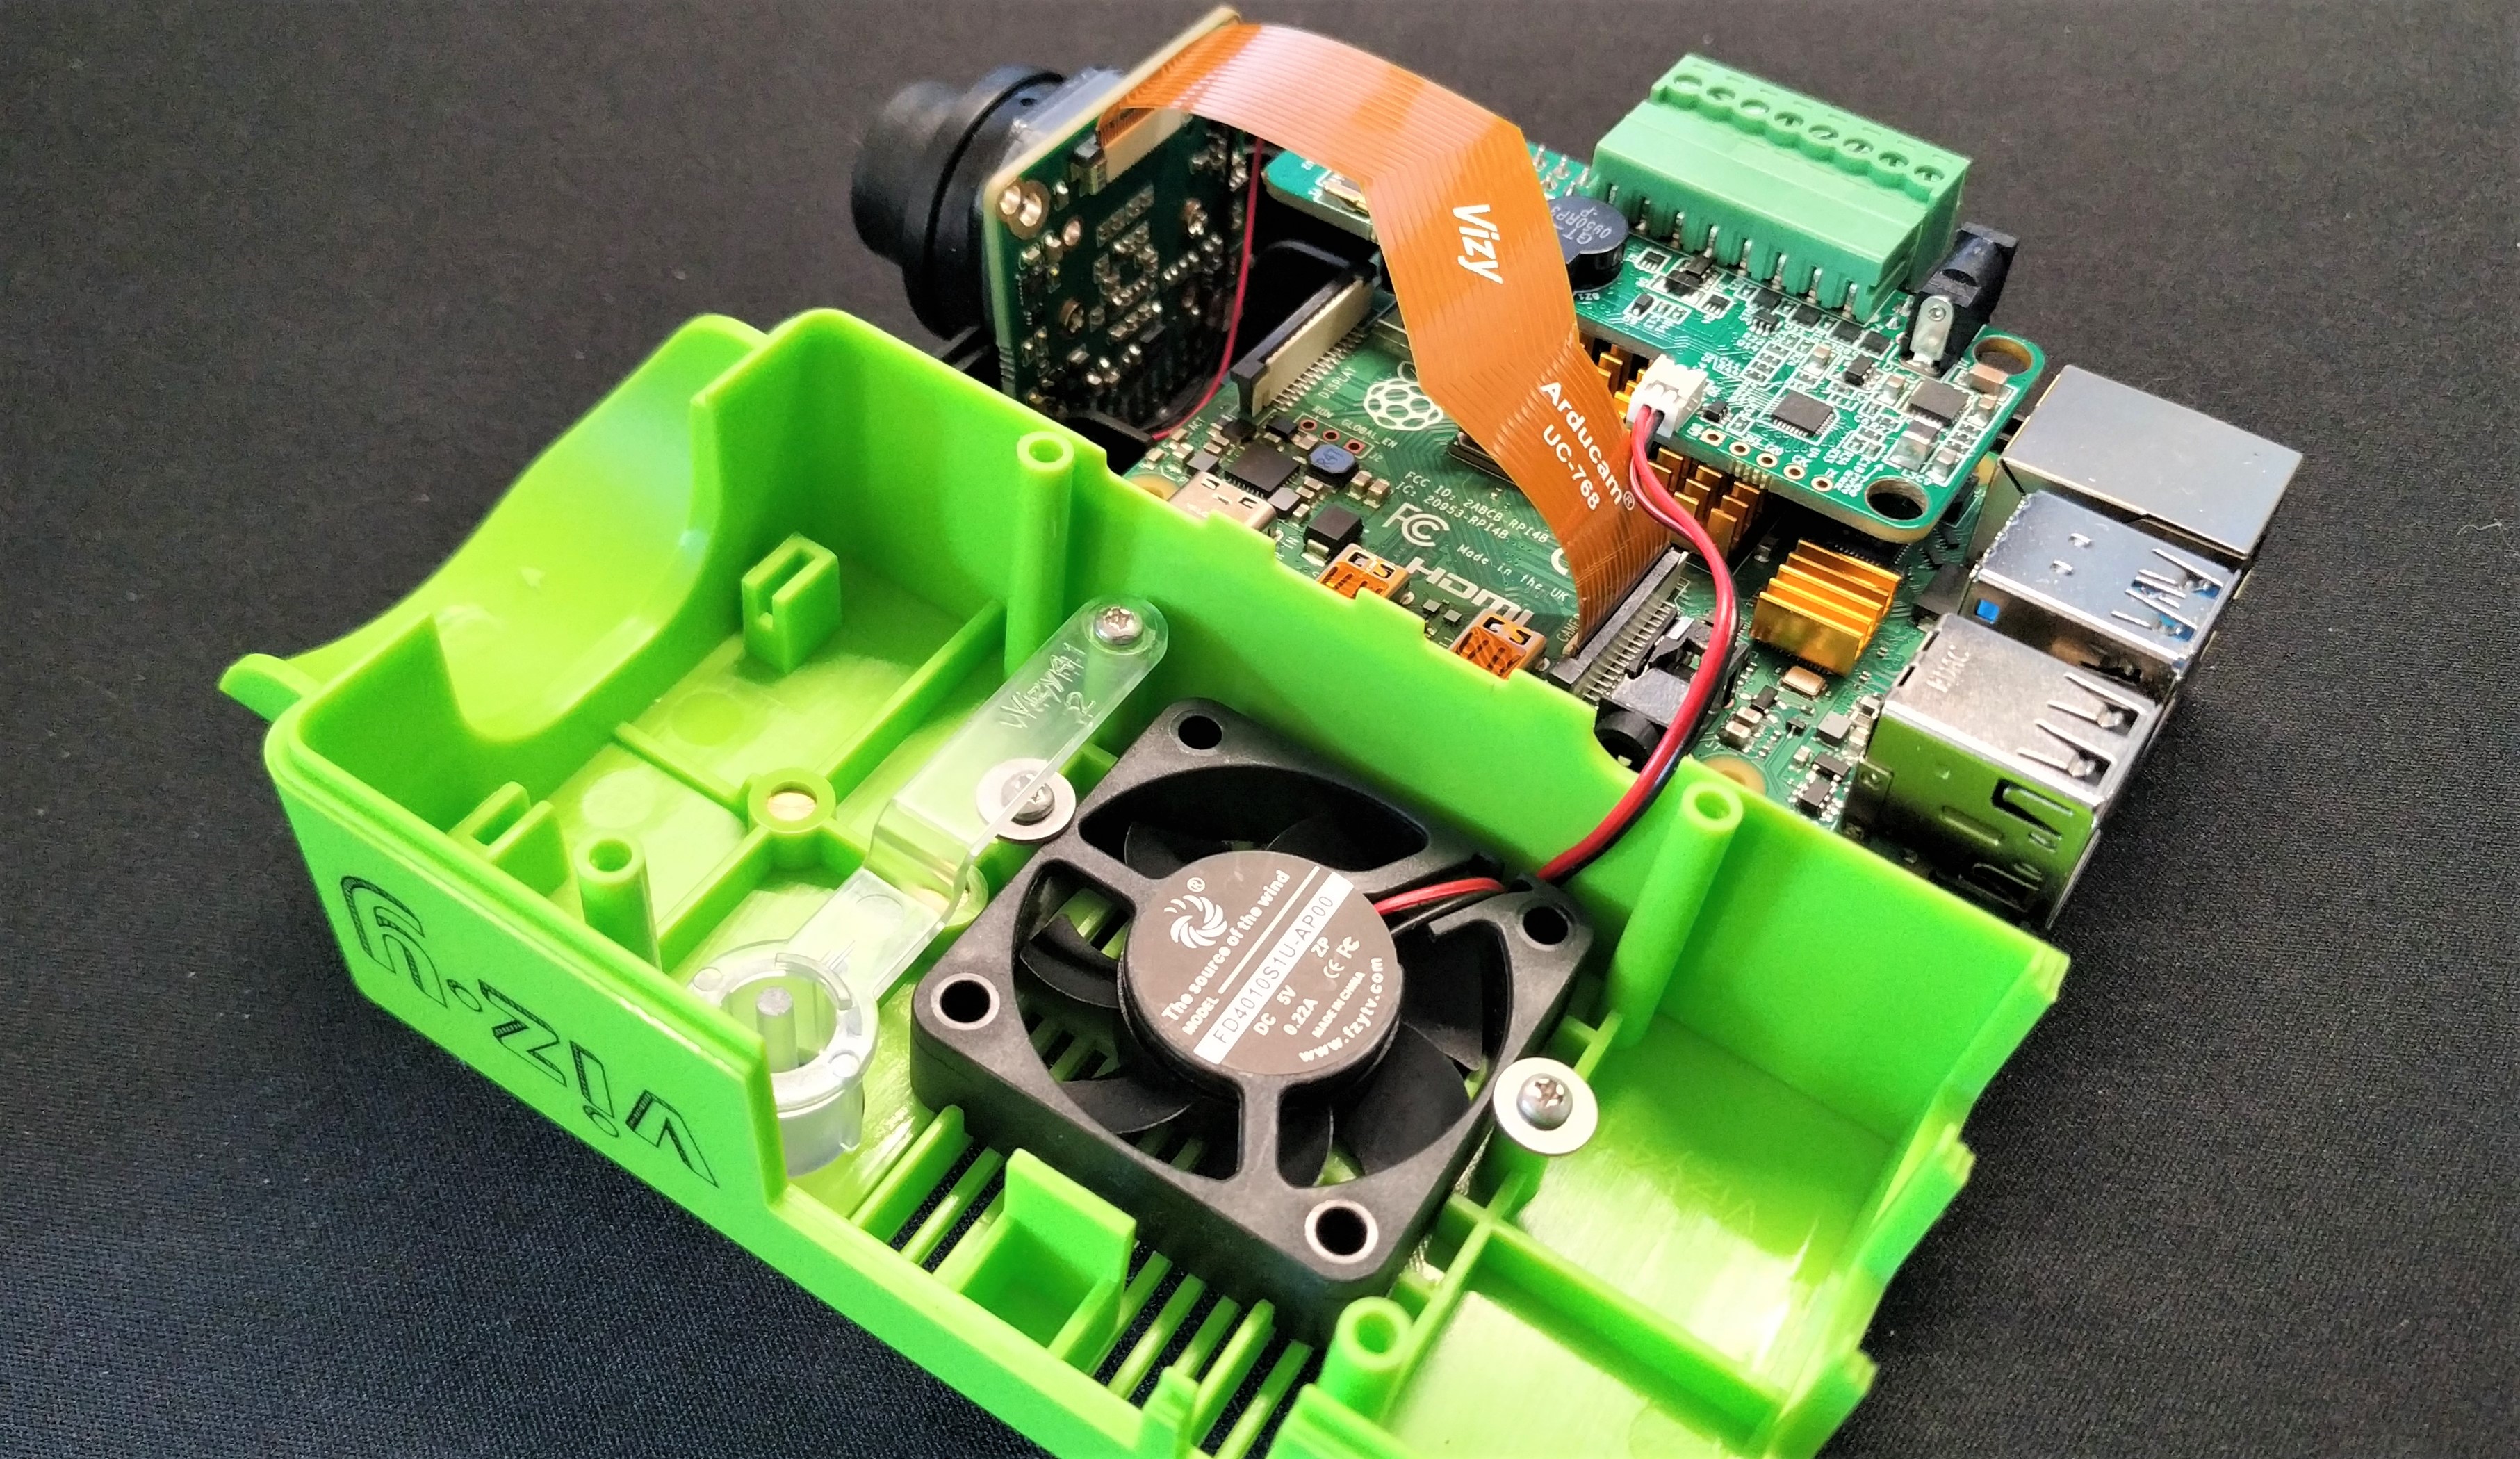
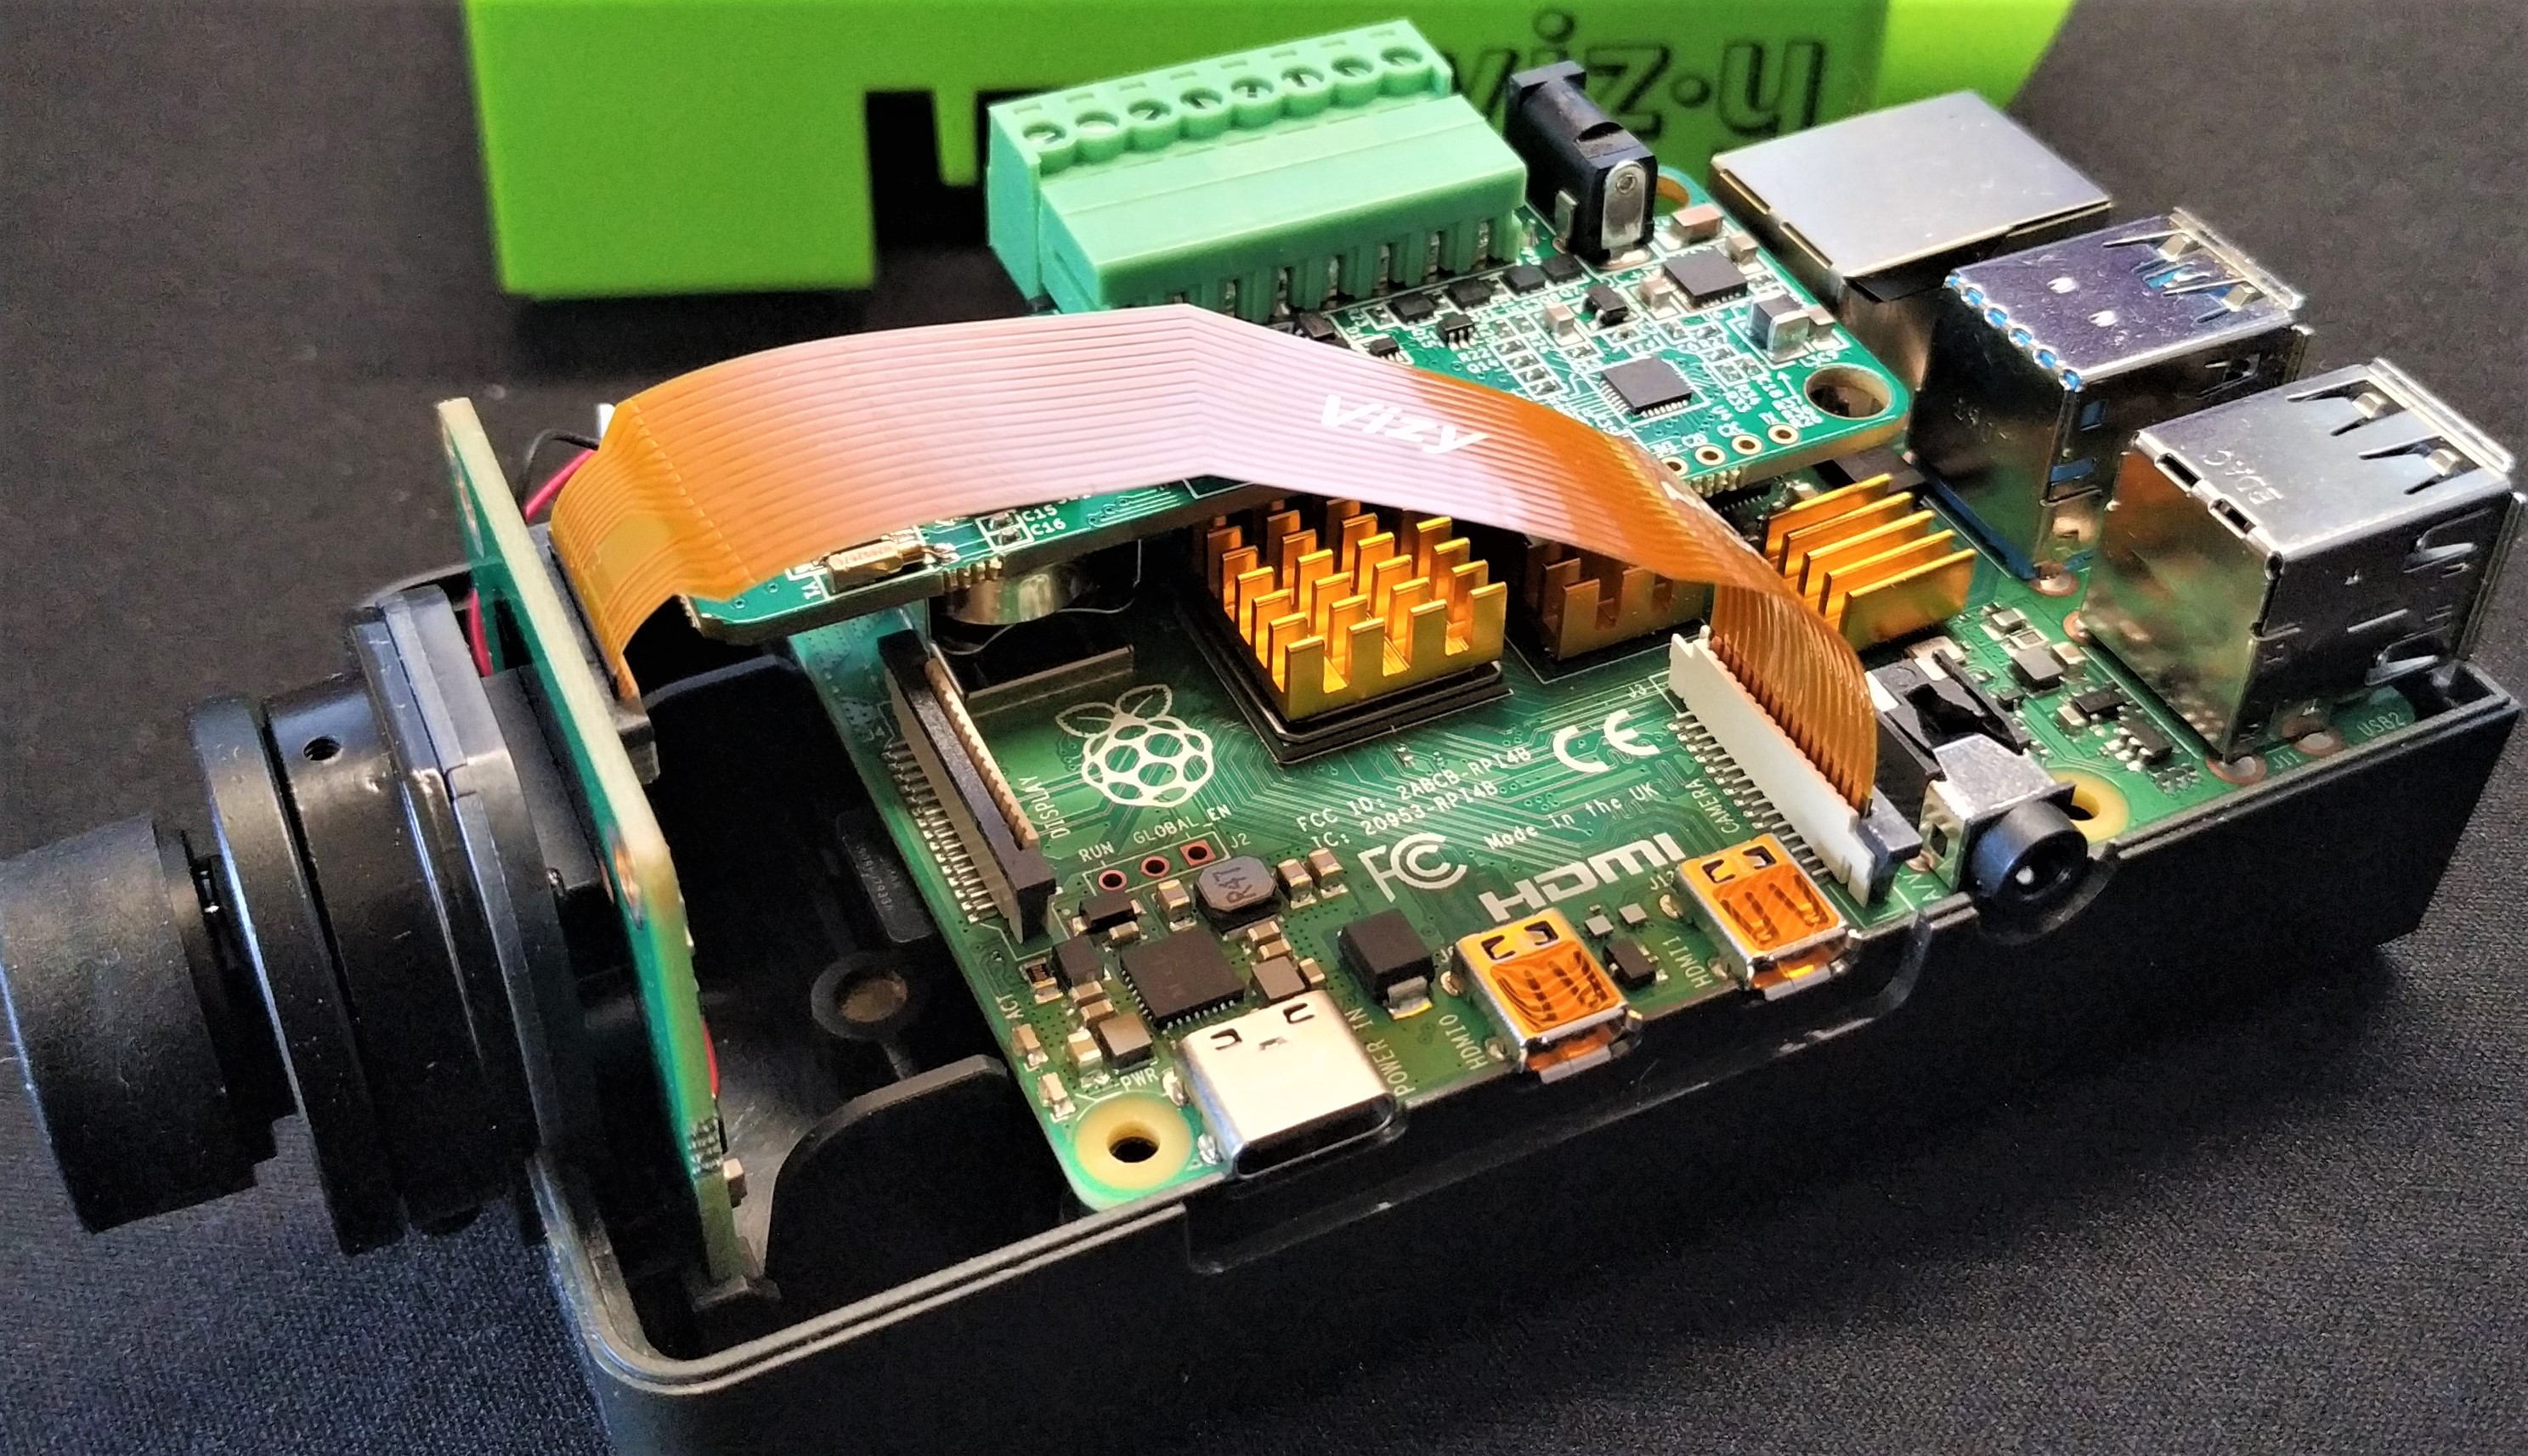
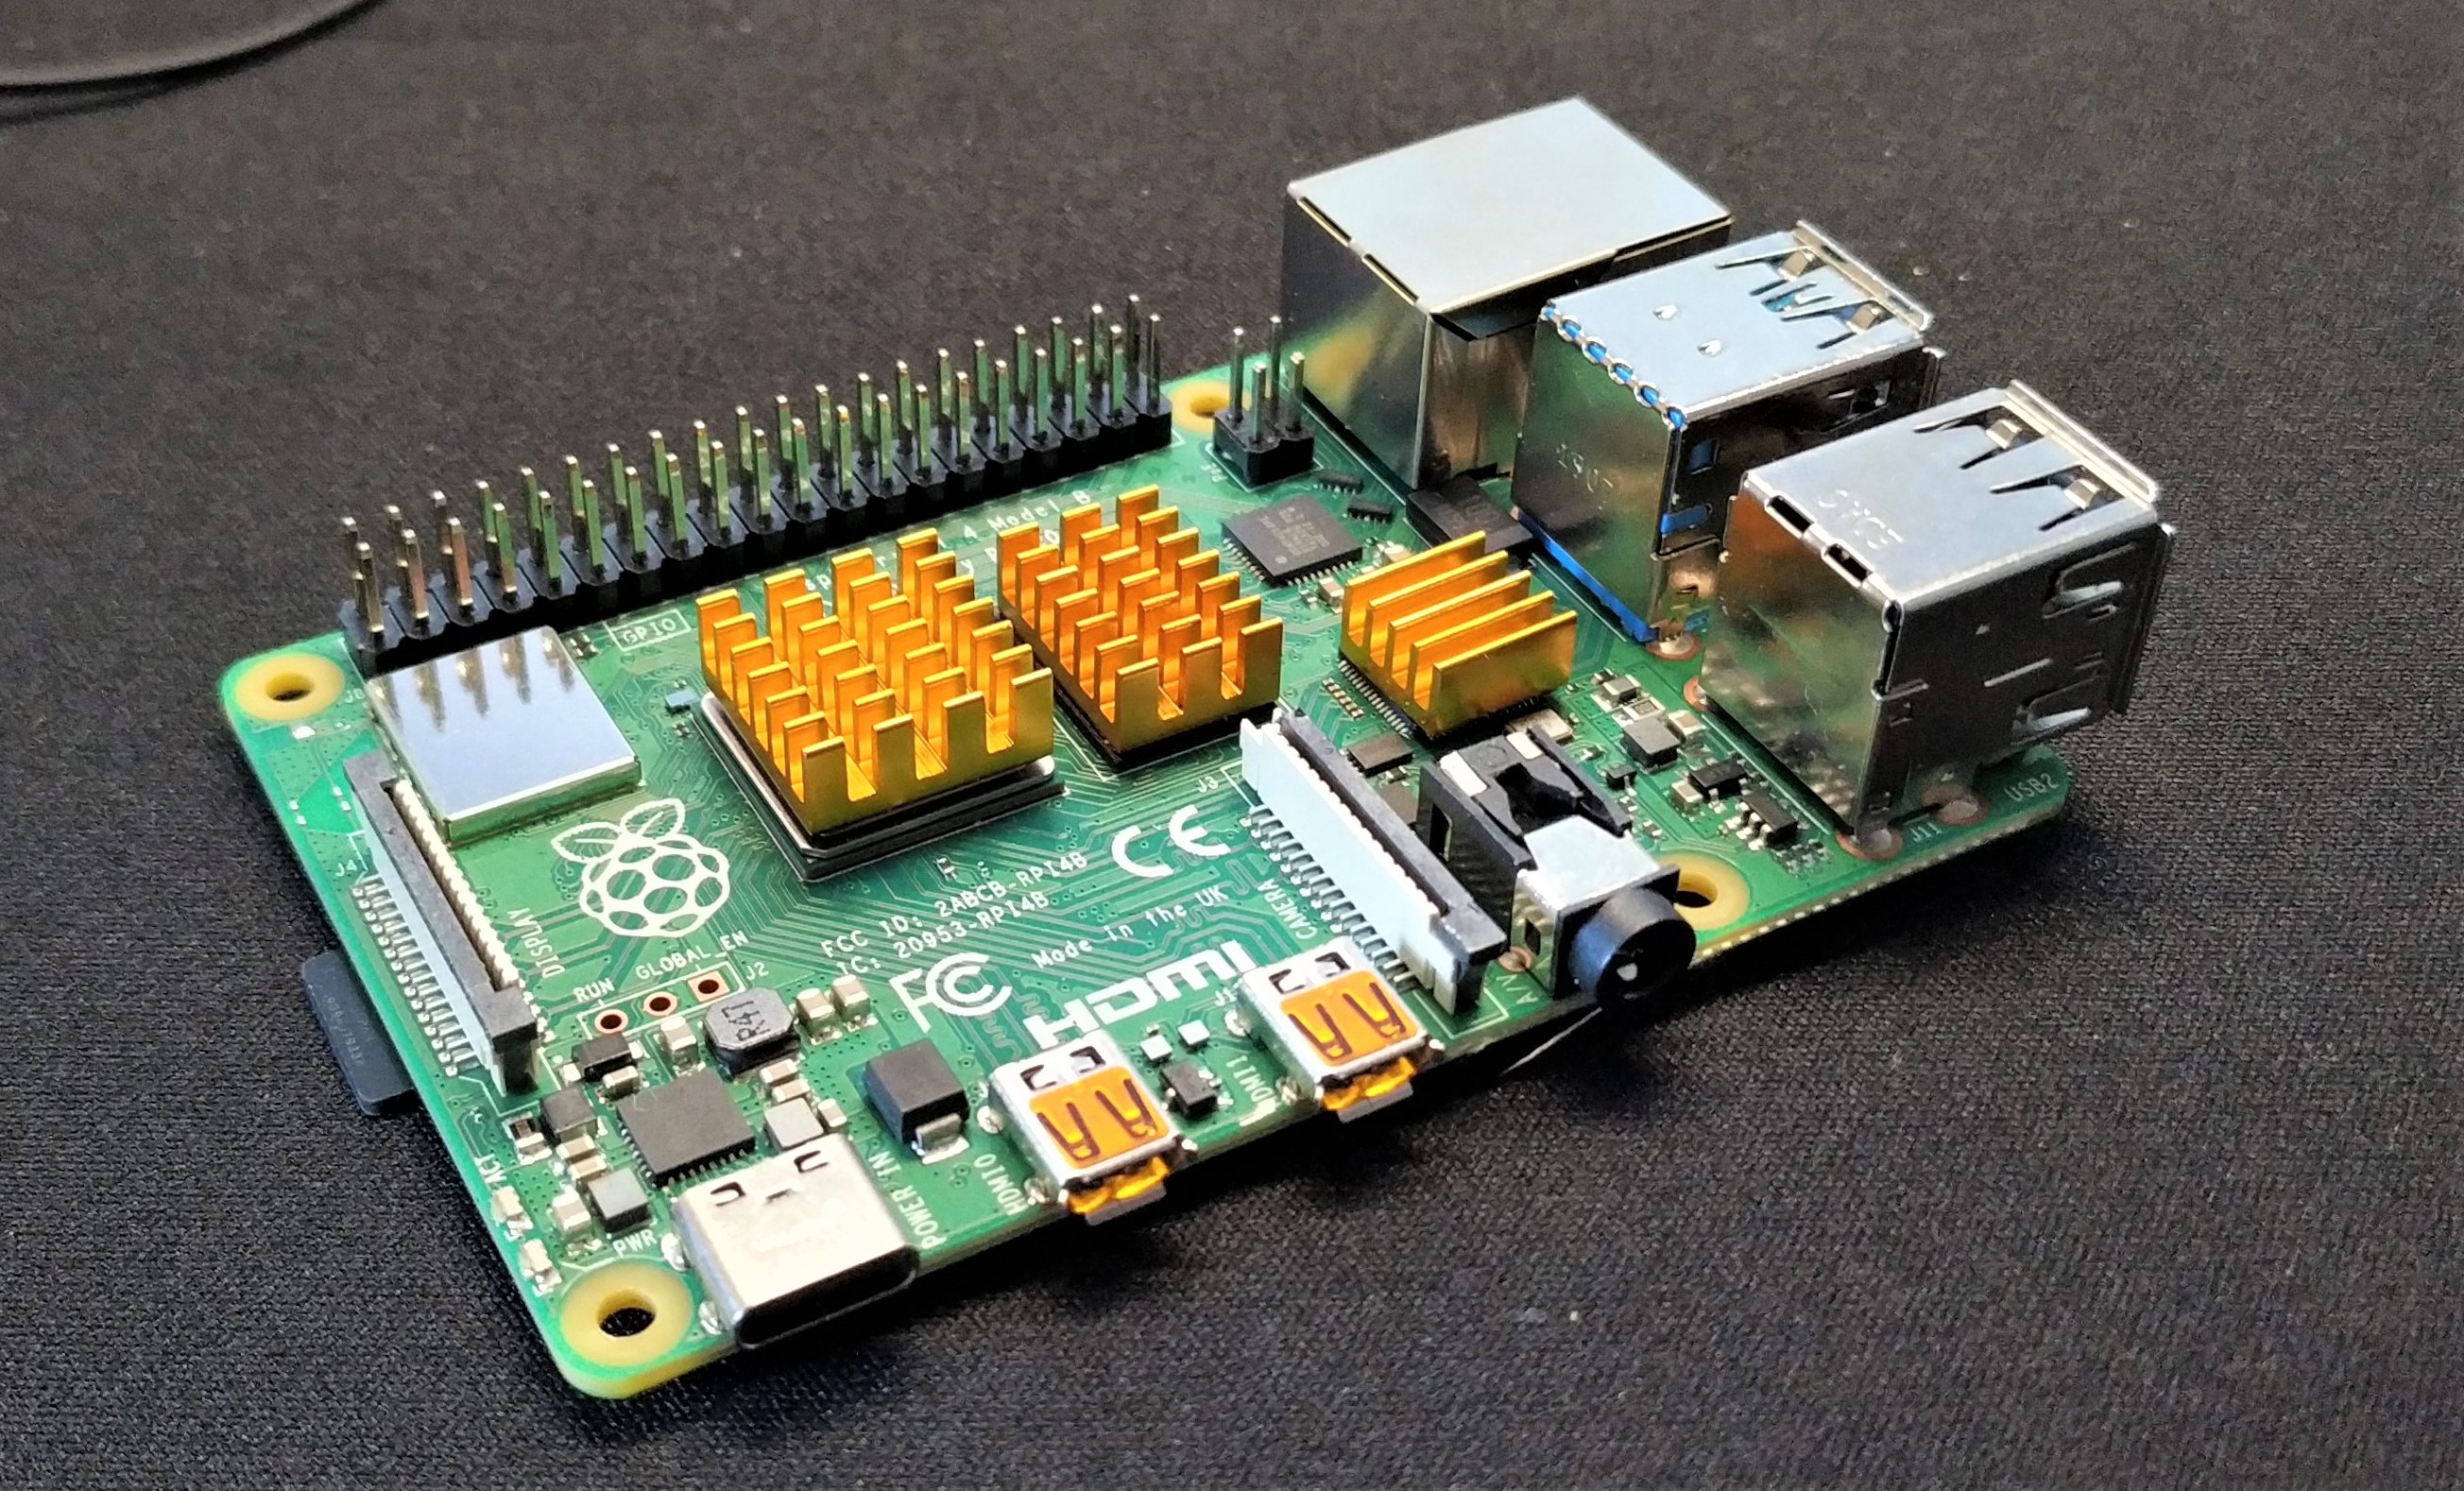
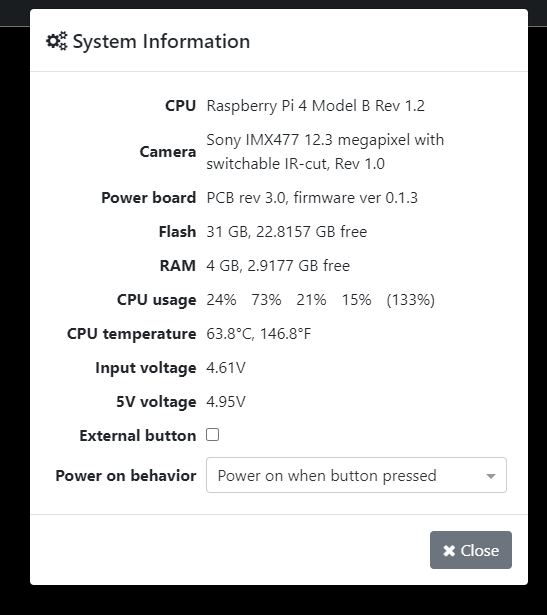
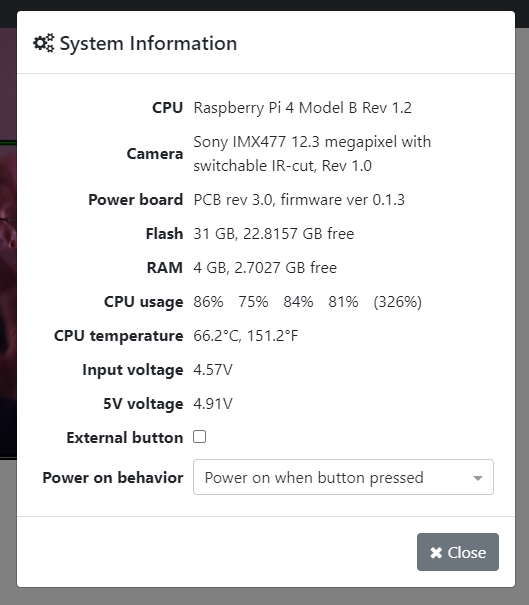
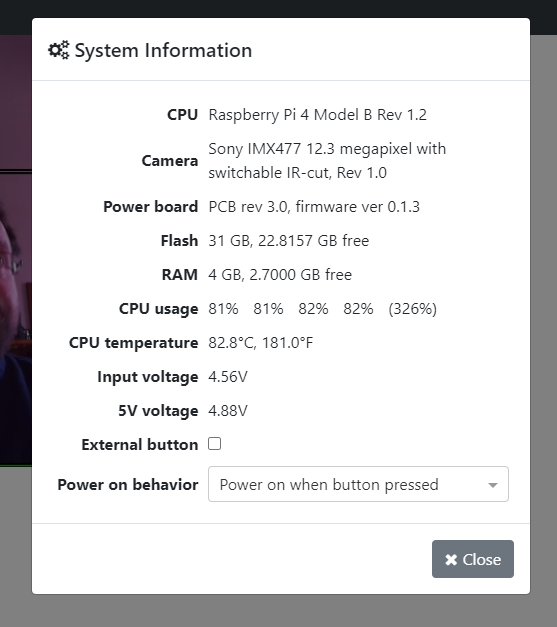
Vizy ships with heatsinks attached to the CPU, RAM and PCIe chips but it needs active cooling to prevent thermal throttle and this is where every Raspberry Pi case fan falls foul. The smaller the fan, the harder it has to work and this generates fan noise. Vizy is not immune to this issue and the integrated fan is most noticeable when the CPU is under heavy load. At rest, the CPU idles at 63.8 Celsius, way over the 40.9 Celsius of a bare Raspberry Pi 4. Under load, the fan kicks in to keep the Pi 4 below 80 Celsius. We turned the fan off and let the unit cook for a while. We then saw the temperature hit 82.8 Celsius. That’s still under the 85 Celsius but a hot Raspberry Pi is not a happy Pi.
The Camera

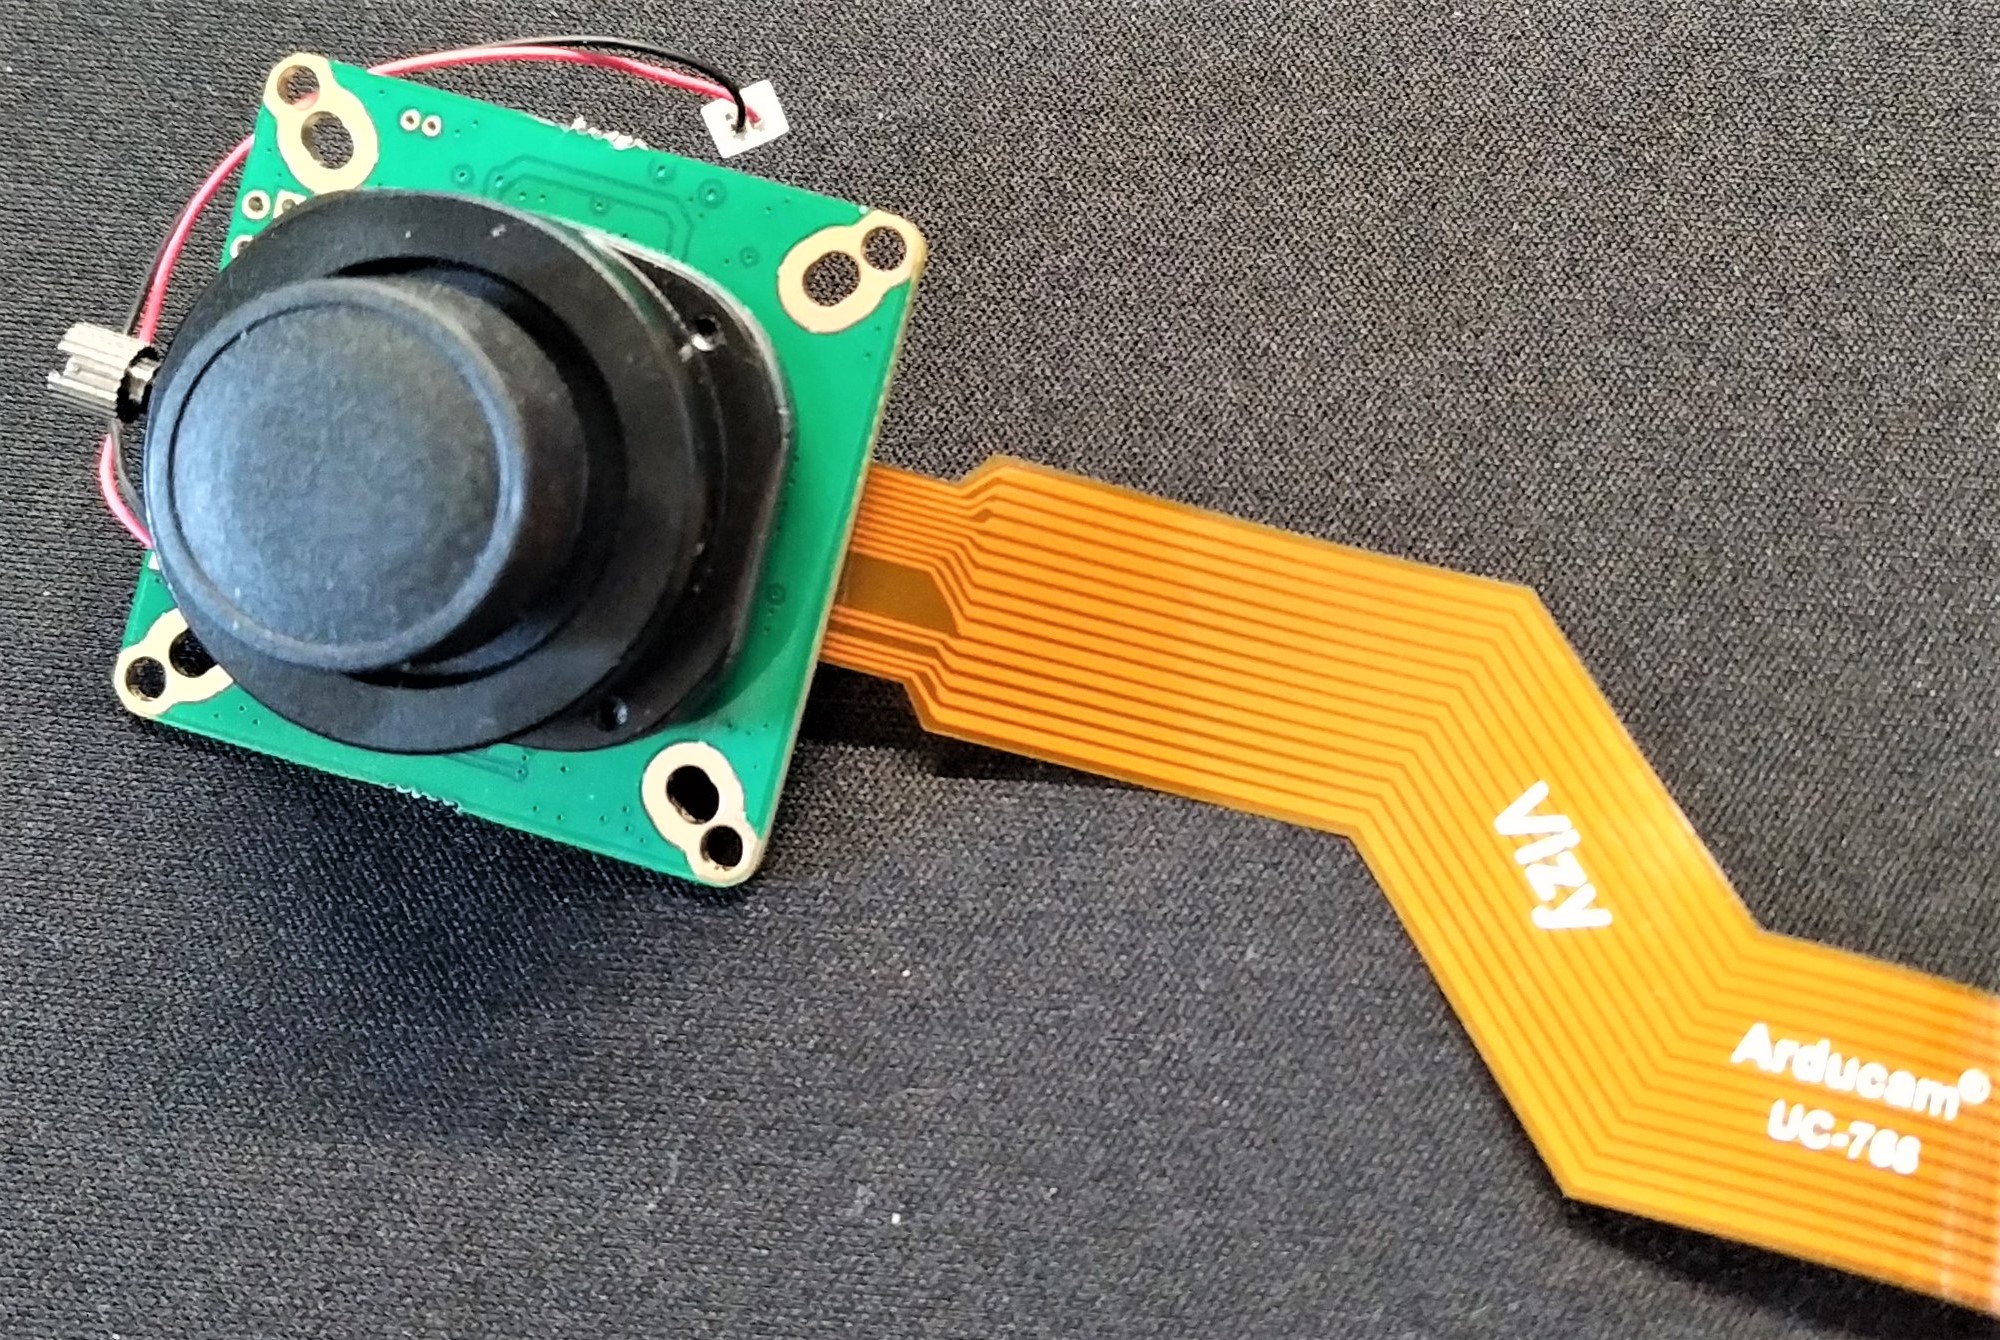
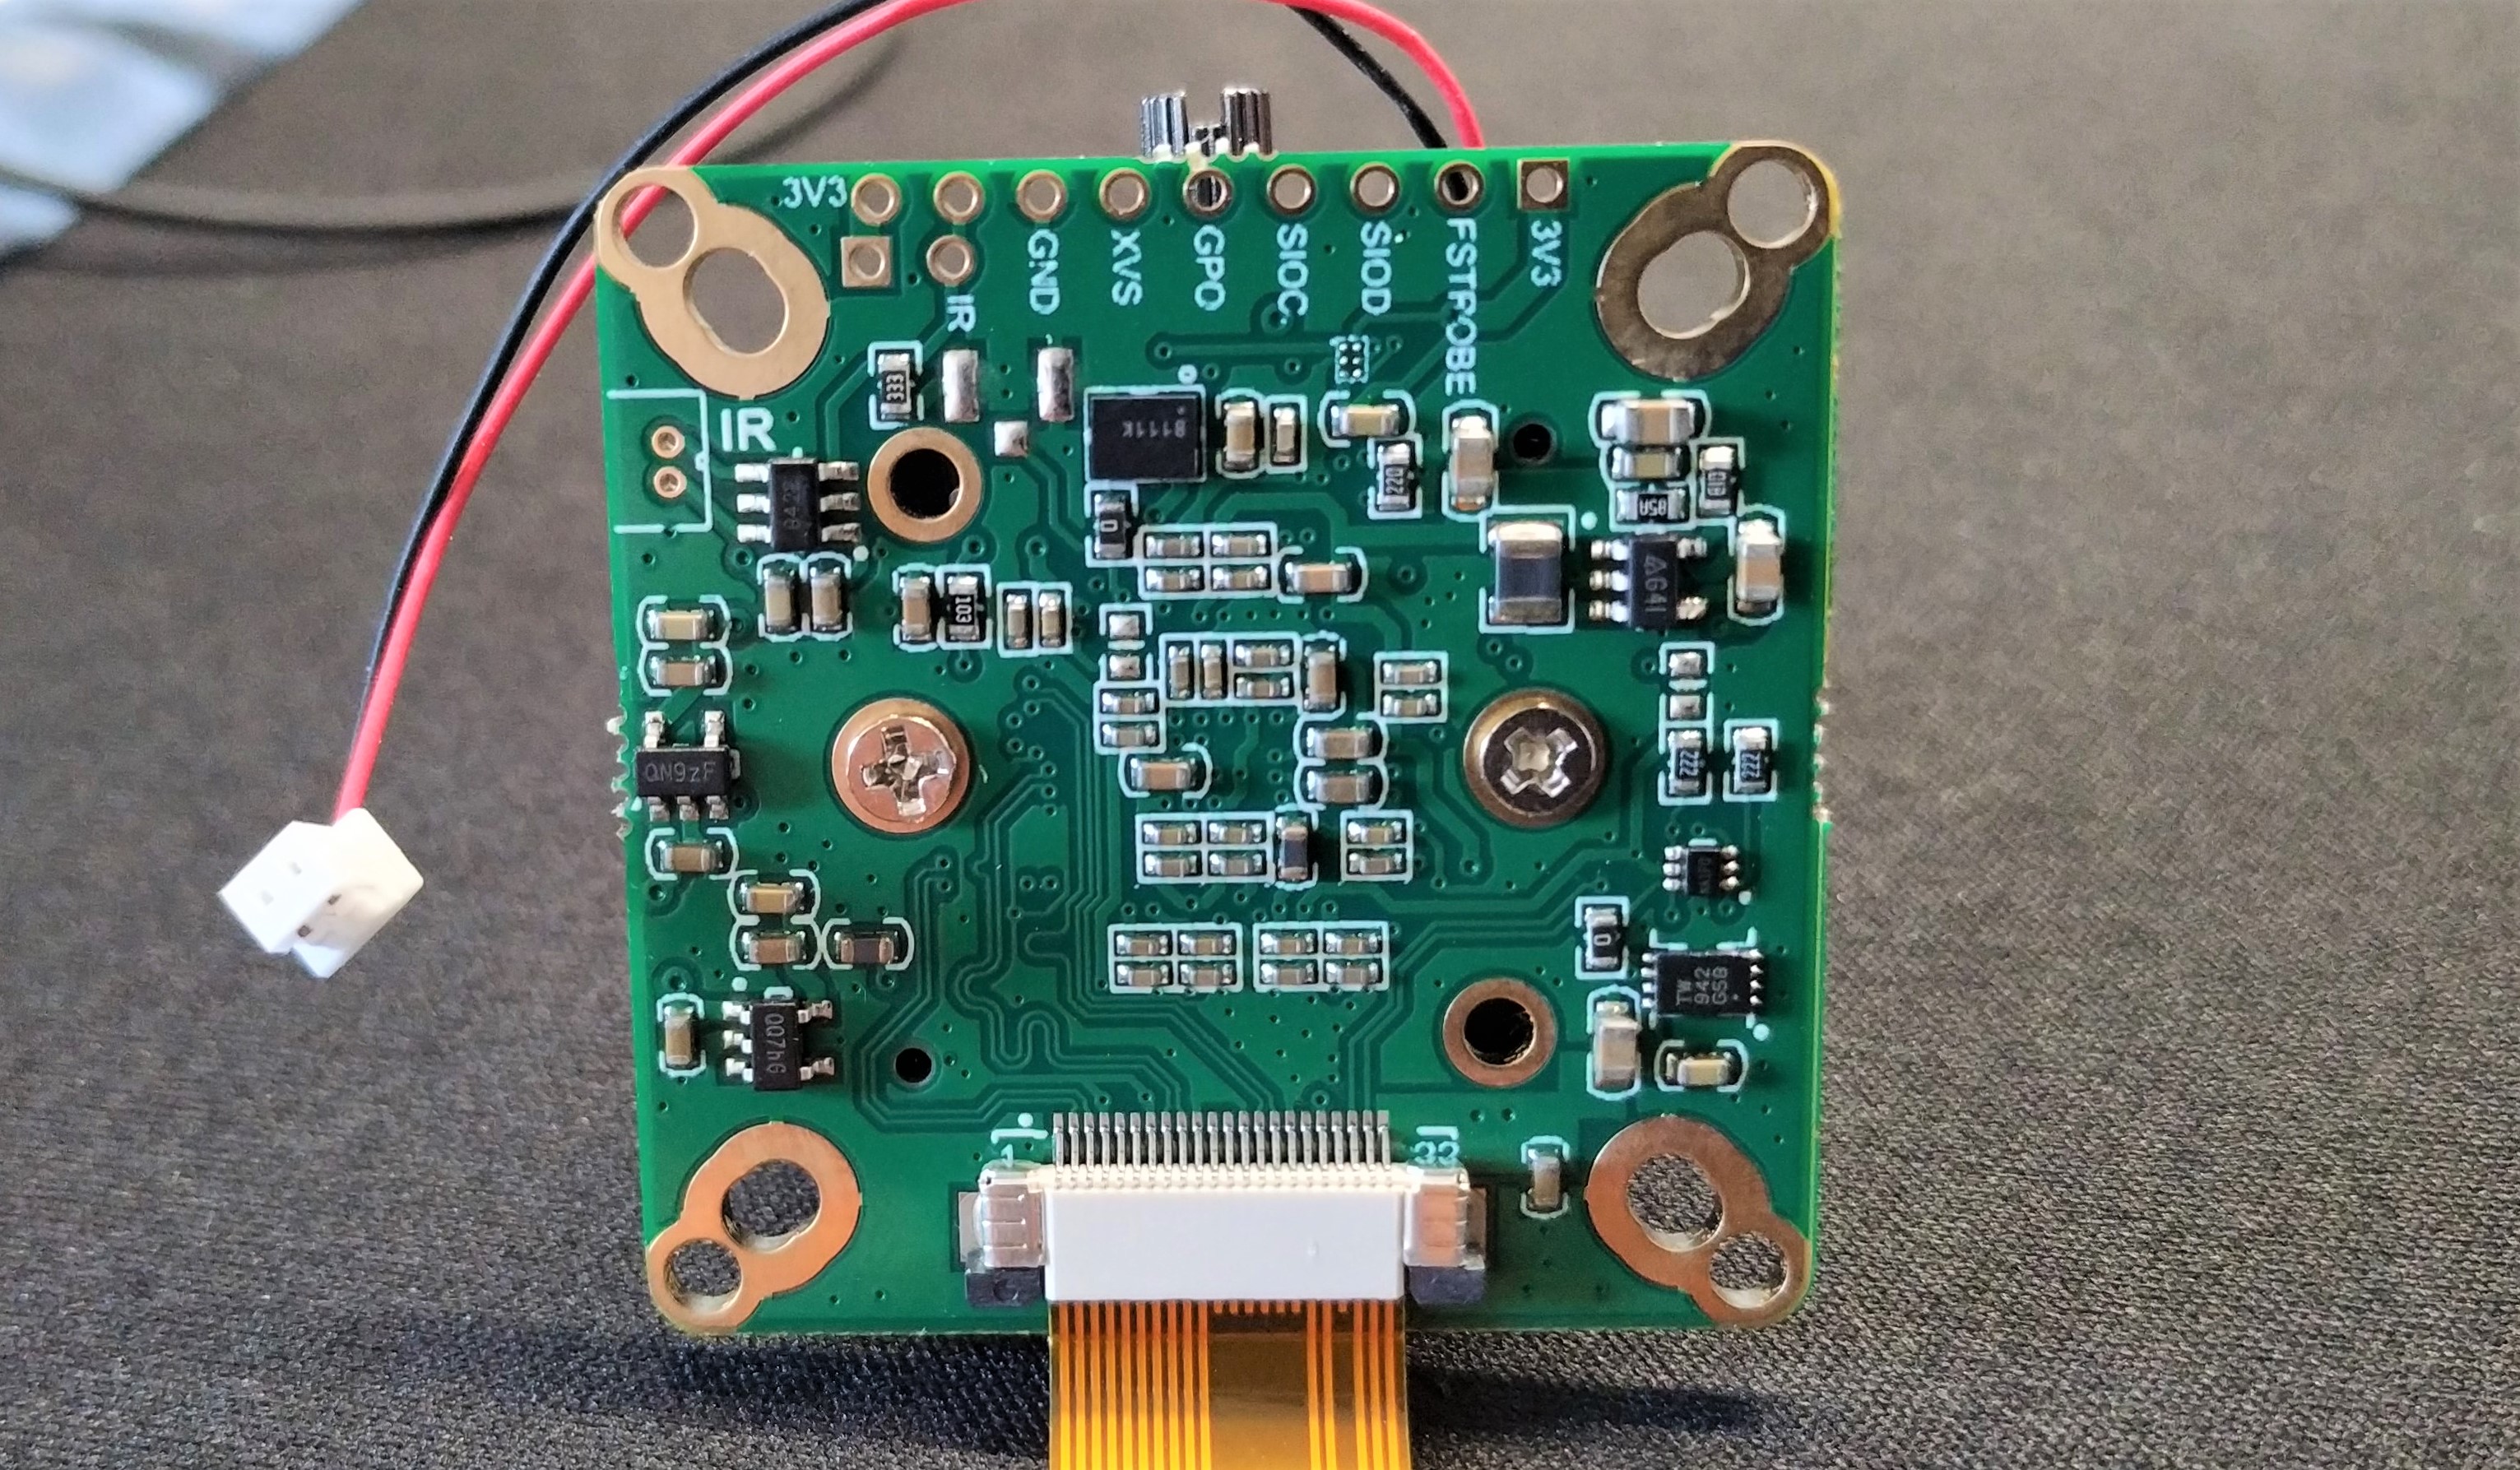


Being makers, we love to take things apart and we started with the camera. The Sony IMX477 sensor based camera is the same as used by the official Raspberry Pi High Quality Camera. But this isn’t the official camera; rather it is an Arducam UC-768 with Vizy branding on the flat flex cable. This camera retails for $85 and features an IR filter switch, which we can turn on or off for use in low light conditions.
We removed the camera from the unit, and set about unscrewing the supplied lens from the sensor. This revealed a typical C/CS Mount, compatible with lenses sold for the official Raspberry Pi High Quality Camera. We tested with a 6mm CCTV lens and, after a few tweaks, we saw a clear image. Unlike the supplied lens, our 6mm lens had a little distortion to the image when close to the lens. Long shots were clearer. All of the apps and examples worked as expected.
By using the C/CS Mount, we can attach not just standard camera lenses, but using adaptors, we can connect directly to microscopes and telescopes and use the power of machine learning to explore the microscopic world and the stars above.
Projects with Vizy
The power of Vizy is the ease with which we can create Python-powered machine learning projects that focus on computer vision. The included camera is of great quality, and the power of the Raspberry Pi 4 means that our machine learning models can track objects and provide meaningful data in near to real time. The included apps and examples showcase Vizy’s strengths and, based on these projects, we could quite easily create apps to sort M&Ms, count birds in our garden or catalog insects under a microscope.
Bottom Line
We really love Vizy, but let's talk about the price. The 4GB model at $269 is the sweet spot. That’s plenty of RAM and a decent price, especially considering how much Raspberry Pi 4s cost on the open market. Also, consider the cost of the camera ($85), add-on board, case and the excellent resources into the equation. Yes we are paying more than we would if we bought the bare components, but we’re buying into a kit that is ready to go. What we spend in dollars, we save in time. In the classroom, science lab or in your home, Vizy is a great device to introduce camera-based AI.

Les Pounder is an associate editor at Tom's Hardware. He is a creative technologist and for seven years has created projects to educate and inspire minds both young and old. He has worked with the Raspberry Pi Foundation to write and deliver their teacher training program "Picademy".
