Hands Across Four Water Cooling Systems
Installation
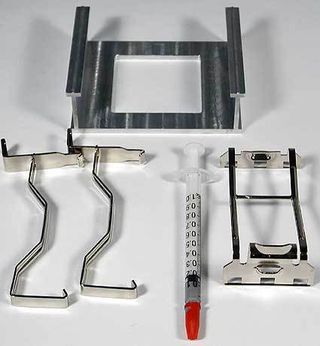
As with the old Hydrocool, installation is a breeze and is complete within a few minutes. The hoses come already attached to the CPU cooler and are routed through the slot bracket to the outside. The new hoses are stiffer and very resistant to kinking. The CPU cooler fastens onto the motherboard's retention module using a bracket and two retention clips, a process taking only a few seconds.

Retention clips for securing the water block
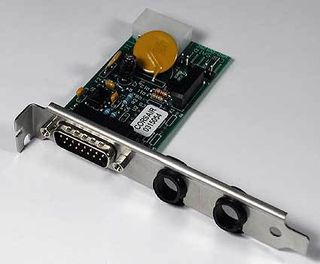
The slot bracket is screwed onto the case and the panel receives power from the source via a Molex power plug. The temperature probe and Y-cable to the power switch also have to be hooked up. The power connector has to be hooked up with the Y-cable, which in turn is hooked up to the motherboard. This is what allows the Hydrocool to shut down the system in the event of overheating.

The control panel with hose conduits
That wraps up the work inside the case. Now the hoses get connected with the external unit's control panel. The lid of the reservoir can be opened with a screwdriver or coin, and filling the reservoir with water can also be done in only a matter of minutes. After that the Hydrocool 200 ex is ready for immediate operation.
Stay on the Cutting Edge
Join the experts who read Tom's Hardware for the inside track on enthusiast PC tech news — and have for over 25 years. We'll send breaking news and in-depth reviews of CPUs, GPUs, AI, maker hardware and more straight to your inbox.
Most Popular


