Tom's Hardware Verdict
3DMakerPro nails the compact 3D scanner form factor with the palm-sized Mole, but the simplified software controls and glitchy auto-alignment hold this scanner back from a higher score.
Pros
- +
Capable of scanning black (or dark) objects
- +
Turntable mode is easy to use for beginners
- +
Lightweight and easy to hold as a handheld scanner
- +
Automatic scan alignment works very well, when it works
Cons
- -
JMStudio app occasionally crashed during processing
- -
Automatic alignment struggles with thin objects
- -
Texture only captured in grayscale
Why you can trust Tom's Hardware
The 3DMakerPro Mole offers 0.05mm high accuracy 3D scanning at 10 frames per second in a form factor that fits nicely in the palm of your hand. Offered in multiple packages starting at just $519 and intended for marker-free scanning applications, the Mole is capable of creating scans of models on a turntable or dynamically moving around a subject. The JMStudio software can align multiple 3D scans before processing to allow users to scan models in several stages, or scan highly detailed areas and combine them with larger, lower-resolution areas.
The Mole worked generally well during testing, although the software experienced several crashes and some models were surprisingly difficult to capture completely. JMStudio features a linear workflow for most processing, and as a result there are fewer levers to adjust. This simplified workflow works well for the less-expensive 3DMakerPro Lynx, but power users may feel limited by the lack of available settings and professionals may require more granular control to unlock the benefits of the higher accuracy Mole.
Specifications of 3DMakerPro Mole
Accuracy | 0.05mm |
Single Capture Range | 200 x 100mm |
Working Distance | 150 - 400mm |
Scan Speed | 10 FPS |
Light Type | NIR (Near Infrared) |
Alignment | Visual Tracking |
Color Texture | Optional with Luxury Package |
Output Format | OBJ, STL, PLY |
Required PC | Windows or Mac |
Included in the Box: 3DMakerPro Mole
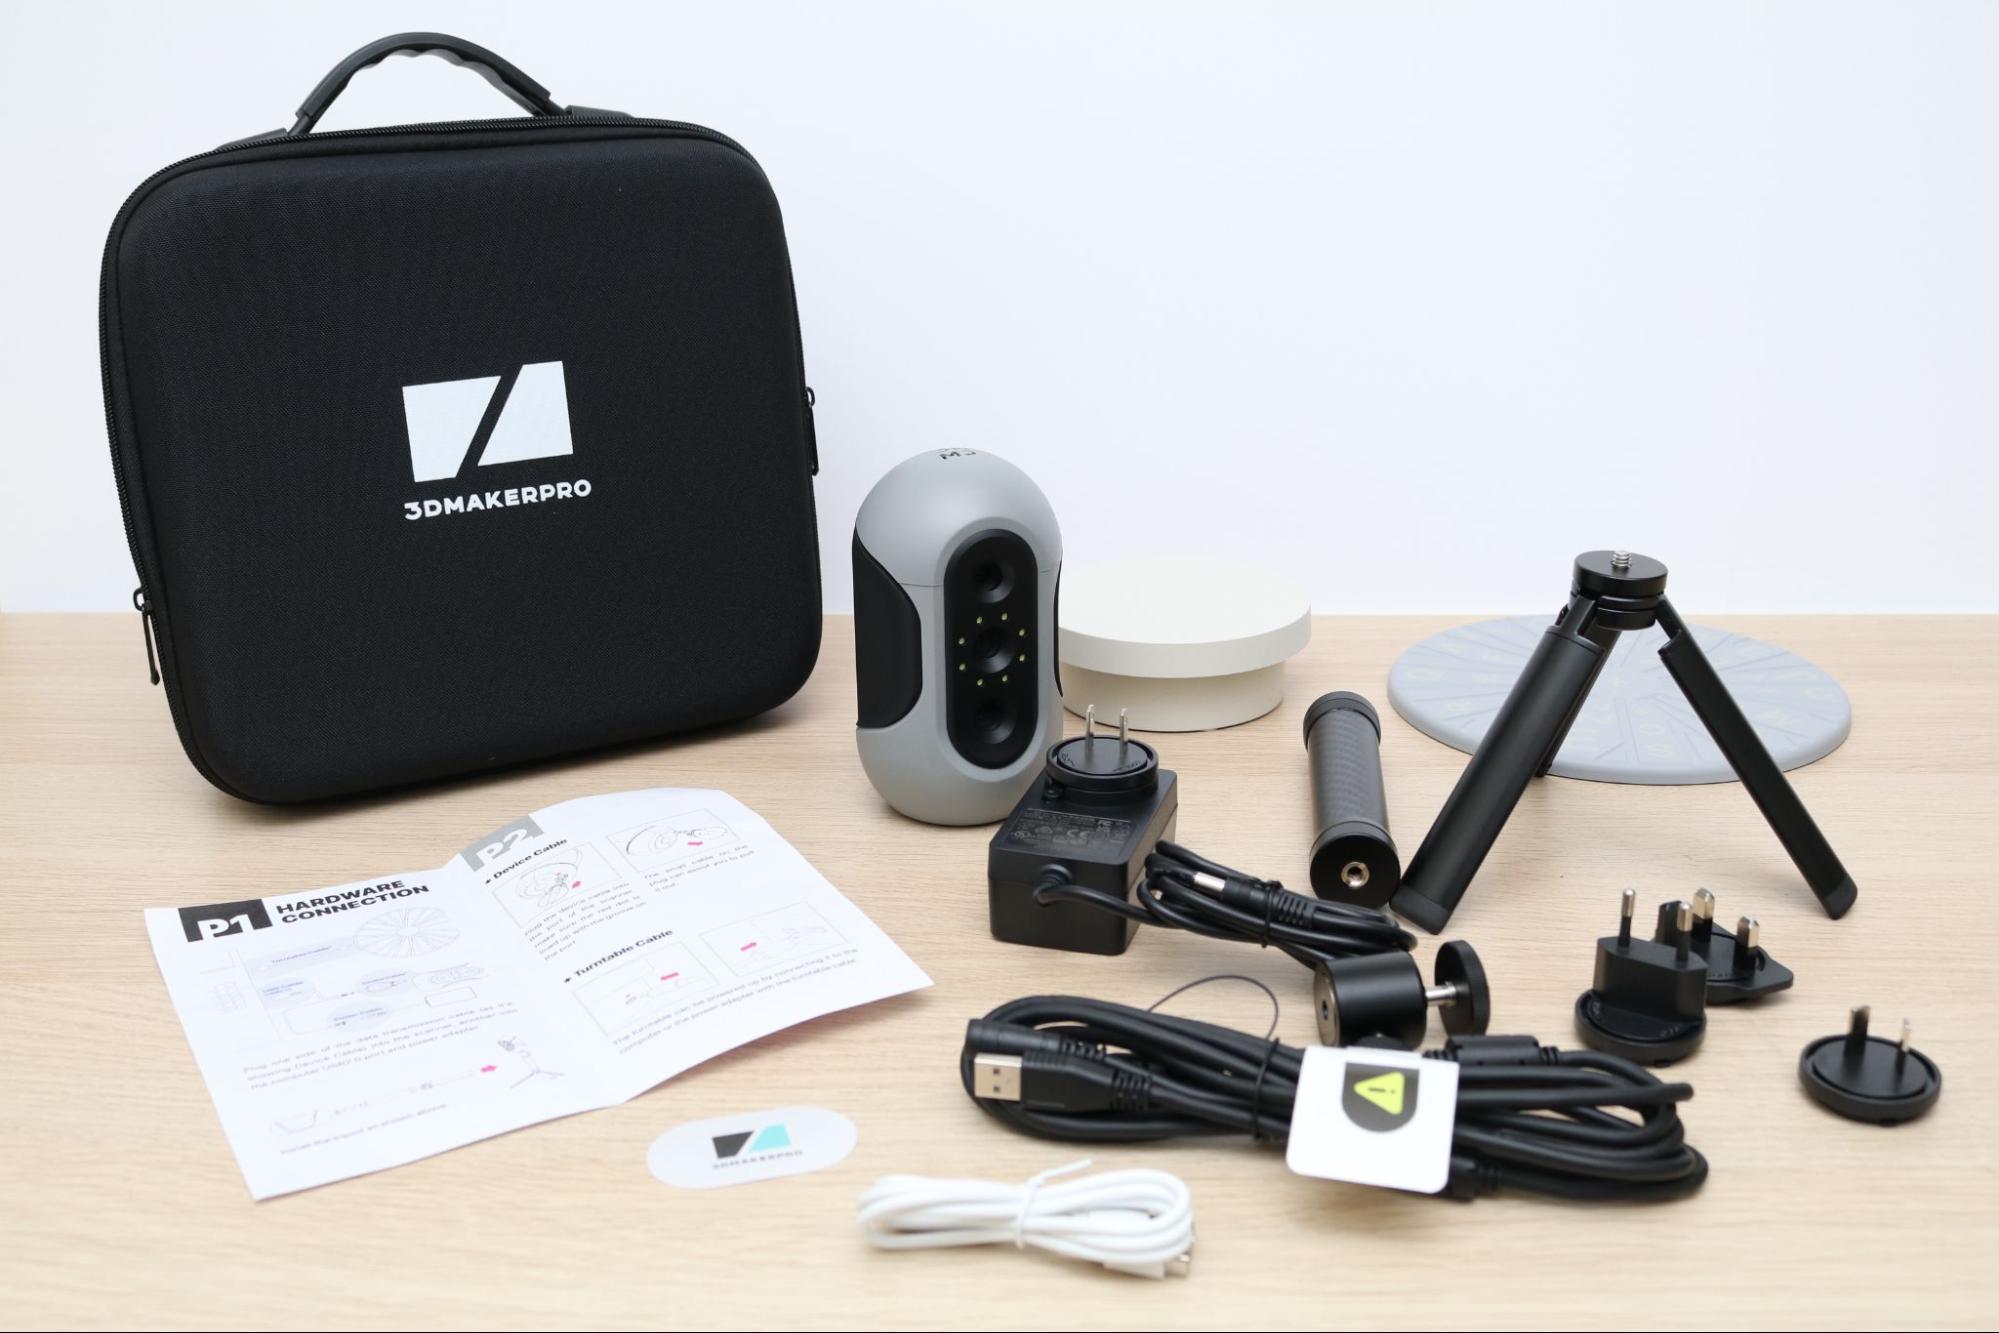
The 3DMakerPro Mole premium combo includes: the Mole scanner, the data transfer cable, a power supply with several global adapters included, a tripod, a carbon fiber handle, a turntable with USB cable, a plate which extends the diameter of the turntable, a user manual, and a carrying case that fits everything neatly inside. Considering the size and shape of the Mole 3D scanner, it’s reasonable to assume that this scanner will appeal to users interested in taking the scanner with them to job sites or scanning in the field, making the carrying case a welcome addition.
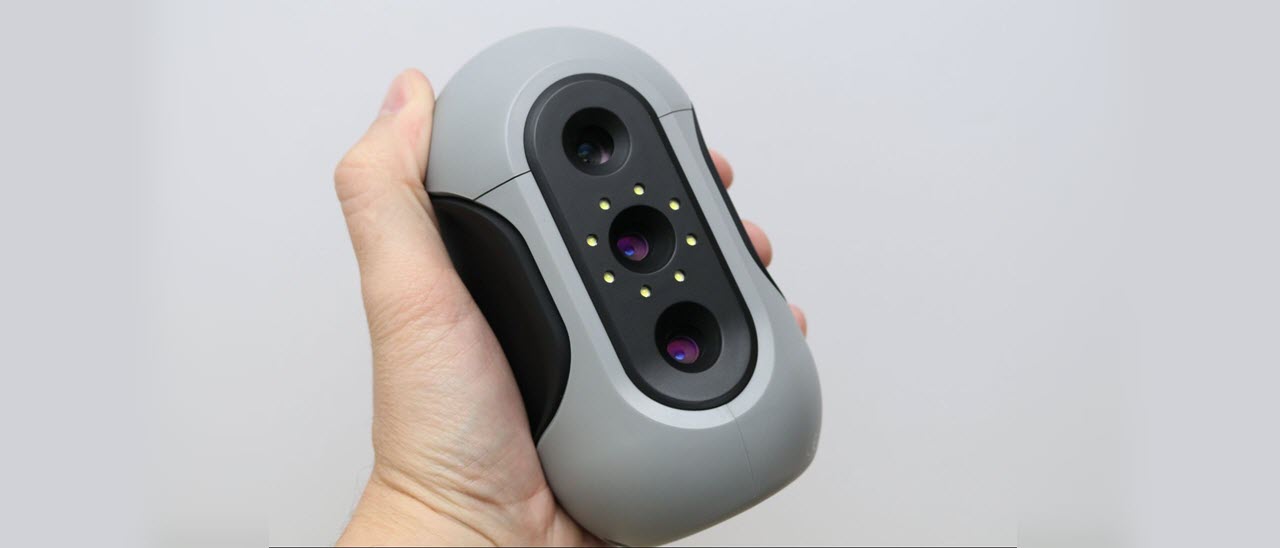
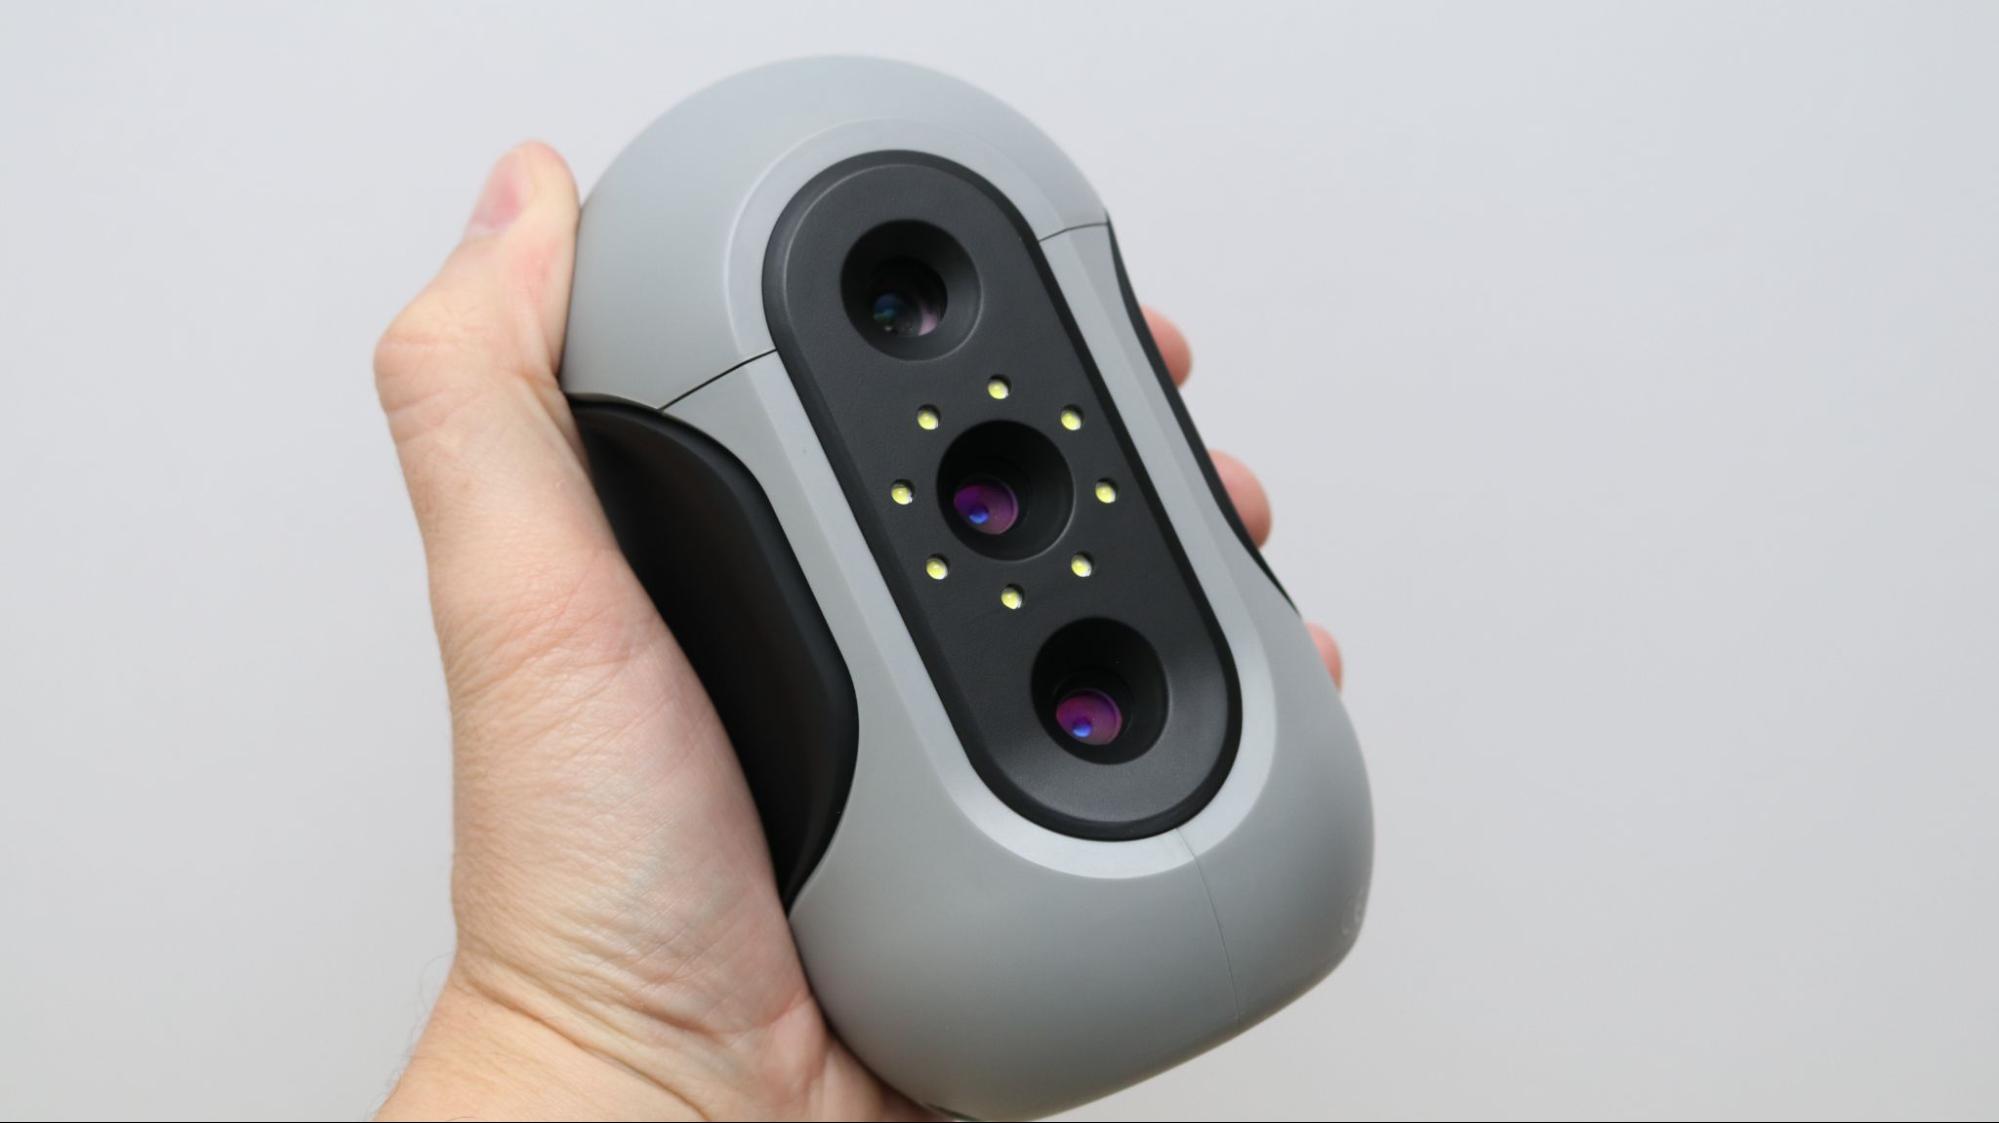
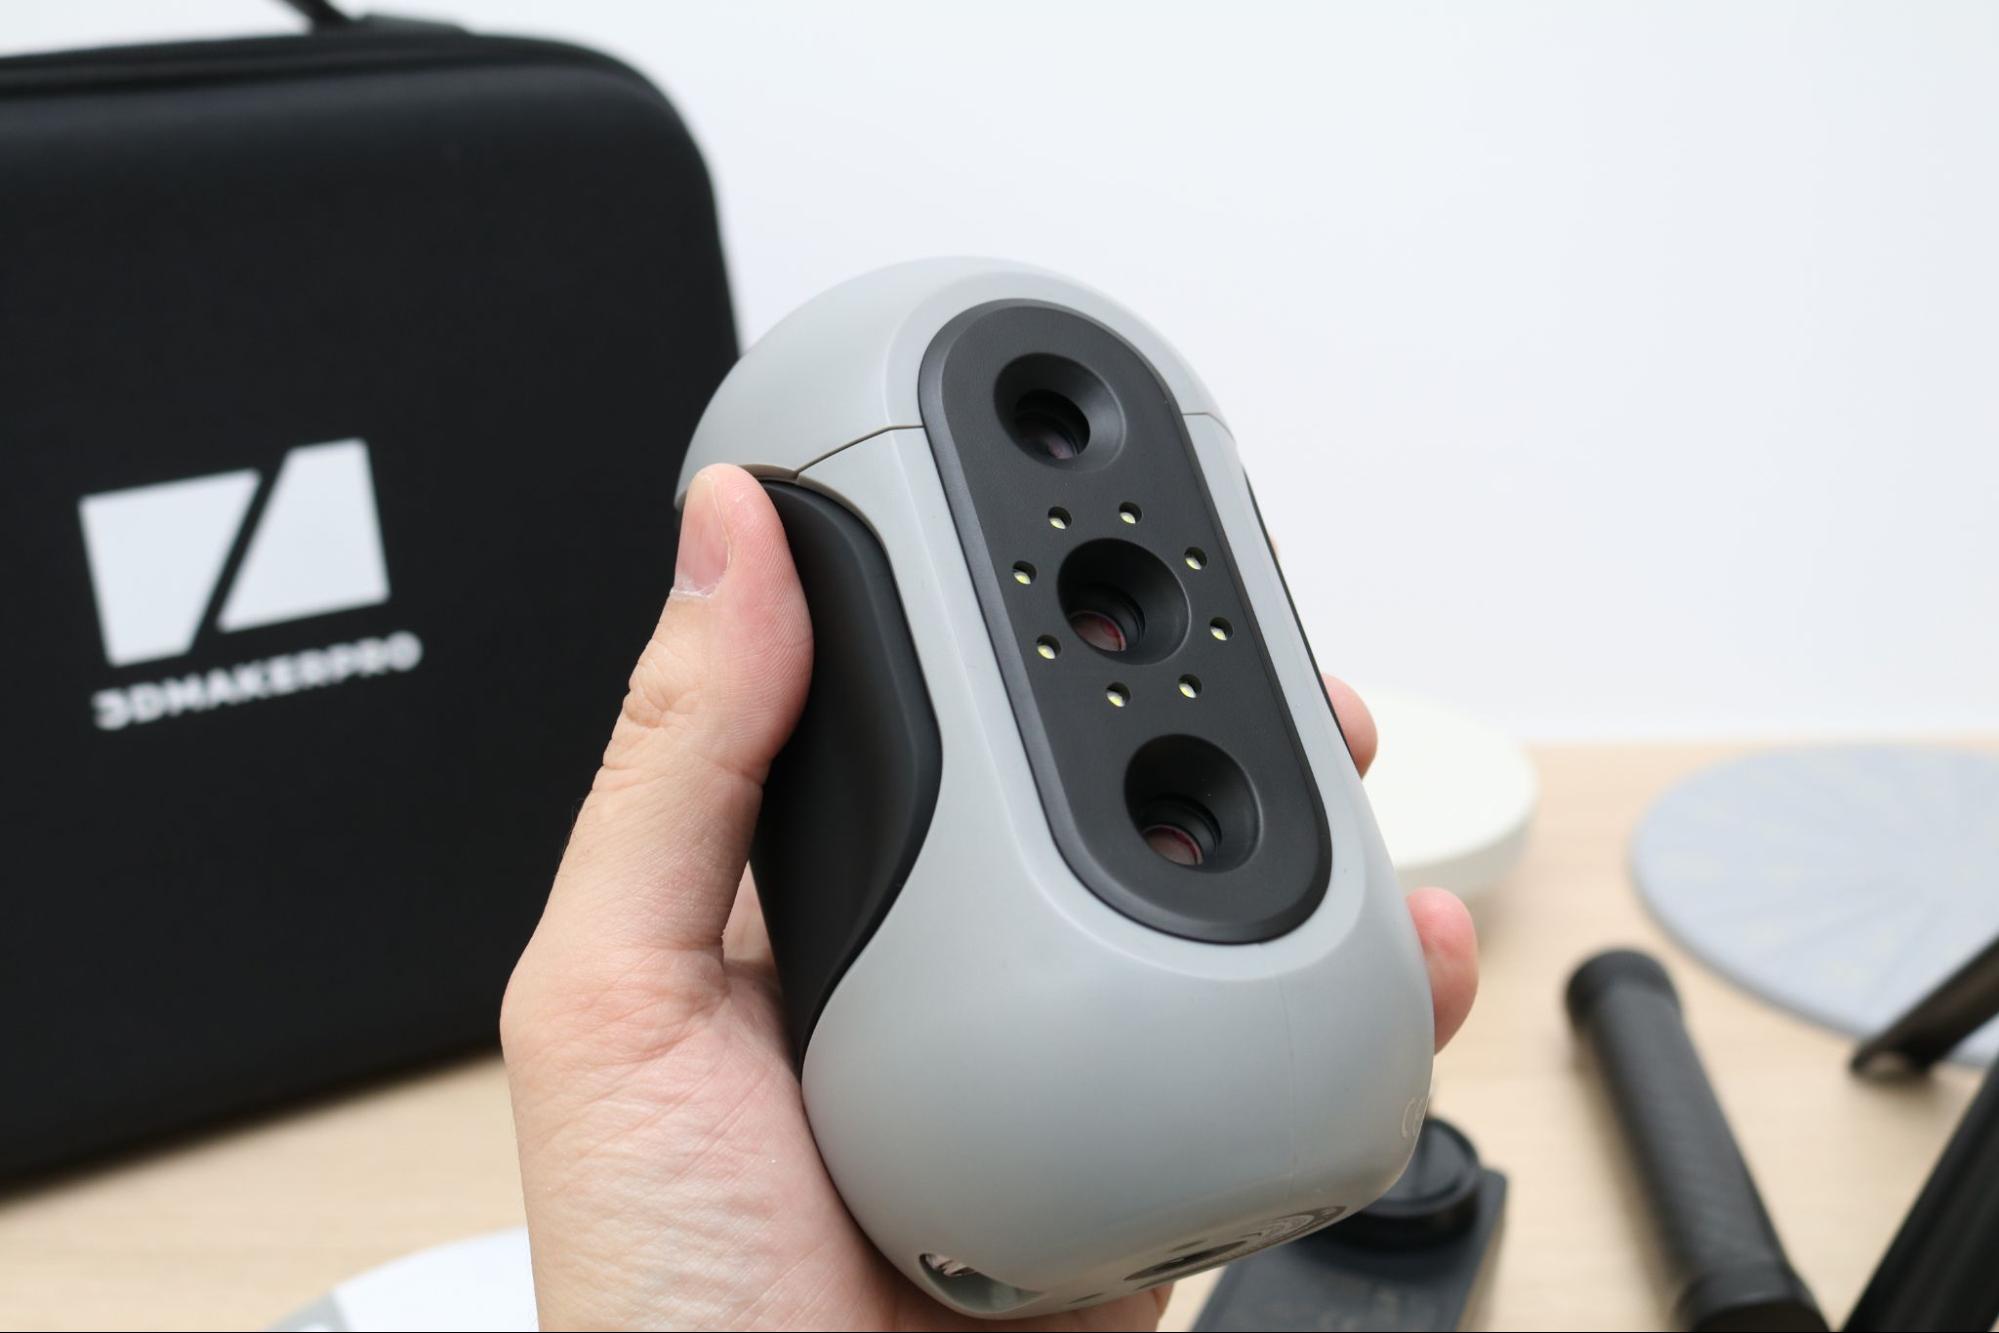
The Mole itself weighs 390 grams, similar to the weight of a 12 oz. can of soda. The scanner has a rubber overmolded grip that wraps around the sides and rear, which makes it comfortable to hold as well as giving it a professional appearance. The camera / LED array is located on the front of the scanner, and the general shape makes it easy to maneuver and control during scanning.
Package Variations of 3DMakerPro Mole
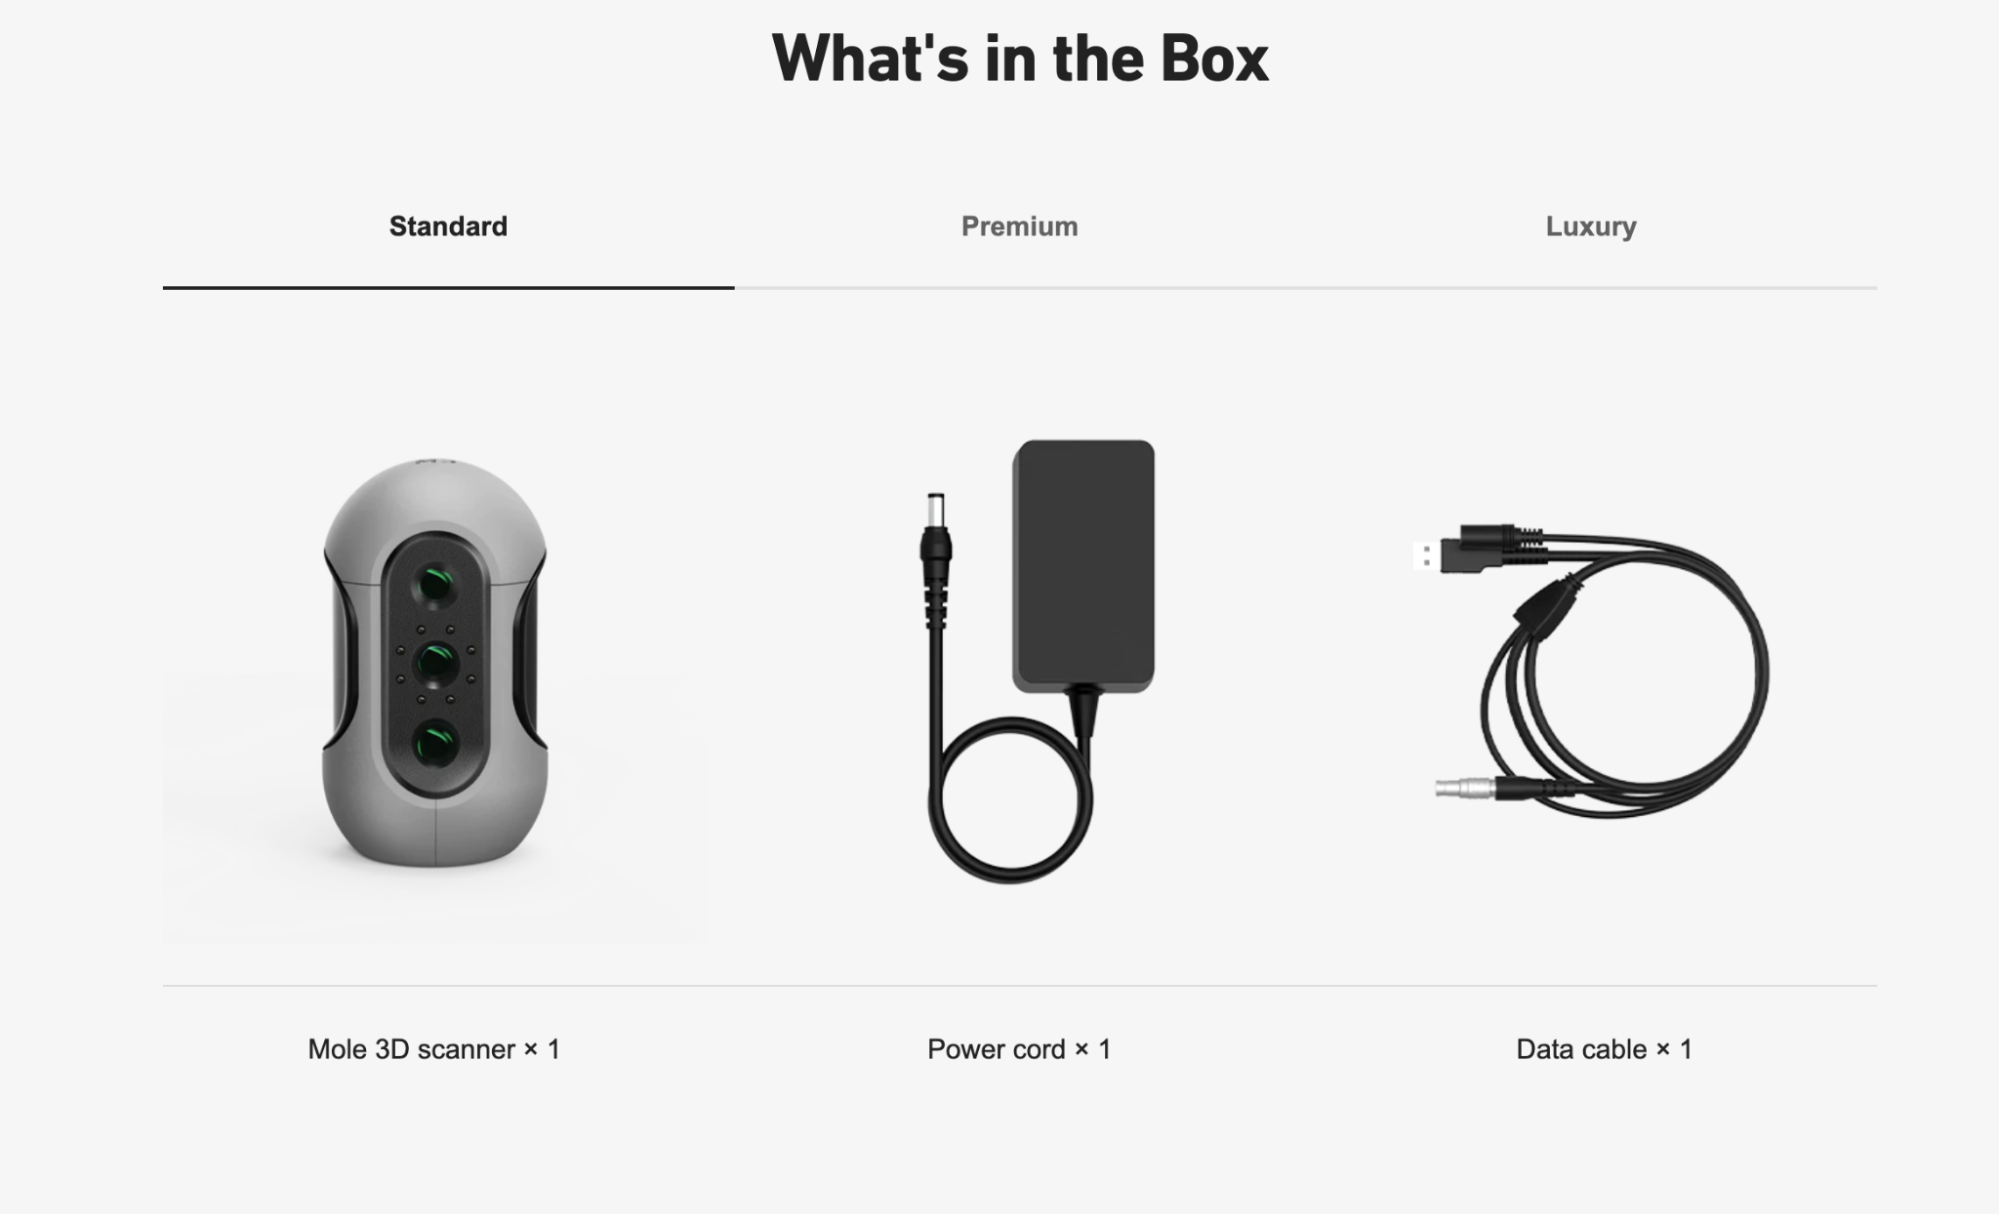
Like other 3DMakerPro 3D scanners, the Mole is available in three combo packages: standard, premium, and luxury. The standard combo includes the basics needed to complete a 3D scan, including the Mole 3D scanner, a power cord, and a data cable. For an additional cost, the premium combo also includes a turntable, tripod, and carbon fiber handle while the luxury combo includes a “color kit.”
The premium combo hits a sweet spot between price and functionality, and the modest increase in price over the base package will be interesting to anyone without a tripod or turntable. Meanwhile, the complexity and lack of reviews or examples of the color textures captured by the luxury package will make that a less appealing purchase.
Setup of 3DMakerPro Mole
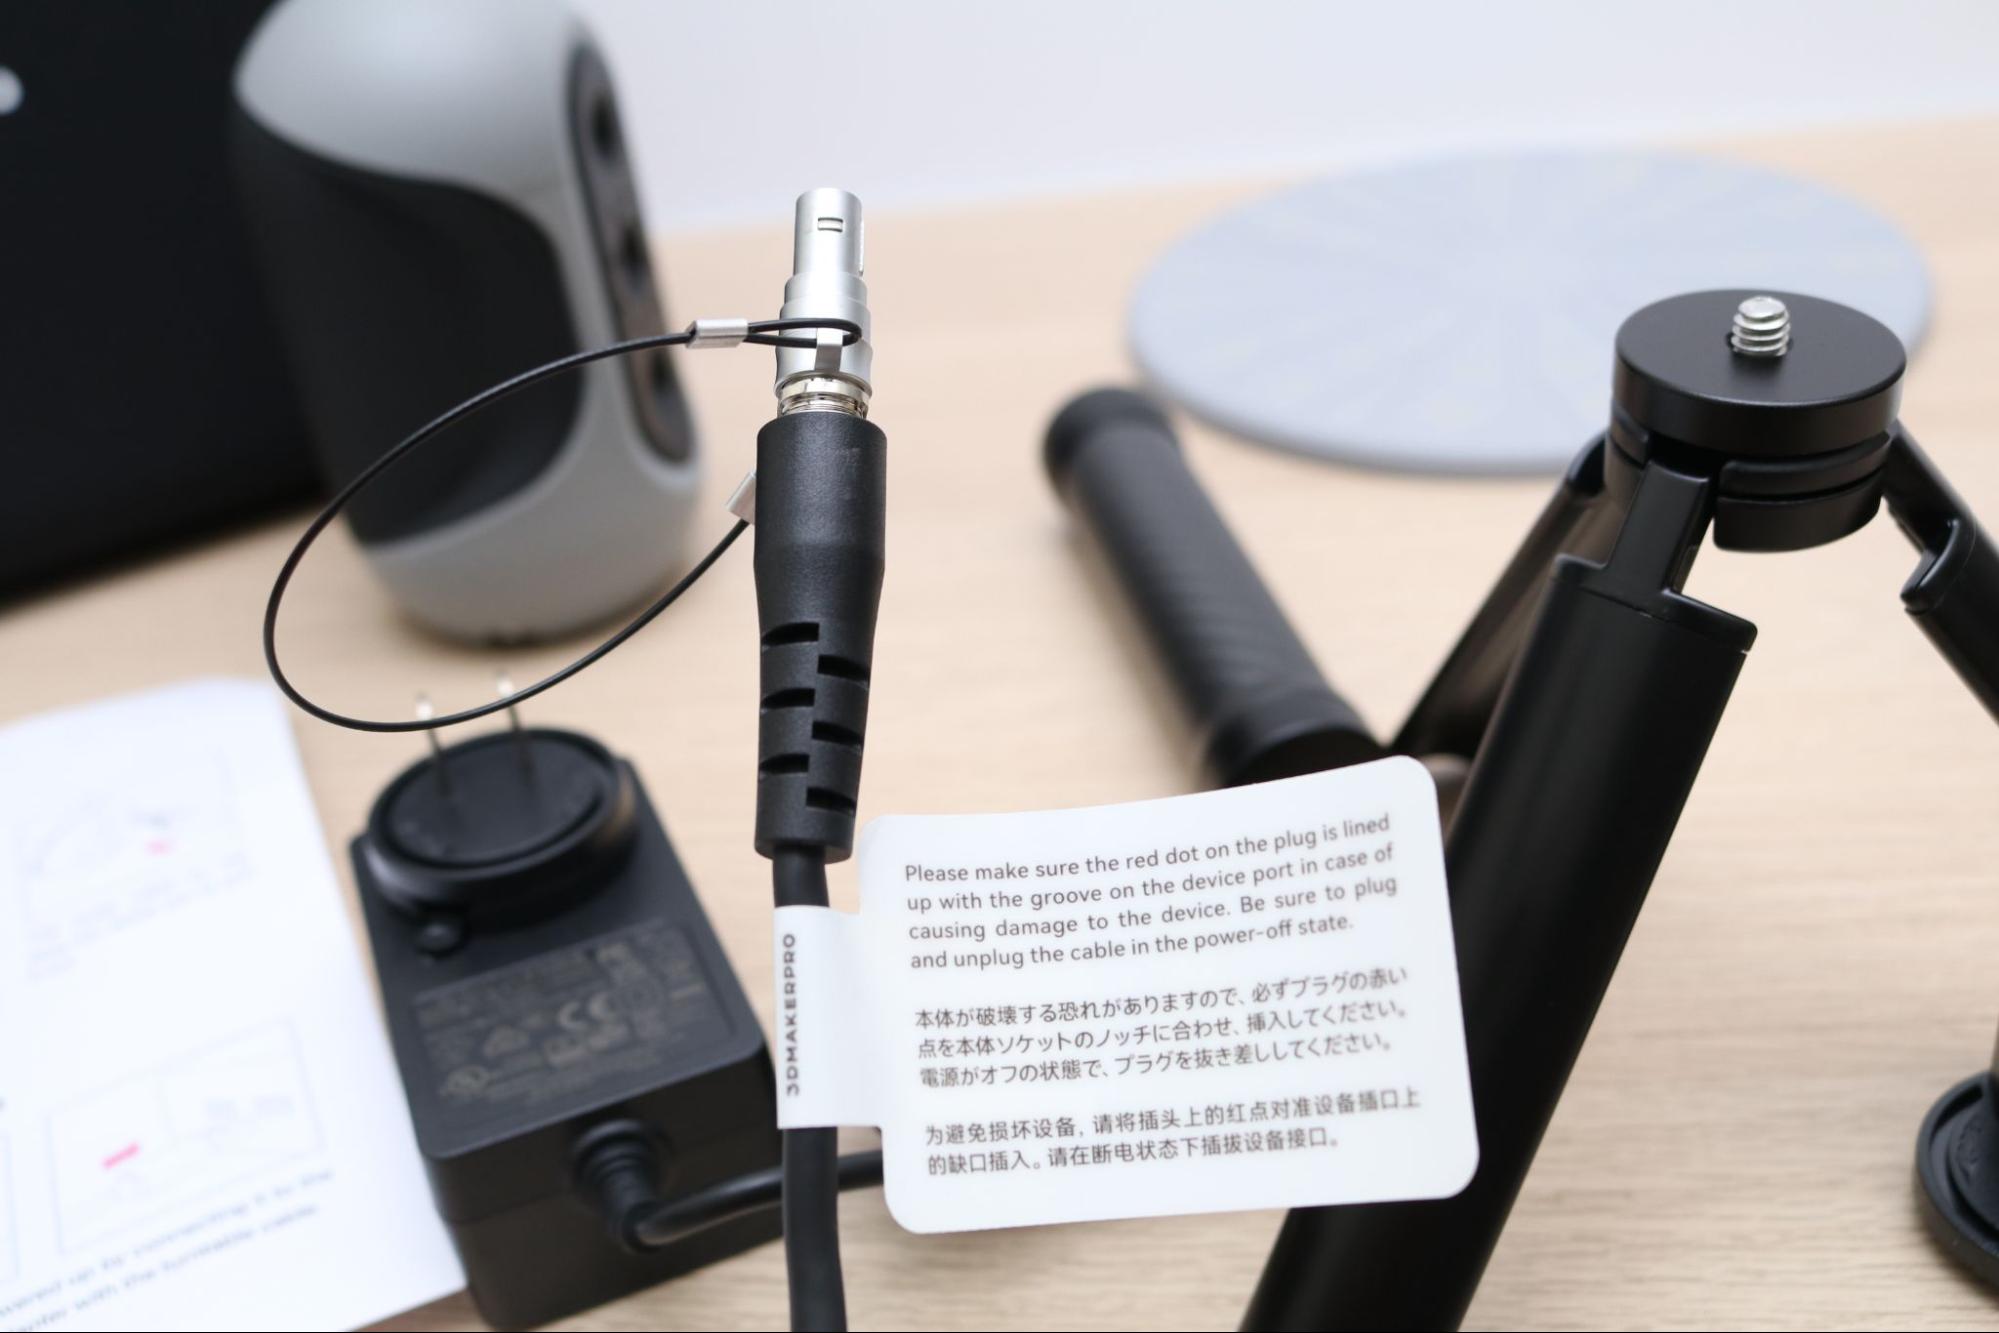
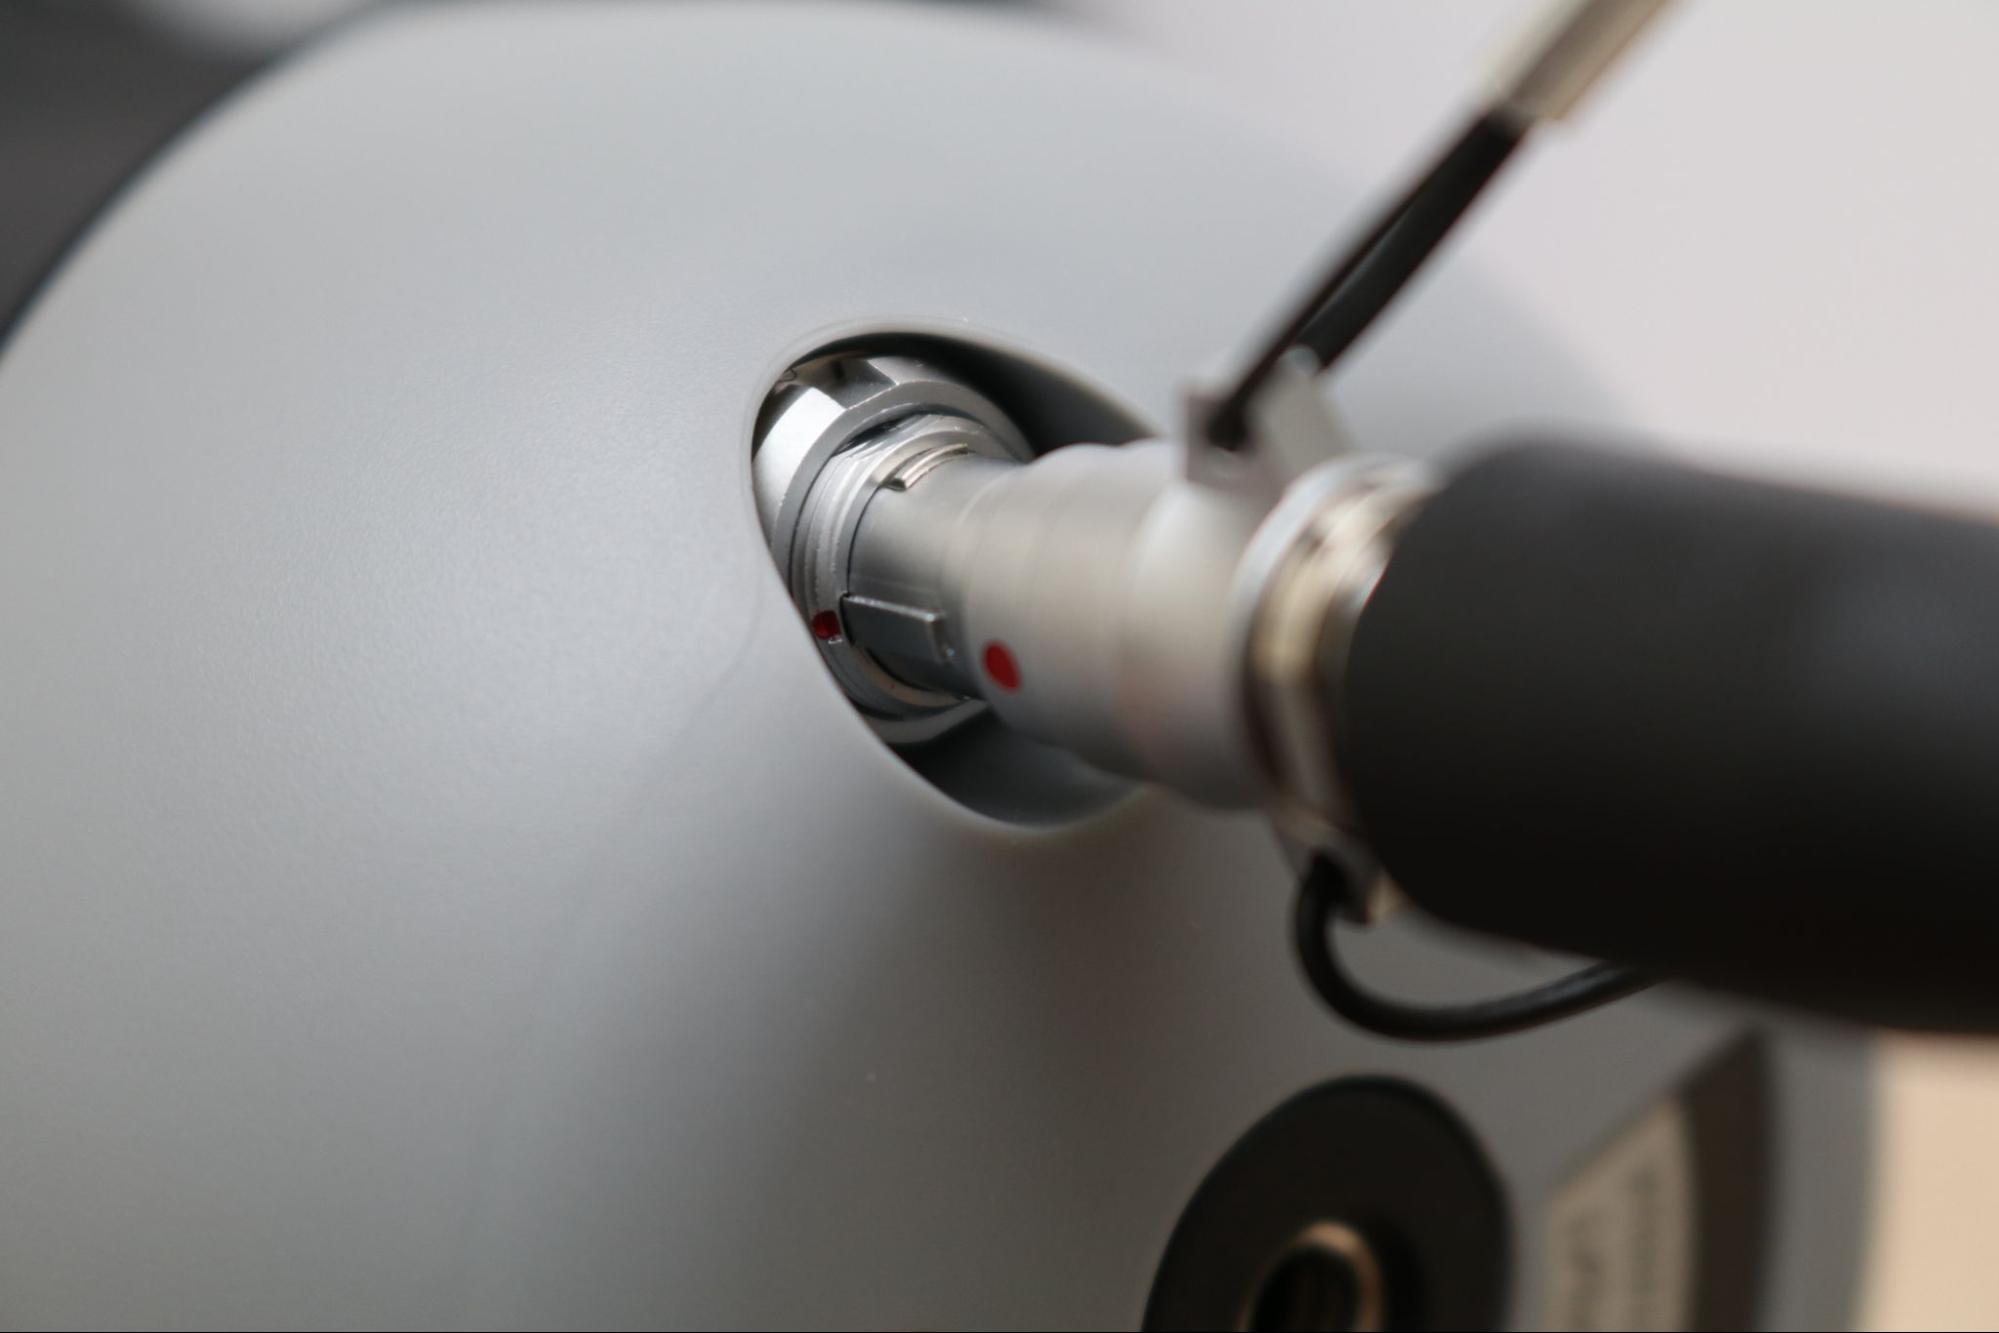
Unlike the 3DMakerPro Lynx, which uses a surprisingly complex wiring harness for connecting the scanner to a computer and other accessories, the Mole uses only a single input terminal to provide power and data transfer. This terminal plugs into the Mole, and the other ends connect to the power adapter as well as the USB plug on a computer. The cable has a large warning sticker applied to it and requires that two red dots (one on the cable, one on the Mole) be aligned when plugging in the scanner. The cable has a quick-release sleeve with a tether attached to it which makes removing the cable a fast process, but can be tricky to remove while the Mole is attached to the ball swivel mount.
Get Tom's Hardware's best news and in-depth reviews, straight to your inbox.
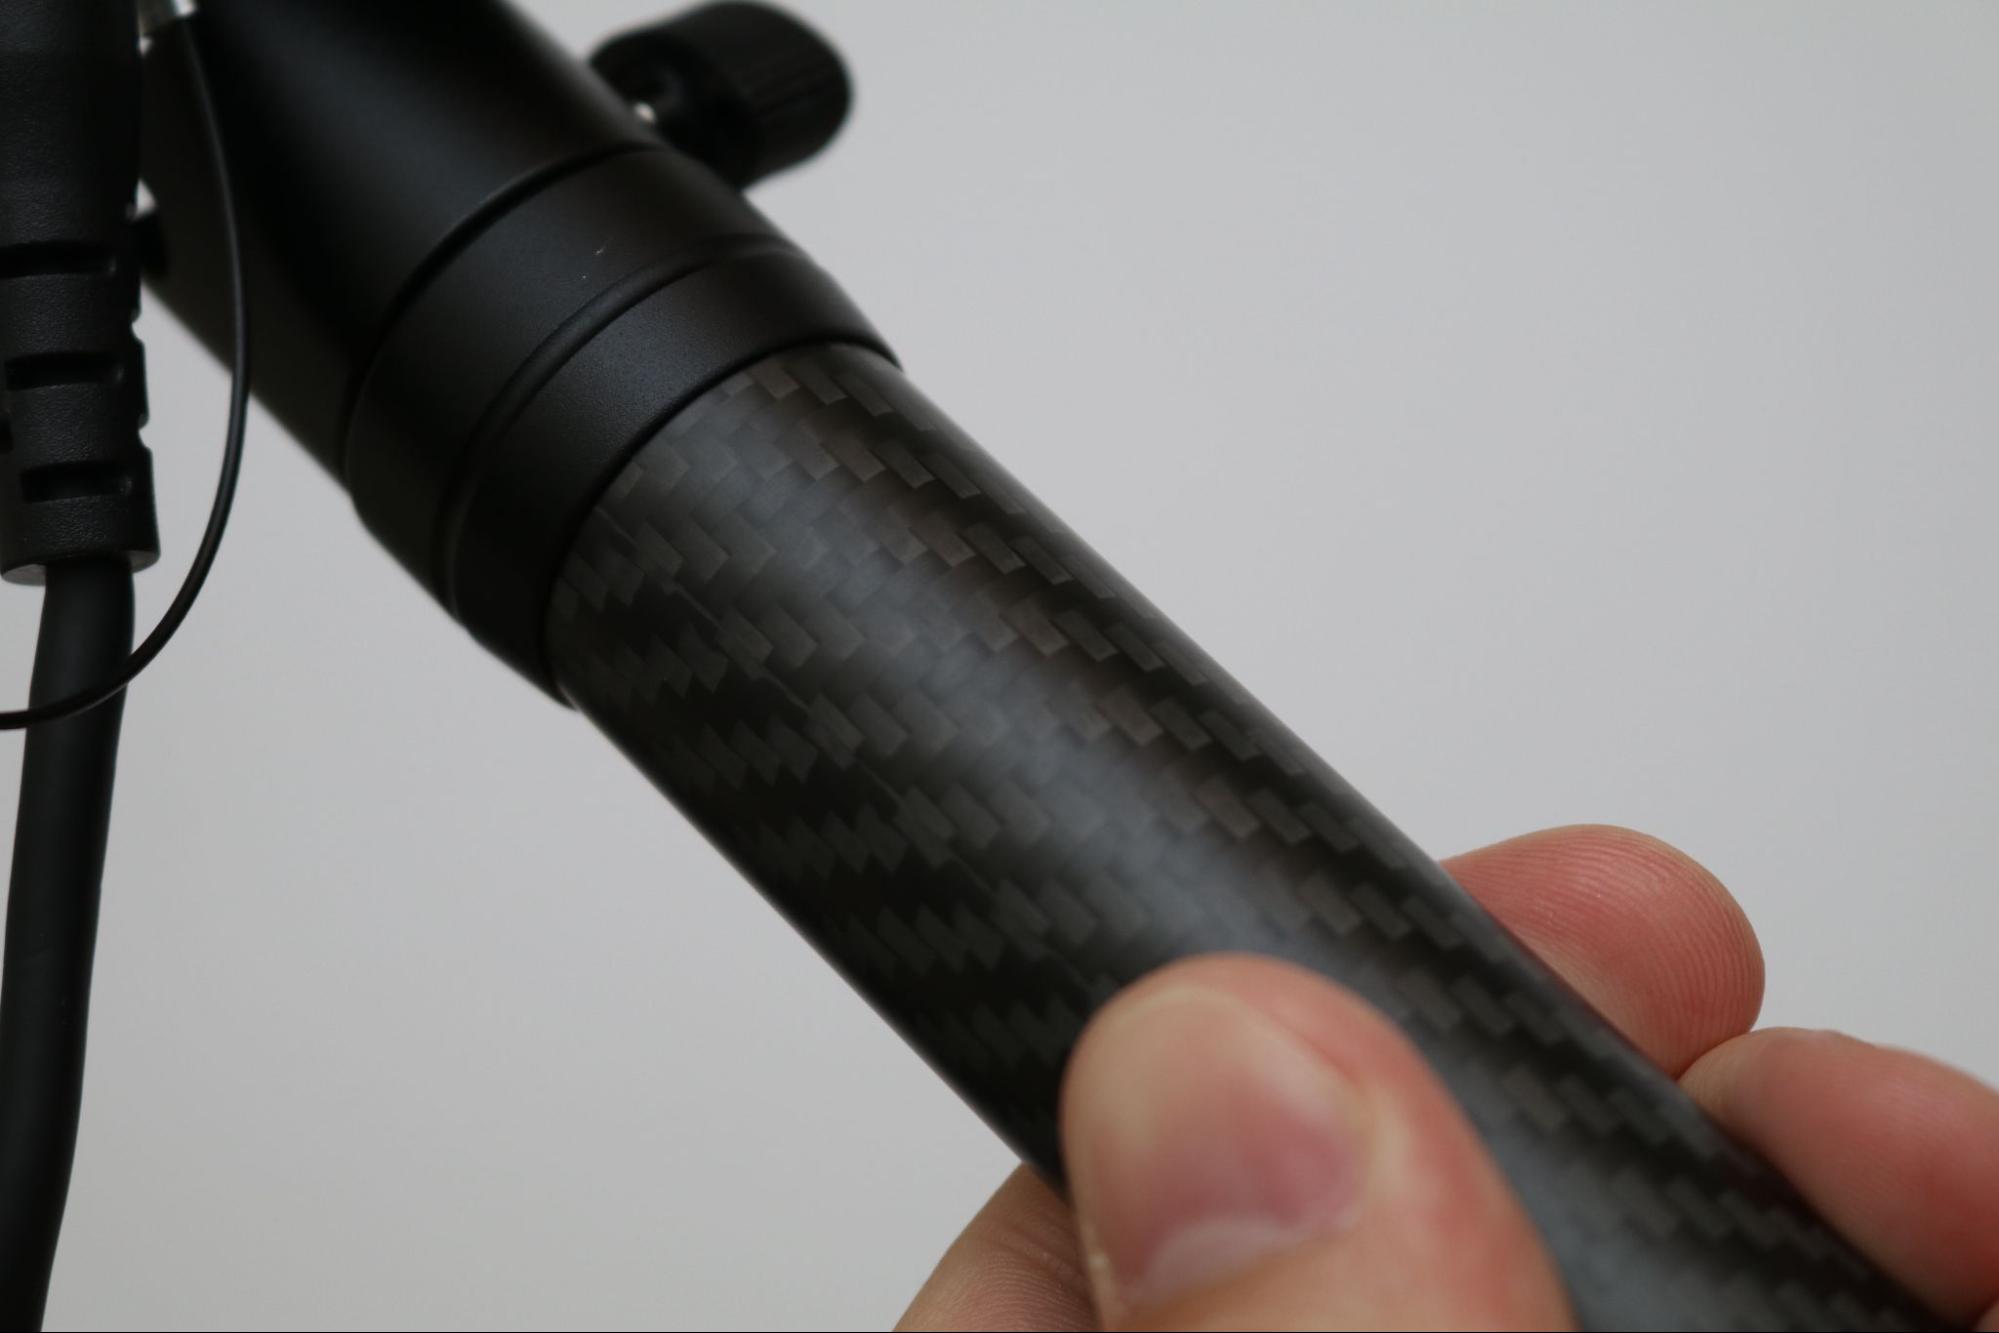
In addition to the ball swivel mount, the Mole includes a tripod and a lightweight carbon fiber handle which can be combined or separated depending on the application. I found the body of the Mole was easy to handle for handheld dynamic scanning, but the included carbon fiber handle is a nice addition for anyone with smaller hands or who is used to a more traditional grip.
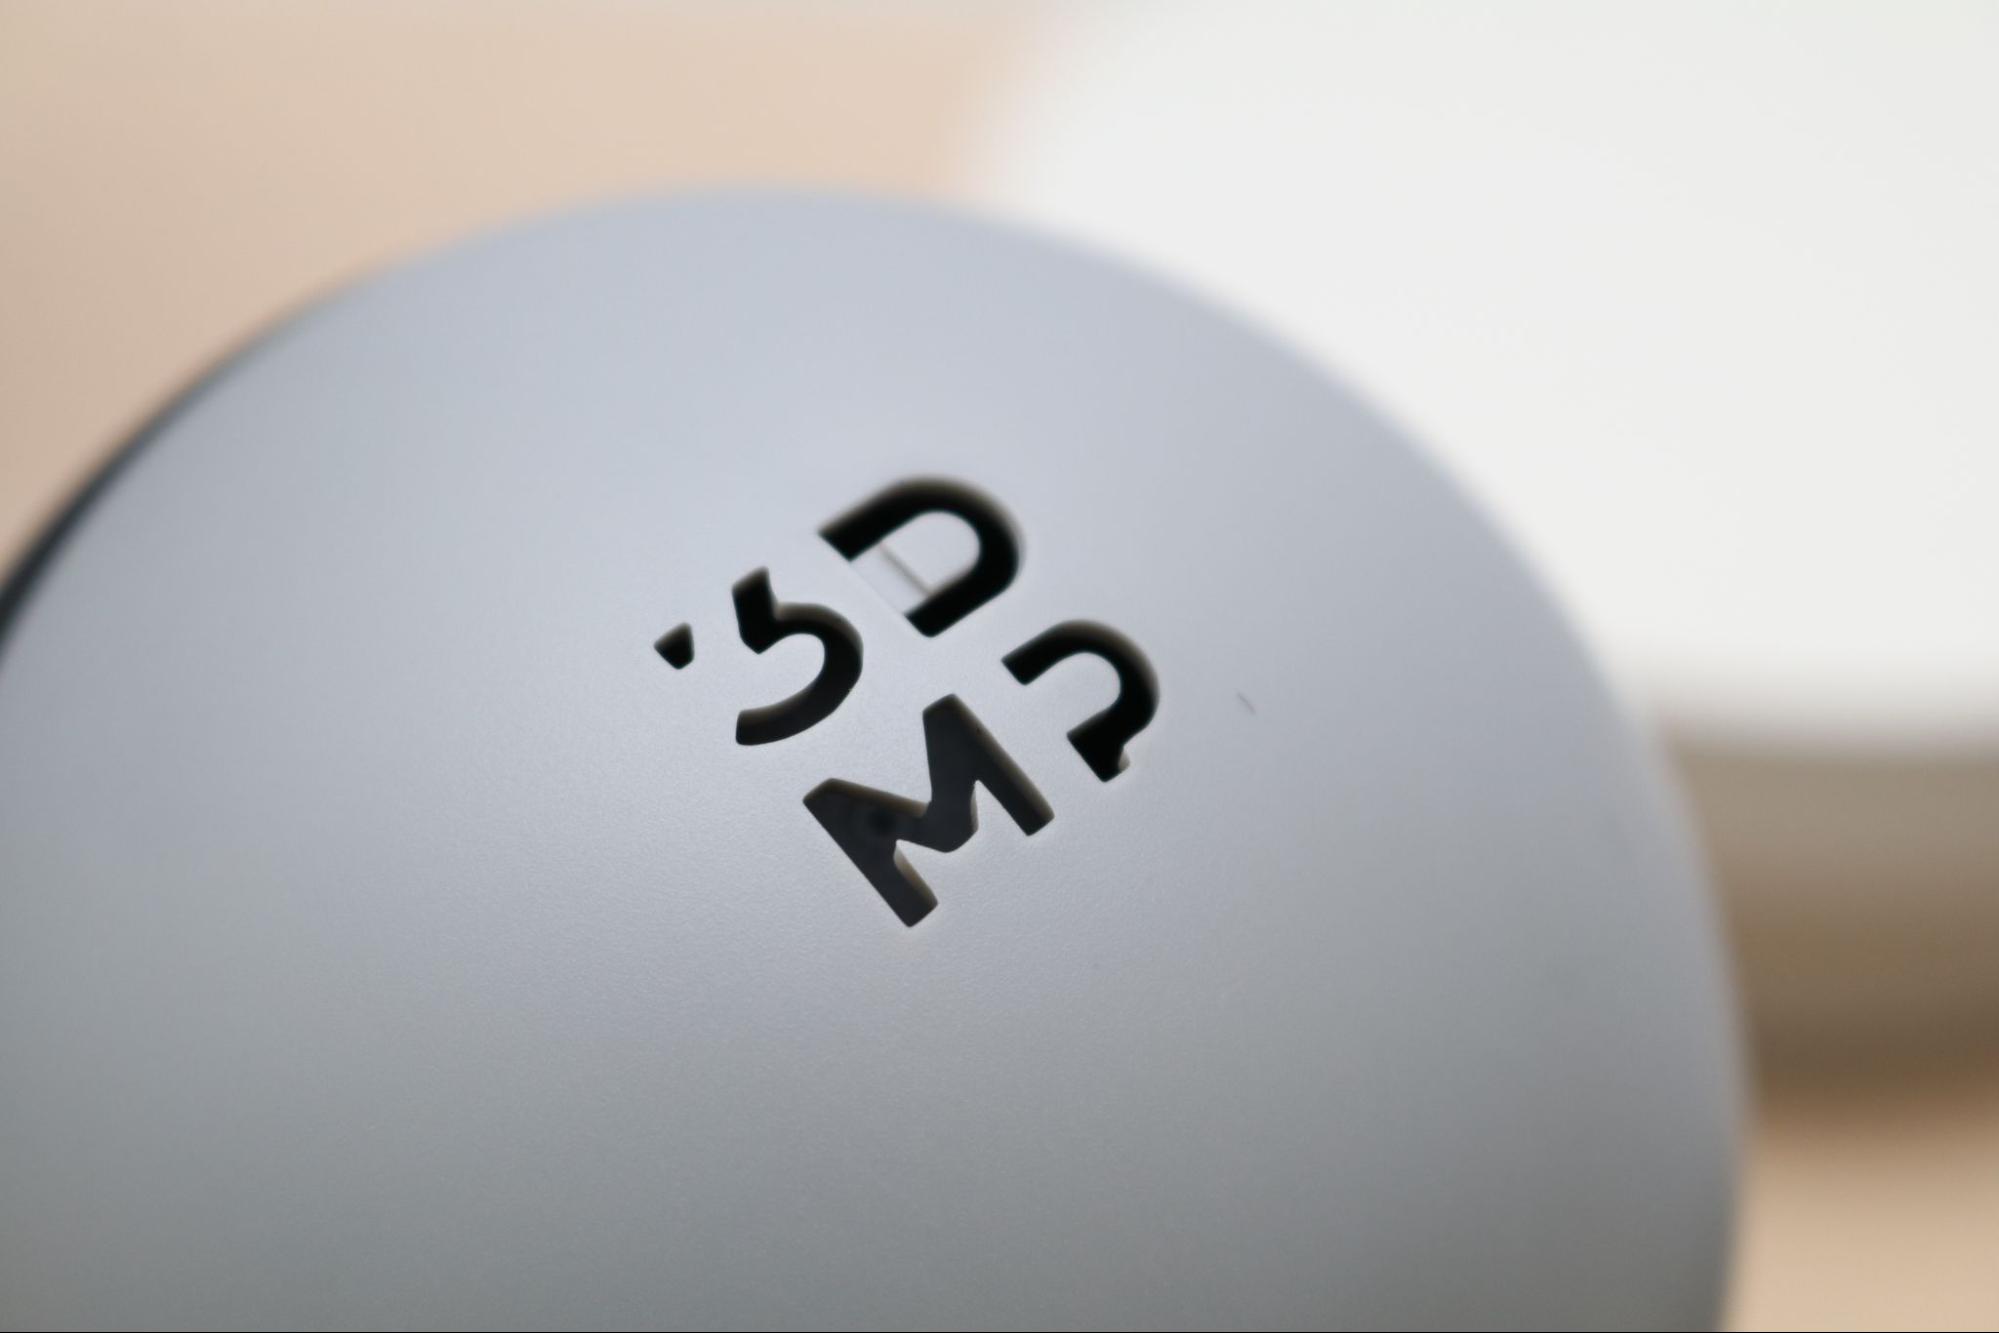
The Mole has a vent engraved on the top of the scanner in the shape of the 3DMakerPro logo, which allows for airflow and keeps the scanner from overheating during use. Considering the scanner is almost always held with the top facing away from the operator during desktop use, this is a nice touch that keeps the scanner cool and also doesn’t vent the hot air in the direction of the user.
Installing the Software for 3DMakerPro Mole
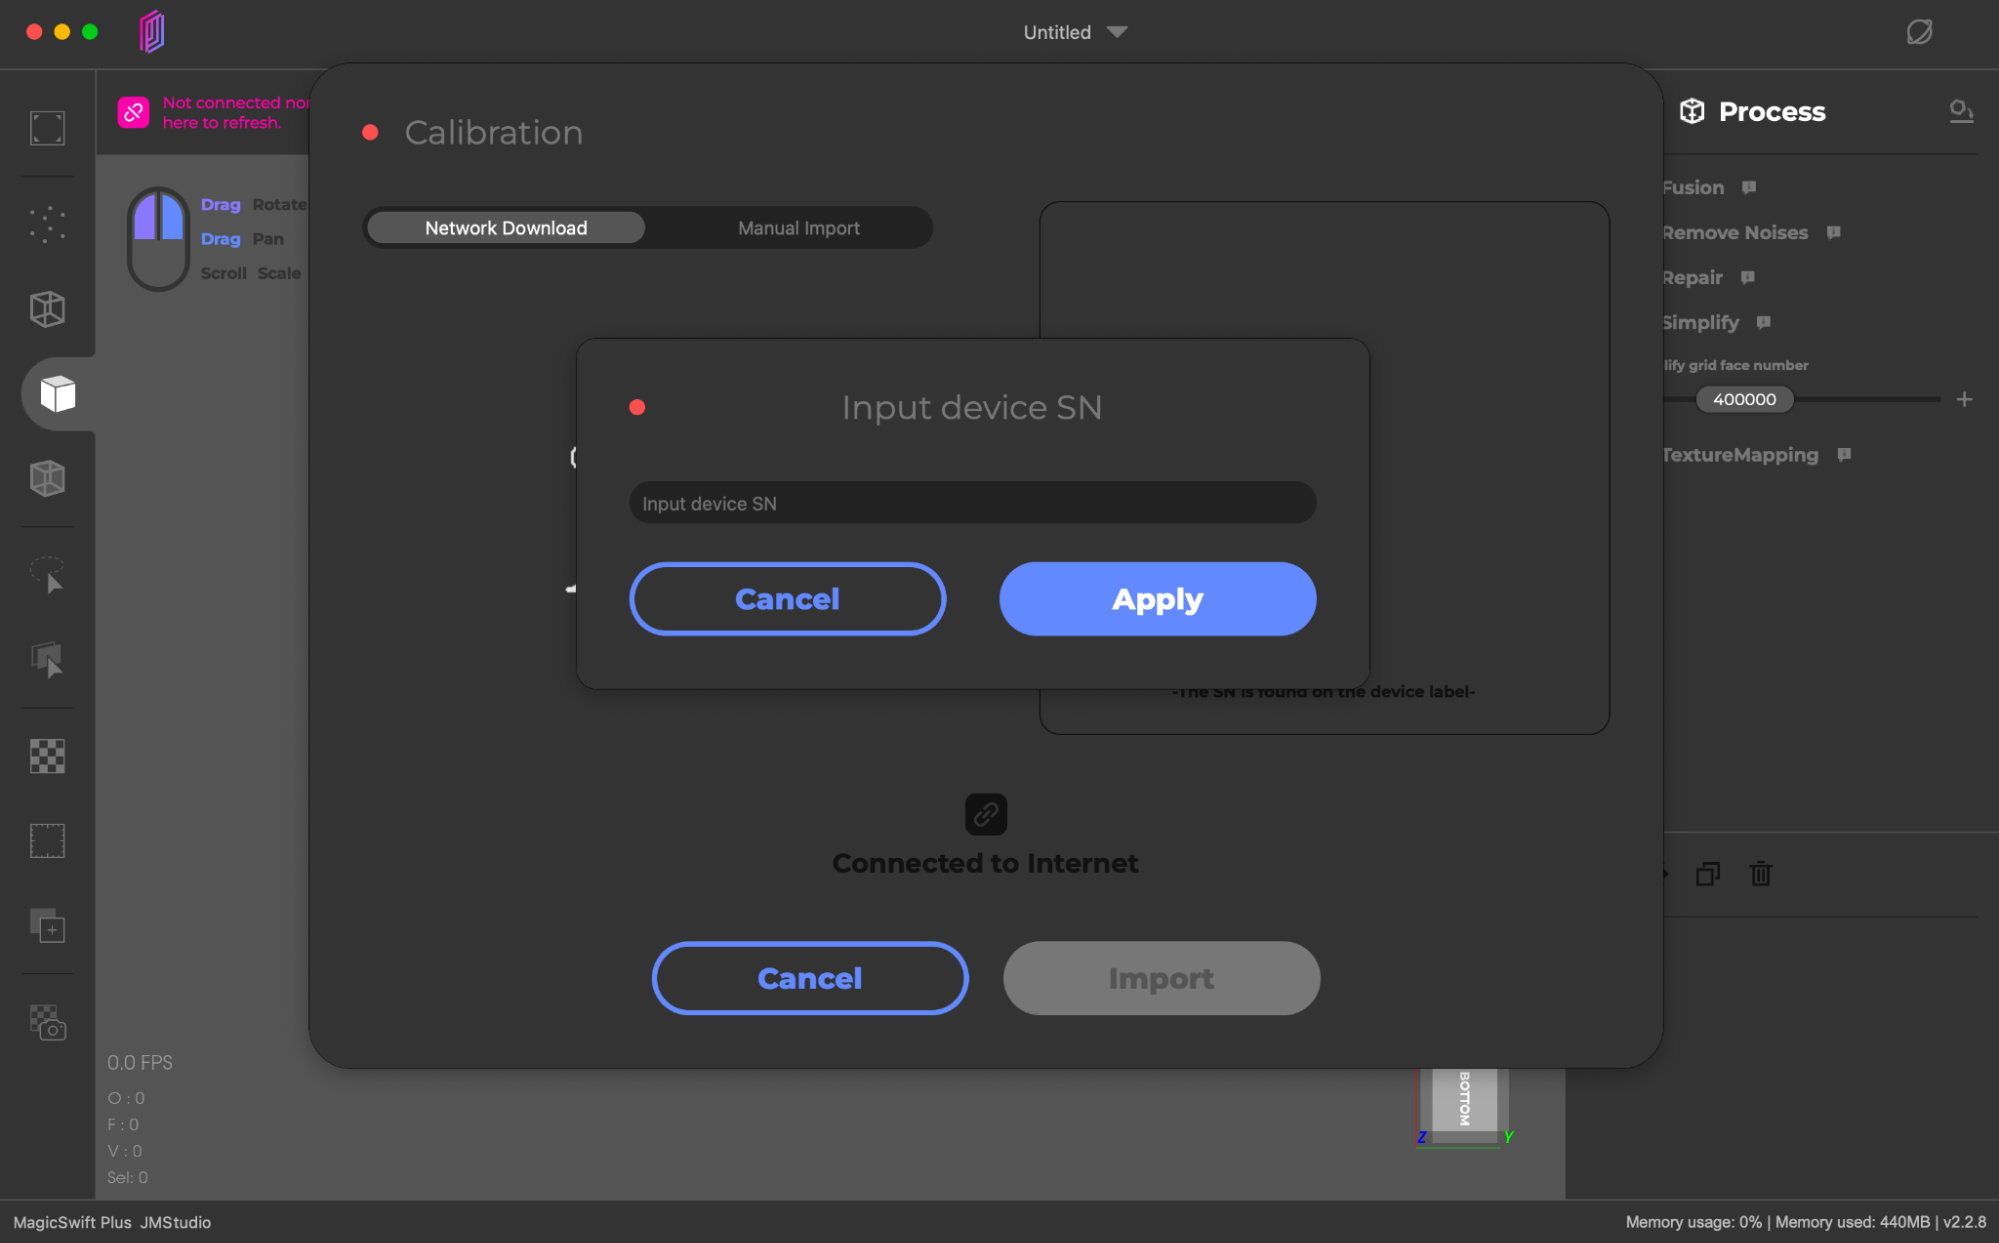
The companion software for the 3DMakerPro Mole is called JMStudio, and is the same software used by 3DMakerPro Lynx, the larger-format version of the Mole. Available for both Mac and PC, JMStudio combines data capture with mesh editing, offering full functionality for users who can’t or don’t use additional mesh post-processing software like Blender, Rhino, or others. This software allows users to capture multiple scans, align them to create a full model, remove duplicate and isolated (noise) points, and even repair holes before exporting a mesh for printing or further processing.
Using the latest build available for Mac (v2.2.8), the program crashed surprisingly often during the Remove Noise step of post-processing, and I found myself going back and manually removing noise points from the scans before attempting alignment. While this wasn’t a major issue and I never lost any work other than the work in progress, it’s still worth noting and could be a potential headache for users processing complex scans on a tight deadline.
3D Scanning with the 3DMakerPro Mole
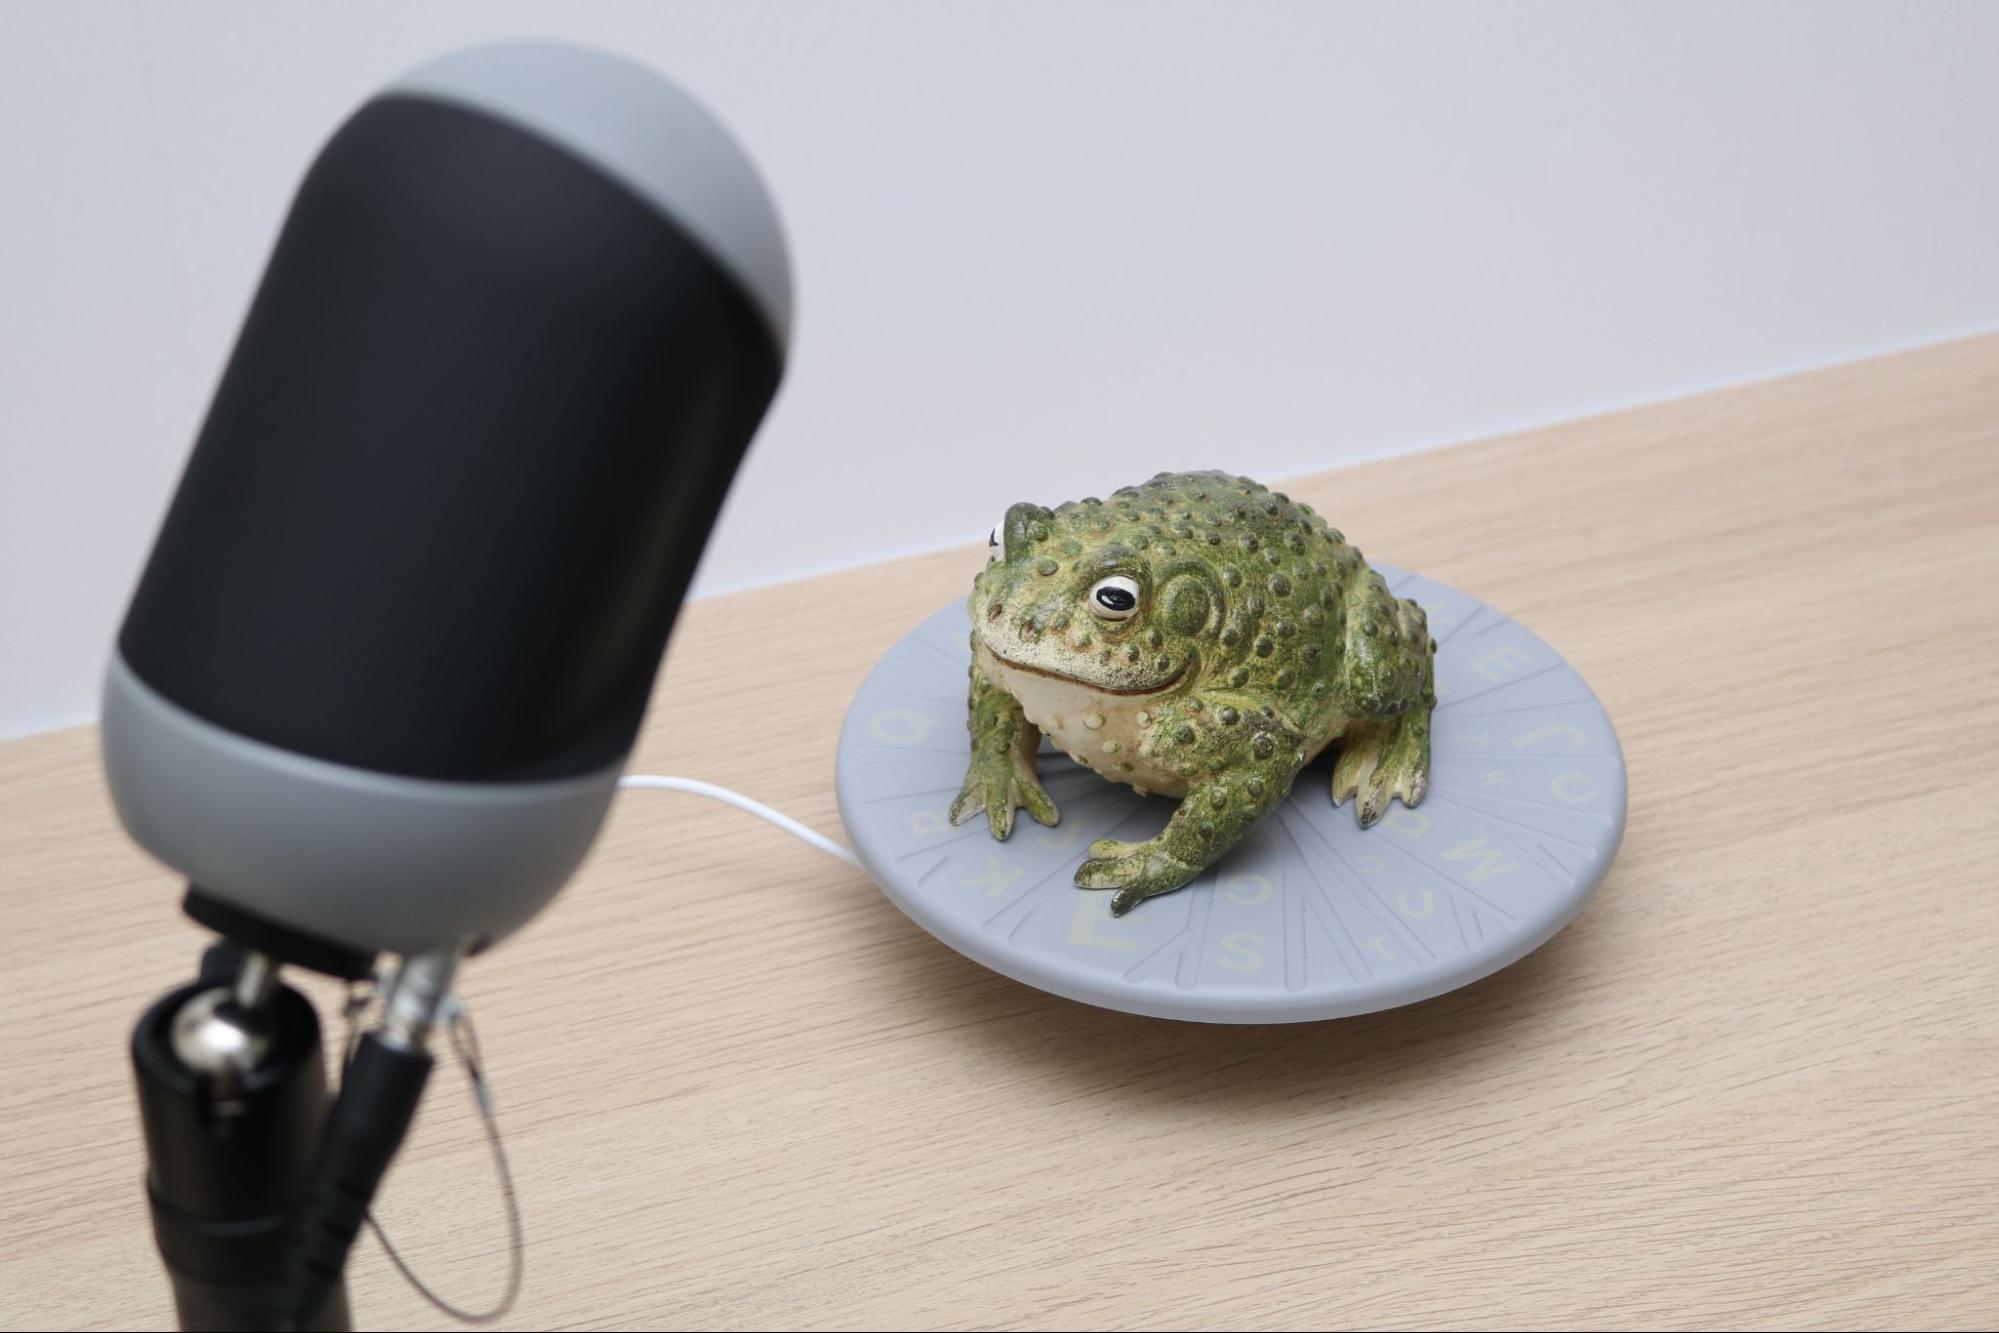
JMStudio offers two ways to initialize a 3D scan: Easy Scan and Table Scan. Easy Scan is the quickest and easiest way to create a scan; simply point the scanner at your subject and start moving around to capture geometry. Table Scan is a more automated process that uses the included turntable to rotate the model a full revolution while the scan is being captured. This mode will capture a total of 320 frames before stopping automatically and allowing the user to continue to processing or appending with an additional scan.
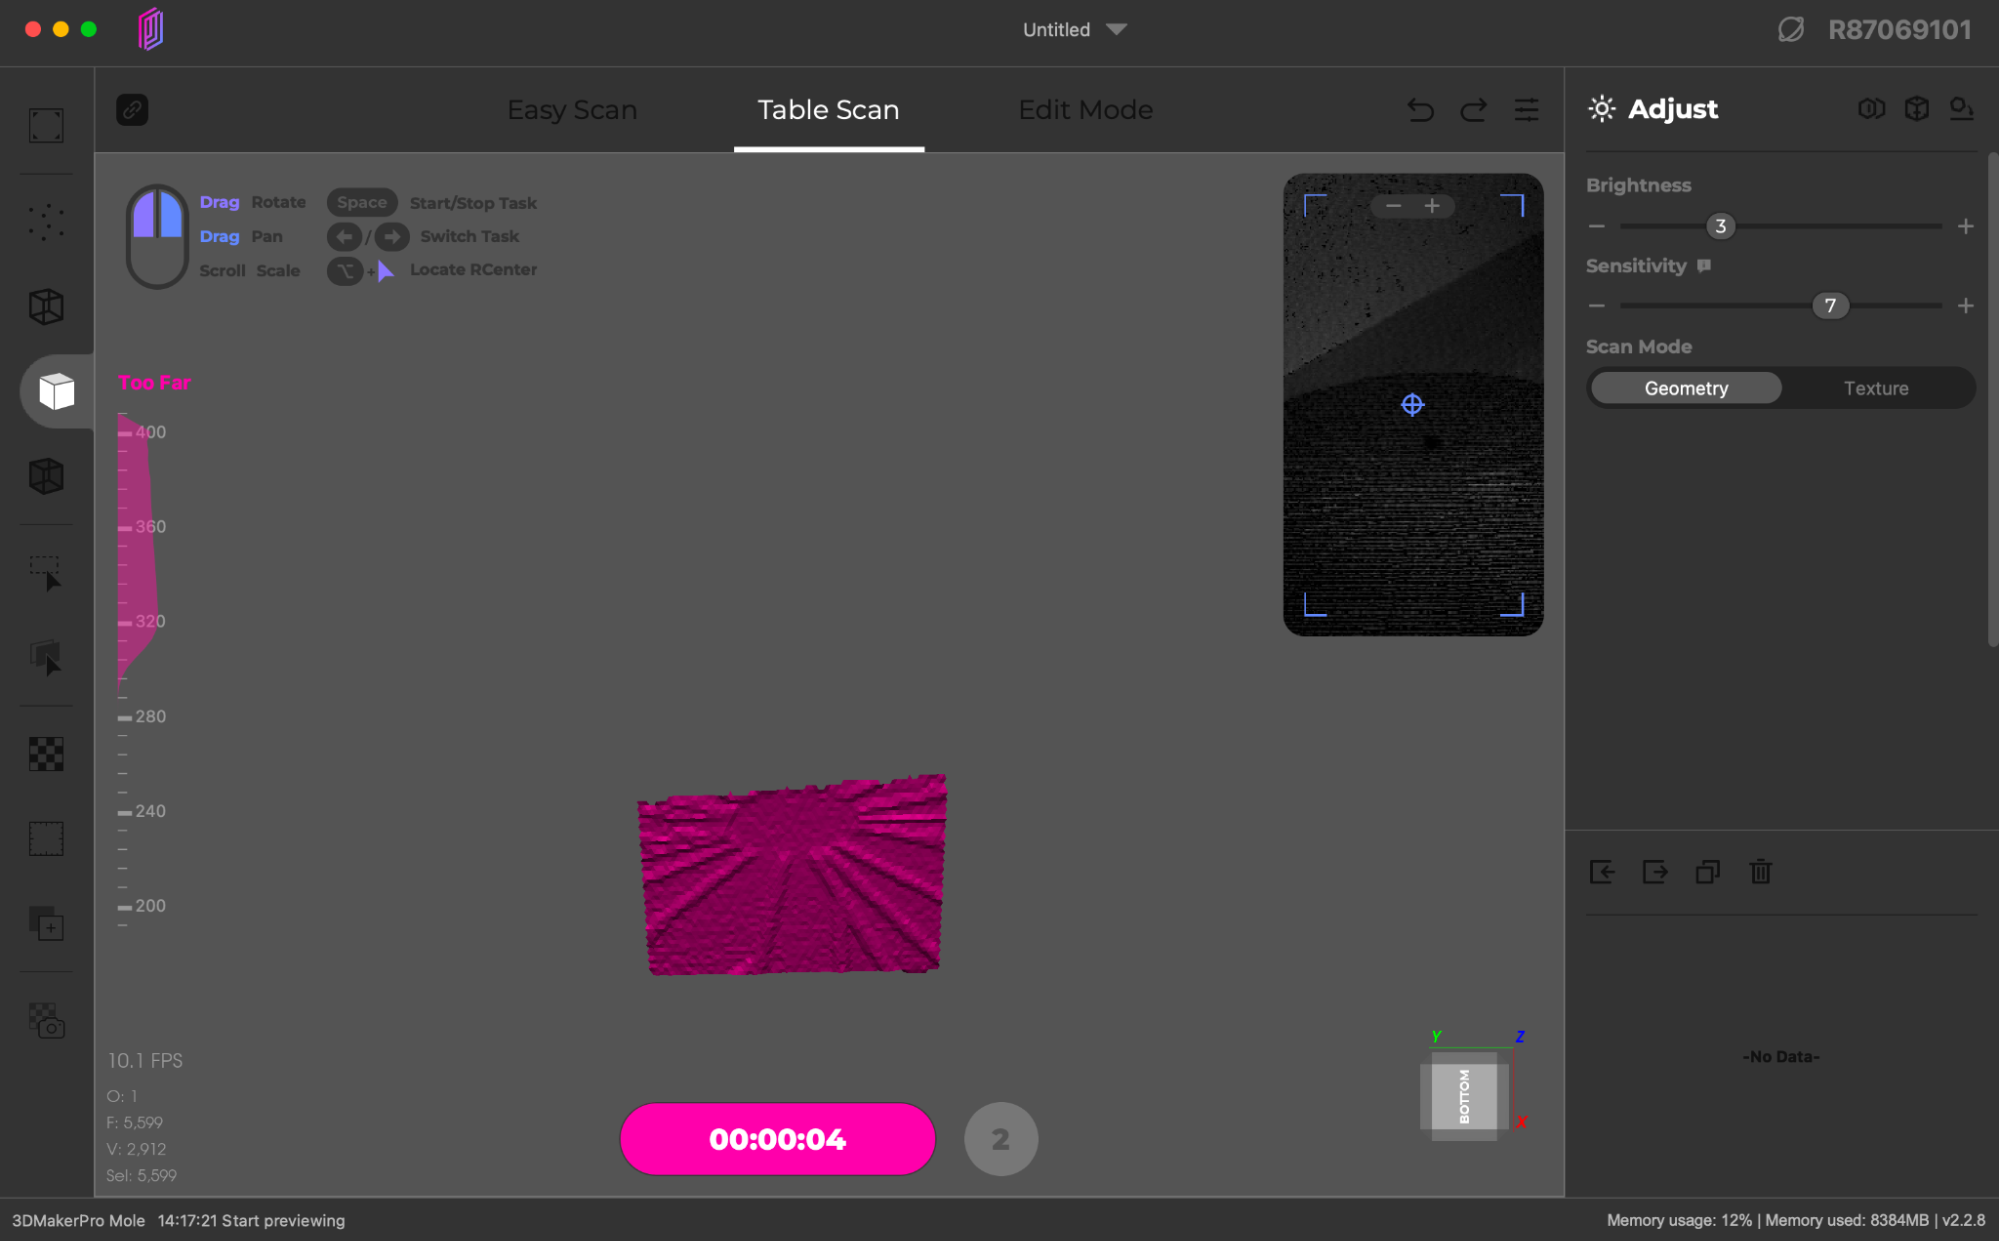
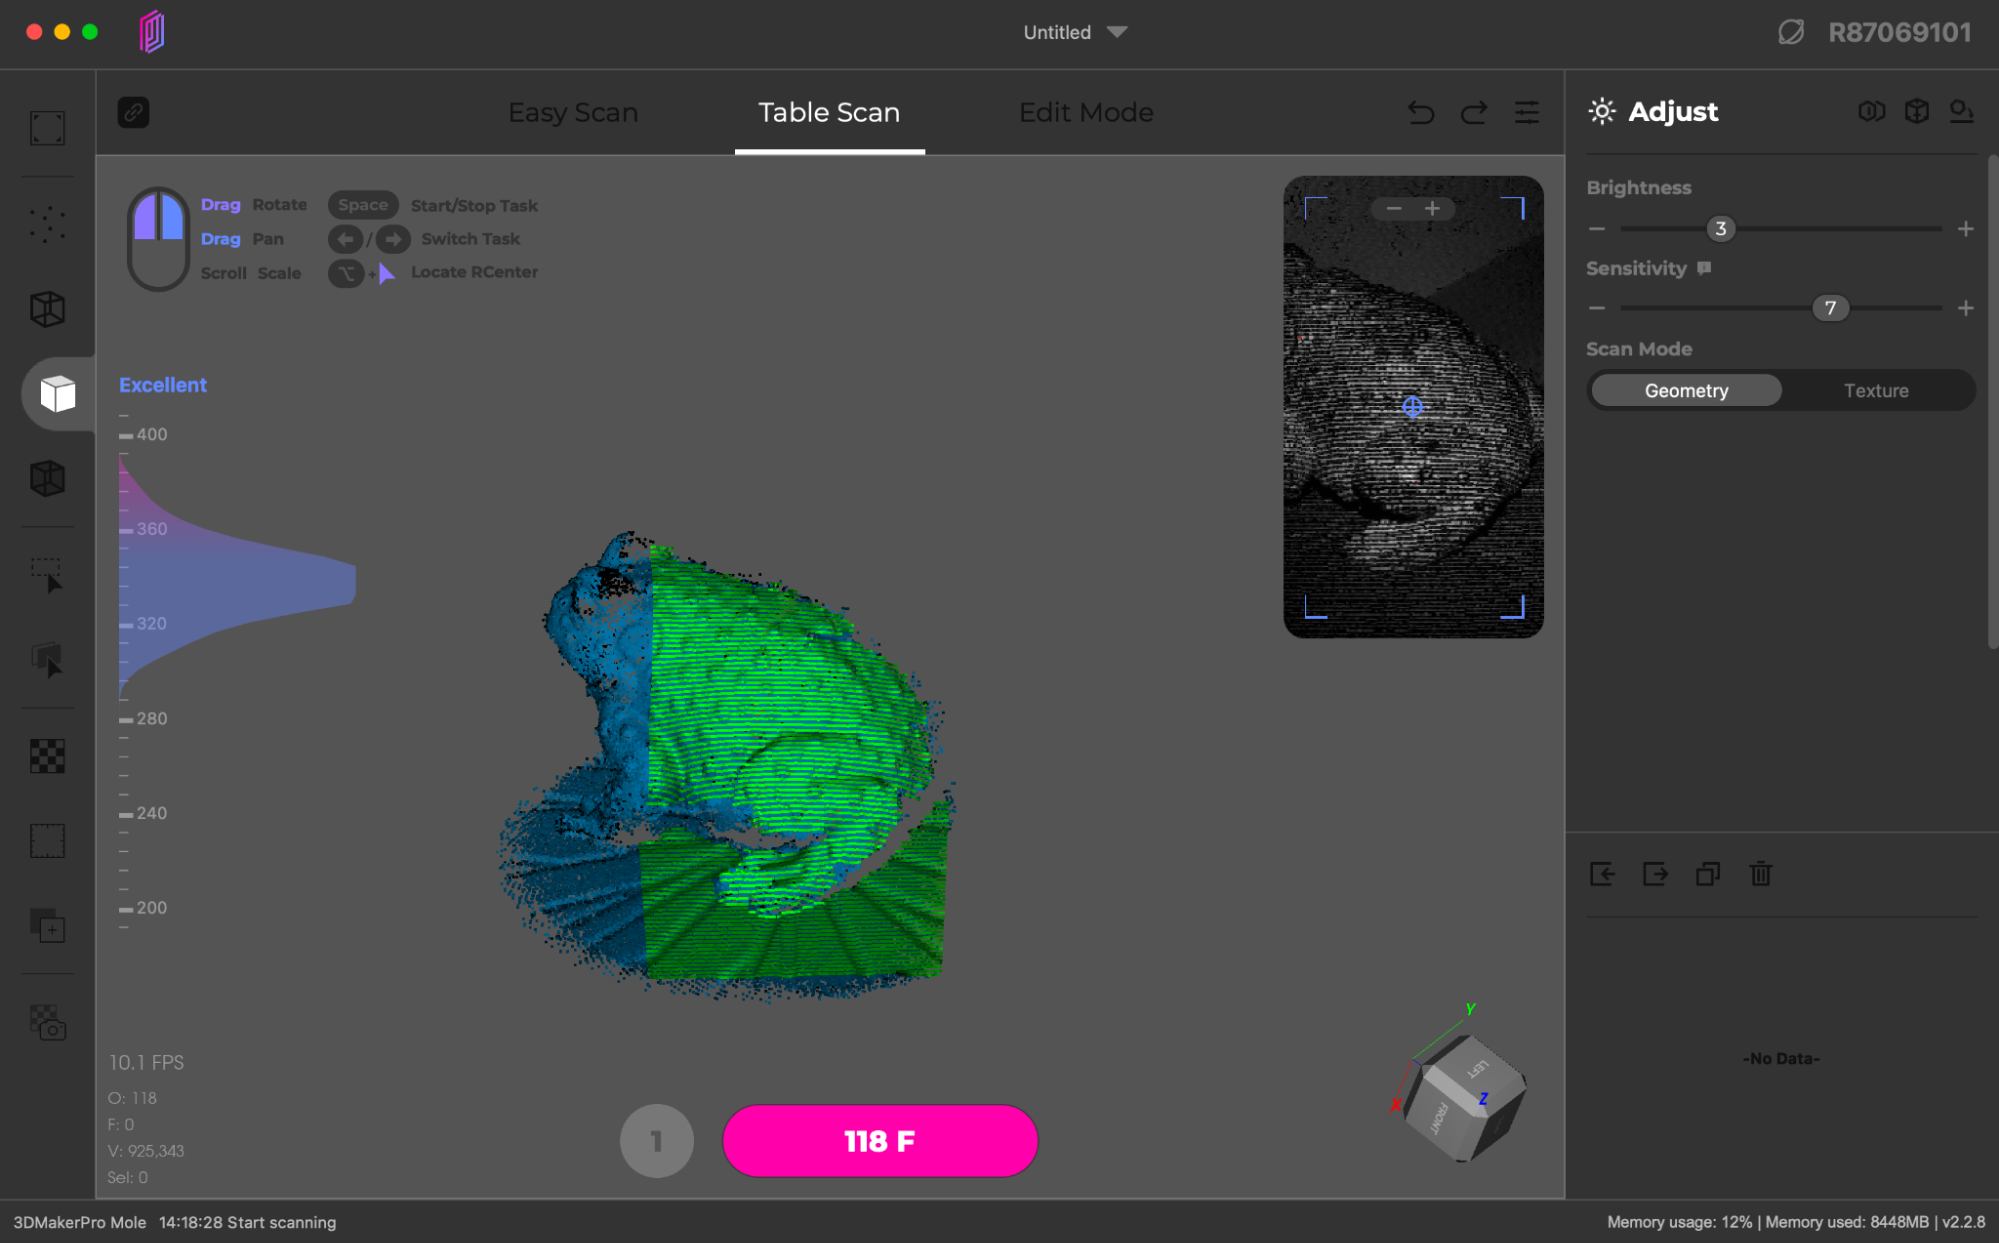
Table Scan first initializes the scene by detecting the surface of the turntable, which will later be automatically removed from the scan data. Once the turntable turns red in the interface, this initialization step is complete and the scan data can be acquired. Because the turntable only rotates in a single axis, there will usually be geometry that is not captured by scan. It’s helpful to visualize “painting” a model with a flashlight; anywhere the light strikes the model will be captured but overhangs or sharp curves typically require rotating the model on the turntable to capture.


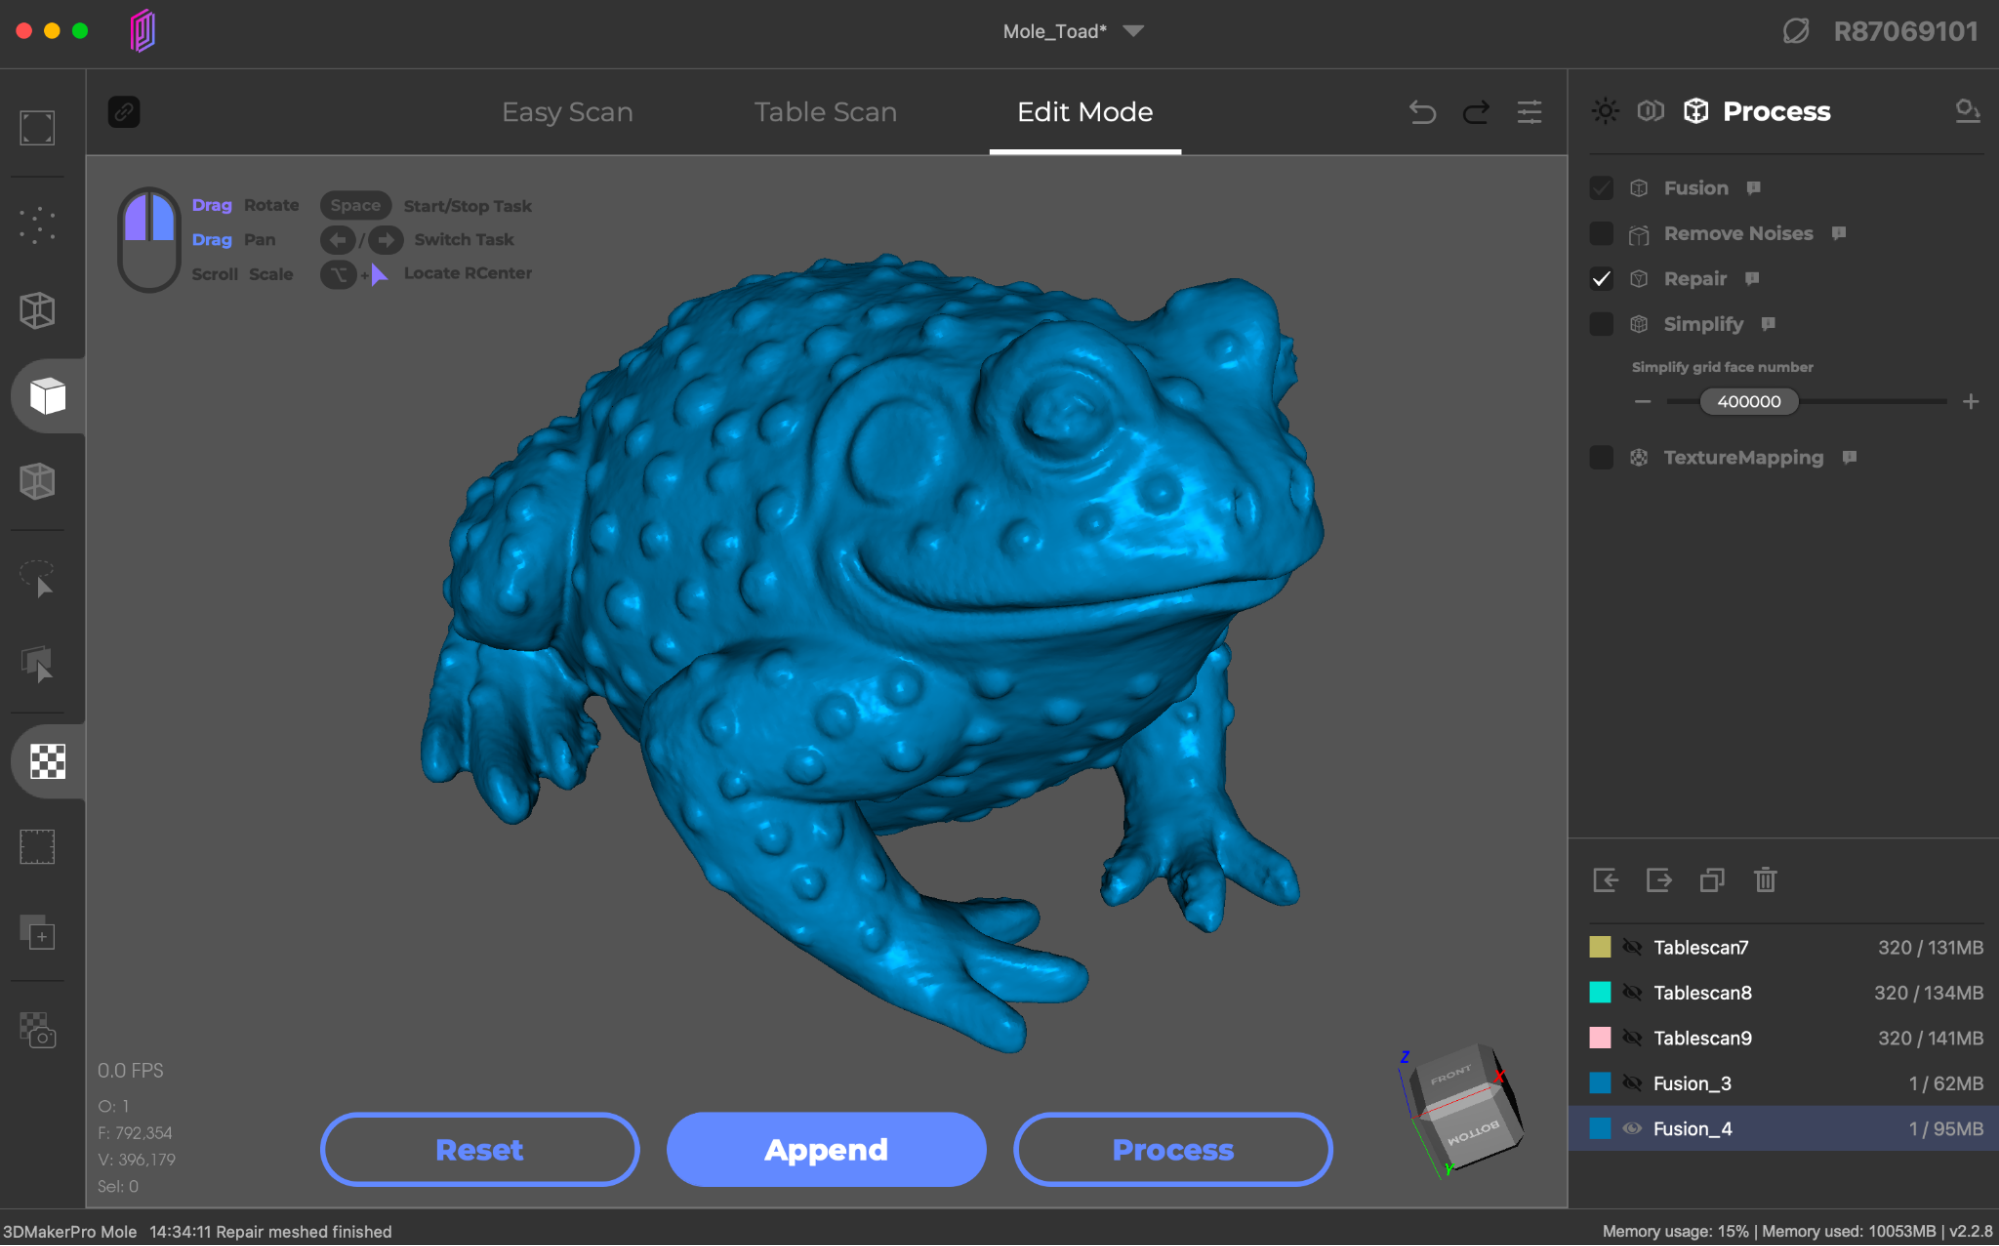
To fully capture a model like this toad, multiple scans are required to fully capture the geometry of the model with no holes. I scanned the model a total of three times in three different configurations to capture as much of the geometry as I could for later reconstruction. Each scan is only a partial representation of the model, but they can be combined to create the finished model.
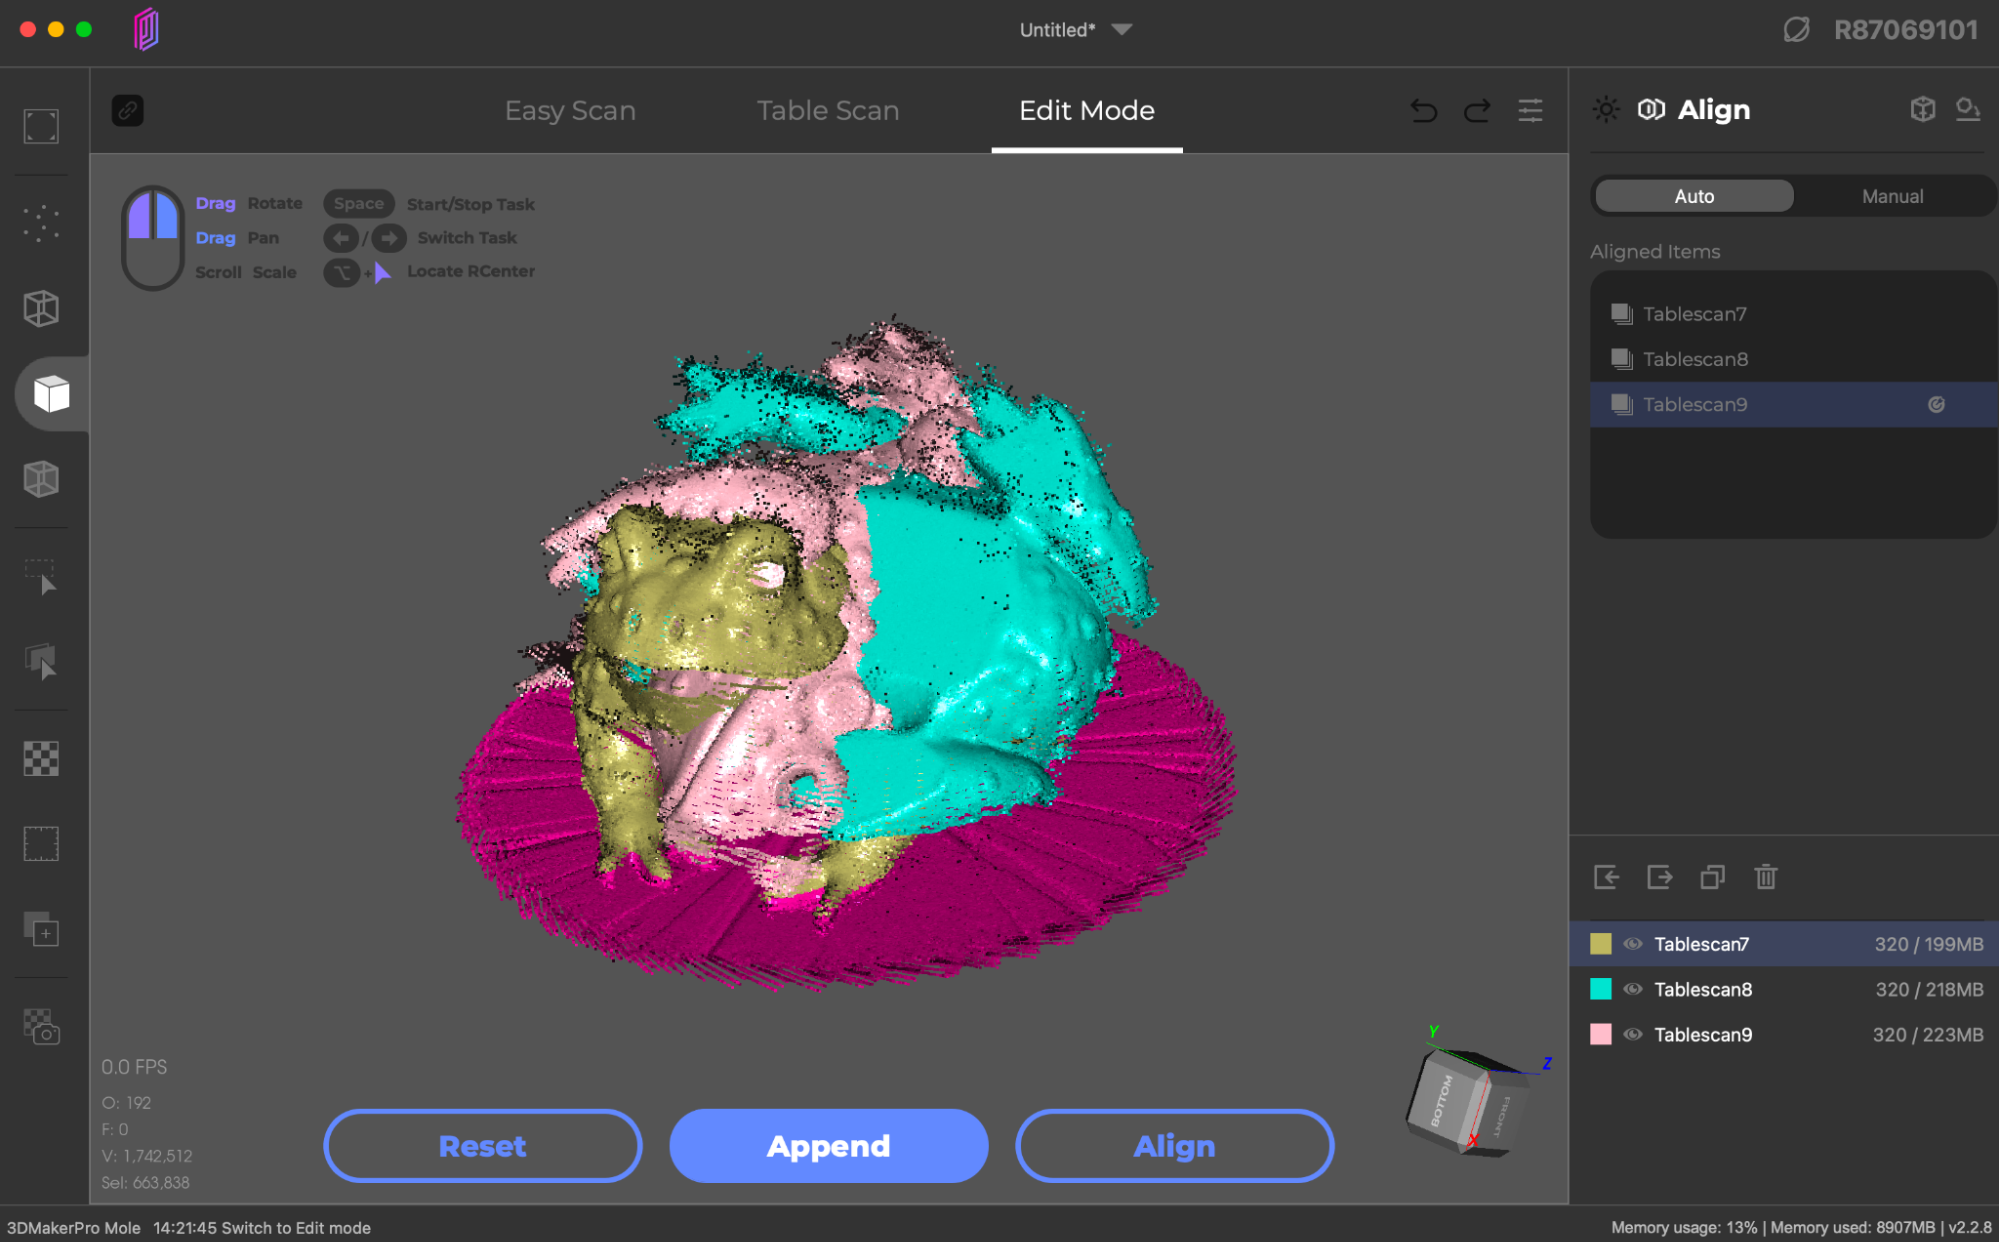
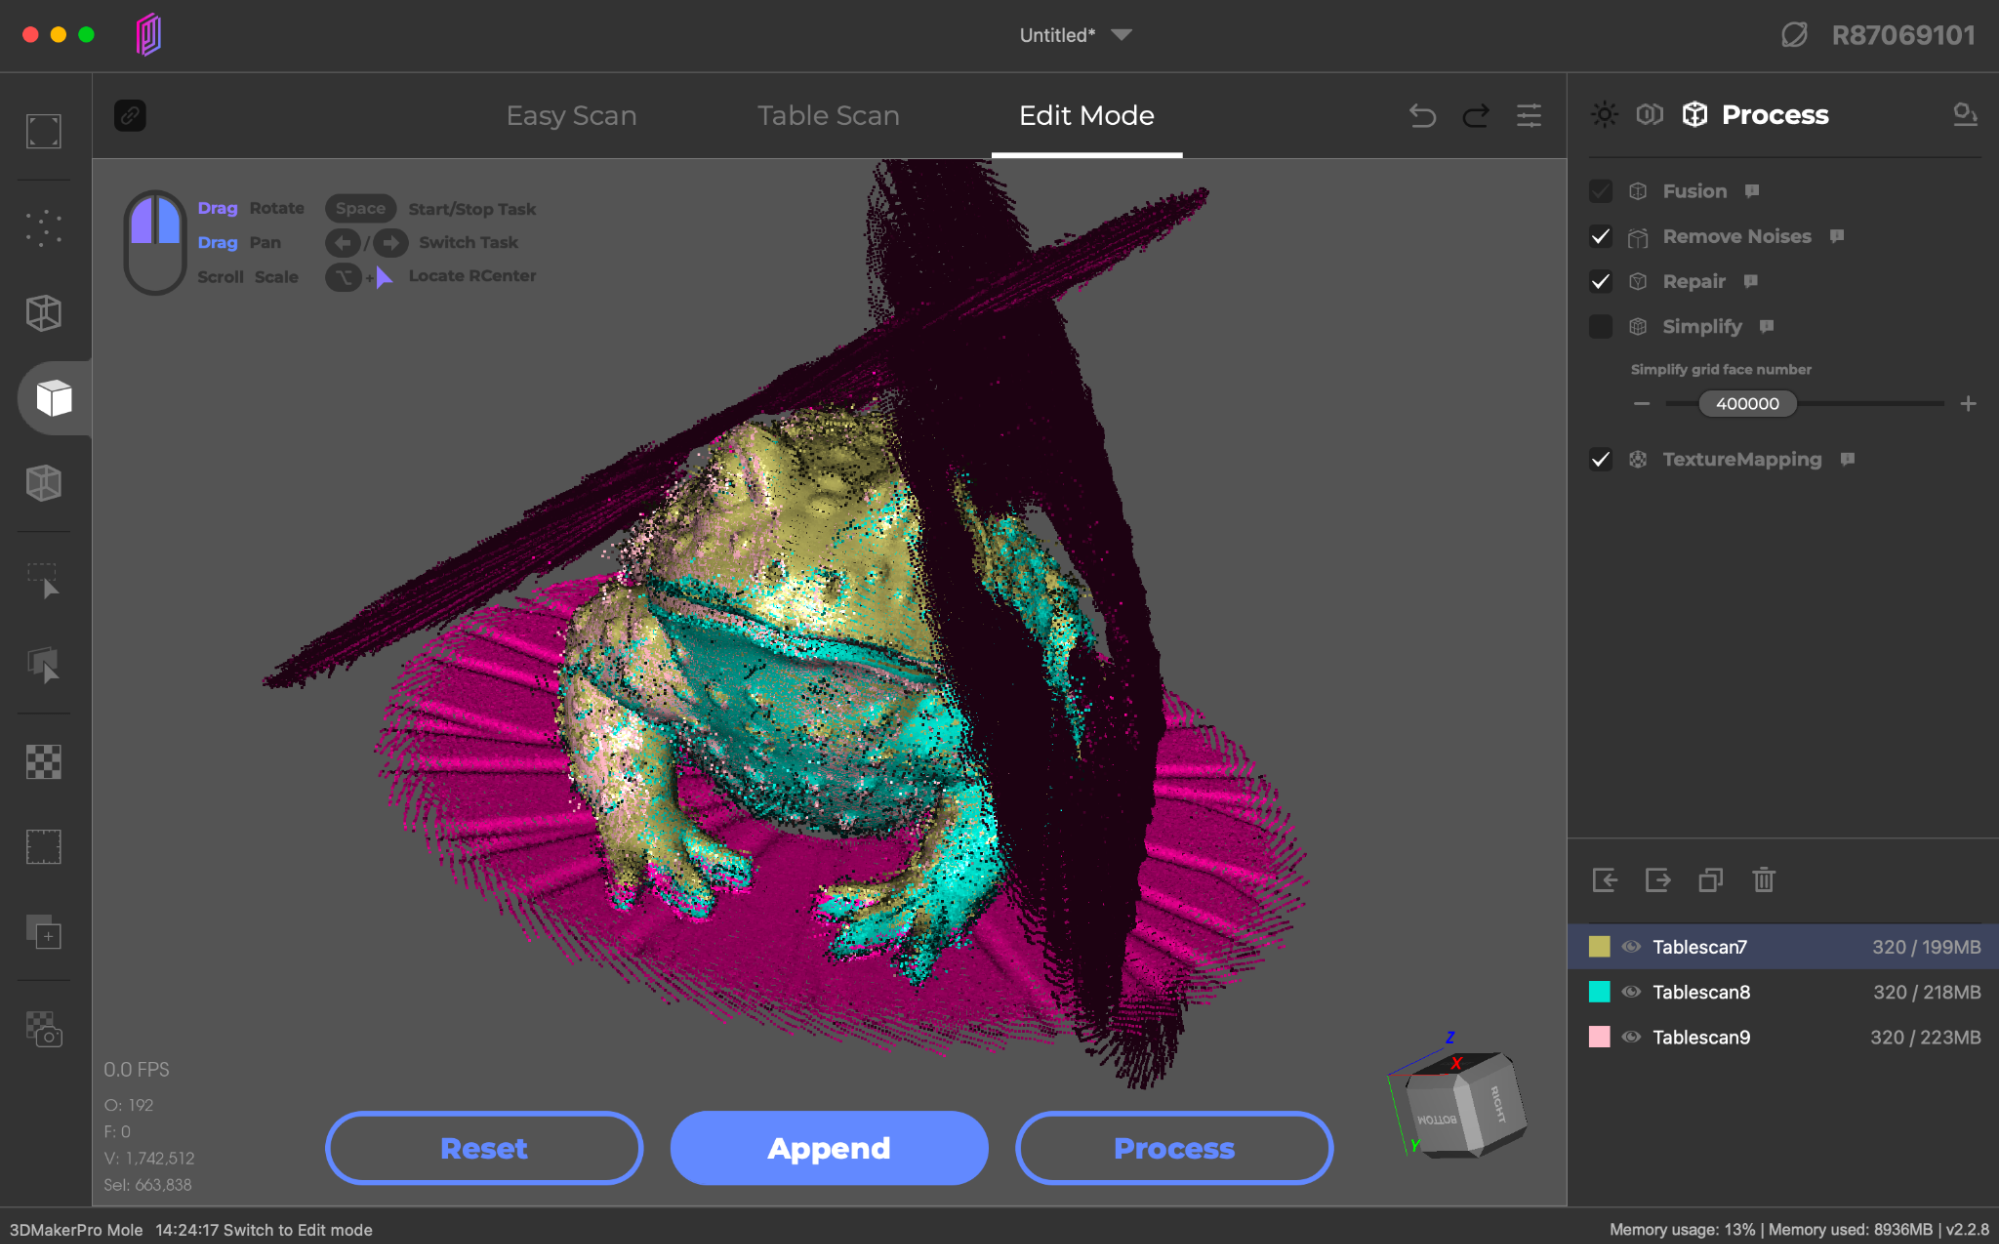
Because the model was rotated into a different position, the scans overlap and collide in 3D space. In order to process the scan correctly, JMStudio can automatically (or manually) align a model by combining the scans together so the various features are all in alignment. After running an automatic alignment, the toad model is correctly positioned and the relative position of the turntable surface geometry is adjusted and shown in red on the aligned scan.
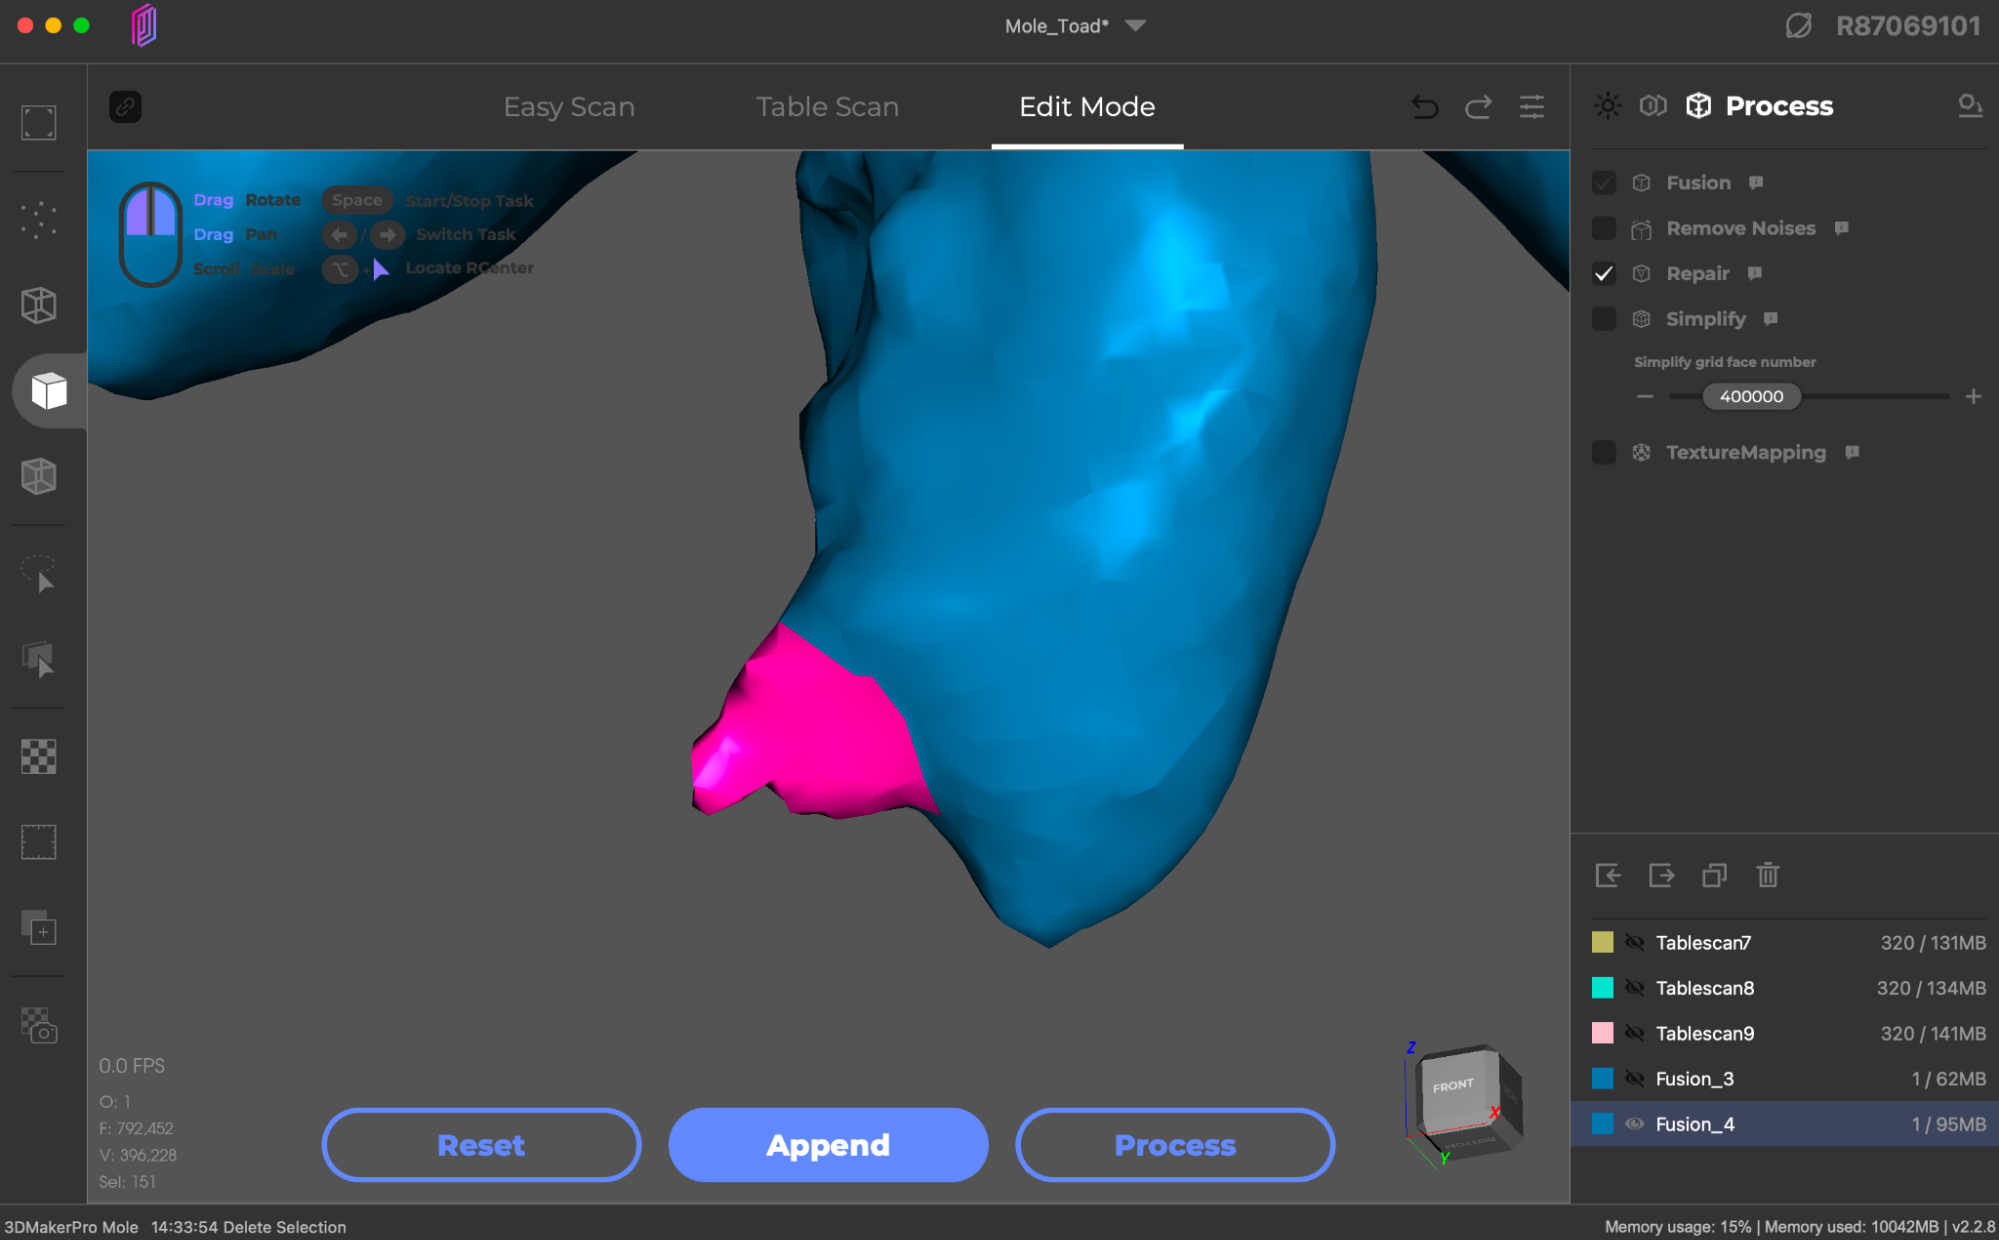
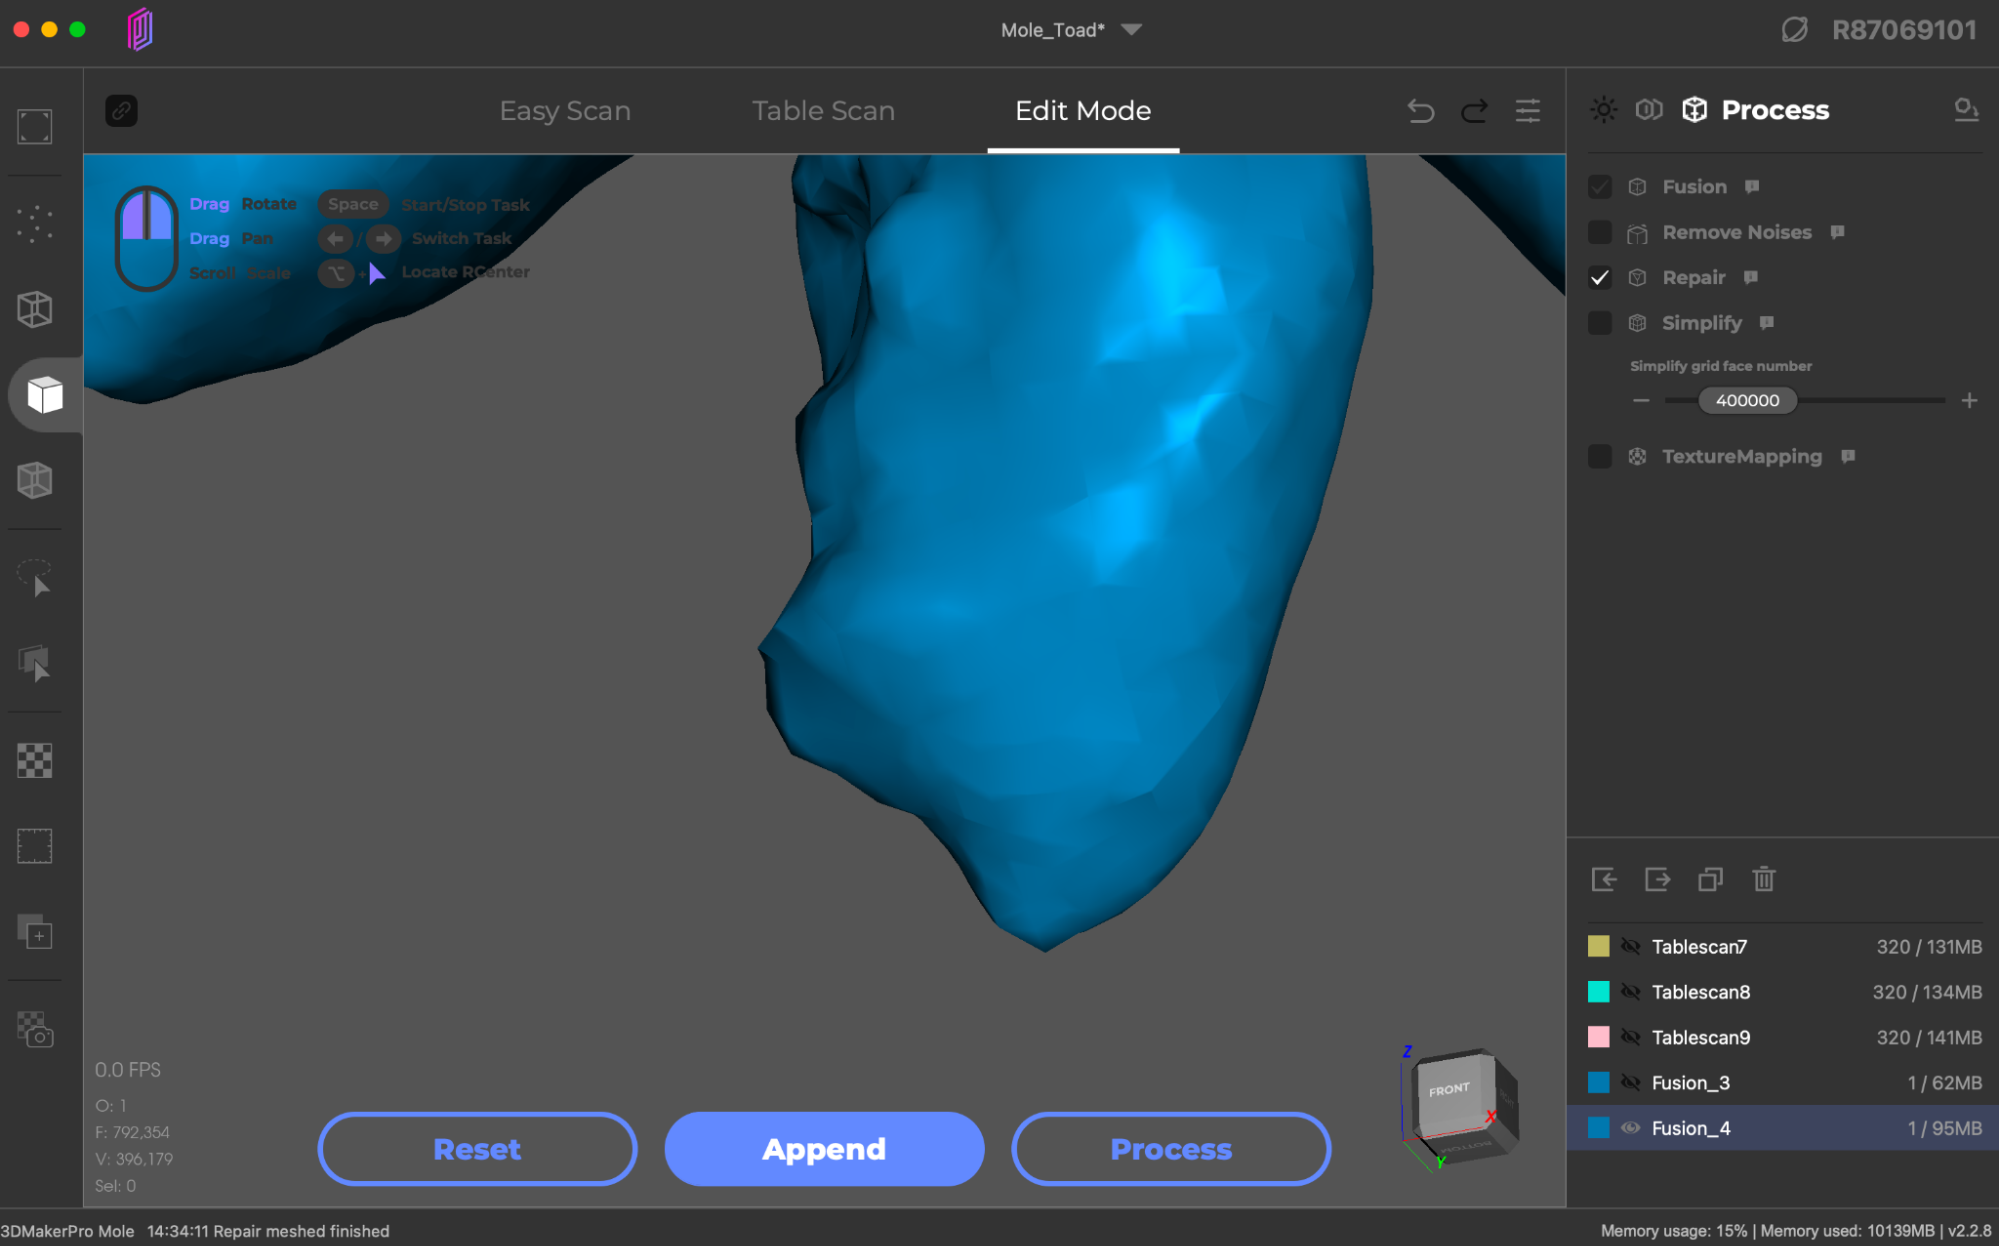
After the alignment is completed, the model is processed in a linear workflow through the steps selected in the Process window. After Fusion and Remove Noises is complete, the model can be repaired and any holes or gaps are automatically filled. If processed automatically, this workflow will sometimes take outlier noise points and connect them to the rest of the mesh, resulting in a small protrusion in the model. JMStudio also offers basic mesh editing capabilities, so the misplaced triangles can be selected, deleted, and the resulting hole can be repaired.
The final product is a mesh 3D model that has been made from the three individual point cloud scans, after merging the clouds, removing isolated points, and filling holes. For very large or very complicated models, the JMStudio app also provides a Simplify operation, which will reduce the number of triangles in the model to reduce the overall file size. This operation worked OK in testing, but using a decimate modifier is also a popular step in post-processing software like Blender or my own browser-based decimation tool lowpoly3d.xyz.
3D Scanning Dark Objects with 3DMakerPro Mole
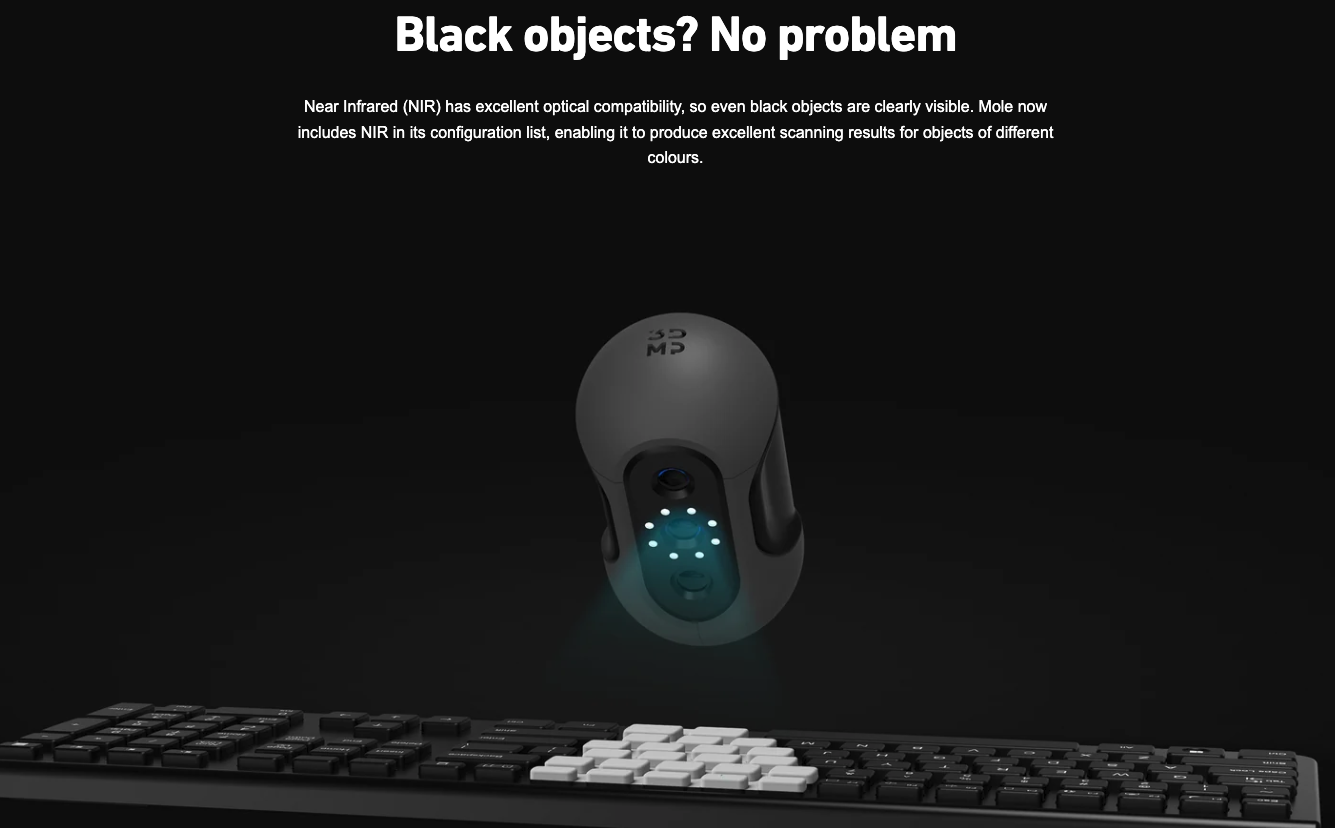
3D scanners can struggle to scan dark objects due to the way the light is projected and interpreted by the camera. 3DMakerPro advertises the Mole as being able to clearly scan dark models, a feature that would give the Mole a competitive advantage over others in the market. I was curious about this claim, as the similarly-featured 3DMakerPro Lynx struggled to capture black surfaces.
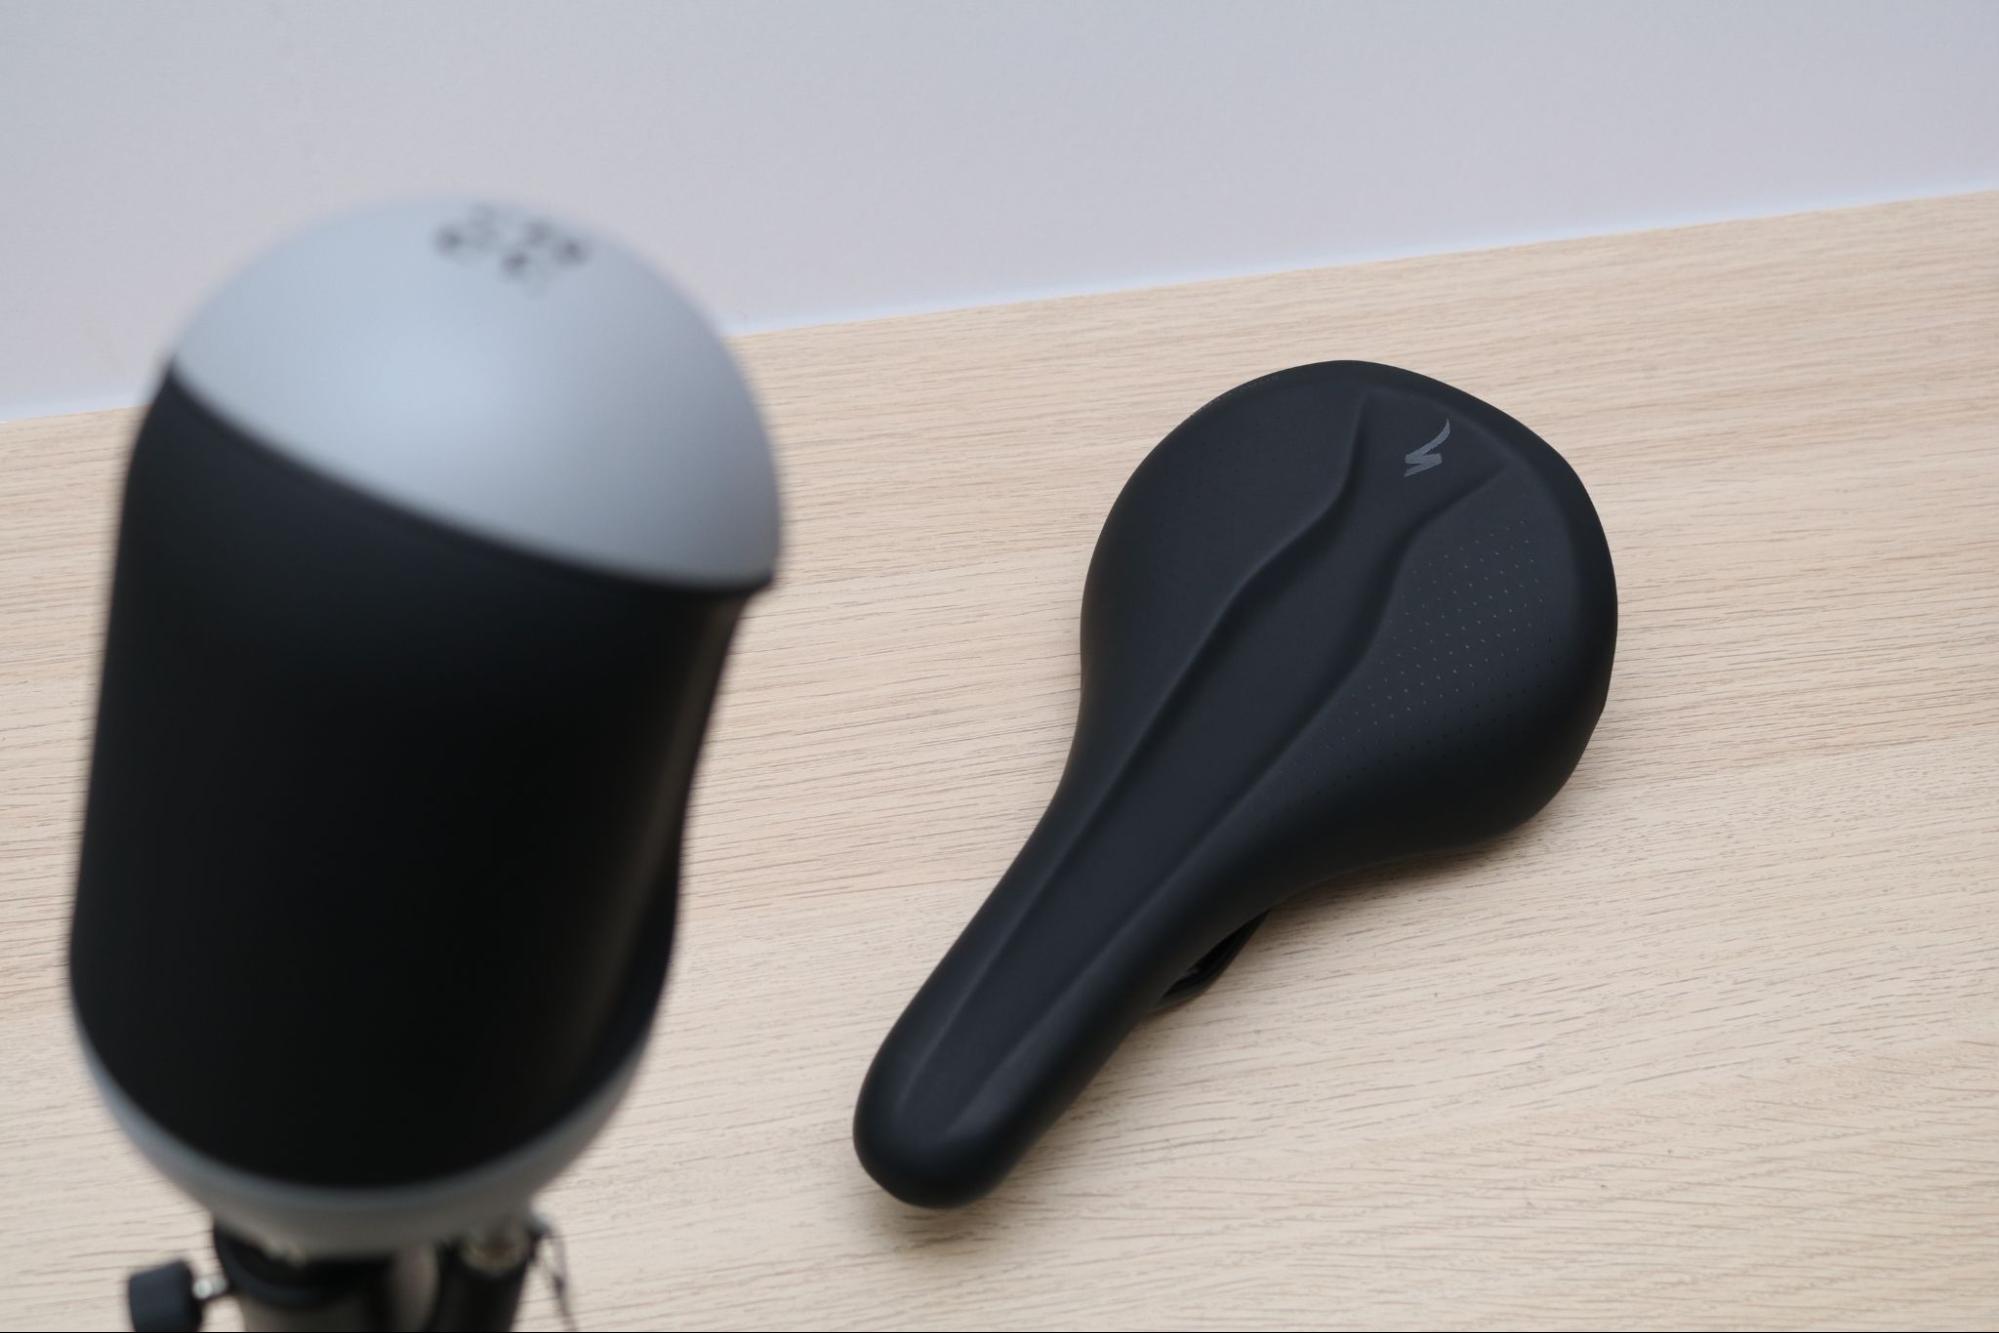
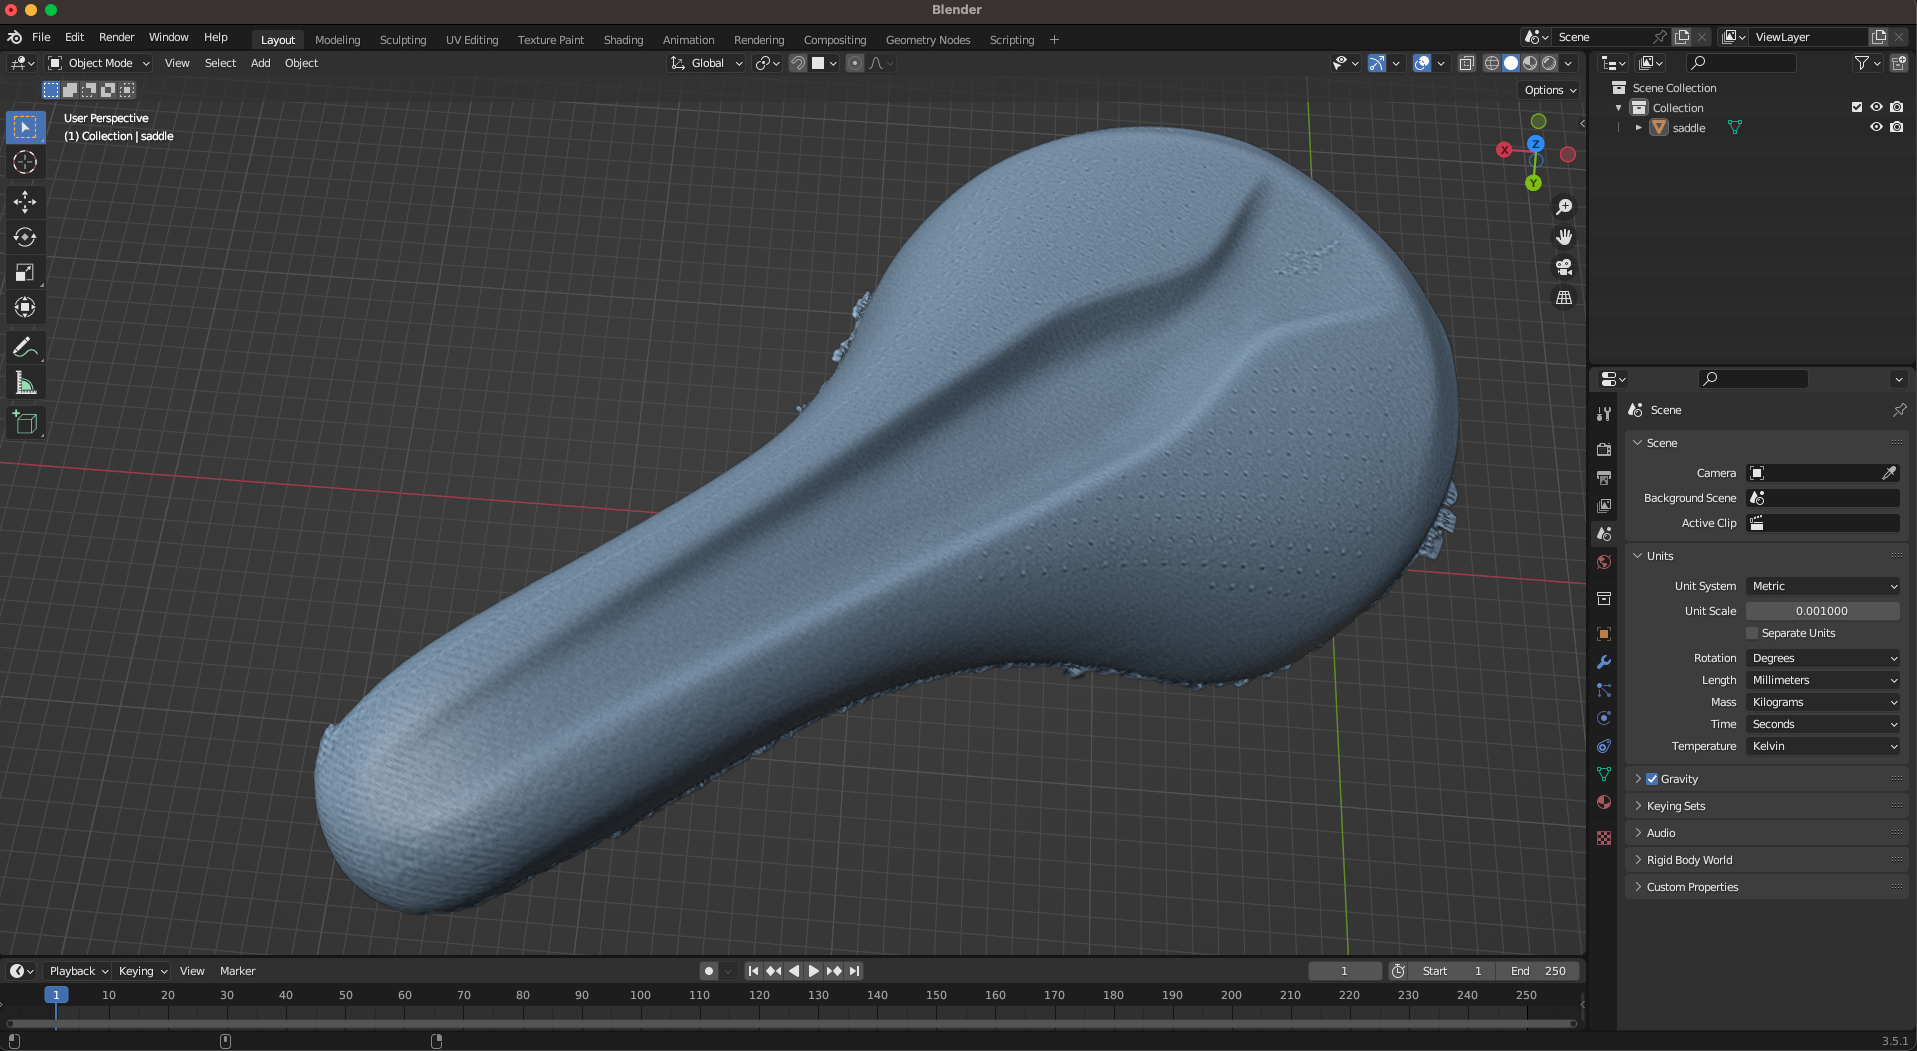
To test this feature, I scanned a black bicycle saddle that has a dull, satin finish and a pattern of shiny black dots. This saddle has several compound curves that make it ideal for 3D scanning, and the dull finish doesn’t require any pre-processing or spraying. The Mole scans at 10 FPS, which is fast enough to capture surfaces while allowing you to reposition the scanner manually during the scan without losing tracking on most wide, flat surfaces.
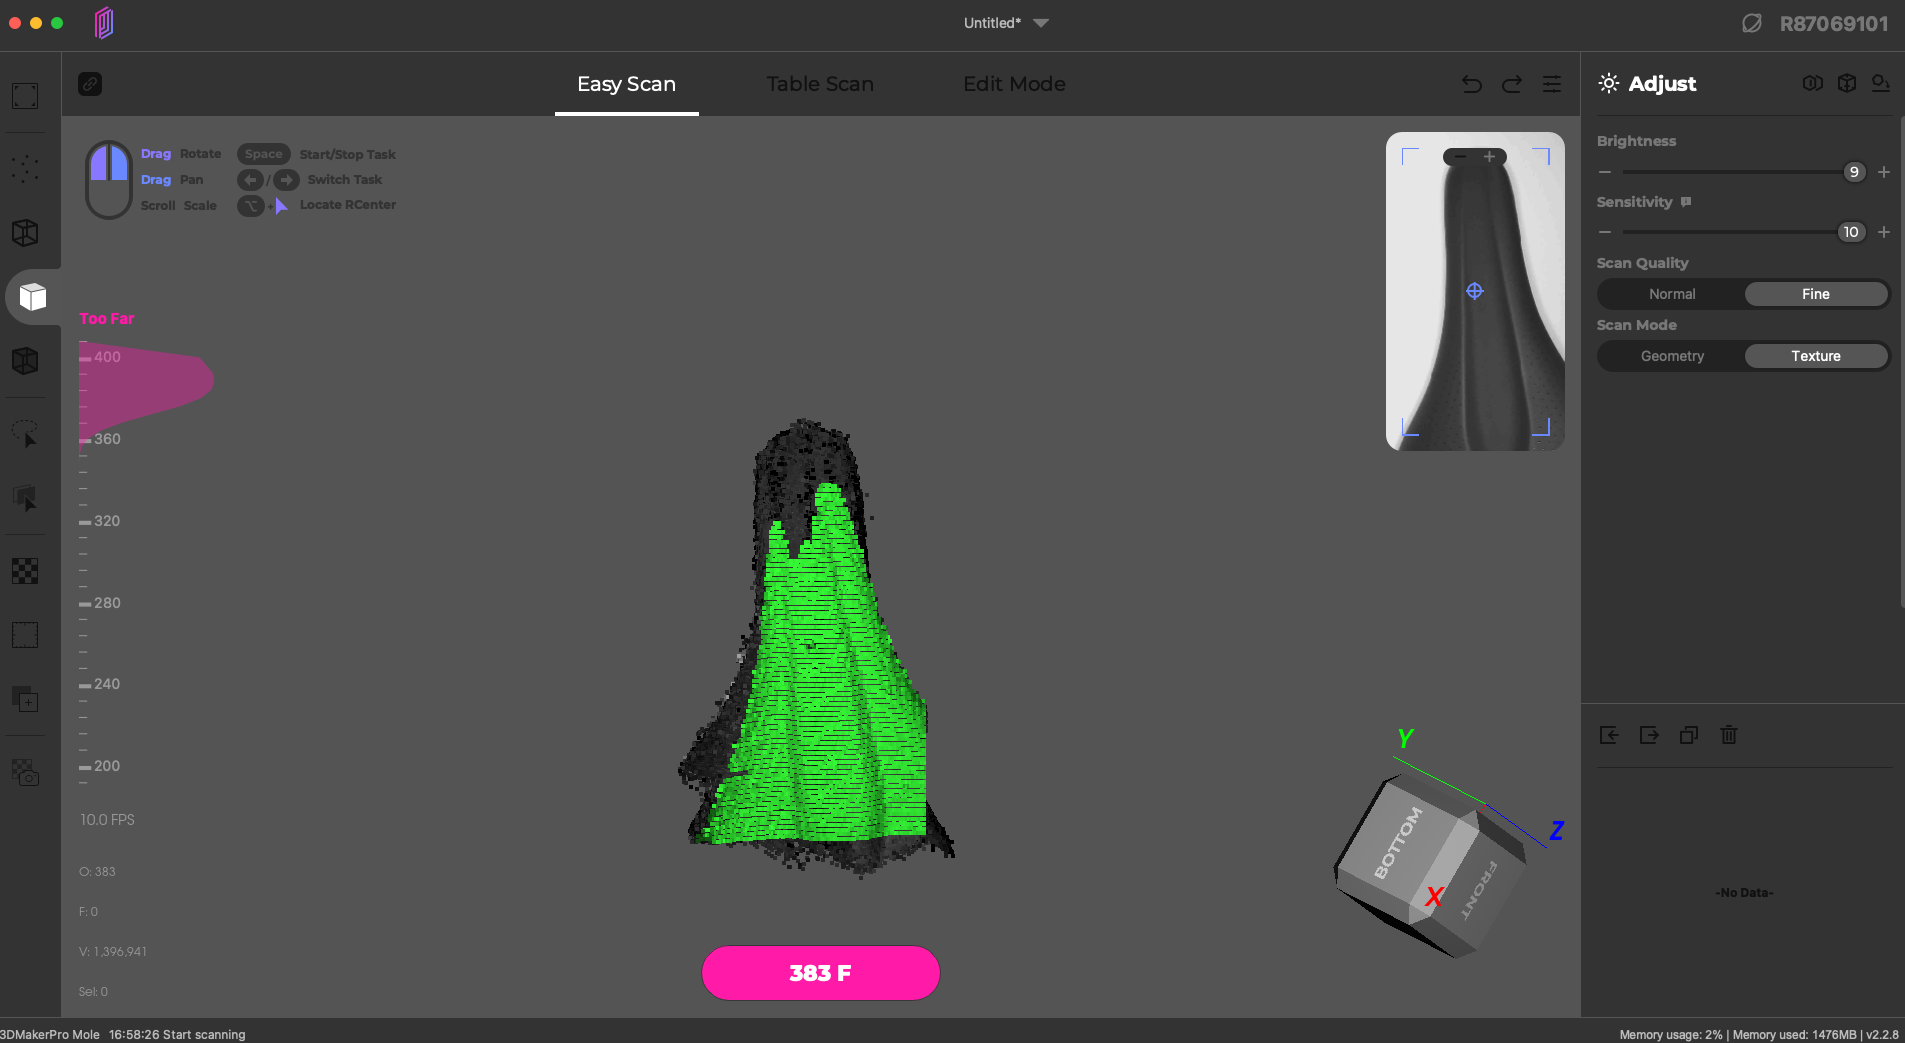
However, the Mole struggled when scanning thin parts on Table Scan mode and would lose tracking when the narrowest part of the scanned object was directly facing the scanner. I used Easy Scan mode on Fine Detail to capture as much of the surface as clearly as I could. Even in a well-lit room, I had to adjust the brightness and sensitivity of the scanner to the maximum settings to capture the dark saddle against a white background.
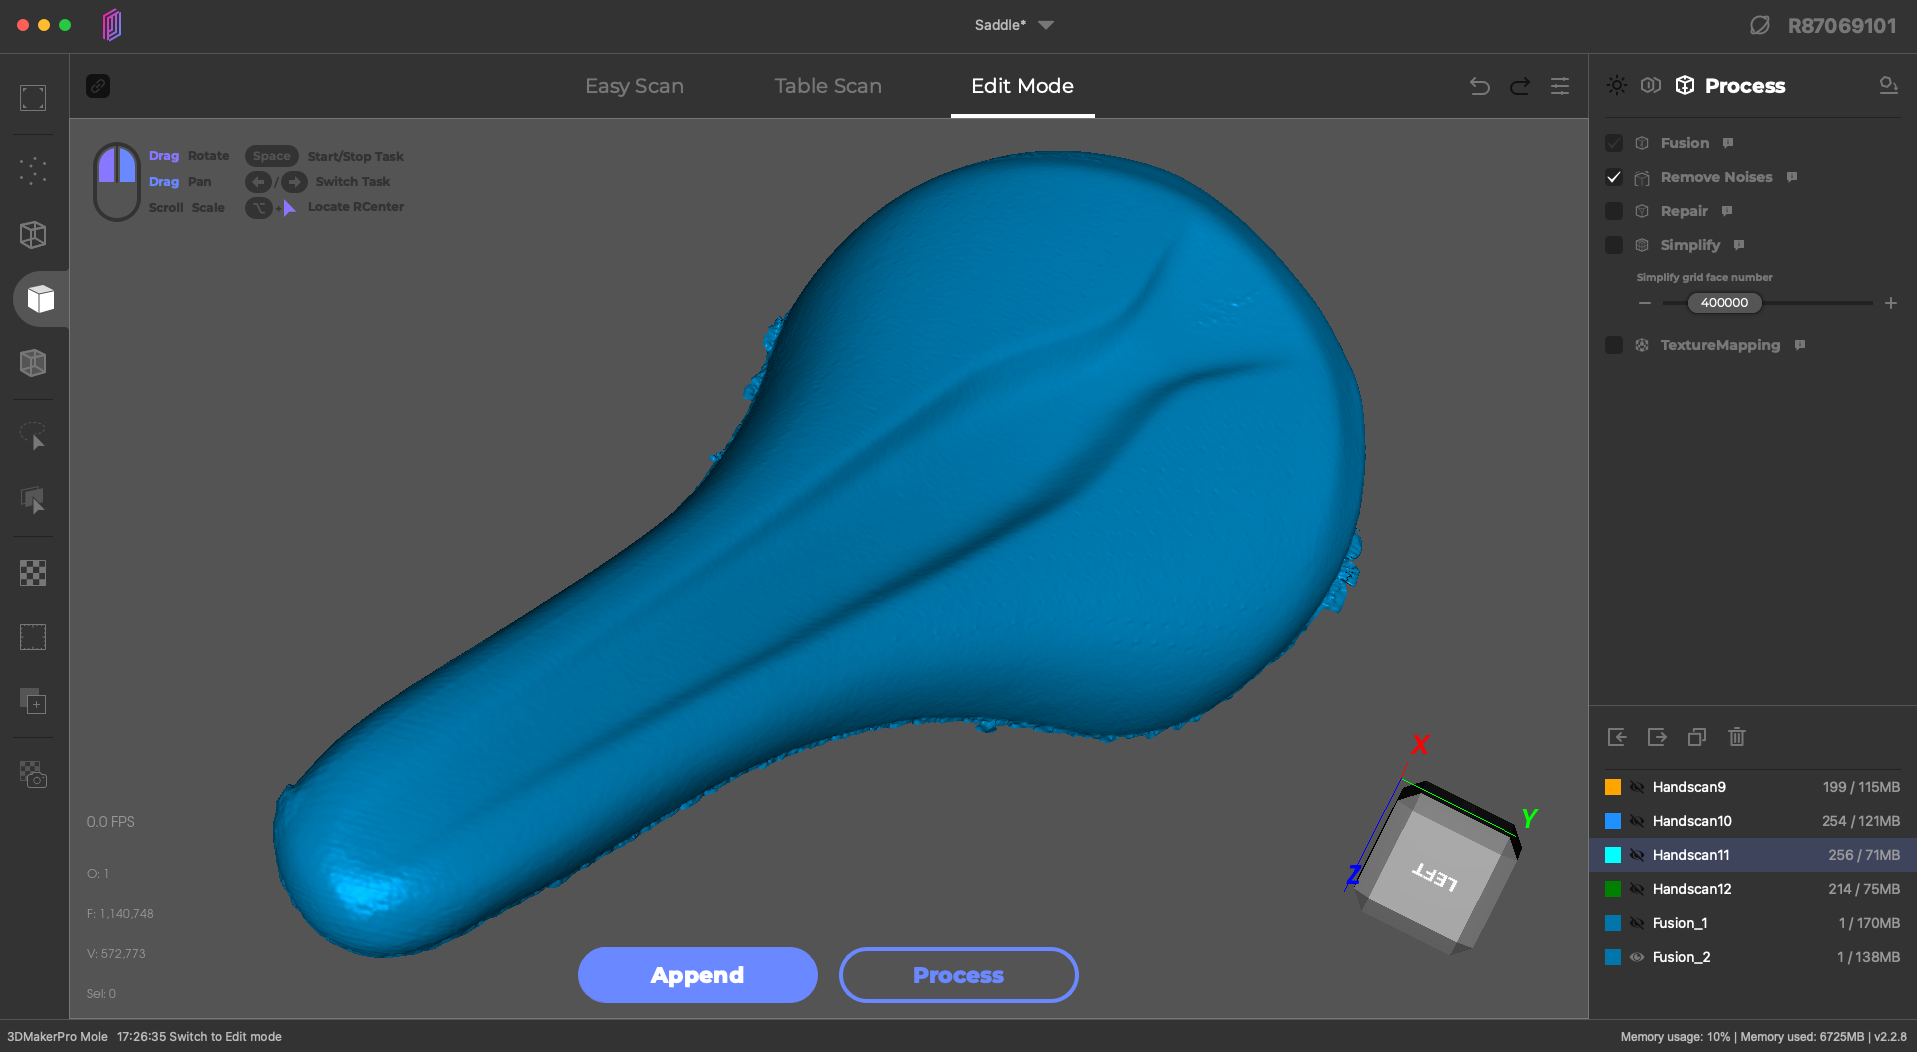
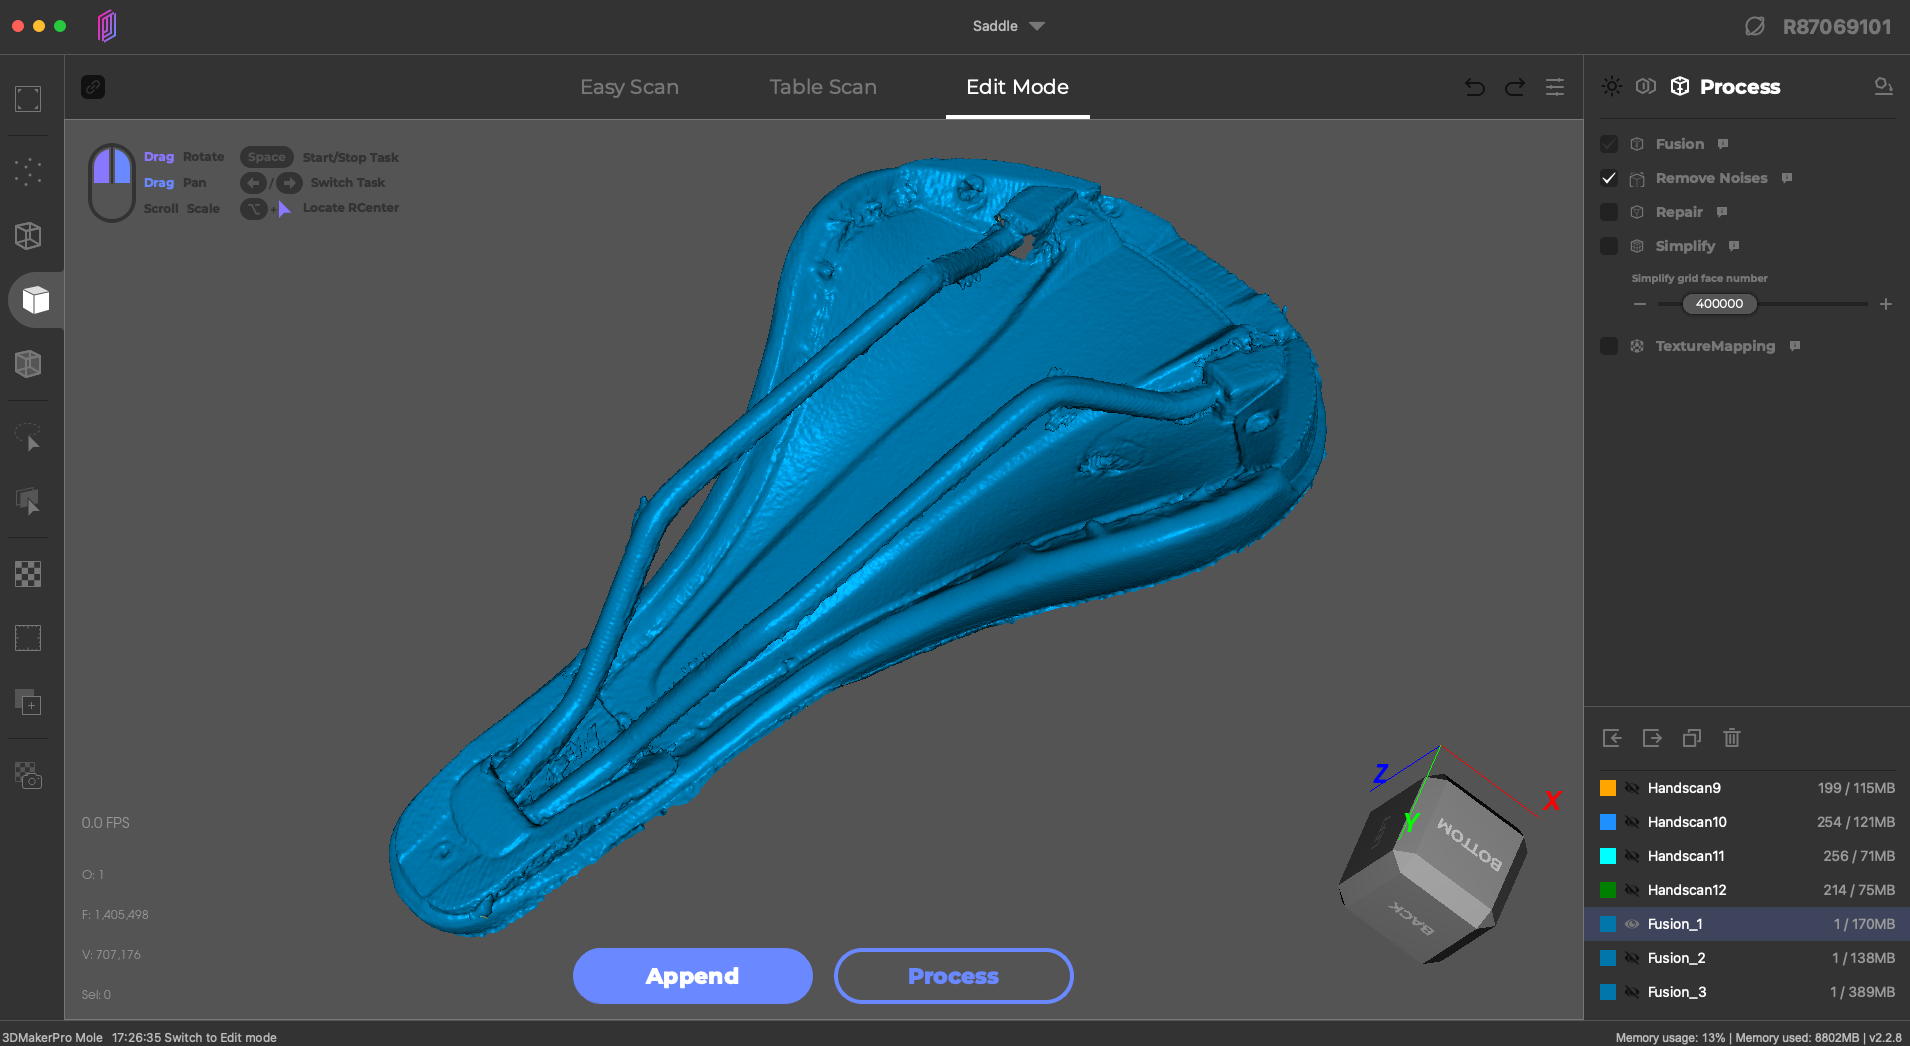
The saddle was scanned a total of four times: two scans of the top surface and sides and two scans of the bottom surface and sides. The top surface appears nearly flawless in the 3D scan, but the glossy appearance of the rendered model in JMStudio makes it difficult to see if the repeating dot texture on the surface was captured as well. The bottom scan looks generally good, but even with a large amount of overlap I was not able to automatically align the scans in the software and the manual alignment wasn’t much better.
The appearance of the surface is undeniably impressive for such a dark model that took only a few minutes to capture and a few more minutes to process. The repeating dot texture became visible when viewing the 3D model in Blender and shows an overall impressive level of accuracy to the original model. The overall quality and consistency of the scan would be enough for most reverse-engineering tasks or for understanding model geometry for creating accessories or mounts.
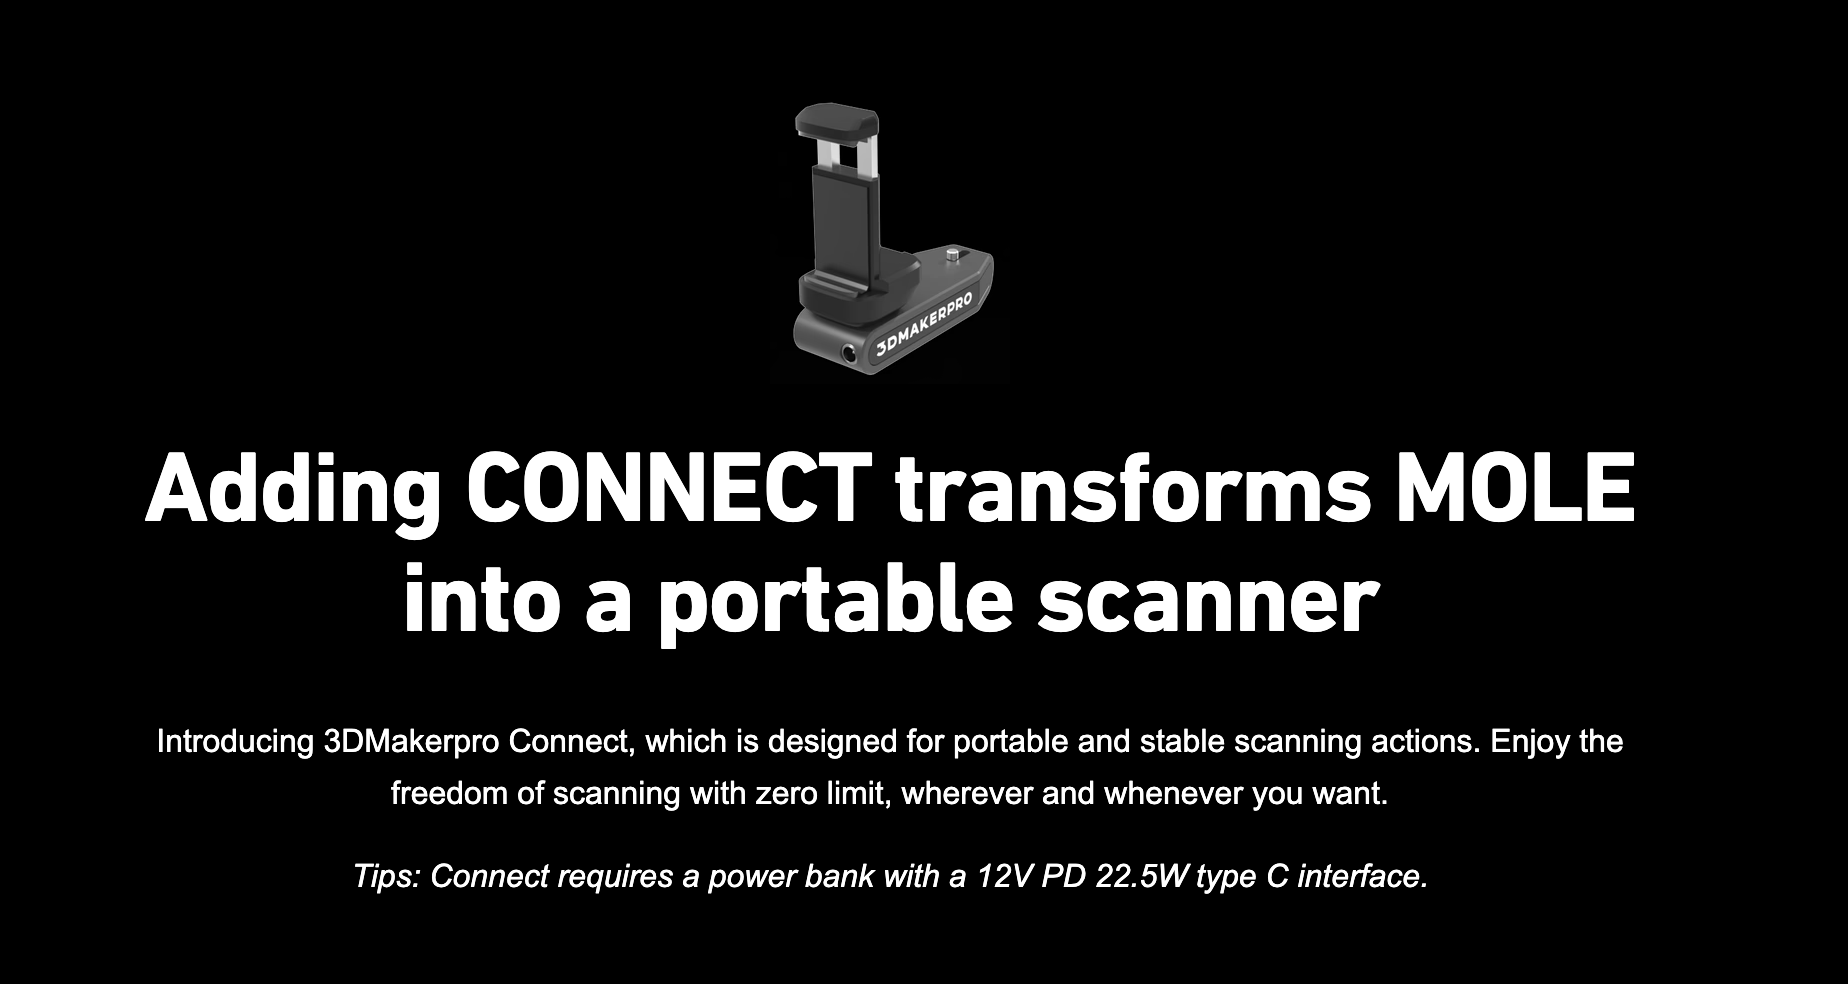
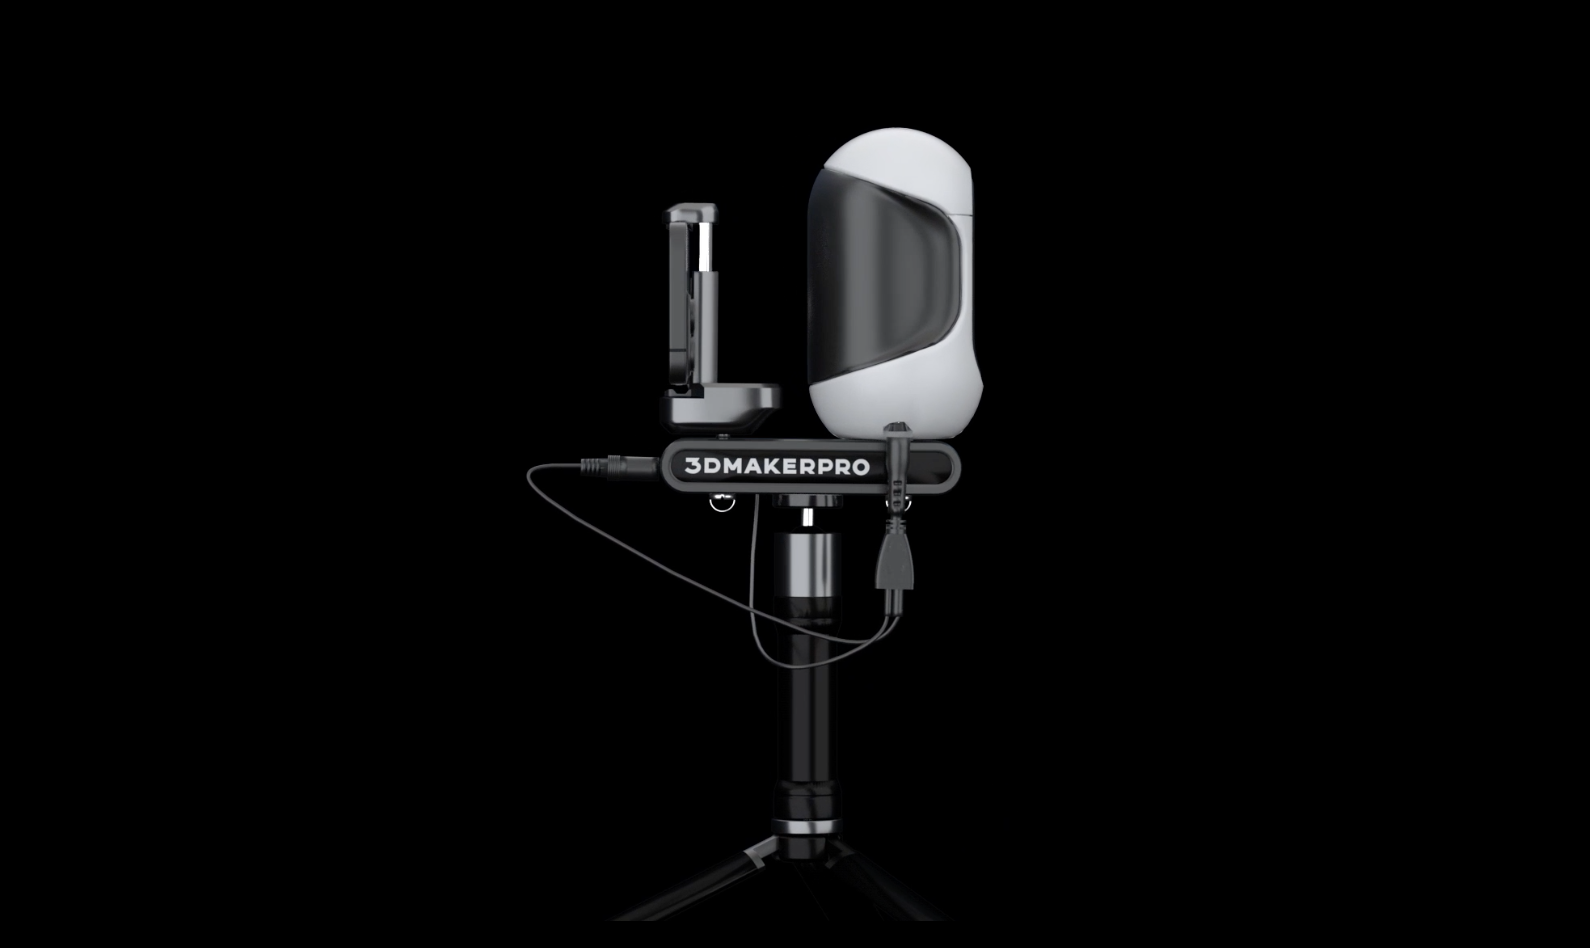
The base model 3DMakerPro Mole is compatible with macOS and PC for capturing and processing scans, while use with a mobile phone requires the optional Connect accessory. This accessory is currently offered at $89 for Android and $159 for iOS and still requires a PC or Mac for processing scans, which is worth noting if you plan on using the Mole with a mobile phone.
Using the Connect involves transferring scans between the scanner and a computer using a private Wi-Fi network with firewall disabled. The official 3DMakerPro instructional video on YouTube has multiple negative comments from frustrated users, indicating this process may be more complex than expected.
3D Scanning Detailed Models with 3DMakerPro Mole
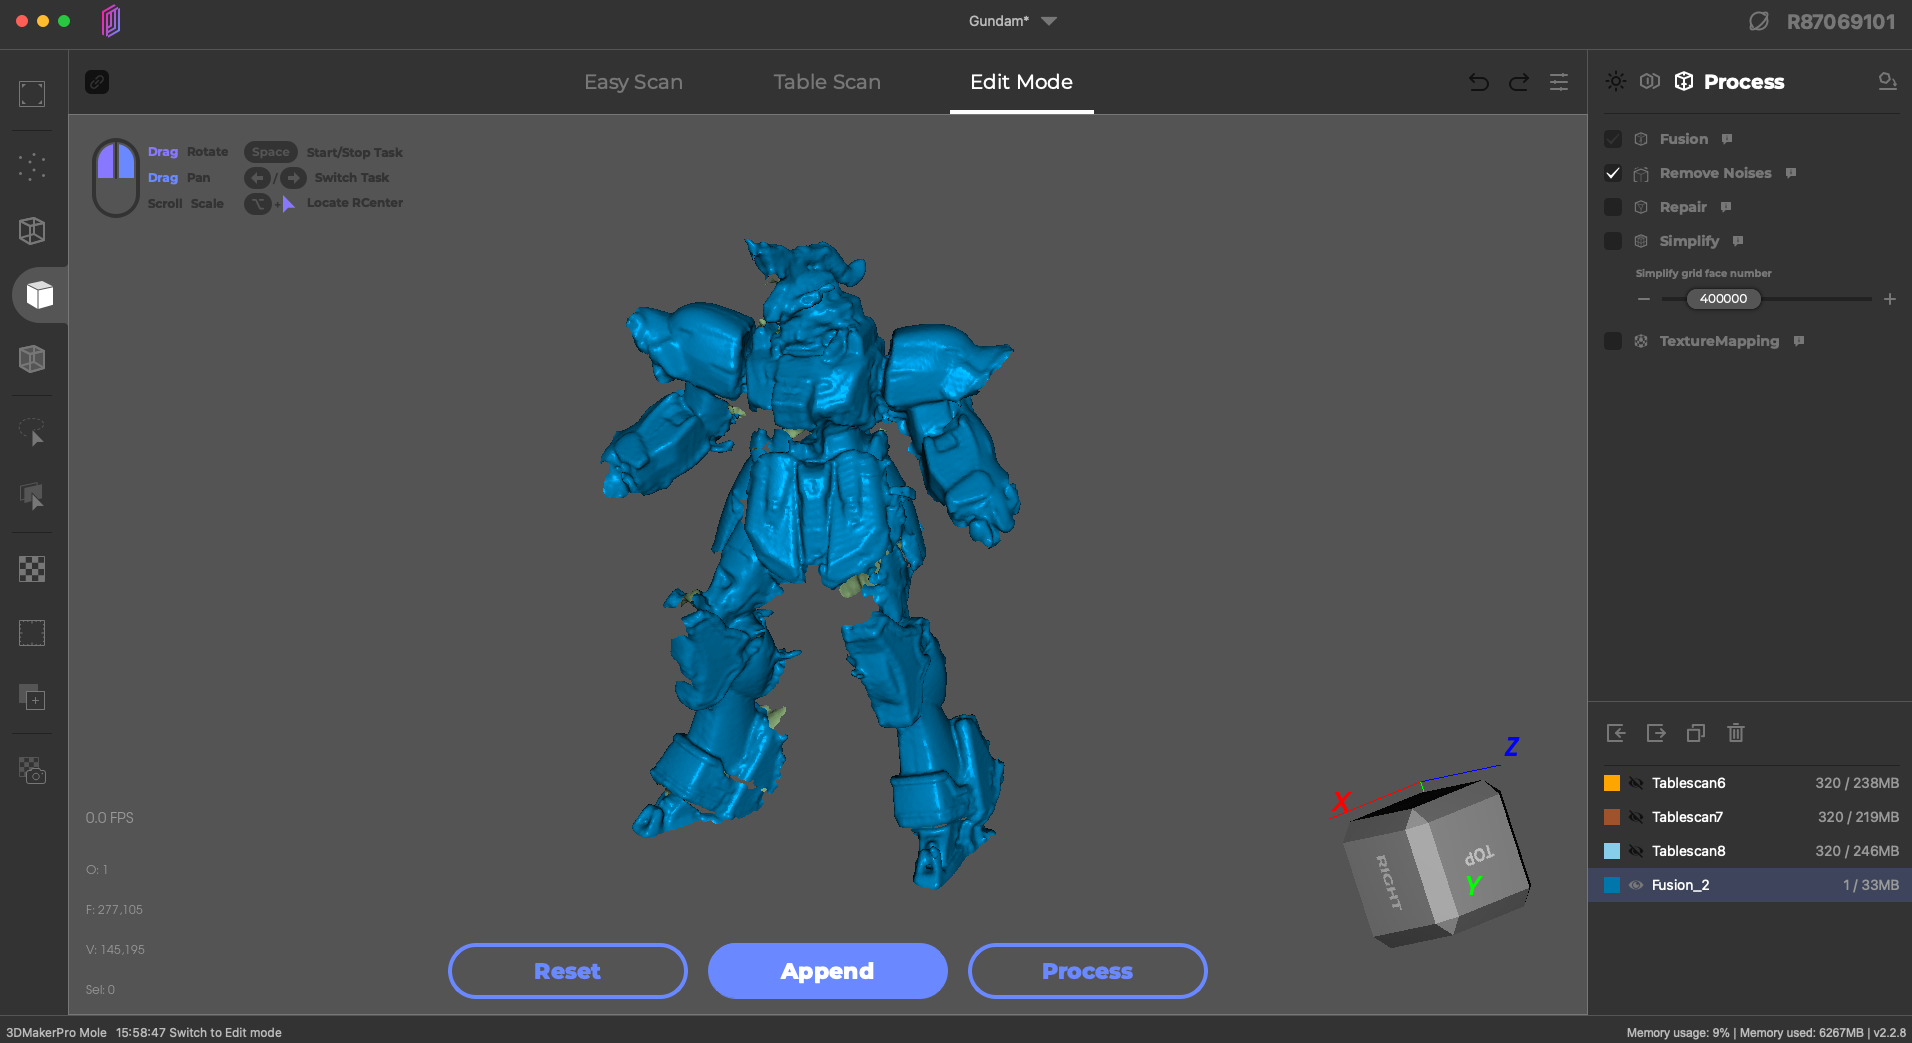
The 3DMakerPro Mole is advertised as featuring an accuracy of 0.05mm, or 50 microns. This sub-human-hair-width accuracy should lend itself to scanning highly detailed models, but I found the Mole struggled to capture fine feature details on models as well as fine details on surfaces. Using a light colored Gundam model that had been sprayed with a matte clear coat, I tested the Mole on Fine Quality mode to see how much detail could be captured.
Unfortunately, the Mole failed to pick up much of the detail on the model, and the dull gold components (hands, elbows, knees, etc.) were skipped entirely. Even when scanning one piece of the model at a time to try and merge them together, I was unable to capture any usable amount of detail. This was a disappointing test considering the advertised resolution and intricate models shown as examples of products the Mole is able to scan. I was able to capture the rough form of the model, which may be the only thing some users are interested in. For anyone interested in reverse engineering small parts like this, the Mole will likely struggle to provide a quality output.
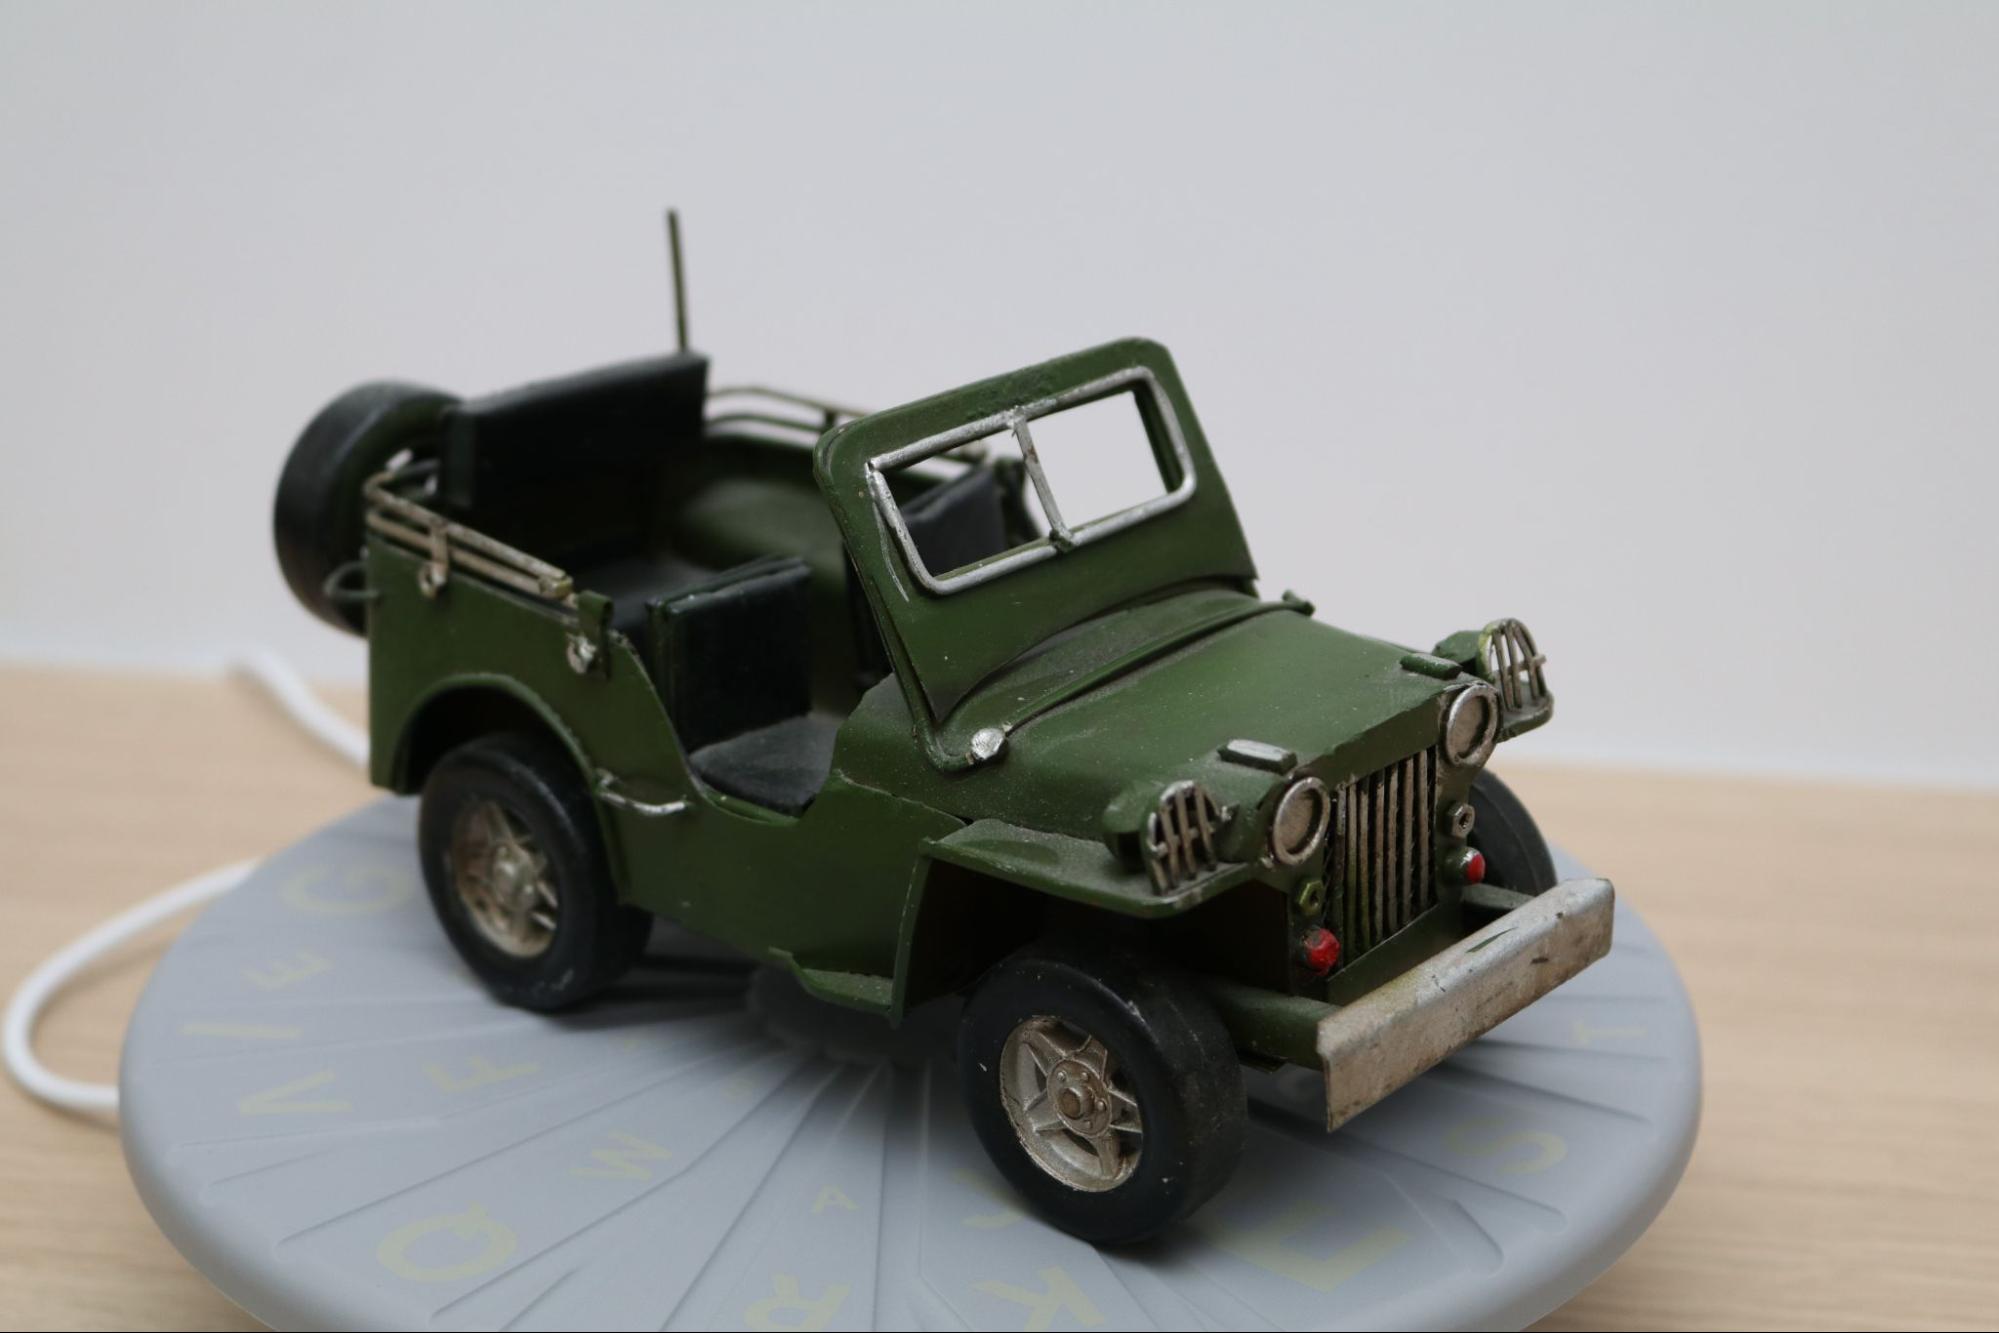
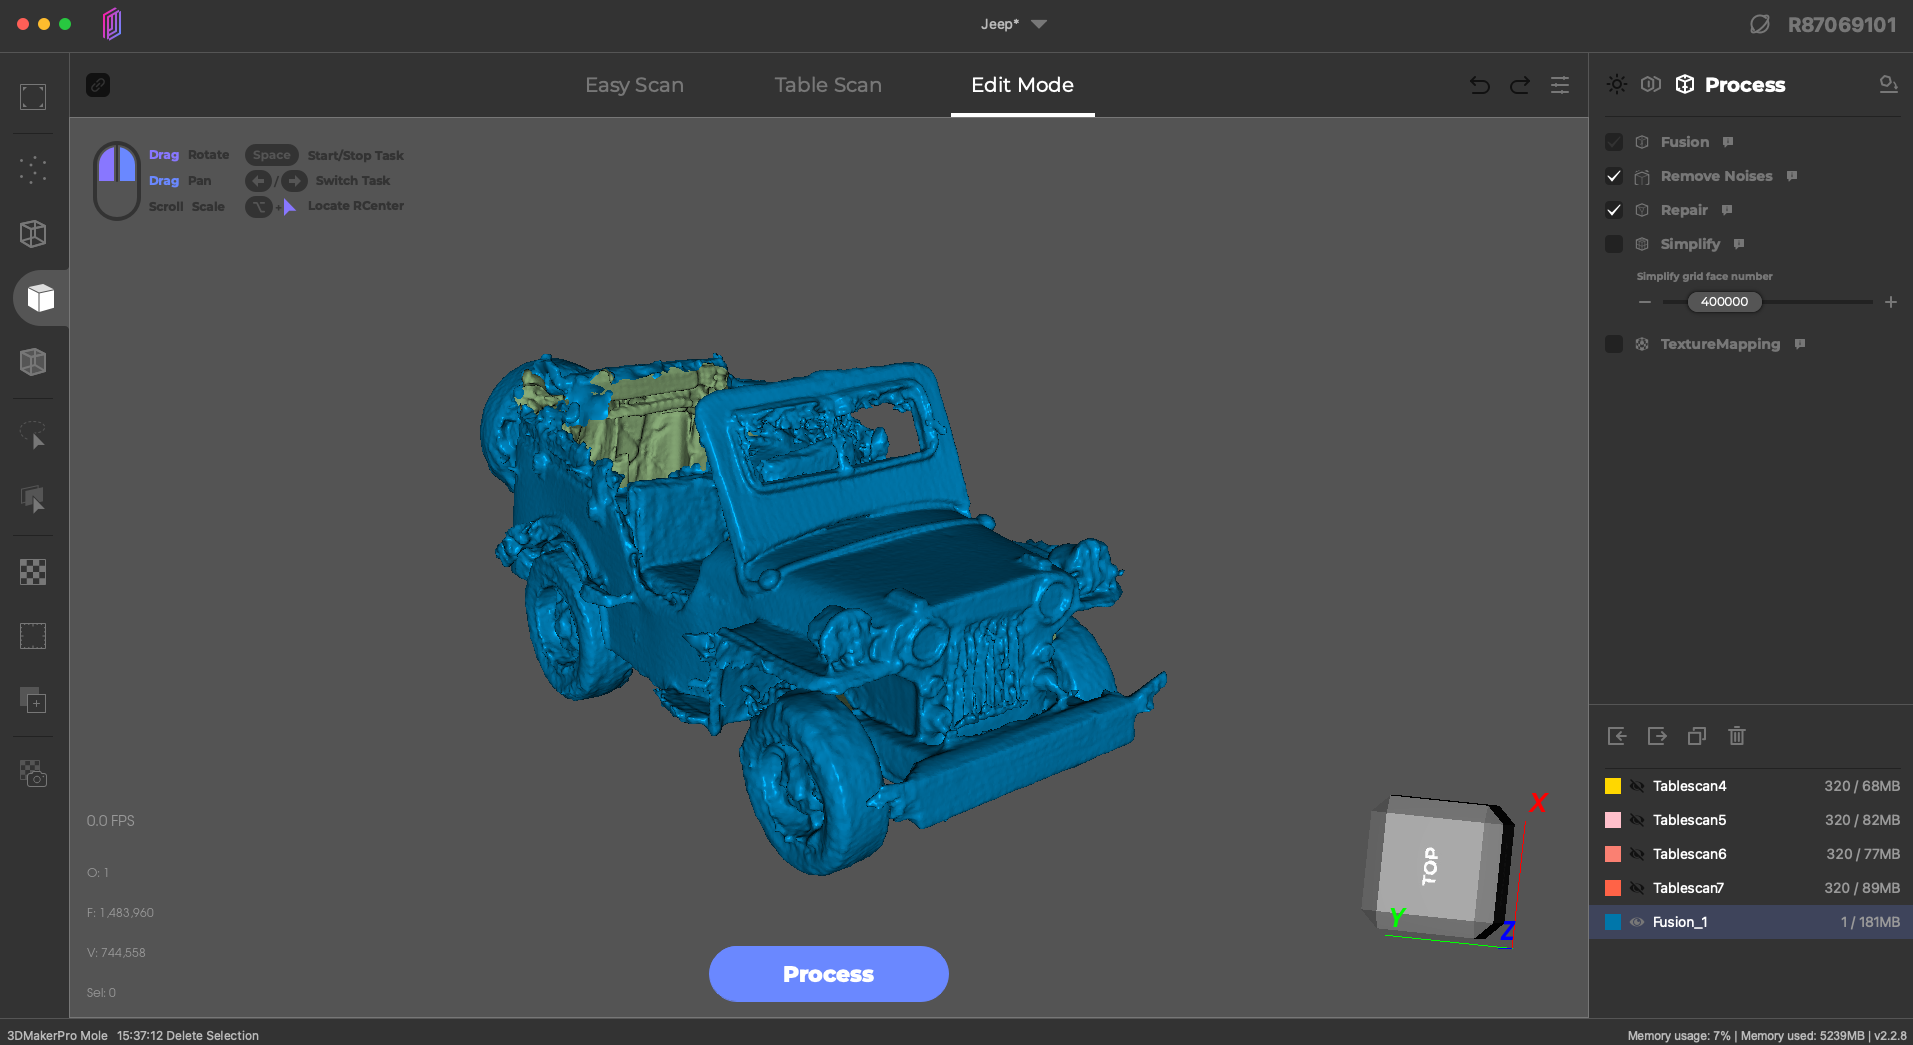
Scanning a highly detailed metal model of an old Jeep led to a similar outcome. This model has a dull green finish with a few components being painted in silver, red, or black. Scanned in Fine Quality, this model was captured a total of 4 times in different positions and then automatically aligned and processed.
The Mole captured the general shape of the model, but still required extensive manual cleaning to get to a semi-complete finished product. The blank area where the windshield would be was filled with floating points, which had to be selected and deleted from each scan before merging to prevent the area from being filled in. The hood, tires, and bumper look good, but some of the darker areas in the backseat were not fully captured.
The power of software like JMStudio is the ability to capture a model that has been propped up at an angle and then manually delete the object propping it up. For example, this lizard model has a lot of surface detail on the top of the model, but it may not be important to capture the detail on the back of the model. I scanned this model twice, once with it lying flat on the turntable, and once with it propped up at an angle so I could get additional detail on the very top surface of the model with text.
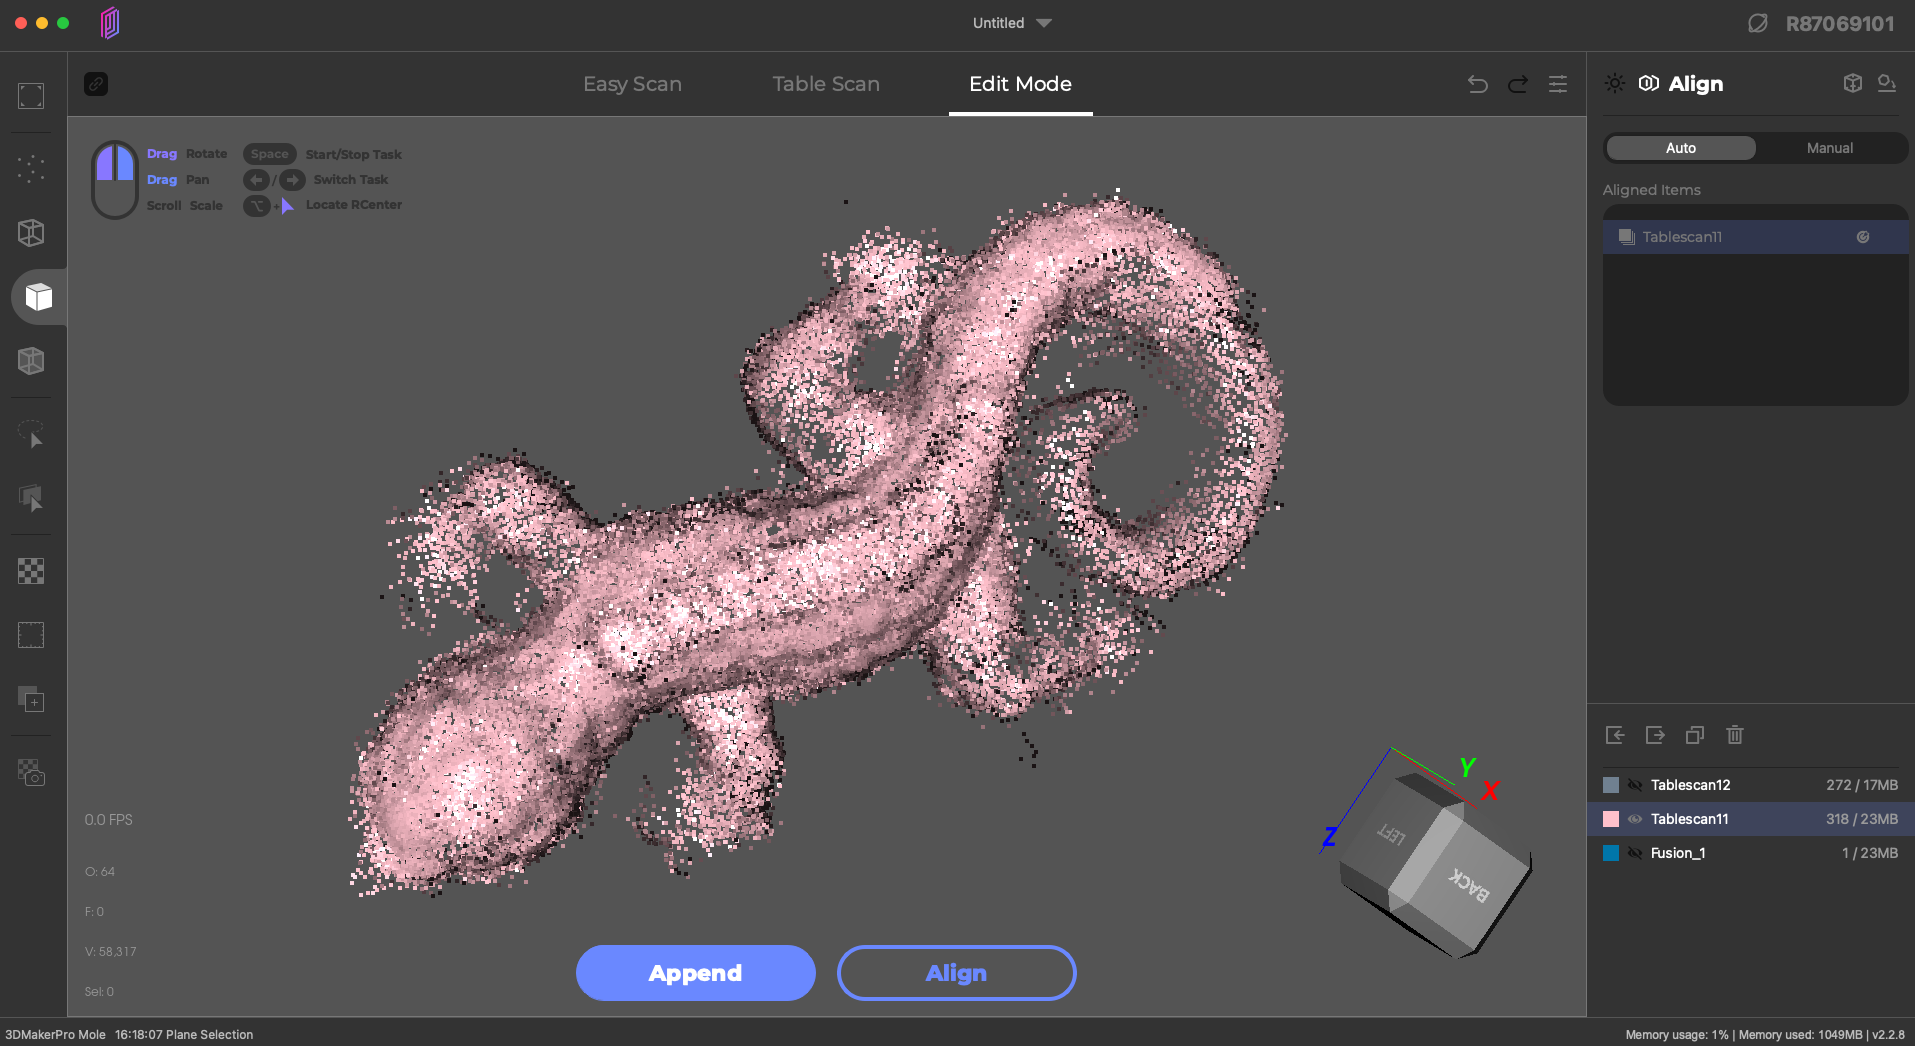
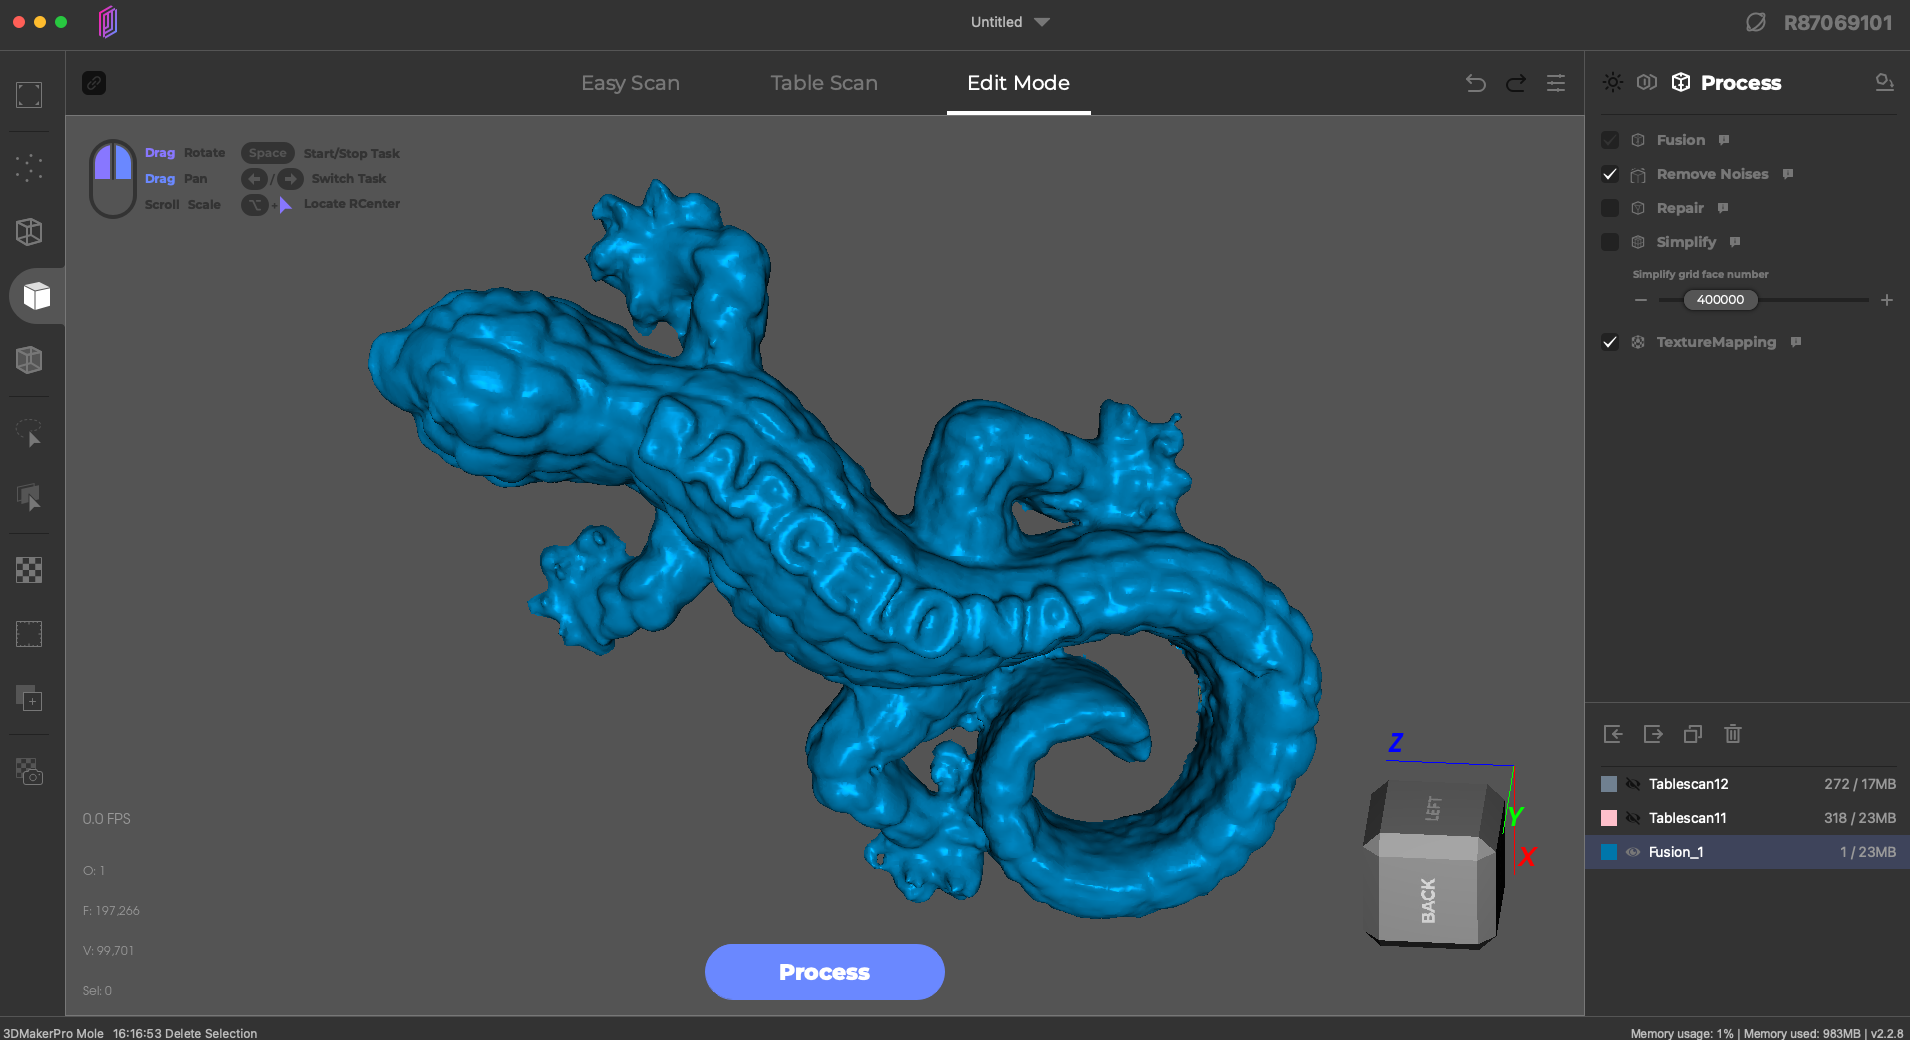
In JMStudio, I’m able to delete all of the geometry related to the bracket I used to prop up the model, and only merge the surface scan with the scan of the full model. After fusing and cleaning up the point cloud, the mesh model shows a high level of detail, including the excess paint in the top “B” of “Barcelona” that partially fills the recess.
3D Scanning Textures with the 3DMakerPro Mole
In 3D modeling, “texture” typically refers to a color image of a 3D model, which is projected onto a 3D model using a process called UV mapping. This is different from “geometric texture”, which is a 3D texture modeled directly on the surface of a model (think diamond plate, brick wall, etc.). Color textures are useful because detailed images can be projected onto a simple surface, like a colorful image of a poster mapped to a square composed of two triangles.
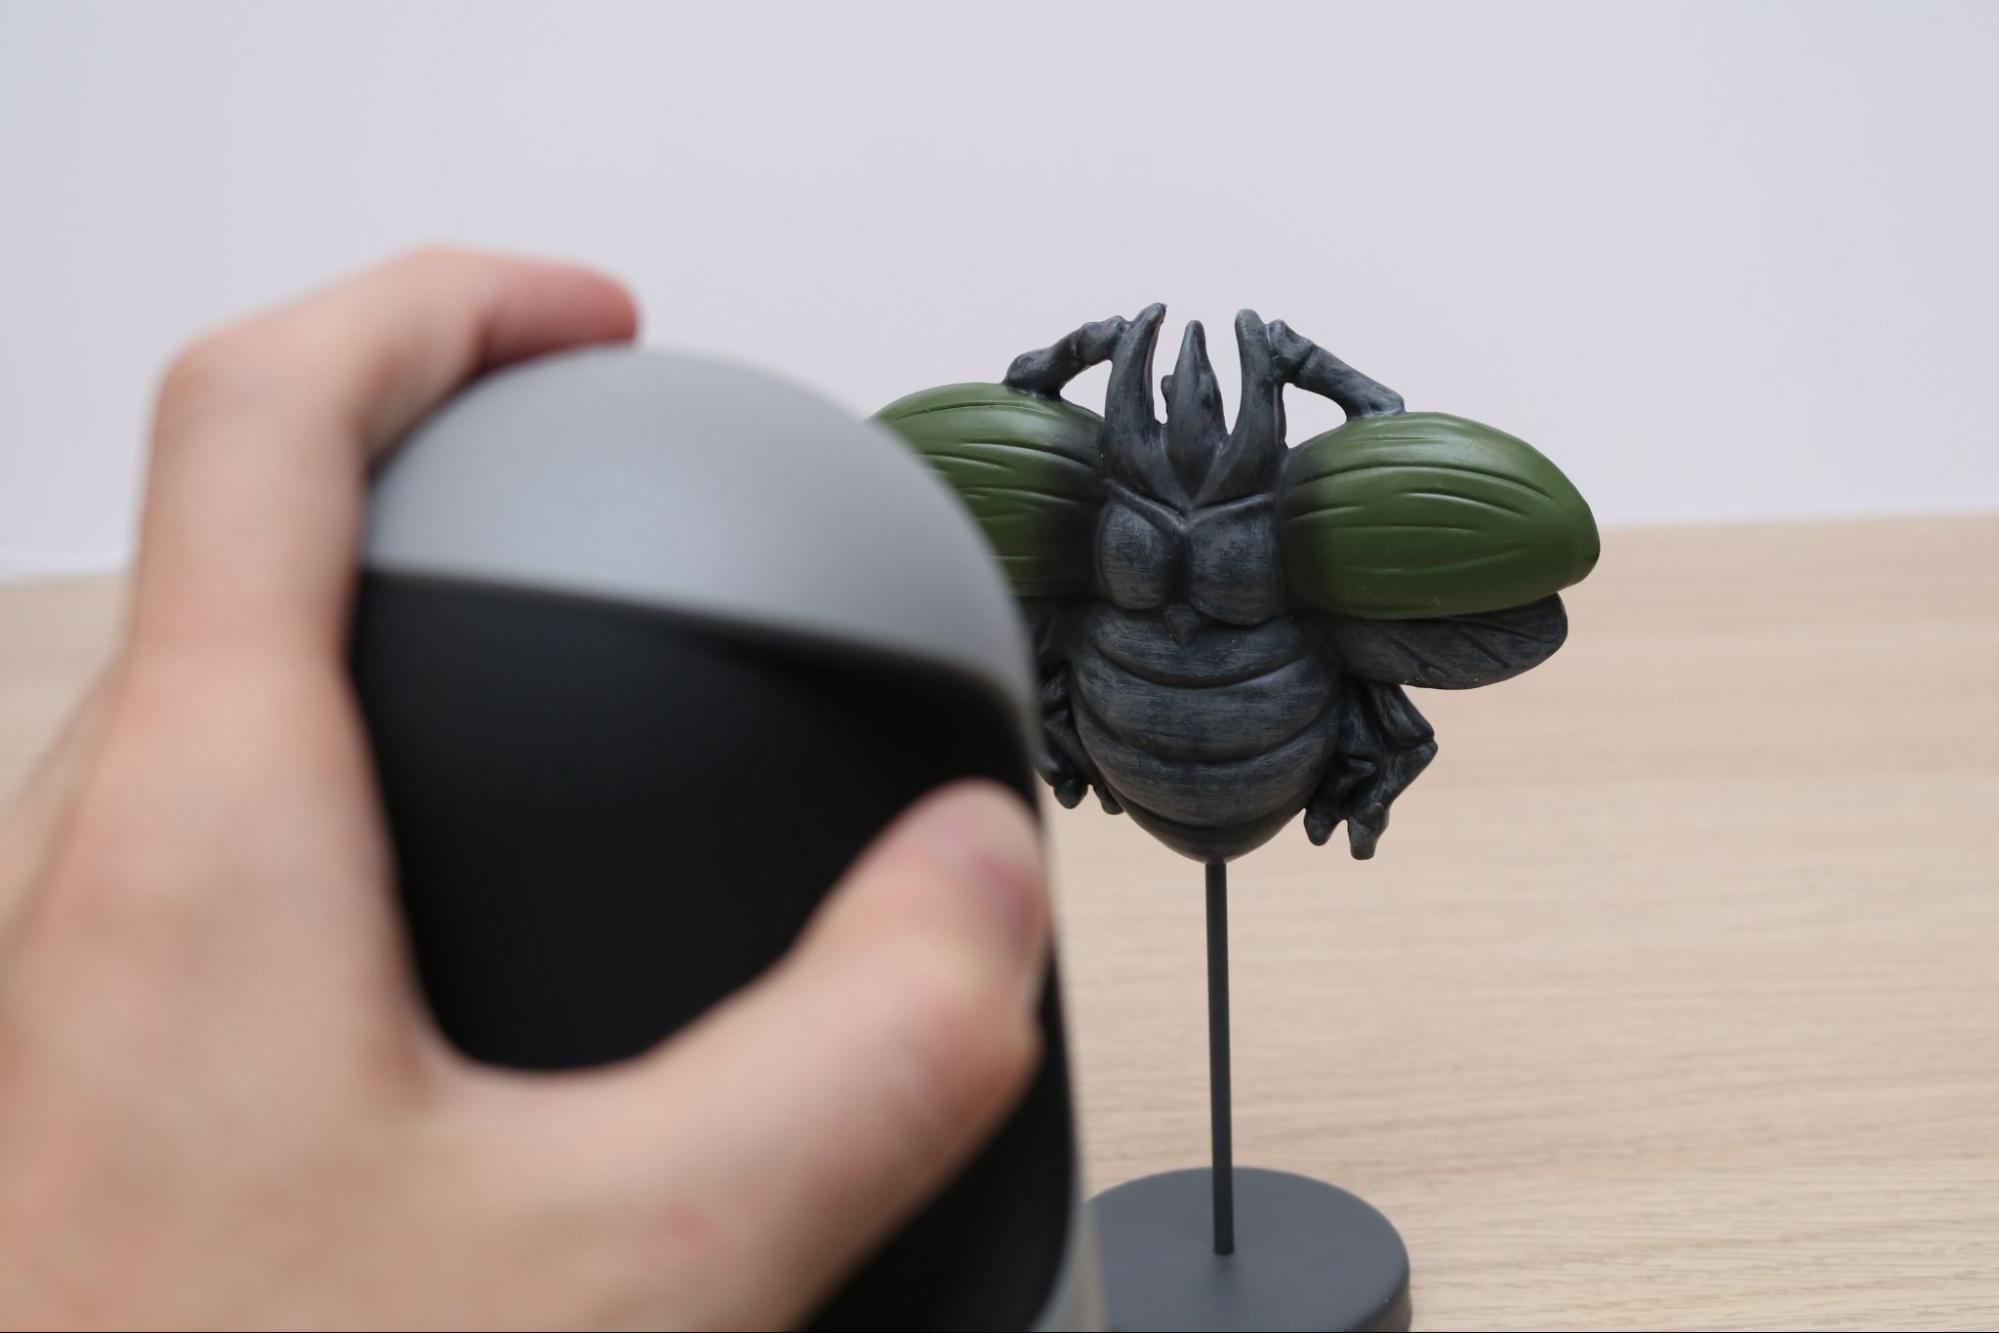
The 3DMakerPro Mole is capable of capturing texture during a scan, but the version I was sent can only capture textures in grayscale, meaning the silver beetle with green wings that I scanned will be captured in shades of gray and not in full color.
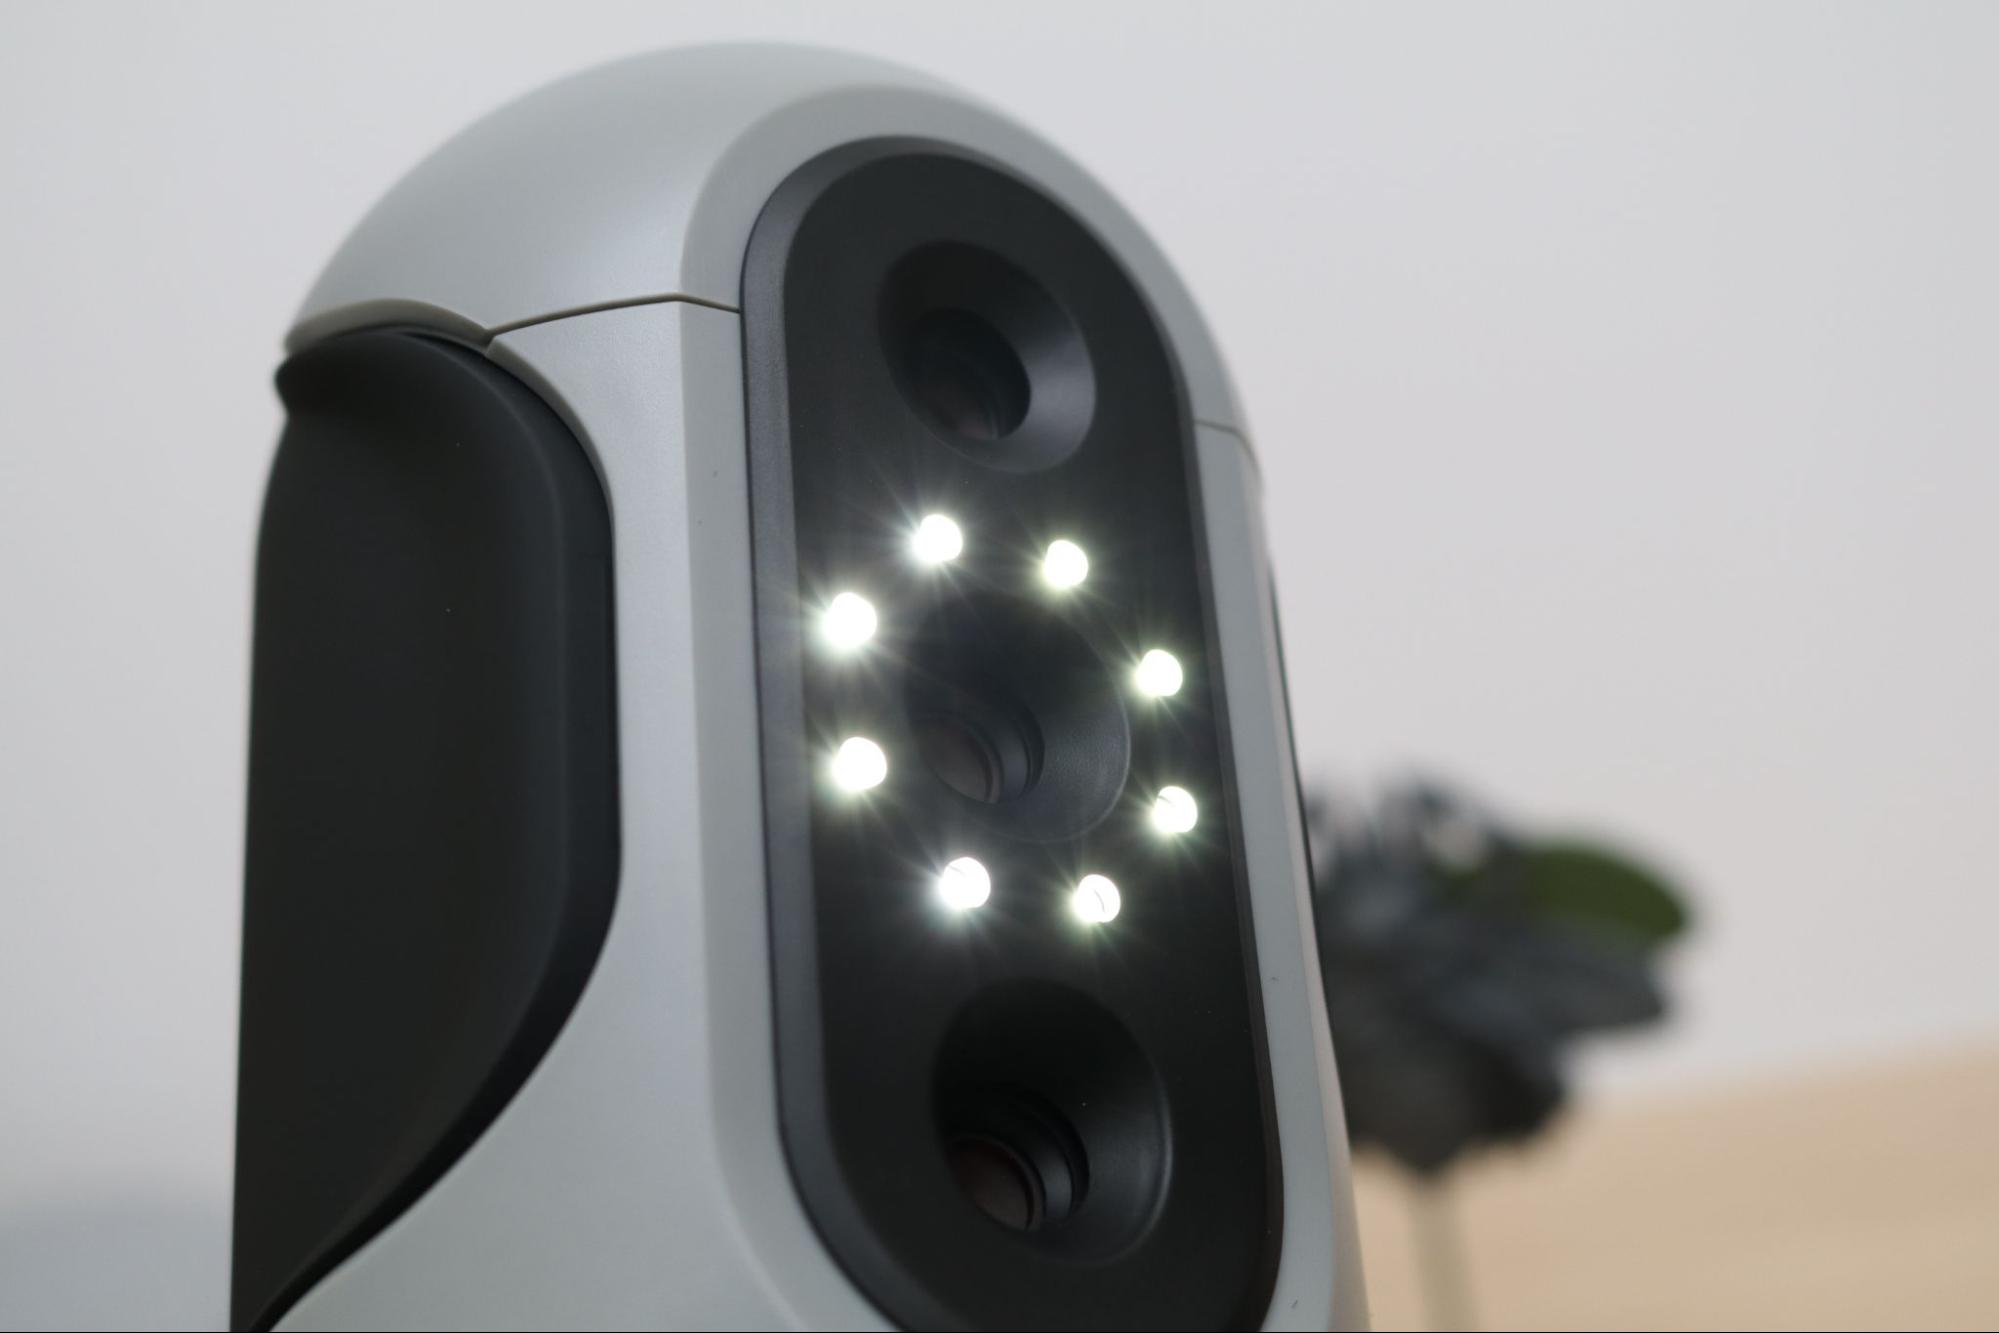

When scanning in Texture Mode, the LED array fires with each frame at full intensity and can be blinding if faced directly. Considering the 3DMakerPro site shows a Mole scanning inches away from the face of a child, this is something to carefully consider if you are planning to scan faces with texture using the Mole.
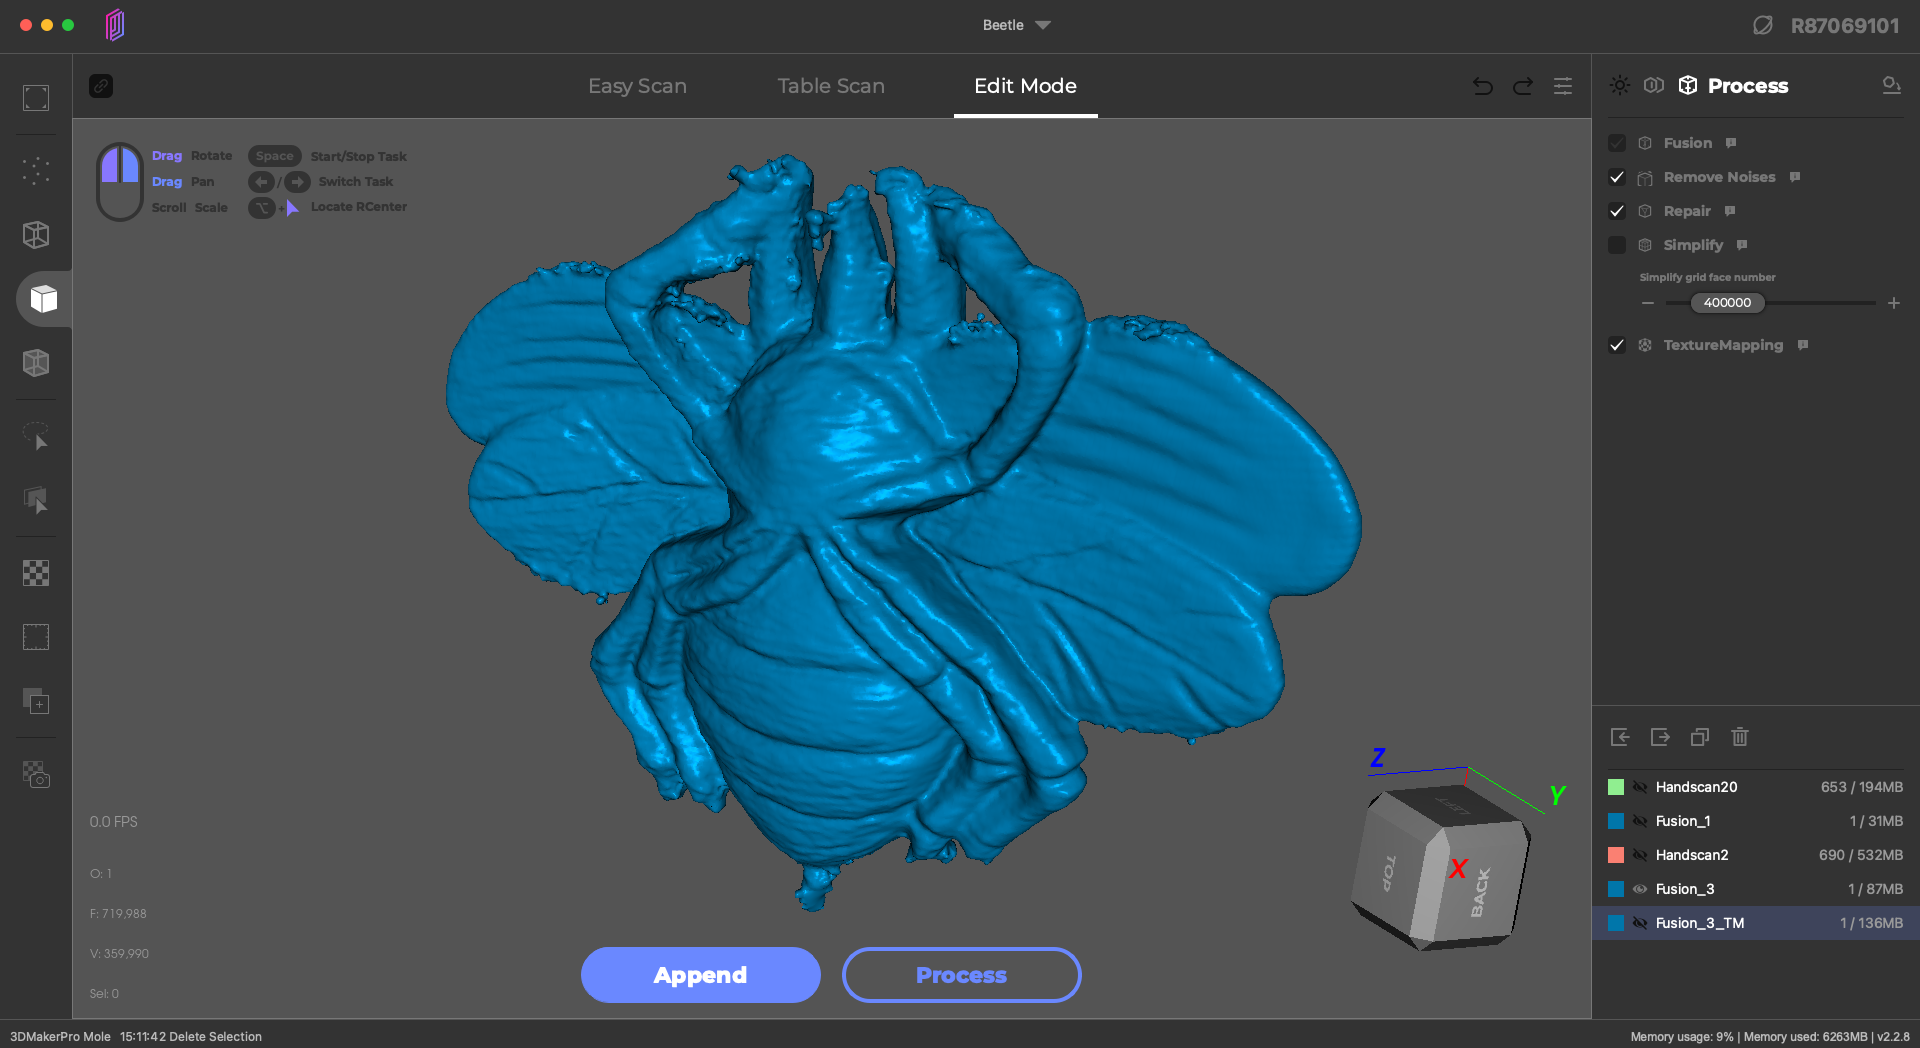
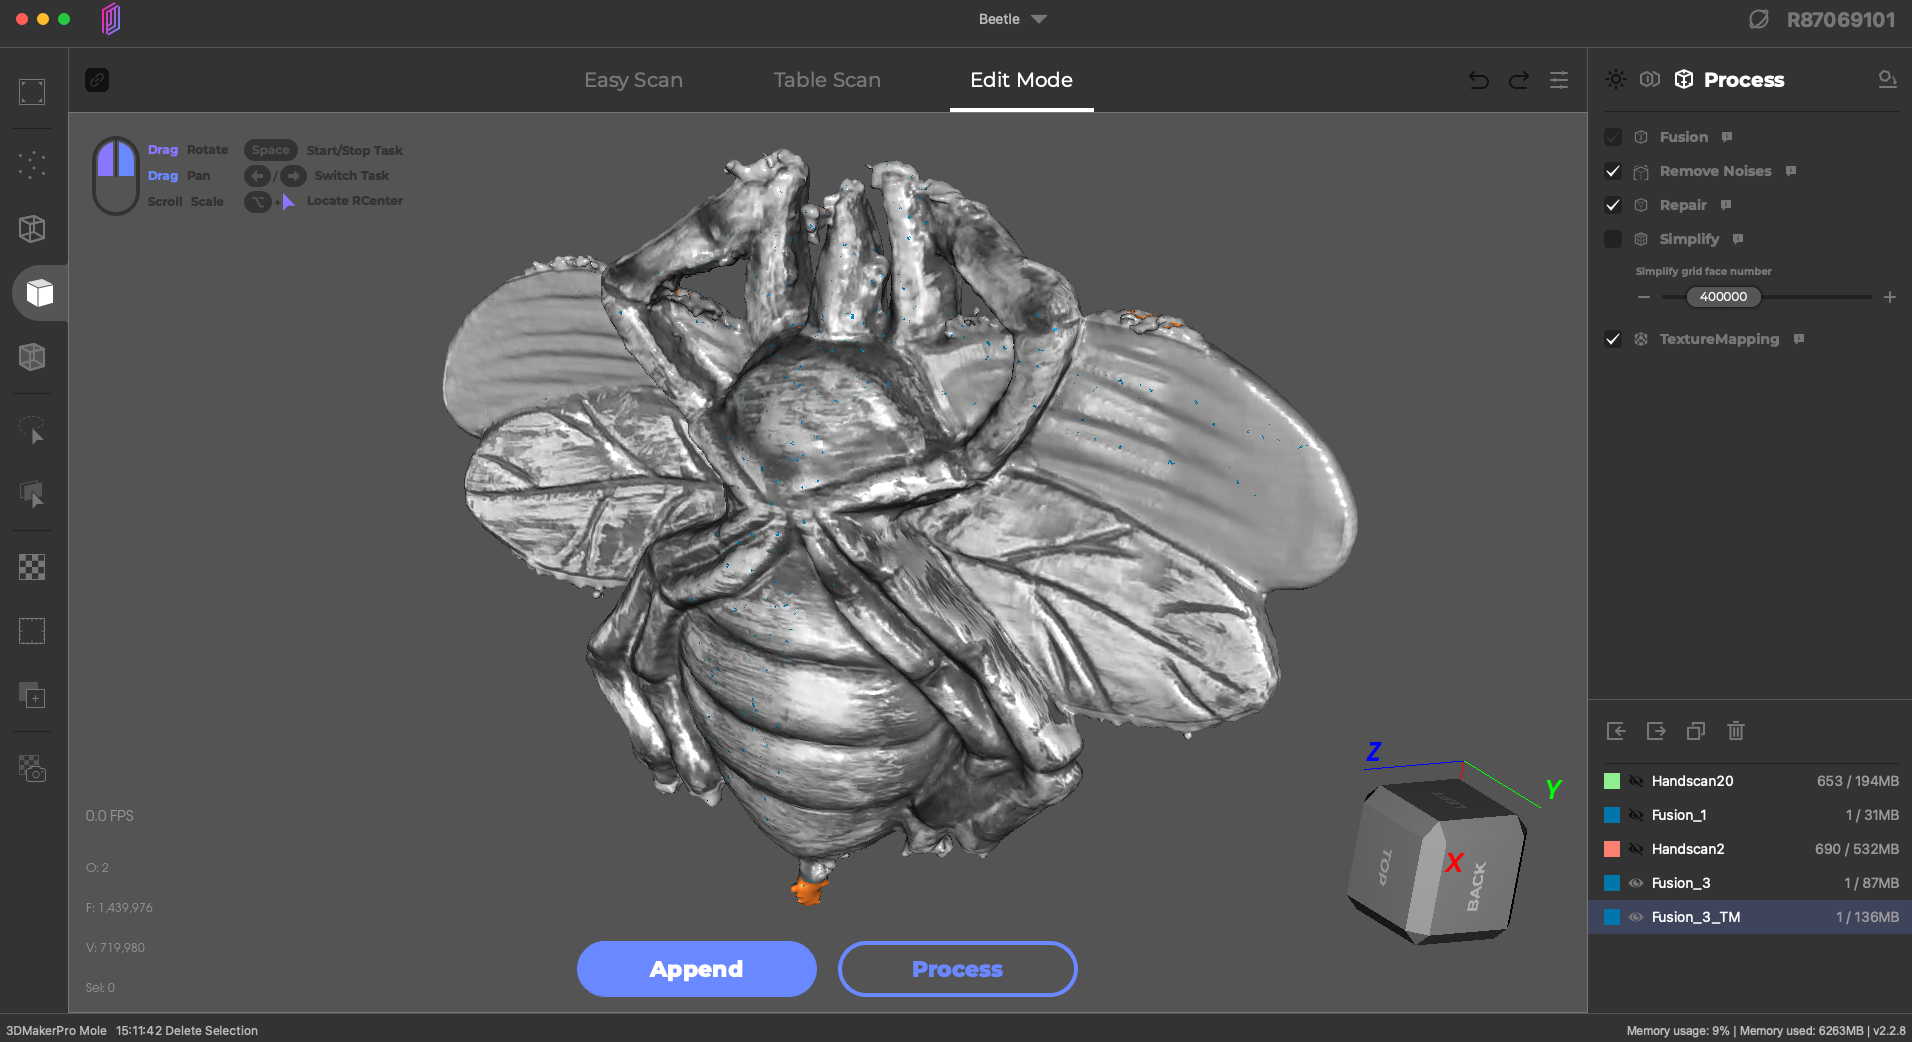
When creating a scan in JMStudio, toggling from “Geometry” to “Texture” will enable texture capture, something that can be toggled on and off in the viewer. The grayscale texture is applied to the model in the “TextureMapping” (sic) step and is exported as a UV mapped 2D image when saving the model as an .obj file.
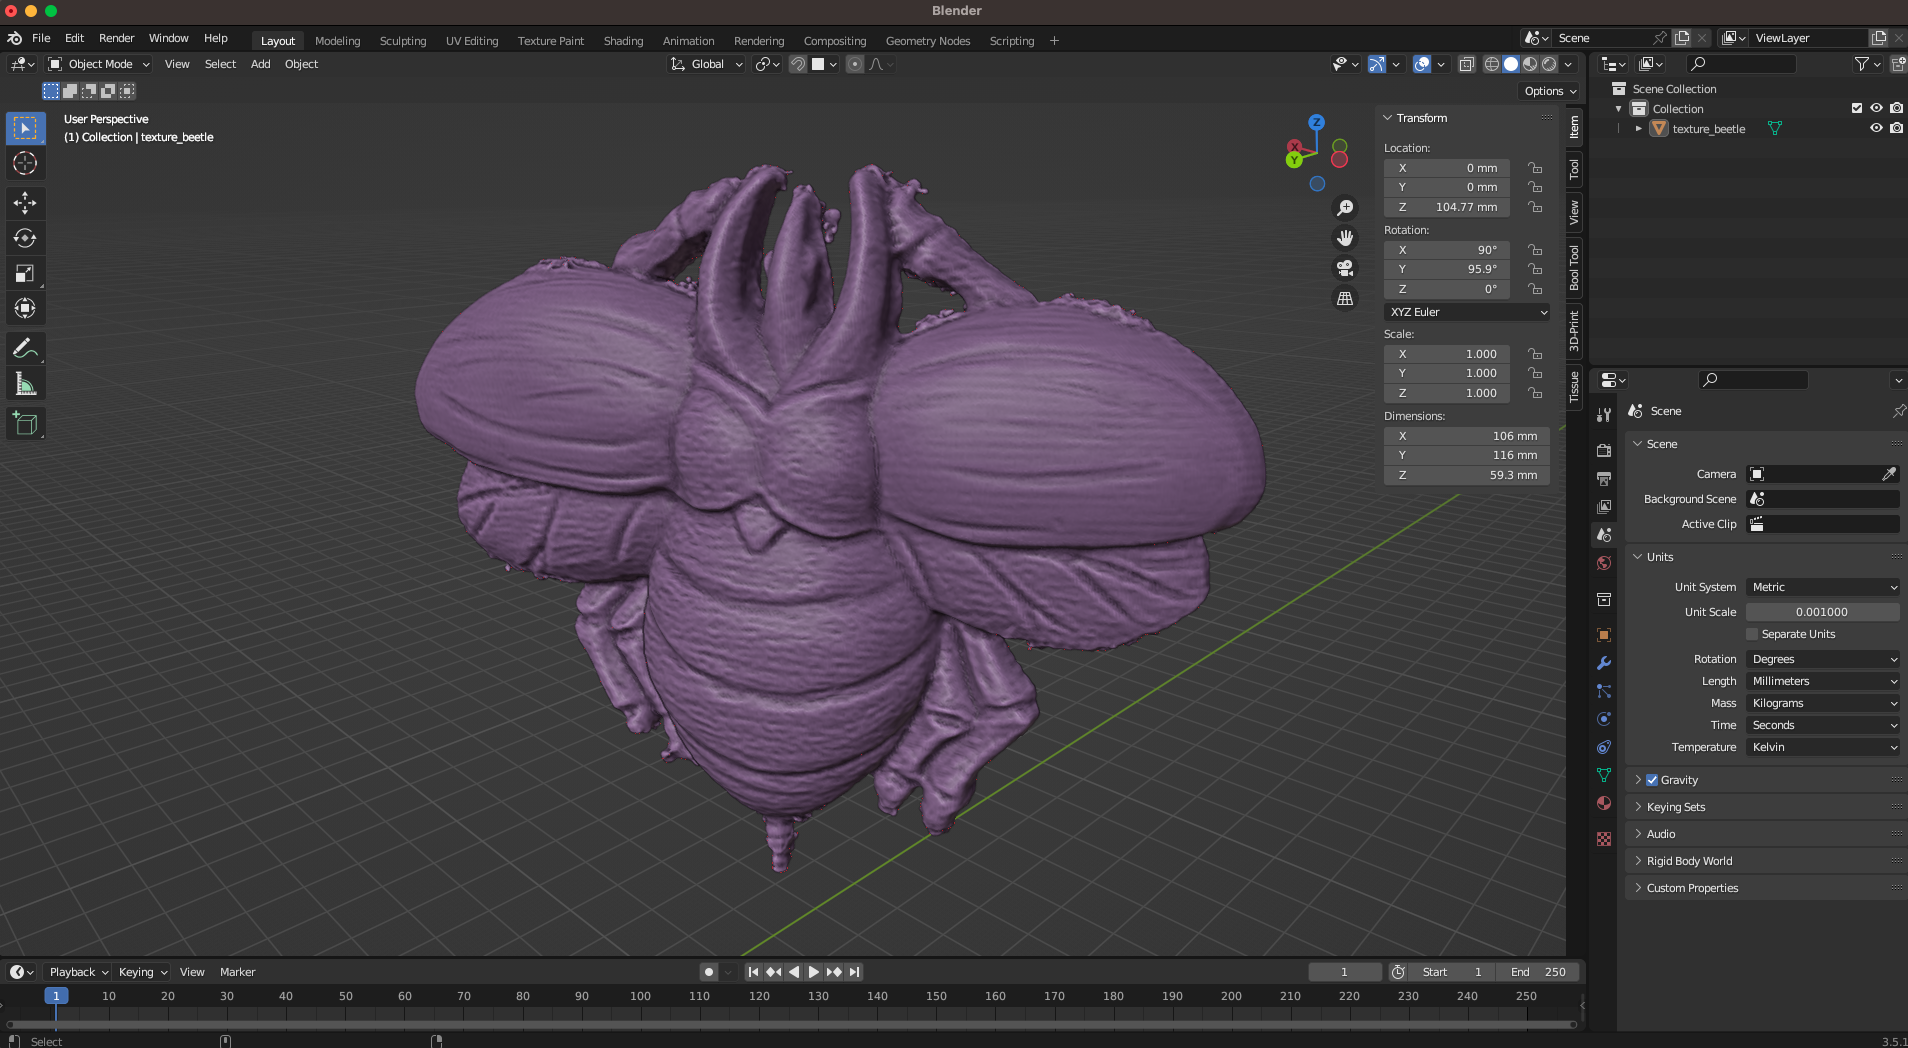
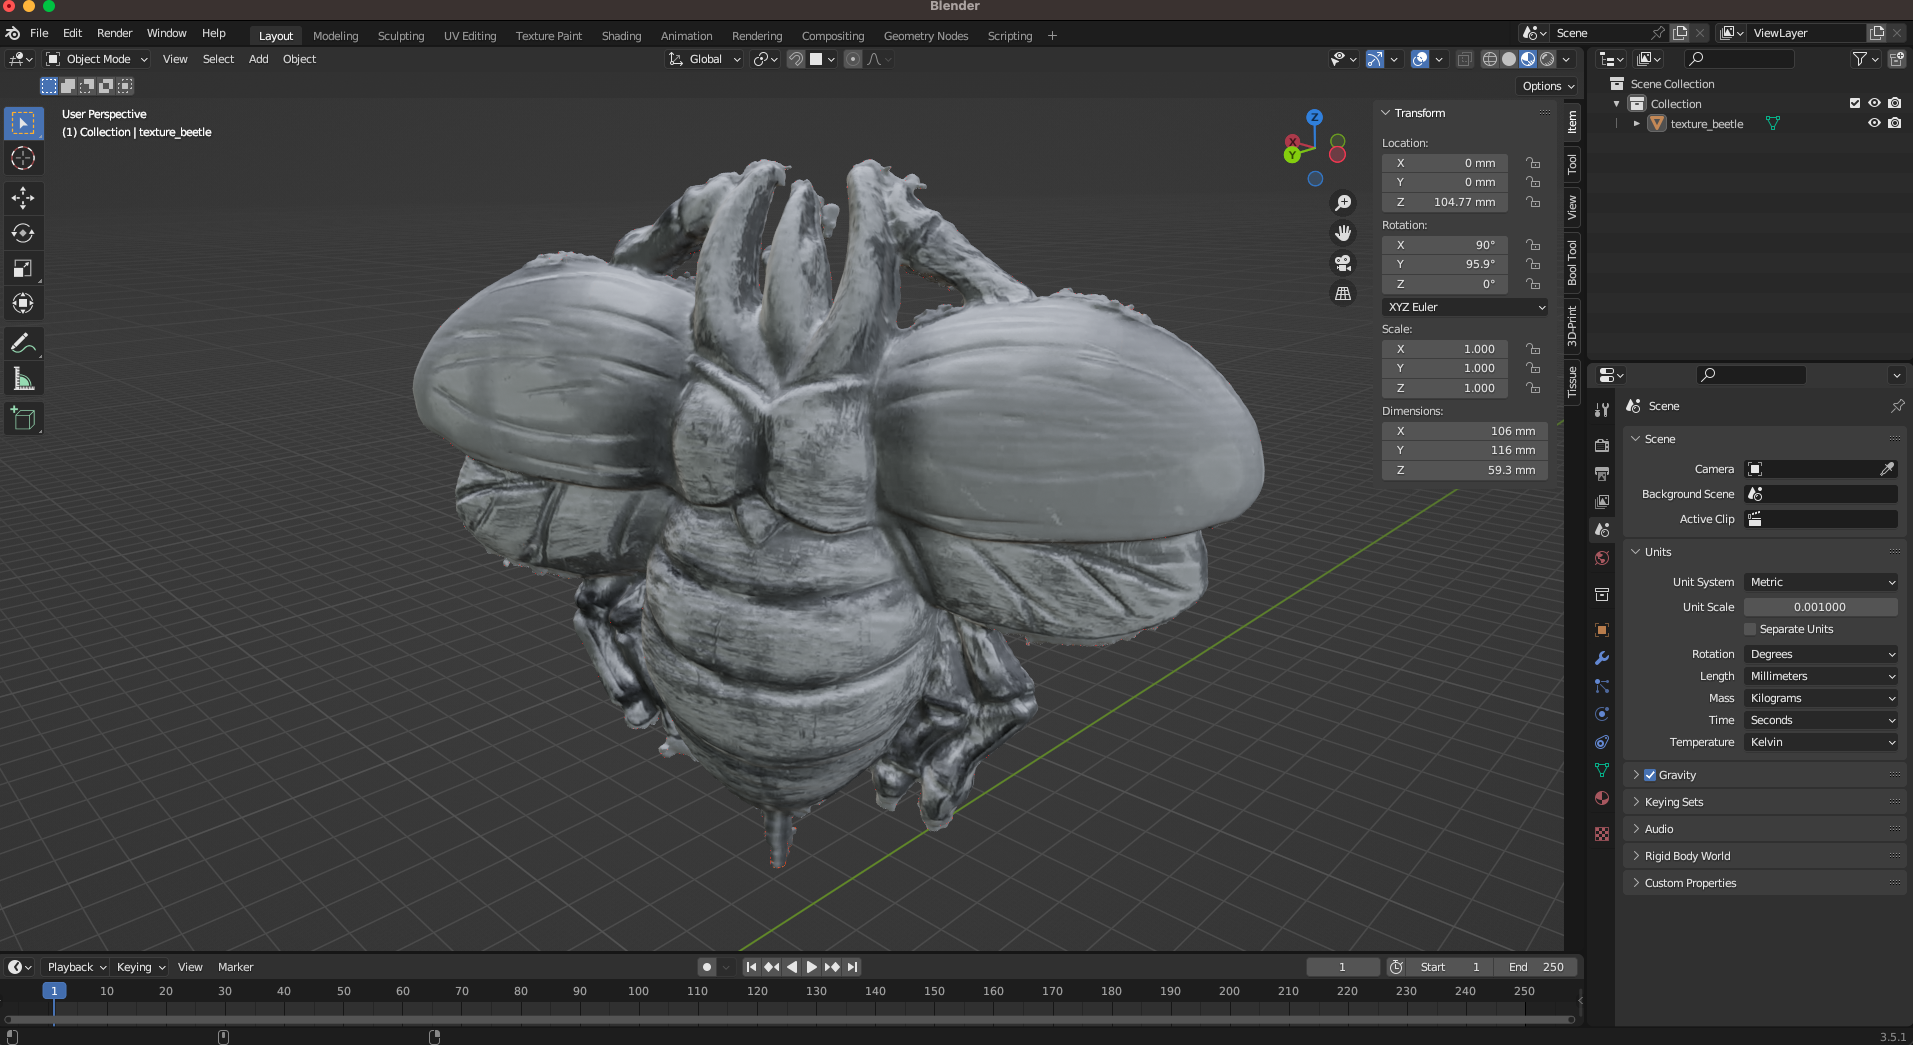
Importing the textured model into Blender allows for a clear view of the texture, which shows a decent amount of detail despite the grayscale color palette. Capturing a grayscale texture on a 3D model feels like a half-measure, and I’m not entirely sure what use the texture would have to most users. Digital sculptors could use the grayscale texture to perform a displacement offset and add additional details, and it’s possible the UV map could have color added back in an additional post-processing step using software like Photoshop. For most users, the greyscale texture likely won’t add much value and will simply add additional processing time.
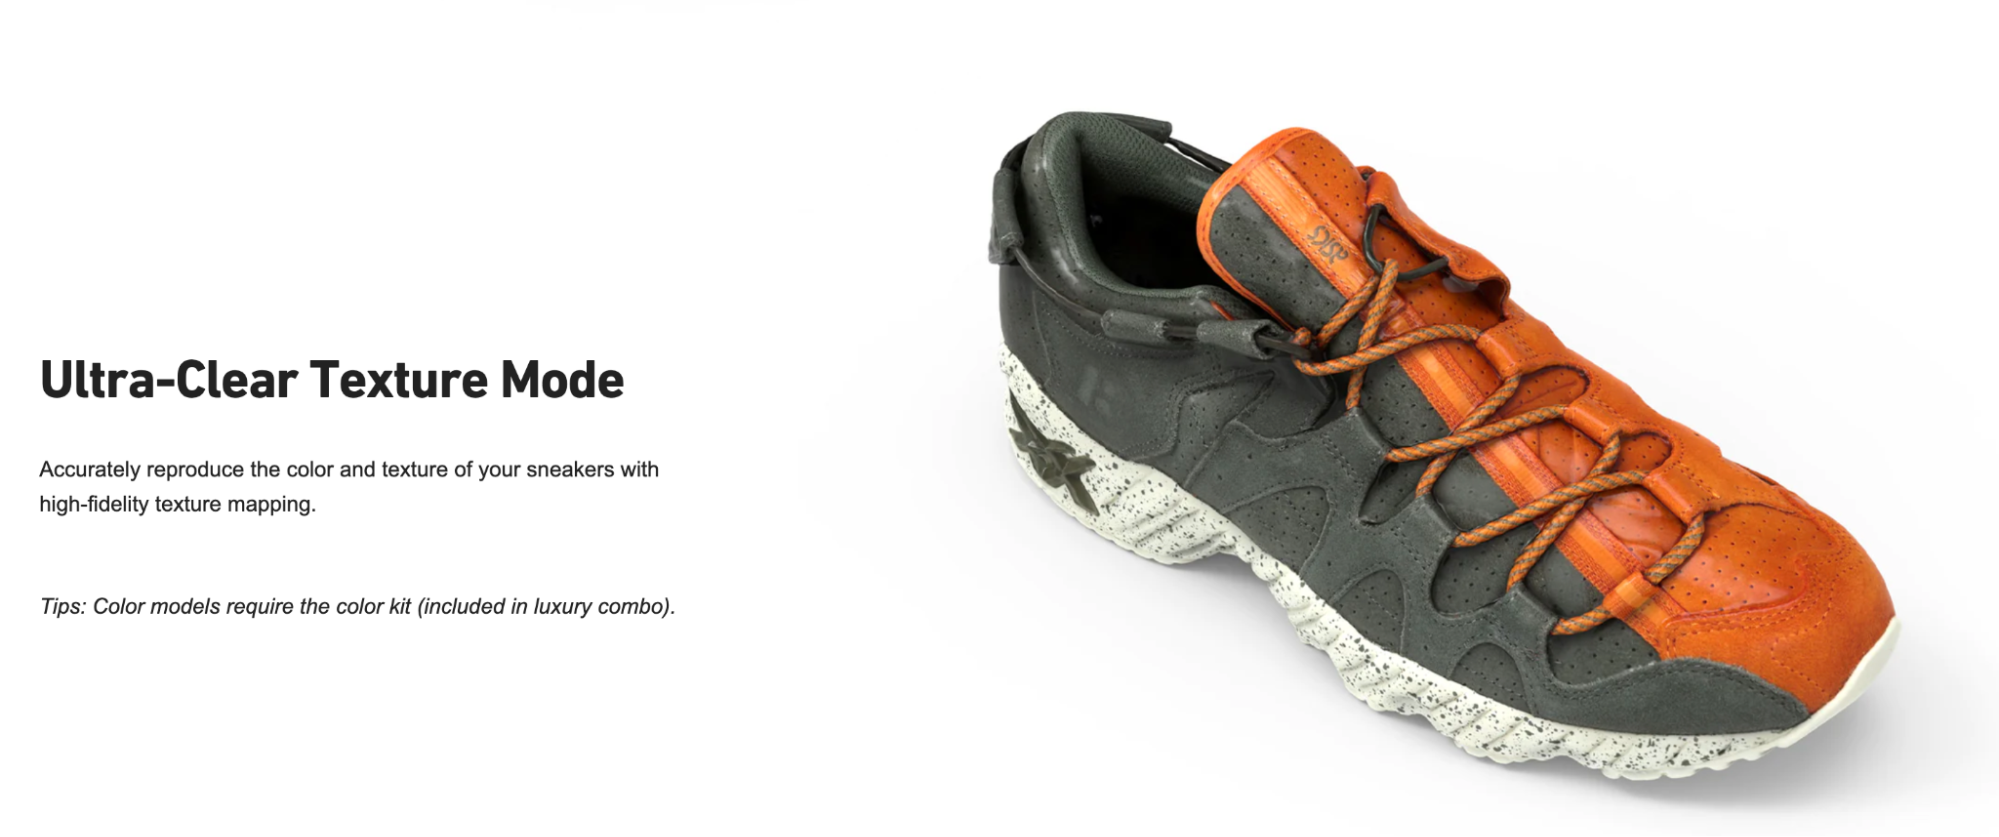
On the 3DMakerPro site, the Mole is advertised as featuring “Ultra-Clear Texture Mode” when using the optional color kit included with the luxury package. The version shipped to me did not include this package, so I’m not able to test the quality of the color textures.
Bottom Line
The 3DMakerPro Mole is a powerful handheld 3D scanner that is capable of making 3D models from real-life objects with virtually no set-up, calibration, or additional post-processing required. I was impressed with the ease-of-use of the JMStudio software, although I did experience several crashes and wished I were able to control some parameters (Fusion, Repair, etc.) with more precision. The overall detail in scanned models looked good due to the 10 FPS scanning and 0.05 accuracy of the scanner, but some fine features failed to resolve and the manual alignment wasn’t as useful as I would have liked.
The standard combo package of the Mole is currently available for $519, and the more capable premium combo package isn’t much more at $599. Unless you already have a tripod, turntable, and grip that’s compatible with the Mole, it’s hard to recommend saving the $80 and going with the standard package when the slightly-more-expensive premium package contains everything you’ll need to make stationary as well as dynamic scans.
However, the optional $89 (Android) or $159 (iOS) mobile phone Connect module and $679.00 color luxury package combo are harder to recommend given the lack of positive reviews or complete examples published by 3DMakerPro.
I’m generally impressed with the quality of mesh 3D models made with the Mole, and believe that it’s a useful tool for makers, hobbyists, and anyone else interested in creating 3D models. The JMStudio software acts as a simplified one-stop interface, at the expense of not being able to control some of the processes with the level of precision some users may require. As with other scanners, the 3DMakerPro store page for the Mole shows images of cast metal parts, people, and even colorful shoes being scanned, all of which are unlikely use cases for a first-time user.

Andrew Sink first used a 3D printer in 2012, and has been enthusiastically involved in the 3D printing industry ever since. Having printed everything from a scan of his own brain to a peanut butter and jelly sandwich, he continues to dive ever more deeply into the endless applications of additive technology. He is always working on new experiments, designs, and reviews and sharing his results on Tom's Hardware, YouTube, and more.
-
Giroro I'm seeing the pricing asReply
$649 - Standard
$749 - Premium
$849 - Luxury
No idea where that $519/$599/$699 starting price is supposed to be coming from.
Did they decide to give this thing a massive price hike after sending out review kits, or something? -
4freedomssake Do you think it would be possible to help with the scanning issues by adding a triangle lighting set up around the physical object; turntable? Maybe at 5000 Kelvin, and possibly even bounce cards if needed?Reply
