Mechanical Keyboard Tuning Guide: How to Make Your Mechanical Keyboard Feel and Sound Its Best
Mod your way to greatness.
Get Tom's Hardware's best news and in-depth reviews, straight to your inbox.
You are now subscribed
Your newsletter sign-up was successful
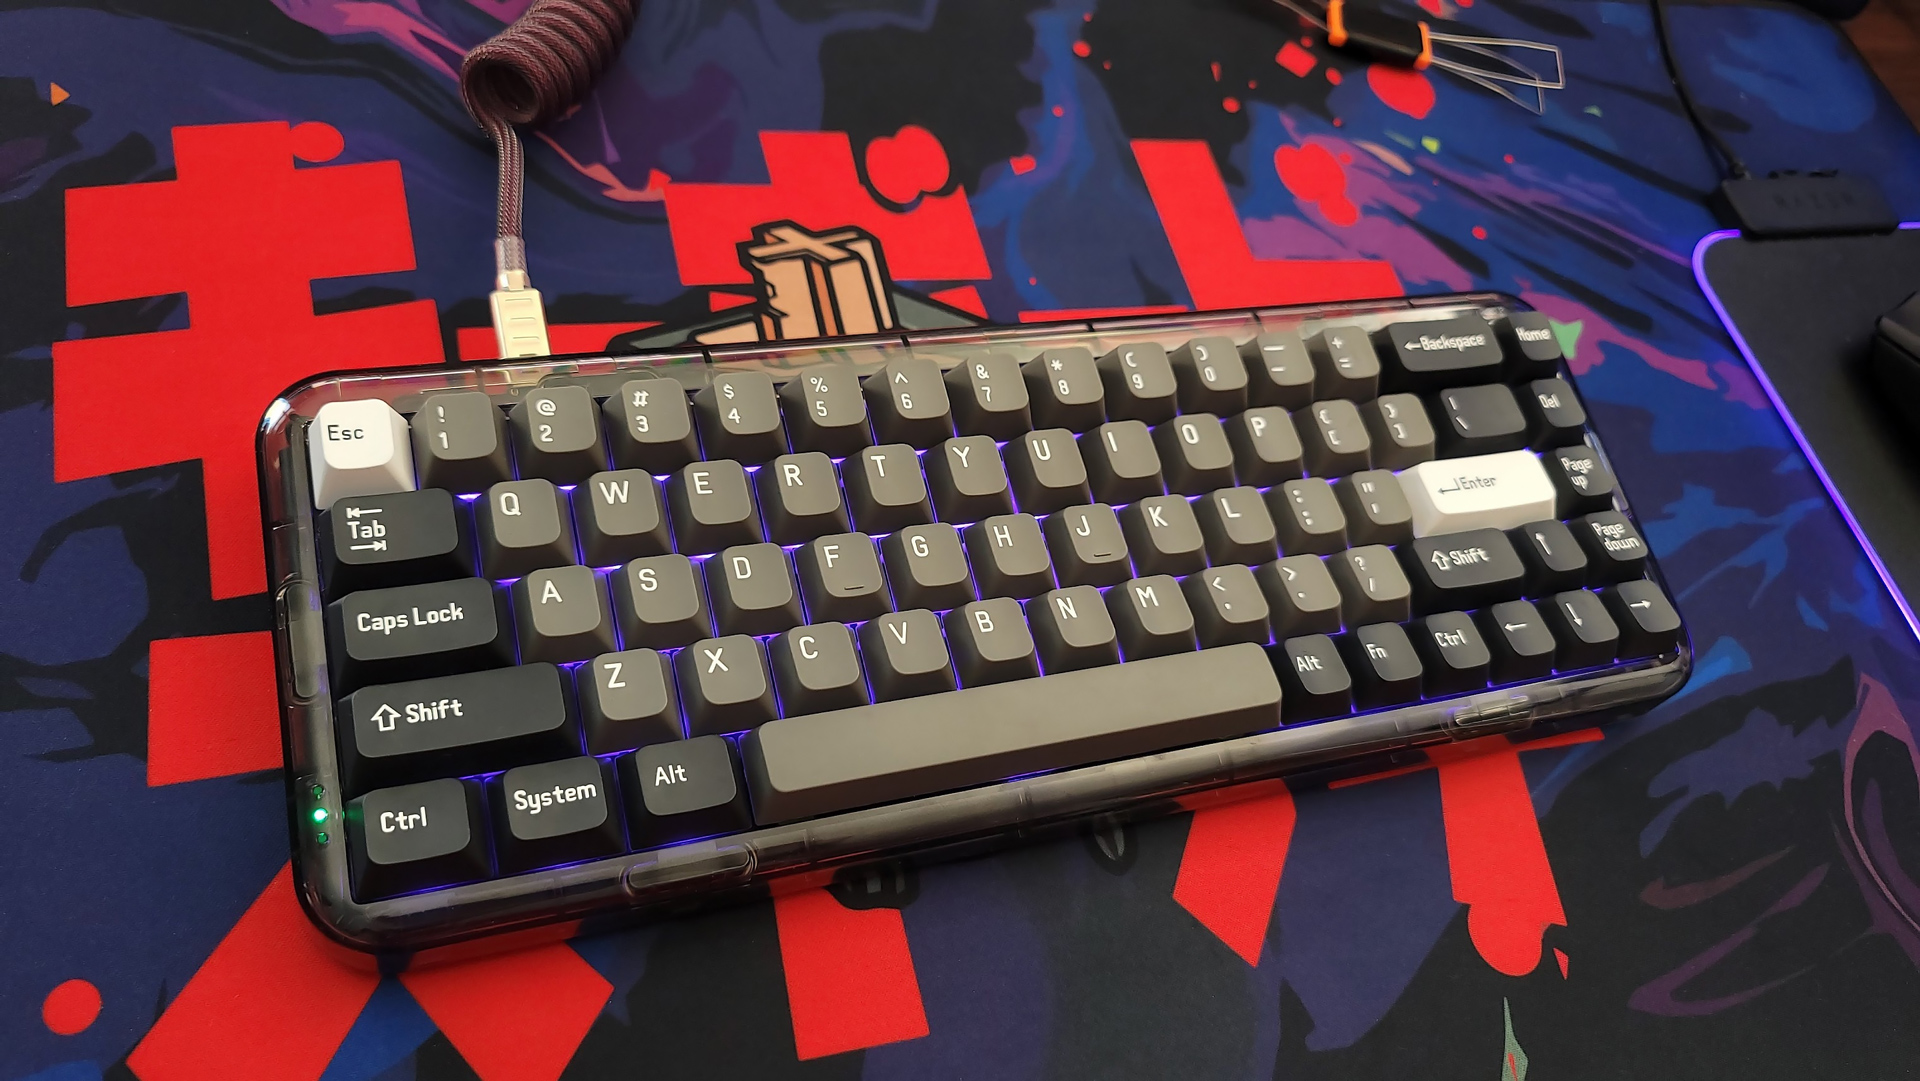
As the mechanical keyboard hobby has risen in popularity, a new generation of typists and gamers have embraced the joys of keyboards that both sound and feel great to use. Some of the most popular custom keyboards, like the Jelly Epoch, have gained traction in large part due to their satisfying and unique typing sounds. Modifying and tweaking the best keyboards to achieve certain sound profiles has become almost a pastime of its own.
Over the last two years, I’ve developed an unhealthy obsession with tweaking every keyboard that crosses my desk until it sounds and feels exactly how I want it to. With a little know-how, it’s possible to turn even a budget keyboard, custom or not, into an impressive and satisfying tool of its trade. If you don’t have the money for an expensive DIY kit, or simply want to push your existing keyboard to its limit, this is the guide for you.
Glossary of Important Terms
- Thock: Low pitched typing sounds, sometimes described as “deep.”
- Clack: Higher pitched typing sounds.
- Hollowness: The empty sound that occurs from too much empty space inside a keyboard case or the way in which sounds reverberate in what empty space remains
- Ping: The high-pitched ringing sound that accompanies typing. Most prominent on keyboards with metal cases or top plates. Can be caused by the springs inside switches.
- Lube: Synthetic grease used on switches and stabilizers. This can be dielectric grease (for stabilizers) or a thinner lube, like Krytox, for switches.
- Stem: The central, moving part of a switch or stabilizer. Features a cross-shaped top.
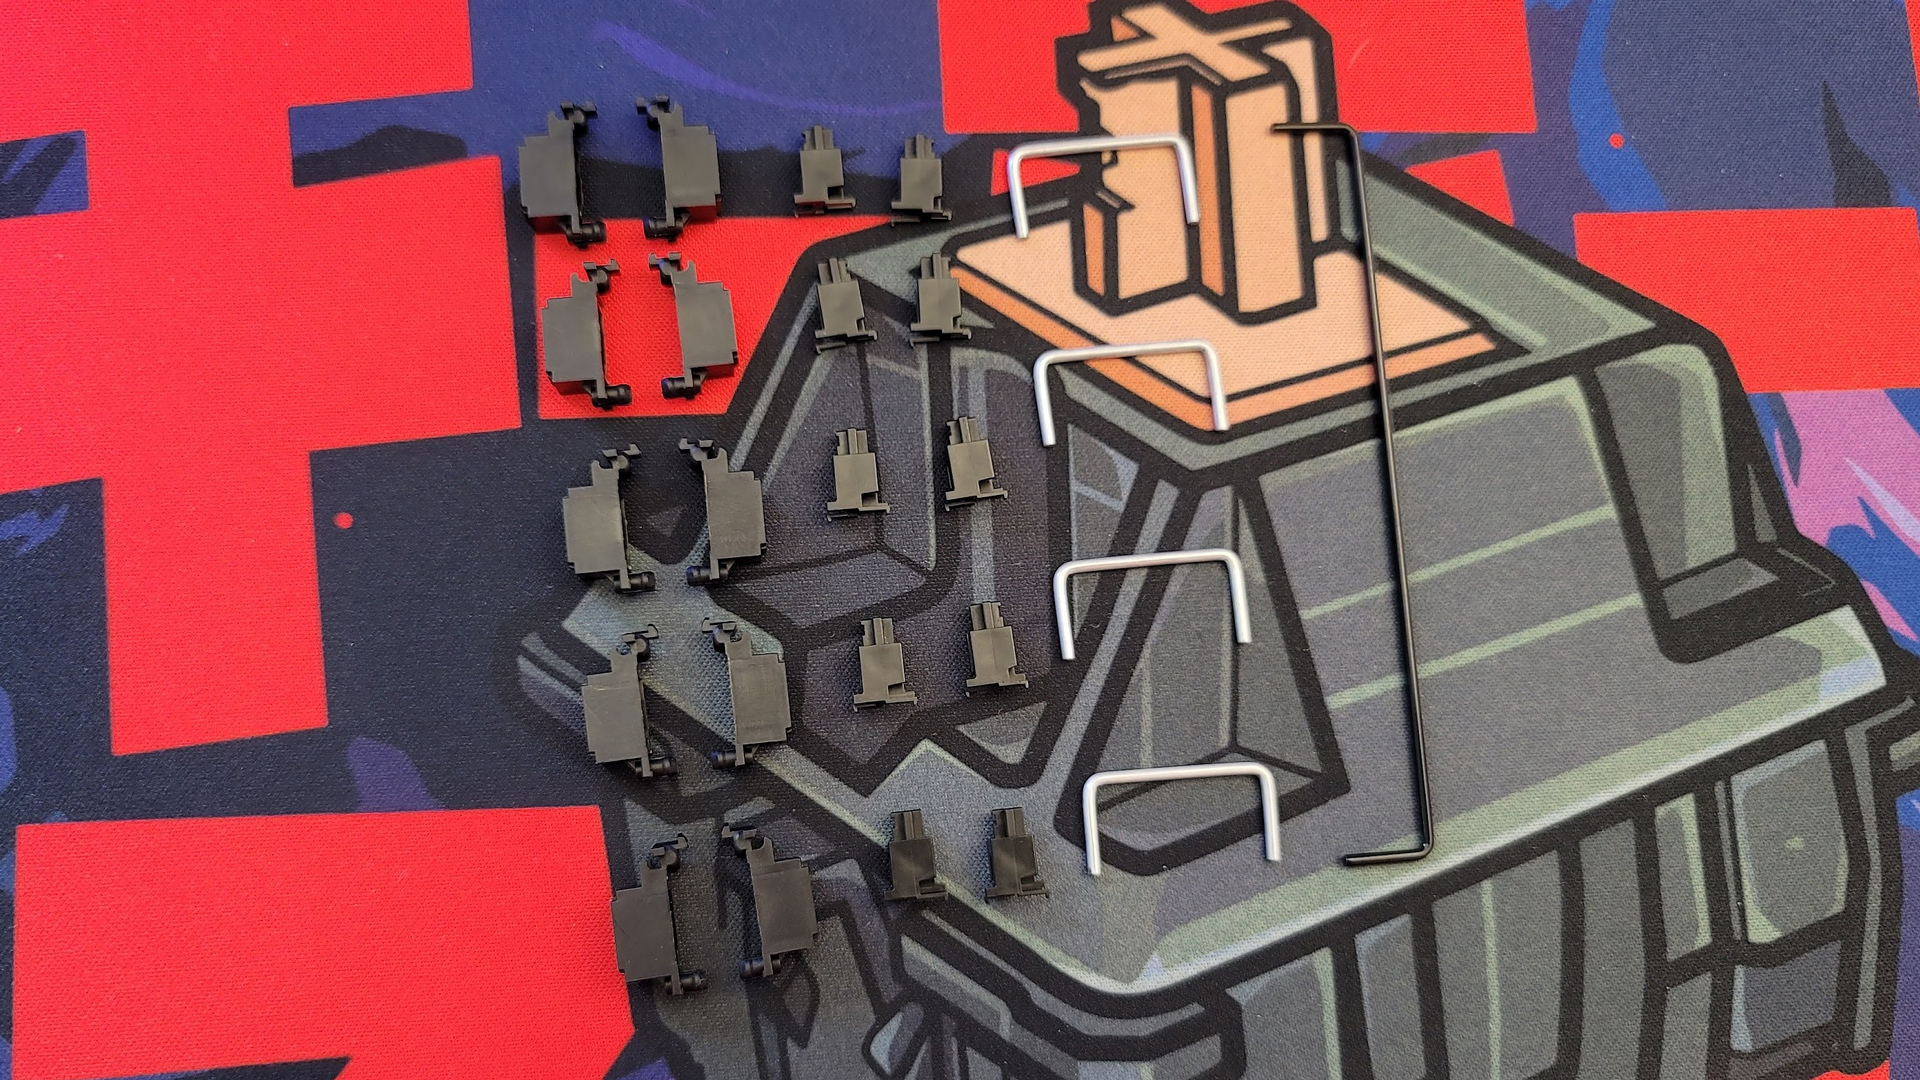
- Stabilizer: A stabilizer is a pair of dummy switches placed beneath the larger keys connected by a wire. This component keeps those keys balanced and prevents the keycap from tipping to one side or the other. Most pre-built keyboards use plate-mount stabilizers, which clip into the same plate as the switches. Screw-in or Clip-in stabilizers connect directly to the PCB and are more difficult to remove without uninstalling the switches and removing the switch plate.
- Plate: The main panel switches lock into. Metal plates tend to be higher pitched. Plastic plates tend to be lower pitched.
- Bottom-out: When a switch is pressed all the way down and can travel no further. Results in a louder typing sound.
- PCB: Printed Circuit Board. This is the main electronic interface of your keyboard.
- Hot-Swap Sockets: Small sockets included on some keyboards that allow switches to be plugged and unplugged without the need for soldering.
- Flex: How the keys move under the finger when typed or pressed on.
- Mounting Style: How the PCB and plate attach to the keyboard case. Mounting styles that use metal fasteners are frequently more stiff to type on. Other styles, such as gasket mount, use foam strips or rubber o-rings to absorb vibrations from typing to create a softer typing experience that often has the side effect of increased flex. Popular mounting styles include: gasket mount, top mount, tray mount, and friction-fit (o-ring mount).
A Word About This Guide
Since this guide is all about modding your mechanical keyboard, it’s written around the idea of being able to access its different parts. This is most easily done with a DIY kit of some kind, but many of these mods can be applied to any keyboard you’re able to disassemble. Depending on the keyboard you plan to mod and your own familiarity with tech, the difficulty of this process will vary. Bear in mind disassembling a premade keyboard will likely void its warranty, so proceed with caution.
Whether you’re disassembling a gaming keyboard or building your own, you’ll need a precision screwdriver set. This one from VMAN is excellent and is relatively inexpensive. The ever-popular Pro Tech Toolkit from iFixIt is another good option. Take care when removing parts, note where different fasteners go and remember that taking it apart will likely void its warranty, so proceed with caution.
Mod and Lube the Stabilizers
Modding and lubing the stabilizers is one of the most important parts of any custom keyboard build. In fact, it’s so important that while, yes, basic preparation of stabilizers is a mod, it’s borderline mandatory for a good sound profile. Anyone building a custom keyboard should be lubing the stabilizers at a minimum. Not doing so will instantly undermine any other efforts you’ve made to enhance the sound.
That said, basic lubing is simple enough that it can be done in minutes. It can be more challenging on pre-made keyboards with soldered switches (stopping you from removing the stabilizer), but is still possible and fairly simple with the use of a syringe. This also makes re-lubing in the future easier, and that eventuality is a certainty as lube shifts. Combining it with secondary mods, like the holee mod (discussed later on), can ward that off, however.
If your keyboard supports hot-swappable switches, remove the stabilizer before attempting to mod it. Do this by first removing the switch and then using a pair of tweezers or a switch puller to squeeze the tabs holding it in place. Screw-in and clip-in stabilizers are much less common on pre-built keyboards but are frequently purchased with custom keyboard kits. If you have a keyboard with one of these stabilizers already installed, they must be unclipped or unscrewed from the bottom of the PCB. Perform all mods before installing these stabilizers.
Get Tom's Hardware's best news and in-depth reviews, straight to your inbox.
One final note: if you plan to holee mod your stabs (short for stabilizers), you must do so before lubing them.
Basic Preparation and Lubing of the Stabilizers (Stabilizers Removed)
What You’ll Need
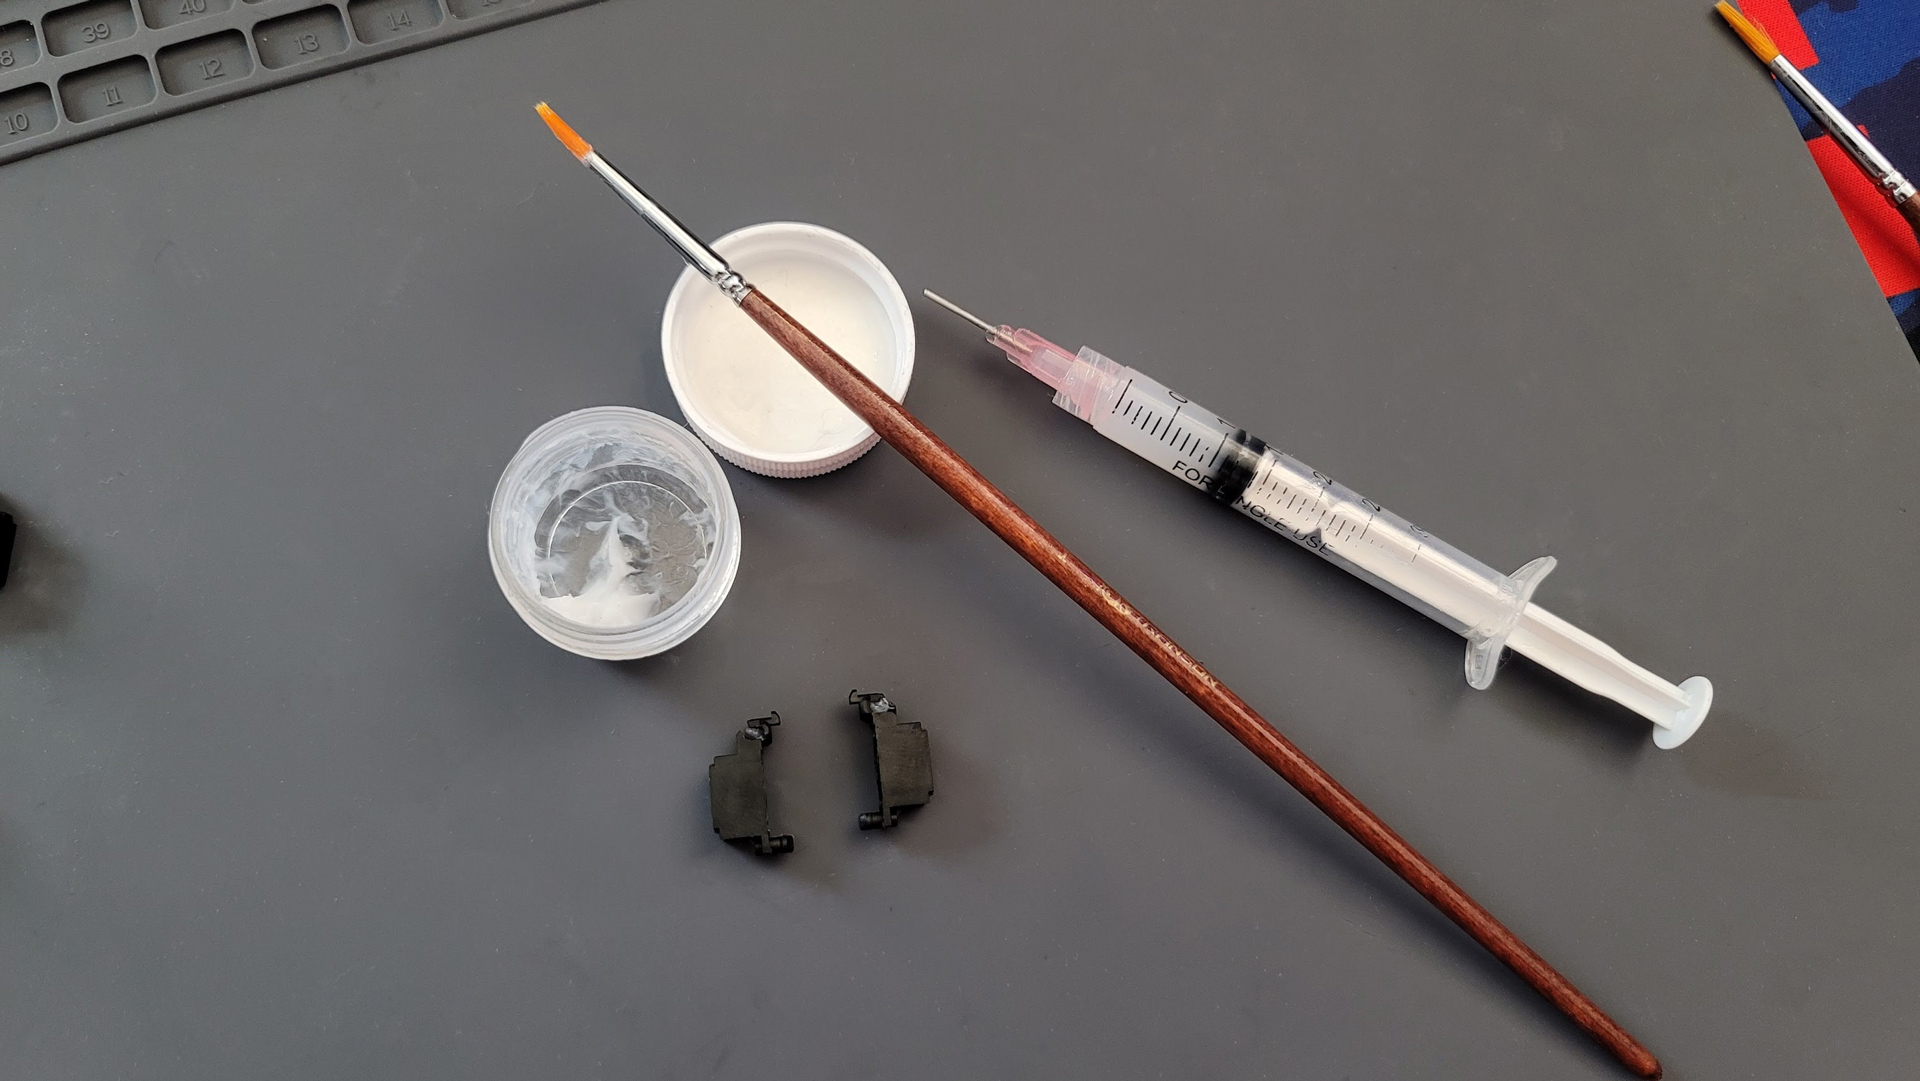
- Stabilizer lube: Dielectric Grease, Krytox 205g0, Glorious G Lube
- (2) Paint brush
- Clean paper towels
- Nail trimmers or flush cutters
Basic preparation of stabilizers is a staple of keyboard building and an easy way to improve keyboards that come pre-built. The goal of this set of mods is to reduce any rattle created by the wire contacting the plastic housing of the stabilizer, as well as to soften bottom-outs. The following steps assume you’re able to remove the stabilizer. If you are not, skip to the next section which describes stabilizers that cannot be removed.
Begin by disassembling the stabilizer. Do this by turning the housing 90-degrees until the wire pops out of its retention clip (pay attention to where this is). Then, slide the wire out of the housing. The stem is removed by pushing it down and out of the housing. Complete this step for both sides, wipe down the components with a clean paper towel.
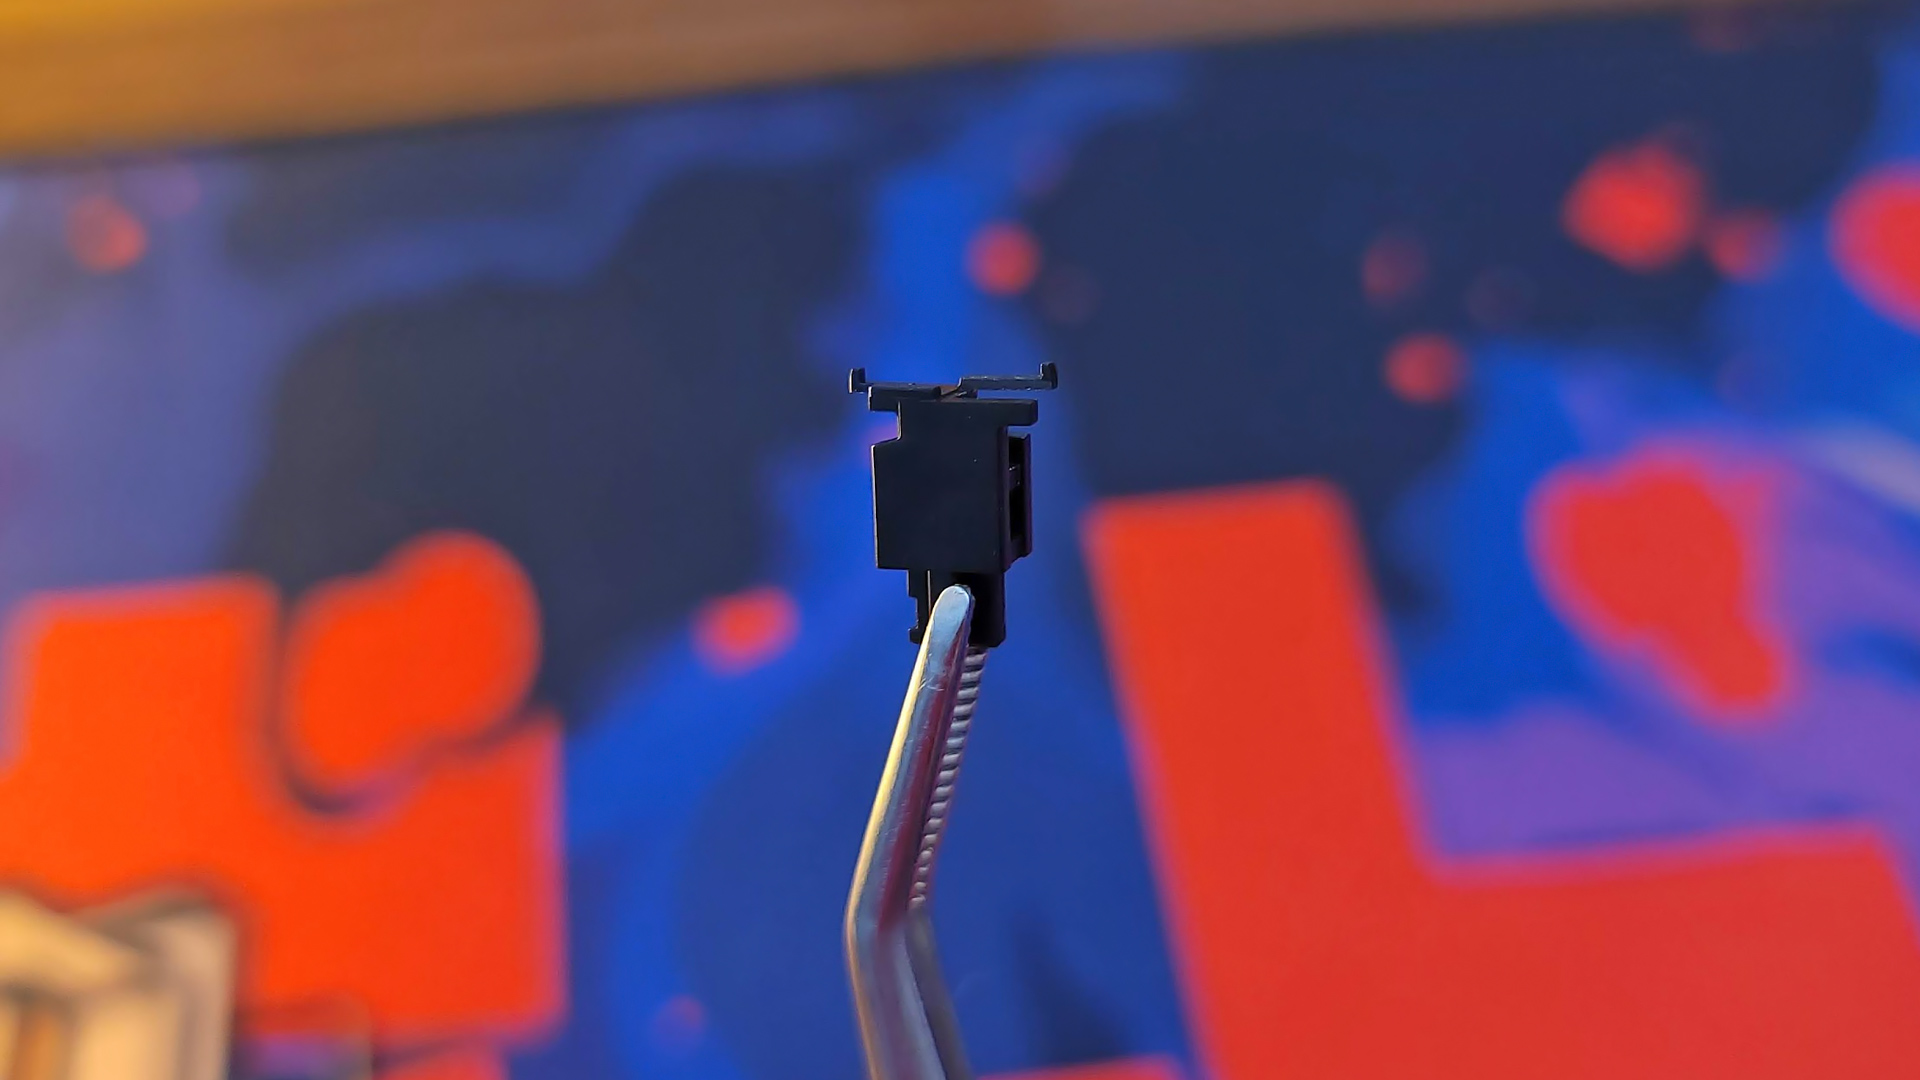
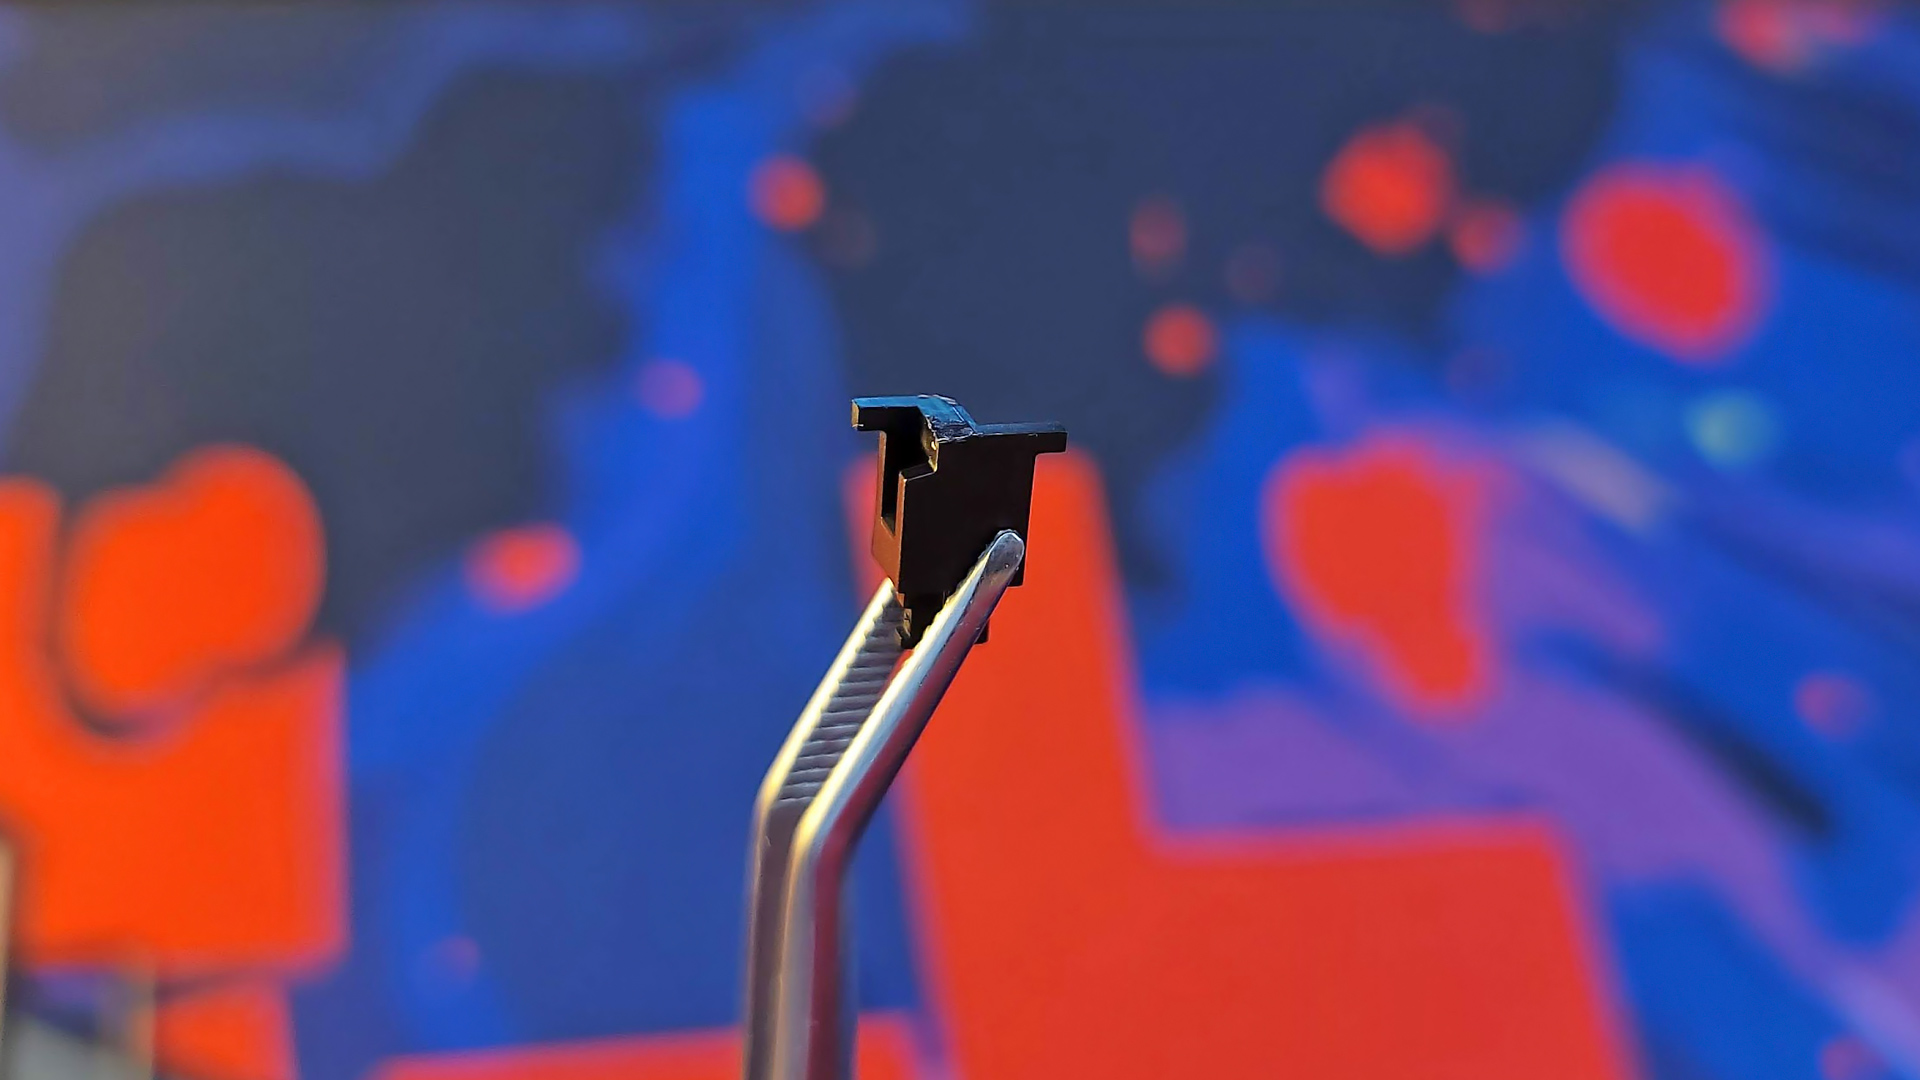
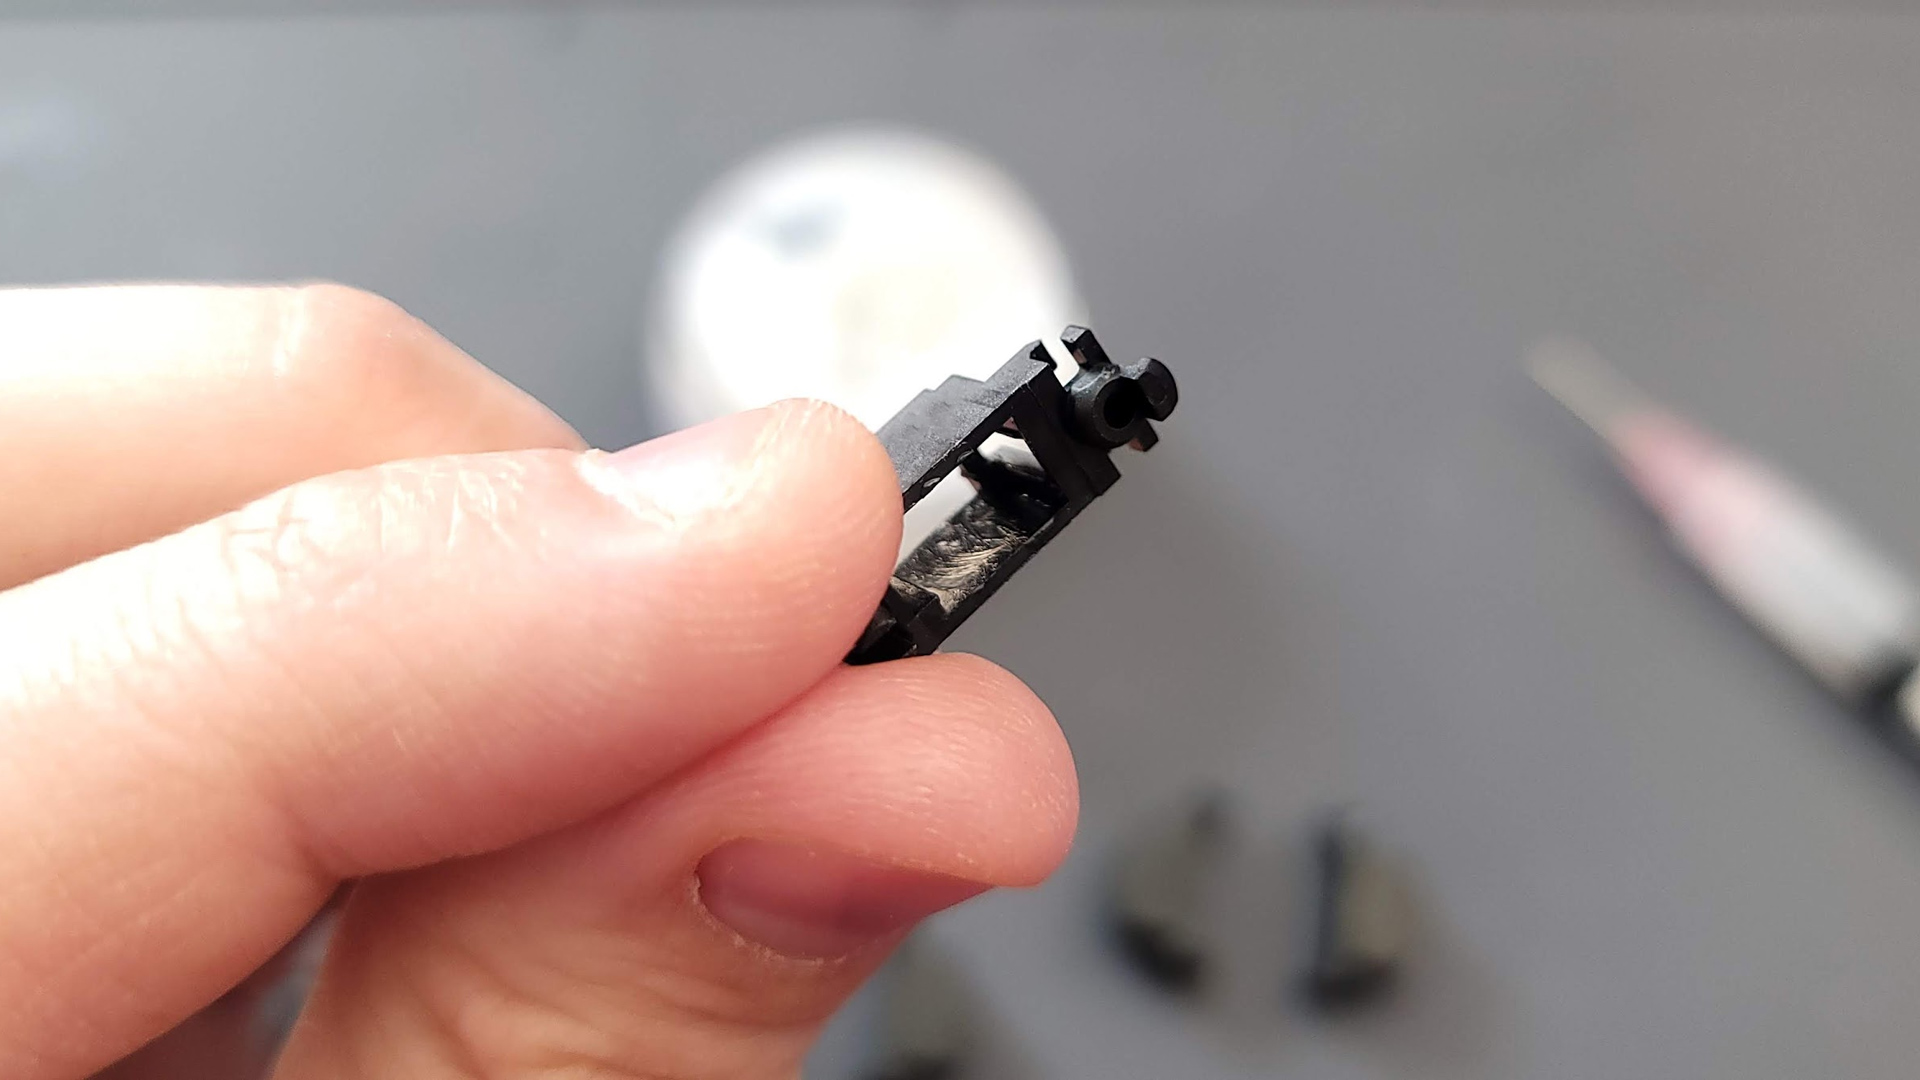
With the pieces separated, it’s time to cut the feet off of each stabilizer stem. Note that some stabilizers have this step done for you. If the bottom is flat, move onto the next step. If it is not, begin by turning the stabilizer upside down. You should see two forked feet. These contact the PCB on bottom outs and cause a plasticky noise. Use the nail trimmers or flush cutters to remove these two feet from each stem.
Next, it’s time to lube the housing. Using a thin lube like Krytox or Glorious G Lube (or a very thin layer or dielectric grease), paint a thin layer of lube along the inside of the housing. This should be just enough to make the surface look wet. If you’re using Krytox or G Lube, you should not be able to see any color to the lube being painted or else you’ve added too much. Should this happen, use a bit of alcohol and a cotton swab to clean and dry the housing, then try again.
If you do not plan to holee mod, insert the stem back into the bottom of the housing. The front, which faces the wire clip, has two holes. The rear has only one. If you do plan to holee mod the stabilizer, leave the stems out for now and skip to that step.
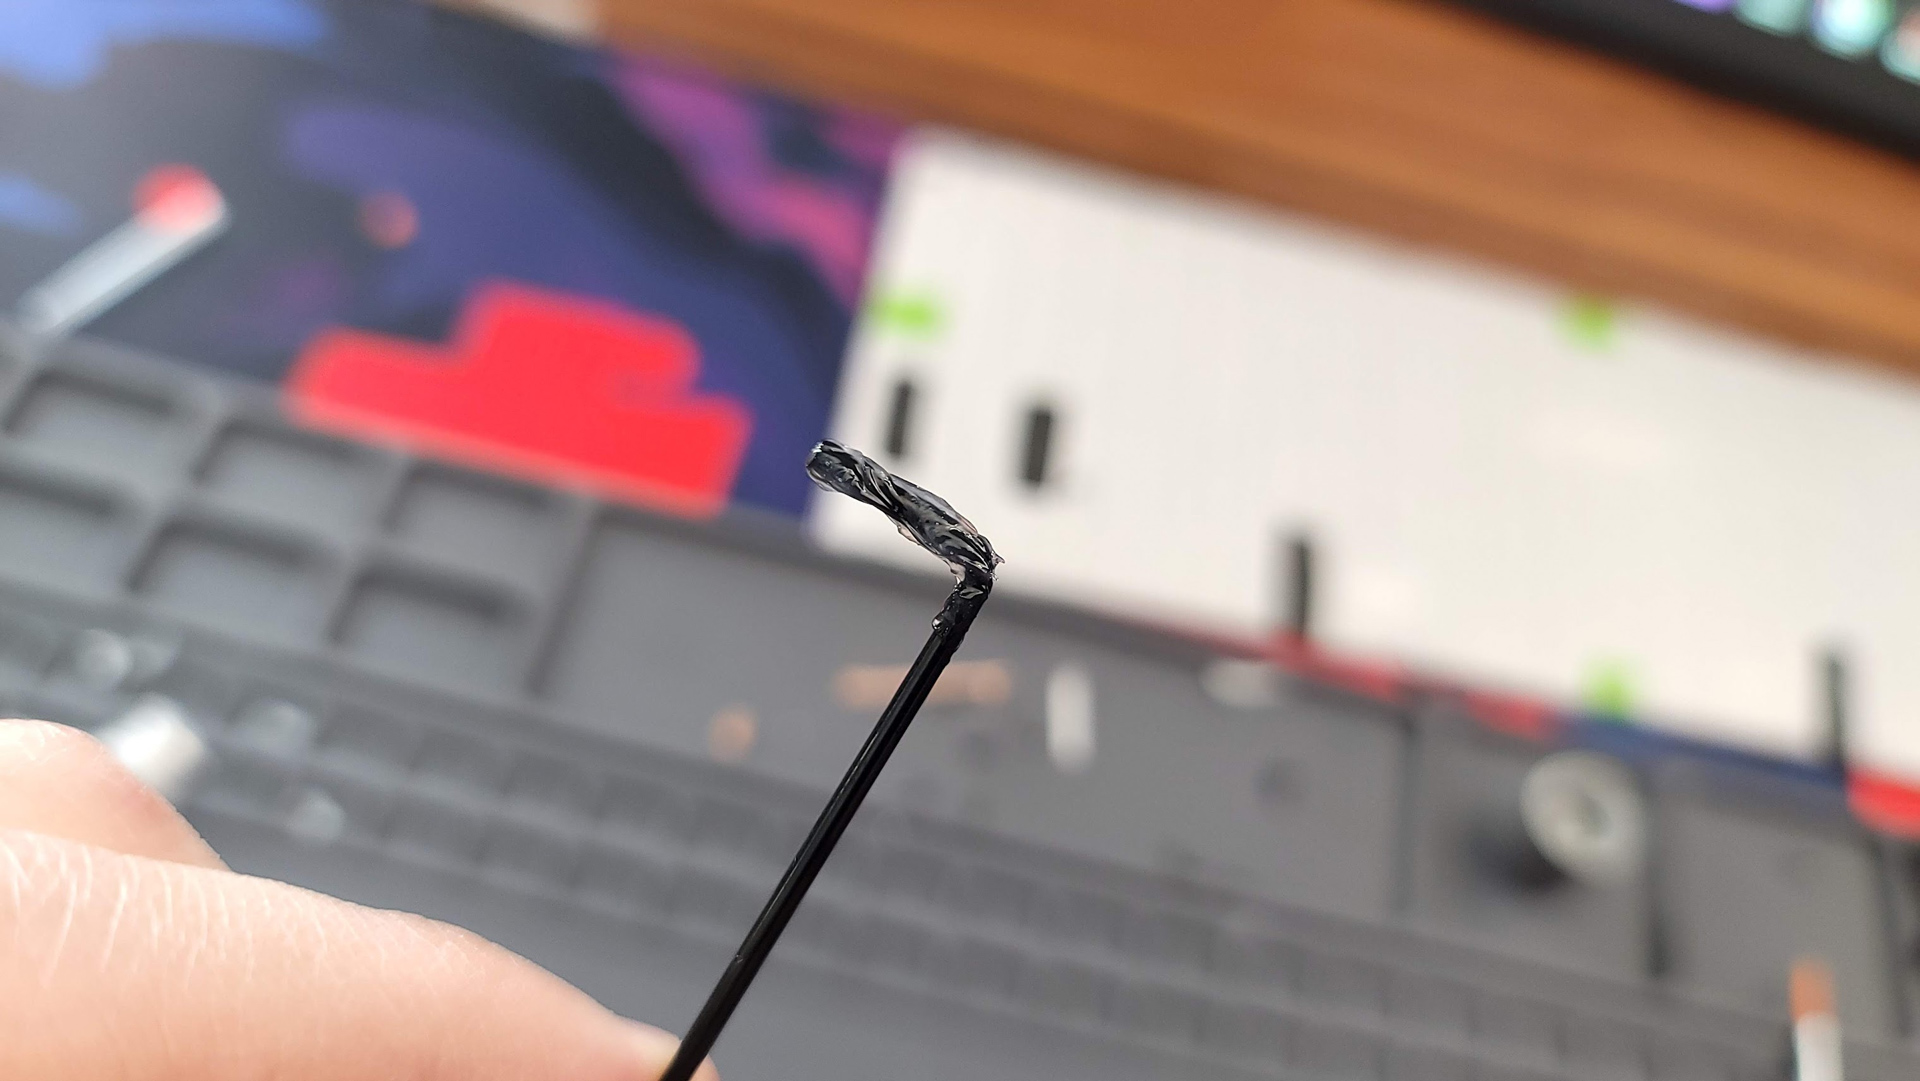
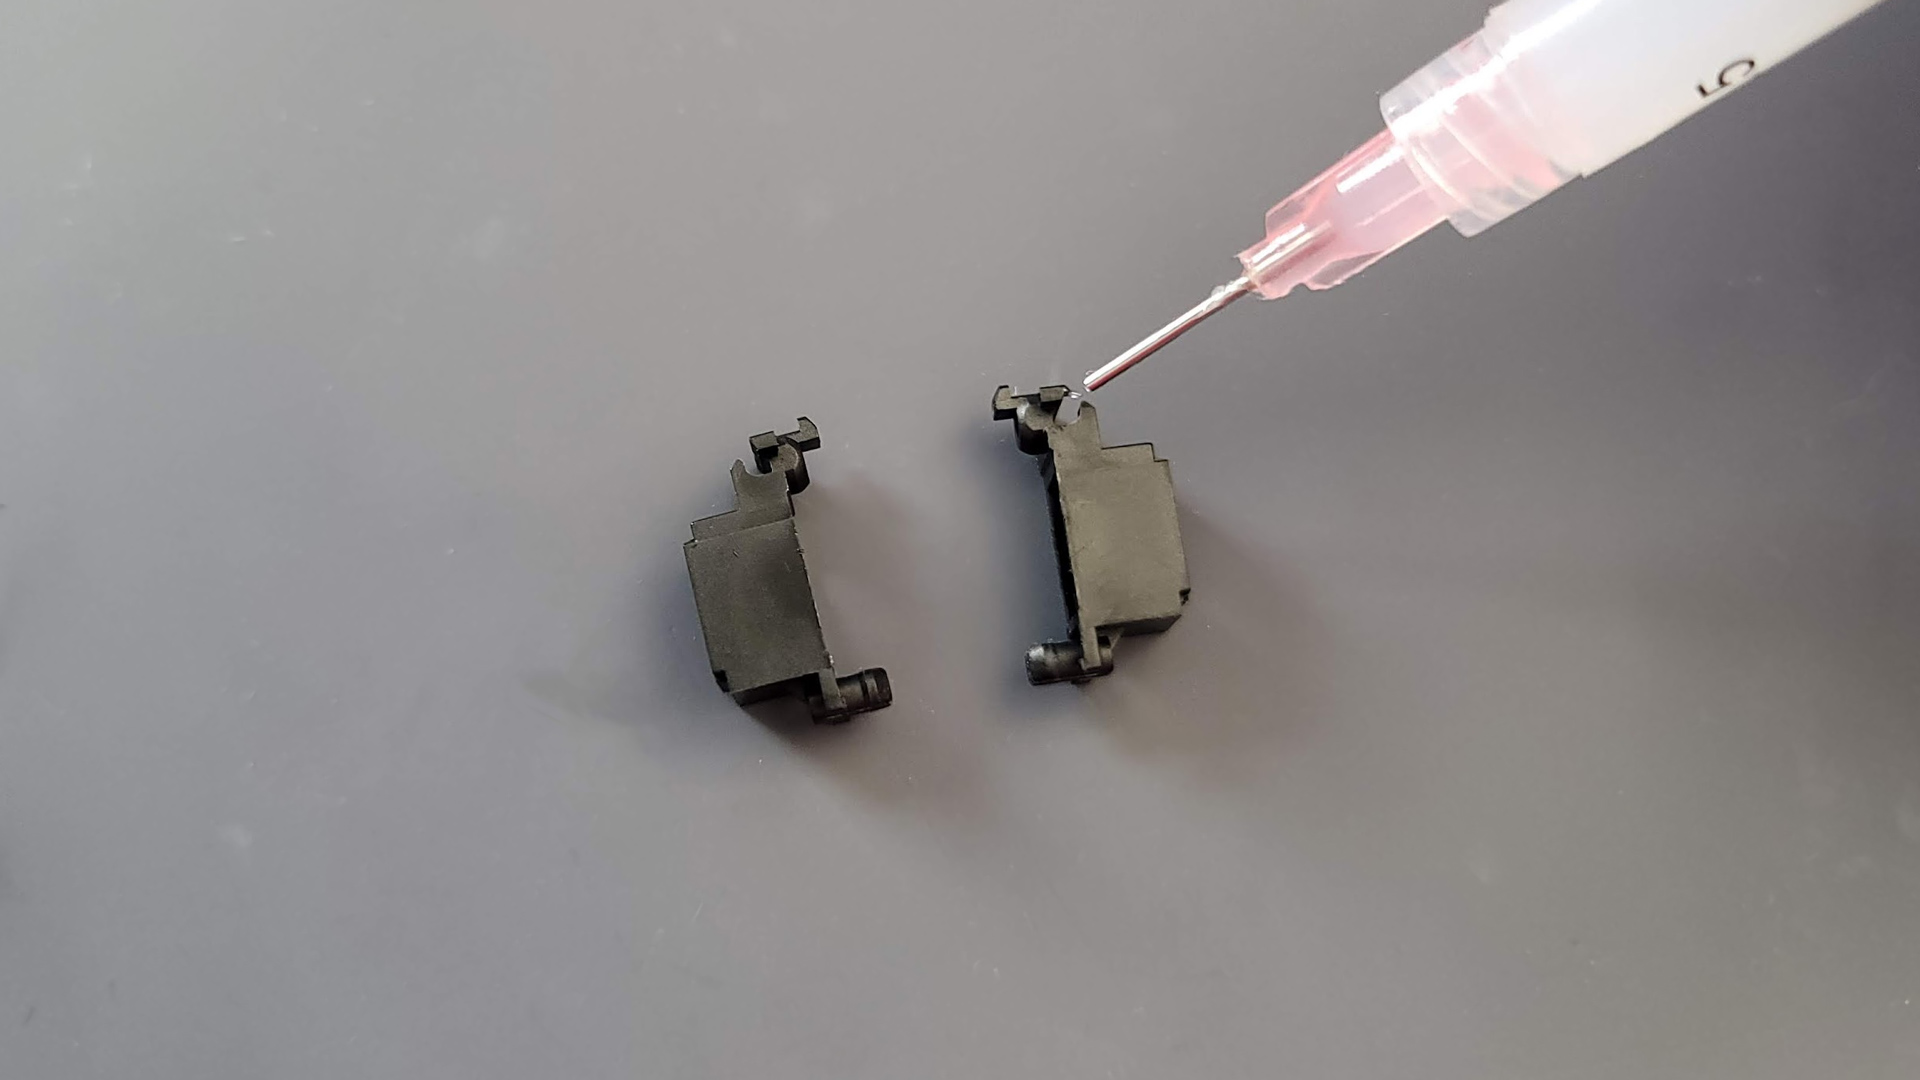
With the housings and stems reassembled, it’s time to lube the wire. Paint a layer of thick dielectric grease (Krytox or G Lube also work) along both ends of the wire, passing the bend by about a centimeter. You should completely cover the wire but don’t glob it on or the stabilizer can become sluggish. Add a touch of lube to the housing where the wire snaps in. A fine-tipped syringe filled with grease is an easy way to cleanly add this dollop.
Insert the wire back into the stabilizer. When doing this, the wire should be placed into the bottom hole. To help align it correctly, look into the middle of the stabilizer (where the wire inserts into the housing) and double check by flipping the stabilizer over to be sure it’s placed properly. When it’s in place, turn the housing an opposite 90-degrees until the wire snaps back into its retention clip.
Test the stabilizer to be sure all of the rattle has subsided. Do this by reinstalling the stab into the plate (slide it into place and then press down until it clicks), reinstall the switch and keycap, and then tap it as you normally would when typing. If it still rattles, remove it again and add more lube. If it’s sluggish, remove it, clean off the wire and paint on a thinner layer before trying again.
Lubing Stabilizers (Stabilizers Installed)
What You’ll Need
- Stabilizer lube: Dielectric Grease, Krytox 205g0, Glorious G Lube
- Fine-tipped syringe
- Tweezers
If you were not able to remove the stabilizer, you can still lube your stabs! For this, you’ll need a fine-tipped syringe filled with your lube of choice. You’ll be injecting the lubricant directly into the necessary areas. Fill a small syringe with two-to-three milliliters of lubricant (you won’t need much).
For this method, it’s important to not add too much lube to your stabilizer as it is more difficult to clean out. Begin by adding small amounts and then testing whether it removes the rattle. If not, add more. If you do happen to over-lube and don’t like the feel of your stabilizer, you’ll need to dig that excess lube out using a thin tool like a paperclip or needle.
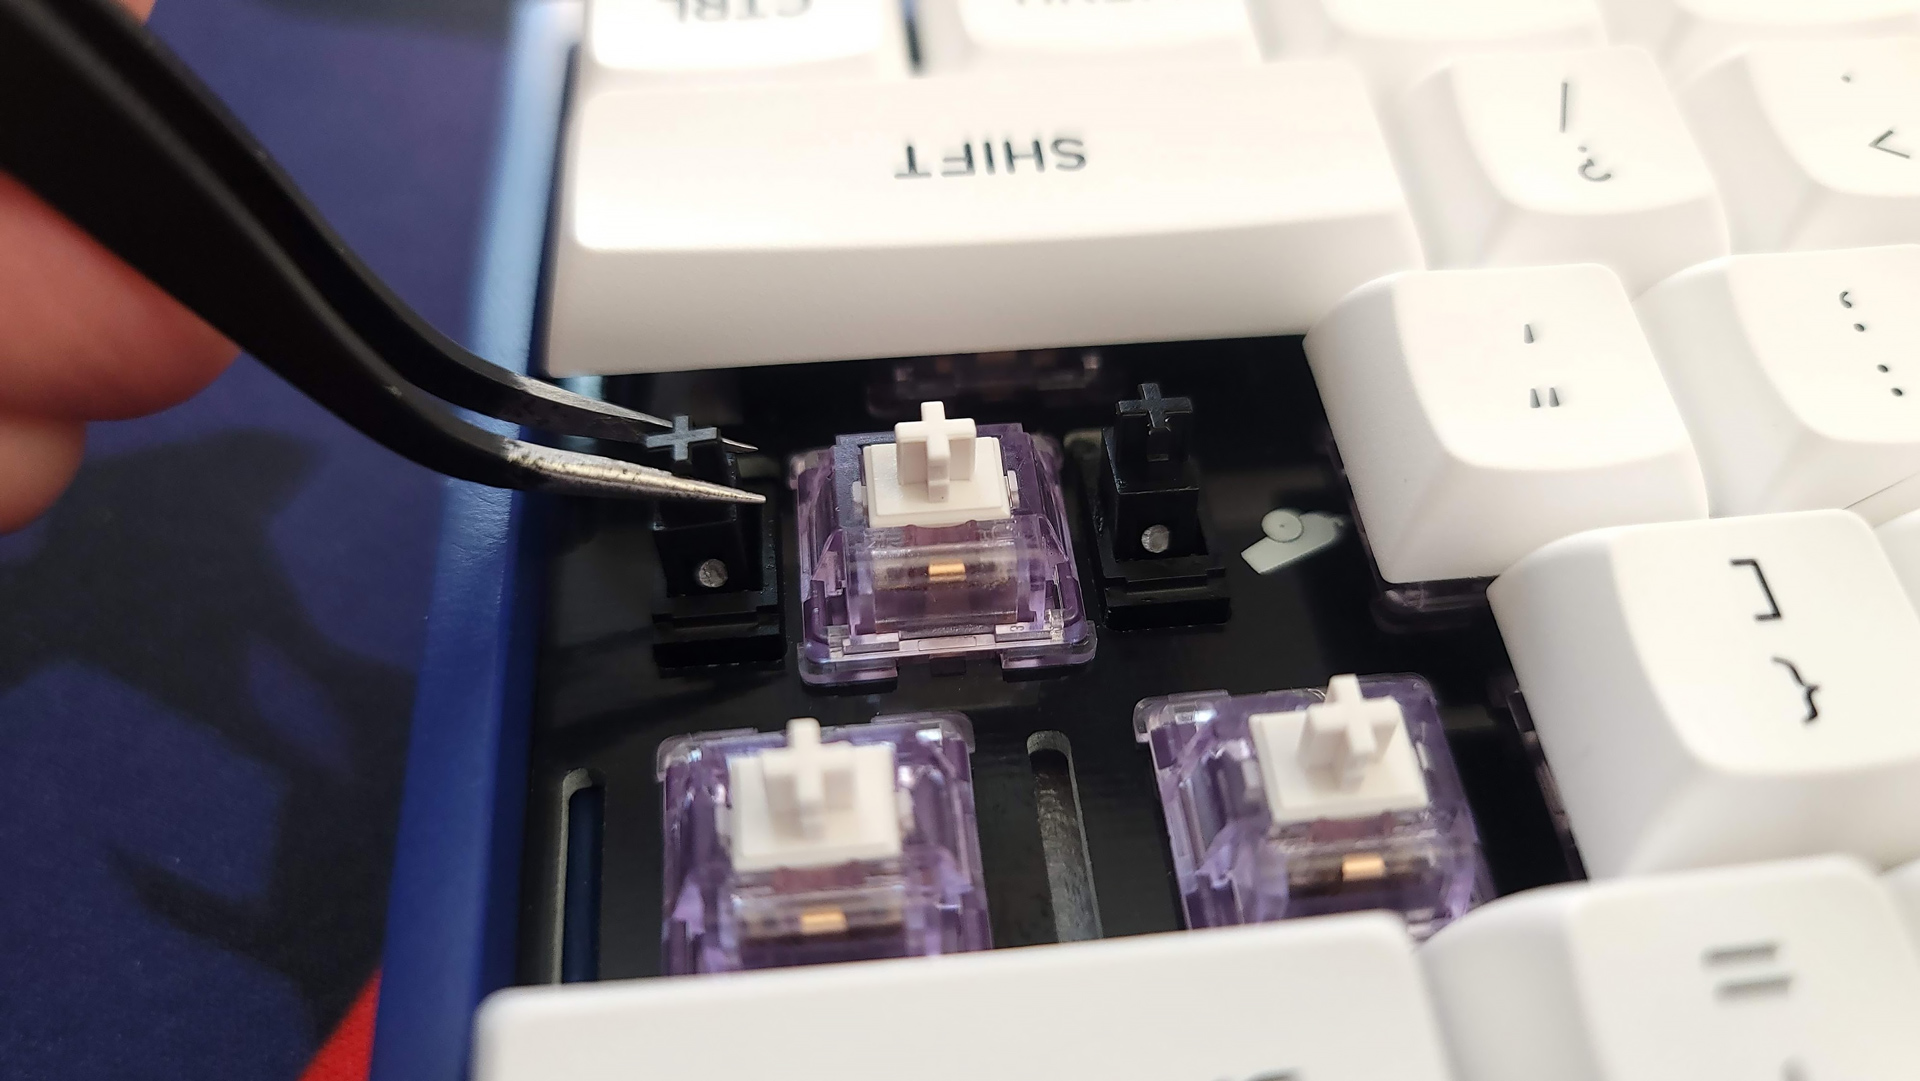
Begin by removing the keycaps for the stabilized keys. Examine where the wire enters the housing. This is the front. Turn your keyboard so you’re looking at the back of the stabilizer. Using tweezers, grab the stem and lift it up. This will expose the hole in the stem which holds the wire. Inject a small amount of lubricant into this hole until it covers the wire. Repeat with the opposite side.
Now, look closely at the front of the stabilizer. If you’re able to see where the wire clips in, add a small amount of lubricant on top of this area. Work it around with the tip of the syringe and by moving the stem up and down with your tweezers to rotate the wire. If you cannot see where the wire clicks in, skip this step.
Finally, using your paint brush, lube the sides of the stem. Do this by holding the stem up as high as it will go using your tweezers. Paint a thin layer (enough to look wet) on both sides of the stem and repeat for the opposite side.
Band-aid Mod (Cushion Bottom-outs)
What You’ll Need
The band-aid mod is a classic in the mechanical keyboard world. In fact, it has become such a staple that it’s no longer necessary to use actual band-aids as companies like KBDFans now sell special foam stickers to make it easier to apply. It makes a noticeable change to the sound of stabilizers and is absolutely worth considering if your goal is to tune and tame the sound of those larger keys.
The purpose of the band-aid mod is to create a cushion underneath the stabilizer stems, softening the sound of bottom-outs. This mod pairs with clipping the feet off the stabilizers and reduces the high pitched sound of plastic smacking against the PCB. A side benefit is that it also makes pressing those keys feel slightly softer.
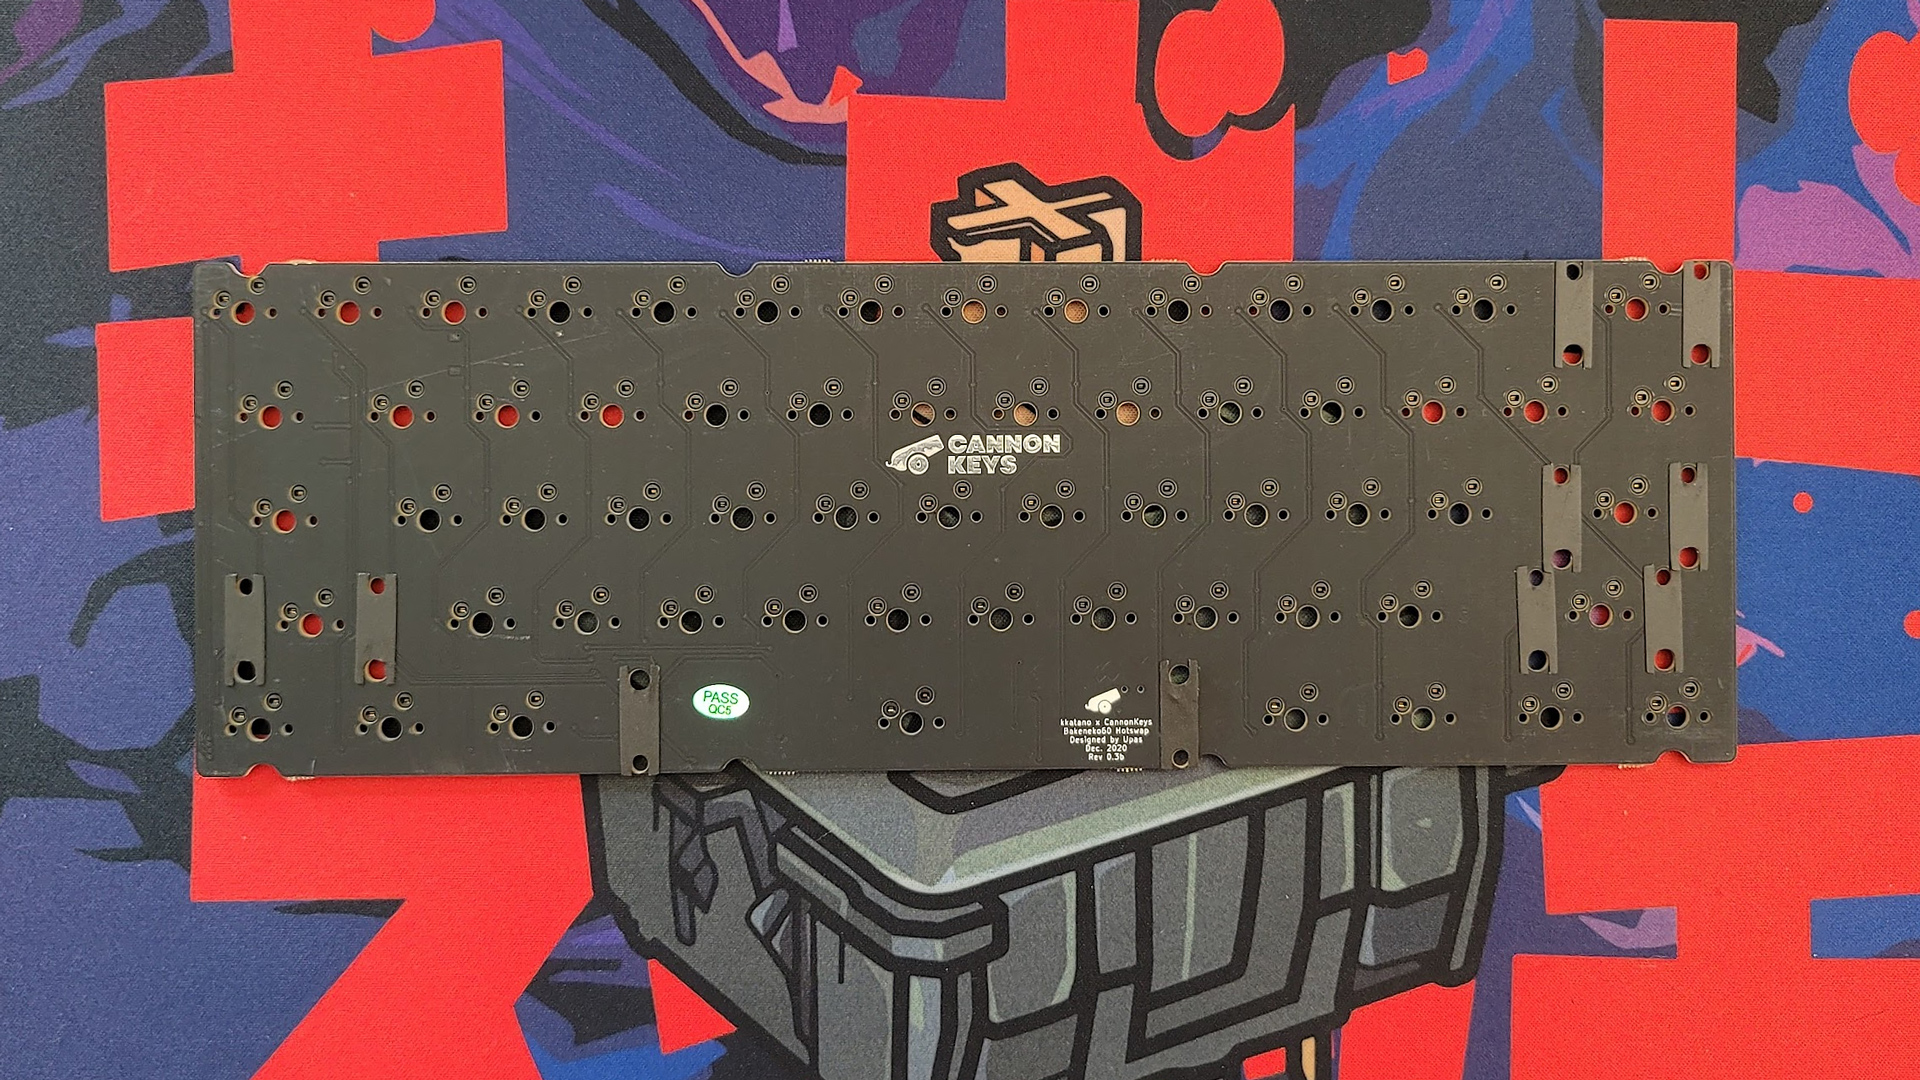
For this mod, you’ll need to remove the switches and stabilizers for each of the stabilized keys. Then, cut out a small strip of band-aid, about the size of the stabilizers and paste it on the PCB, directly where the stabilizers will be sitting. Then, apply a small amount of lube to the surface and rub it in until the fabric begins to darken.
To save time, consider picking up a set of stabilizer stickers. These are thin, pre-cut pieces of adhesive foam that take the place of band-aids. They’re easy to apply and affordably priced at $2 for a set of 20. Because of shipping, the cost winds up higher, so consider buying a set along with lube or other supplies.
Holee Mod
What You’ll Need
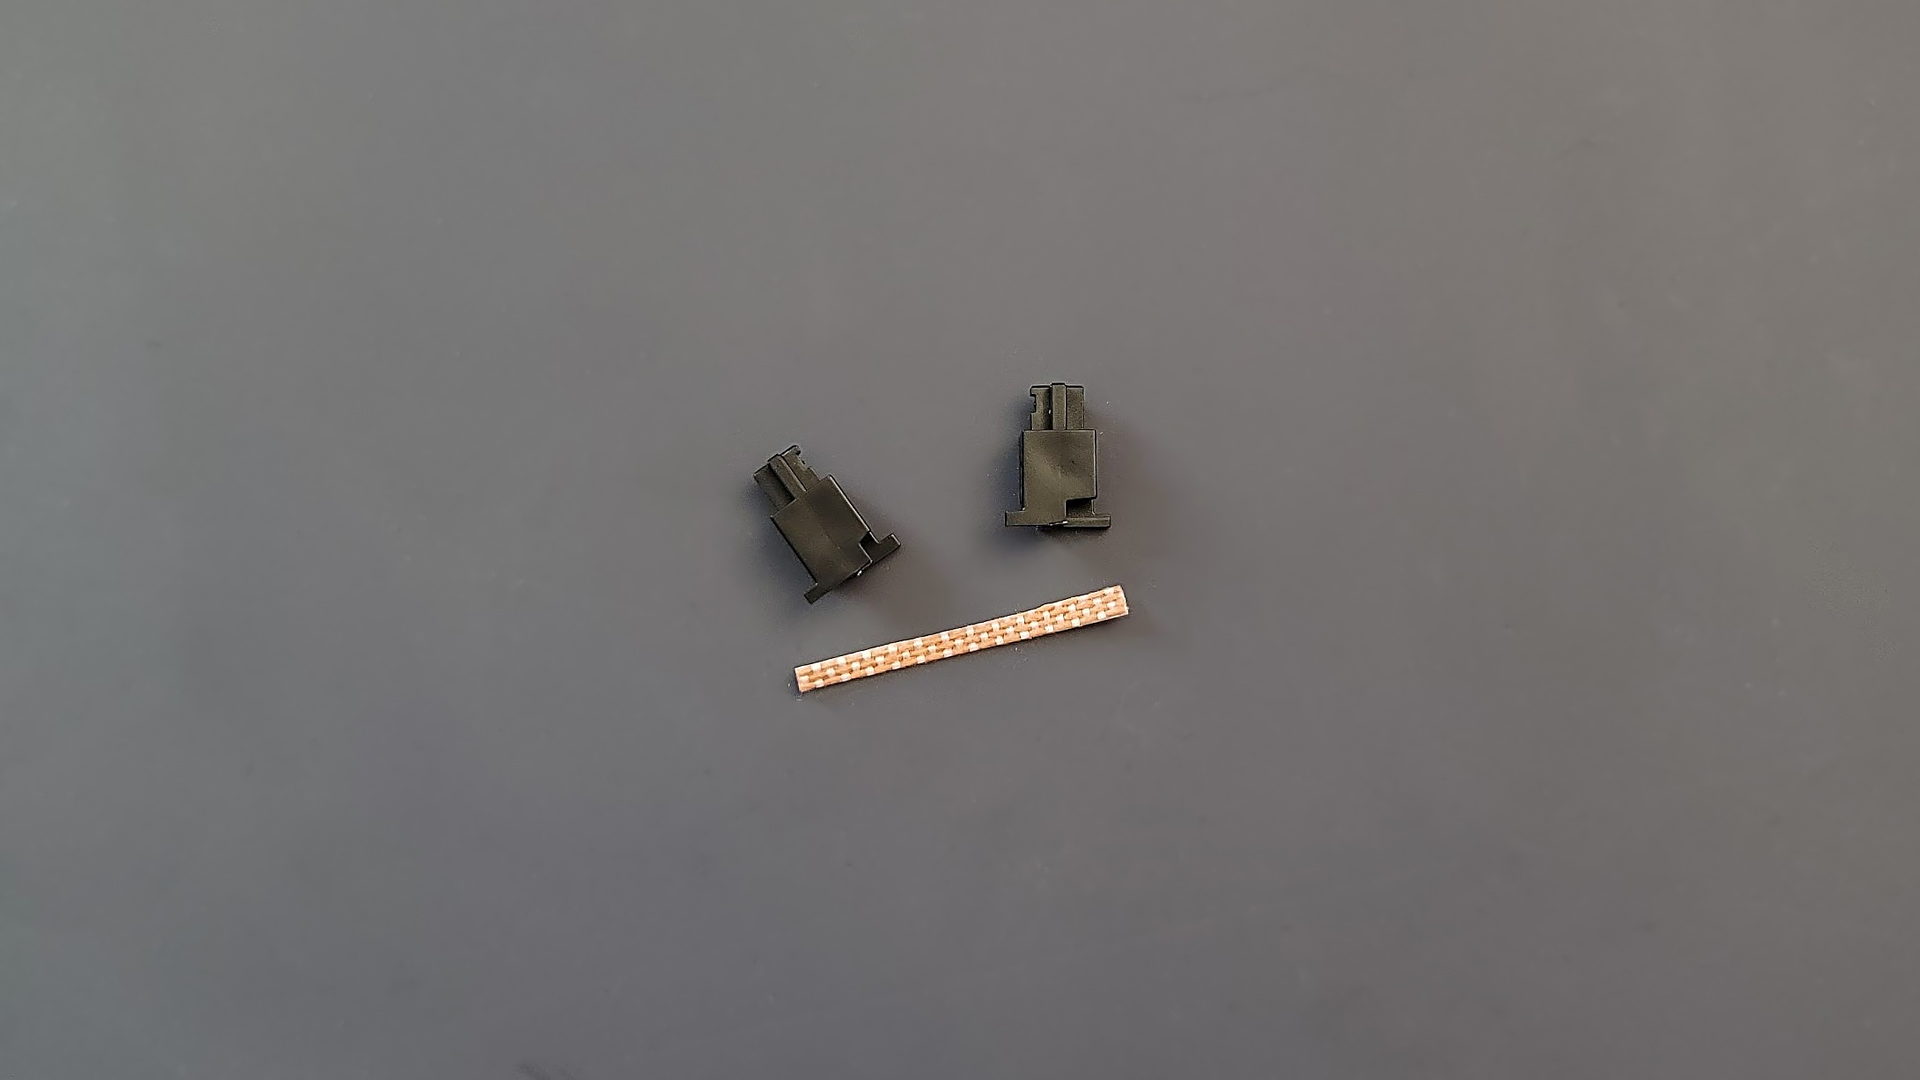
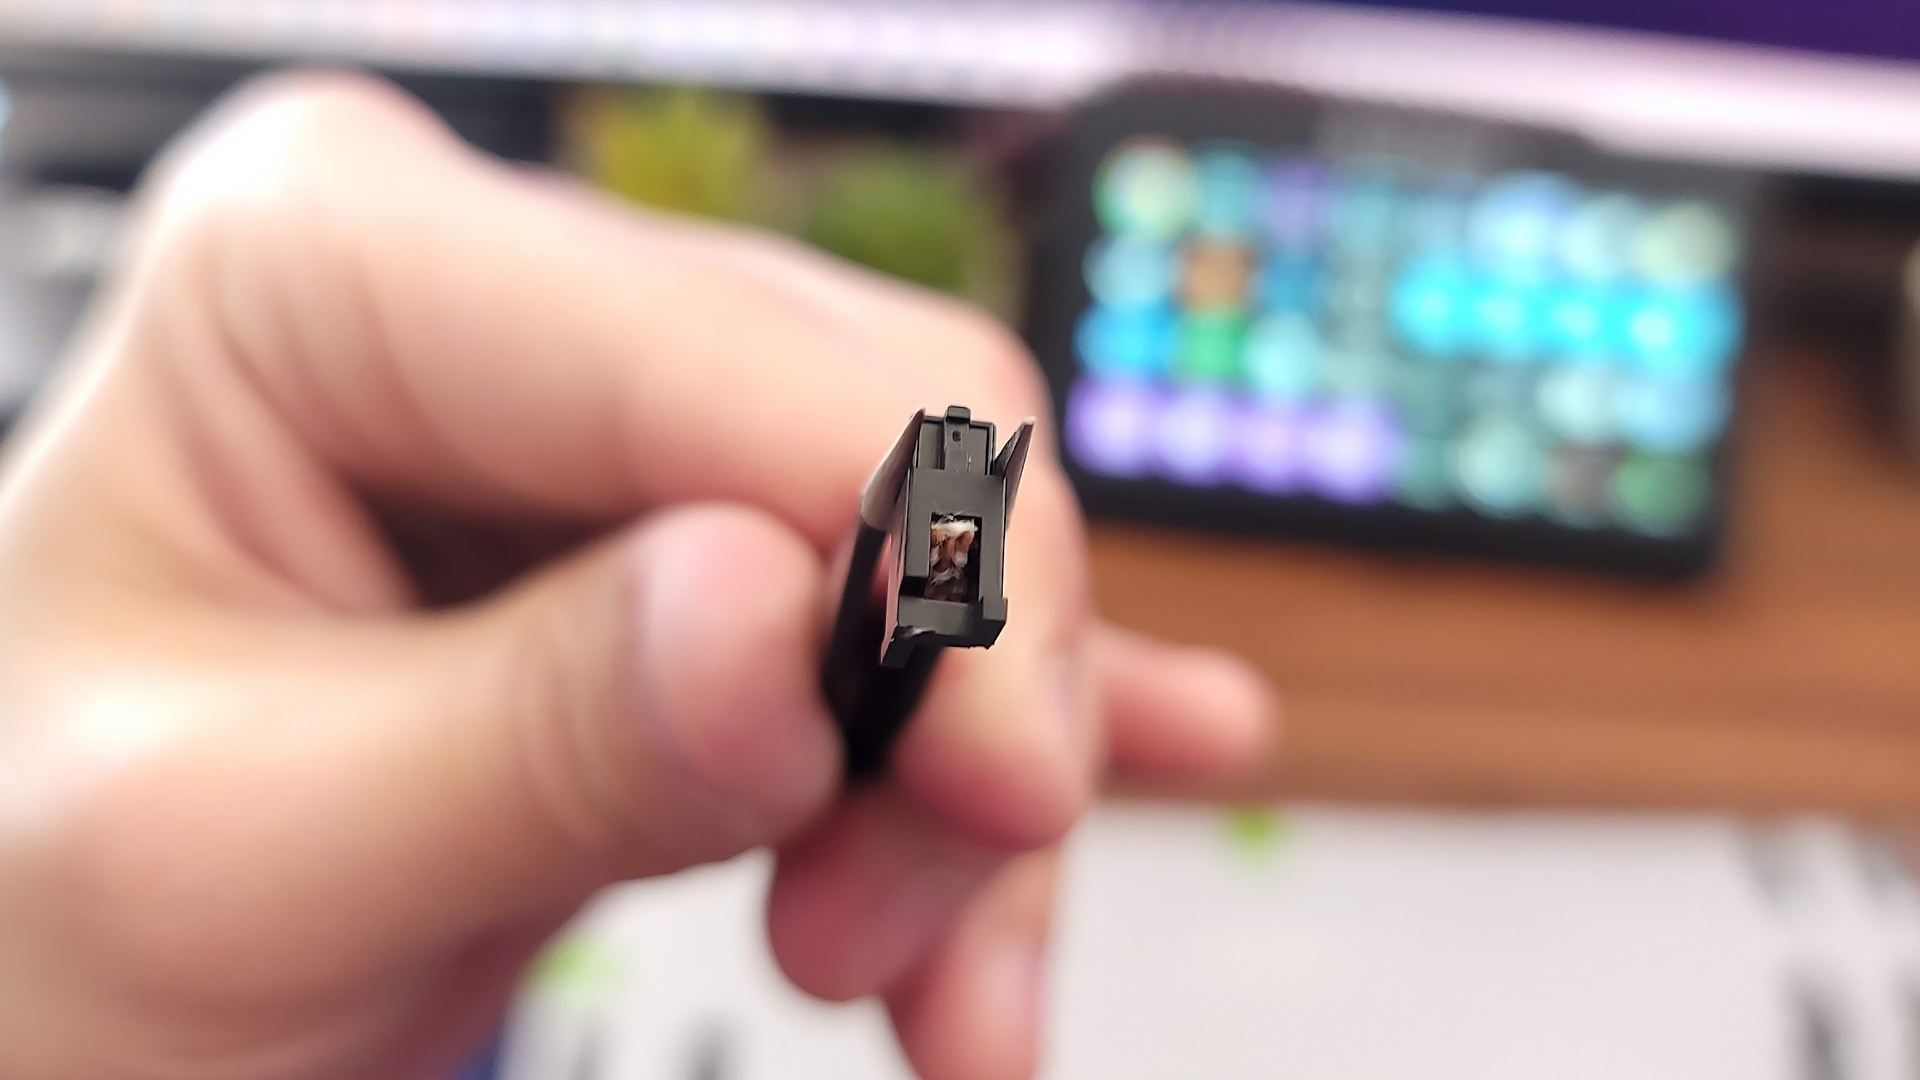
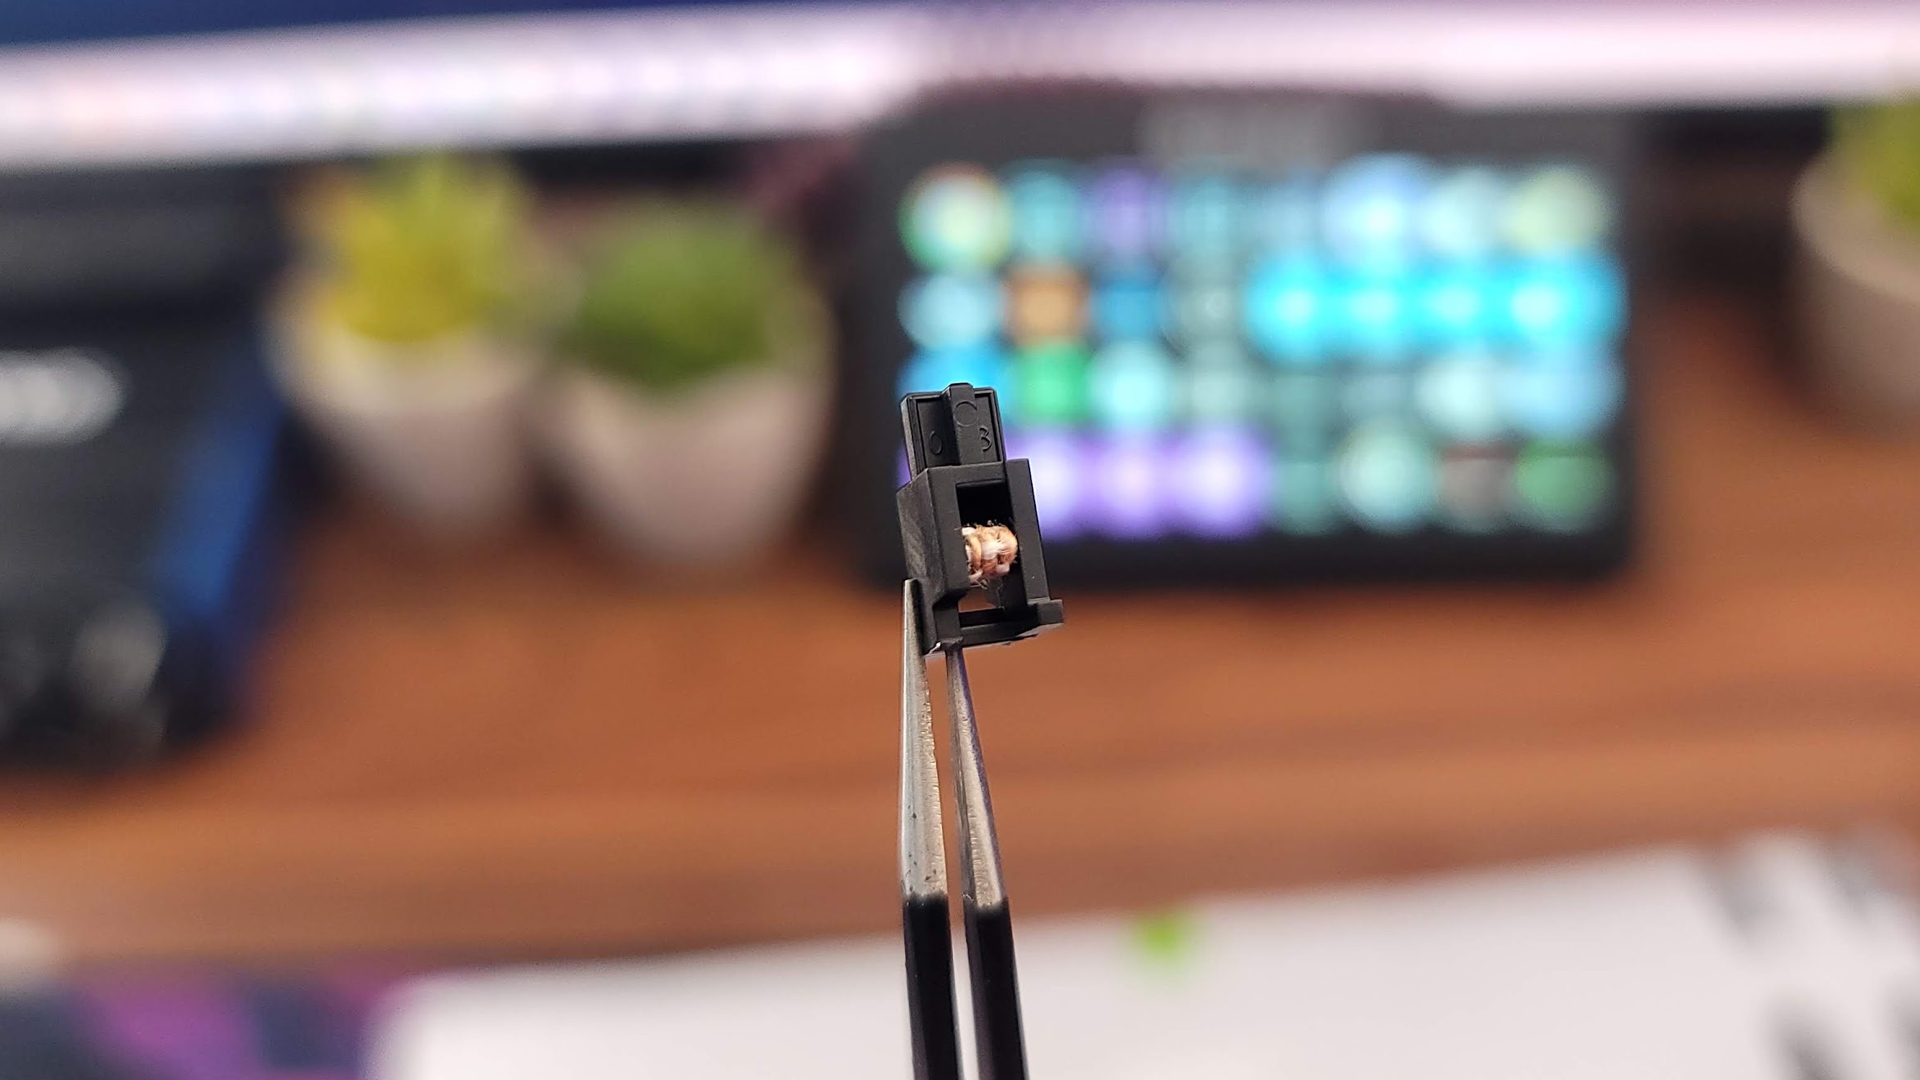
The holee mod is a unique and popular mod that can completely remove rattle from your keyboard for good. It involves placing a thin strip of band-aid inside the stabilizer stem to cushion the wire and eliminate the possibility for rattle. It’s tedious to apply but the results are hard to argue with, particularly if you have rattle that just won’t quit with your spacebar. It can be tricky to conceptualize with just text and photographs, so check out this video guide by Hamaji Neo for a full demonstration.
With the stabilizer disassembled and before any lube has made its way into the stem, cut thin strips of band-aid small enough to be inserted into the rear hole. Using tweezers, place the band-aid on the roof of this chamber, so the fabric points down. Be sure that no band-aid sticks out of the back or it will interfere with the travel of the stabilizer.
At this point, you’ll have a lengthy strip of leftover band-aid poking out the front. Use scissors to cut off all but enough to tuck into the upper hole on the front of the stem. Use the tip of your tweezers to press along the surface of the band-aid so the adhesive firmly applies inside the top hole and along the roof of the bottom. Re-assemble the stabilizers, including lightly lubing the wire, and re-install in the keyboard.
Your stabilizer might feel slightly tight or slow immediately after applying this mod. Don’t fret. The fabric of the band-aid will soften with normal use.
Choose the Right Plate Material
The plate is one of the most important components in any mechanical keyboard build. It’s the stabilizing component beneath the switches that helps hold them in place, particularly in keyboards with hot-swap sockets. It’s also one of the most impactful when it comes to the sound and feel of a keyboard.
There are very few mods that can be done to the plate itself, but it’s important that you choose the right material for the sound and feel you’re going for. As a rule, the denser the material, the higher pitched the typing sounds will be. Materials like brass or copper are usually clackier than soft plastics like polycarbonate or POM. Harder materials also lead to a firmer typing experience and can counteract some of the softness and flex of gasket mount implementations.
This consideration is largely for DIY keyboard kits. While it’s possible to change the plate in some pre-made 60-percent keyboard kits, a lack of standardization makes it very difficult to do so with larger form factors. Instead, it’s always wise to consider what you would like to achieve before buying a custom keyboard kit and choose the appropriate plate for that purpose.
With that in mind, it is possible to buy plate foam from companies like MK Ultra. This can dampen the sound of keystrokes. If you prefer the stiff feel of a denser plate but like a thockier sound, adding plate foam can help reduce some of its natural clackiness.
Choose the Right Keycaps for the Sound You Seek
Choosing the right keycaps is about more than just the look (though that’s usually the first reason to consider a set). I’ve already written an extensive guide on picking the right keycaps, but there are a couple of points surrounding sound that are worth discussing further.
The first has to do with the type of plastic being used and its thickness. In general, keycaps come in ABS or PBT plastic. ABS is more common in high-end keycaps sets, like those from GMK, because of its excellent color reproduction. PBT tends to be a bit cheaper (but not always) and is more resistant to wear and tear over time. There are many options for both available to buy and while one isn’t necessarily better than the other, they do impact sound.
While different sets will vary, ABS tends to be a touch clackier while PBT usually sounds a bit deeper. This has to do with the density of the plastic, but is also influenced by the thickness of each keycap. Thicker keycaps will naturally sound thockier and also feel more solid under your fingers. As a rule, it’s a good idea to avoid keycaps that are 1mm or less in thickness if you’re aiming for an impressive sound (though thin keycaps with backlit legends are best for showing RGB lighting). Aim for keycaps that are between 1.3 - 1.5mm for good sound and feel, regardless of the plastic you choose.
The other thing to keep in mind is keycap profile. The profile of a keycap set refers to its curvature across the keys and the height of each keycap, in addition to how they’re sculpted. The important thing to keep in mind is that taller keycaps often sound deeper but can also sound hollow due to the added space under the key.
Swap Switches and Lube
Choose the right switch
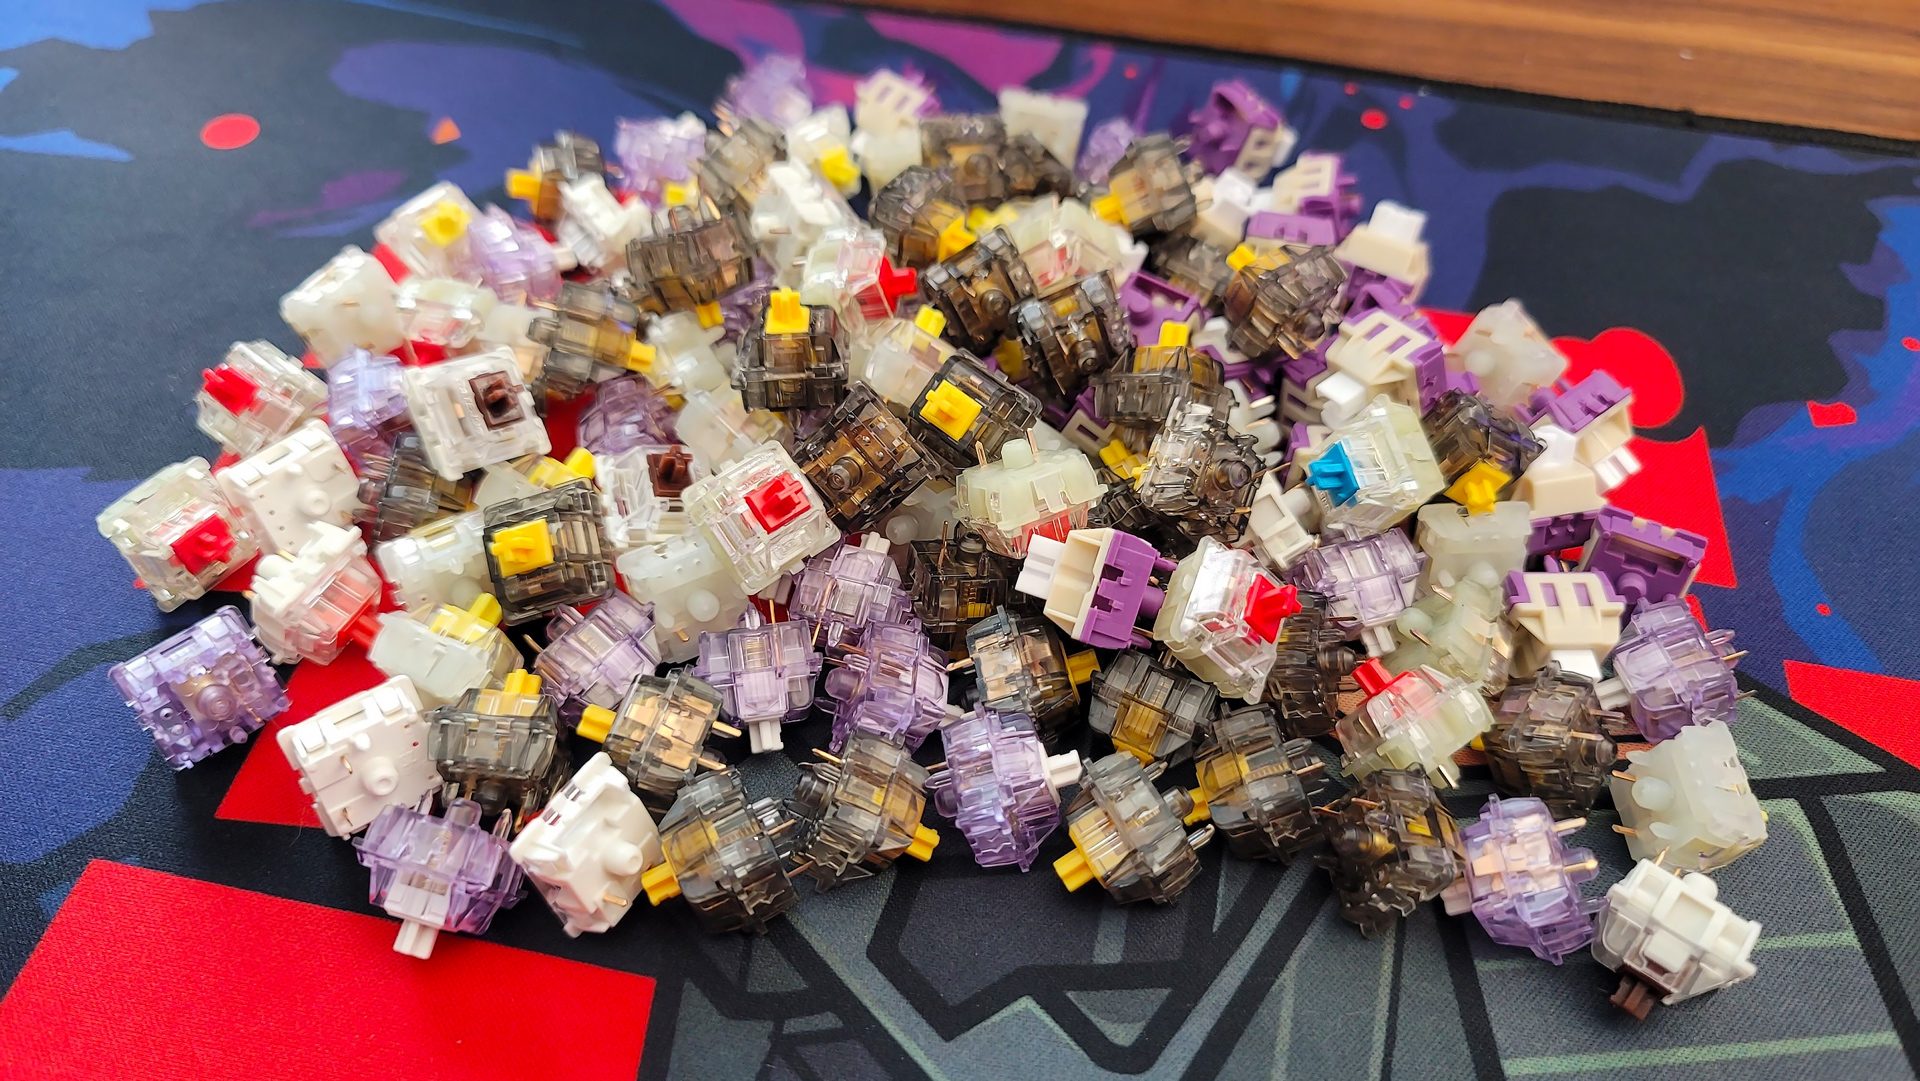
Before buying a keyboard or choosing switches for your own build, it’s important to choose the right switch for the sound and feel you’re looking for. There are no supplies required for this step, but you do need to do your research. Familiarize yourself with the basic differences between linear, tactile, and clicky switches. When you’re done, spend some time on r/mechanicalkeyboards and browse storefronts like Prevail Key Company and NovelKeys. See what’s popular and looks interesting to you. Then, head to YouTube and search for typing tests to hear how it sounds.
The hunt for the perfect switch is one of the biggest reasons to invest in a keyboard with hot-swappable switch sockets. New switches are being released all the time, each with subtle differences in sound and feel. Being able to change switches on the fly is freeing and allows you to continually engage with the hobby in a way that’s not possible with soldered switches.
Lube and Film Your Switches
What You’ll Need
- Switch lube: Krytox 205g0, Glorious G Lube
- Paint brushes
- Switch opener (optional but highly recommended)
- Lube Station (optional)
- Switch Films
- Tweezers
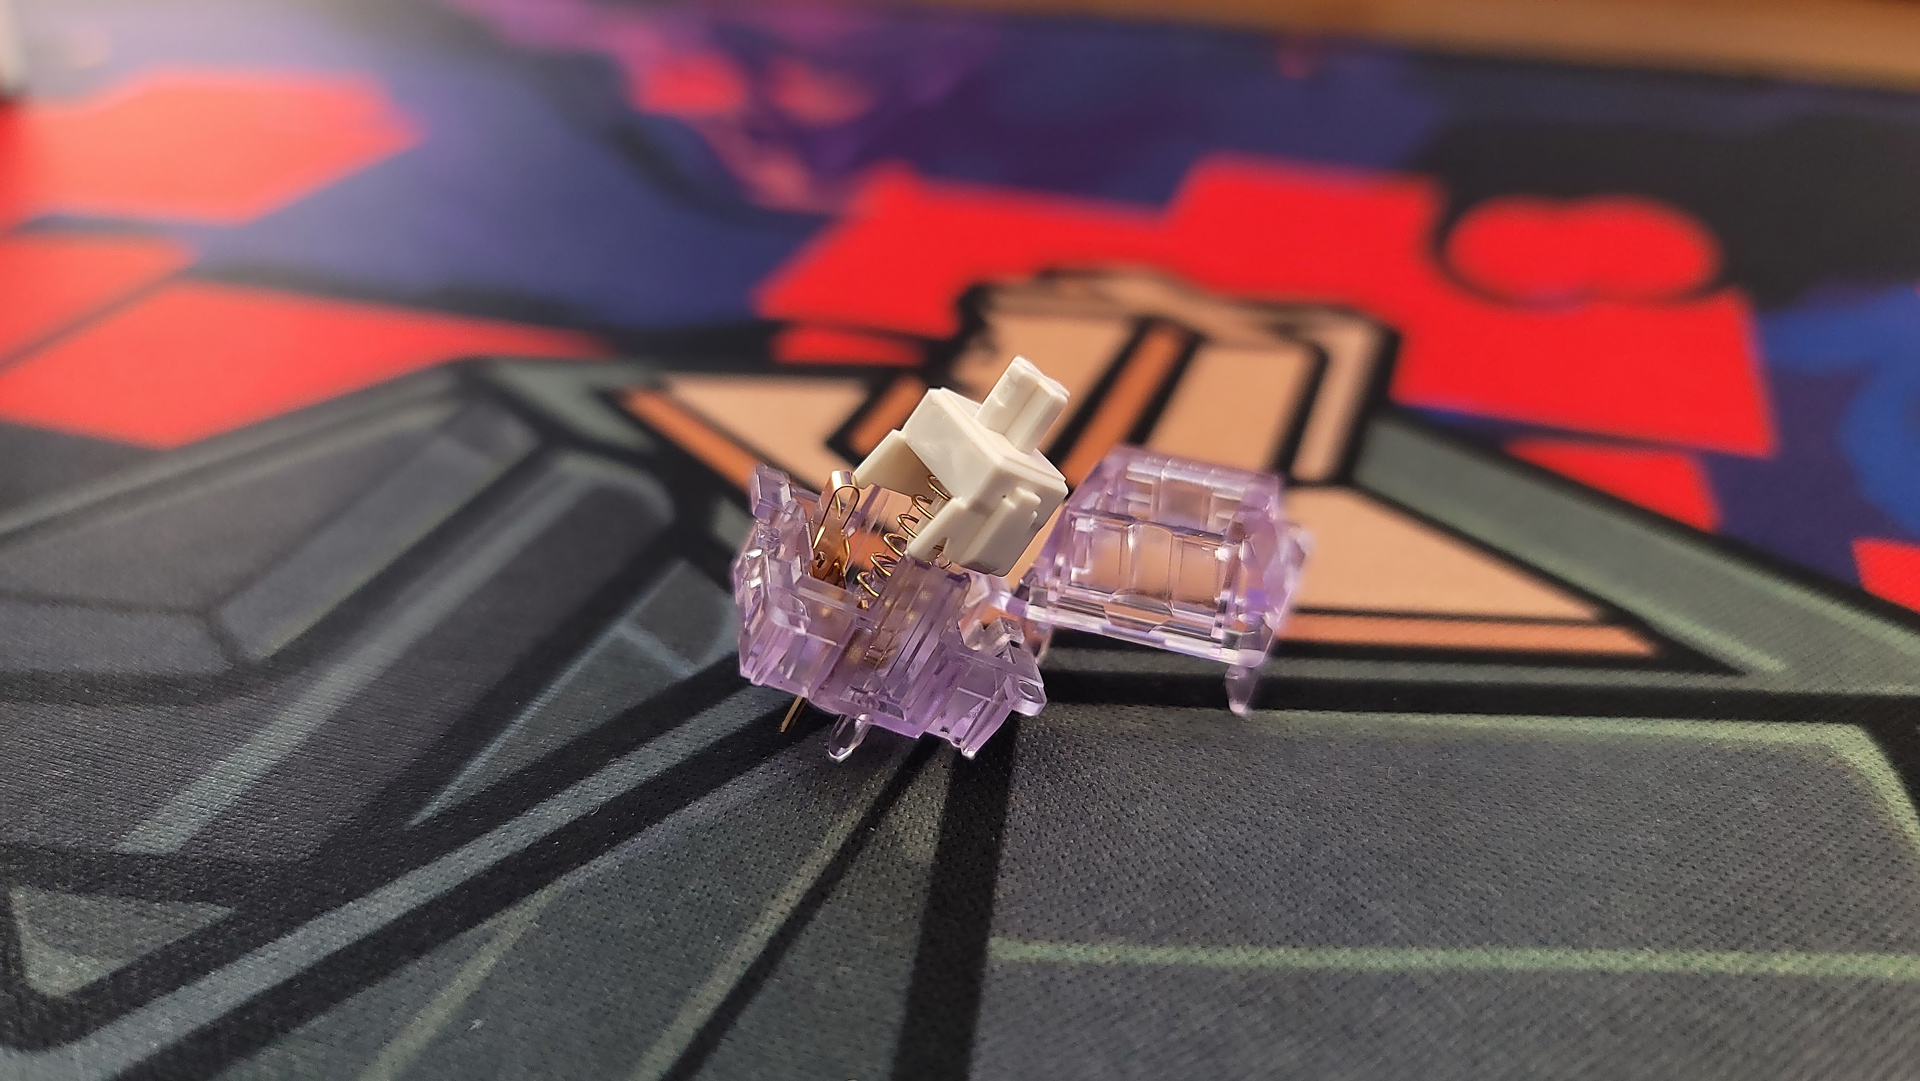
Lubing your switches is one of the most impactful ways to improve the sound and feel of your keyboard. Adding lube to a switch’s main friction points increases smoothness, cuts down on spring ping, and deepens its sound. It can take quite a while but is well worth the time and effort if you want the optimal sound.
That said, the necessity to lube switches yourself isn’t as great as it used to be due to pre-lubed switches now becoming widely available. NovelKeys Silk switches are one example. Gateron Pro switches are another and recently came in stock with the Keychron Q2. While many enthusiasts still insist that hand lubing is best, pre-lubed switches are better than ever and can save you hours of work.
If you’ve never lubed switches before, take the time to read our complete guide. We take you through the process step-by-step and answer questions along the way. I would highly encourage anyone modding to pick up a quality switch opener and lube station to speed up the process. The switch opener will save your fingers from unnecessary pokes and shave hours off the time it takes to open your set of switches. Once they’re open, the lube station allows you to set each component into a tray, making the process more efficient.
Filming is a sister mod to lubing because it needs to be done while the switches are disassembled. Switch films are small plastic or foam sheets that sit in between the top and bottom half of the housing. This can be useful if the two halves move when twisted, but also adds its own touch of deepness to typing sounds when applied. Switch filming is rarely necessary but is a common practice among enthusiasts. Installation is as simple as placing one on the bottom switch housing before pressing both sides back into place.
Looking to save some time? It’s possible to do a basic lube job without completely disassembling your switches. The results won’t be quite as smooth as if you opened them properly, and won’t improve spring ping at all, but it’s possible to lube an entire keyboard in under an hour and achieve a sound and feel that’s relatively close to the full-fledged operation.
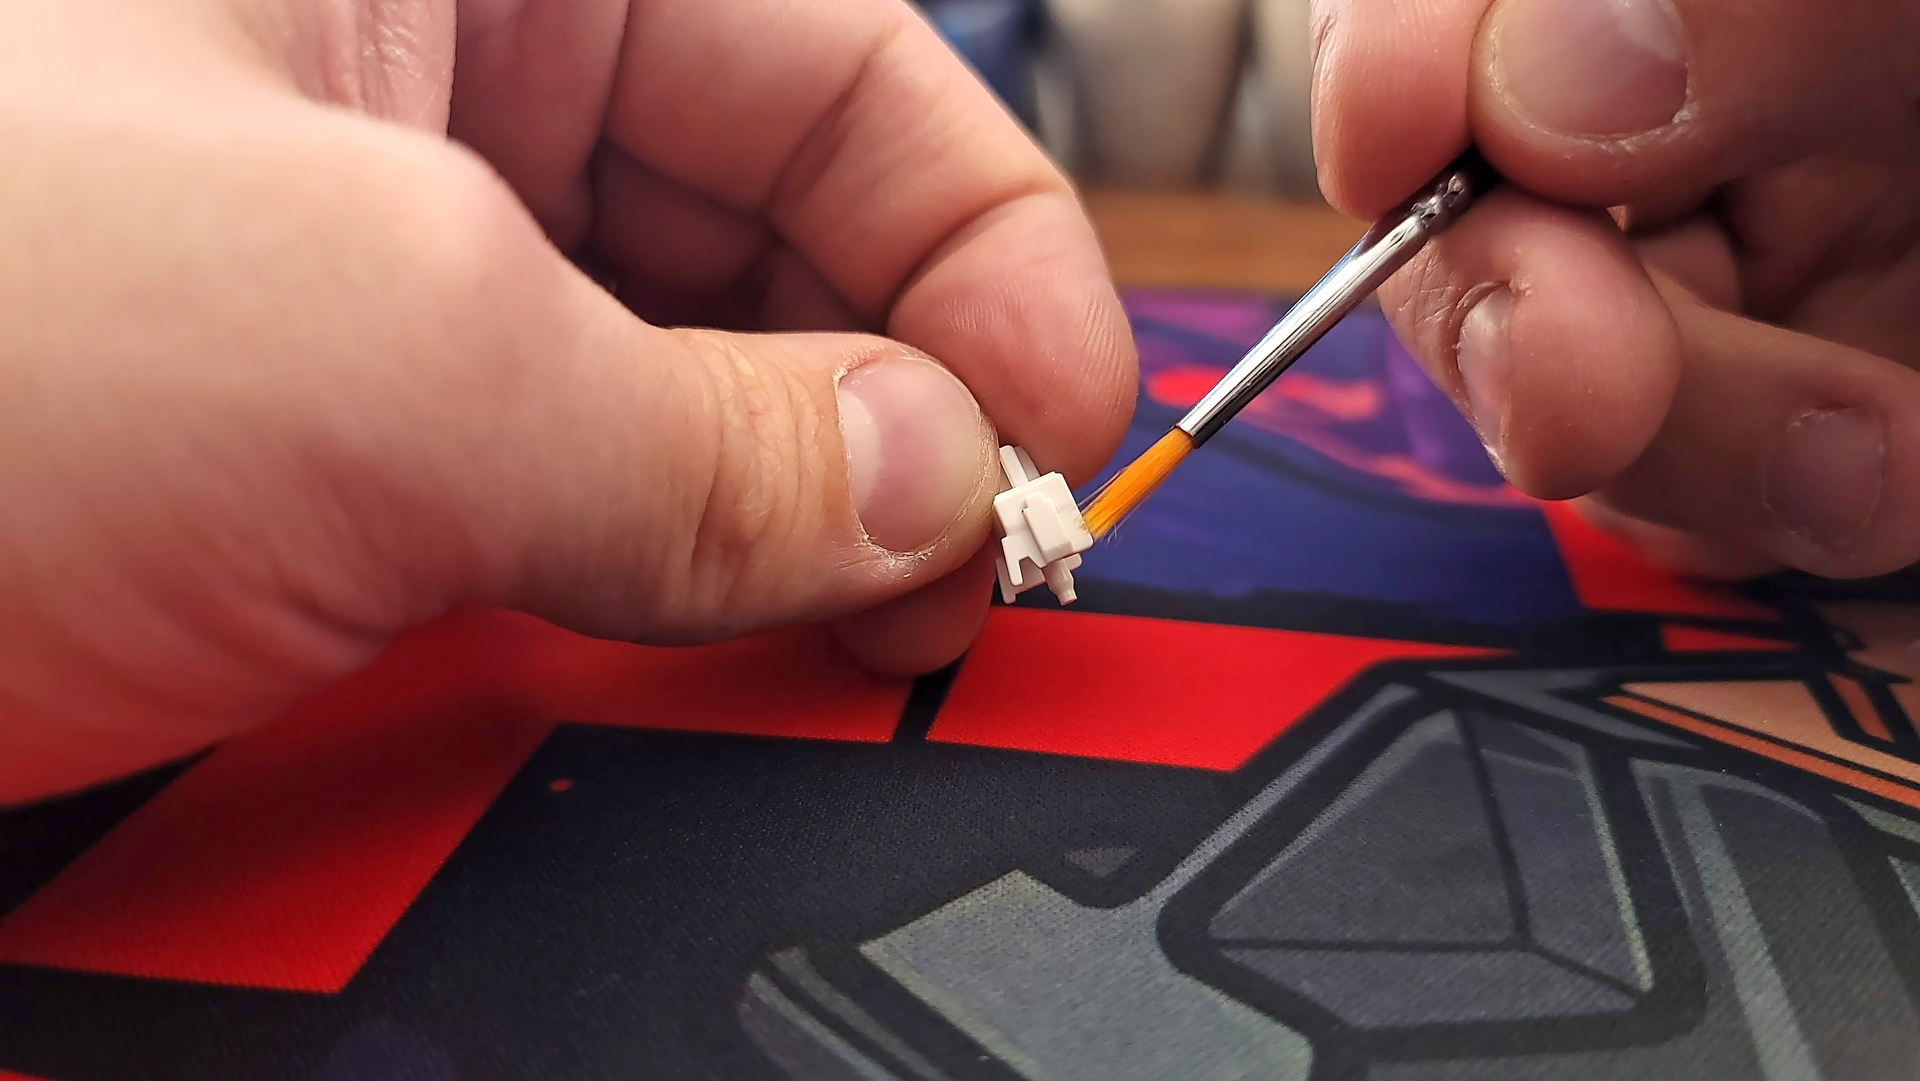
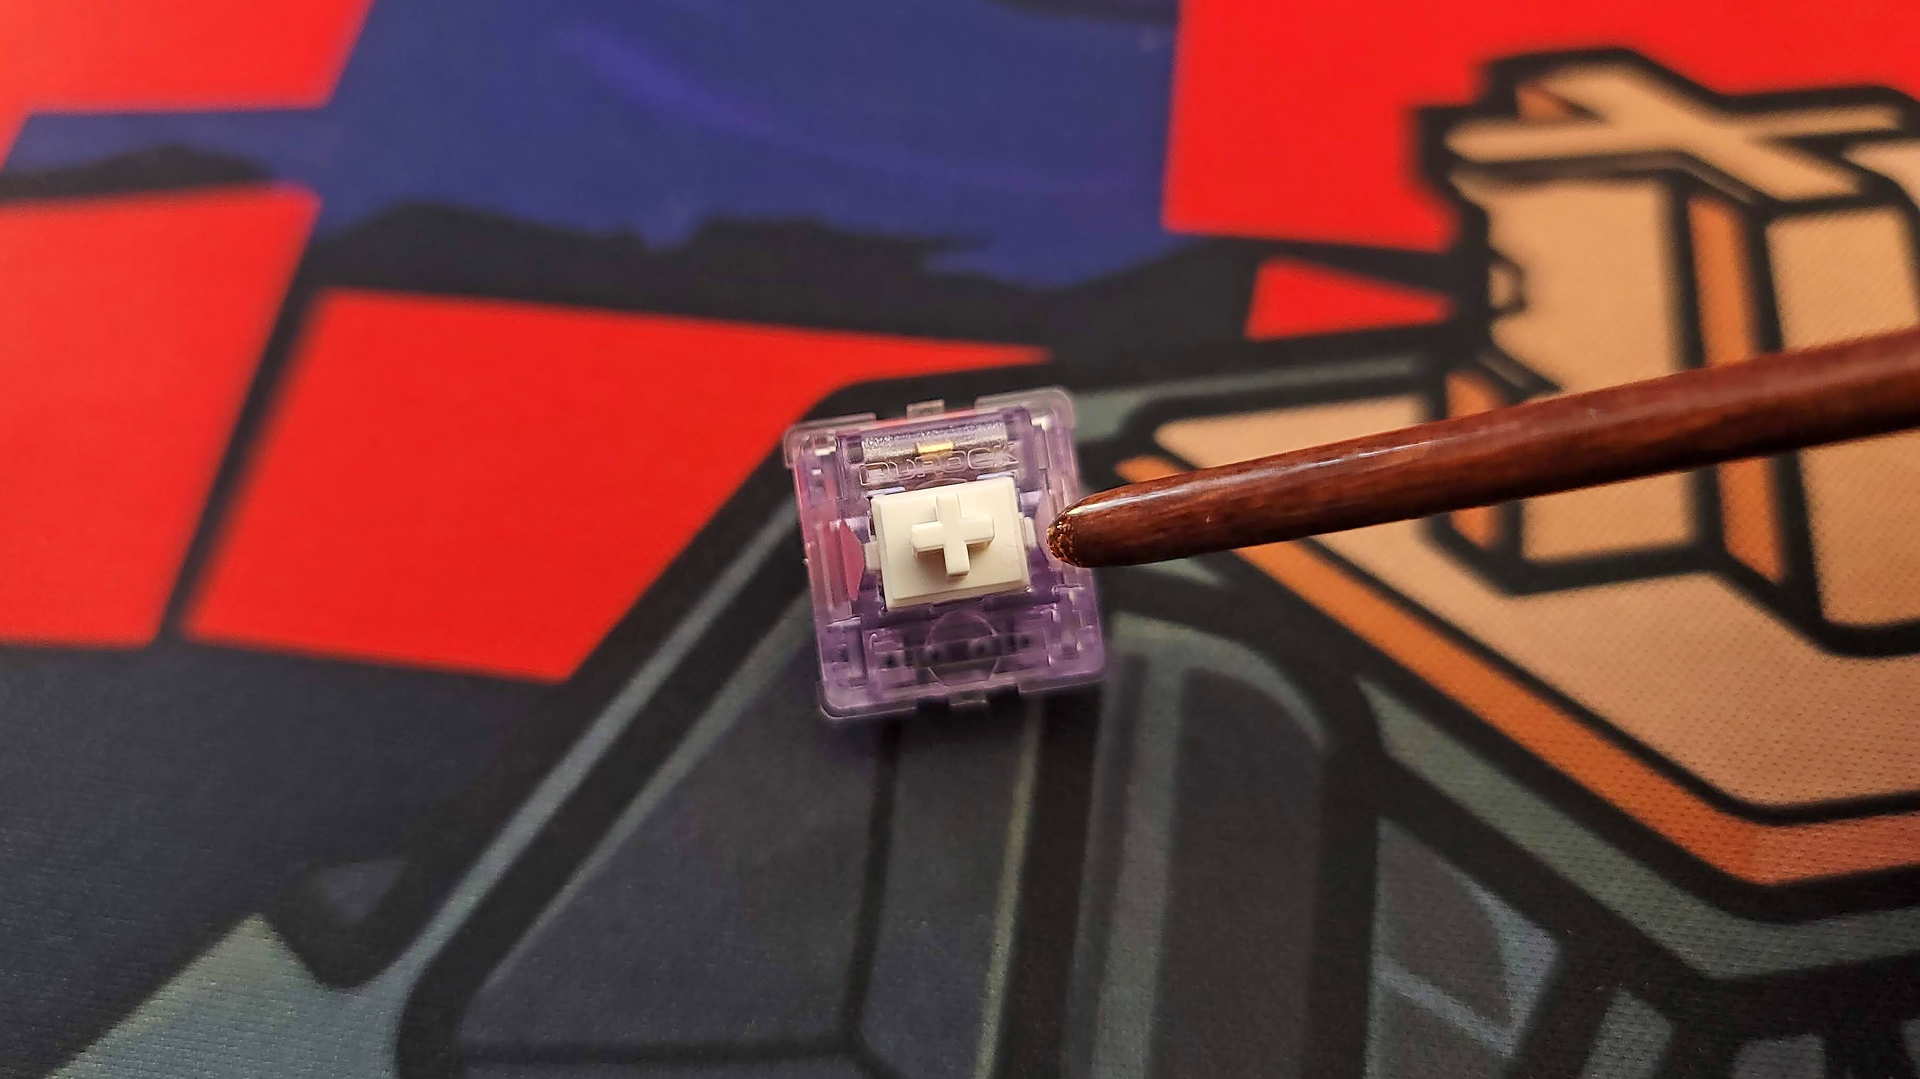
To do this, you’ll need a thin lube, like Krytox 205 grade 0, a very fine paintbrush (preferably with longer bristles), and tweezers. Coat the paint brush in your lubricant of choice, then wipe off any excess. The bristles should look wet but have no visible color to the lubricant. Less is more, and with this method, it’s easy to over-lube. With your tweezers, press the switch stem down and slide the bristles into the left and right side of the stem. It should feel fairly tight as the bristles push between the stem and the rails that hold it in place. When both sides are done, you should feel and hear an improvement to the sound of that switch.
Mod the PCB for Added Thock and Pop
What You’ll Need
One of the most popular mods of last year was the Tempest Tape Mod, named after the keyboard builder who created it. This mod is very simple but makes a big difference on the sound of your keyboard. Many builders have called it a “magic bullet” to making your keyboard amazing and it is one of the very easiest to apply.
All you need to do is cover the back of your PCB in painter’s tape. That’s it. You can use anything from one to multiple layers, but be sure to make cutouts for screws and important components, like plugs for JST cables. It’s also important that you only use painter’s tape or another very light masking tape for this mod so it doesn’t pull off any components if you choose to remove it.
The tape acts as a kind of acoustic filter. In general, it seems to cut out some of the higher frequencies produced from typing. This creates a deeper, thockier sound. The results do vary from keyboard to keyboard, however, so it’s important to play with the amount of layers until you achieve your desired effect.
PE Foam
What You’ll Need
- Thin PE (Polyethylene) foam
- Mini screwdriver or other poking implement
- X-Acto knife
A sister mod to tape modding your PCB is the PE foam mod. It was developed after the launch of the Jelly Epoch, one of the most popular custom keyboards of last year, when users discovered its signature sound was in large part due to its own sheet of PE foam. Since it’s possible to buy this as cheap packing material for dishes, it didn’t take long before the community started trying it with different keyboards and discovering it created a very similar sound, even on keyboards that cost a fraction of the price.
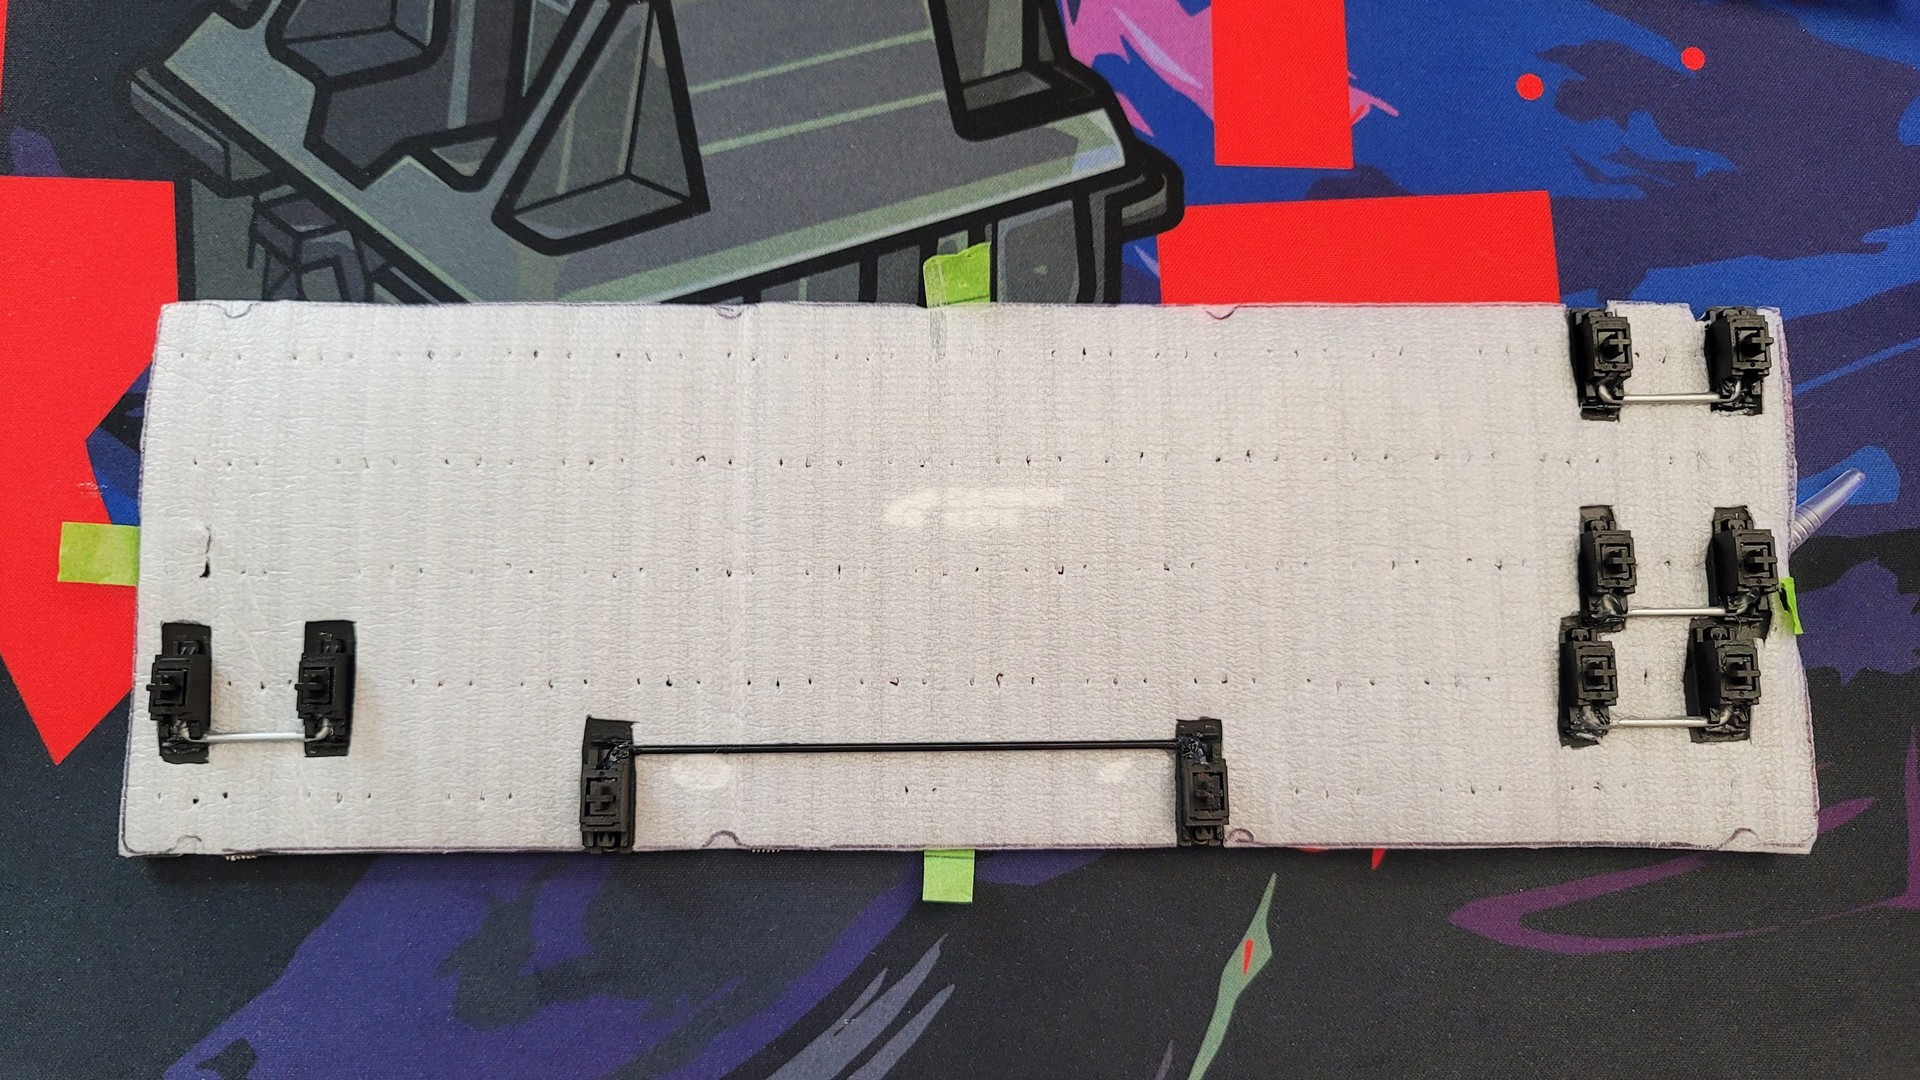
Applying the PE foam mod is more complicated than the tape mod, and it is best applied with the keyboard completely disassembled. To start, remove all of the switches and stabilizers from the keyboard. Remove the plate and PCB from the case and unscrew the plate so all you’re left with is the PCB. Place it face down on a sheet of PE foam and trace the outline. Cut out the shape you just traced and place it on the top of the PCB. If you’re using the band-aid mod or stabilizer stickers, use an X-Acto knife to cut out small squares for the stabilizers. To keep things from moving, use small bits of tape along the edges of the PCB. This is a good time to apply the tape mod if you haven’t already.
With the foam prepared, use a small screwdriver to poke holes for the large center pin of each switch. You should be able to see these through the foam. Reinstall the stabilizers and plate, then install the assembly back into the case. Take care when to make sure the switches are positioned correctly and pushed straight down when reinstalling them. The pins are sharp enough to poke through the foam but are more easy to bend with the extra layer of material in between.
Dampen the Case to Reduce Ping and Reverb
What You’ll Need
- Your choice of:
- Dedicated foam for your keyboard
- Neoprene (Thinner Option)
- Silicone
- Shelf Liner
- Sorbothane
- Kilmat or Noico automotive sound deadener
- Poly-fil
- Scissors
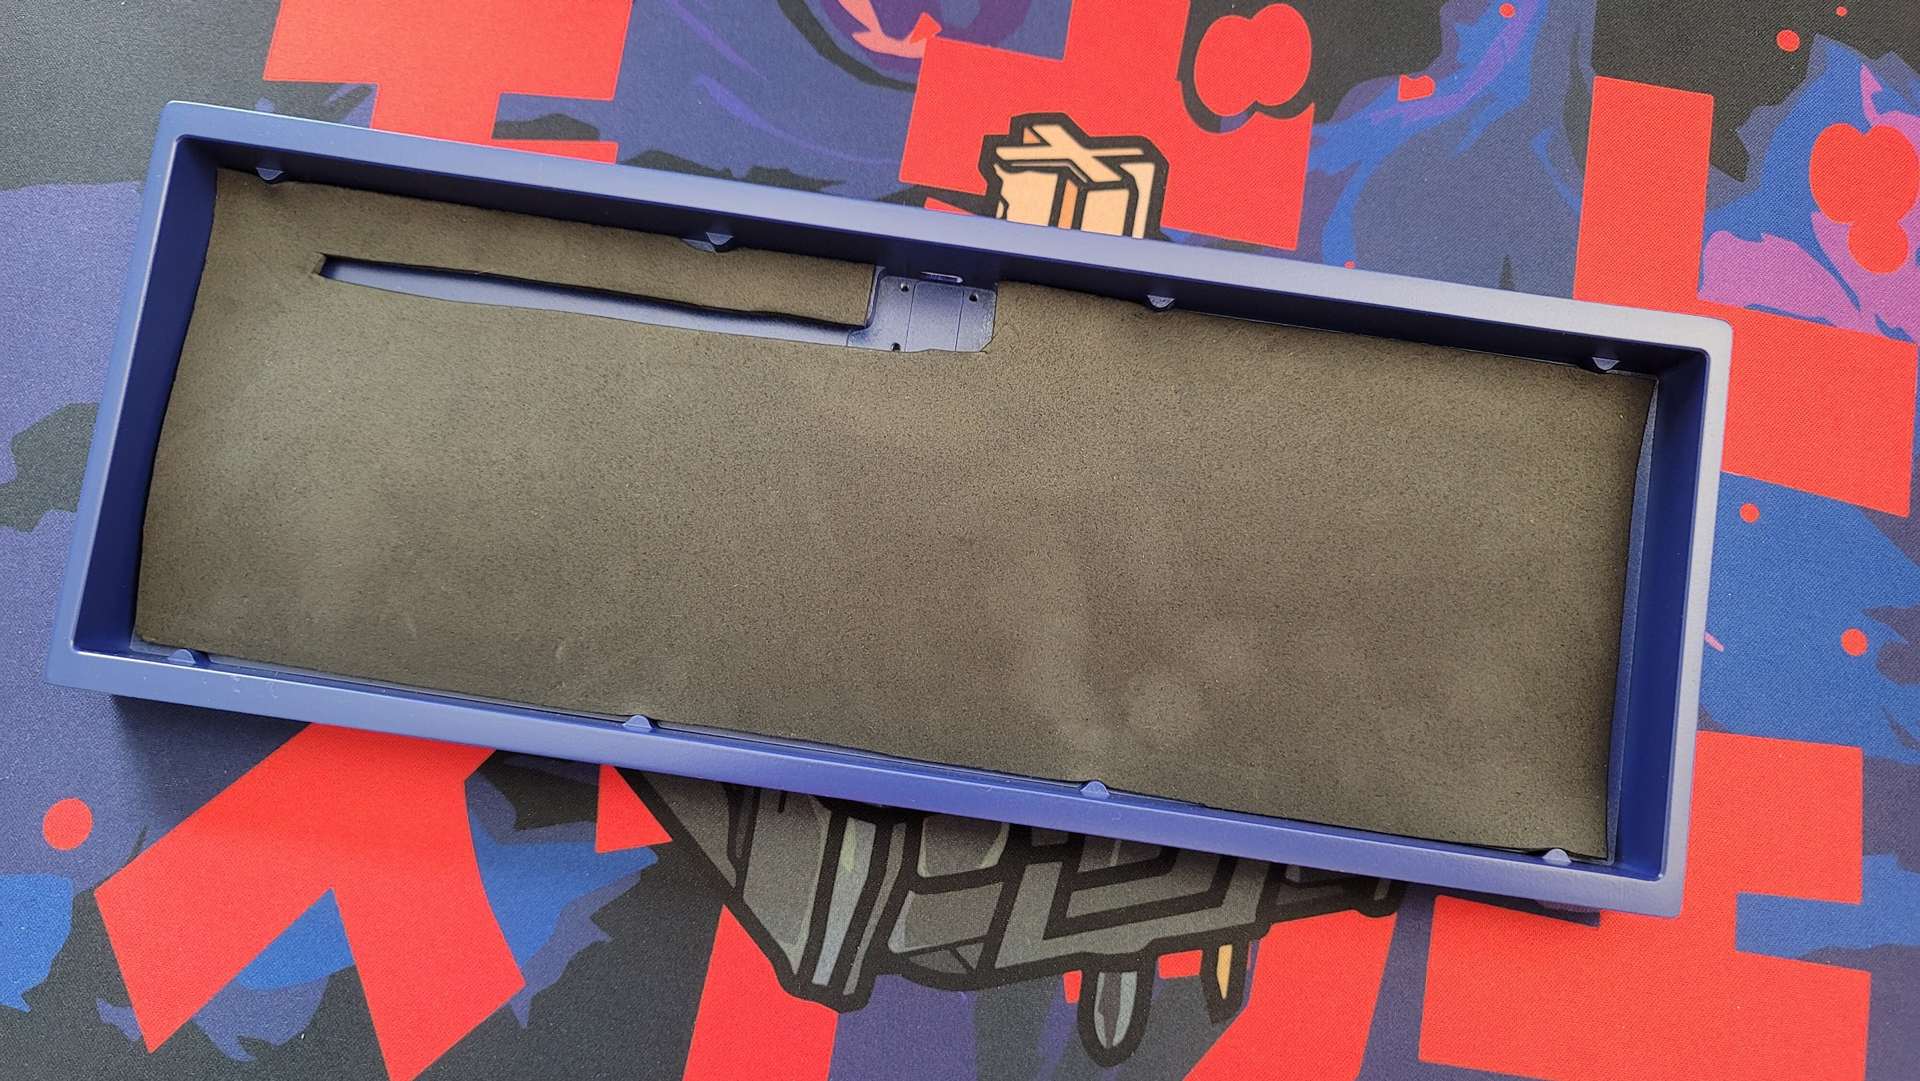
The final mod in this list is one of the most important for keyboards that sound hollow, reverberate when typed on (common with aluminum cases), or ring out with spring ping from your switches. While it will not solve spring ping on its own (only lubing will do that), it can make a drastic improvement to that and any hollowness or noise throughout the case.
Case noise is generally because of the empty space below the PCB. Any case material can sound hollow: metal keyboards are particularly susceptible to pinginess and reverberation. Adding additional material to the case reduces the open air for sound waves to travel through and is one of the most effective ways to improve the acoustics of your keyboard.
It’s also one of the most variable. In general, adding any soft and reasonably dense material to dampen these sounds will help, but there are some popular choices to choose from. Sponge neoprene is a great choice that works well on a budget. Thin layers of silicone or shelf liner are also popular choices that help but are less effective. Another common choice is Poly-fil, the same stuff you would use to fill a teddy bear. The most effective choices, sorbothane and automotive sound deadener, work wonders but are also the most expensive. Each of these options needs to be cut to size for your case with openings for wires, standoffs, and ports.
If your keyboard uses a gasket mount implementation or offers flex in its typing experience, it’s important to choose a material that won’t interfere with its movement. Choose a material that’s thin enough to stay out of the way while also keeping as much surface area as possible. If that’s not possible, filling the case with strands of Poly-fil is a good option as its wispy nature will naturally move as the board presses downward (assuming it’s not over-filled…like a teddy bear). Depending on the material you prefer to use and the keyboard you apply it to, you may need to balance flexibility with improved acoustics.
Bottom Line
Using a combination of mods is one of the best ways to make the most out of your keyboard. Expensive DIY kits often come with mods built into their design, leaving you less to buy and consider up front. If you’re on a budget and building your first custom keyboard, or simply want to elevate your current typing experience, it’s within your grasp with just a little time and effort. Just be careful: once you get used to a modded typing experience, it can be hard to go back!

Chris is a regular contributor for Tom’s Hardware, covering mechanical keyboards, peripherals, and content creation gear.
