Boot Up in Style — Design Your Own GRUB Menu for Linux
Customize your Linux boot process
On many Linux systems the boot process sees the usual BIOS screen, followed by Grub. The Grand Unified Bootloader (Grub) takes over from our BIOS and offers the user a choice of OS options and kernel choices. Typically we just press Enter or wait for Grub to disappear. Grub is utilitarian, it does the job and doesn’t care how it looks. But what if we could add a little flair to our boot process?
Grub Customizer, by Daniel Richter, is a GUI based application for easy configuration of Grub. Rather than manually editing text files we can easily edit and preview our changes before committing them to the system.
In this how to, we shall create a custom Grub background image using Grub Customizer and a PNG / JPEG image.
Making any changes to your Grub configuration is dangerous, and could result in a non-booting system. Before attempting these steps, ensure that your system is backed up.
For this project you will need
- A computer running Ubuntu
Installing Grub Customizer
1. Open a terminal and add the Grub Customizer PPA to your list of repositories. A Personal Package Archive (PPA) is a software repository created for Ubuntu users to share pre-release software. Most PPAs are trustworthy. If in any doubt do not install, and read the source code before moving forwards.
sudo add-apt-repository ppa:danielrichter2007/grub-customizer2. Update your list of repositories. This is always best practice before installing new software.
sudo apt update3. Install Grub Customizer using the apt packaging tool.
Get Tom's Hardware's best news and in-depth reviews, straight to your inbox.
sudo apt install grub-customizerUsing Grub Customizer
1. Click on Show Applications (3 x 3 grid of squares) to open the main menu.
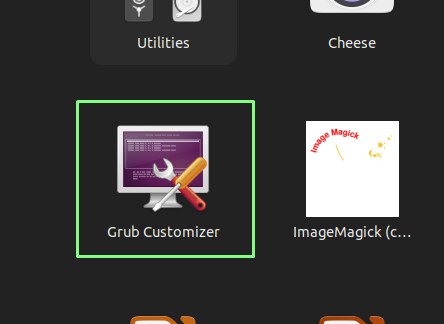
2. Click on Grub Optimizer. You will be prompted to enter your sudo password, this is required as we are making changes that will be applied system-wide.
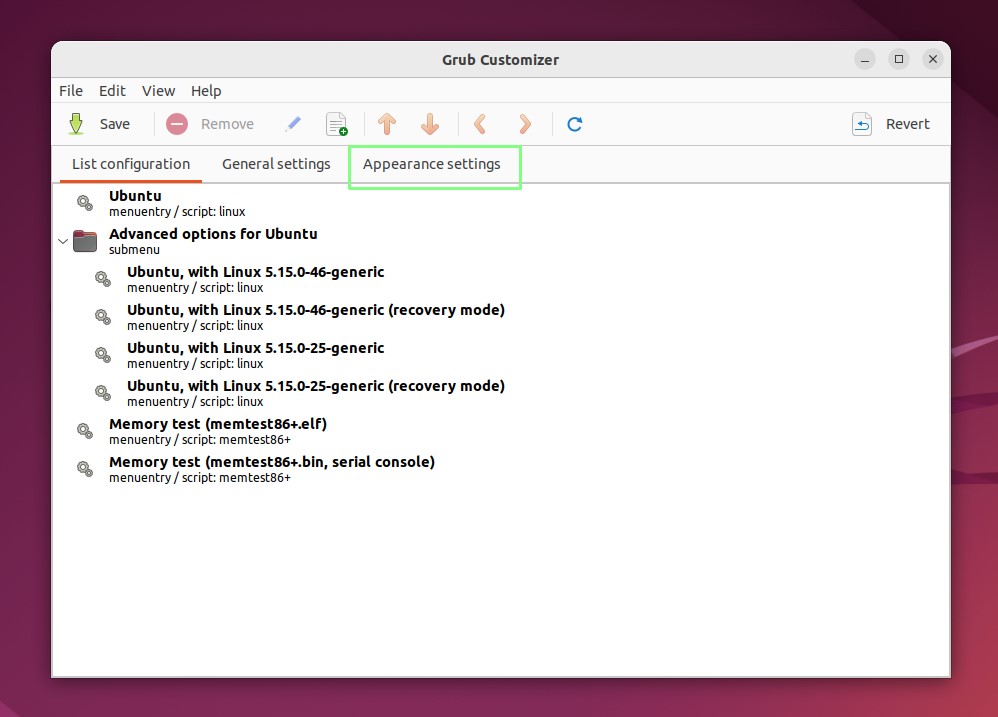
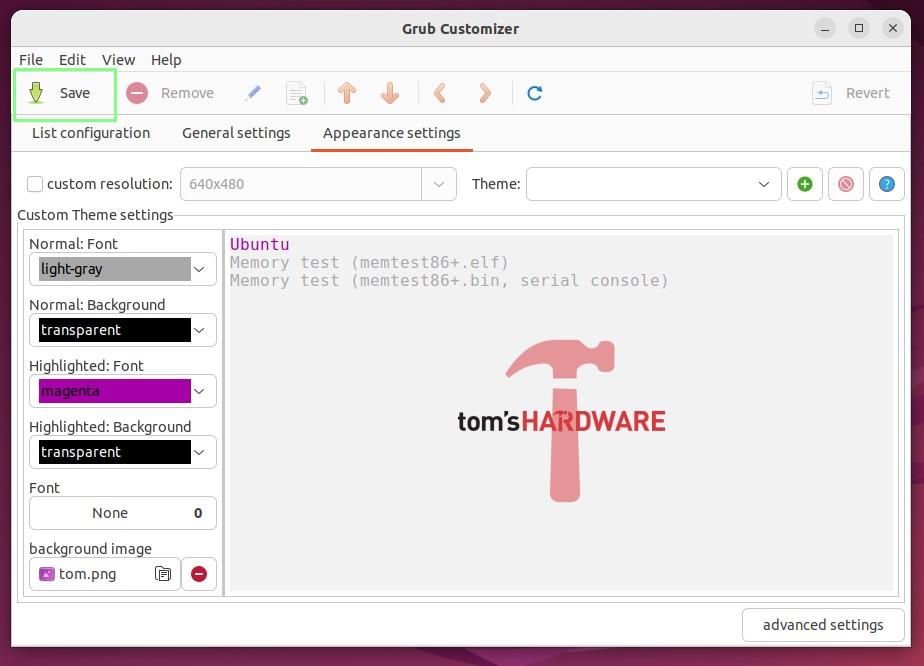
3. Click on Appearance settings. Under List configuration, we can alter the list of available OS choices presented on boot. Change their names, create sub-menus etc. General settings provides options to automatically select an OS, pass kernel parameters and delays to the boot. Only alter these settings if you know what you are doing.
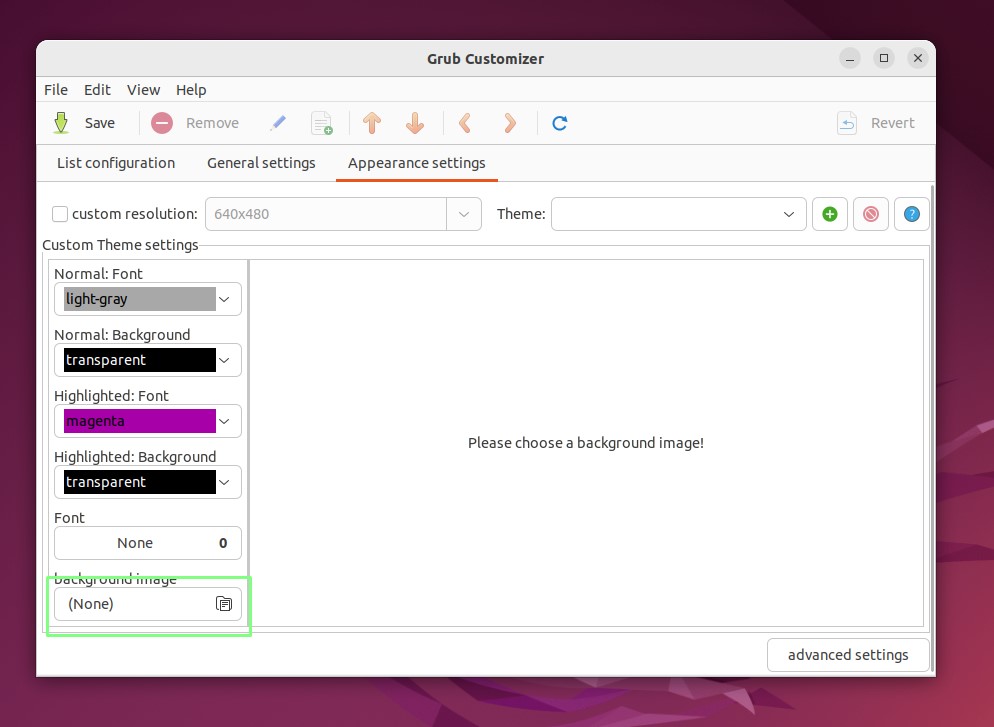
4. Click on Background image.
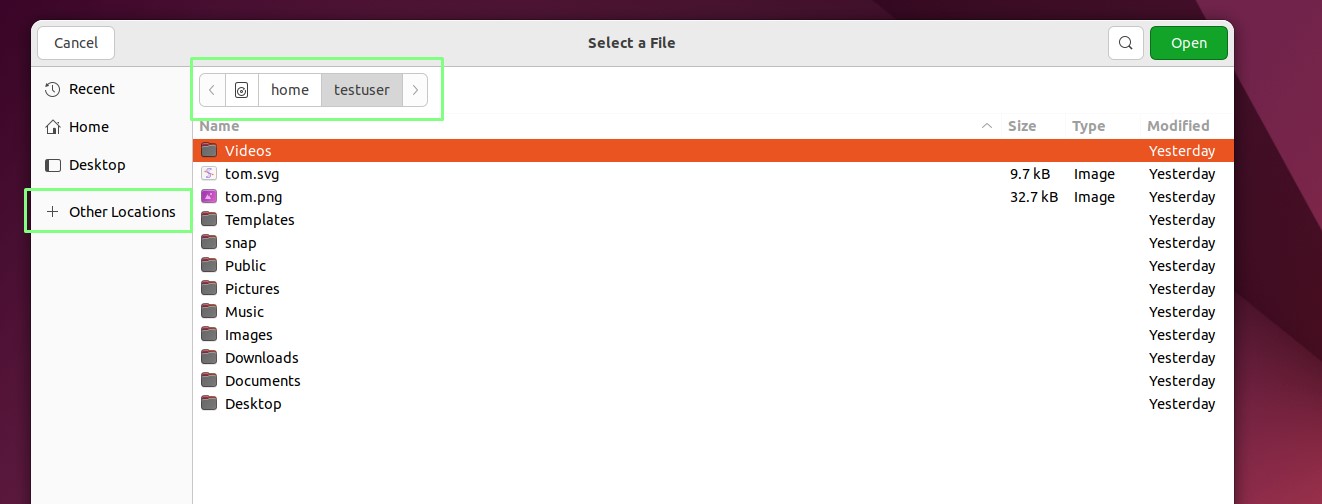
5. Click on + Other Locations and navigate to the directory with your images. Because we opened Grub Customizer using sudo / root powers, our “home” folder is that of the root user. A PNG or JPEG image at your monitor's default resolution is preferred.
6. With the background image now set, click on Save to write the changes.
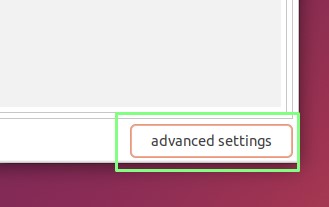
7. Click on Advanced Settings. This will open a menu containing extra Grub configuration steps.
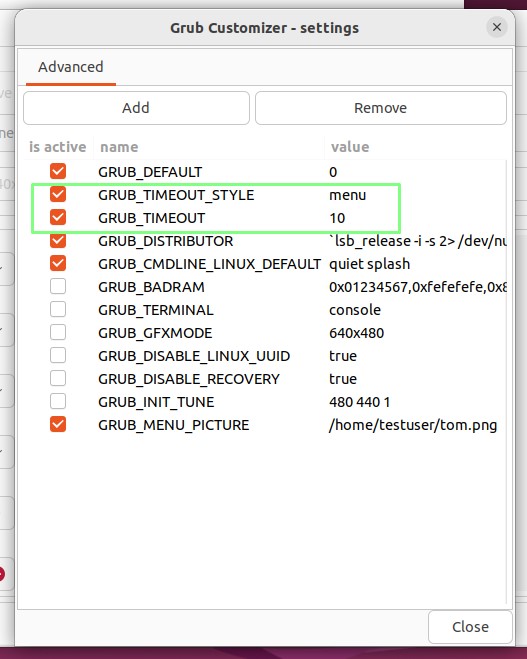
8. Set GRUB_TIMEOUT_STYLE to “menu”, and set GRUB_TIMEOUT to “10”, click Close and then Save the changes. This ensures that the Grub menu is displayed, and if we do not touch the keyboard, the system will default boot in 10 seconds.
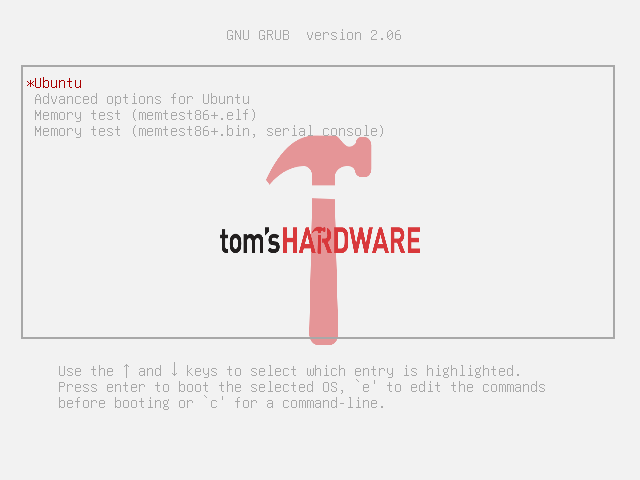
9. Reboot your computer, wait for the Grub menu to appear and then check that your background image loads correctly. If the image fails to load, repeat the previous steps and check the image file format.
More Linux Tutorials

Les Pounder is an associate editor at Tom's Hardware. He is a creative technologist and for seven years has created projects to educate and inspire minds both young and old. He has worked with the Raspberry Pi Foundation to write and deliver their teacher training program "Picademy".

