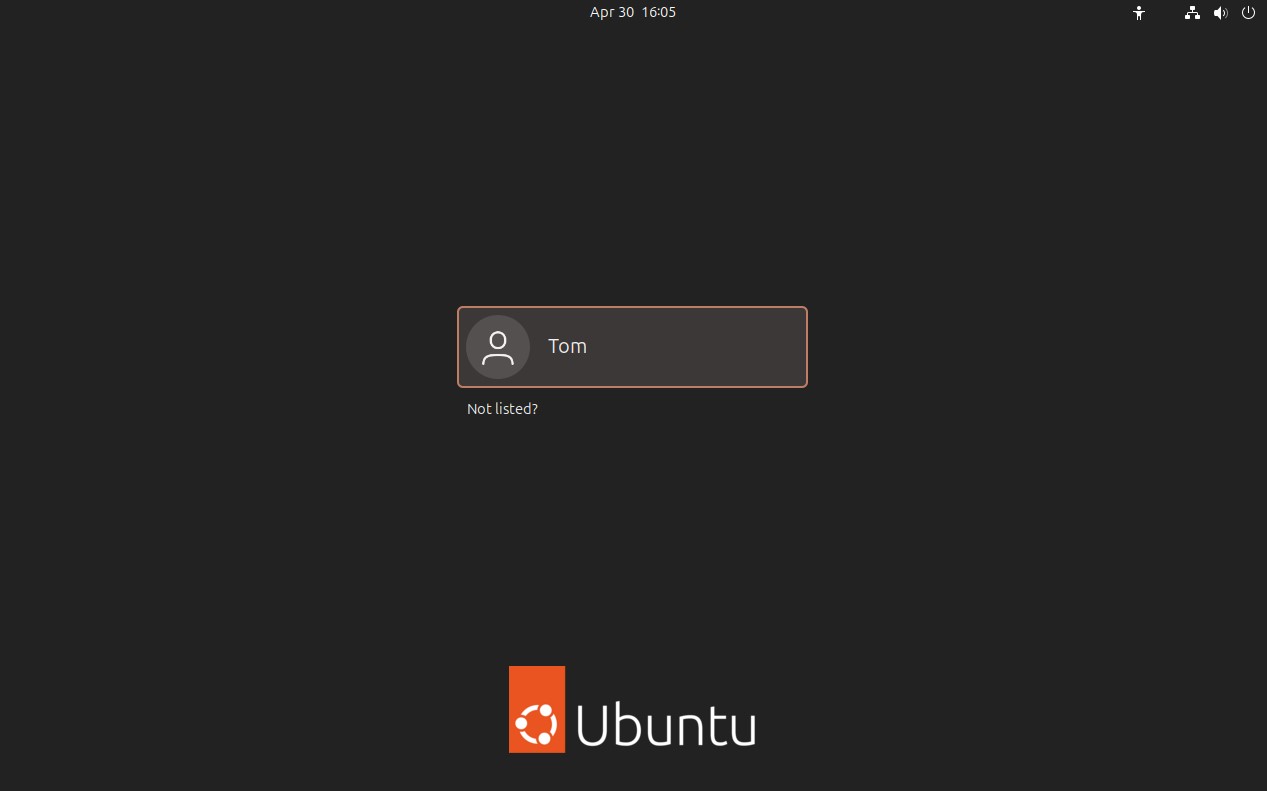
How To Dual Boot Linux and Windows on any PC
The best of both worlds
Taking your first steps into the world of Linux can be a scary proposition. After all, we have a whole new world of terminal commands, desktop environments and applications to learn. Thankfully Linux installation has improved leaps and bounds from the earliest text based installers used in the late 1990s (Where I started my journey with Mandrake, Corel Linux) via graphical installers in the early 2000s (Ubuntu, Open Suse). From the 2010s we have seen better graphical installers providing clearer and easier means to install the latest Linux distro.
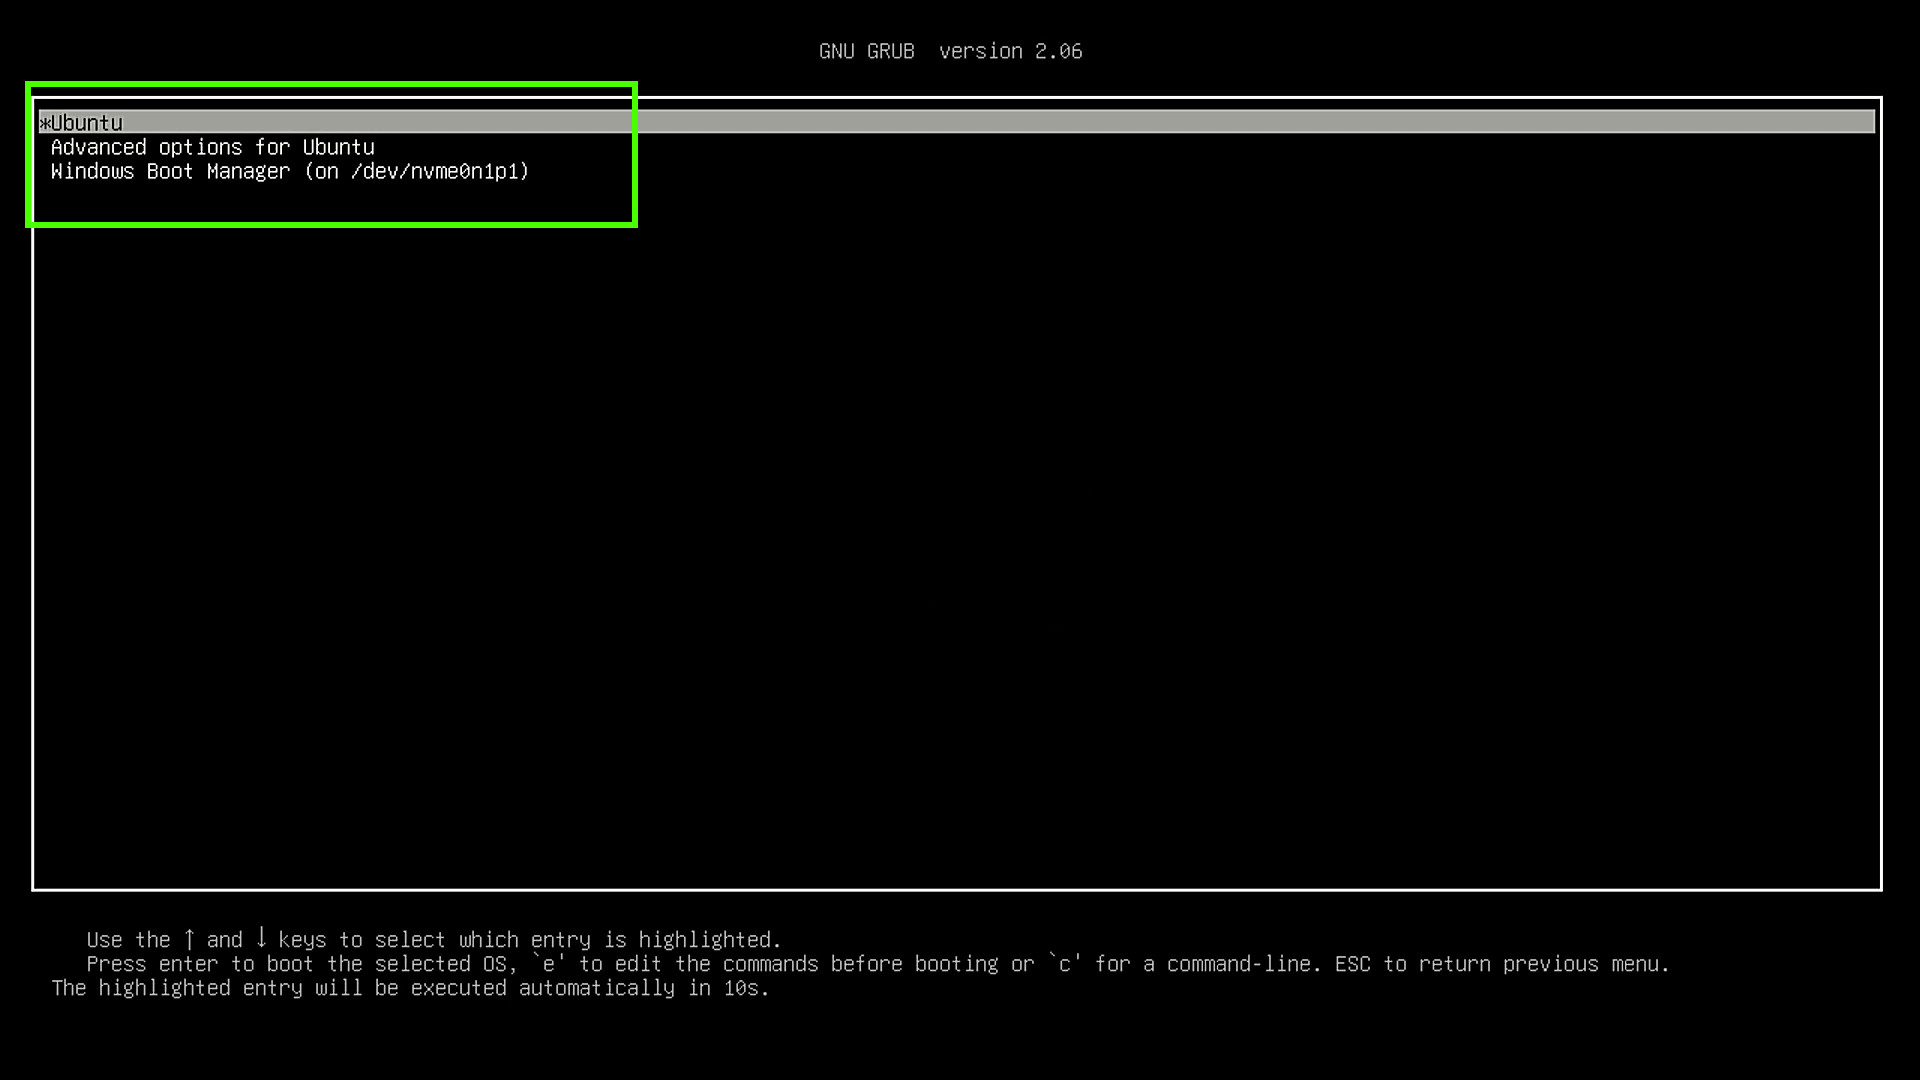
The first steps into Linux now fall under two paths.: a single board computer such as the Raspberry Pi or more traditionally a dual boot setup, where Windows and Linux are installed to the same machine, often on the same boot drive. Using a custom boot menu, GRUB, we can choose between the two operating systems when we power on our PC.
In this how to, we shall learn how to dual boot Linux with Windows, using Ubuntu and Windows 11.
Before we kick-off, a word of caution. Ensure that you have backed up your drive before moving forwards. There is always a chance that you will accidentally overwrite your drive.
How to Create a Linux Install USB
Our Linux distro is typically downloaded as an ISO image (ISO originally being used to reference CD / DVD sized images) of a live Linux OS that we can test on our machine. To use the ISO with a UEFI / Secure Boot system we need to use Rufus, a popular free utility that writes ISO files to USB Flash drives.
Our goal is to create a bootable USB stick containing our chosen Linux OS. A minimum capacity of 8GB is recommended for your USB drive.
What you will need to dual boot Linux and Windows
- Computer running Windows 10 or 11 (see how to get Windows 11 for free)
- USB Flash drive, 8GB or larger
- Linux distro (we chose Ubuntu)
1. Download and install Rufus for your operating system.
Get Tom's Hardware's best news and in-depth reviews, straight to your inbox.
2. Insert a USB drive into your machine and open Rufus.
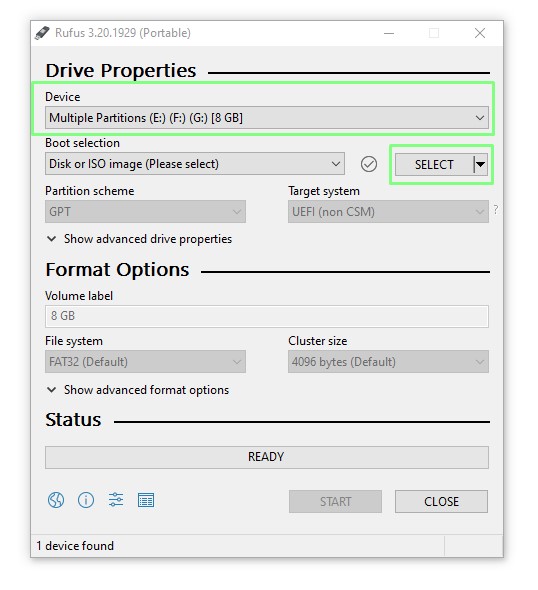
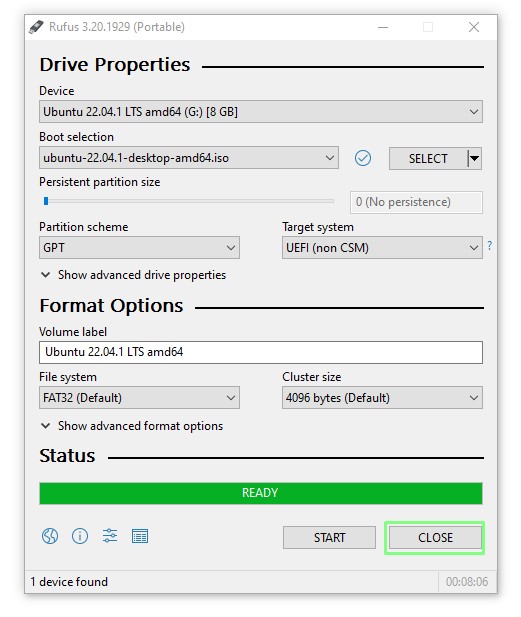
3. Select your USB drive using Device, and then click SELECT and select the Linux OS that you wish to install. In our case it was Ubuntu.
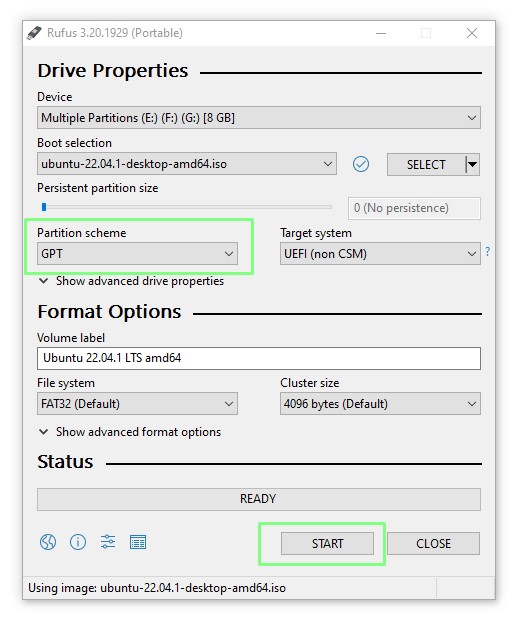
4. Select the GPT partition scheme and click START to write the OS to the USB drive. GPT is the latest partition scheme and necessary for installing Ubuntu on a UEFI system. It is gradually replacing MBR.
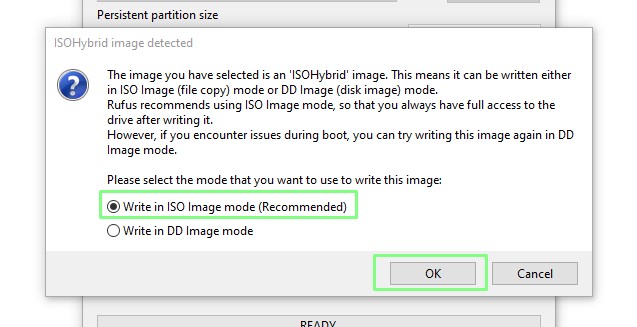
5. When prompted select “Write in ISO image mode” and click OK.
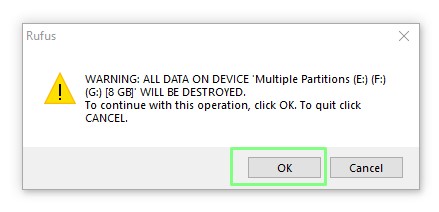
6. Read and understand the prompts to ensure that Linux OS will be written to the correct drive. There is no going back should you make a mistake.
7. Click CLOSE to exit Rufus and remove the USB drive from the machine.
How to Install Linux for Dual Boot
The Linux installer has come a long way. Gone are the old days of scary user interfaces and in their place are inviting and easy to use installers that guide you through the process. We’re going to use the Ubuntu 22.04.1 installer to split our 256GB NVMe drive in half. Giving Windows and Ubuntu enough space for a basic dual boot install. Then we will follow a typical Ubuntu installation.
1. Insert the USB drive into your computer and boot from it. Each computer is a little different, Some will offer a function key to select a boot device, some need to be selected from the BIOS.
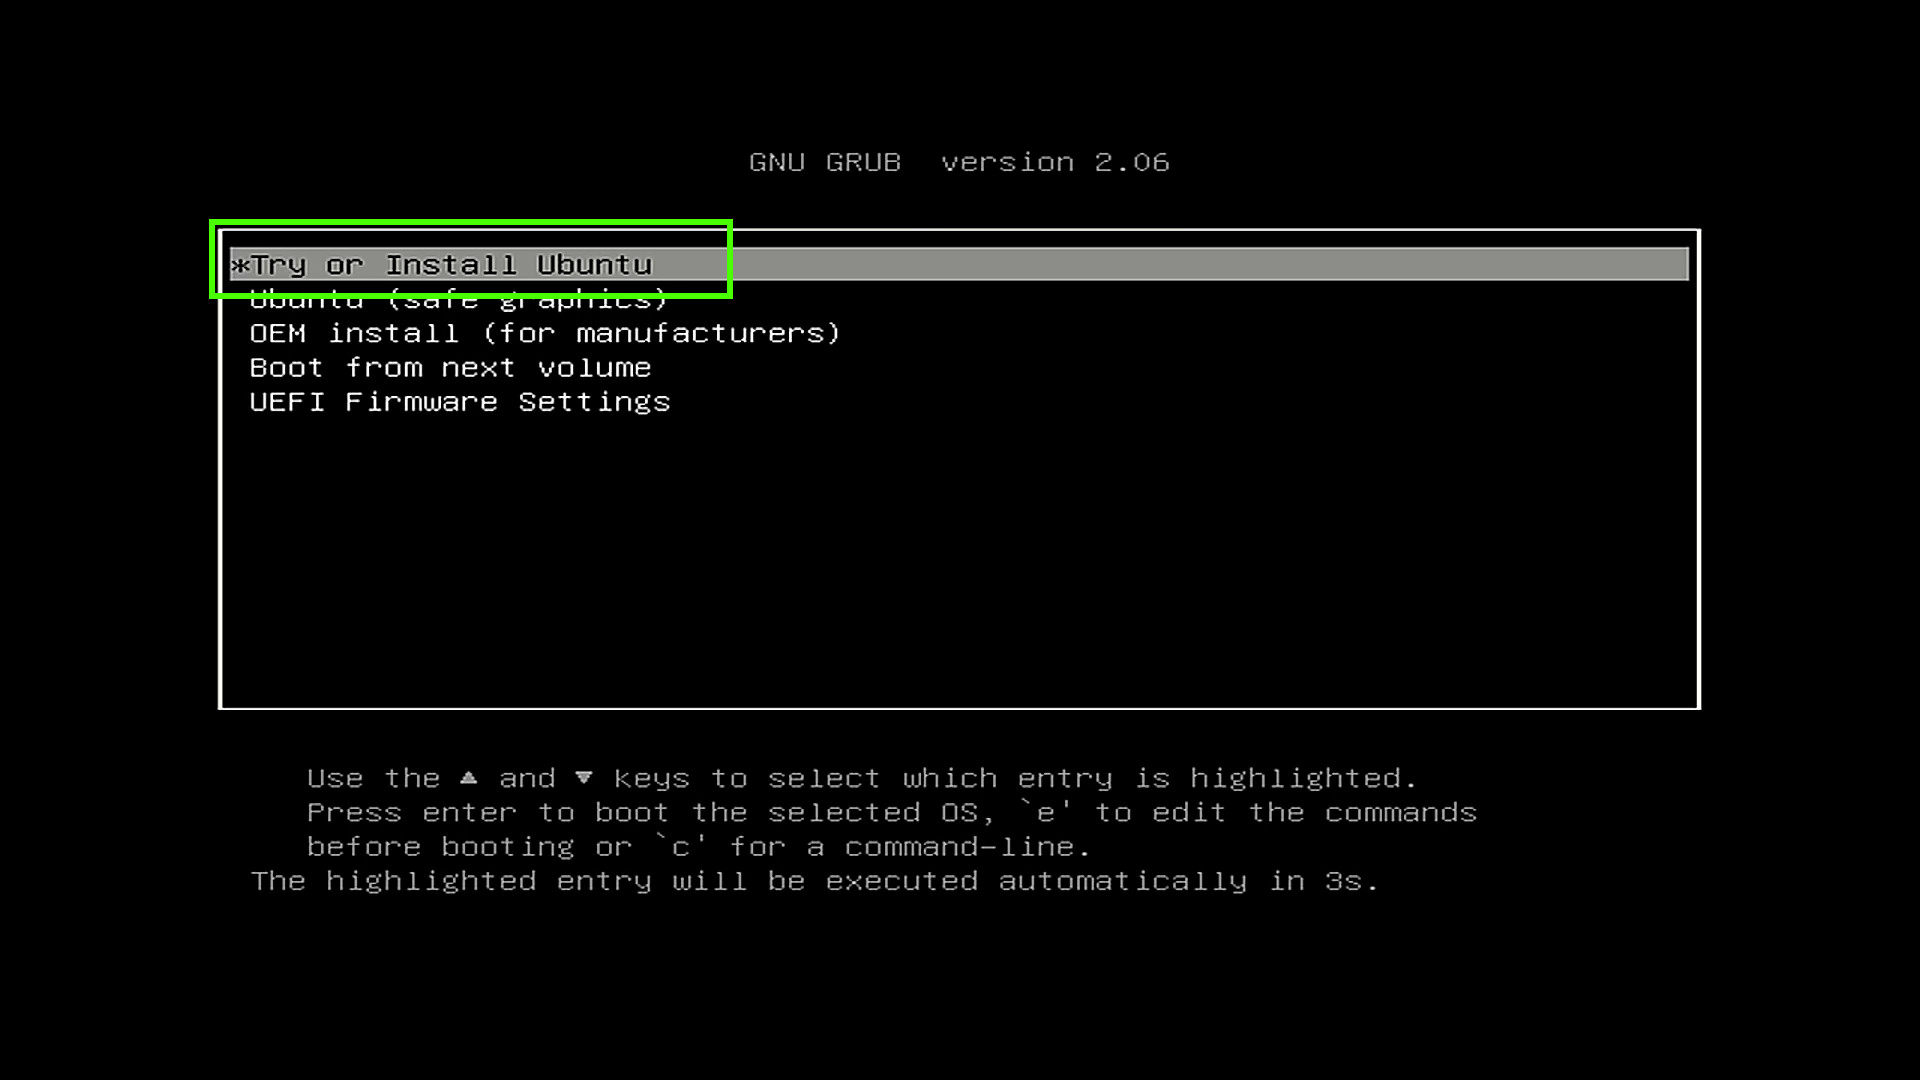
2. From the GRUB menu select “Try or Install Ubuntu” (or your Linux OS of choice) and press Enter . The GRUB menu is a custom boot menu used on Linux devices. It can also be customized to show a background image.
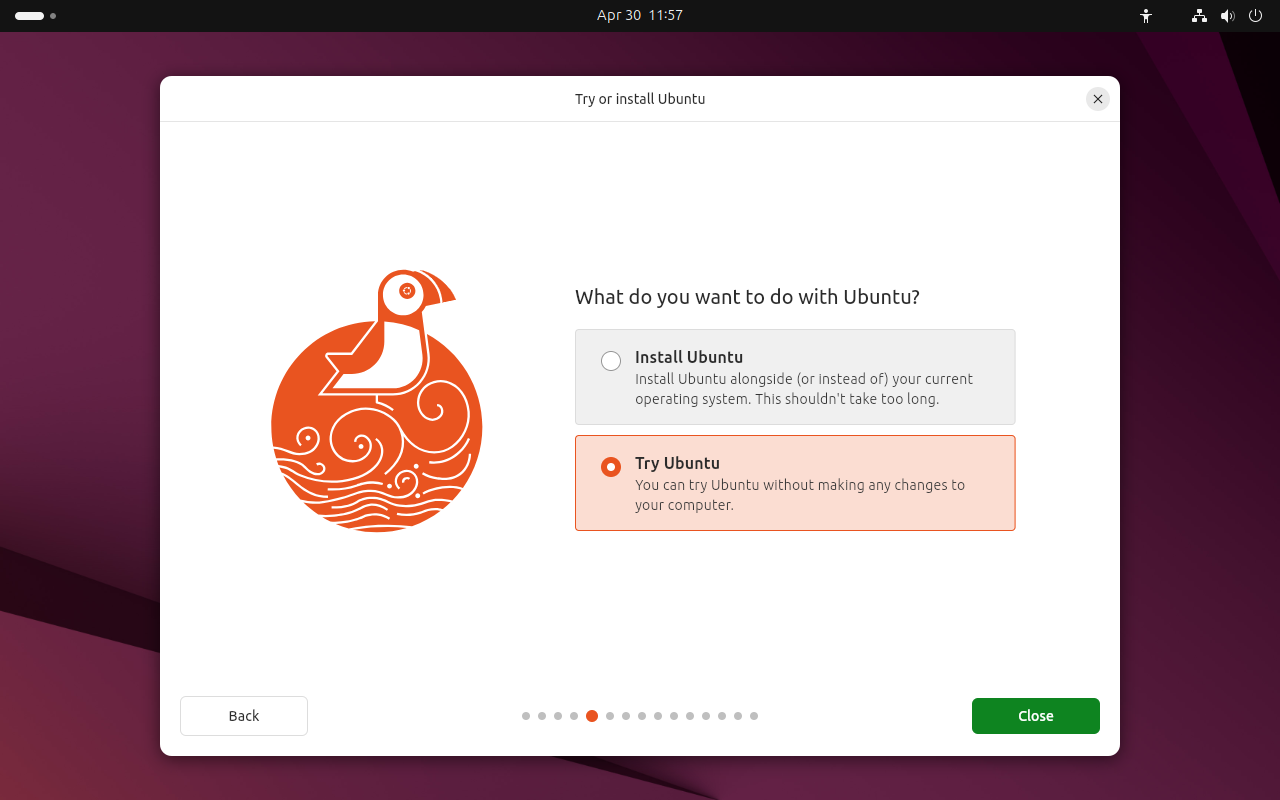
3. When prompted, click Try Ubuntu to load the OS into RAM as a “Live Distro”. Live Distros give us enough of the operating system to test on our machine without making any changes to the system. They are also useful as recovery devices to boot broken computers.
4. Test your hardware to make sure that everything you need is working. Check audio, Wi-Fi, Bluetooth etc before moving onwards.
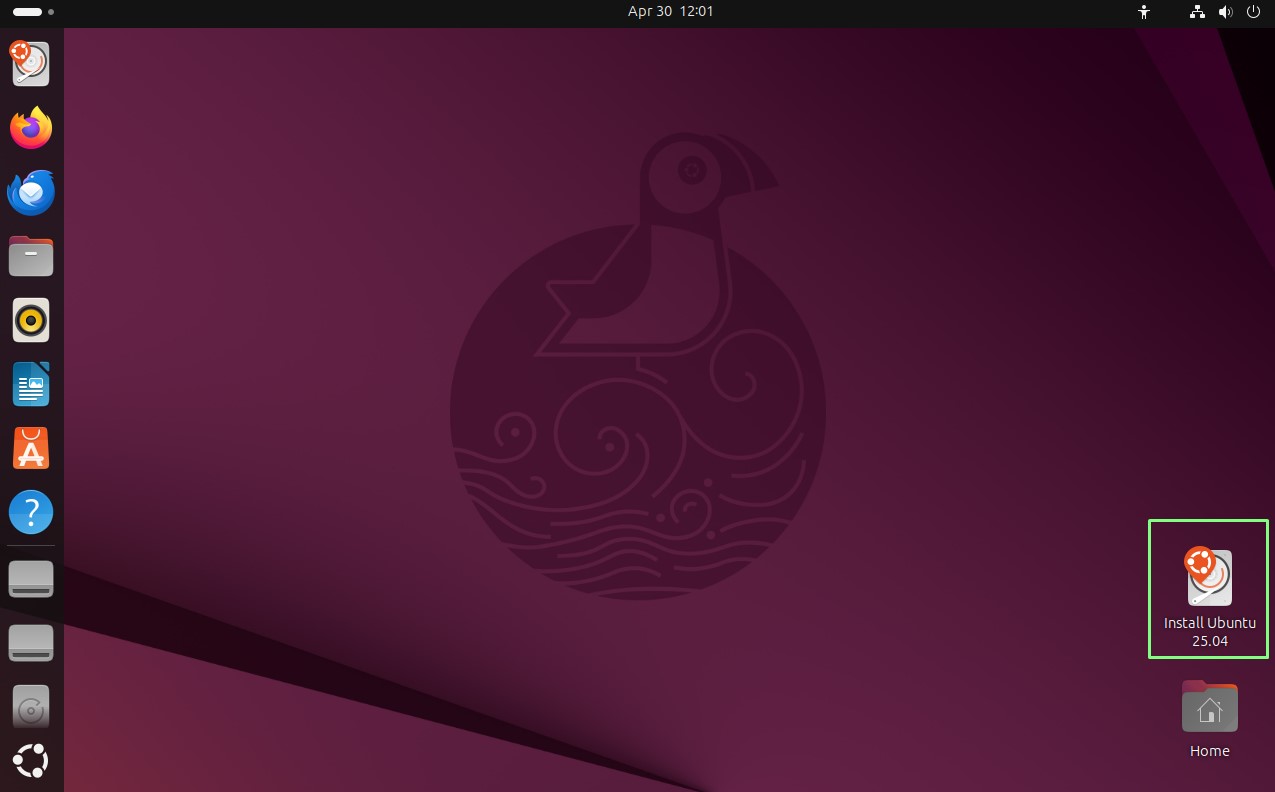
5. Double click on the Install icon to launch the installer application.
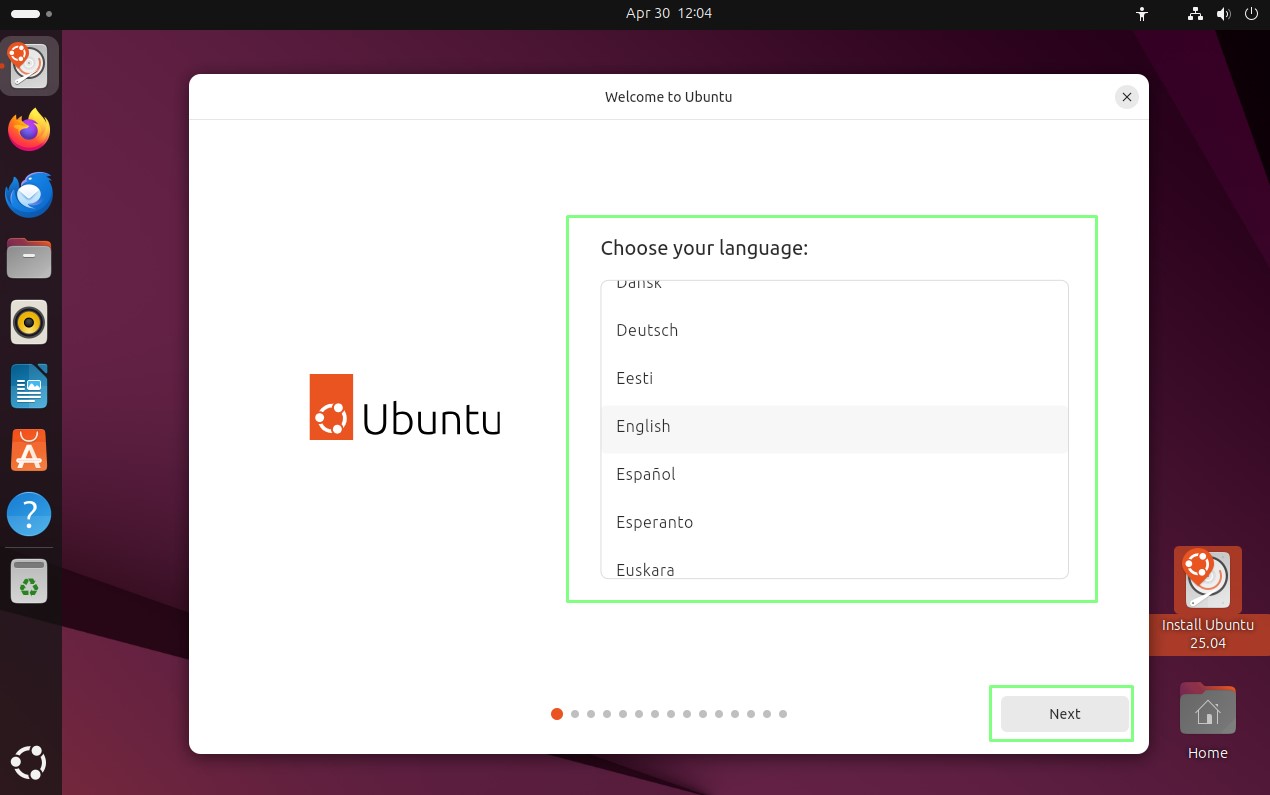
6. Select your language and click Continue.
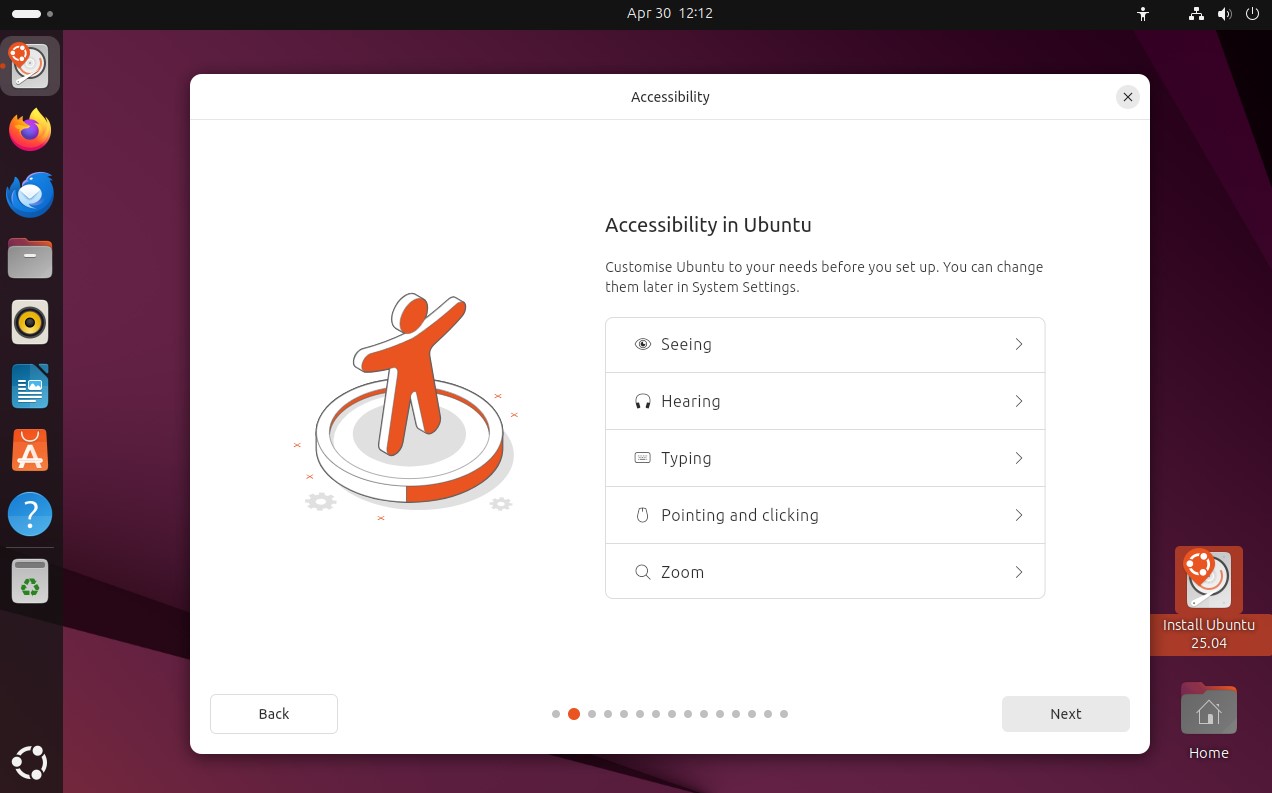
7. Configure your accessibility requirements and click Next.
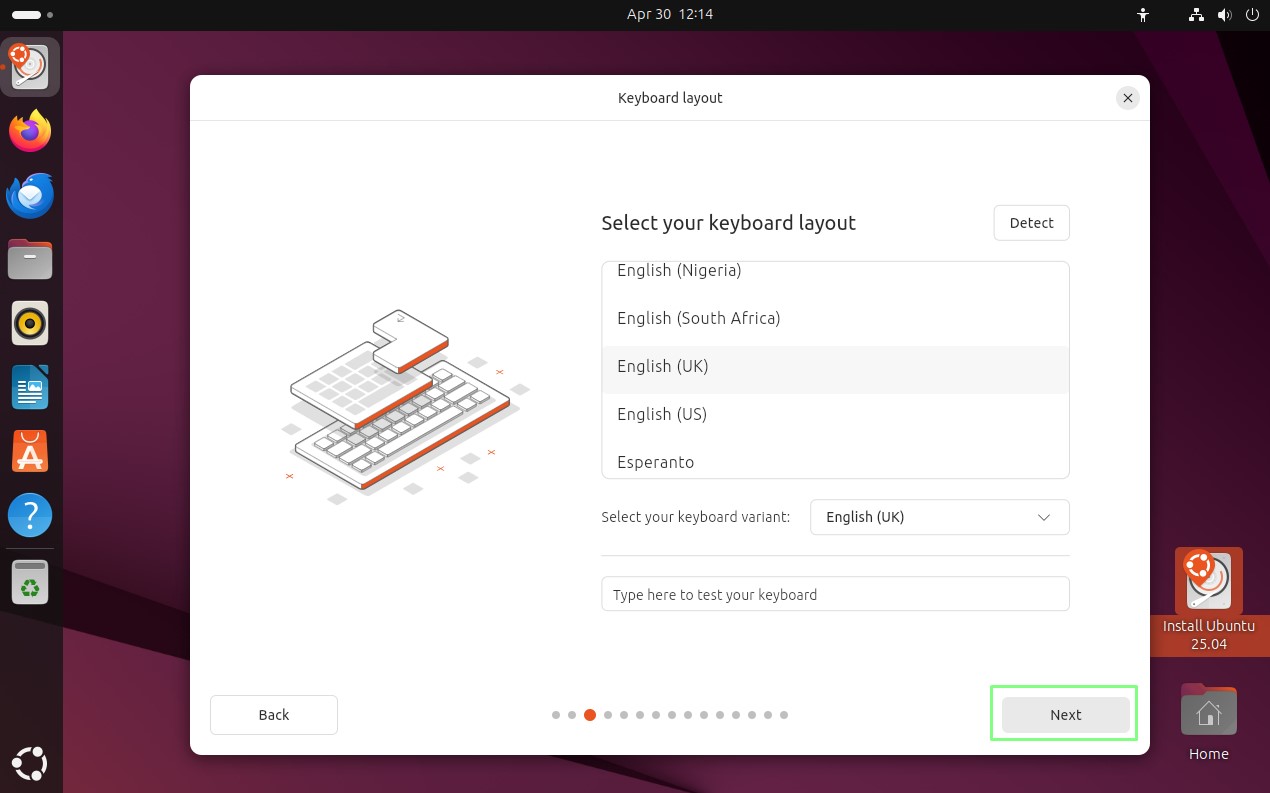
8. Select your preferred keyboard layout and click Continue.
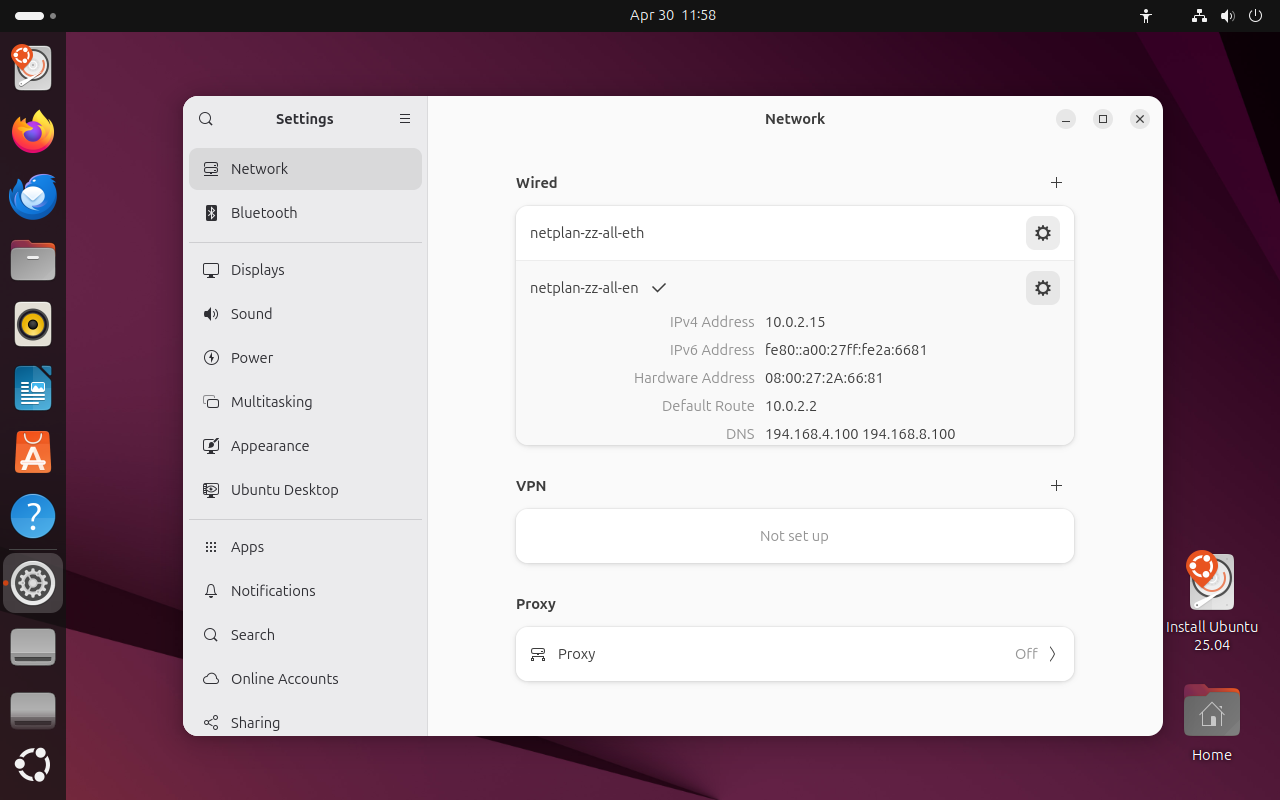
9. Choose how you connect to the Internet and click Next to move on. If you have wired or Wi-Fi Internet access, choose the most appropriate method. Later, part of the install process will require Internet access to download software updates.
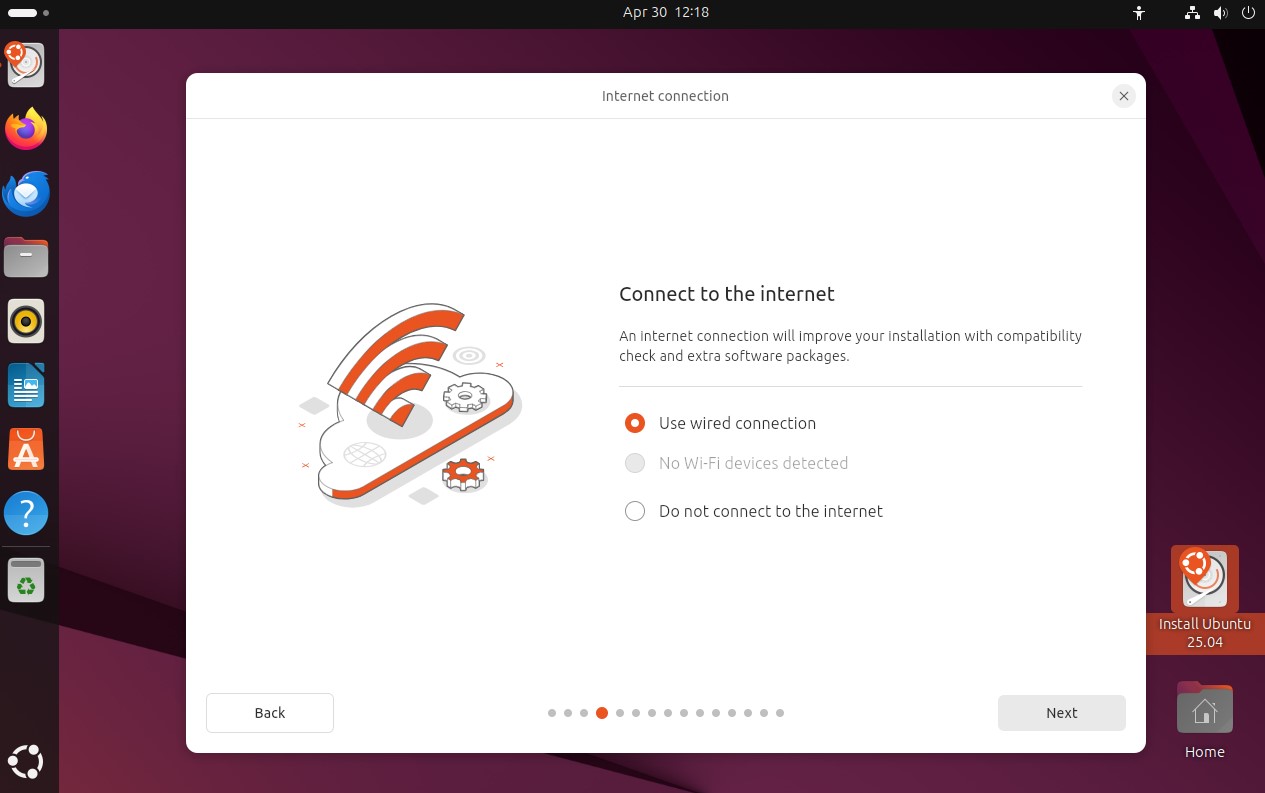
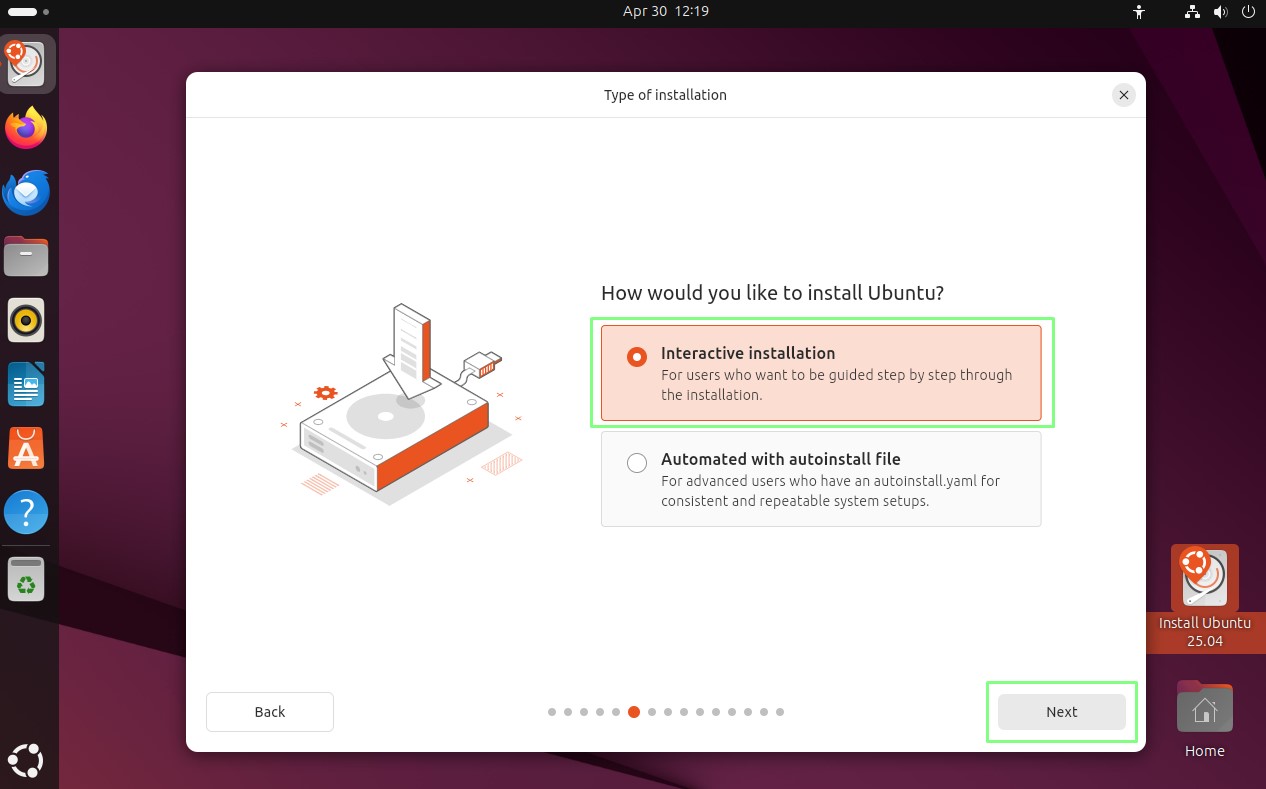
10. Select an Interactive Installation and click Next. Interactive installations will prompt the user for input as the install progresses. The automated install option is used for users who have a configuration script that automates the process.
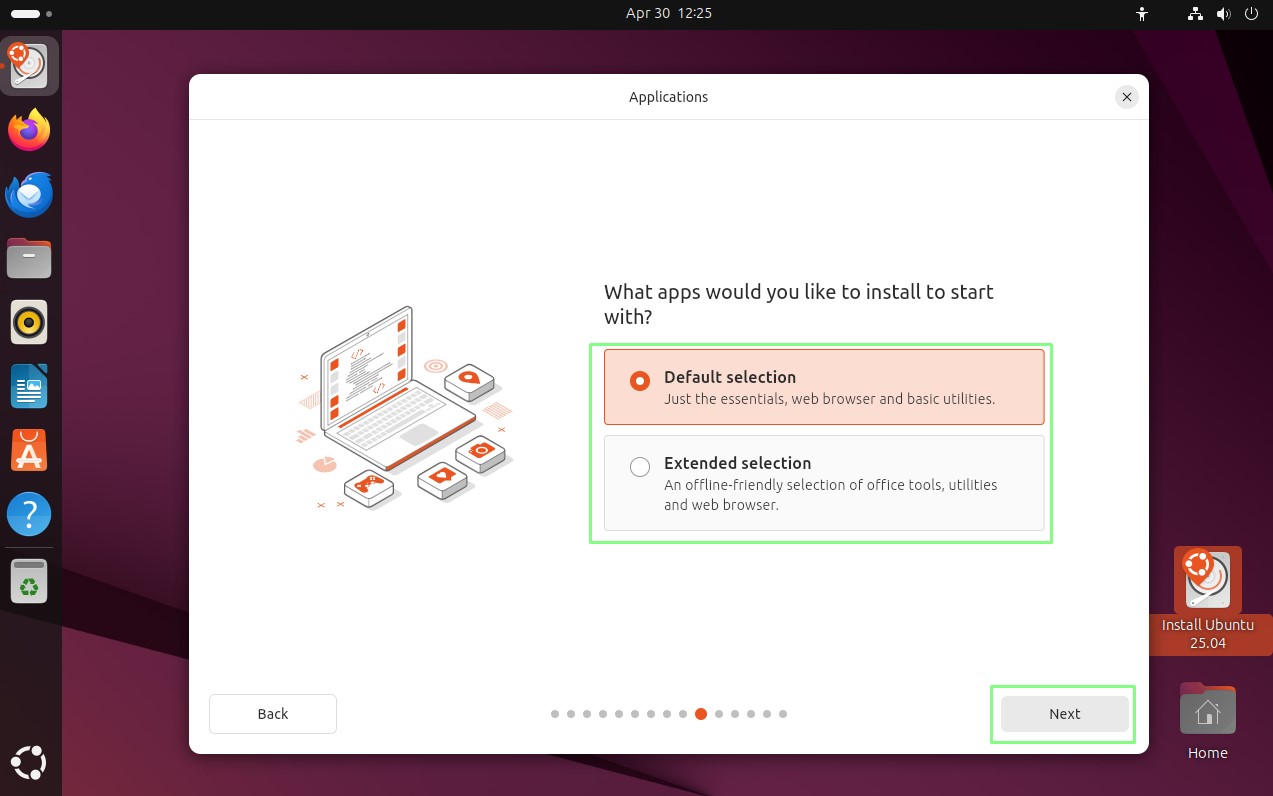
11. Select either Default or Extended and click Next. The Default option will install just the basic applications (file manager, web browser, and some basic utilities.) This is useful for creating a base install for use in specific projects. If you require more apps, such as office tools, image editors etc, opt for the Extended selection. This option is also useful for those new to Linux.
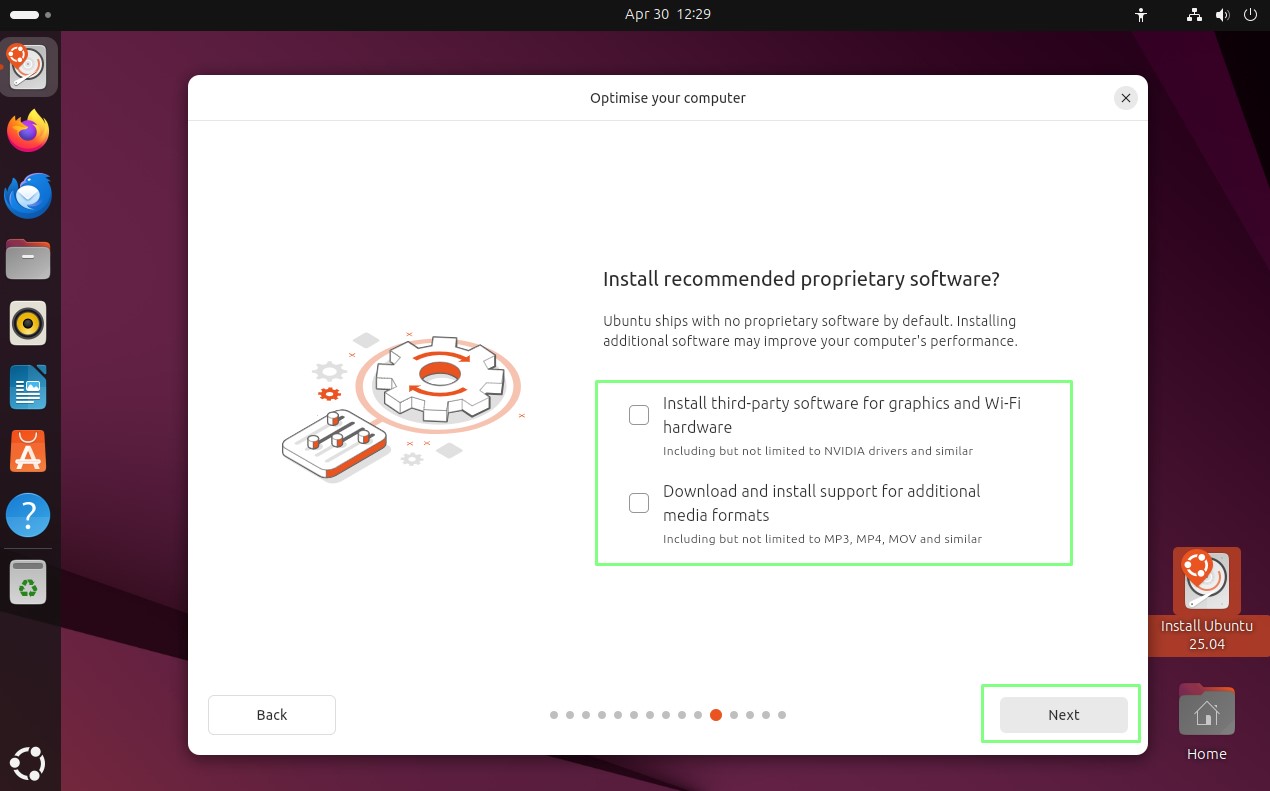
12. Tick the boxes to choose whether you require proprietary software and click Next. Ubuntu comes with no proprietary software as part of the ISO image, but here we can install software and drivers that make Ubuntu easier to use.
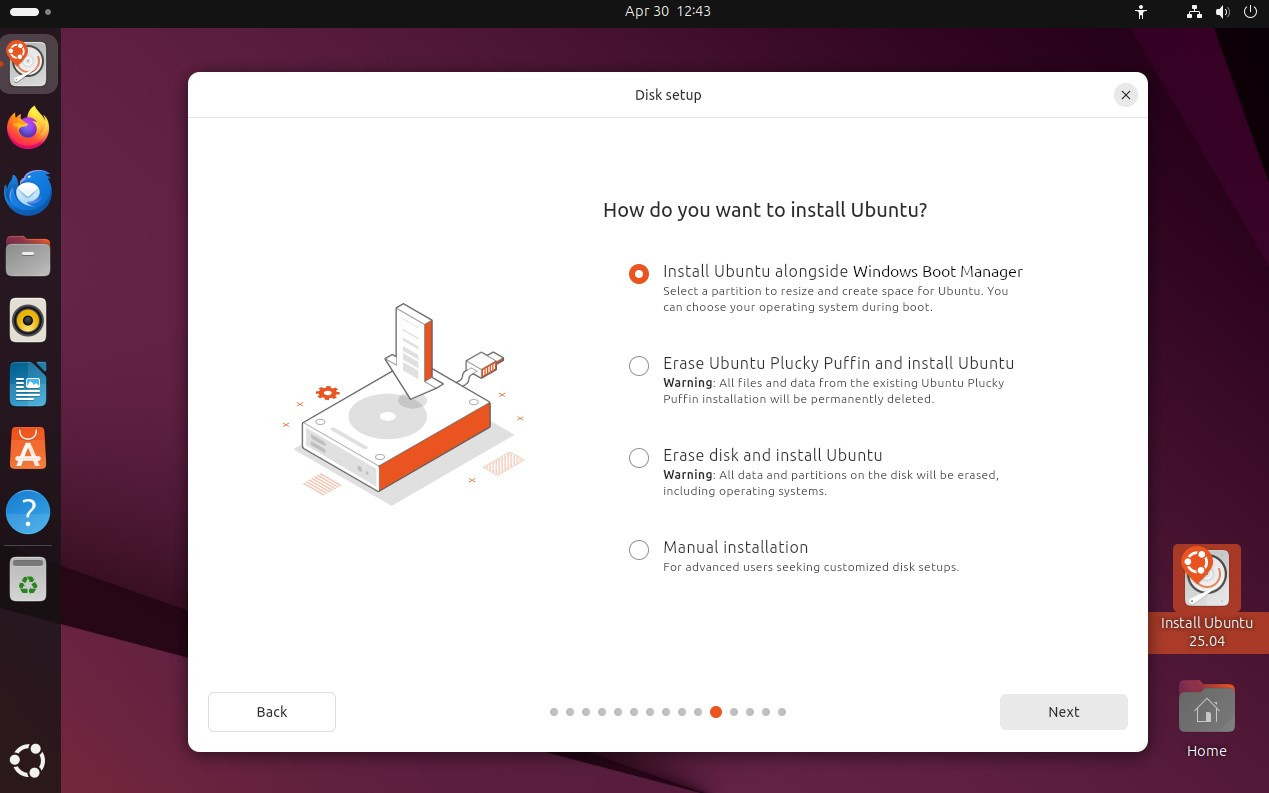
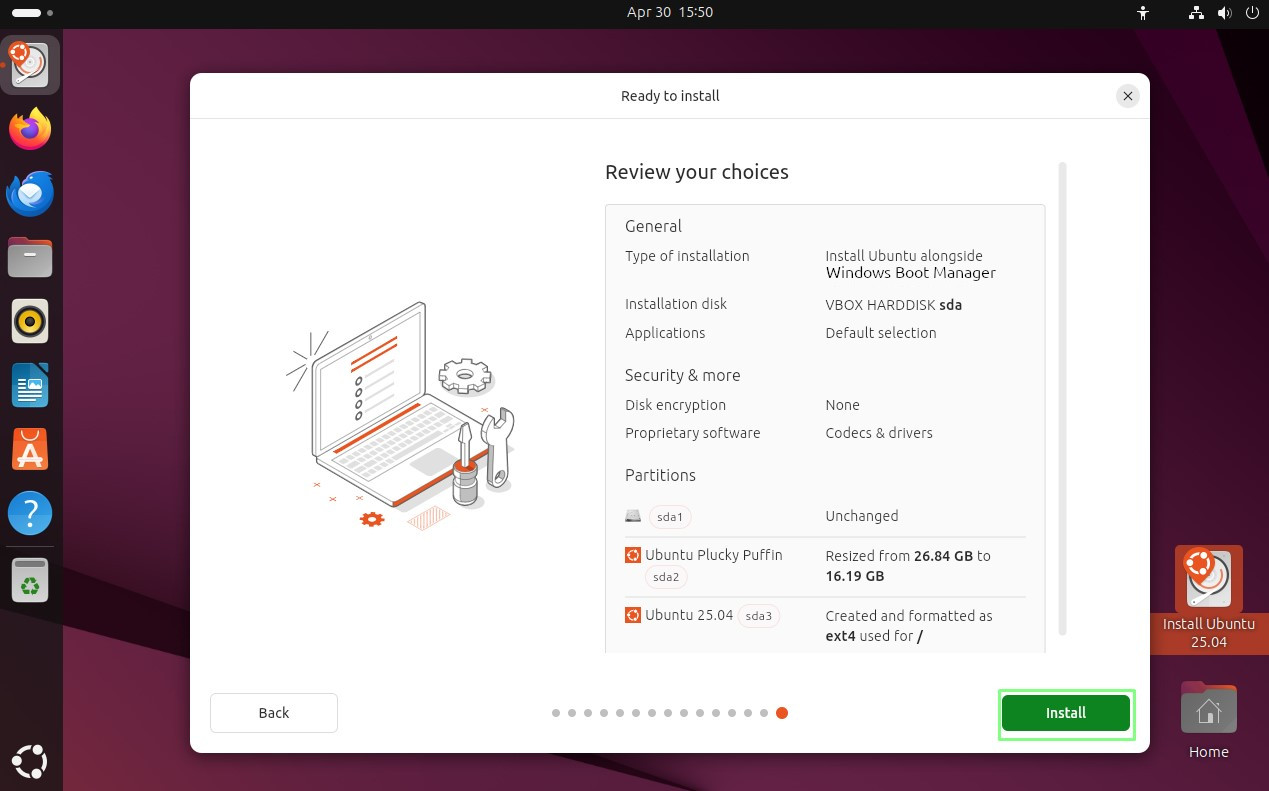
13. Select “Install Ubuntu alongside Windows Boot Manager” and click Next. Any other option will either delete the entire contents of the drive, or require manual configuration, so take great care.
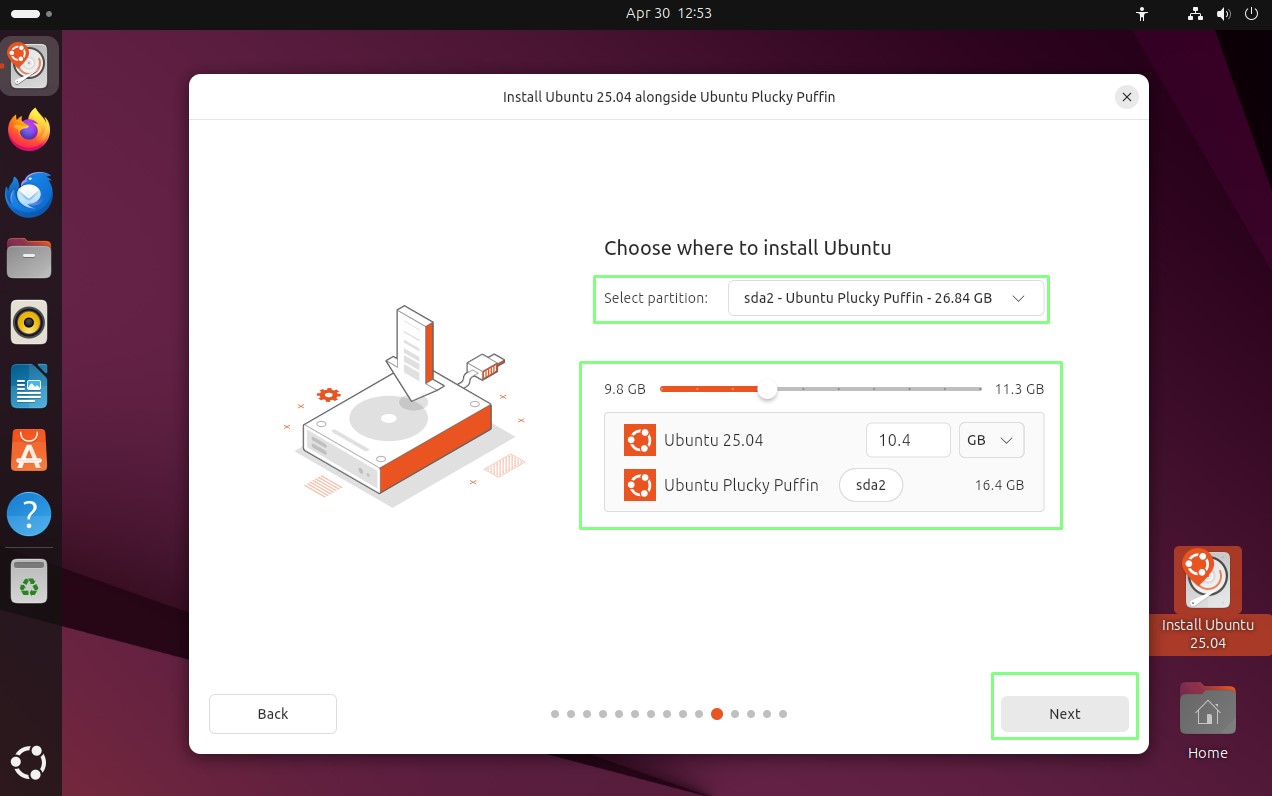
14. Ensure that the correct drive has been selected, and slide the slider to adjust how much space each OS will have.
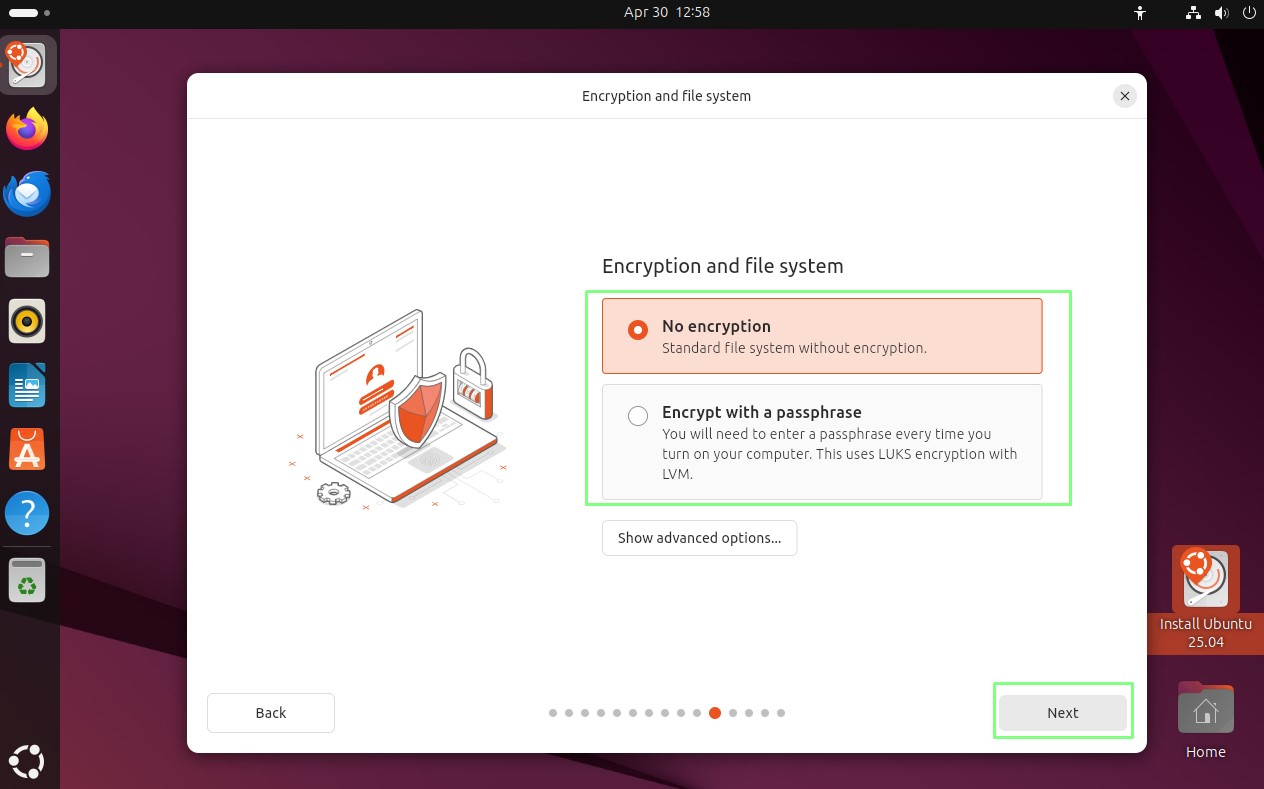
15. Select No Encryption to install Ubuntu without any form of drive encryption. Otherwise select Encrypt with a passphrase to encrypt your disk. Click Next to move on.
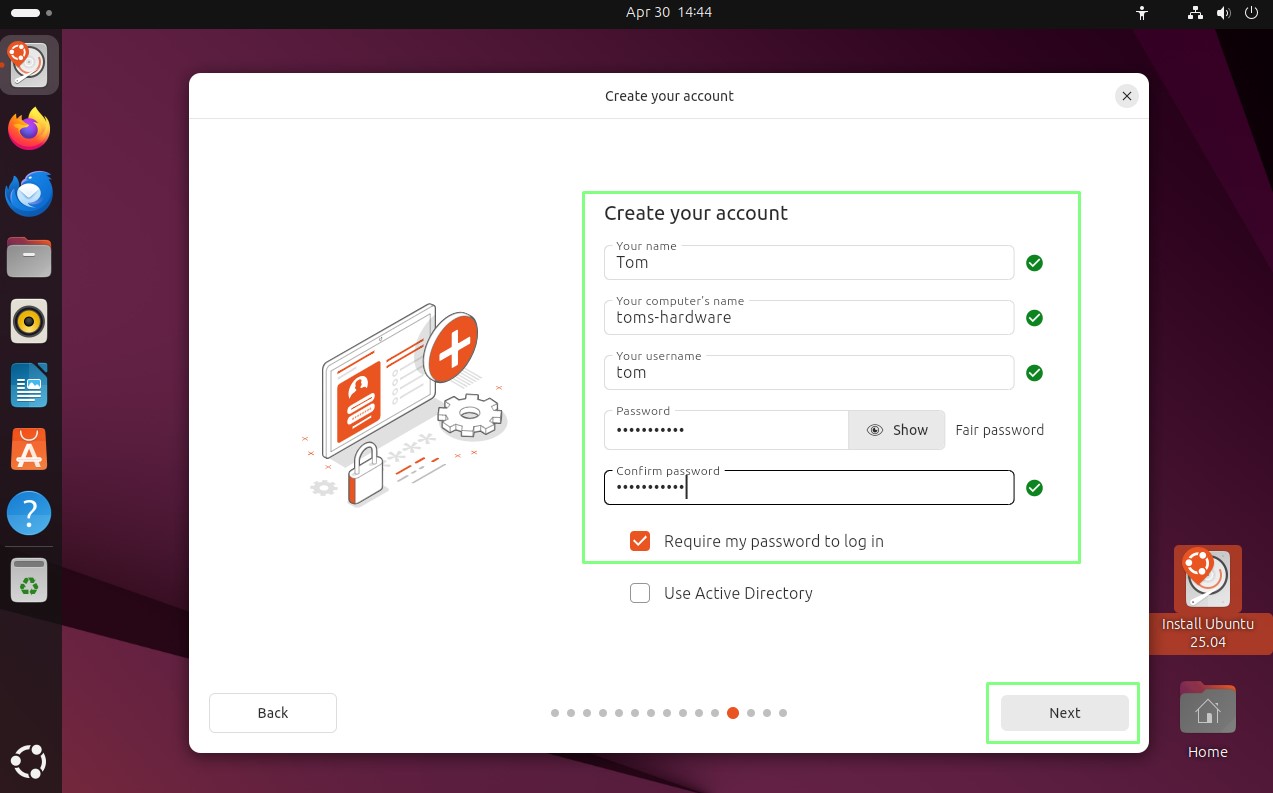
16. Create a new user and give your machine a relevant hostname. Click Next to continue. This will be the default user for the operating system, so make sure that it is relevant. The hostname identifies the machine, and if you have many machines on the network, it will make it easier to identify your machine.
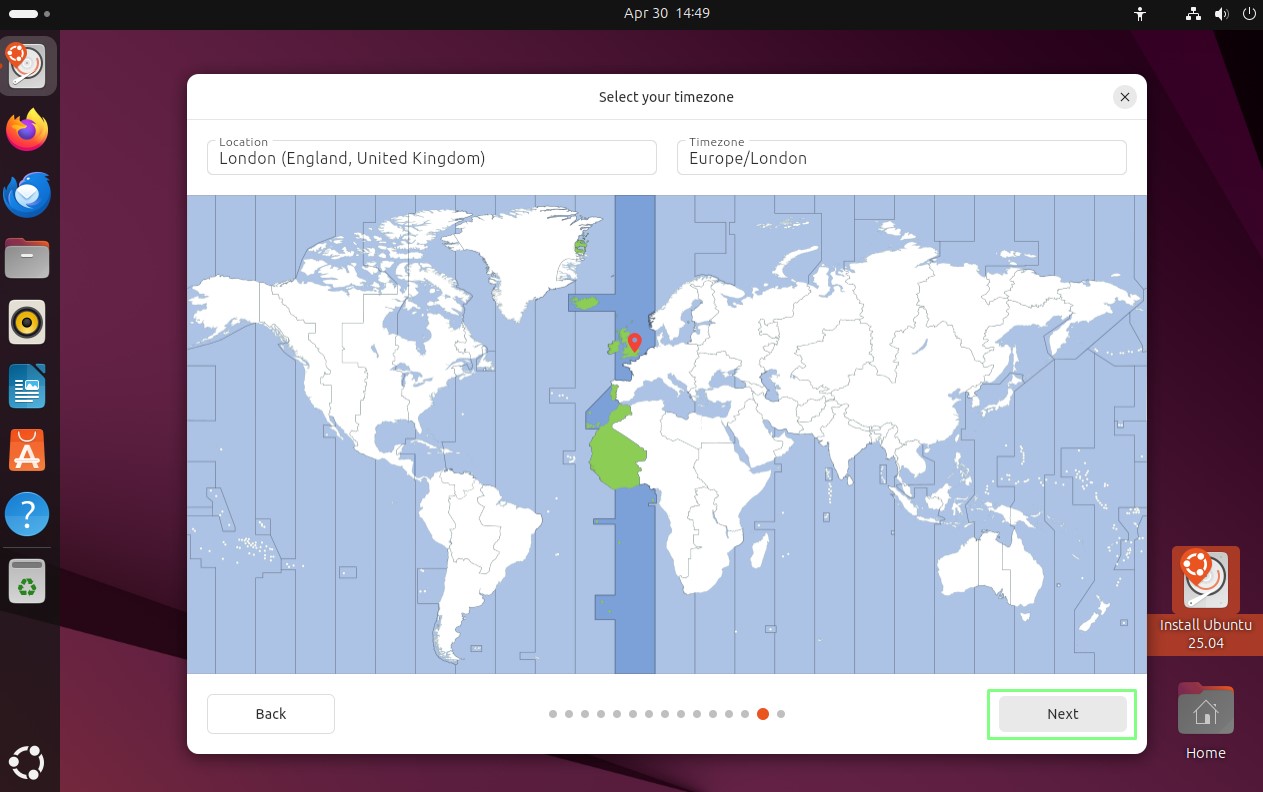
17. Set your location and click Continue.
18. Review your choices and click Install to begin.
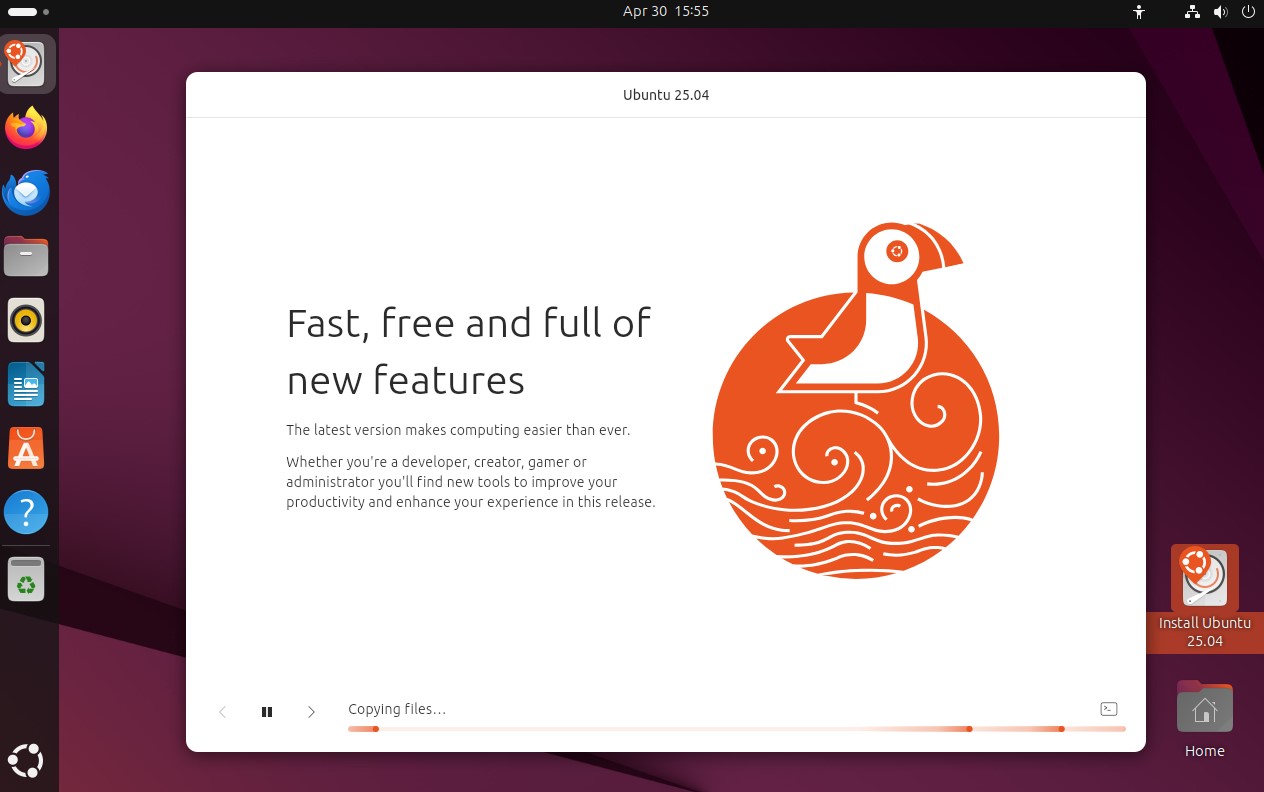
The installation will take a few minutes to complete.
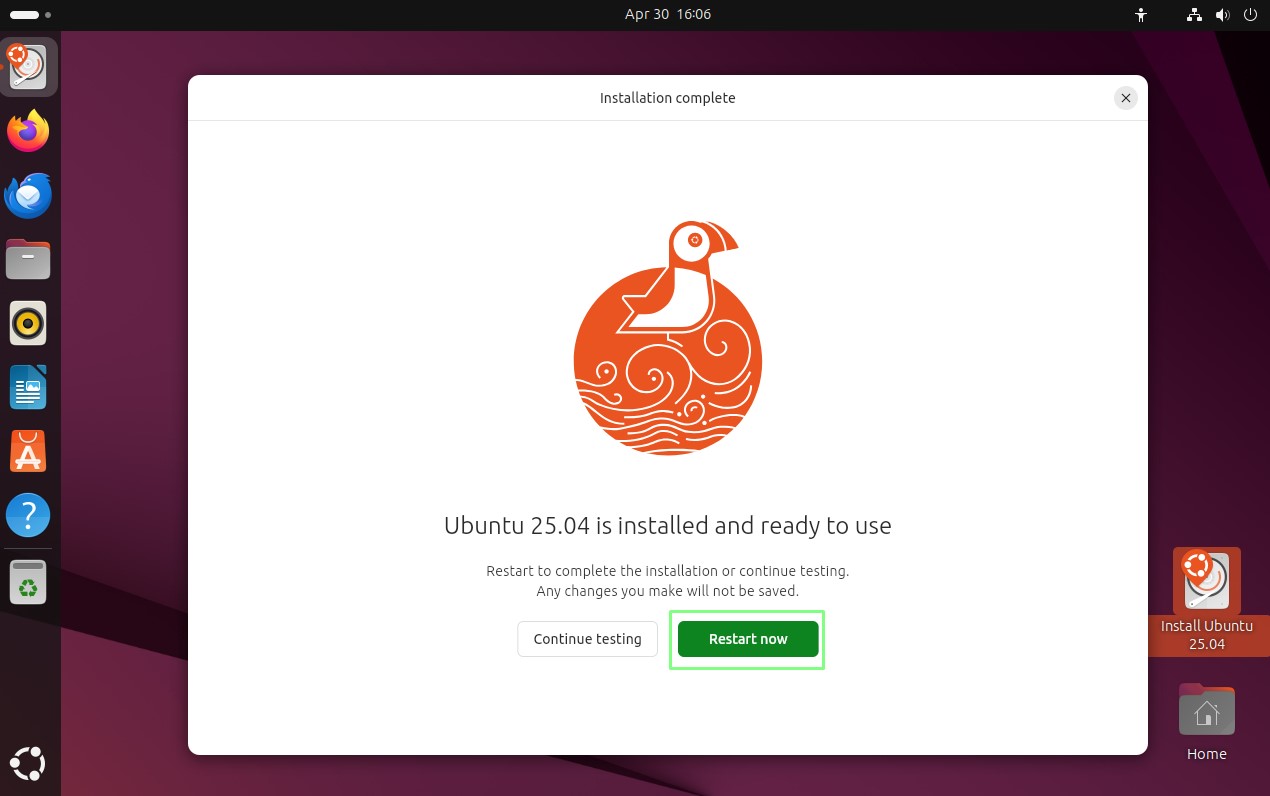
19. Click on Restart Now to reboot your computer.
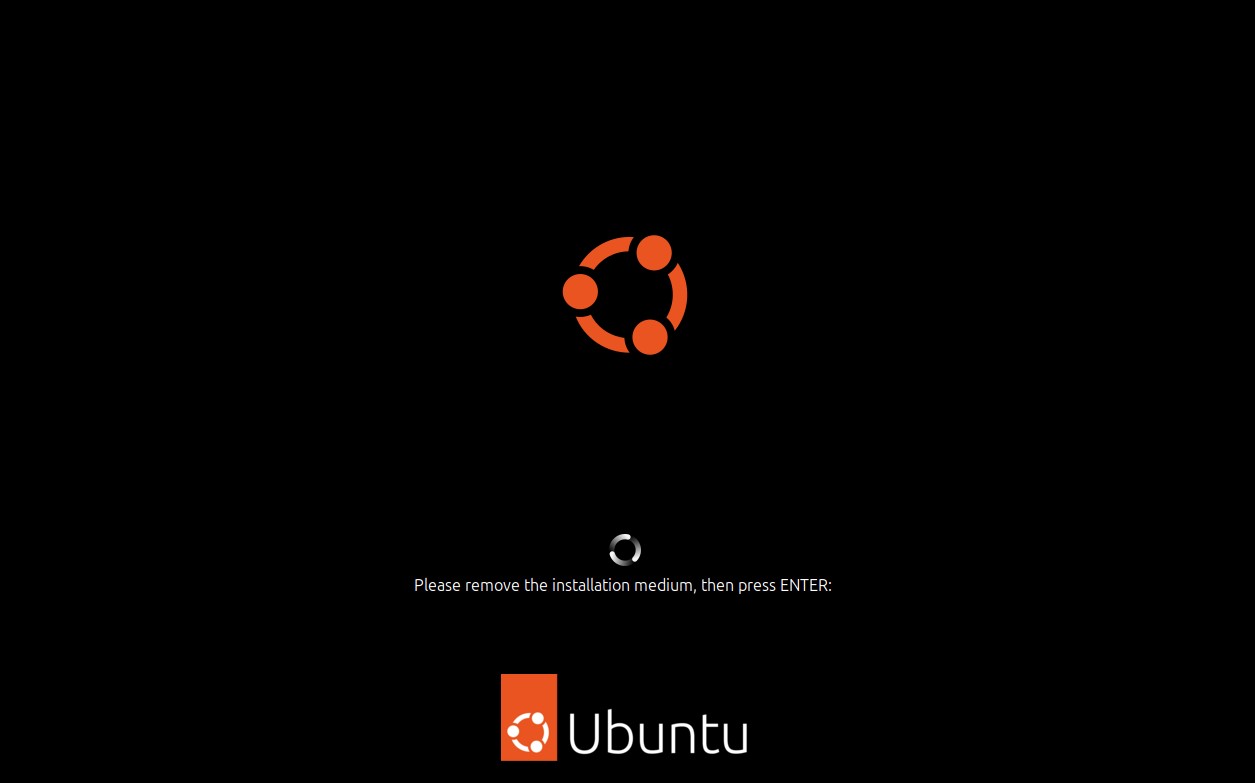
20. Remove the USB drive and press Enter when prompted.
How to set up your BIOS for your first Linux dual boot
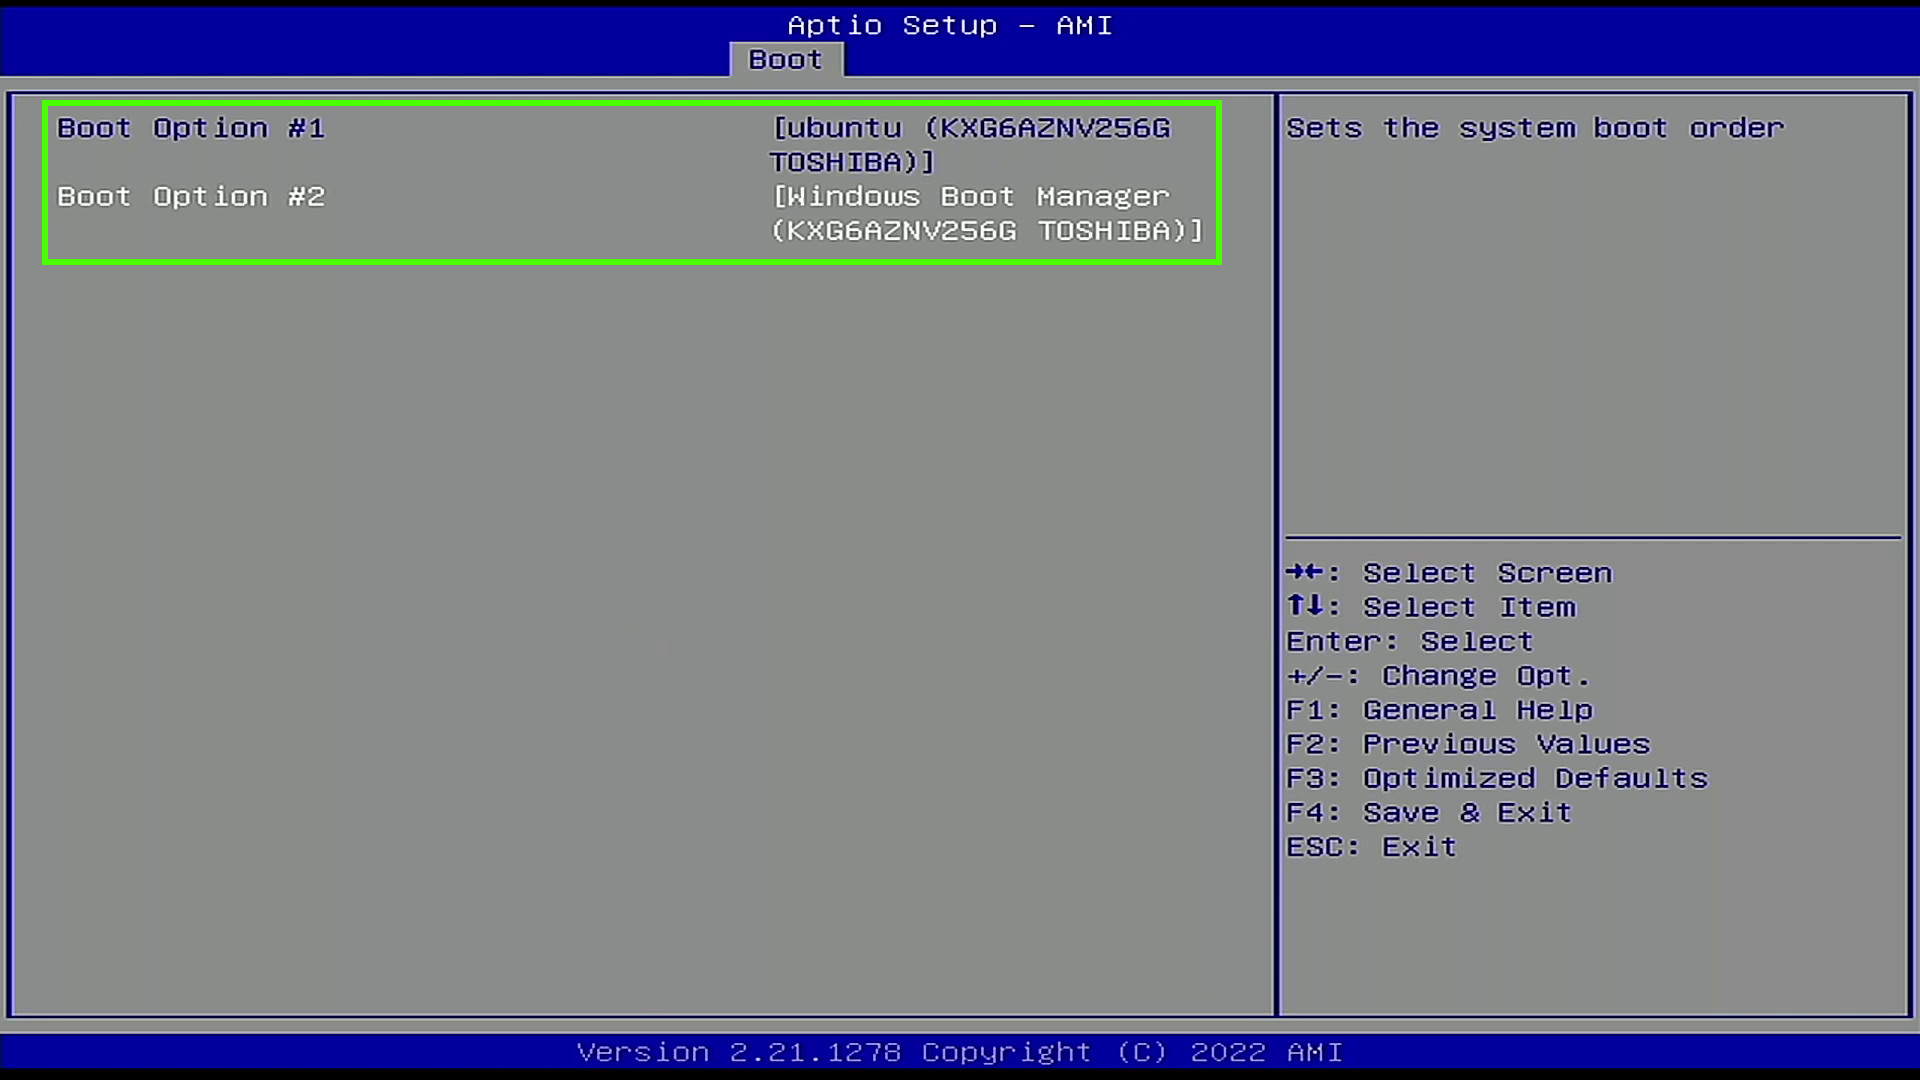
The first boot of a Linux dual boot system requires a little fine tuning in our BIOS. We need to tell the system to boot from our Linux install, which will trigger the GRUB menu to load. From there we can select an OS to boot from. Each BIOS is a little different, so use these steps as a general guide and refer to the manual for your motherboard for more specific information.
1. Open your BIOS menu. See our story on how to enter your BIOS if you don’t know how to do this already.
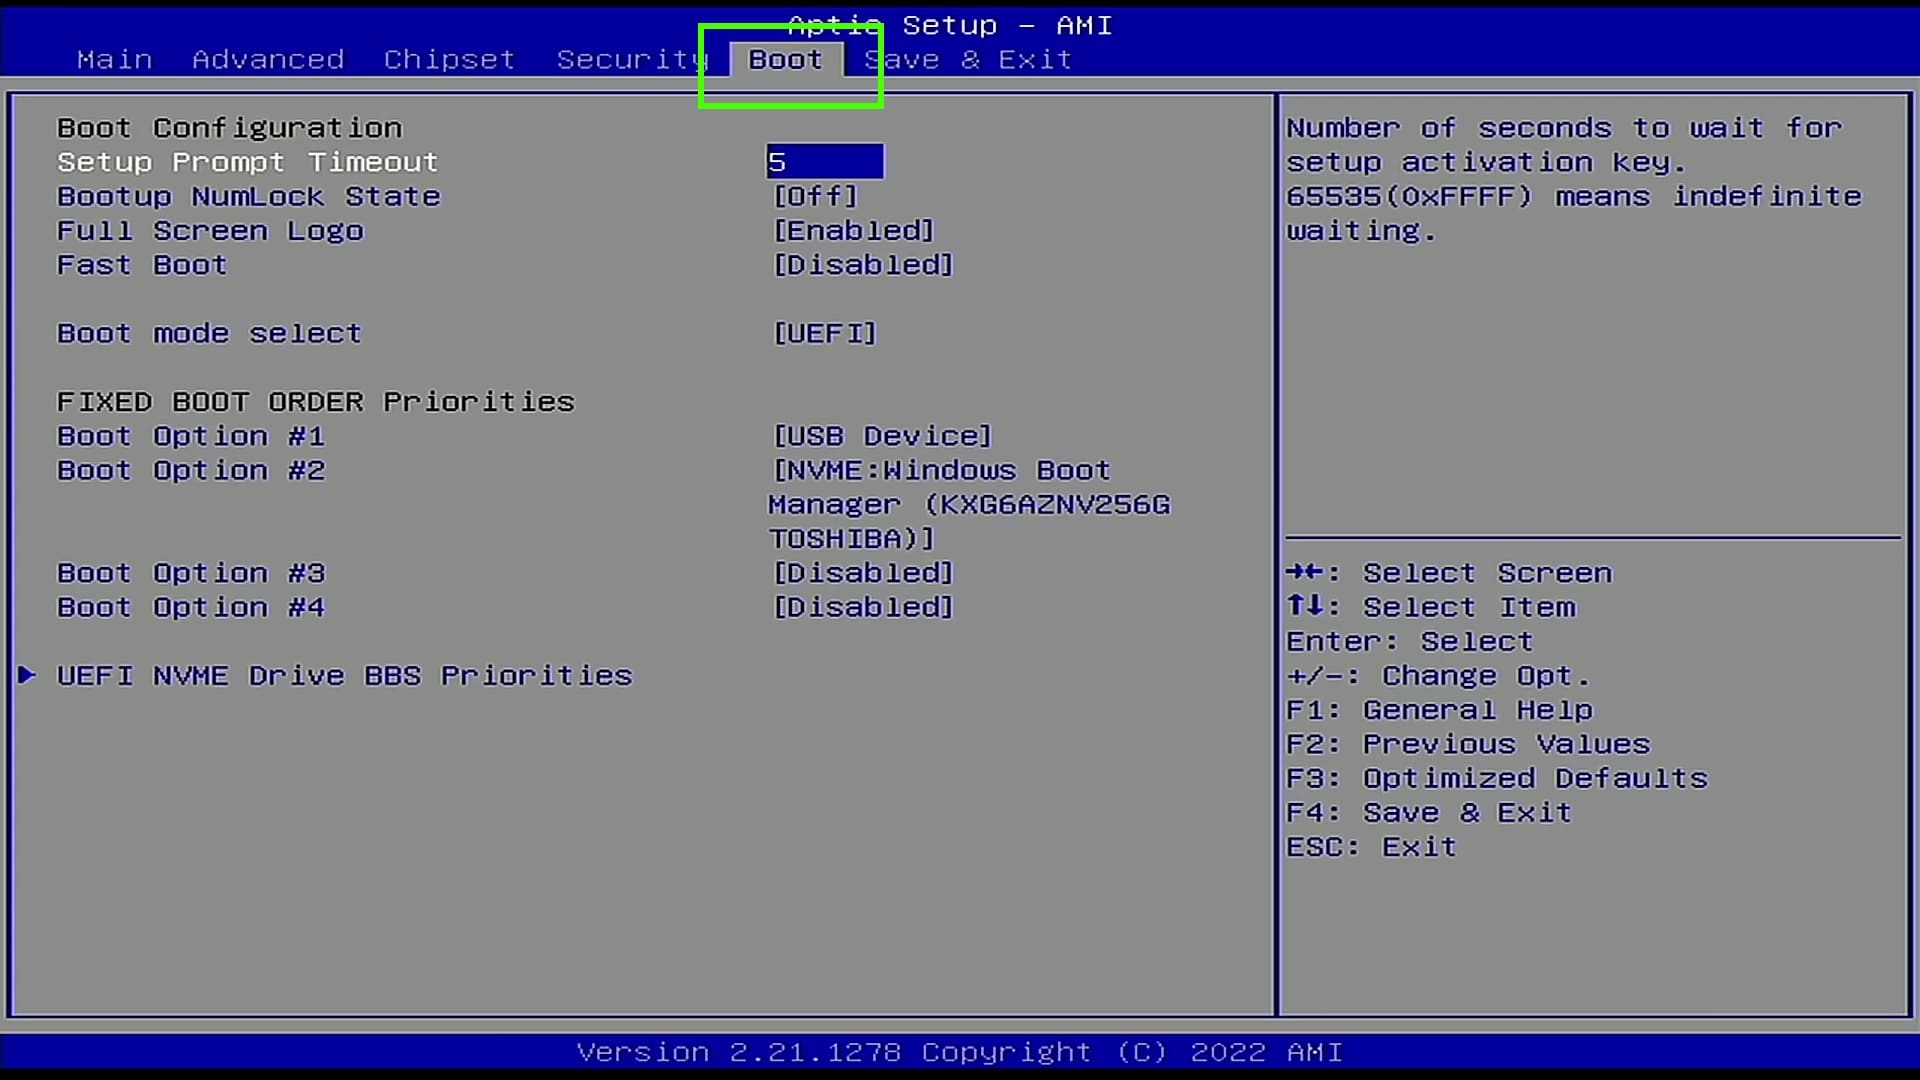
2. Select the Boot menu.
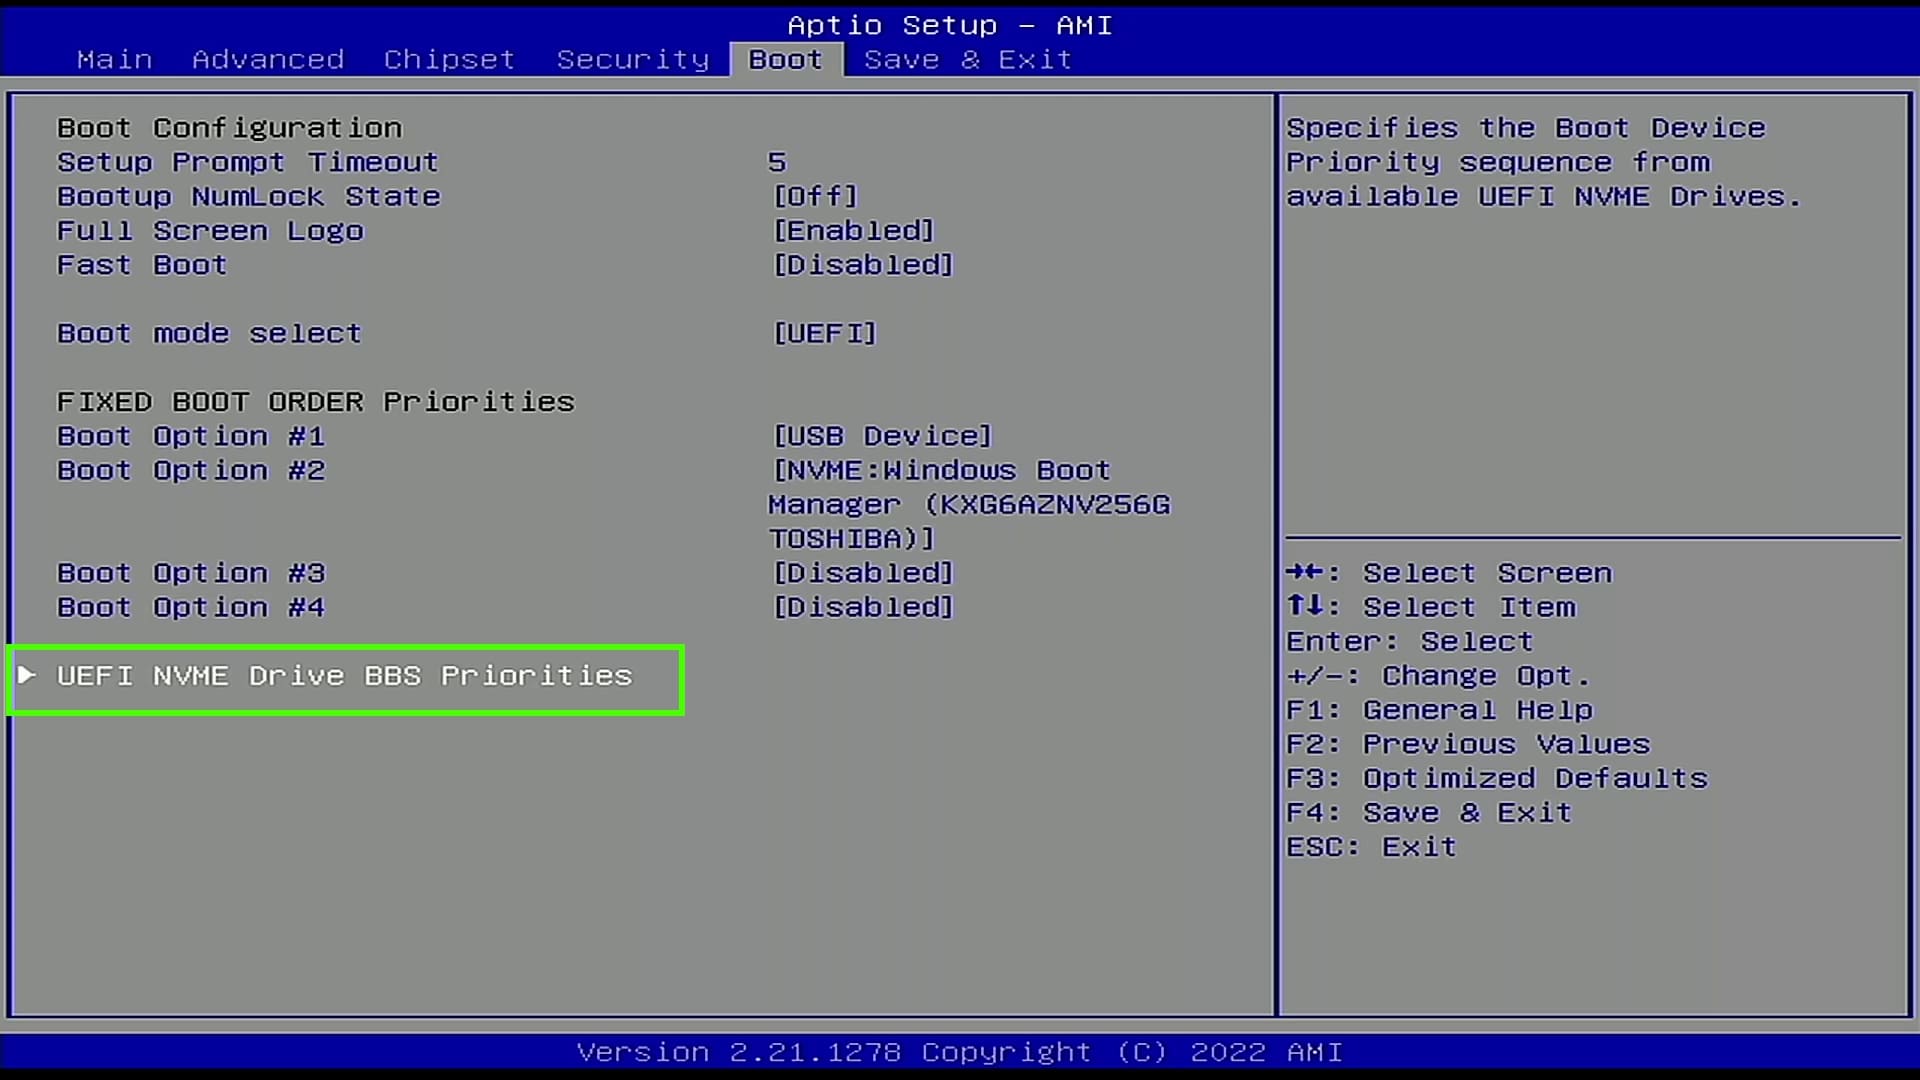
3. Select UEFI NVMe Drive BBS Priorities.
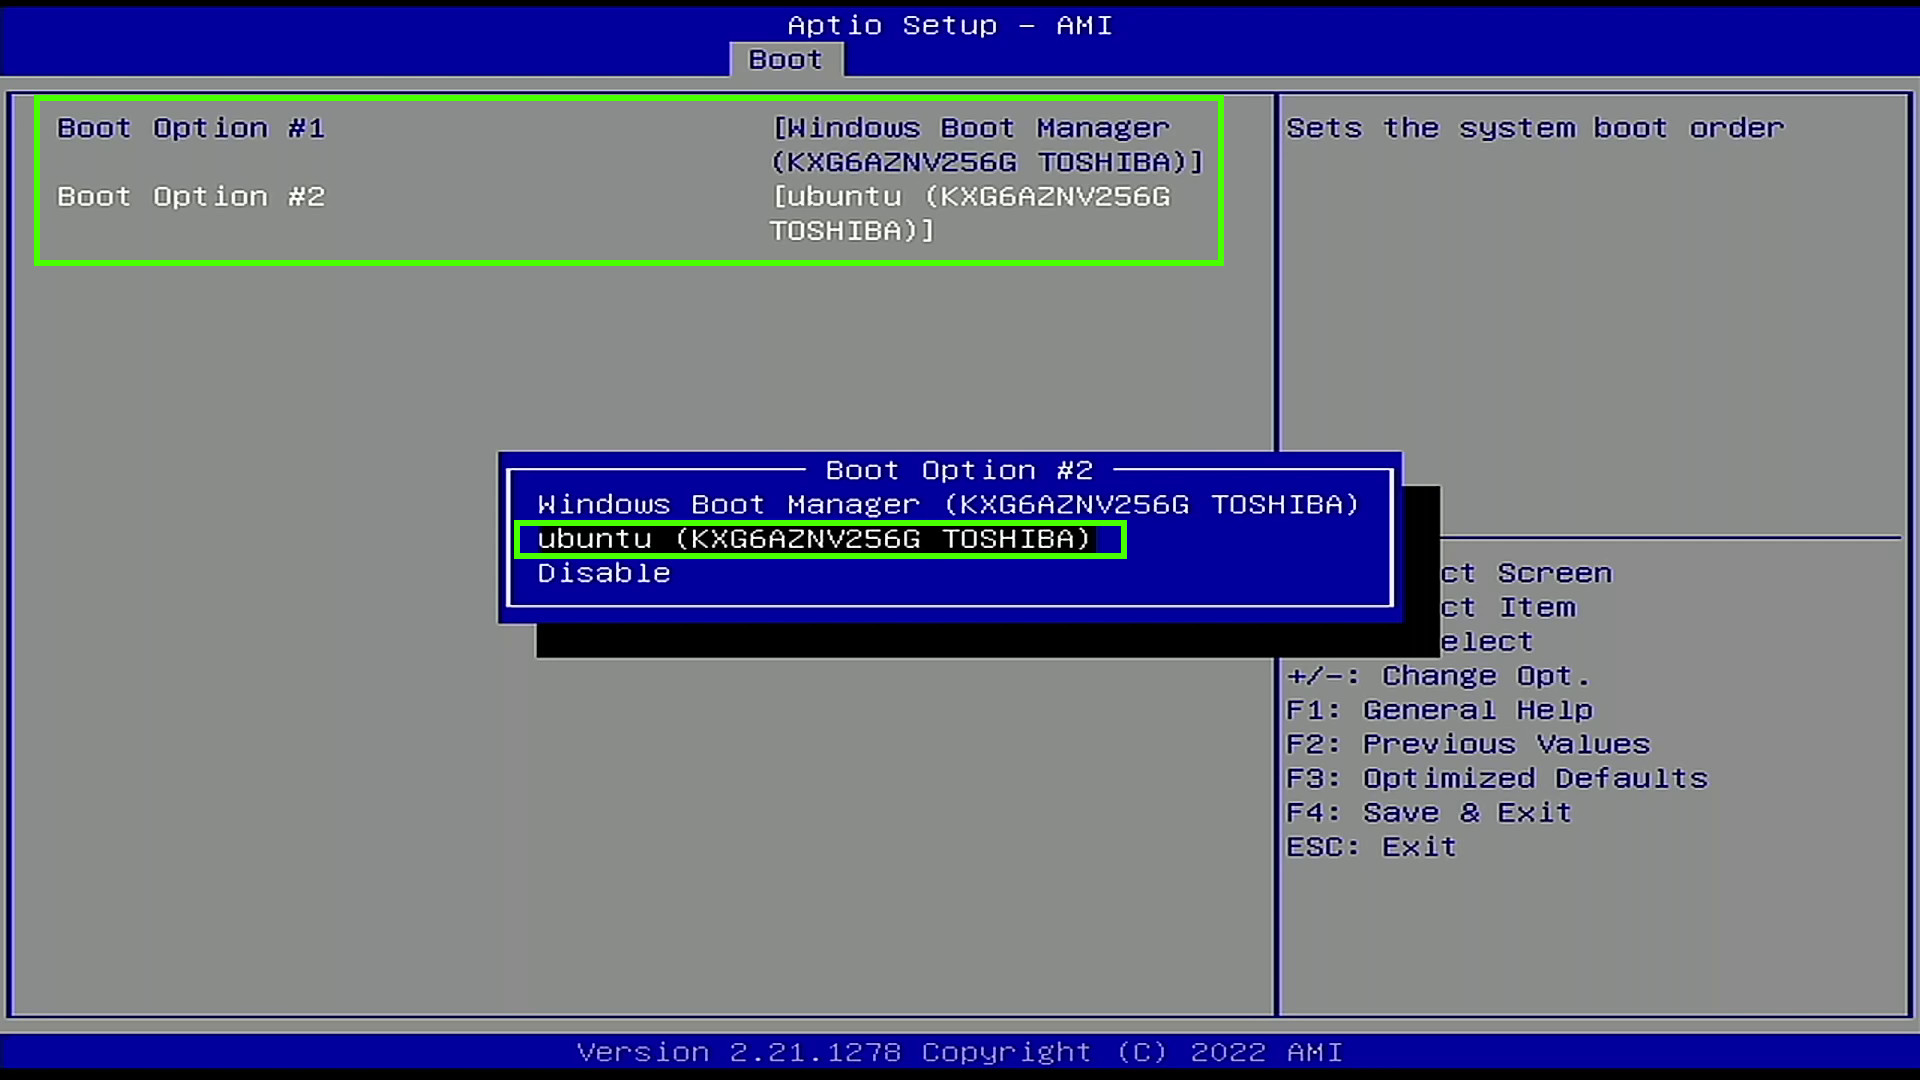
4. Set Boot Option 1 to be the Linux install.
5. Check that the change has been made, then save and exit the BIOS.
6. The system will now boot to GRUB, choose your Linux OS and press Enter. If we leave GRUB for 10 seconds, it will choose the default option, typically Linux.
7. Boot to the Linux desktop and check that everything is correct.
8. Reboot to GRUB and select Windows to check that everything is working.

Les Pounder is an associate editor at Tom's Hardware. He is a creative technologist and for seven years has created projects to educate and inspire minds both young and old. He has worked with the Raspberry Pi Foundation to write and deliver their teacher training program "Picademy".
