 Join Tom’s Hardware today


The Raspberry Pi has been a great emulation machine ever since its inception. As the power of the Pi has increased, more and more retro systems have become playable. With the added performance from the Raspberry Pi 5 we now have a solid foundation to emulate consoles from the late 1990s and now the 2000s, including the Sony PlayStation 2.
The PS2 launched all the way back in the year 2000, but it still has a really impressive library of games. These include Alien Hominid, Metal Gear Solid 3, Oni, Shadow of the Colossus, Rez, Grand Turismo, Godzilla: Save the Earth and hundreds more. If you have ROMs of these or other PS2 games, you can fire them up on a Raspberry Pi 5 or 4 and get them running.
In this how to, we will set up AetherSX2, a great PS2 emulator for Arm SBCs. We’ll be using Ubuntu 23.10, because there are issues running this on Raspberry Pi OS, and we will show you how to configure the emulator to play your favorite PS2 games. We want to offer a hat tip to YouTuber Leepsp, who gave us a lot of pointers and provides a great video tutorial on how to do this.


Though this emulator will work on older models of Raspberry Pi, we would not go any earlier than Raspberry Pi 4 (and 5 is ideal). We tested it on an 8GB Raspberry Pi 4 running at 1.8 GHz and the emulation was not great. We saw around 60% of the performance offered by the Raspberry Pi 5. If you prefer 2D scrollers or simple games then you’ll be ok. But the PS2 was famed for sprawling 3D worlds and those worlds won’t play as good on the Pi 4.
How To Install Ubuntu 23.10
Typically with a Raspberry Pi we would install Raspberry Pi OS. The latest version of which is based on Debian 12 “Bookworm” but it is not the best choice for this emulator. Instead we chose to install Ubuntu 23.10 and it is surprisingly easy thanks to the official Raspberry Pi Imager tool.
You set up Ubuntu on a Raspberry Pi in pretty much the same way that you set up Raspberry Pi OS.
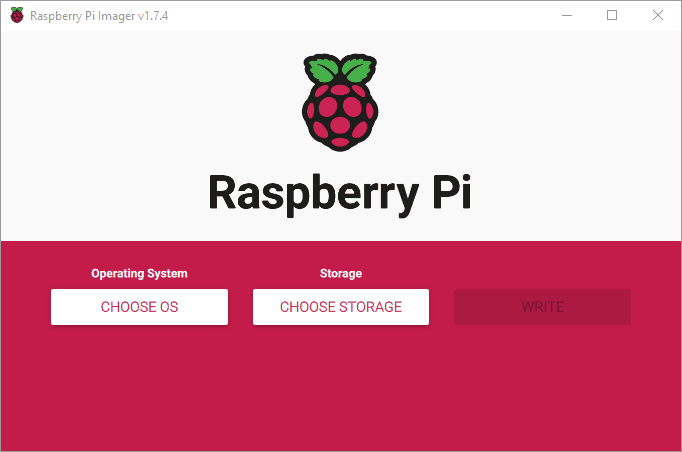
1. Download, install and run Raspberry Pi Imager.
2. Click Choose OS.
3. Scroll down to Other general-purpose OS, select it and then select Ubuntu 23.10 for the Raspberry Pi 5.
1. Continue by selecting your microSD card and clicking Write. Then you will have Ubuntu installed on an SD card.
2. Insert the micro SD card into the Raspberry Pi 5, connect your peripherals and then power on the Pi.
3. Follow the first boot setup process and your Ubuntu install is ready to go.
How To Install AetherSX2
Unlike a traditional Linux install (via a package manager) AetherSX2 is delivered as an executable file, downloaded from the AetherSX website.
1. Open a terminal and update the software repositories, then install the latest software for your Raspberry Pi 5. The update part is essential so that we update the list of repositories for our Pi. The upgrade is more of a “good thing to do”.
sudo apt update && sudo apt upgrade -y2. Install fuse. Fuse is a Filesystem in Userspace and it enables non-privileged users to create file systems without editing kernel code.
sudo apt install fuse3. Install the Ubuntu desktop package. Fuse unfortunately removes access to folders from the Ubuntu desktop, by installing this package we get that access back.
sudo apt install ubuntu-desktop4. Open a browser and visit the AetherSX2 Linux download page, click on the v1.3 link. This seems to have the best overall compatibility but your mileage may vary.
5. Go to the downloaded AetherSX2 file, right click and select Properties.
6. Set the file to executable and click OK. If you prefer the command line then using chmod +x <AetherSX2 Download file> will also work.

7. Double click on the file to run AetherSX2. The application is packaged as an appimage file. These are basically portable Linux apps that contain all of the dependencies and files to run as if it were an exe file in Windows.

How To Use AetherSX2
AetherSX2 is a leading PlayStation 2 emulator for Arm based SBCs, and it was in active development until late 2022. Sadly development has now ended, but it still ranks as the best way to play PS2 games on Arm.
The application requires two key elements. Games to play, known as “ROMS” in the emulation community and BIOS. ROMS are essentially dumps of games, the term coming from arcade cabinets using ROM chips to store games. BIOS files are also dumps, but this time of the BIOS chips used in the consoles. Not all consoles require BIOS files, but PlayStation 1 and 2 emulation does require them.
The legality of ROMS and BIOS is questionable. Some consider them to be abandonware, with many games now hitting 40 years since release. But the licenses for these games have most likely been transferred to another rights holder and that means they are under copyright / are the intellectual property of a company. We’re not going to tell you how to find and download ROMS or BIOS. That is an exercise for the reader.
1. Click on Add Game Directory and navigate to the location of your PS2 ROM files.

2. Scan the folders to find all of your games.

3. Click on Settings >> BIOS. Your games are now listed in the main window but we need to set the BIOS before we can play them.

4. Click on Browse and navigate to the BIOS location and click Choose to select the folder. The menu will populate with all of the BIOS it can find.

5. Click on Settings >> Controllers and configure your gamepad. Click on Controller Port 1 and then set each input in the window and press the corresponding button on your controller. We used an Xbox One controller connected via USB. Analog inputs, such as thumbsticks, will register when the stick is released.

6. Click on Settings >> Graphics and set the Renderer to Vulkan and the adapter to V3D 7.1.7. You can also click on Rendering to set the output of the emulation. We would suggest not touching this tab yet. Run the game at a native PS2 resolution and check that it works correctly.

7. From the main window, double click on your chosen game and the emulator will run using the correct BIOS for the ROM image.

We tested both Rez and Gran Turismo 4. Rez ran well at the PS2’s native resolution, a constant 60 fps. Gran Turismo 4 sadly became a slideshow when we tried to choose a car. Menus and UI were full speed, but the game was unplayable.Our editor-in-chief, Avram Piltch tested Godzilla: Save the Earth and that played at a steady 60 fps at 640 x 480.


Version 1.3 of AetherSX2 seems to offer the best compatibility, but try the other versions to find the best for your games. Avram used version 1.5 with Godzilla: Save the Earth with great success. We hope that a Vulkan driver update will bring a little more power to our emulations.
