How to Install Ubuntu on Your Raspberry Pi
You can even run 64-bit Ubuntu on your Raspberry Pi.
While Raspbian is the official operating system (OS) for Raspberry Pi, there are several other OSes available, including Ubuntu, that offer some different functionality. Unlike Raspbian, Ubuntu for Raspberry Pi is available in a 64-bit version, which some apps require. For example, with 64-bit Ubuntu, you can help fight COVID-19 on your Raspberry Pi by installing the BOINC Linux app and opting for the Rosetta@Home distributed-computing project.
Ubuntu runs on even older models, such as Raspberry Pi 2 and Pi 3. However, considering how much RAM Ubuntu needs, particularly with its default desktop, you’ll benefit from using a Raspberry Pi 4 with 2GB or more of RAM (we tested with 4GB). No matter what your reason, here’s how to install Ubuntu on your Raspberry Pi.
How to Install Ubuntu on Raspberry Pi
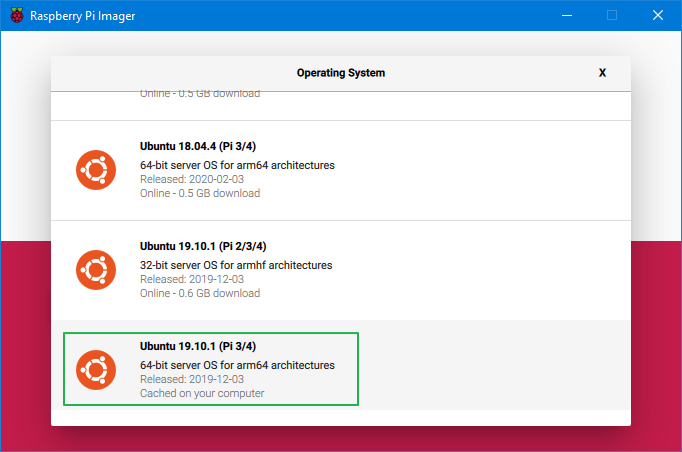
1. Burn a card with the latest version of Ubuntu Server. The easiest way to do this is to run Raspberry Pi Imager on your PC and select the latest version of Ubuntu server from the Choose OS menu. If you want to run 64-bit apps, make sure you select the 64-bit version of Ubuntu Server. For testing, we went with Ubuntu 19.10 (64-bit).
2. Boot your Raspberry Pi with the card inside and a connection to Ethernet. Unfortunately, it’s difficult to get Wi-Fi working from the command line, but you’ll be able to establish a wireless connection after you’ve installed a desktop environment (step 7).
3. Enter the default username and password. They are both ubuntu. You may have to hit enter to see the login prompt.
4. Change your password when prompted.
5. Enter sudo-apt-get update at the command prompt in order to get a list of the latest Ubuntu packages. If you get an error message saying, “temporary failure resolving ports.ubuntu.com,” you may need to change your DNS server by typing sudo nano /etc/resolv.conf and changing the content of the file to just nameserver 8.8.8.8.
Get Tom's Hardware's best news and in-depth reviews, straight to your inbox.
6. Enter sudo apt-get upgrade at the command prompt to make sure the OS is up to date.
7. Enter sudo apt-get install ubuntu-desktop at the prompt to install the desktop environment. This could take a while, but it’s necessary to get a windowed environment. Select gdm3 when asked to pick a display manager.
You can substitute xubuntu-desktop (by changing the command accordingly) if you prefer a different look and feel. Some of our screenshots were taken in Xubuntu desktop.
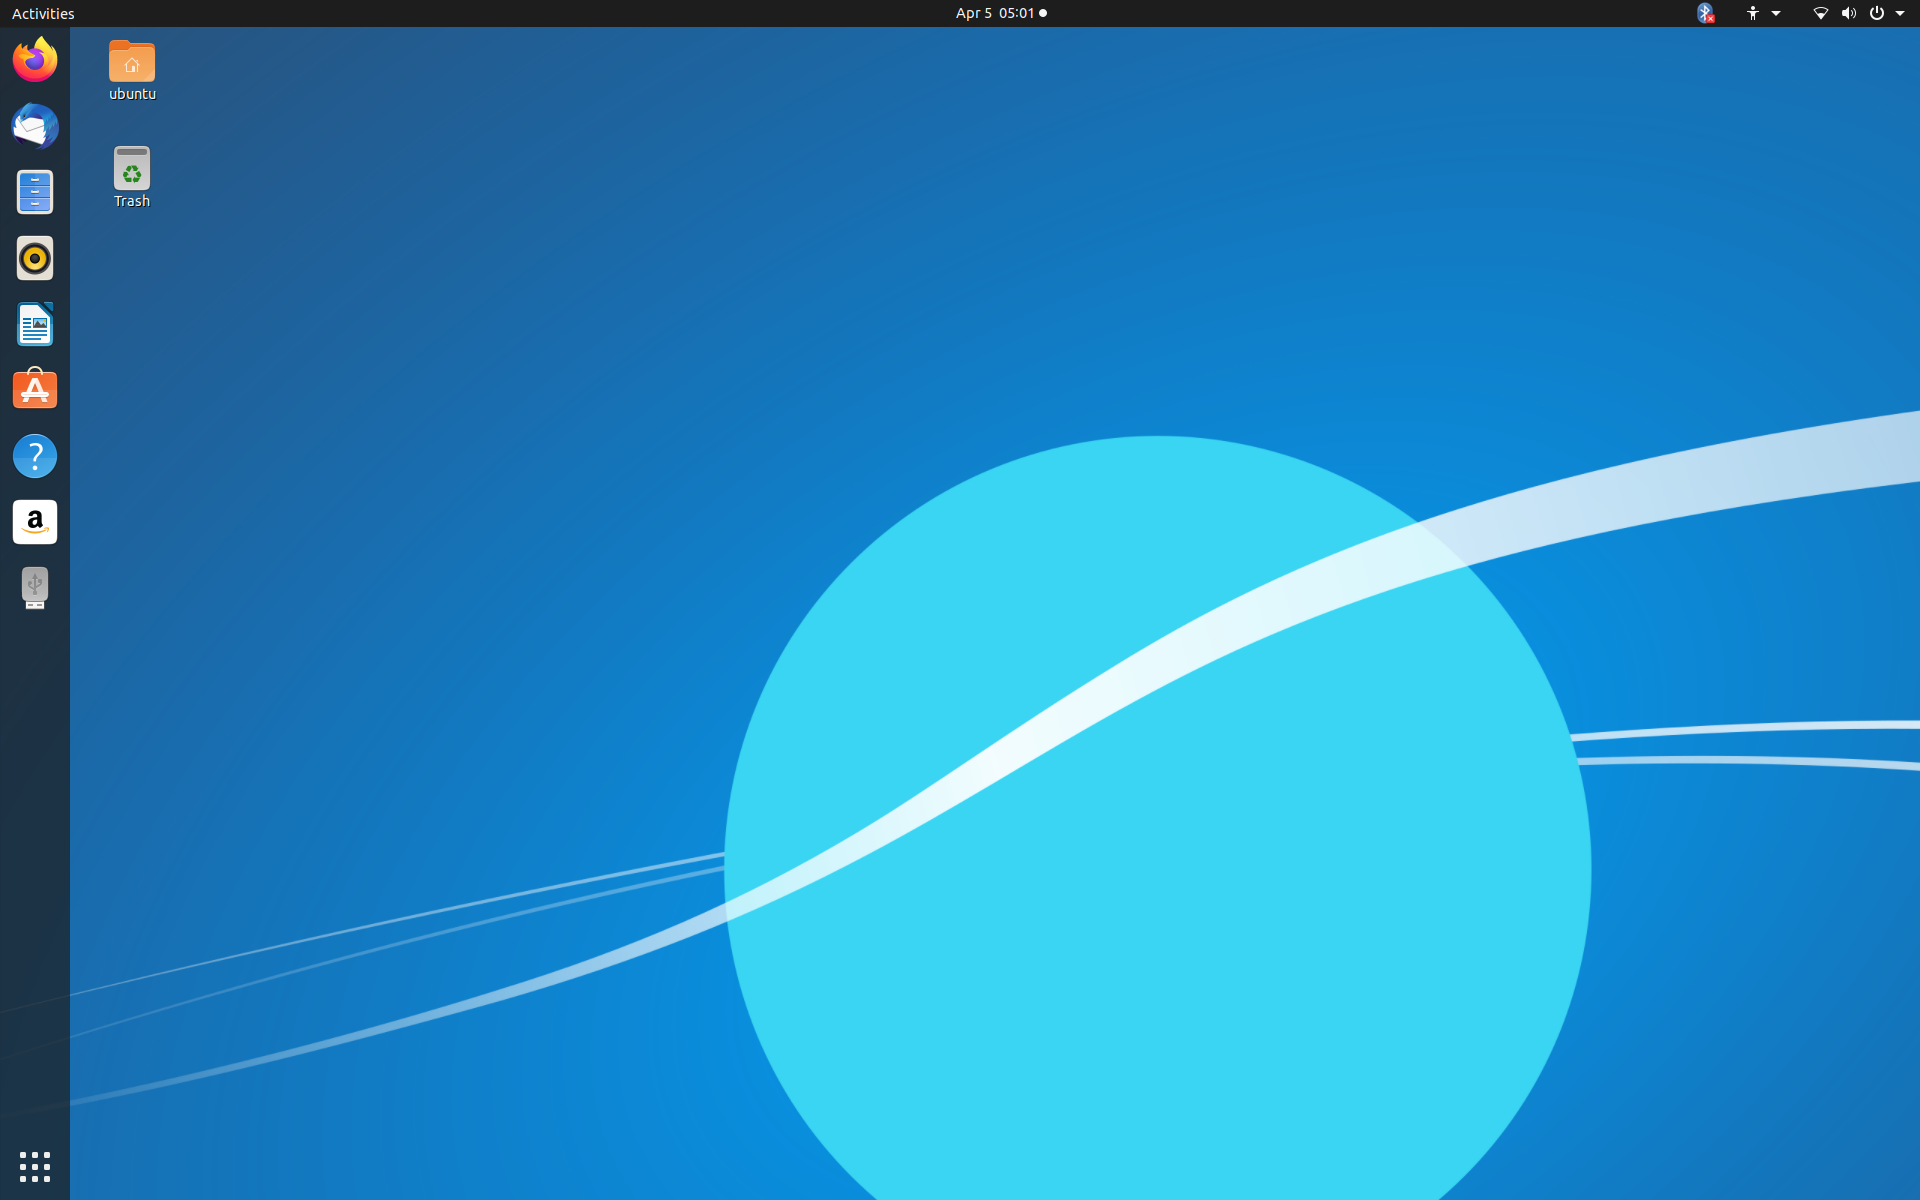
8. Reboot your Raspberry Pi by entering sudo reboot. You should now have the desktop.
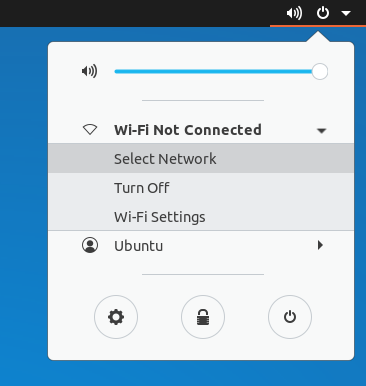
9. Select and log into your Wi-Fi network by clicking on the Wi-Fi icon in the upper right corner of the screen.
At this point, you have Ubuntu up and running and you can either use the apps that come with it or install some of your own choosing, including BOINC. Note that, in our tests with Ubuntu 64-bit on a Raspberry Pi 4 (4GB), booting Ubuntu took several minutes, and the UI itself was quite laggy. Your mileage may vary.
Overclocking Your Raspberry Pi 4 in Ubuntu
If you want to squeeze a little more performance out of your Raspberry Pi 4 in Ubuntu, you can overclock the Raspberry Pi 4. Just make sure that you have good cooling, preferably a fan such as the Pimoroni Fan Shim, and be ready to experiment.
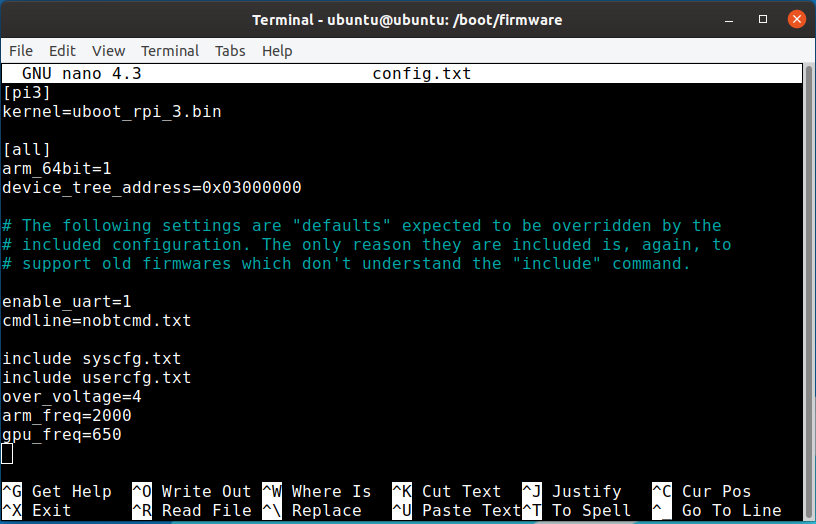
To overclock in Ubuntu, you must edit the config.txt file on the boot partition. You can get to it by typing sudo nano /boot/firmware/config.txt at the command prompt.
Alternatively, if you can’t boot because you overclocked too much, you can get to the file by putting the microSD card in your PC or Mac, opening the root directory or the card and using your text editor to open it.
Once you have the config.txt open for editing, you’ll need to add the following lines to the bottom if they aren’t already there:
over_voltage=4
arm_freq=2000
gpu_freq=650
These values should work on most, if not all units, provided that you have a decent power source and cooling. It’s possible that you could turn the frequency up a little higher, as we’ve been able to overclock a Raspberry Pi 4 up to 2,147 MHz in Raspbian with a 750 MHz GPU and overvolt of 6, but we were not able to achieve speeds higher than that in Ubuntu.
If you try higher values, your system may not boot or it may become unstable, so proceed at your own risk. If your system fails to boot after you’ve increased the values, you can always put the microSD card into your PC and edit config.txt from there to lower them.
Avram Piltch is Managing Editor: Special Projects. When he's not playing with the latest gadgets at work or putting on VR helmets at trade shows, you'll find him rooting his phone, taking apart his PC, or coding plugins. With his technical knowledge and passion for testing, Avram developed many real-world benchmarks, including our laptop battery test.
-
FastAddons Could you run htop to see how much memory is left?Reply
I'm considering using this with my 2GB version if it won't take half of the memory.
EDIT:
From what I can see in here, installing the Mate desktop on Ubuntu x64 will take about 900MB.
That's a lot! My 32 bit Raspbian takes less than 400MB. -
bi0logic After installing Ubuntu-desktop using these steps, my pi boots to a black screen which allows no further progress.Reply -
Stygian-Agenda As a much lighter-weight alternative, try https://ubuntu-mate.org/ for RPi2/3 --it uses a lot less resources to run, yet comes packed with the Mate-Desktop (pronouced MAH-tay), which was branched from Gnome 2.32 to become it's own desktop, several years ago now. It's personally my favorite distro, which I run on x86/x64 and ARM32/ARM64, and I have it installed and running on 3 embedded system and 6 VMs.Reply
The procedure to install it is more in line with community standards, rather than using an all-in-one imager/eraser tool, but the results tend to be better because the partitioning is direct to the SD card rather than within an encapsulated FAT-based file system-object-file. The results are a fast clean OS with a ton of capability.


