Raspberry Pi Pico Lamp Sets The Mood Using ChatGPT

Playing around with RGB color lamps can be fun but choosing a color takes time and effort. What if you could automate the process (with our favorite microcontroller, the Raspberry Pi Pico, of course)? That’s exactly what maker and developer Scarlet Lee has done with this AI-controlled Raspberry Pi Pico lamp that uses Chat GPT to help pick the right color for the best ambiance possible.
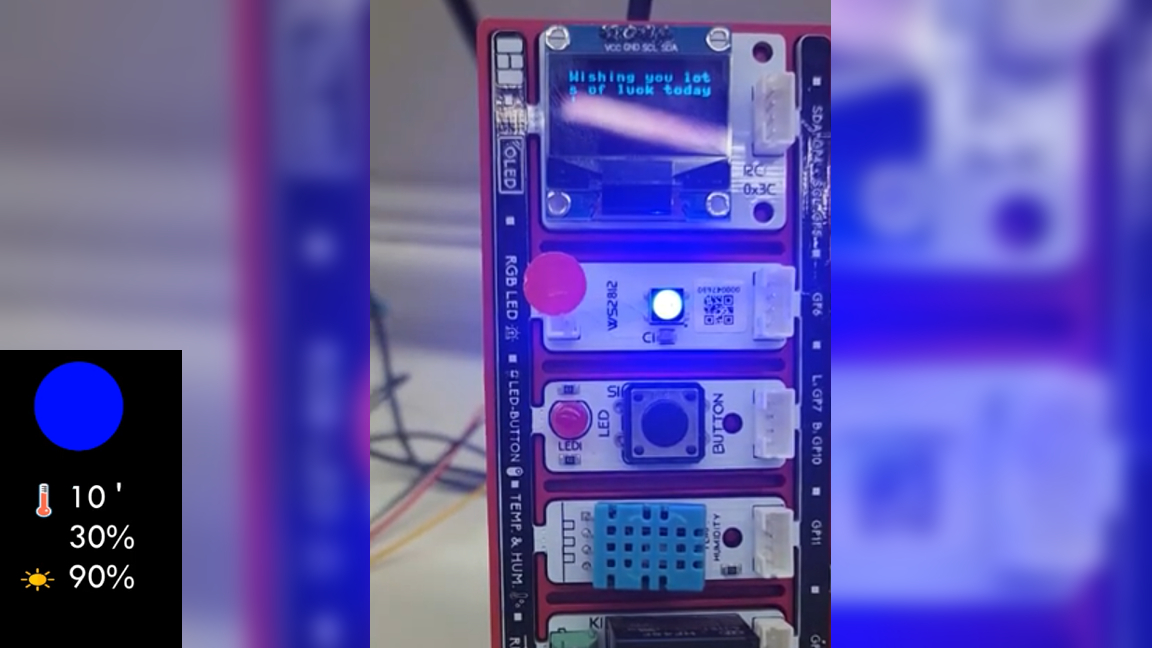
There are plenty of factors you could use as triggers to set the color. In this case, Lee is using things like the temperature, average humidity levels and the current amount of ambient light to set the color of the lamp. These details are parsed to ChatGPT which makes a suggestion for the light color. It also displays a message with good fortunes on the display panel.


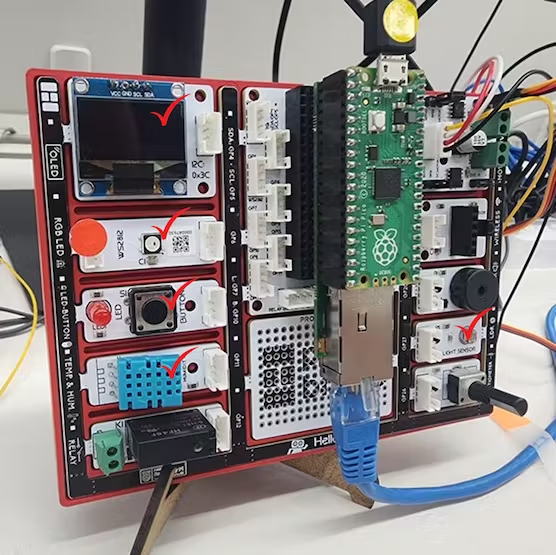
To make setting up this project a little bit easier, Lee is using a modular breakout board called Pico Bricks. This is designed so the Pico plugs into the center of the board with an array of components around the edges. Pre-wired modules with various components like temperature sensors, buzzers, etc are placed around the perimeter. We reviewed the Pico Bricks board a while back and appreciated its approach as a learning platform for students.
The Raspberry Pi Pico works alongside Pico Bricks to provide the platform for the project, but tt requires an internet connection. Lee recommends using a WIZnet Ethernet HAT or even the WIZnet W5100S-EVB-Pico board instead. You could also use a Raspberry Pi Pico W in the place of the Pico for a simpler setup. As far as the Pico Bricks modules go, you’ll need the RGB LED, an OLED display, the temperature/humidity sensor, LDR (Light Dependent Resistor) as well as a button to control the lamp.
Lee was kind enough to provide all of the details you need to code the project at home. You’ll need access to OpenAI to integrate ChatGPT for color selection. There are also steps for setting up each of the modules you’ll be using with Pico Bricks. You can find the full build guide and source code over at the official project page shared to Hackster.
This is one Raspberry Pi project guaranteed to help you get the most out of your RGB LED experience. If you want to recreate it yourself, you best head over to Hackster and see exactly how this clever ChatGPT RGB lamp goes together.
Get Tom's Hardware's best news and in-depth reviews, straight to your inbox.

Ash Hill is a contributing writer for Tom's Hardware with a wealth of experience in the hobby electronics, 3D printing and PCs. She manages the Pi projects of the month and much of our daily Raspberry Pi reporting while also finding the best coupons and deals on all tech.
-
Interesting concept.Reply
For Temp and humid, it appears that the DHT11 module has a problem with reading pulses correctly when executing code written in lib (library). It was expected though.
Due to ADC read timing for sure. Anyway, it's better we directly call DHT11 module and use it in the main file.
# Class Init
dht_sensor = dht.DHT11(Pin(11))
# Measure Temp& Hum
dht_sensor.measure()
temperature = dht_sensor.temperature()
humidity = dht_sensor.humidity()
Although I'm not using Pico bricks module, I had to input the GPIO values in the initialization function though.
from picobricks_utils import picobricks_neopixel as _PB_neopixel
PB_neopixel= _PB_neopixel(neopixel_pin= 6) -
BTW, Just found another project while browsing hackster, and this one is so cool !Reply
https://www.hackster.io/ben-eagan/raspberry-pi-automated-plant-watering-with-website-8af2dc
