How to Make a Solar-Powered DS Lite
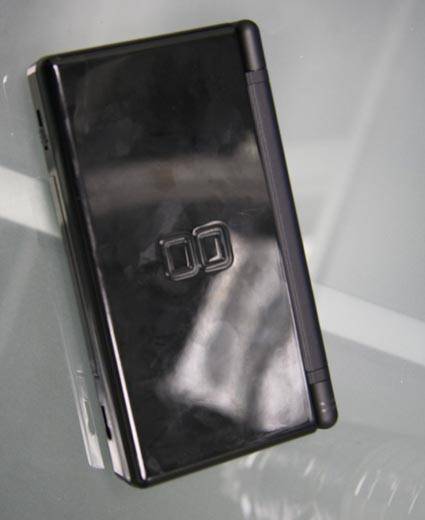
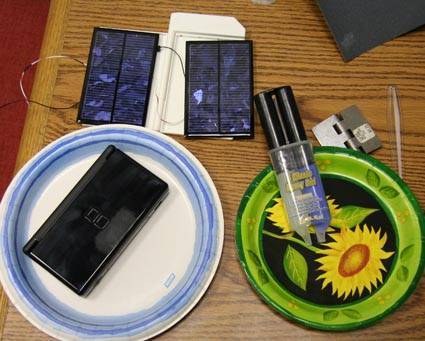
Our little, shiny DS Lite before the mod.
Our little, shiny DS Lite before the mod.
The new DS isn't so shiny anymore after we make a few alterations to the unit's exterior.
The new DS isn’t so shiny anymore after we make a few alterations to the unit’s exterior.
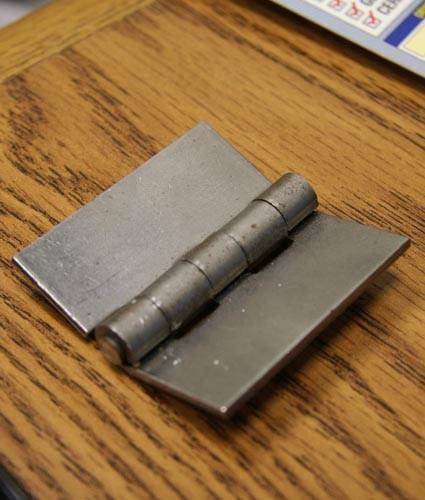
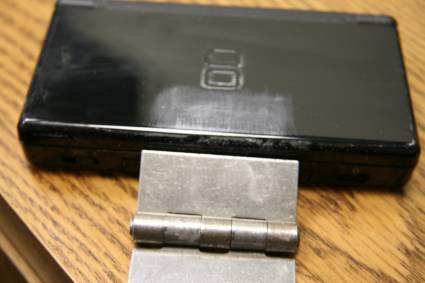
The metal latch that will connect the Soldius 1 solar power phone charger to the DS.
The metal latch that will connect the Soldius 1 solar power phone charger to the DS.
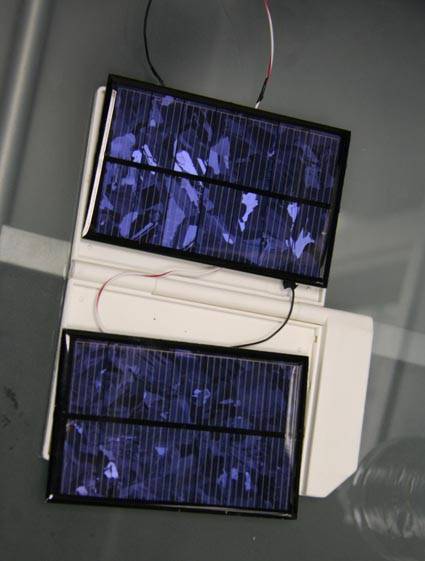
The Soldius 1 solar power phone charger.
The Soldius 1 solar power phone charger.
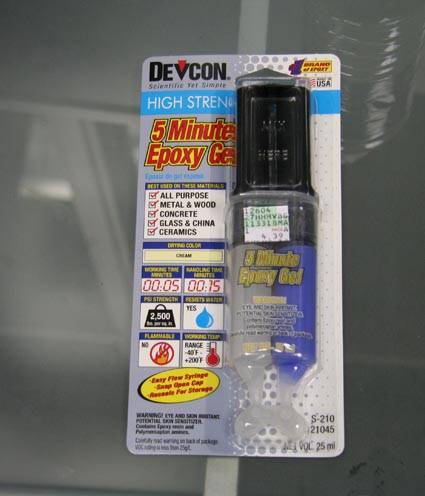
Some sturdy epoxy gel to secure the latch to the solar panels and DS.
Some sturdy epoxy gel to secure the latch to the solar panels and DS.
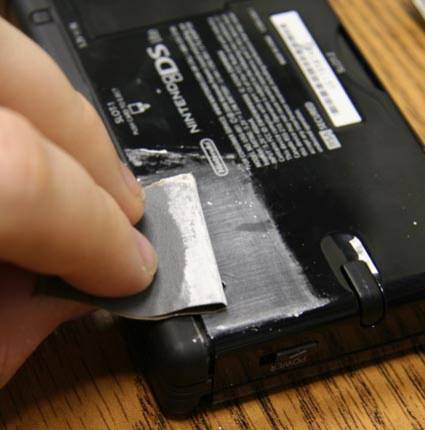
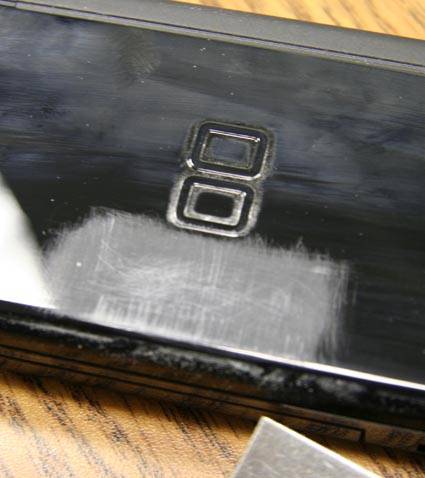
At this point, the DS is covered with fingerprints and scuffs and isn't looking so new anymore. However, we had to prepare a surface on top cover of the DS Lite where the metal latch could be securely attached.
At this point, the DS is covered with fingerprints and scuffs and isn’t looking so new anymore. However, we had to prepare a surface on top cover of the DS Lite where the metal latch could be securely attached.
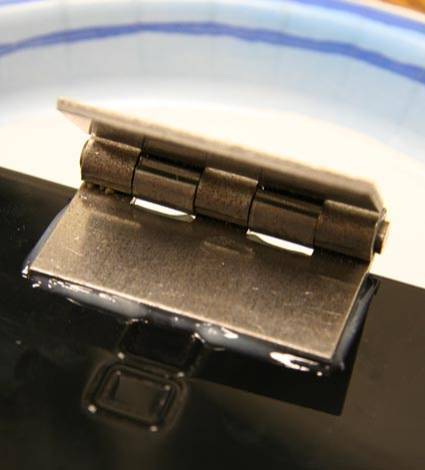
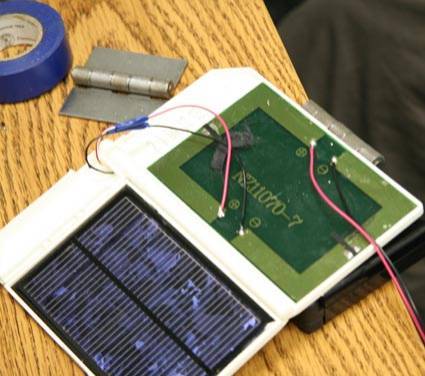
The metal latch is glued on top of the DS cover, with the other end attaching to the folding solar panels.
The metal latch is glued on top of the DS cover, with the other end attaching to the folding solar panels.
Get Tom's Hardware's best news and in-depth reviews, straight to your inbox.
The epoxy gel is icky looking, but it worked like a charm.
The epoxy gel is icky looking, but it worked like a charm.
Tonight's dinner will feature a little DS action, covered with some epoxy gel and sprinkled with solar energy.
Tonight’s dinner will feature a little DS action, covered with some epoxy gel and sprinkled with solar energy.
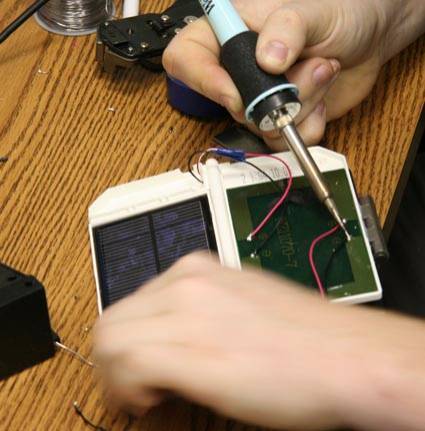
THG videographer Max Wilson made some alterations to the Soldius 1 solar panels so that the DS battery cable could connect directly to the solar panels.
THG videographer Max Wilson made some alterations to the Soldius 1 solar panels so that the DS battery cable could connect directly to the solar panels.
Adjusting the Soldius 1 solar panel, which in an unaltered condition provides 5,6V, was fairly simple.
Adjusting the Soldius 1 solar panel, which in an unaltered condition provides 5,6V, was fairly simple.
Tom's Hardware is the leading destination for hardcore computer enthusiasts. We cover everything from processors to 3D printers, single-board computers, SSDs and high-end gaming rigs, empowering readers to make the most of the tech they love, keep up on the latest developments and buy the right gear. Our staff has more than 100 years of combined experience covering news, solving tech problems and reviewing components and systems.
-
Destiny19901003 With some basic equipment and a bit of wiring, build a solar panel battery charger that keeps small appliances going. The advent of solar energy has made small solar panels readily available in all sizes. Build a charger as a science fair project to demonstrate the simple process of solar power.Reply
1.Put 4 AA batteries into the two battery holders.
2.Wire the holders together to make a series connection for the battery charger. Connect one positive wire from one holder to one negative wire of the other. Leave the other positive and negative wires alone for now.
3.Join the blocking diode and the battery charger. Use the ringed end. Connect this to the positive wire from the battery holder.
4.Connect the other end of the blocking diode to the solar panel.
5.Take the negative output of the solar panel, and connect it to the negative wire from the battery holders.
6.Charge the solar panel, and watch it charge the batteries.
