Why you can trust Tom's Hardware
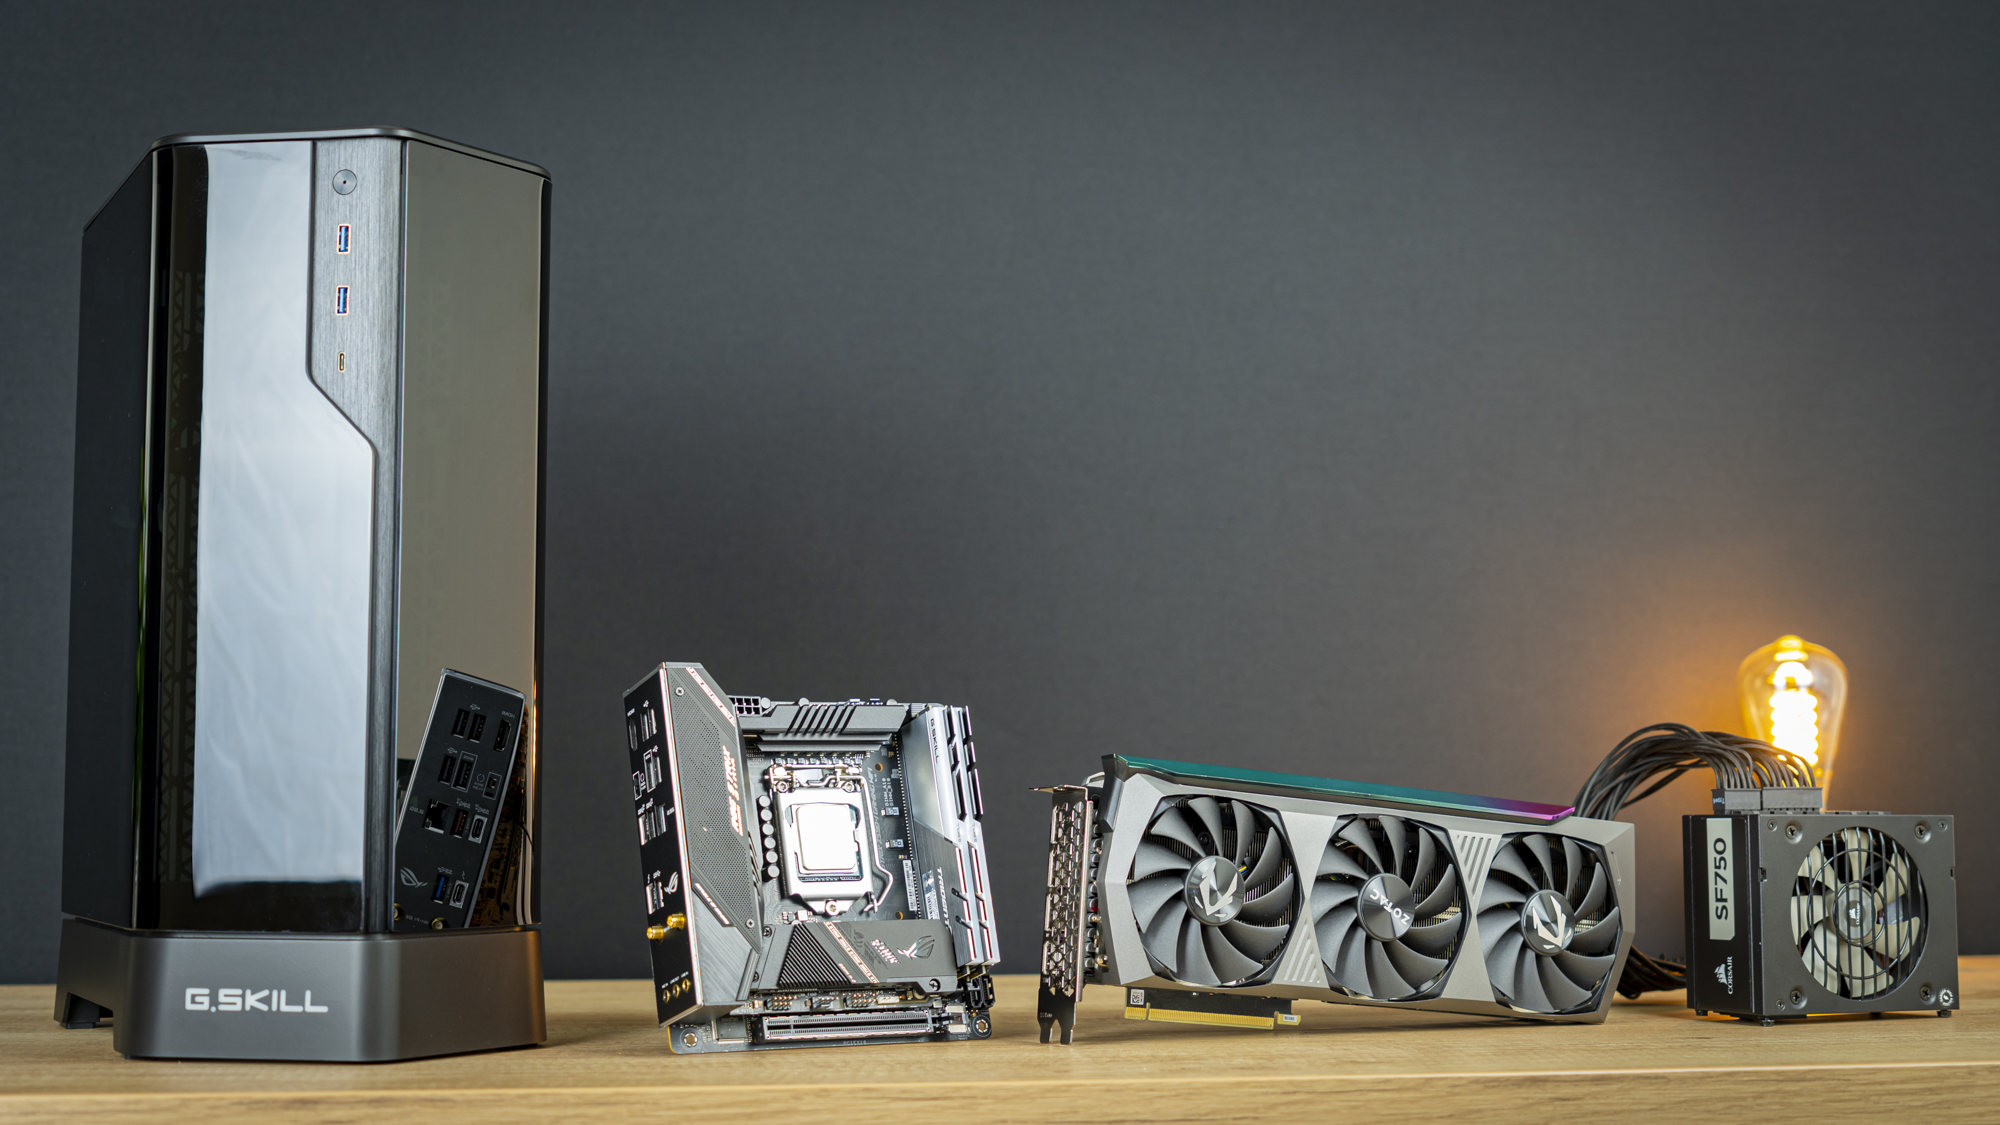
We are using the following system for today’s test build:
| CPU | Intel Core i5-11600K |
| Motherboard | Asus ROG Strix Z590-I Gaming WiFi |
| Memory | G.Skill Trident Neo 16GB, 3600 MHz |
| Graphics | Zotac RTX 3080 Ti Amp Holo |
| CPU Cooling | Phanteks Glacier One 240 MP |
| Row 5 - Cell 0 | Noctua NT-H2 Thermal Paste |
| Storage | Corsair Force Series MP600 NVMe SSD, 480GB |
| Power Supply | Corsair SF750 |
With this build, we’re introducing a new ITX case test setup based on the 11th Gen Intel Core i5-11600K processor, paired with an Asus Z590 ITX motherboard and a large, RTX 3080 Ti graphics card. That’s a lot of hardware to throw at an ITX case, but most can handle it nowadays, at least when it comes to fitting the large graphics card. But we’re keeping our old RTX 2070 Super on-call for when the large Zotac RTX 3080 Ti doesn’t fit. This new setup also allows us to test the claims of PCIe 4.0 riser cable support, though the Z5i only claims PCIe 3.0 support, so it’s not something we need to worry about this time around.
Step 1: AIO Installation and Motherboard Installation
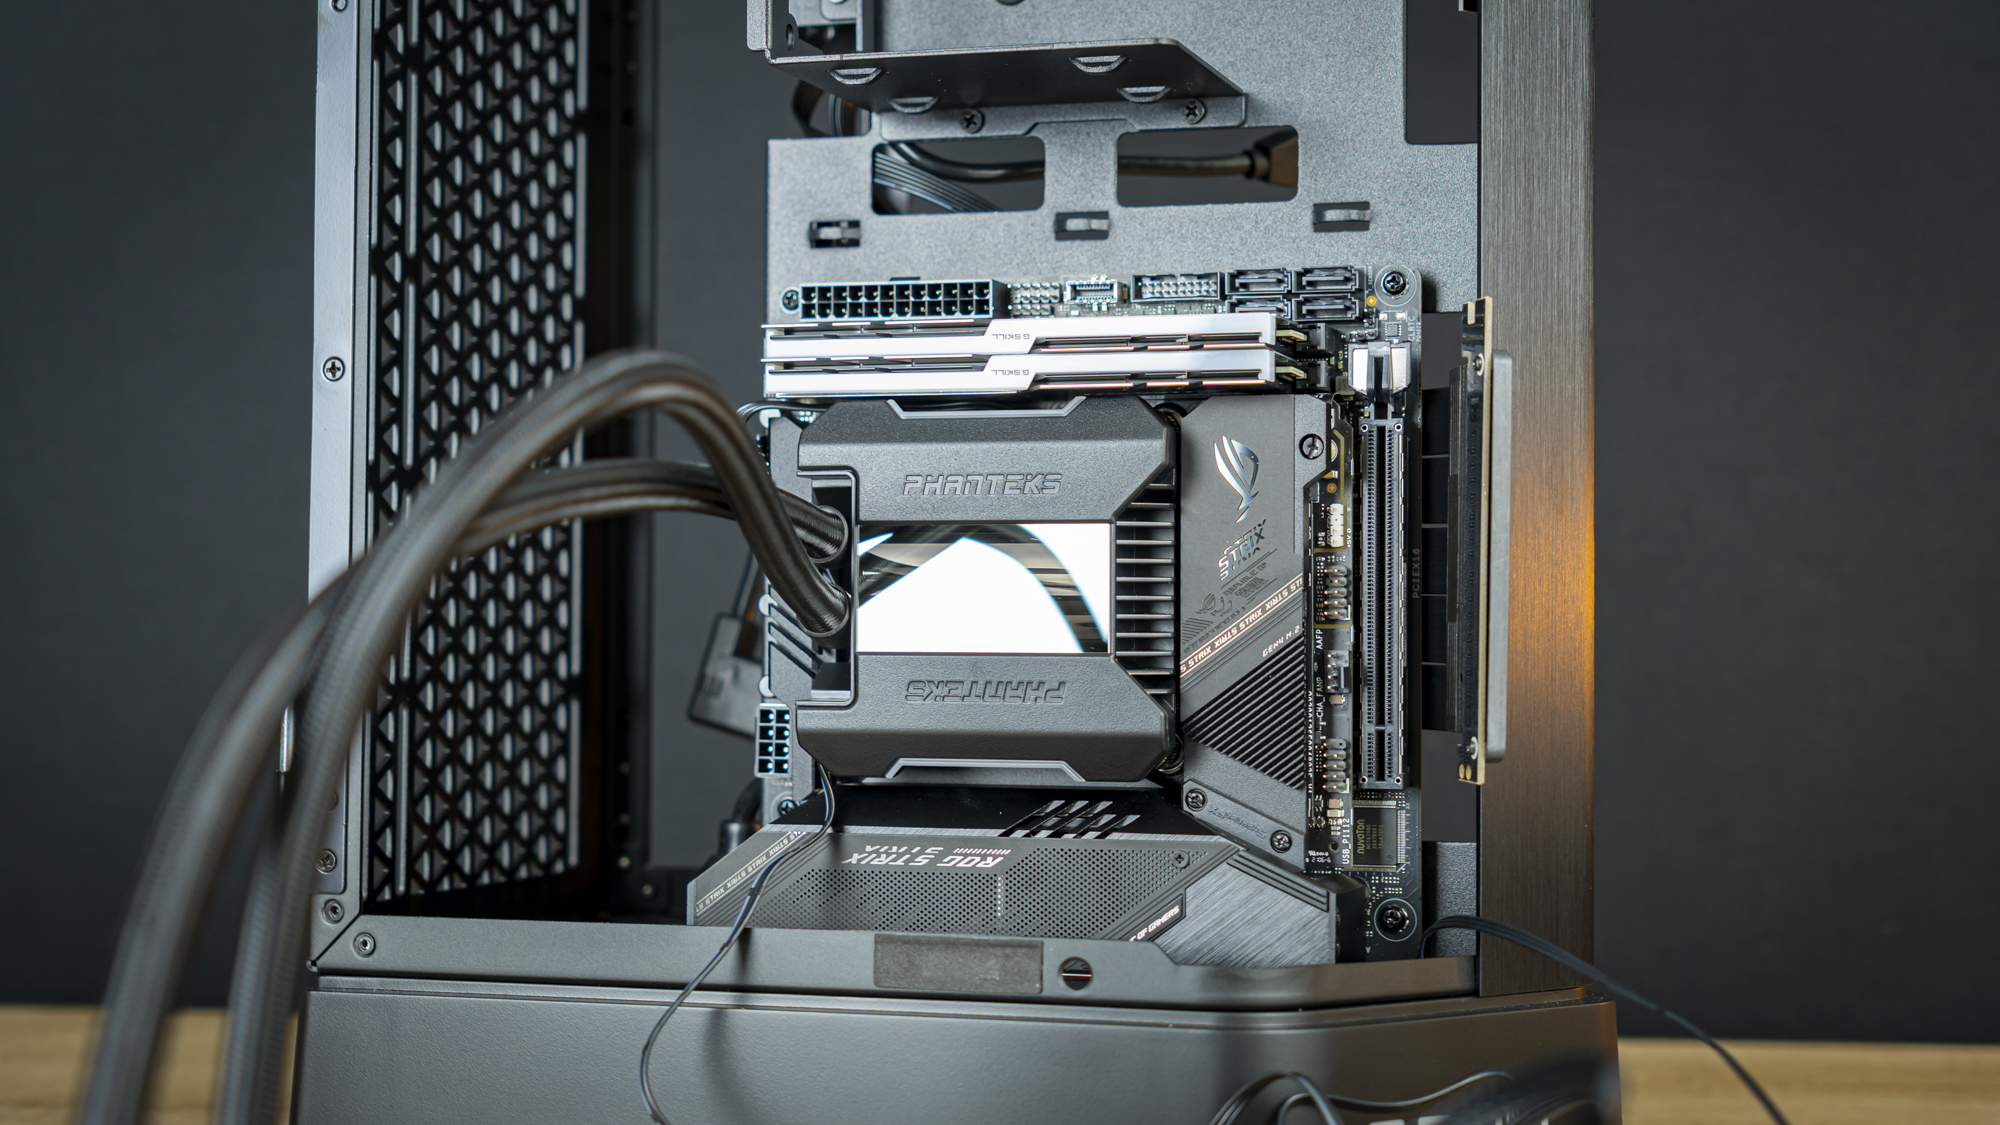
First, I installed all the components such as the CPU, memory, and SSD onto the motherboard. Then, because the rear would no longer be accessible once installed, I put the AIO’s cold plate in position before installing the motherboard assembly into the Z5i.
When installing the AIO’s cold plate, I did rotate its intended position by 90 degrees so that visually, the block would be correctly oriented due to the rotated motherboard position.
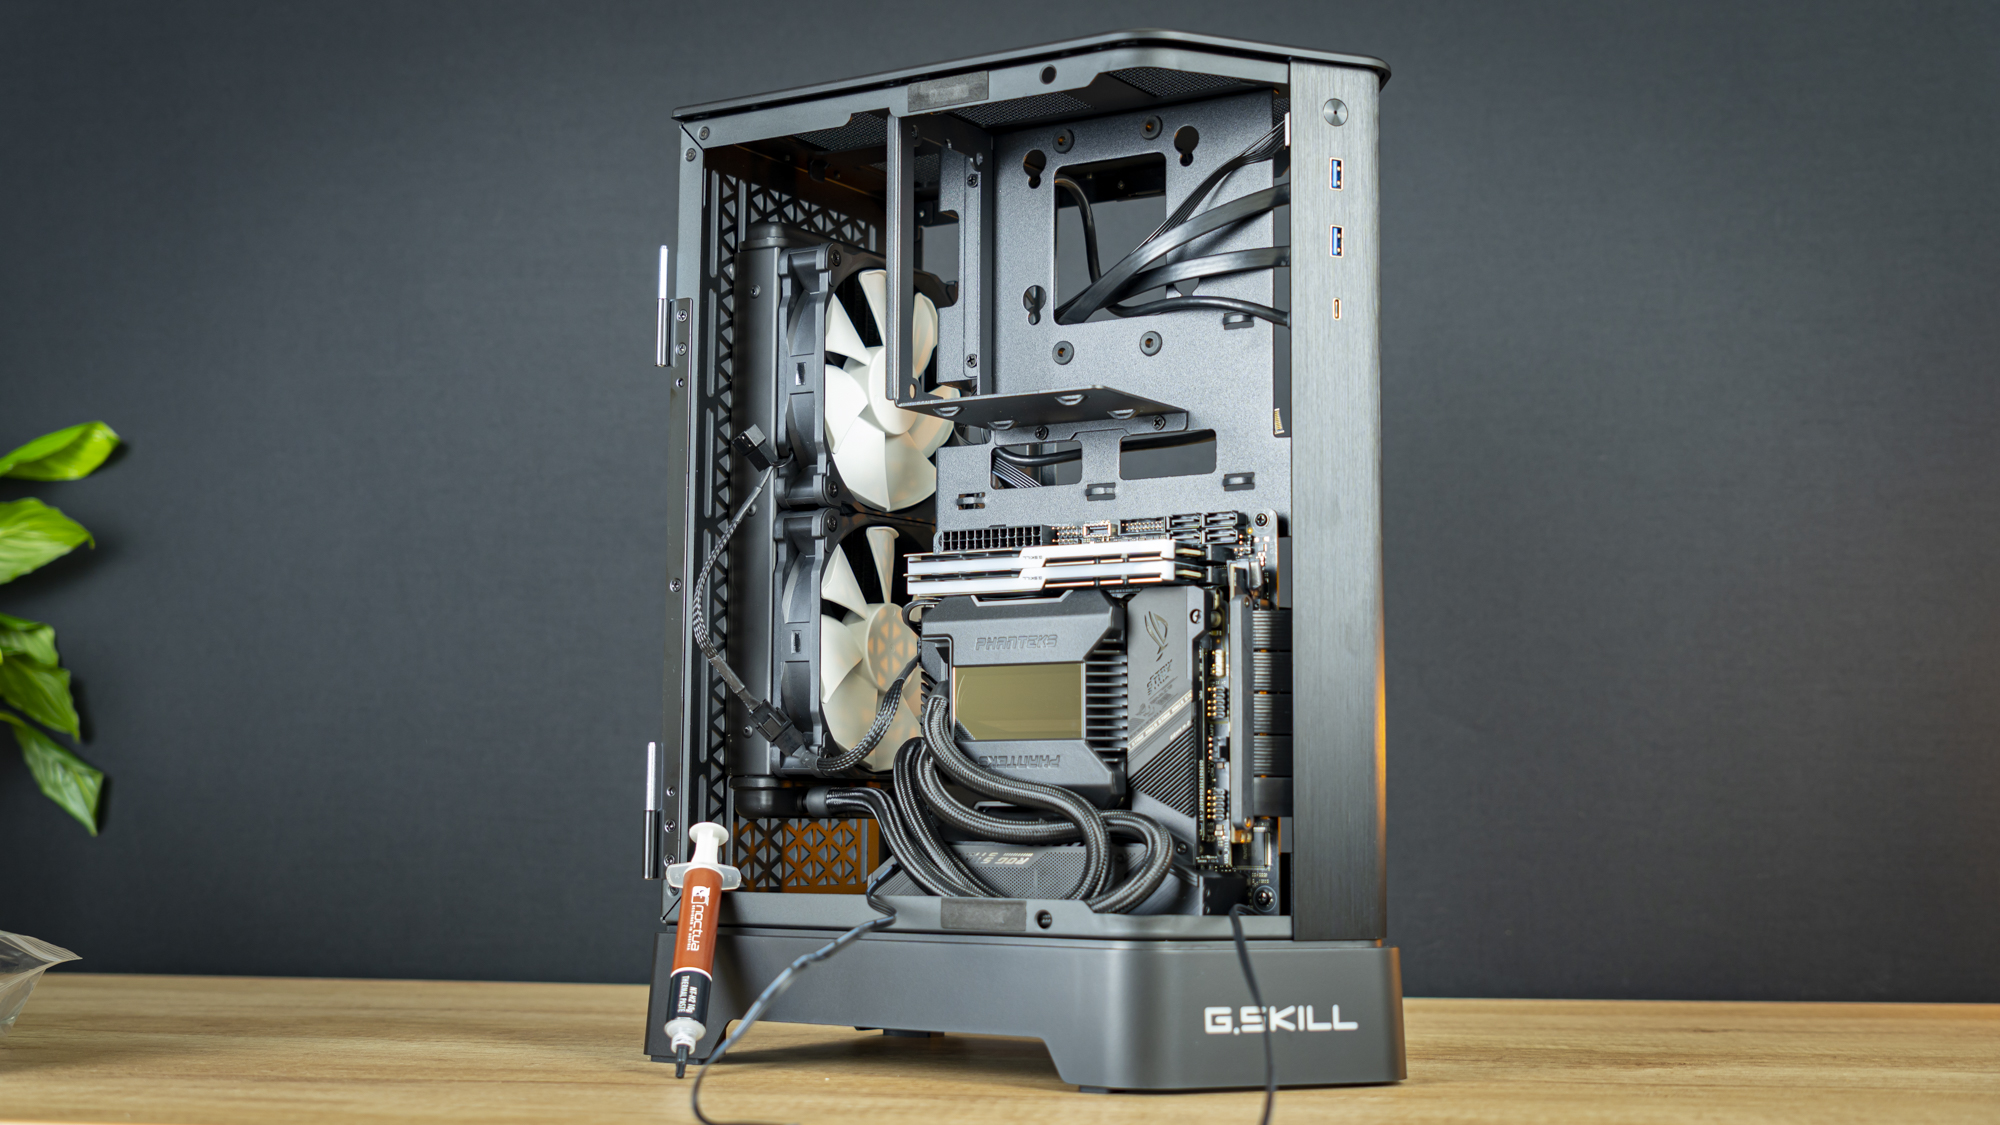
Then, I installed the radiator into place at the rear and tucked the hoses to within the perimeter of the Z5i.
Step 2: PSU Installation and Cable Management
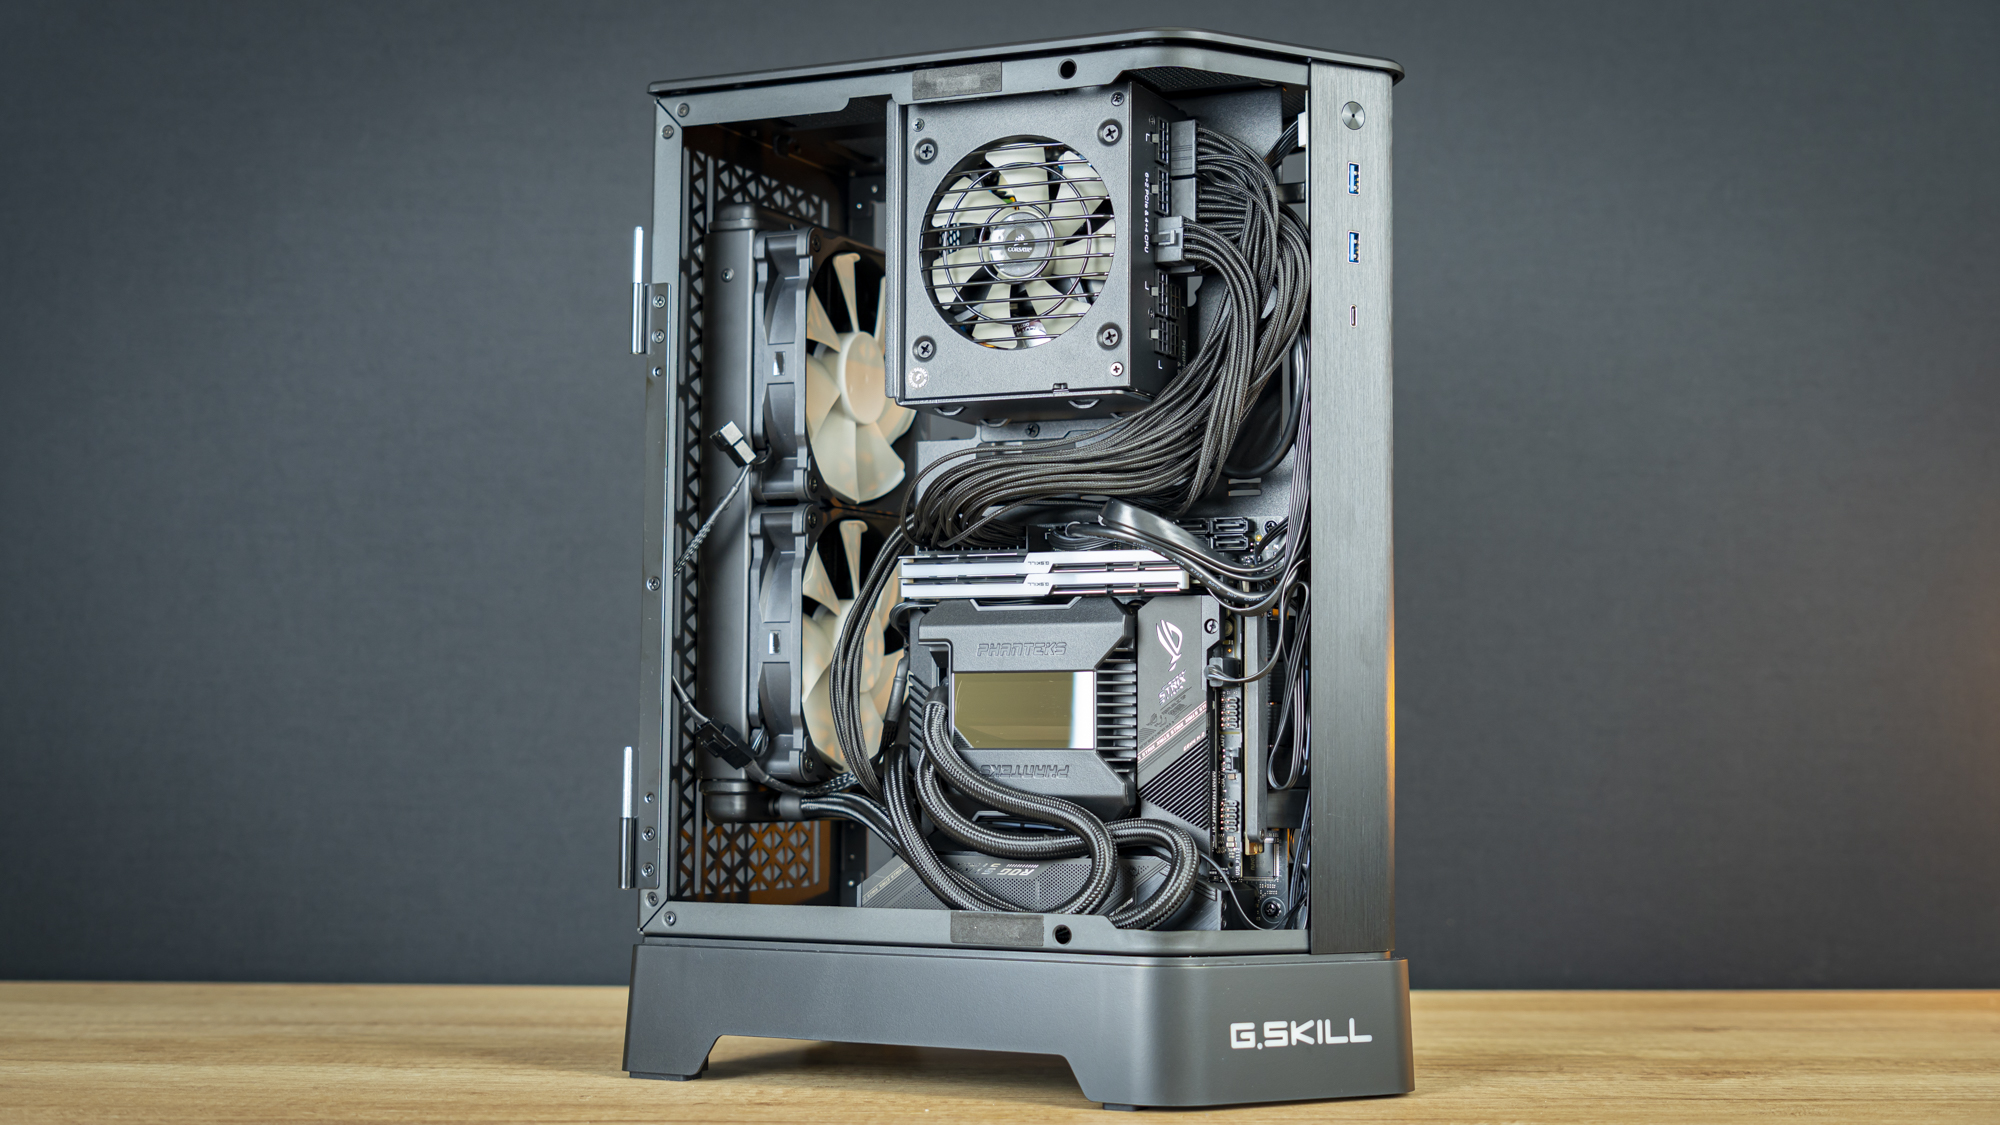
Next, I installed the Corsair SF750 power supply at the top of the case and hooked up all the power cables. Meanwhile, I also connected up the case’s riser cable, front IO, power button, and RGB cables, making sure to tidy the lot as best I could given the limited facilities. Fortunately, they’re all black, and with the dark glass tint, they wouldn’t be visible anyway from the outside.
Naturally, cable management did take a while as this is a Mini-ITX case, but within about half an hour I achieved the above result.
Get Tom's Hardware's best news and in-depth reviews, straight to your inbox.
Step 3: GPU Installation
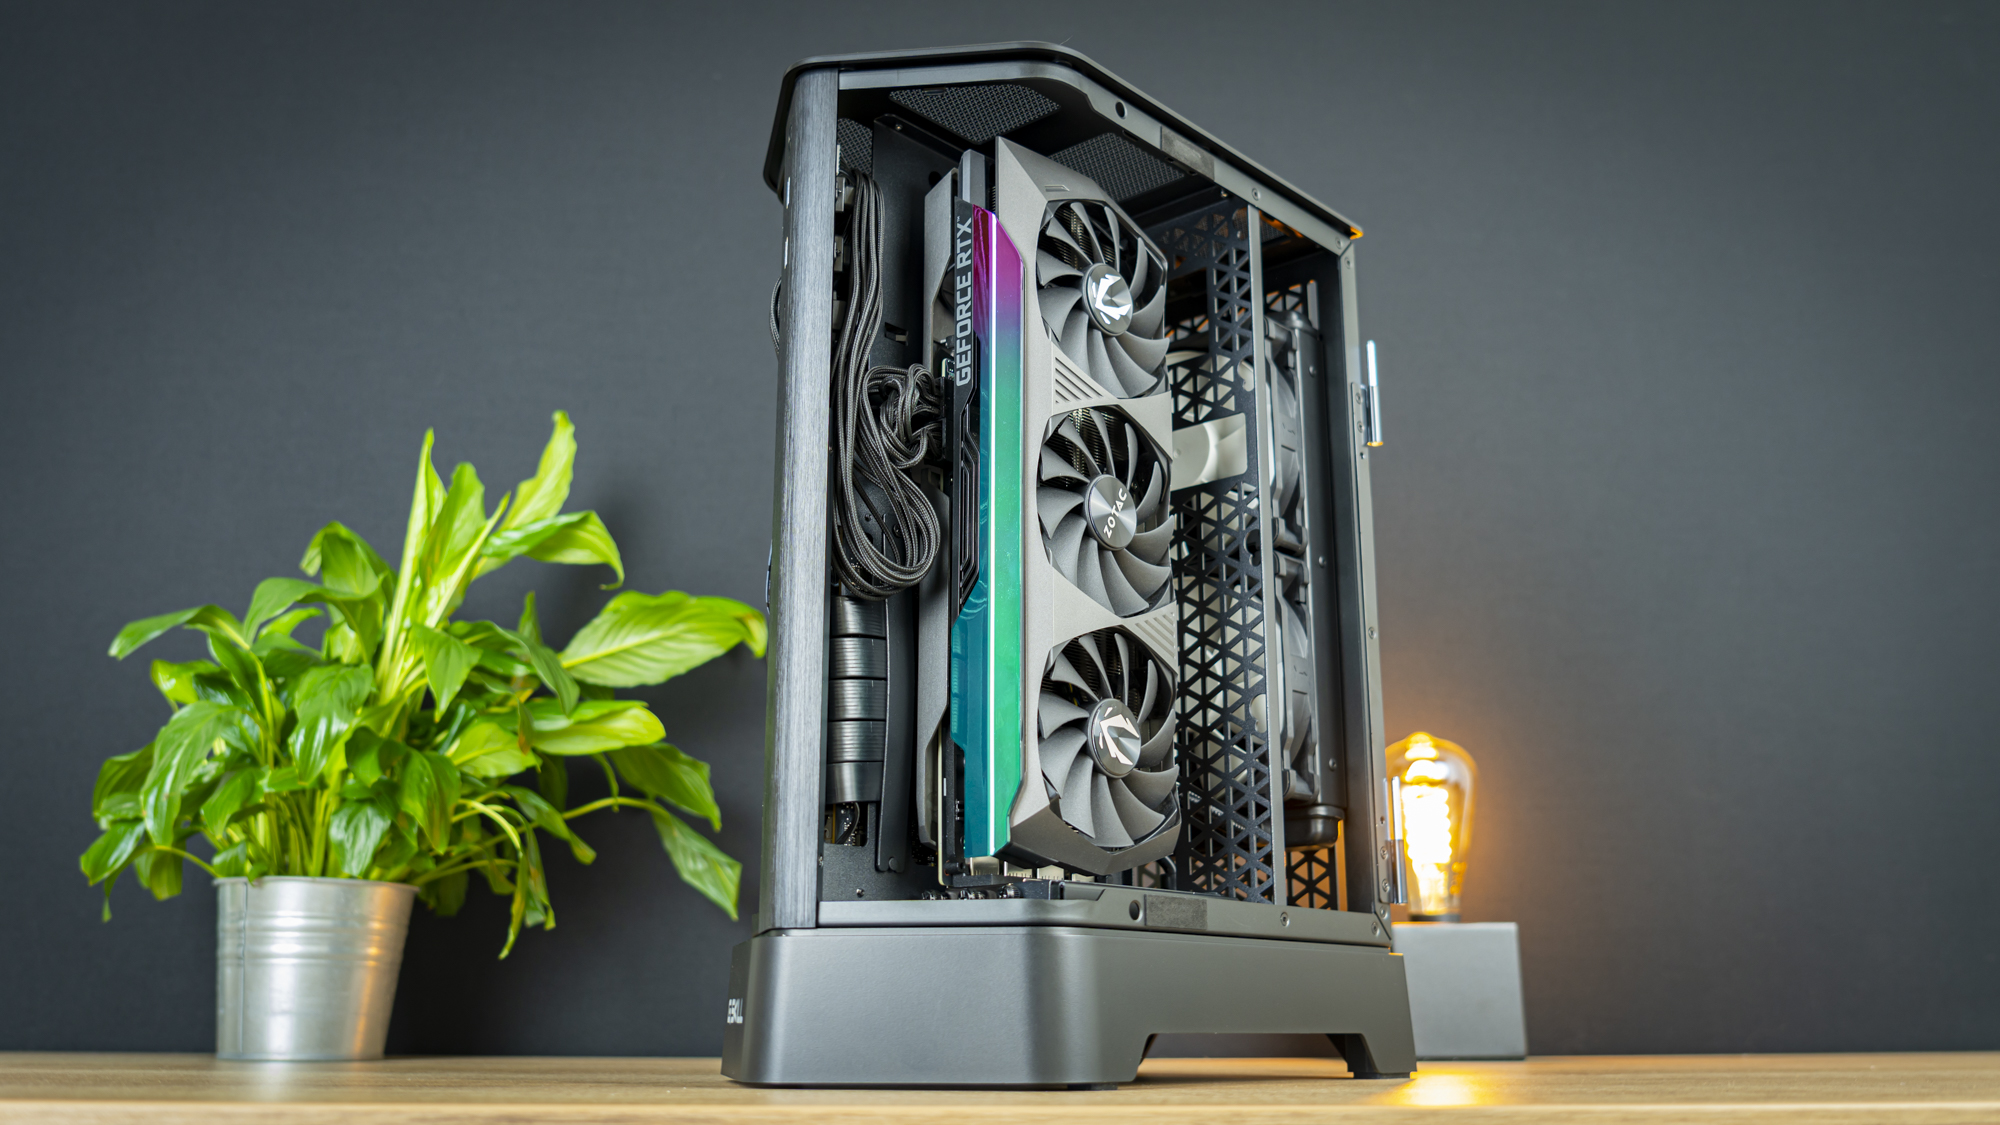
Installing the GPU was a breeze, as it fit right into place. It’s a strange sight isn’t it, seeing a large, triple-slot RTX 3080 Ti in an ITX case. But it’s possible and there is some room to spare, even.
Step 4: Final Bits and Pieces
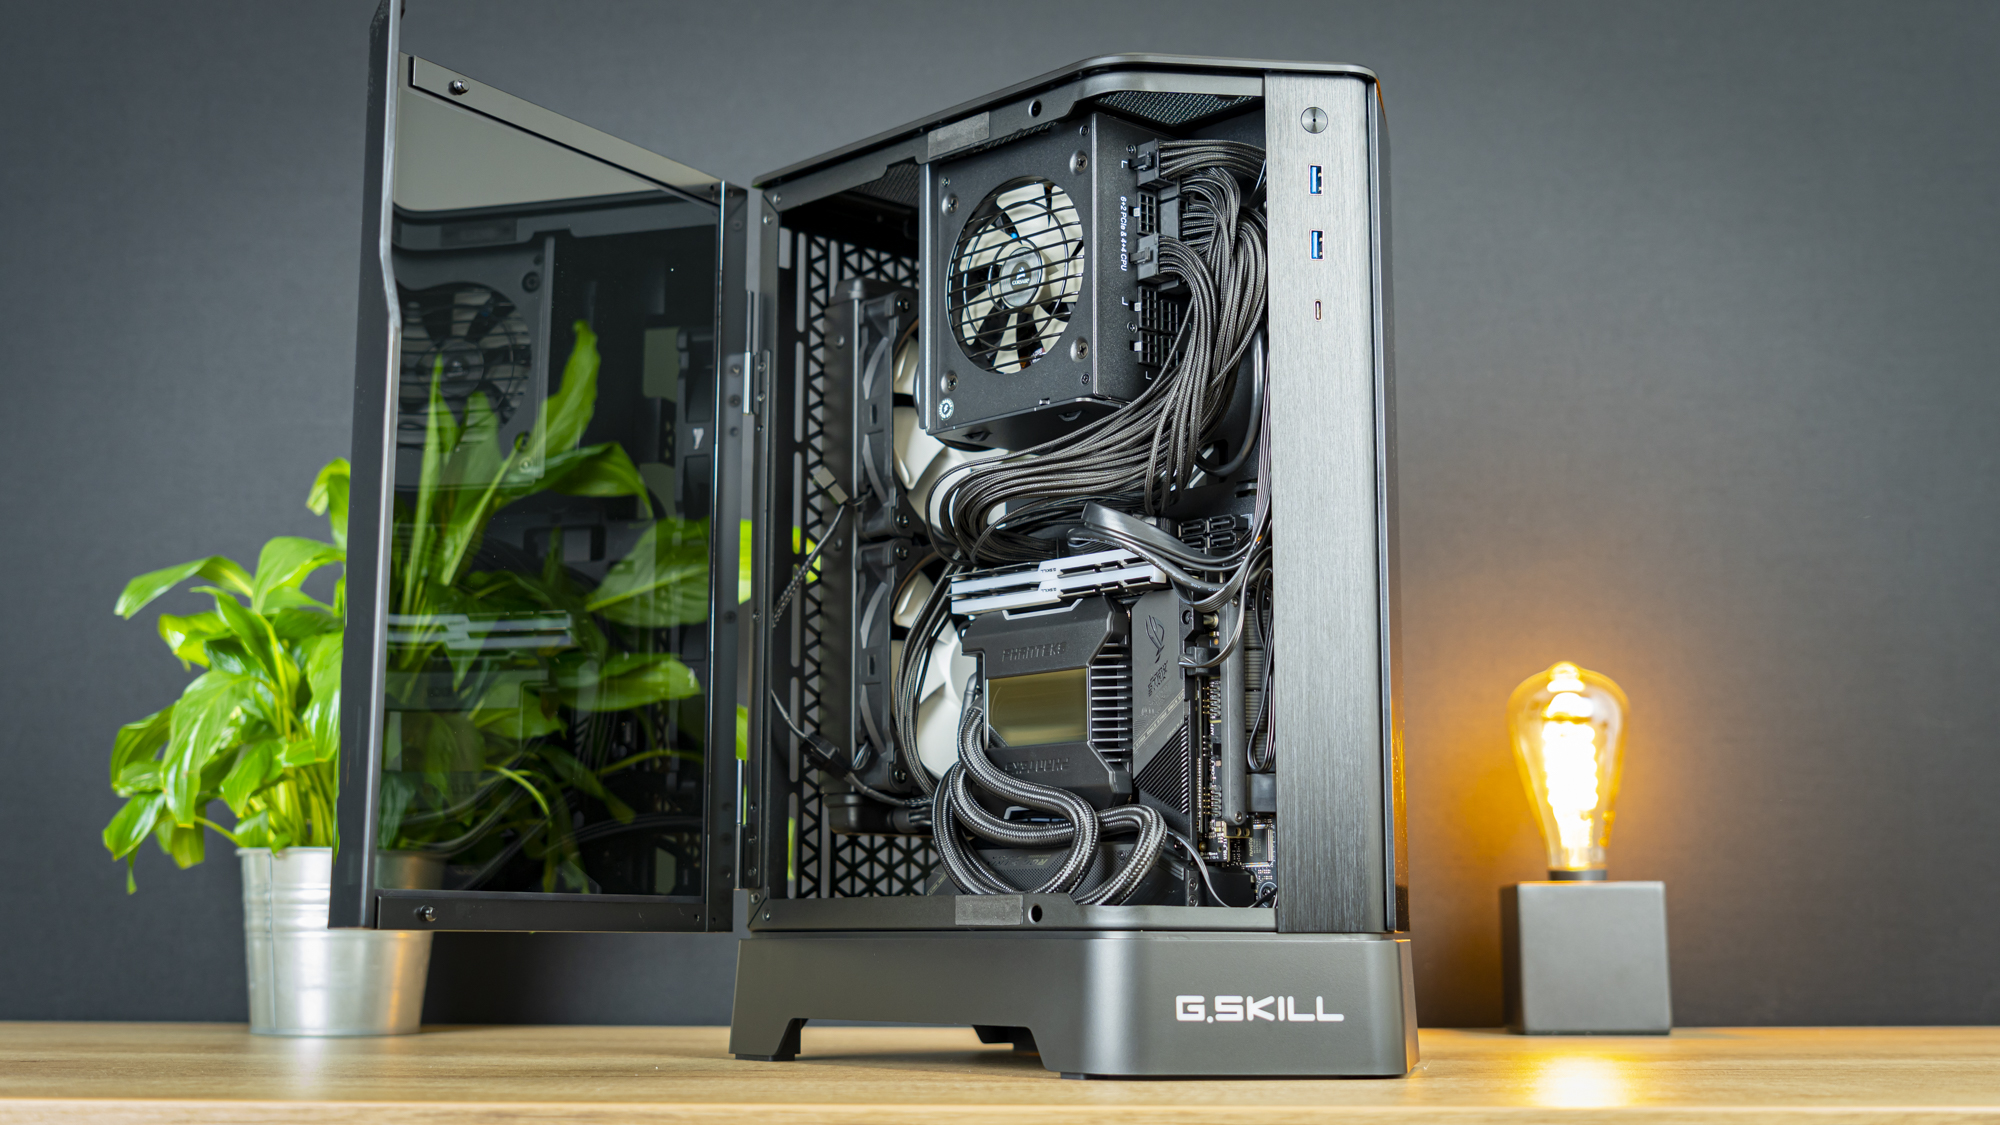
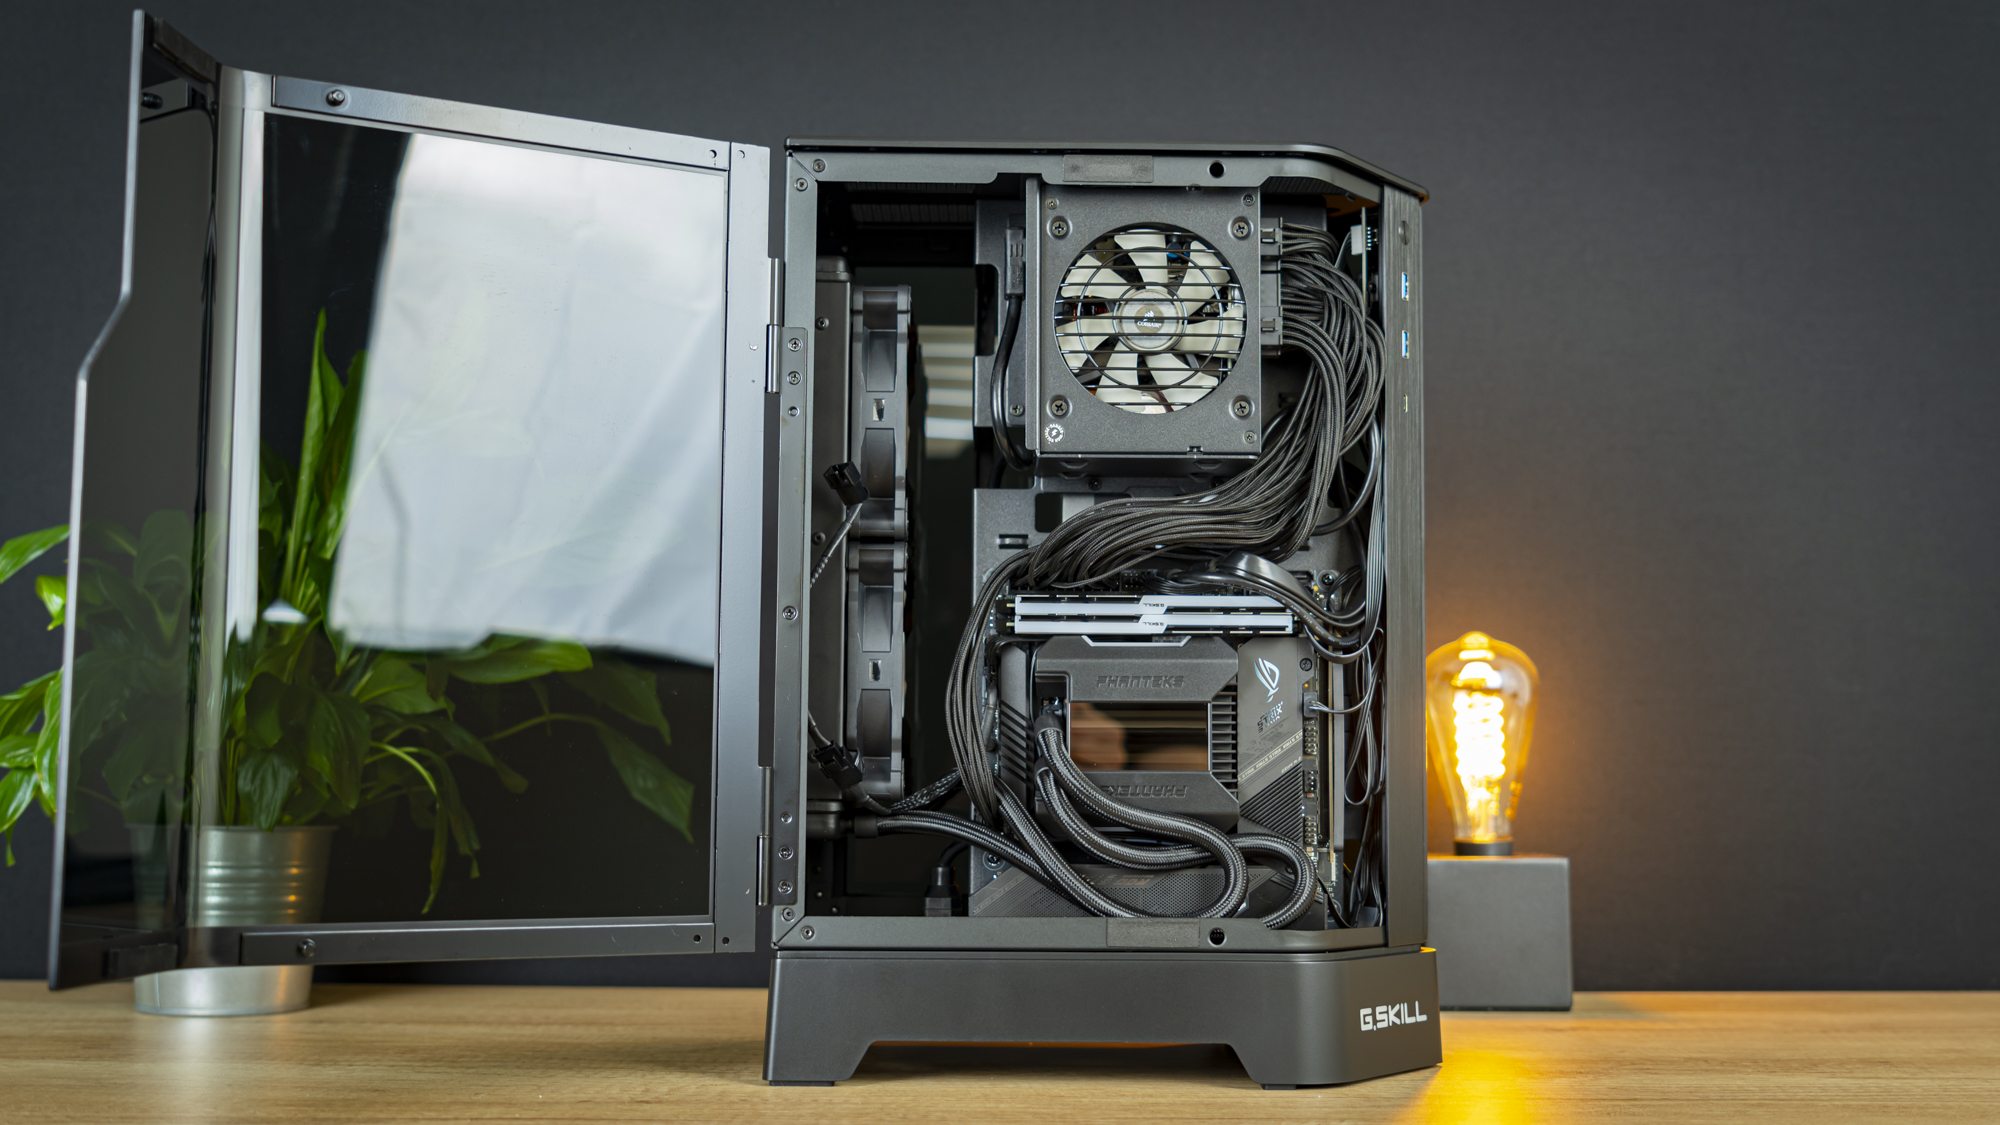
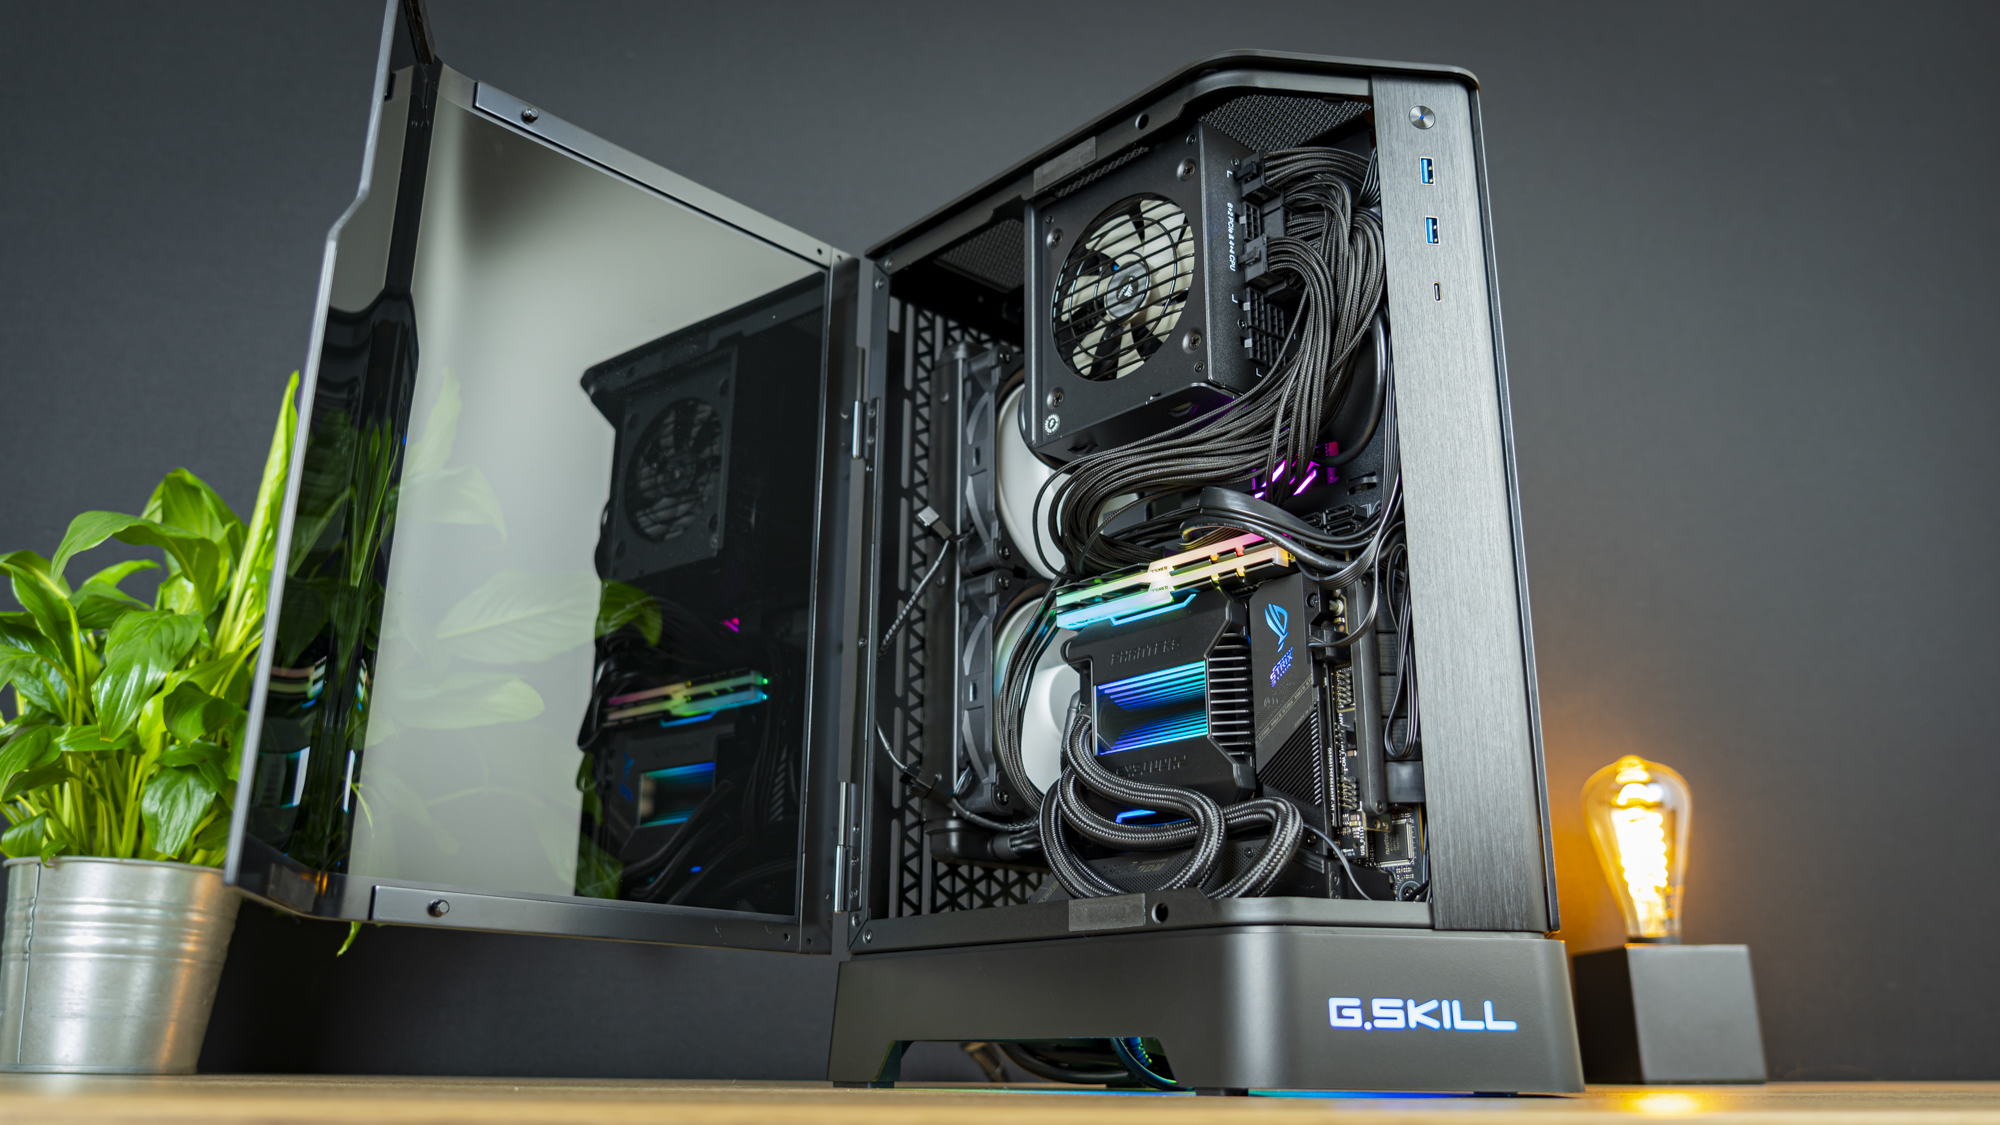
Lastly, I pushed the few remaining cables into place and put the glass panels back on the hinges. With that, the build was complete.
Build Complete
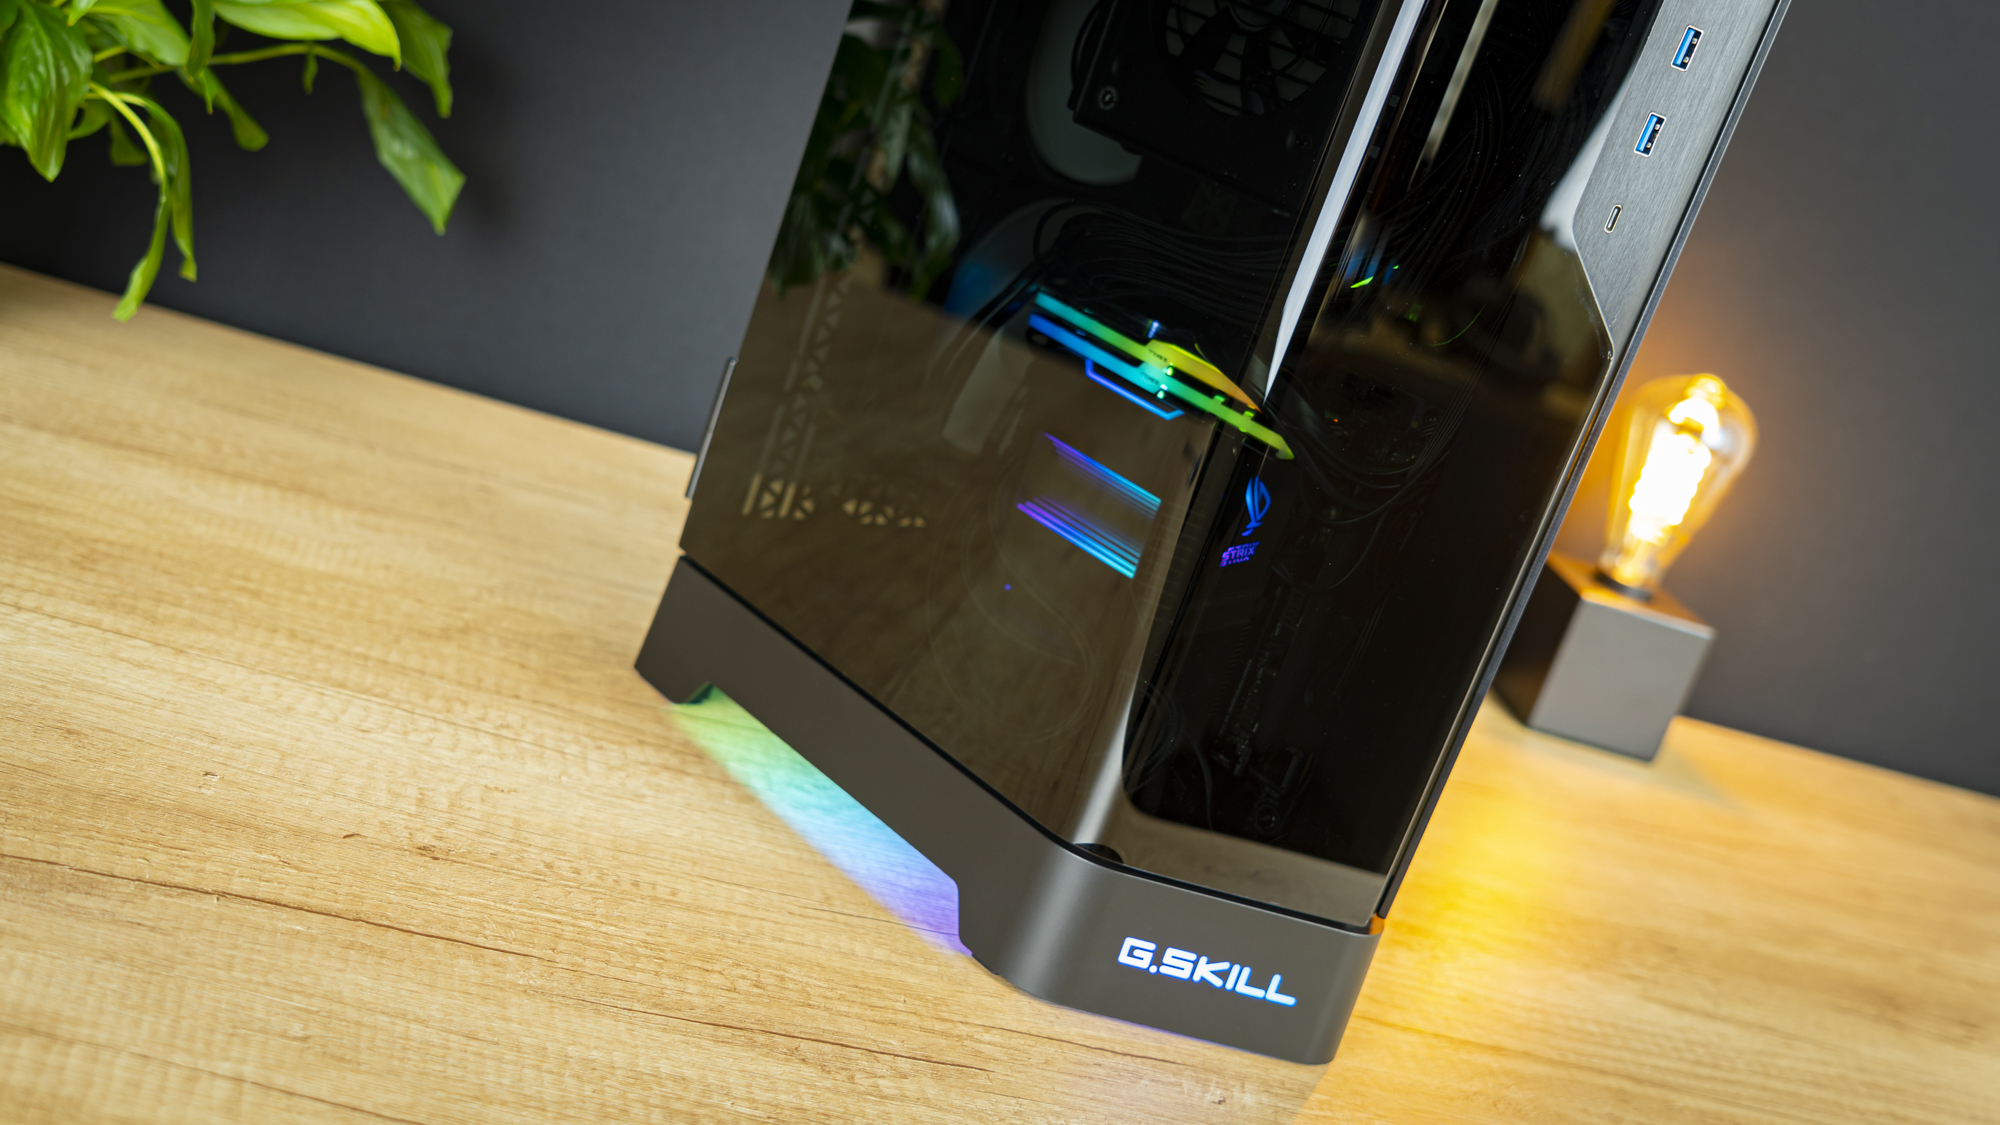
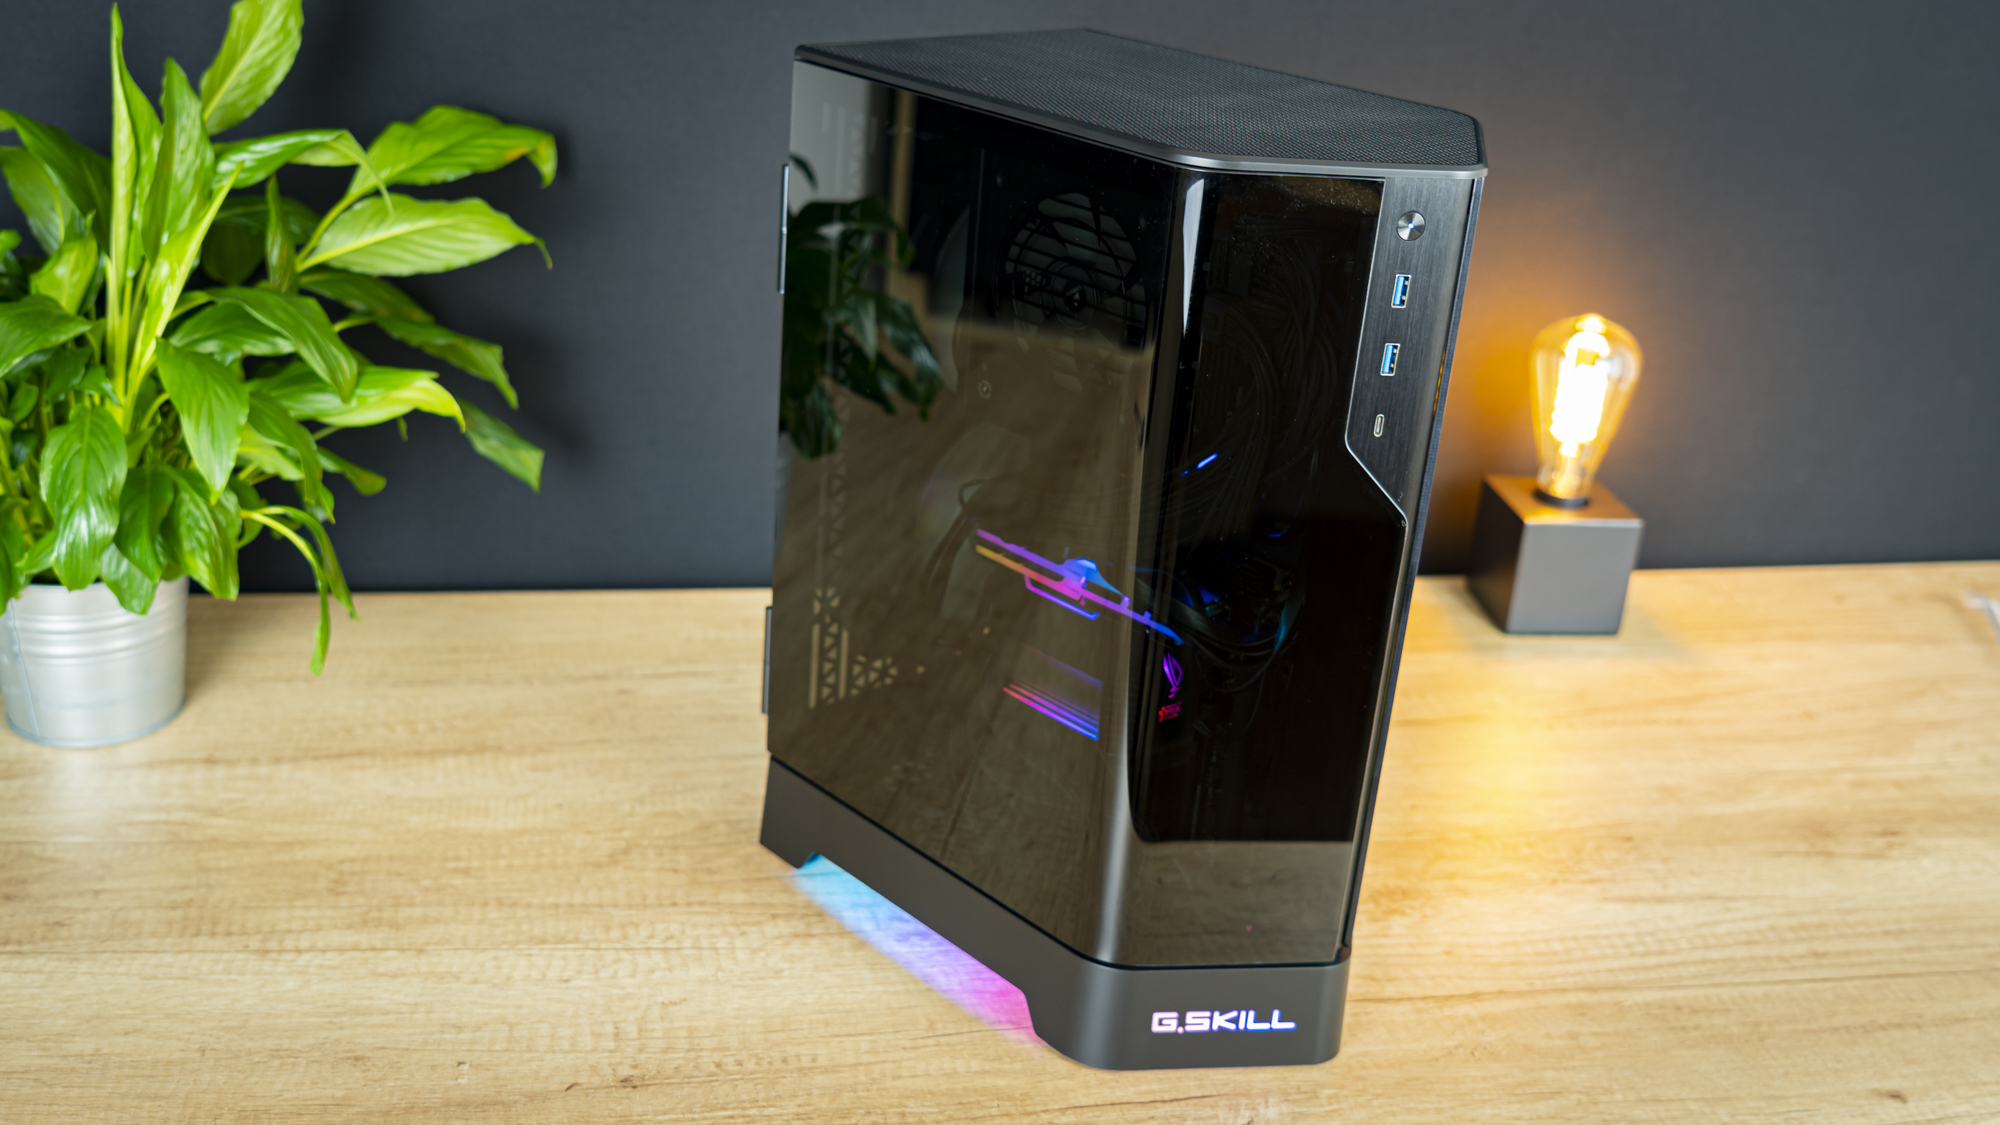
Current page: Hardware Installation
Prev Page Features and Specifications Next Page Testing and ConclusionNiels Broekhuijsen is a Contributing Writer for Tom's Hardware US. He reviews cases, water cooling and pc builds.
-
velocityg4 Man, that'll look great on my floor behind my desk.Reply
On a more serious note. The GSkill logo ruins the looks of the case. I don't know why so many cases do this. It looks tacky. It should just be in small print hidden with the serial number inside the case.
It's not as though it's some household brand either. People might want the Nike swoosh or Apple logo to impress for some reason. But some brand only a small fraction of people ever heard of. Not so much. -
Sleepy_Hollowed This is a very niche design, and if it allowed a couple of more fans I would give it a try. Anyone that doesn’t need any more cooling definitively should consider it, it looks good and looks solid.Reply -
gamebynight Great review. I also just want to say, stunning photography. I thought those were press shots at first, then saw they were taken by the author. Well done!Reply -
rchris Do you have any information about when it will be available? G-Skill's press release for this case came out months ago, but I don't see the case offered anywhere.Reply
