OnePlus One Review
The OnePlus One has an off-contract price starting at only $299, but don’t call this smartphone cheap. Hiding behind the OnePlus One’s 5.5-inch HD screen is some high-end hardware.
Why you can trust Tom's Hardware
Camera: Software
The camera app that comes with the One’s CyanogenMod 11s software is a significant upgrade over the bare bones camera app that comes with stock CyanogenMod (and even Google’s Camera app).
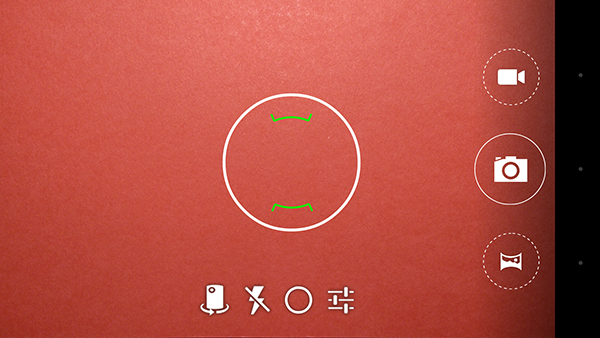
The above screenshot shows the initial UI you see when using the camera with the focus/exposure point ring and buttons on the right to shoot a still, video, or panorama. Below the focus ring is the first level of additional controls—front to rear camera swap, flash control, advanced camera controls, and settings.
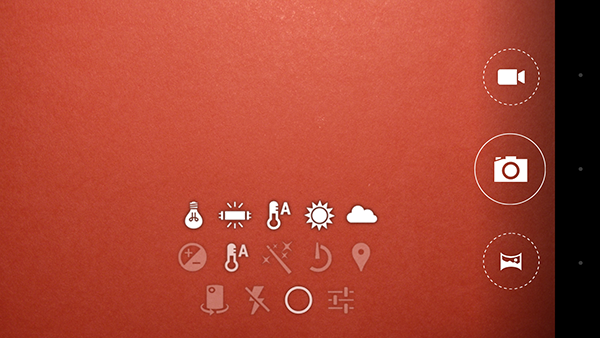
Pressing the circle button reveals two layers of advanced camera controls. These layers include exposure compensation, white balance (selected above), scene selection, self-timer (from 1 - 60 minutes), and location on/off.
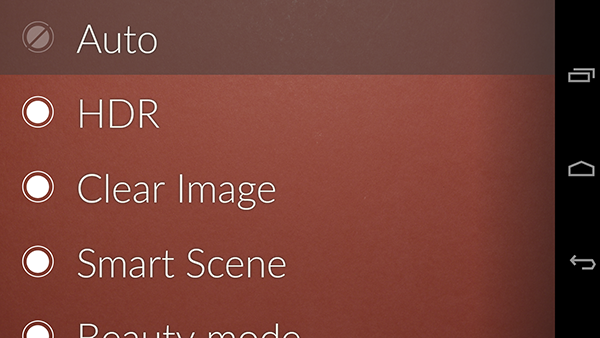
The OnePlus One’s camera app has a huge selection of scene settings to choose from, almost too many. Some of them are true shooting modes (such as HDR) and others are just simple color filters. To change between modes you swipe down (or up) from the top of the screen. The screenshot above shows the complete scrollable list of modes for selecting which modes are to be accessible via a gesture when in the main shooting UI. The complete listing of modes is as follows: Auto (the default), HDR, Clear Image, Smart Scene, Beauty mode, Slow shutter, Action, Backlight, Beach, Candlelight, Fireworks, Flowers, Landscape, Night, Night Portrait, Party, Portrait, Snow, Sports, Steady photo, Sunset, Theatre, Mono, Sepia, Negative, Solarize, Posterize, Aqua, Emboss, Sketch, and Neon.
We weren’t able to test all of the camera modes on this exhaustive list, but do want to clarify what some of them mean. Clear Image is a new mode that takes ten images and combines them to create, in the words of OnePlus, an image with improved clarity, reduced noise, and more detail. However, from our experience the difference between a picture shot in Auto mode and Clear Image was negligible and not worth the shot-to-shot delay it adds while it processes each picture for a few seconds. Smart Scene chooses from amongst the self-explanatory descriptive scene settings in the list, and the rest of the modes speak for themselves.
One mode that was nowhere to be found, despite the fact that nearly every 2013 Android phone seems to have some variant of it, was a background defocus mode. Considering that this mode is done in software, it’s a surprising omission.
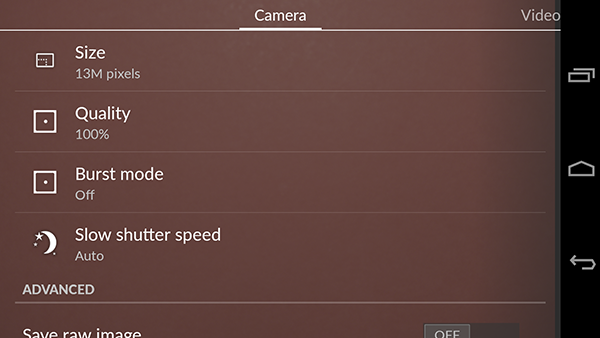
In the settings menu for still images, you can adjust the resolution and aspect ratio (from QVGA to the full 13 MP at 4:3) and the JPEG quality (55% to 100%). You can also turn on Burst mode (5, 10, 15 & 20 shots) and set the slow shutter speed (0.5 to 8 seconds), used in conjunction with the slow shutter mode.
Get Tom's Hardware's best news and in-depth reviews, straight to your inbox.
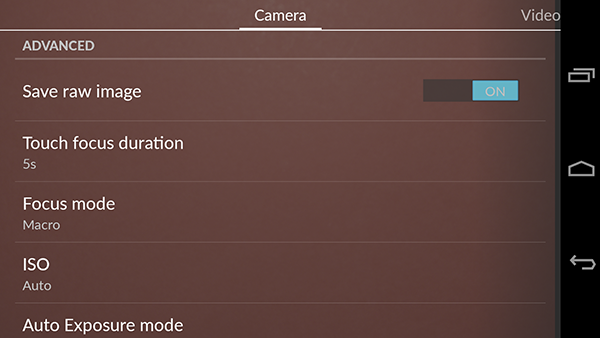
It should be noted that Burst mode does not work when the camera mode is set to anything that requires additional post-processing like HDR or Clear Image. You also cannot use Burst mode when RAW image capture is turned on, which is the next setting in the menu.
Farther down the settings menu, you can adjust the One’s Focus mode, which includes Macro and Continuous AF. The manual ISO settings are found here too, and ISO can be set to Auto and from ISO 100 to ISO 1600. The last setting that can be adjusted here is the exposure mode: Frame average, Centre weight (default), and Spot Metering.
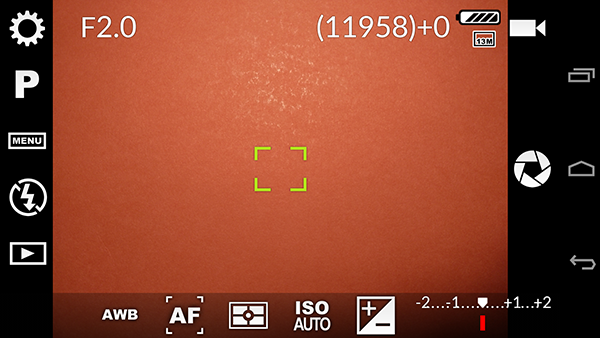
Despite the plethora of modes and settings, there are some issues with OnePlus' camera app. For instance, manual shutter control is conspicuously absent. The biggest issue however, is that even though the highest resolution still capture mode is 13 MP at a 4:3 aspect ratio, the viewfinder preview you see when shooting at ALL resolutions and settings is 16:9. This means that when shooting in 4:3 mode, the top and bottom of what the camera sees through the lens is cropped off to fill the viewfinder, making it very hard to correctly frame a shot. The only solution to this is to either shoot at a lower 16:9 resolution or use a third-party camera app, like FV-5 pictured below.
There are also a few other advantages to using a third-party app like FV-5. You have more direct access to manual controls and the option to manual set ISO up to 3200. You can also save your photos in a higher quality PNG format. Of course, when using an app like FV-5 you miss out on some of the useful camera modes of the stock app.
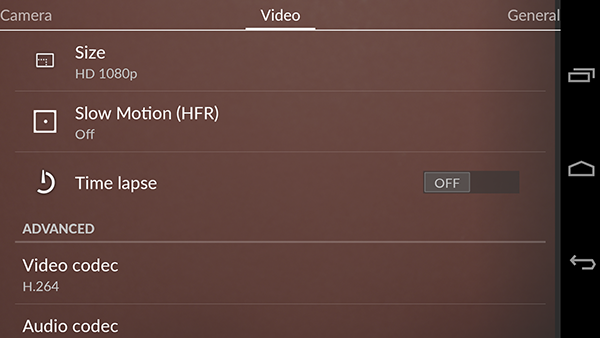
The video settings menu allows video resolution to be adjusted from QCIF (176 x 144) all the way up to 4K DCI (4096 x 2160), with all resolutions supporting HDR. There’s also a toggle for time-lapse video with shot intervals adjustable between 0.5 seconds to 24 hours. Media codecs can also be set in this menu, with MPEG-4, H.263, and H.264 video options and AAC (default) and AMR-NB audio options.
Shooting RAW on a Smartphone
In the most recent update to the One’s camera software, CyanogenMod added the option to save a RAW image file in addition to the standard JPEG. If you are not familiar RAW image files (also called digital negatives), these are files that contain the unprocessed information directly from the camera’s sensor. RAW image files need to be imported and converted to a ‘positive’ image file in an application like Adobe Lightroom or Photoshop. The One saves RAW images in Adobe’s open Digital Negative (DNG) file format.
The benefit of working with RAW images is that they contain ALL the information from the sensor before the One’s software has been able to process it into a potentially lower quality image. The RAW file is imported into a more powerful image creation and editing tool where adjustments are made to improve image quality. This is especially true when dealing with images shot in more challenging conditions, such as low light, when the cameras onboard image processing has a harder time producing good results.
The downside of shooting in RAW is that the files are larger and consume more space (16 MB of data per image in addition to the base JPEG file). Processing this extra data also negatively impacts shot-to-shot performance. We also experienced camera app crashes that could only be fixed by resetting the phone when using RAW with the Slow shutter mode.
Shooting in RAW also partially defeats the point-and-shoot nature of the smartphone, since the RAW images have to be exported and edited externally. Still, since a JPEG is saved along with the RAW image, one can always share that to social media and other outlets that require instant gratification. You can then use the RAW file to create a better quality version at a later date. Hopefully, when Lightroom Mobile finally makes its way to Android, you’ll be able to edit RAW images directly on the One.
In the slideshow below, you can see some examples of how capturing RAW images can produce better quality final images. The first version of each image is the untouched JPEG straight from the camera, the second is the same JPEG image enhanced in Lightroom by using the auto adjustment preset, and the last image is the RAW version also edited in Lightroom using auto adjustment.



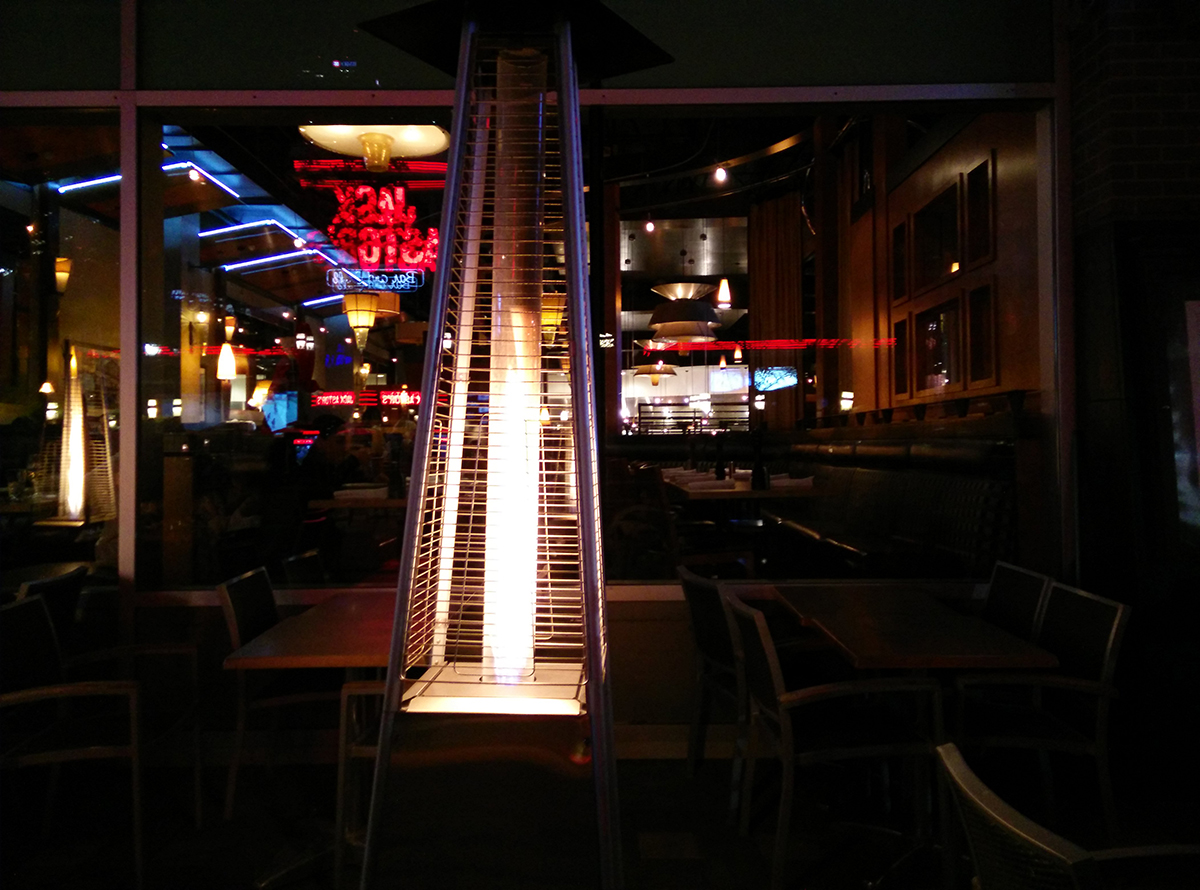
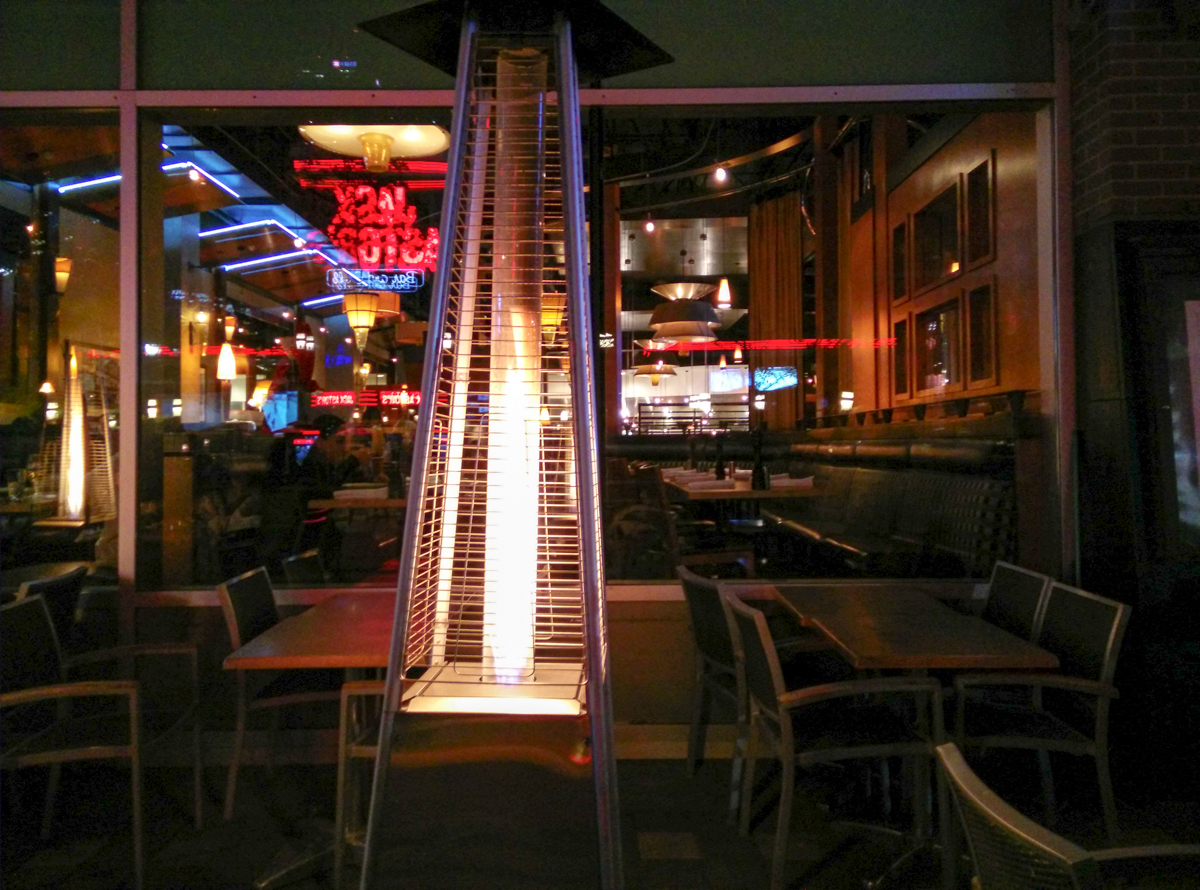
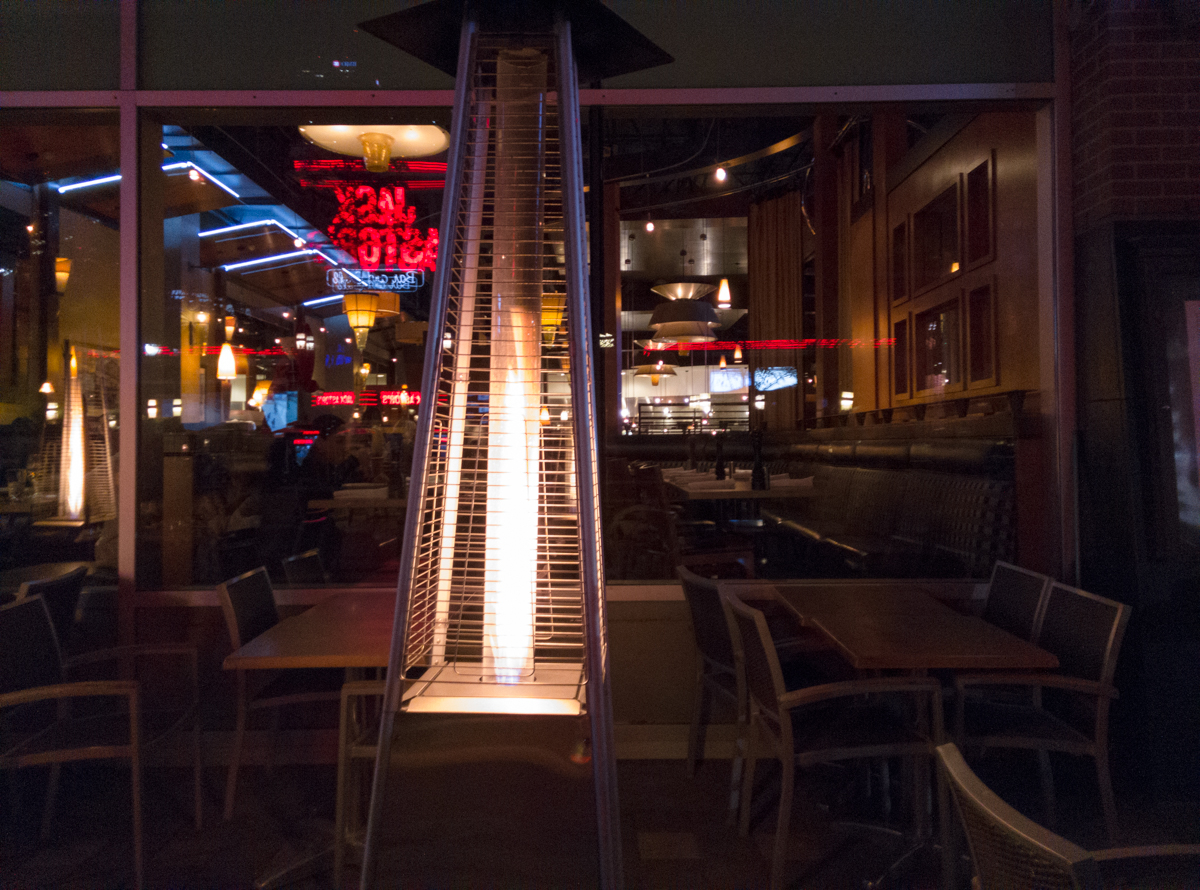



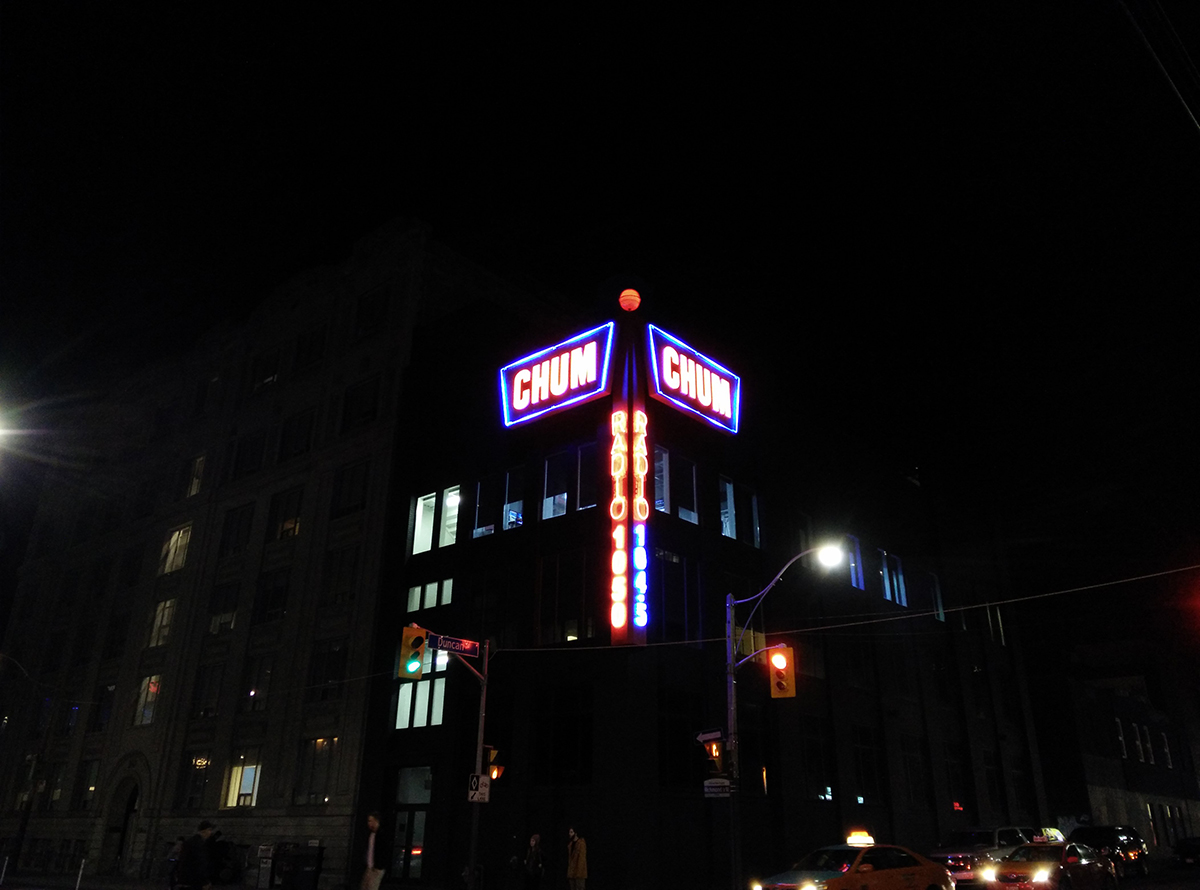
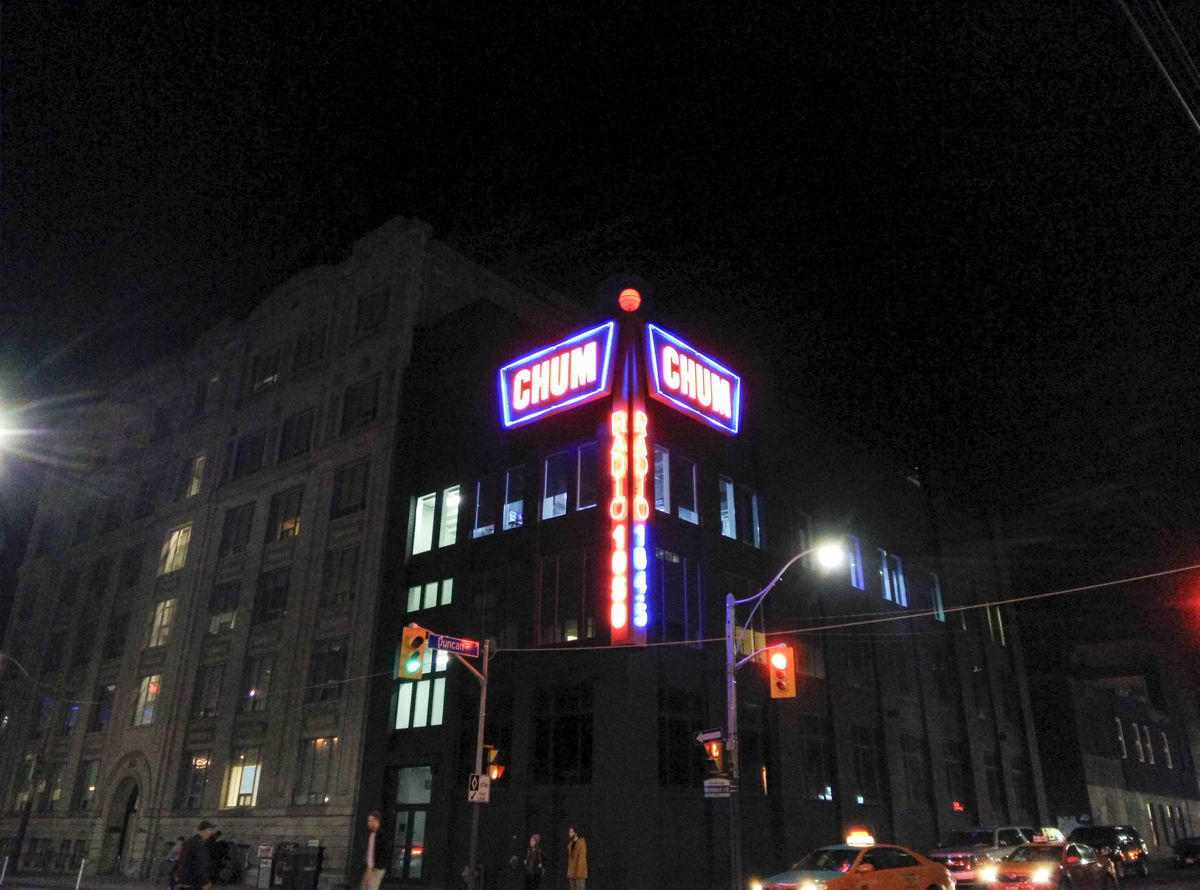
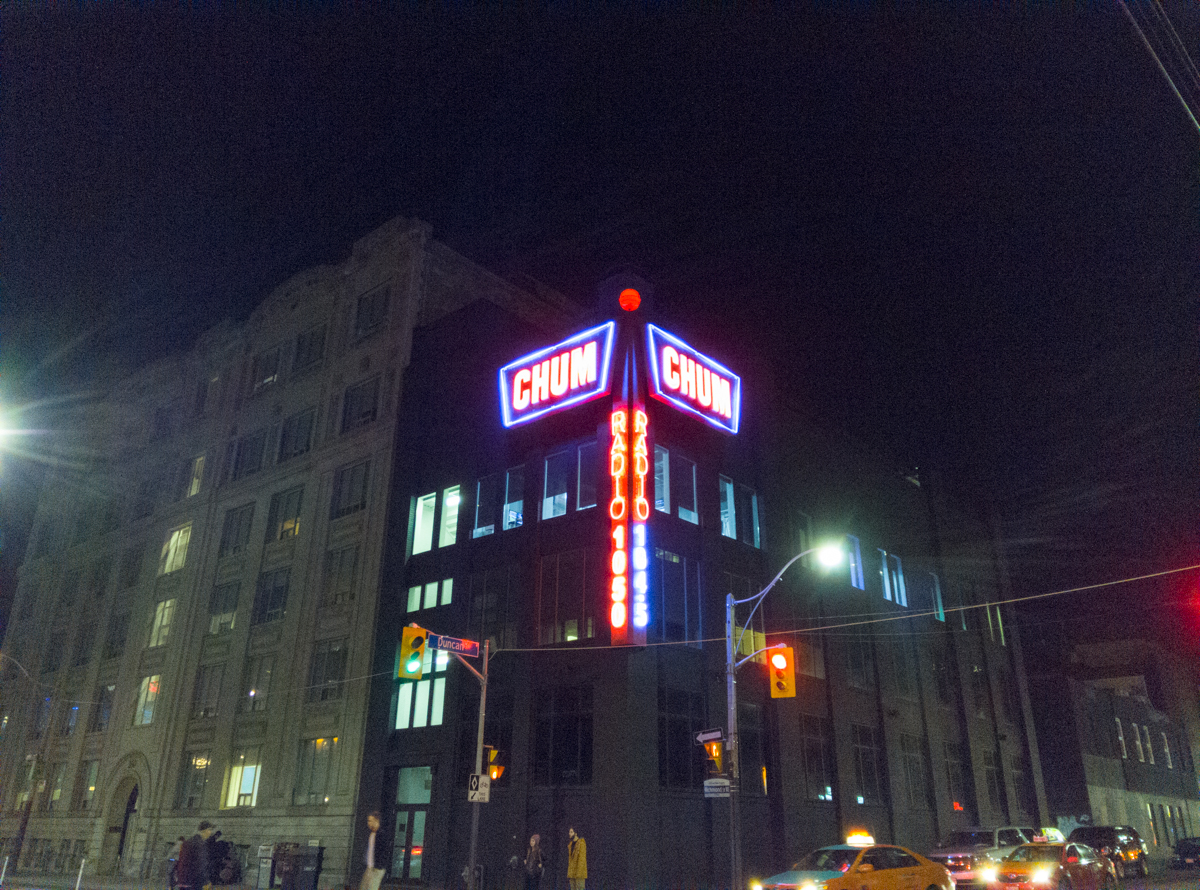
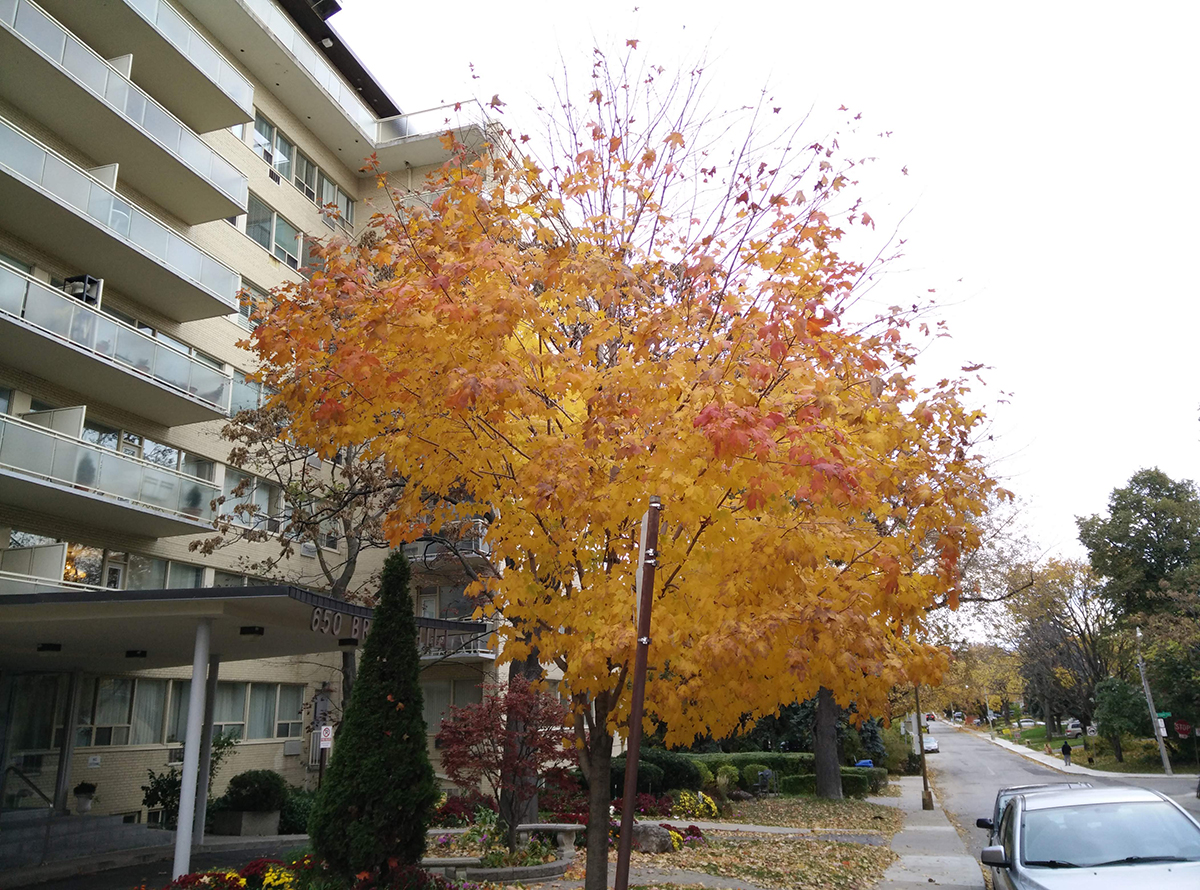
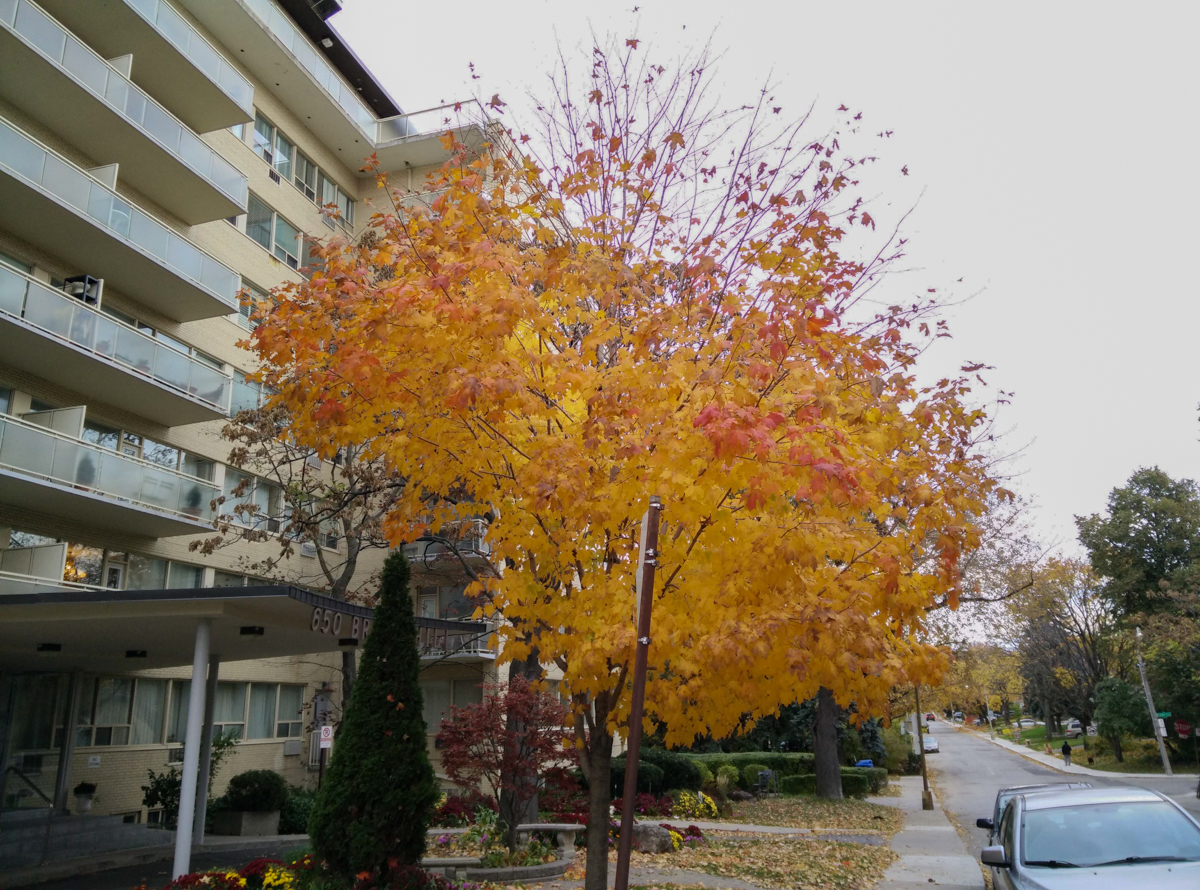


Admittedly none of these pictures are great photographs, since in order to achieve the best results from a RAW image you can’t just click an ‘auto’ button. However, we do hope they demonstrate that the potential for capturing much higher quality images using the One is there if you shoot in RAW and are willing to take the time to edit them afterwards. As can be seen, especially in the images taken at night, the processed RAW images have retained more detail and have less noise.
While we are impressed that OnePlus and CyanogenMod have been able to include this feature on a smartphone, we probably won’t find ourselves turning this feature on that often. To be honest, the kind of images most of us take with our smartphones aren’t usually the kind that warrant the extra attention in Lightroom. Those kind of images are best taken using a full-sized camera. Still, it is nice to know that the mode is there for when an amazing photographic opportunity presents itself and the One is the only camera on hand.
OnePlus One Shooting Performance
The OnePlus One’s overall shooting experience, especially with the latest update to the CyanogenMod 11s camera app, is quite positive when it comes to shooting performance. Despite the fact that the One doesn’t have any kind of special focusing features like phase detection or the laser AF of the G3, it still manages to focus quickly even in challenging conditions. No, it’s not as fast on paper as some of its competitors, but we were pleased with its focusing performance.
As for shot-to-shot performance, when shooting in auto mode there is almost no delay between shots. However, if you turn on RAW, it then takes the camera about a second to be ready for the next shot. If you turn on HDR or Clear Image mode, then there is a much more noticeable delay between shots, of around five seconds for HDR and a couple of seconds for Clear Image. The delay between HDR shots is one of the camera’s weaknesses, since on other phones, especially the Galaxy S5 and Note 4, the Snapdragon SoC’s ISP handles HDR images in almost real-time.
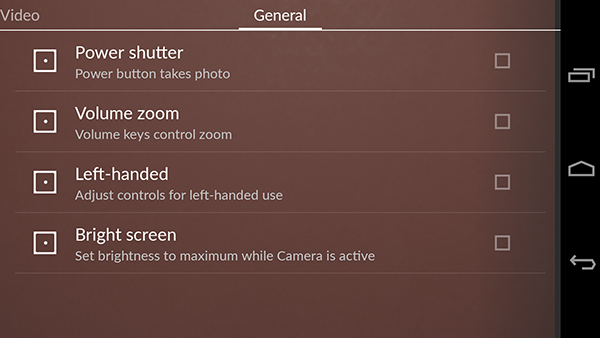
We do like that OnePlus has thought about the benefit to having a physical camera shutter button. We’d still much rather have a separate physical shutter button like Sony puts on their Xperia phones, but being able to use the power button as one is the next best thing.
-
MrEssesse You forgot to mention how the iphone 6 plus costs 299 $ with a 2 year contract, unlocked its around 700 $.Reply -
Mike Coberly So the device itself supports the CDMA bands, but is not compatible with one of the major CDMA carriers here in the US? What a shame. :( This could easily replace my now aging Galaxy Note 3.Reply -
Memory Ever Summary is all kind of noise voice out because it's a China phone.Reply
If this is a phone from Apple, people will only ask when they can buy it. They don't real care about of the specification.
This is the different. -
house70 Got one for my wife, she loves it, esp. that she doesn't have to keep an eye on the battery icon anymore. This thing will run forever... Getting another one for myself.Reply
For about USD 350 you can't really do any better. They could sell it for 550-600, but they won't.
CM12 (Lollipop- based) is around the corner.
Only thing they botched really big was the sales; this phone had a huge potential to when first launched, but making it almost impossible to buy doesn't help. -
uplink-svk As owner of three 1+1 phones I'm heavily dissapointed with this phone. I really loved the Crysis Music trailer, and there I decided to go for this phone.Reply
Things that really dissapointed me are:
- display is yellowish, at least was on all three pieces I owned
- it's made out of cheap plastics, I don't care it feels "great", I wanted metalic phone, like they said it's gonna be in the beginning
- one of the pieces was doing purplish photos
- it's way too big
- CM is fine, but still misses some of the basic features offered by 3rd party GUi from Samsung/HTC, which are in my eyes normal - RMAing the 1+1 is a hell, You need to send it back, wait and stuff, thank You, but no
In general I bought the first one for 290 euro, second one for 250 euro, and third one for 390 euro, which are pretty good prices in my country for these phones, and all were a disaster :\ -
rexter This is what Nexus 6 should have been - price-wise. Watch out Google here's OnePlus. Too bad, you'll need an invitation to get one, why not invite me instead if I give them my e-mail; this just show that the company don't have much stocks to share to every, I suppose? and that pink wall paper reminds me of Ubuntu. I like the black one if I can get my hands on one... or two.Reply -
Karksken Can you use this one as phone too or is it just a tablet(review). Smartguys please give us on smartPHONES also the real info as Phone quality, connection quality, e.a. info when you get the out of memory error when there is still a lot of mem available and you SIM is disconnected. How does the apps interact with the phone part.Reply -
D A The invites are easy to get with a little patience. I just bought three of them in the last tow weeks. All my invites I got where from google + where previous buyers are giving out the invites hourly. Jut go onto Google plus and do a search for "Oneplus Invite", then click "MOST RECENT". be patient and keep refreshing and be ready to respond to a post where someone is offering an invite... respond with your email address that you would like one. I did this for all three of my invites, there was only one person that did not send me the invite. I was able to get all the invites within an hour.Reply
