Tom's Hardware Verdict
The Petoi Bittle robot dog provides a fun introduction to robotics and coding, but its short battery life, incompatible firmware and calibration issues could turn eager young learners away.
Pros
- +
Comes preloaded with basic skills out of the box
- +
Open-source platform, works with Raspberry Pi and Arduino environments
- +
Multiple controllers: IR remote, desktop app, mobile app
- +
Free online curriculum, video tutorials, and online documentation readily available
Cons
- -
Short battery life (only lasts one hour per charge)
- -
Calibration issues arise after some use
- -
Codecraft (custom Scratch-based programming) only works with older firmware
- -
Head falls off easily
Why you can trust Tom's Hardware
The concept of quadruped robots isn’t new, but it’s as cool and fascinating today as it was a few decades ago when four-legged robots first surfaced. While there have been great advancements in the field of robotics since, it’s important to continue to push forward and inspire the next generation of engineers. Petoi carries on this mission by developing products like Bittle that teaches young robot enthusiasts the mechanics of building and programming their inventions.
Bittle is a programmable robot dog targeted at robotic beginners ages 14 years and up, or anyone who wants to have fun learning and playing with robots. Priced at $339 (assembled), Bittle comes programmed with a few starter tricks like walk and trot that learners can try out to familiarize them with what the robot can do, and then later expand to more complex types of behavior. This may seem like an expensive STEM kit, especially in today’s economy, but it’s fairly affordable compared to similar quadruped products on the market right now. In fact, some servo-based quadruped robots like the Xgo Mini or the PuppyPi retail for closer to a thousand dollars. Petoi can keep its production costs down thanks to its open hardware framework and open-source software platform.
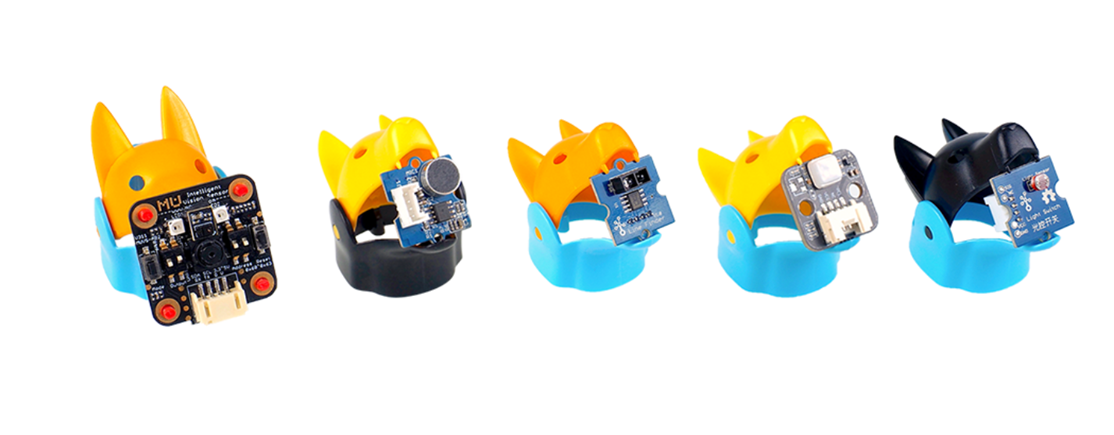
Bittle’s open-source platform also allows you to add a Raspberry Pi or attach Grove sensors to extend its capabilities, explore AI machine learning projects, or try out various STEM experiments. These add-ons, however, are not included in the basic package, so you’ll need to purchase them separately. Unfortunately, Raspberry Pis remains in short supply, so you might be hard-pressed to find a good deal on it, much less find one in stock.
Set Up and How it Works
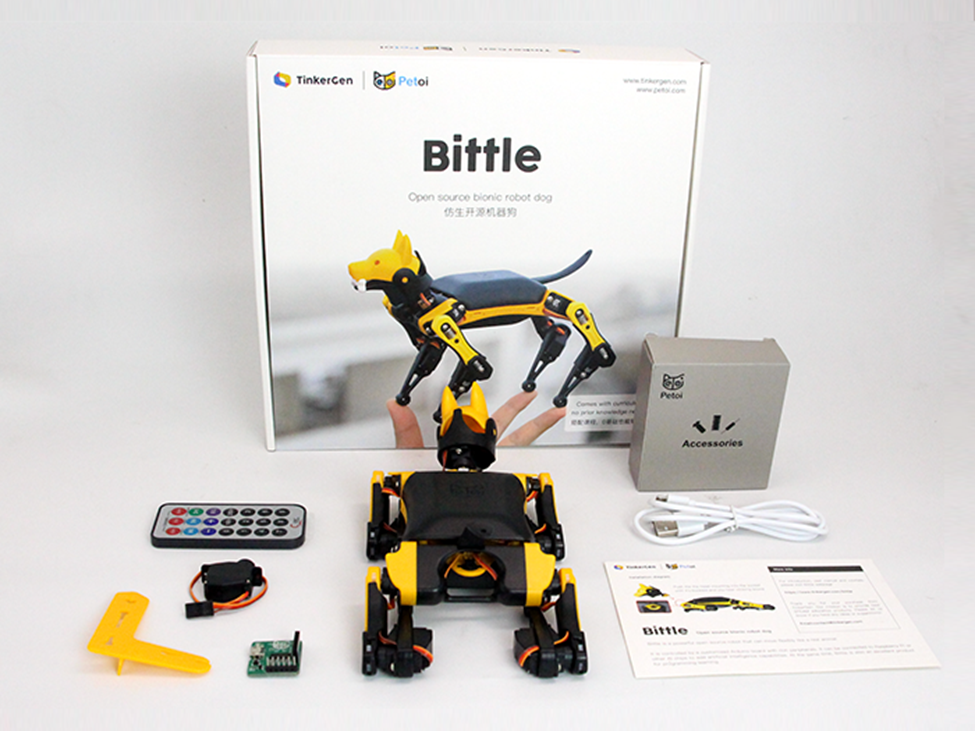
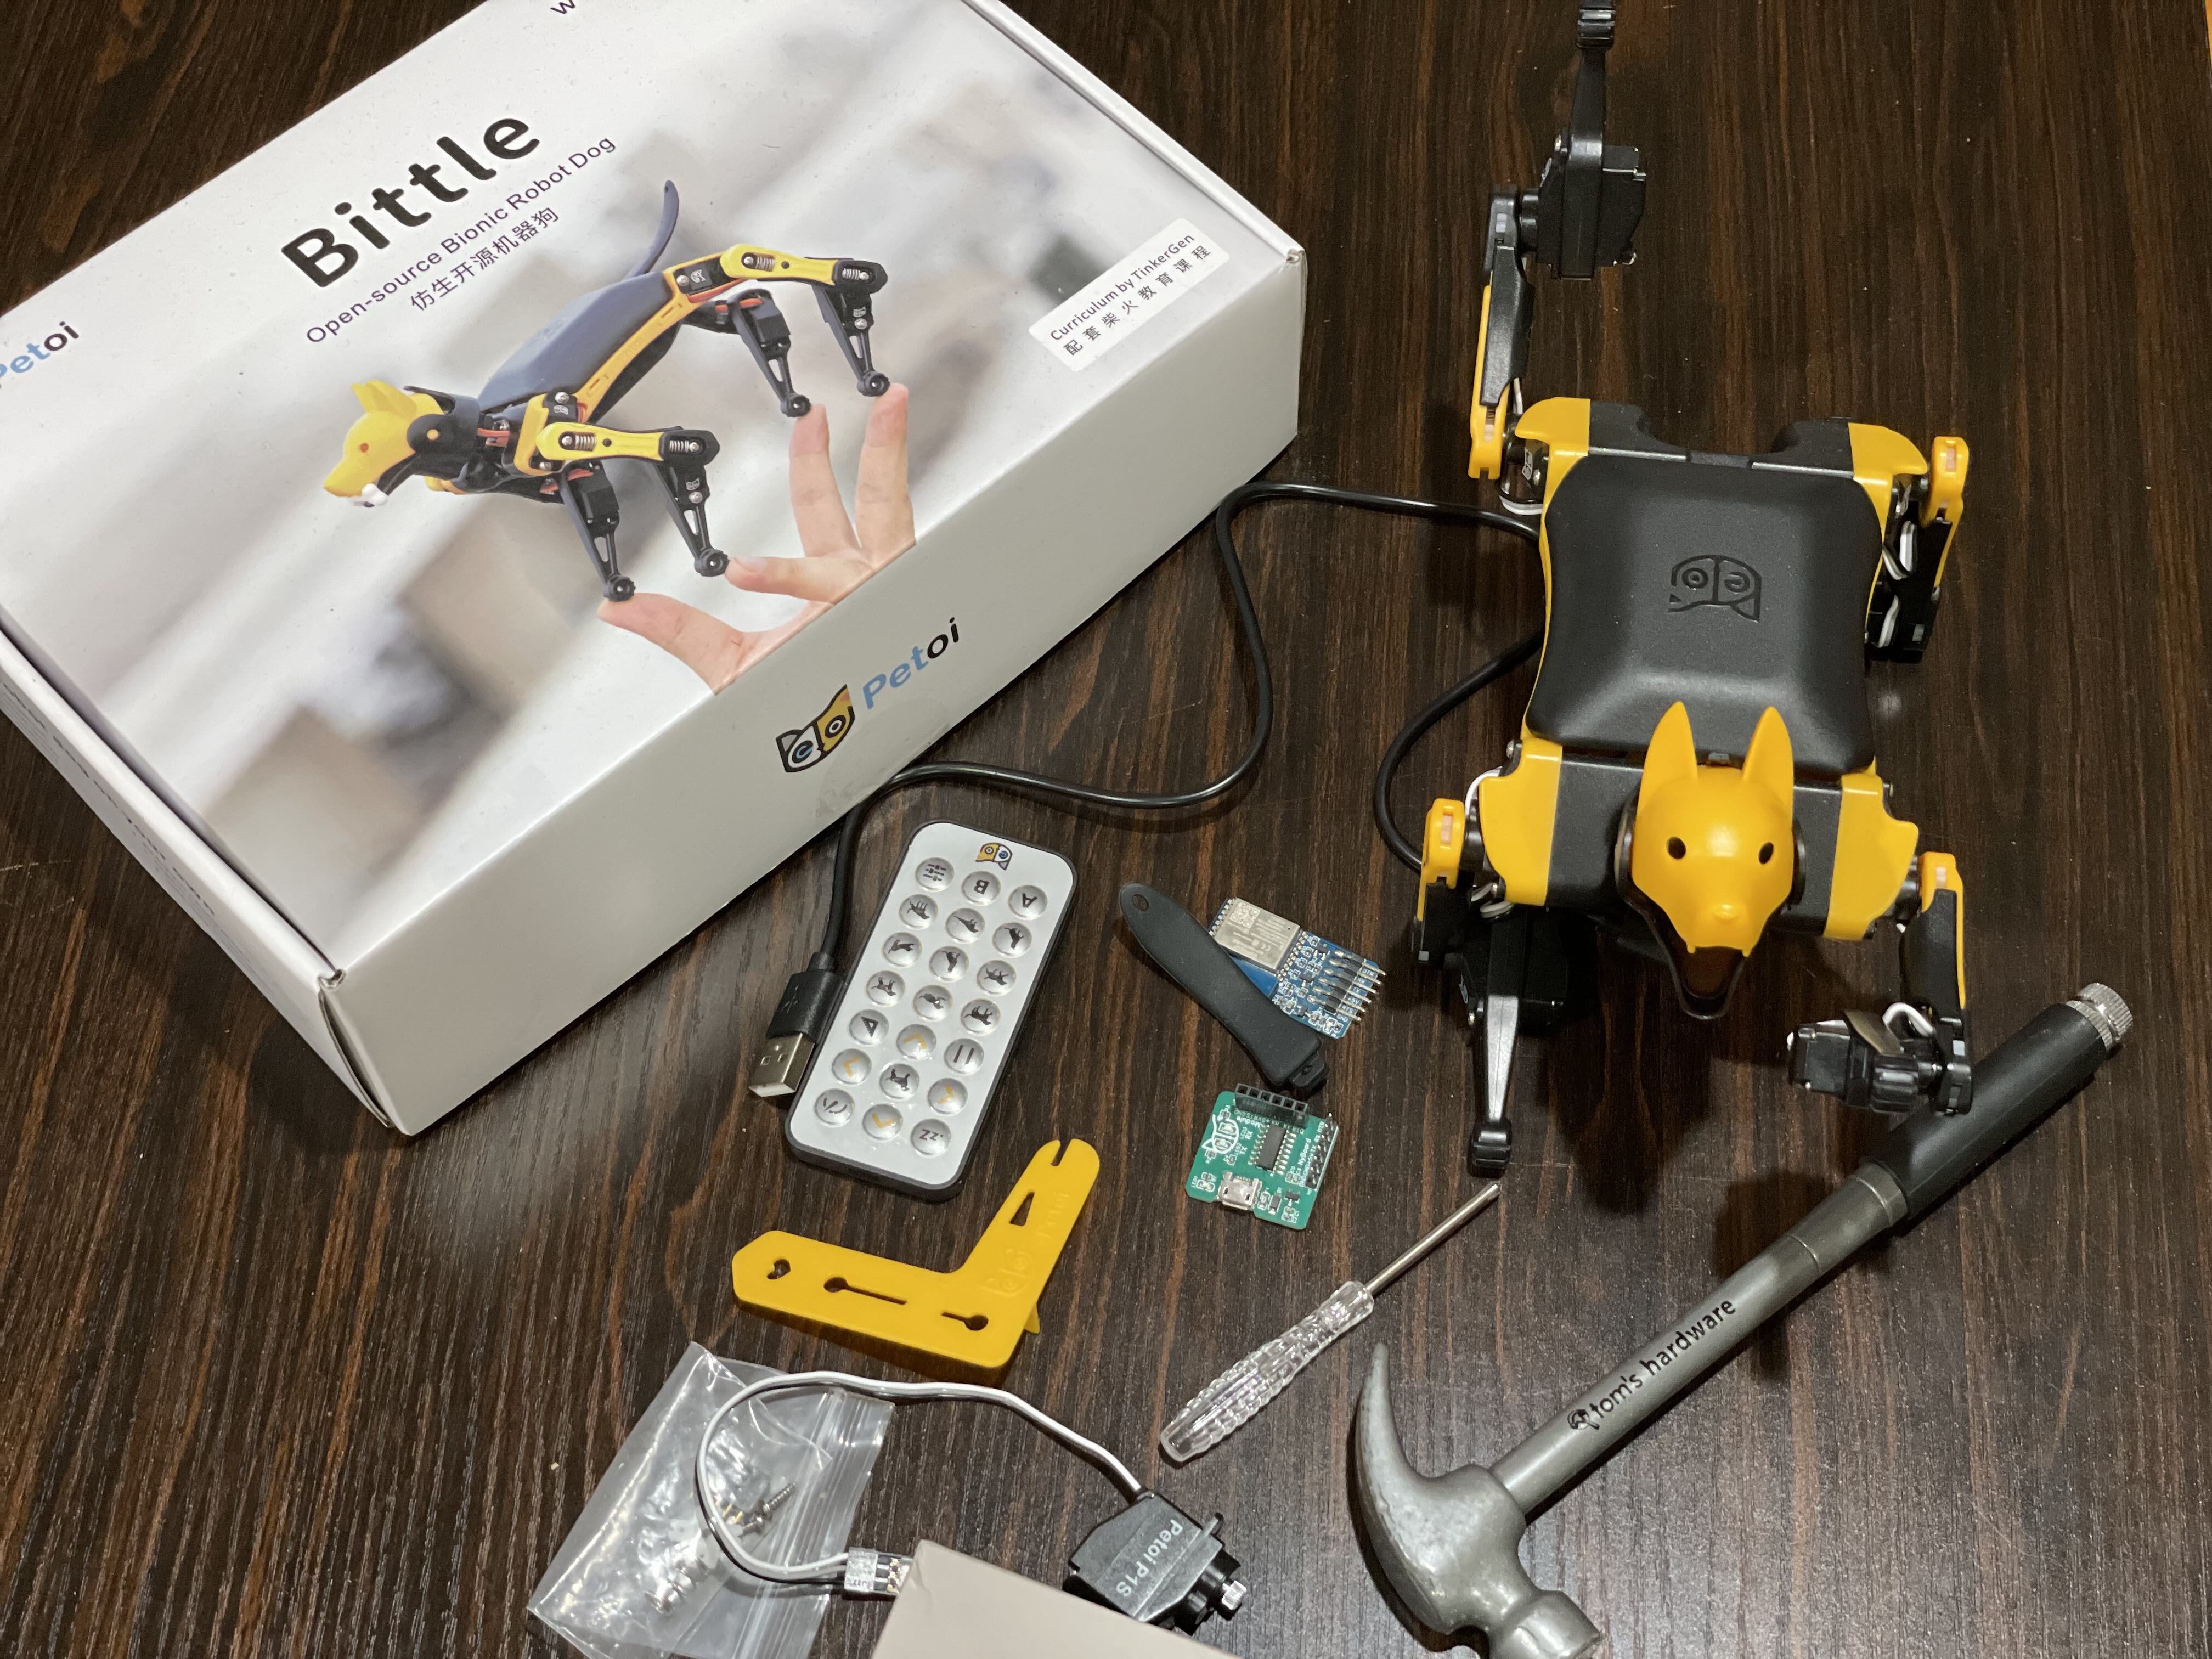
Bittle ships in two models, a pre-assembled kit and a DIY construction kit. It comes with three color options: black and yellow, blue and yellow or red and yellow.
| Pre-assembled Kit | Main Component | Comes With | Price |
| Row 1 - Cell 0 | Pre-assembled Bittle | Attachable Head | $339 |
| Tail | |||
| Micro-USB Cable | |||
| IR Remote Control | |||
| USB Adaptor | |||
| WiFi Adaptor | |||
| Bluetooth Adaptor | |||
| Lithium battery | |||
| Joint Tuner | |||
| Screwdriver | |||
| 1x Spare Servo | |||
| Spare Screws | |||
| Spare servo connectors | |||
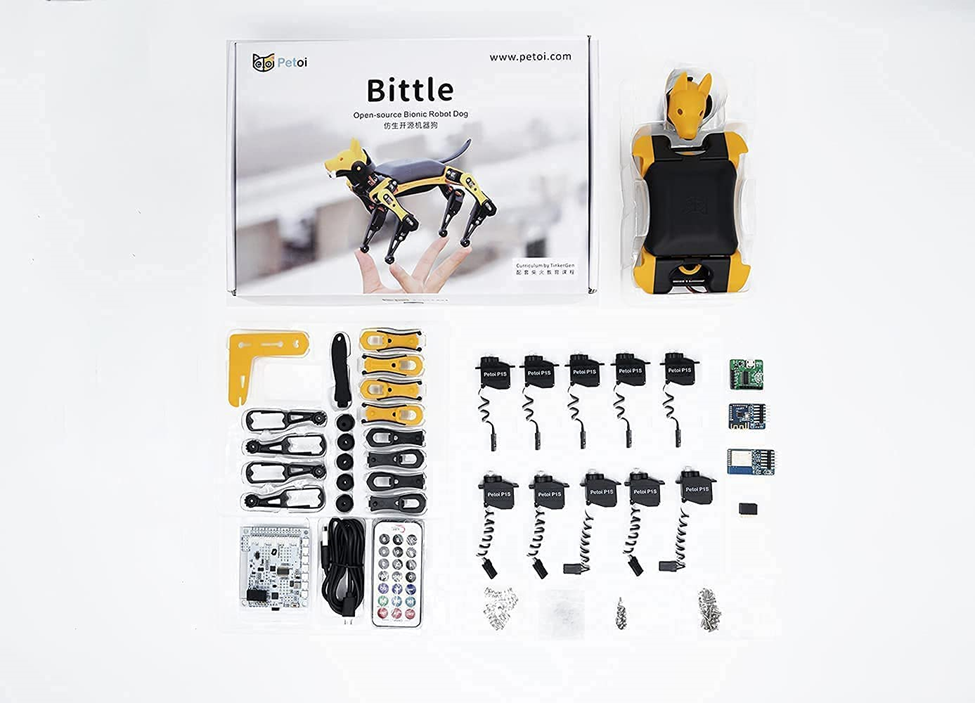
| Construction Kit | Main Components | Comes With | Price |
| Interlocking parts for main body frame | Attachable Head | $329 | |
| NyBoard (customized Arduino board) | Tail | ||
| 10x PS1 custom-built servos (includes spare) | Micro-USB Cable | ||
| 4x upper and 4x lower leg parts | IR Remote Control | ||
| Springs | USB Adaptor | ||
| Screws | WiFi Adaptor | ||
| Servo connectors | Bluetooth Adaptor | ||
| Lithium battery | |||
| Joint Tuner | |||
| Screwdriver | |||
| Spare Servo | |||
| Spare Screws | |||
| Add-on (optional) | Additonal Components | Description | Price |
| Grove modules | Intelligent Vision Sensor, Speech Recognizer, Sound Sensor | $89 at Seeed | |
| Additional battery | Lithium-ion battery | $39 at Amazon |
Bittle Basic Kit
Our Bittle sample unit came pre-assembled with the black and yellow color combo. It required minimal setup since the main body and legs were already put together. All that was needed was to snap the head in (which also came pre-assembled), add the tail, charge the batteries and Bittle was good to go out of the box. Almost everyone could enjoy this model, even younger makers (kids under 14), who just want to play with Bittle as a regular pet toy and get some hands-on experience on movement manipulation or adding on to its built-in routines.
There are three ways you can control your Bittle: using the IR remote control that comes with the kit, downloading the mobile app on your phone, or installing the desktop app on your computer.
The pre-assembled robot also came pre-calibrated and preloaded with a set of basic tricks like walk, sit, stand and trot, which you can control to speed up or slow down using the controller of your choice. It also had some more fun tricks that my 9-year-old was excited to try right away, like “Say Hi,” “Pee,” “Do pushups” and “Play Dead.”
Get Tom's Hardware's best news and in-depth reviews, straight to your inbox.
I could see my daughter's eyes light up with how naturally Bittle could move and trot around. It was very agile and maintained good balance even as she changed the direction of its movements from left to right and back and forth on our living room floor. However, Bittle wasn’t as graceful moving on the carpet as it was on hardwood or other smooth surfaces.
She thoroughly enjoyed manipulating the speed for each movement as well, which led to discovering a cool feature — Bittle could actually flip itself back to a standing position if it tripped up or somehow fell due to an obstacle in its path. She was amazed at this fail-safe maneuver because it was autonomous and looked like something a real pet would do.
Standing six inches tall and weighing less than two pounds, Bittle is the perfect size for her to pick up and place in different play settings. However, she wasn’t a fan of its head constantly falling off. Though it was easy enough to snap back in place each time it fell, after a while, she found herself avoiding certain movements because she did not want to ‘hurt’ Bittle. Oddly enough, it turned out to be an actual feature of the robot rather than a product defect. The head also acts as a clip that can hold onto tiny objects and is also where the add-on sensors are placed for exploring fun STEM projects.
Bittle’s short battery life quickly became an issue. As it turns out, an hour isn’t enough time for play and exploration at all. 😊 Once the warning light turned on and Bittle slowed down or stopped, my daughter knew it was time to plug him back in for charging. It might be a good idea to purchase extra batteries (sold separately or as an add-on) so you can just switch them out and limit the disruption to the flow of fun and learning.
Bittle Construction Kit
Bittle also comes in a do-it-yourself construction kit model, which ships unassembled so you can have the experience of putting together the entire robot yourself — a worthy and most enjoyable activity for anyone interested in robotics. You’ll also learn circuitry and cable management. It's even $10 cheaper than the one that comes prebuilt.
The main body frame and legs are made of hard, durable plastic material. It’s cleverly designed with an interlocking mechanism, so parts easily snap in place. Assembly videos and tutorials are available online if you need instruction or help. There are also diagrams that you can refer to in the online manual. When you assemble Bittle yourself, you’ll need to upload code to the NyBoard and make sure your connectors are connected to the right circuit.
After calibration, then you can attach the flat-end screws. The kit comes with a mini screwdriver, but to speed up the build process, you can use an electric screwdriver if you have one handy. It should take about 40 minutes to assemble, calibrate and upload the software.
I would say that although our review unit did not initially require assembly, we got the experience of disassembling Bittle’s legs and putting them back together in an effort to troubleshoot some calibration issues that came up after extended time testing Bittle’s maneuvering capabilities.
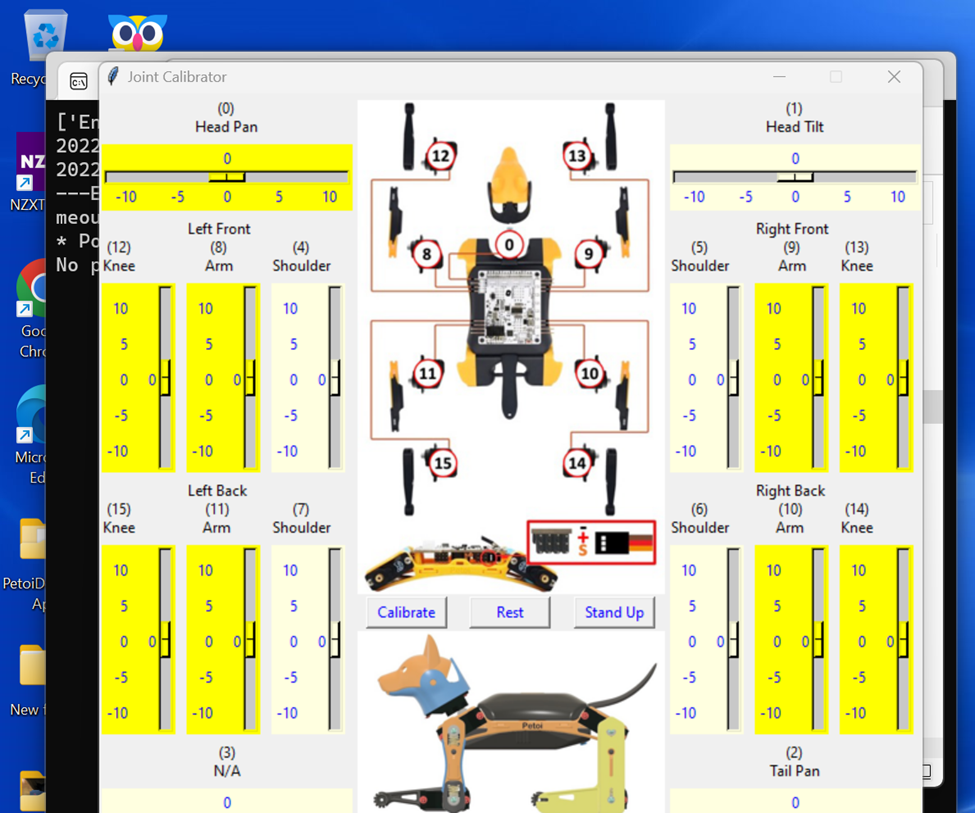
One thing we appreciated was the time and support we received from Petoi in this process. They were quick to respond and very helpful when we reached out with issues. First, we needed to break down and unscrew all the legs, remove the servos from their sockets and then put everything back in place. After that we had to go through manual calibration of each servo motor. The calibration joint tuner included in the kit came in handy, but the provided screwdriver was hard to use. We recommend using a different one if you have one in your toolbox, or even using an electric screwdriver if you have one. Honestly, it took some time to get Bittle calibrated properly. There was a lot of trial and error involved, and we had to redo the process a few times before we got Bittle back to an acceptable workable state.
Joint Calibration Tip: Try to center the holes when aligning the corresponding holes on the calibration tuner tool.
Bittle Hardware
Servos
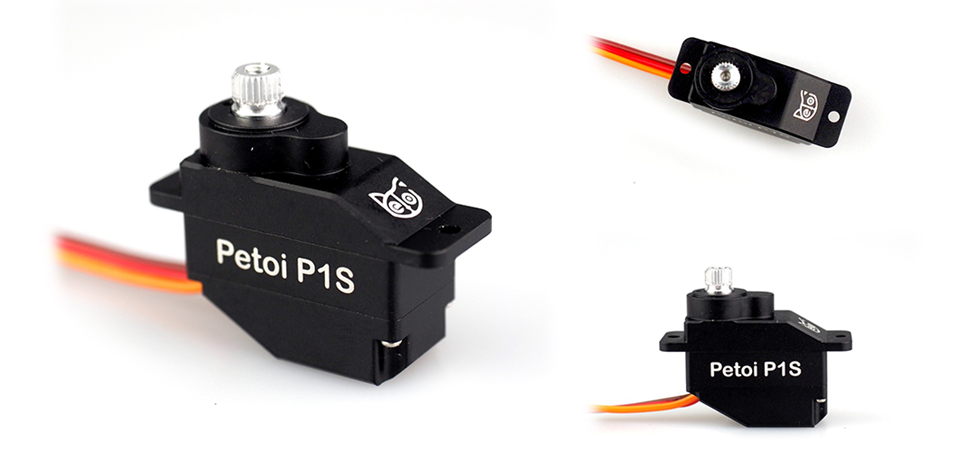
Bittle uses nine customized PS1 servos: two on each leg that act as joints and one for the head. The kits ship with an extra servo as a spare.
Note: When building the robot, it’s important to make sure you position the servos correctly to ensure the legs will work properly. The direction of the motors is important, and the cables must be properly connected to the NyBoard to ensure robot operations run smoothly.
NyBoard
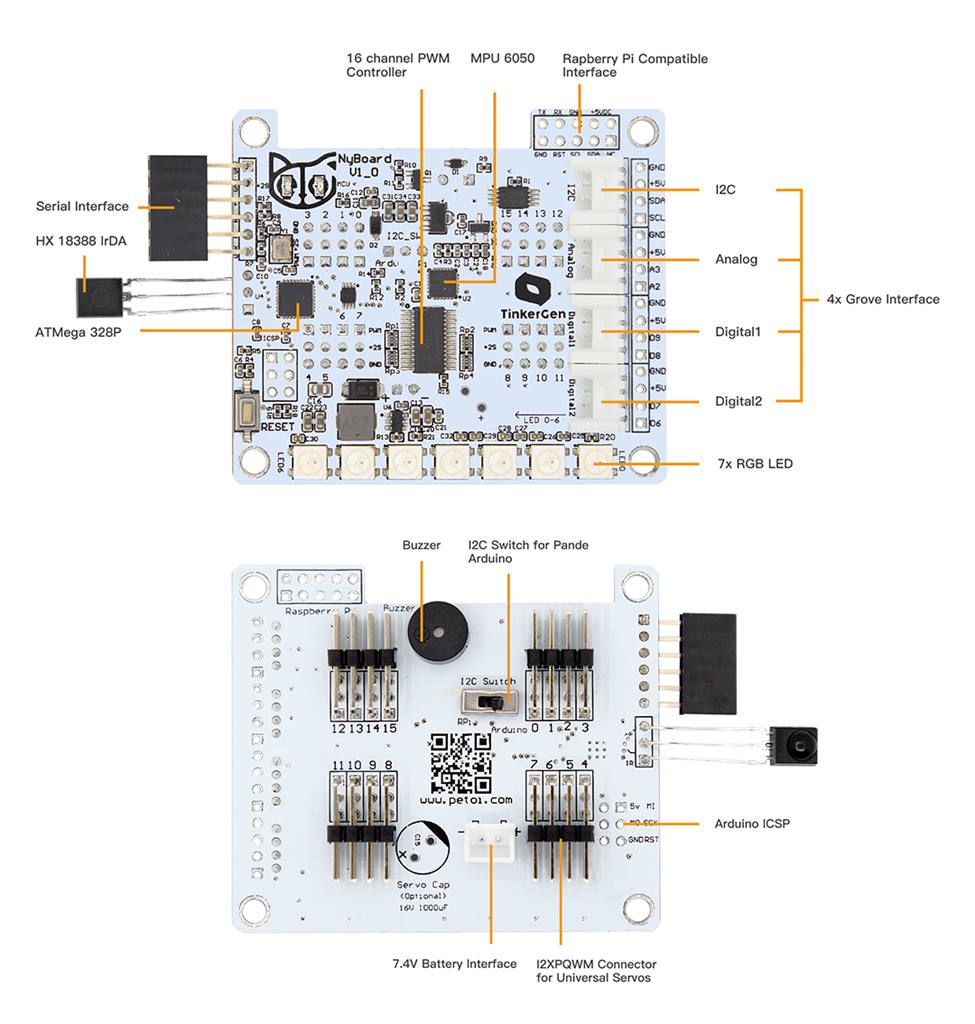
Bittle is based on a customized Arduino board that comes pre-programmed with a dozen neat tricks or routines that the robot can execute (for the assembled model). Our review model came with the first version of the board, though Petoi has come out with version 2 already.
Bittle Adapters / Connectors
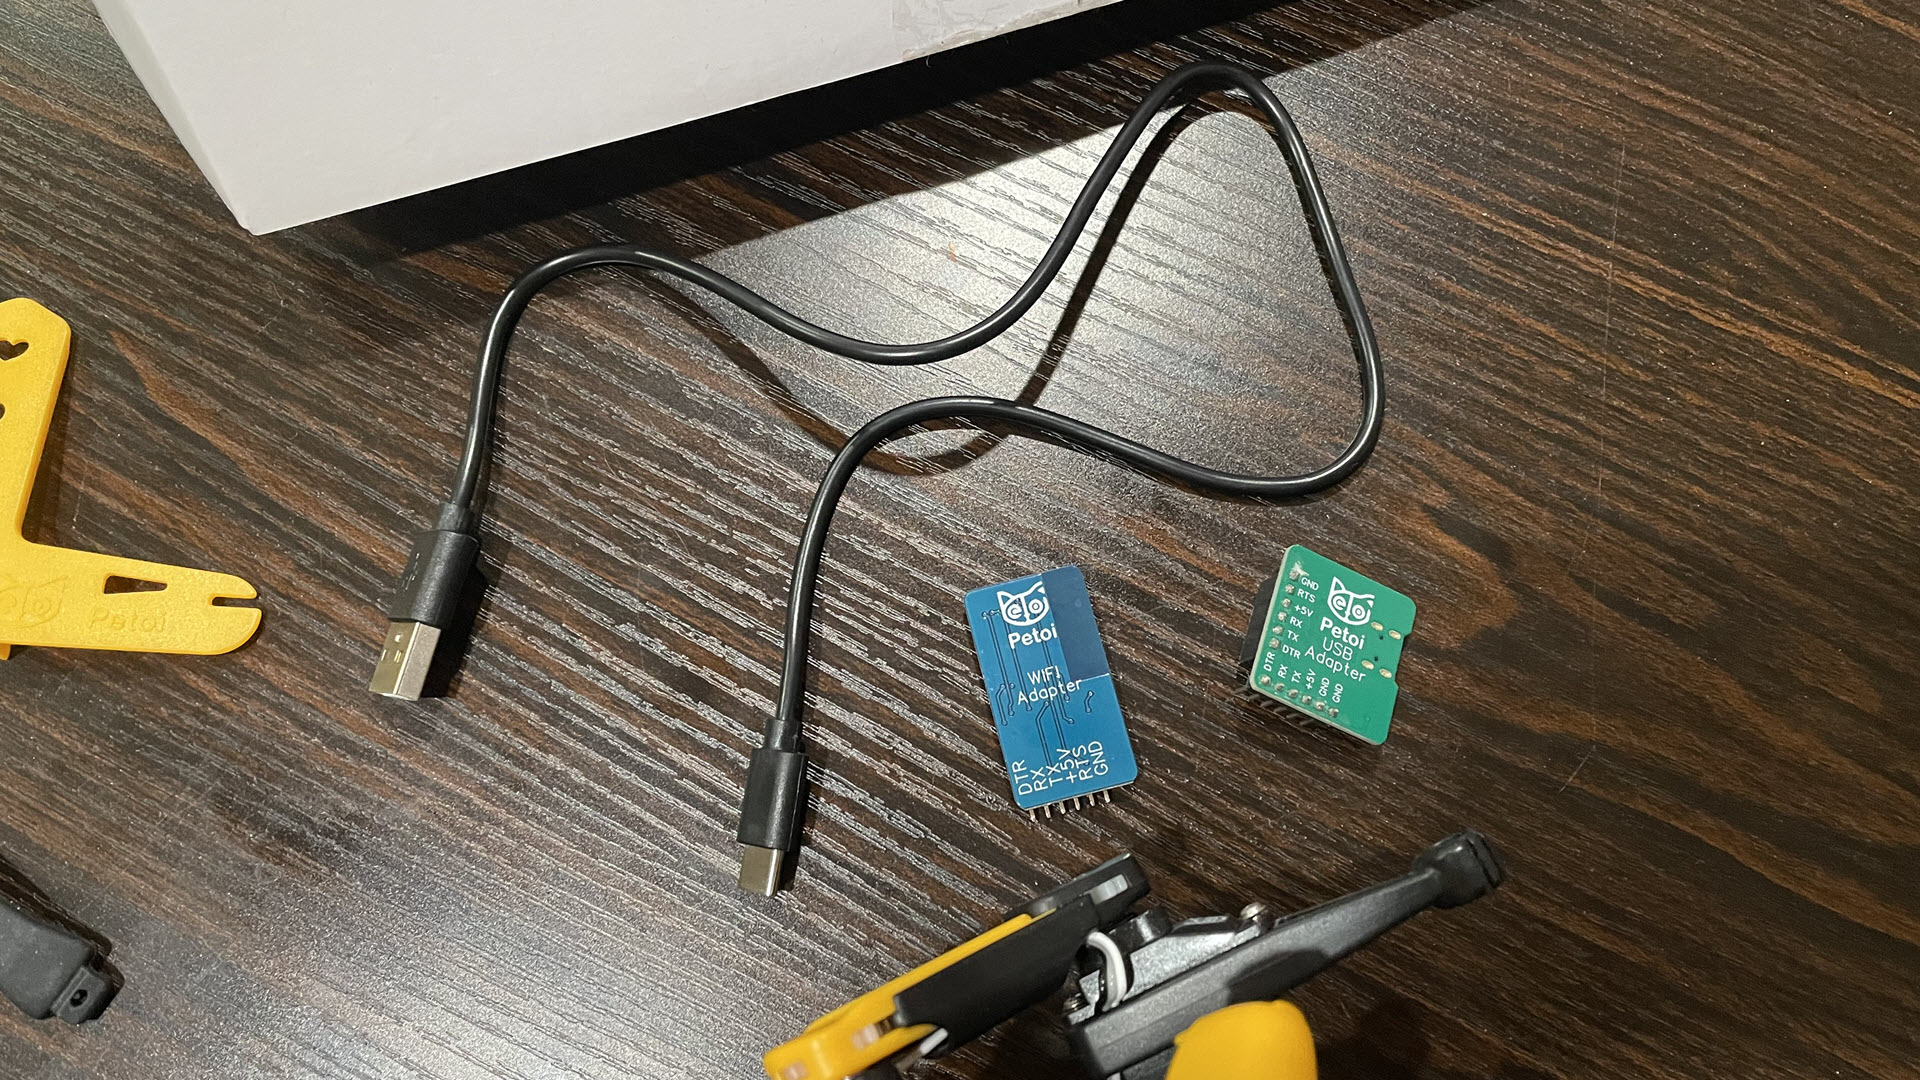
Bittle comes with three adaptors that you can use to charge, code, calibrate or load new firmware to the robot.
- USB
- WIFI
- Bluetooth
Bittle Controllers / Apps
There are three ways you can control Bittle:
IR Remote Control
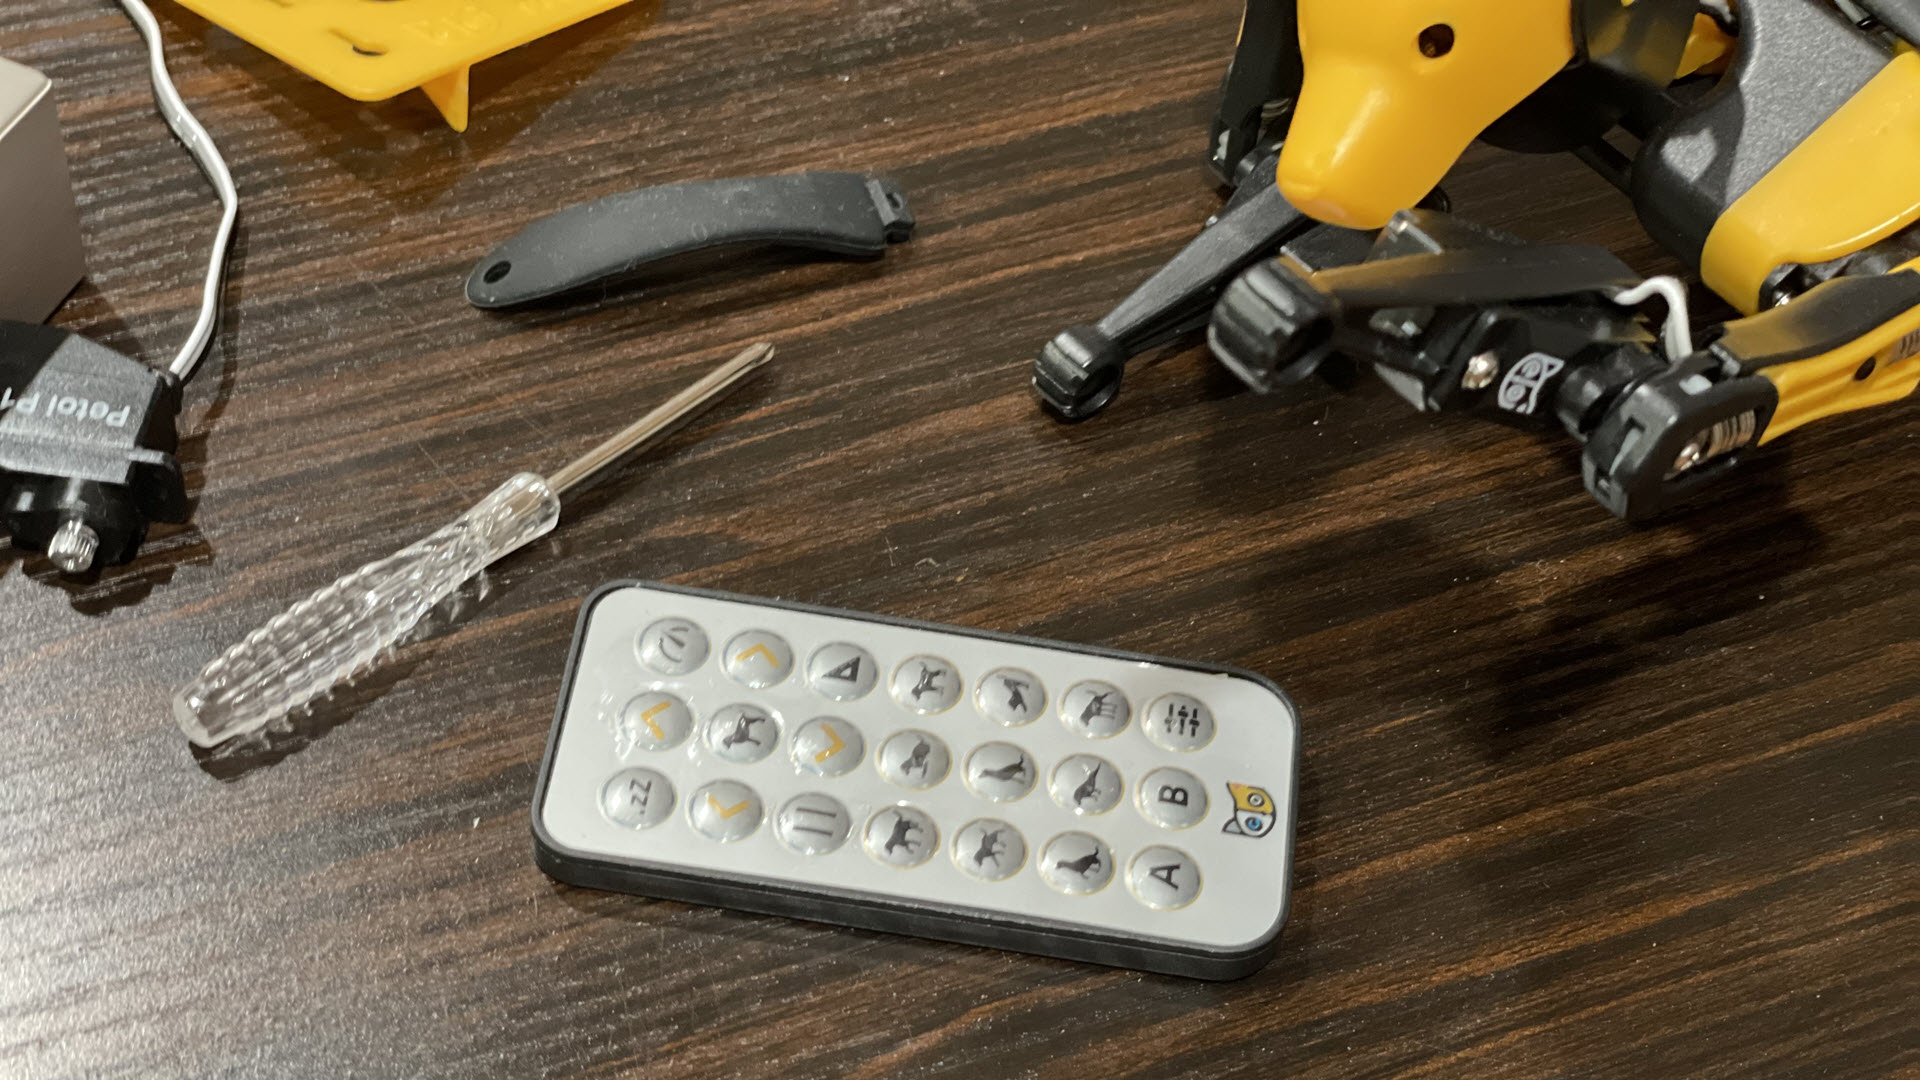
Bittle kits ship with an IR remote control (battery not included). Each button shows an icon that corresponds to a pre-programmed maneuver that you can try out. Our remote control stopped working after some time, even after we added a new battery.
Mobile App
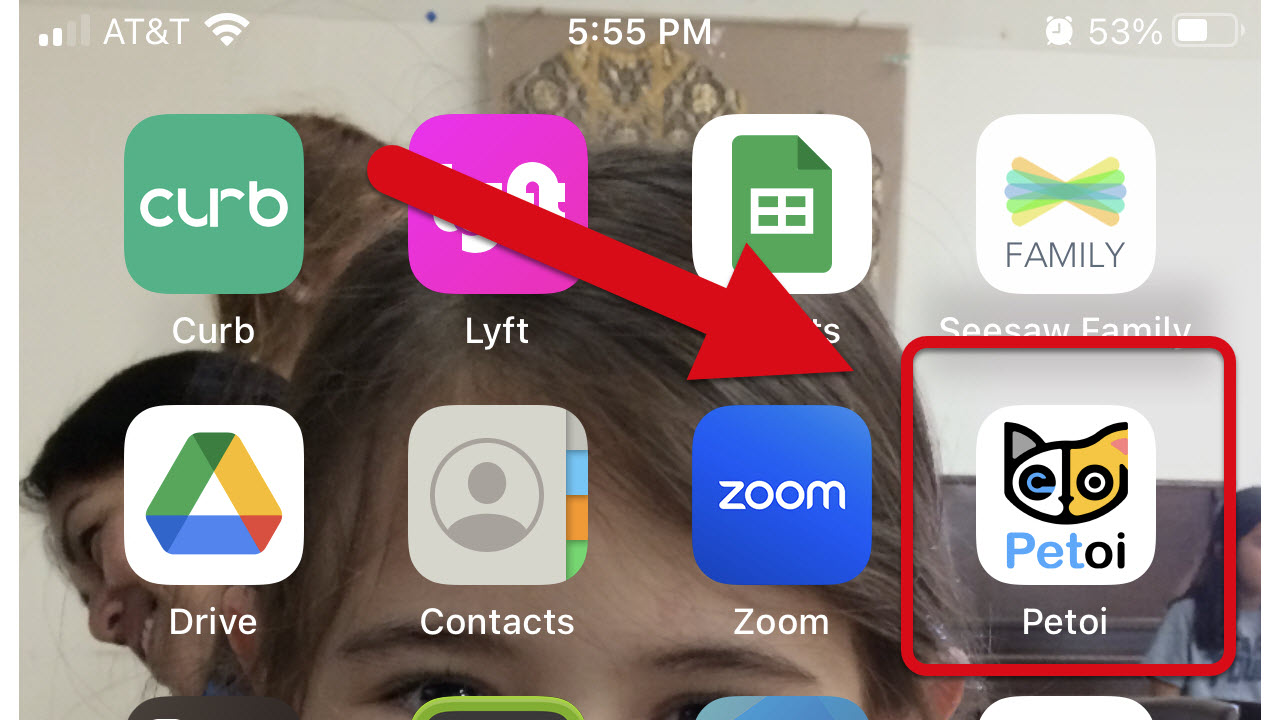
You can install the Petoi Robot Controller App on iOS or Android and connect to Bittle via Bluetooth. From here, you can calibrate each servo, use the main control pad to engage with Bittle, or upload new capabilities.
Desktop App
Use the Petoi Desktop App for new firmware uploads, joint calibration and composing new skills. It’s compatible with Windows PC or Mac. You will need the Micro-USB dongle to connect to Bittle through the USB adapter. We found that this is not the most reliable method because there are times when the app could not find a port and would show errors. We preferred connecting to Bittle via Bluetooth.
Programming Bittle
To start coding Bittle, there are two applications available: using Codecraft (Petoi’s custom Scratch-based app) and the Petoi Desktop App.
Codecraft
To use Codecraft to program Bittle, you must make sure you have OpenCat 1.0, as version 2.0 is not yet compatible with Codecraft. First, you need to connect to your Bittle to check what version of OpenCat is currently installed. Use the USB adapter and dongle, WiFi or Bluetooth to connect, then run the Petoi Desktop App. In the main menu window, click on Firmware Uploader. The next window will show you what version of OpenCat you have. You can easily change between versions using the pulldown menu option available. Just choose the version you need, click the Upload button, and follow the prompts provided.
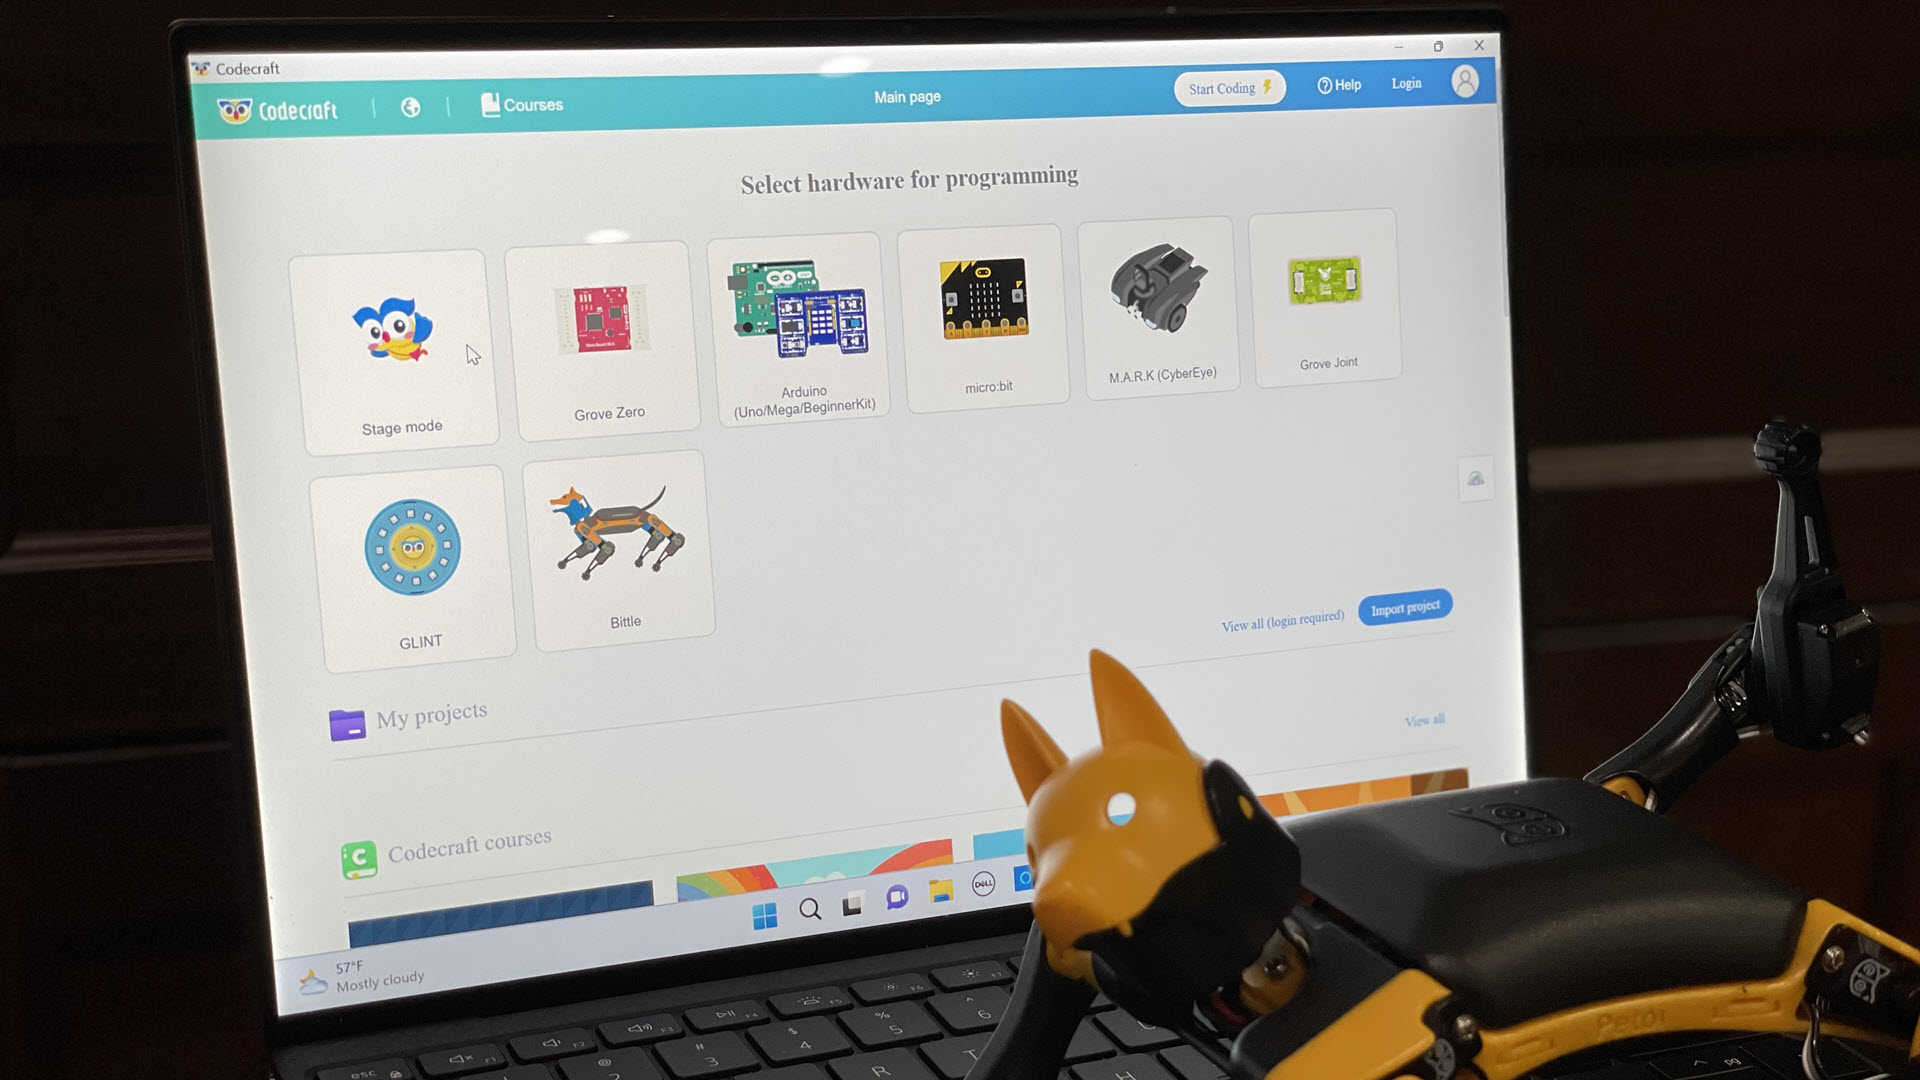
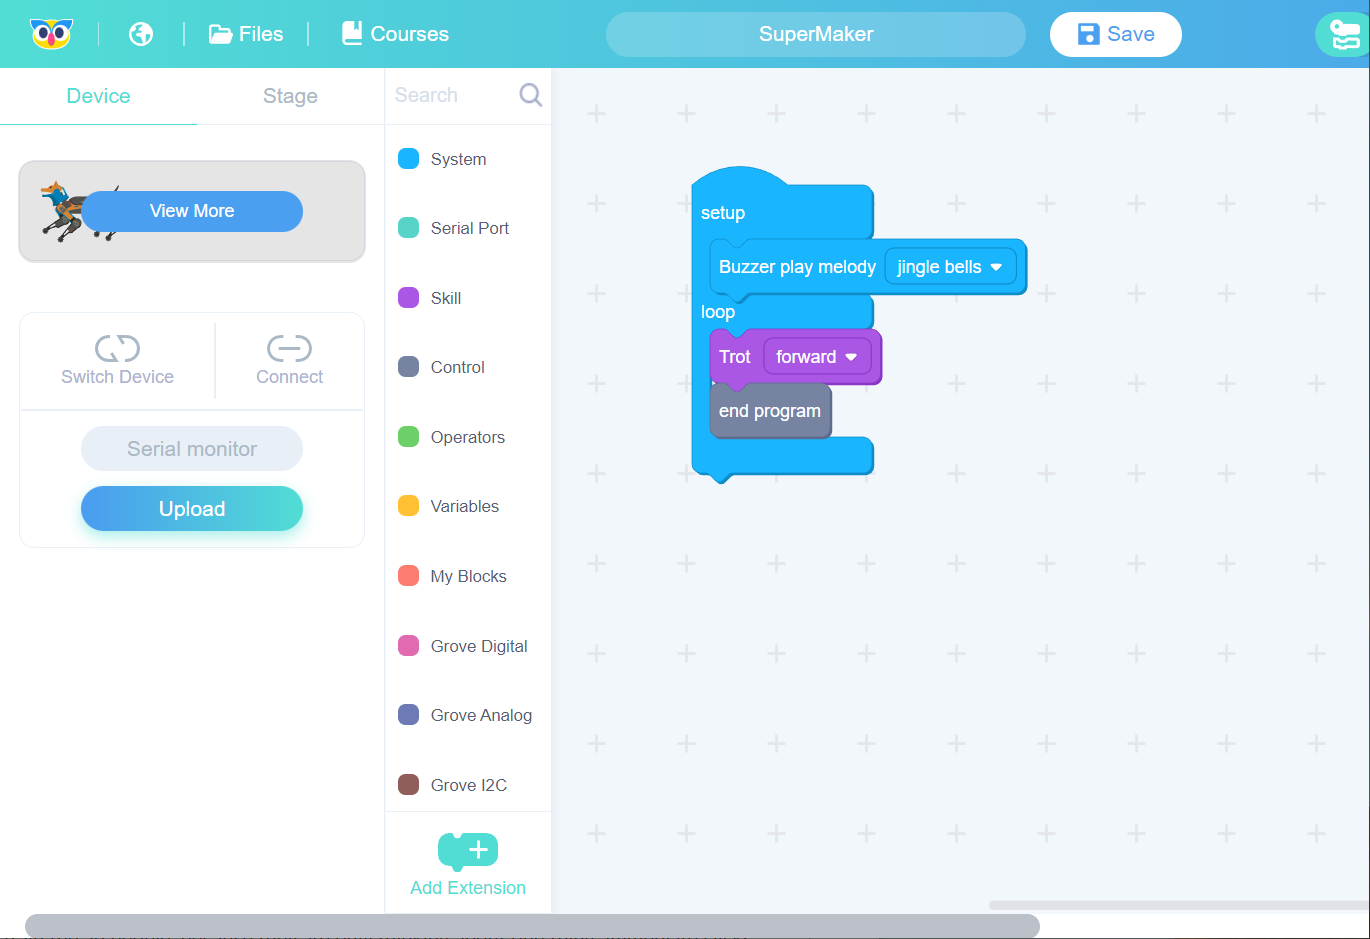
You can download the Codecraft app on your computer or go online to https://ide.tinkergen.com/ and select Bittle to start experimenting and programming different routines for Bittle. When done, click the Upload button on the left side menu. It takes a few seconds before Bittle executes your script. My daughter, who is already familiar with Scratch from use in school, dove right into Codecraft. She particularly enjoyed seeing Bittle trot to the tune of Jingle Bells and combining multiple skills and looping them. Unfortunately, we did not have any of the Grove modules available, but she expressed the desire to use those in the future.
In addition to needing to downgrade your OpenCat version to use Codecraft and use the USB adapter to connect to Bittle, you may experience issues with port detection. We often had to close and re-open the app because the software kept throwing connection errors. Thank goodness for the Bluetooth option!
Skill Composer
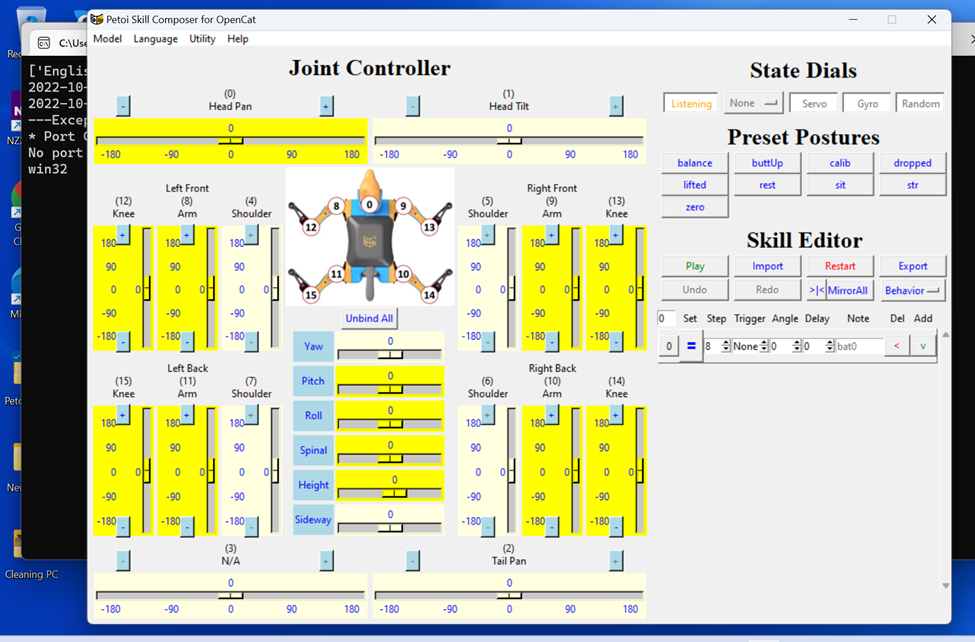
To program new skills for Bittle using the Desktop App, connect to Bittle, run the Desktop App, and Click Skill Composer. If you downgraded to the 1.0 version of OpenCat for Codecraft, we recommend that you now upgrade or go back to version 2.0 or the latest version of OpenCat available before you use the Skill Editor. We had issues when using the older version for the Desktop App.
Under Skill Editor, click on the Add button to add another line and choose one of the Preset Postures. You can use the Preset Postures as-is or adjust the movable sliders (in yellow) on the left-hand side to customize its movements. Save and hit Play to run the script. You can add a loop or program the number of times you want the script to repeat.
We experienced the same port detection errors when using the USB connection to use Skill Composer and had to re-try a few times before the software found the available port.
There are 16 online courses available for beginners and advanced learners. Bittle also supports Python and C programming languages.
Bottom Line
Who wouldn’t want a pet robot like Bittle? It’s cool, it’s fun and it’s entertaining. Moreover, it’s an amazing piece of tech that will keep young enthusiasts and hobbyists engaged while introducing them to the basic concepts of robotics. Granted, Bittle isn’t the friendliest looking pet robot out there — my daughter mentioned Bittle reminded her of a guard dog, and it reminded me of Alpha, the Doberman Pinscher from the movie Up. But even that could be a great challenge for young makers because they can dig into their own creativity to come up with fresh ways to mimic real-life dog interactions. One idea we had was to play around with its head movements to inject more character and personality into Bittle — there are lots of possibilities to explore through the Skill Composer.
In terms of its value, compared to Xgo Mini ($799) or PuppyPi ($423-$940), Bittle at $339 is in the lower price range and is currently the more affordable option. While that's a steep price to pay if you or your child are only interested in using Bittle as a toy for entertainment, the true value of Bittle comes in the education it brings. The hands-on coding experience from the apps, free online coding courses, and further expansion projects and experiments definitely make Bittle a worthwhile investment. Not to mention the support of the open-source online community.
While Bittle's out-of-the-box agility was highly impressive, it’s important to reiterate the calibration process was not easy and Bittle’s short battery life might leave young learners hanging. However, like many STEM robot kits, Petoi's Bittle is designed to provide an entryway to robotics and AI, which was certainly achieved during our time with this robot. Overall, the technical hiccups are outweighed by the educational experience and the fun Bittle provides when operating smoothly. Perhaps the next model will offer upgrades to correct the issues we found in our testing.

Anj Bryant is the Assistant Managing Editor at Tom's Hardware. She provides content layout and development support, and coordinates editorial initiatives for all the talented groups of freelancers, contributors, and editors in the team.
