Tom's Hardware Verdict
An incredible board that will help new makers to learn the skills without the fear of failure.
Pros
- +
Incredibly easy to use
- +
Lego compatible
- +
Simple power input
- +
Motor test buttons
- +
Servo control
Cons
- -
No direct GPIO access
Why you can trust Tom's Hardware
The Raspberry Pi is the best way to learn coding, right? Not for everyone. For younger makers something like the micro:bit may be more accessible than our favorite single board computer? The micro:bit was announced in 2015 and while it may not have seen the same level of success as the Raspberry Pi, it is a viable alternative for education and parents looking to help their children learn coding. An improved second version of micro:bit was released in 2020 and while the two look similar, version two introduced an onboard speaker, microphone and an extra touch input.
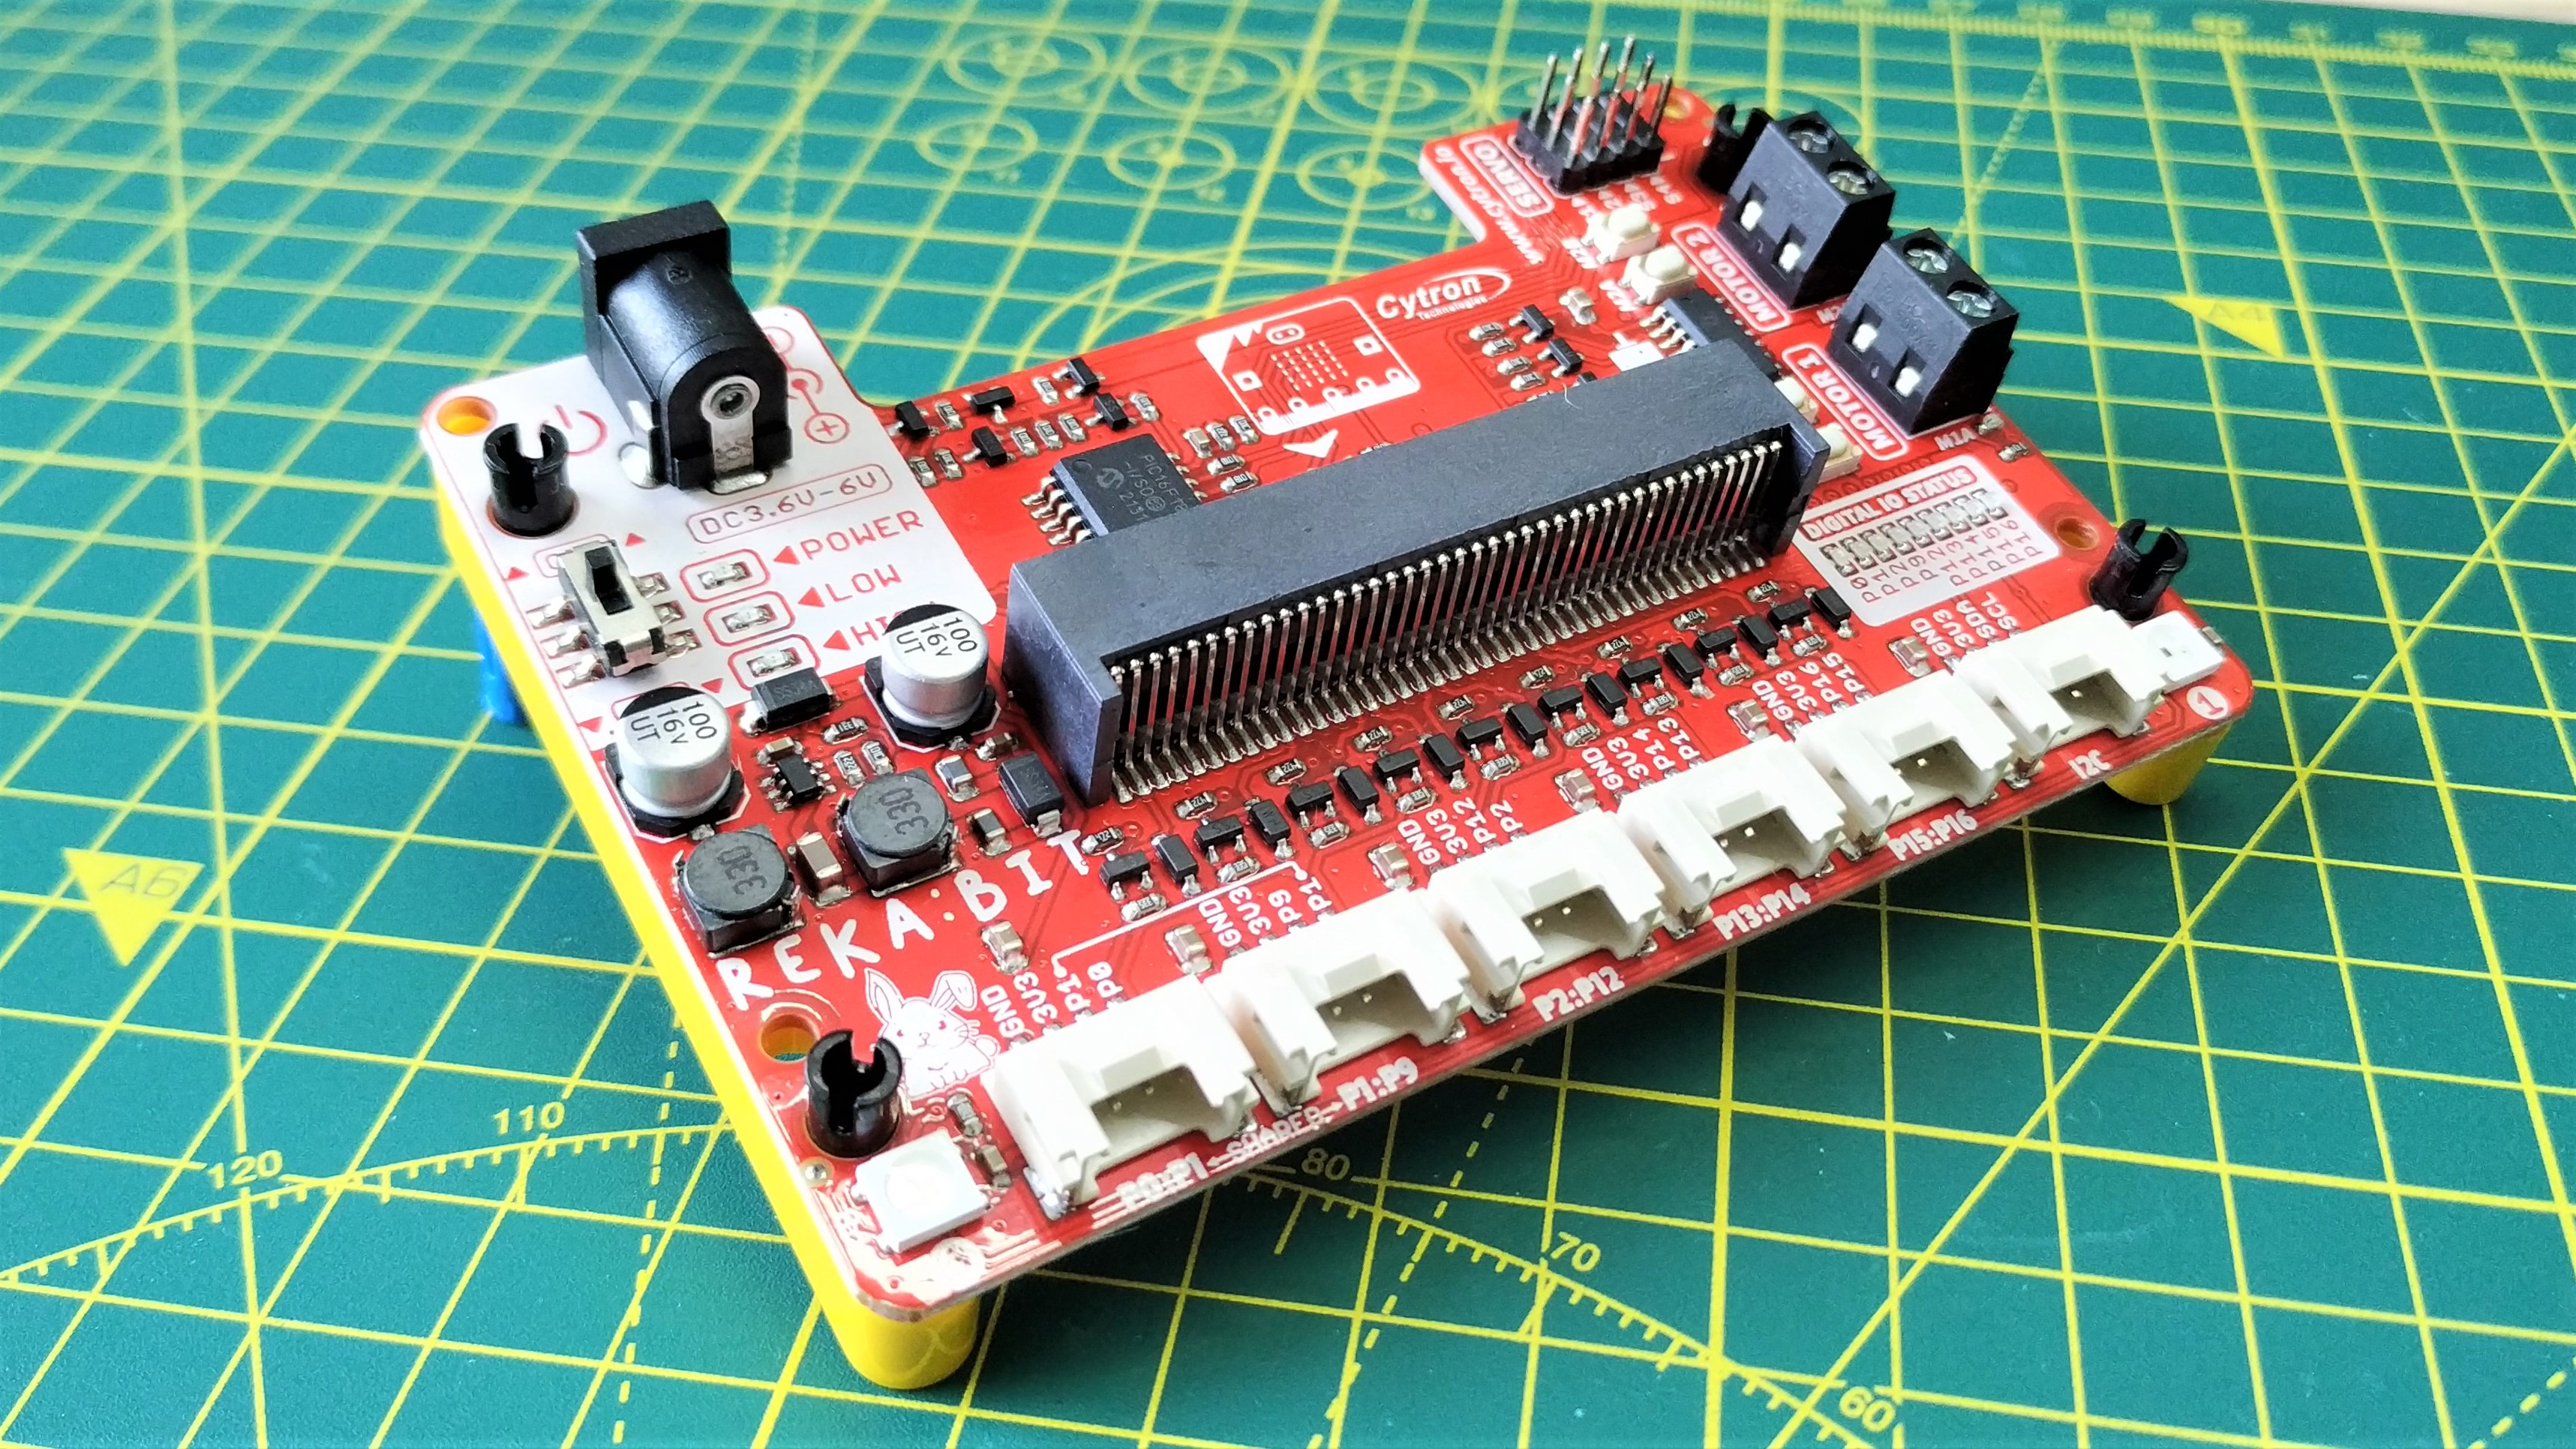
Cytron’s Reka:Bit is an interesting expansion board that works with both versions of the micro:bit. Being an expansion board it comes with a plethora of connection options, we can connect motors, servos, and sensors with no soldering. Onboard WS2812B NeoPixels provide an immediate means to make something cool, and from $18 the board is a good start for enquiring minds.
Is this an easy board, can we build a robot with very little code and what sensors can we connect? Let's put it on the bench and learn more about Reka:Bit.
Reka:Bit Specifications
| Motor Controller | MX1515H for two DC motors terminal Motor test buttons |
| Servos` | 4 x headers in Signal, Voltage, Ground (SVG) pinout |
| LEDs | 9 x Status LEDs for digital IO 2 x RGB WS2812B NeoPixel LEDs |
| I/O | 5 x Grove connections 1 x Grove I2C connection |
| Power | DC 3.6 - 6V, micro USB power for micro:bit |
| Dimensions | 103.8 x 71.8mm |
Setting Up Reka:Bit
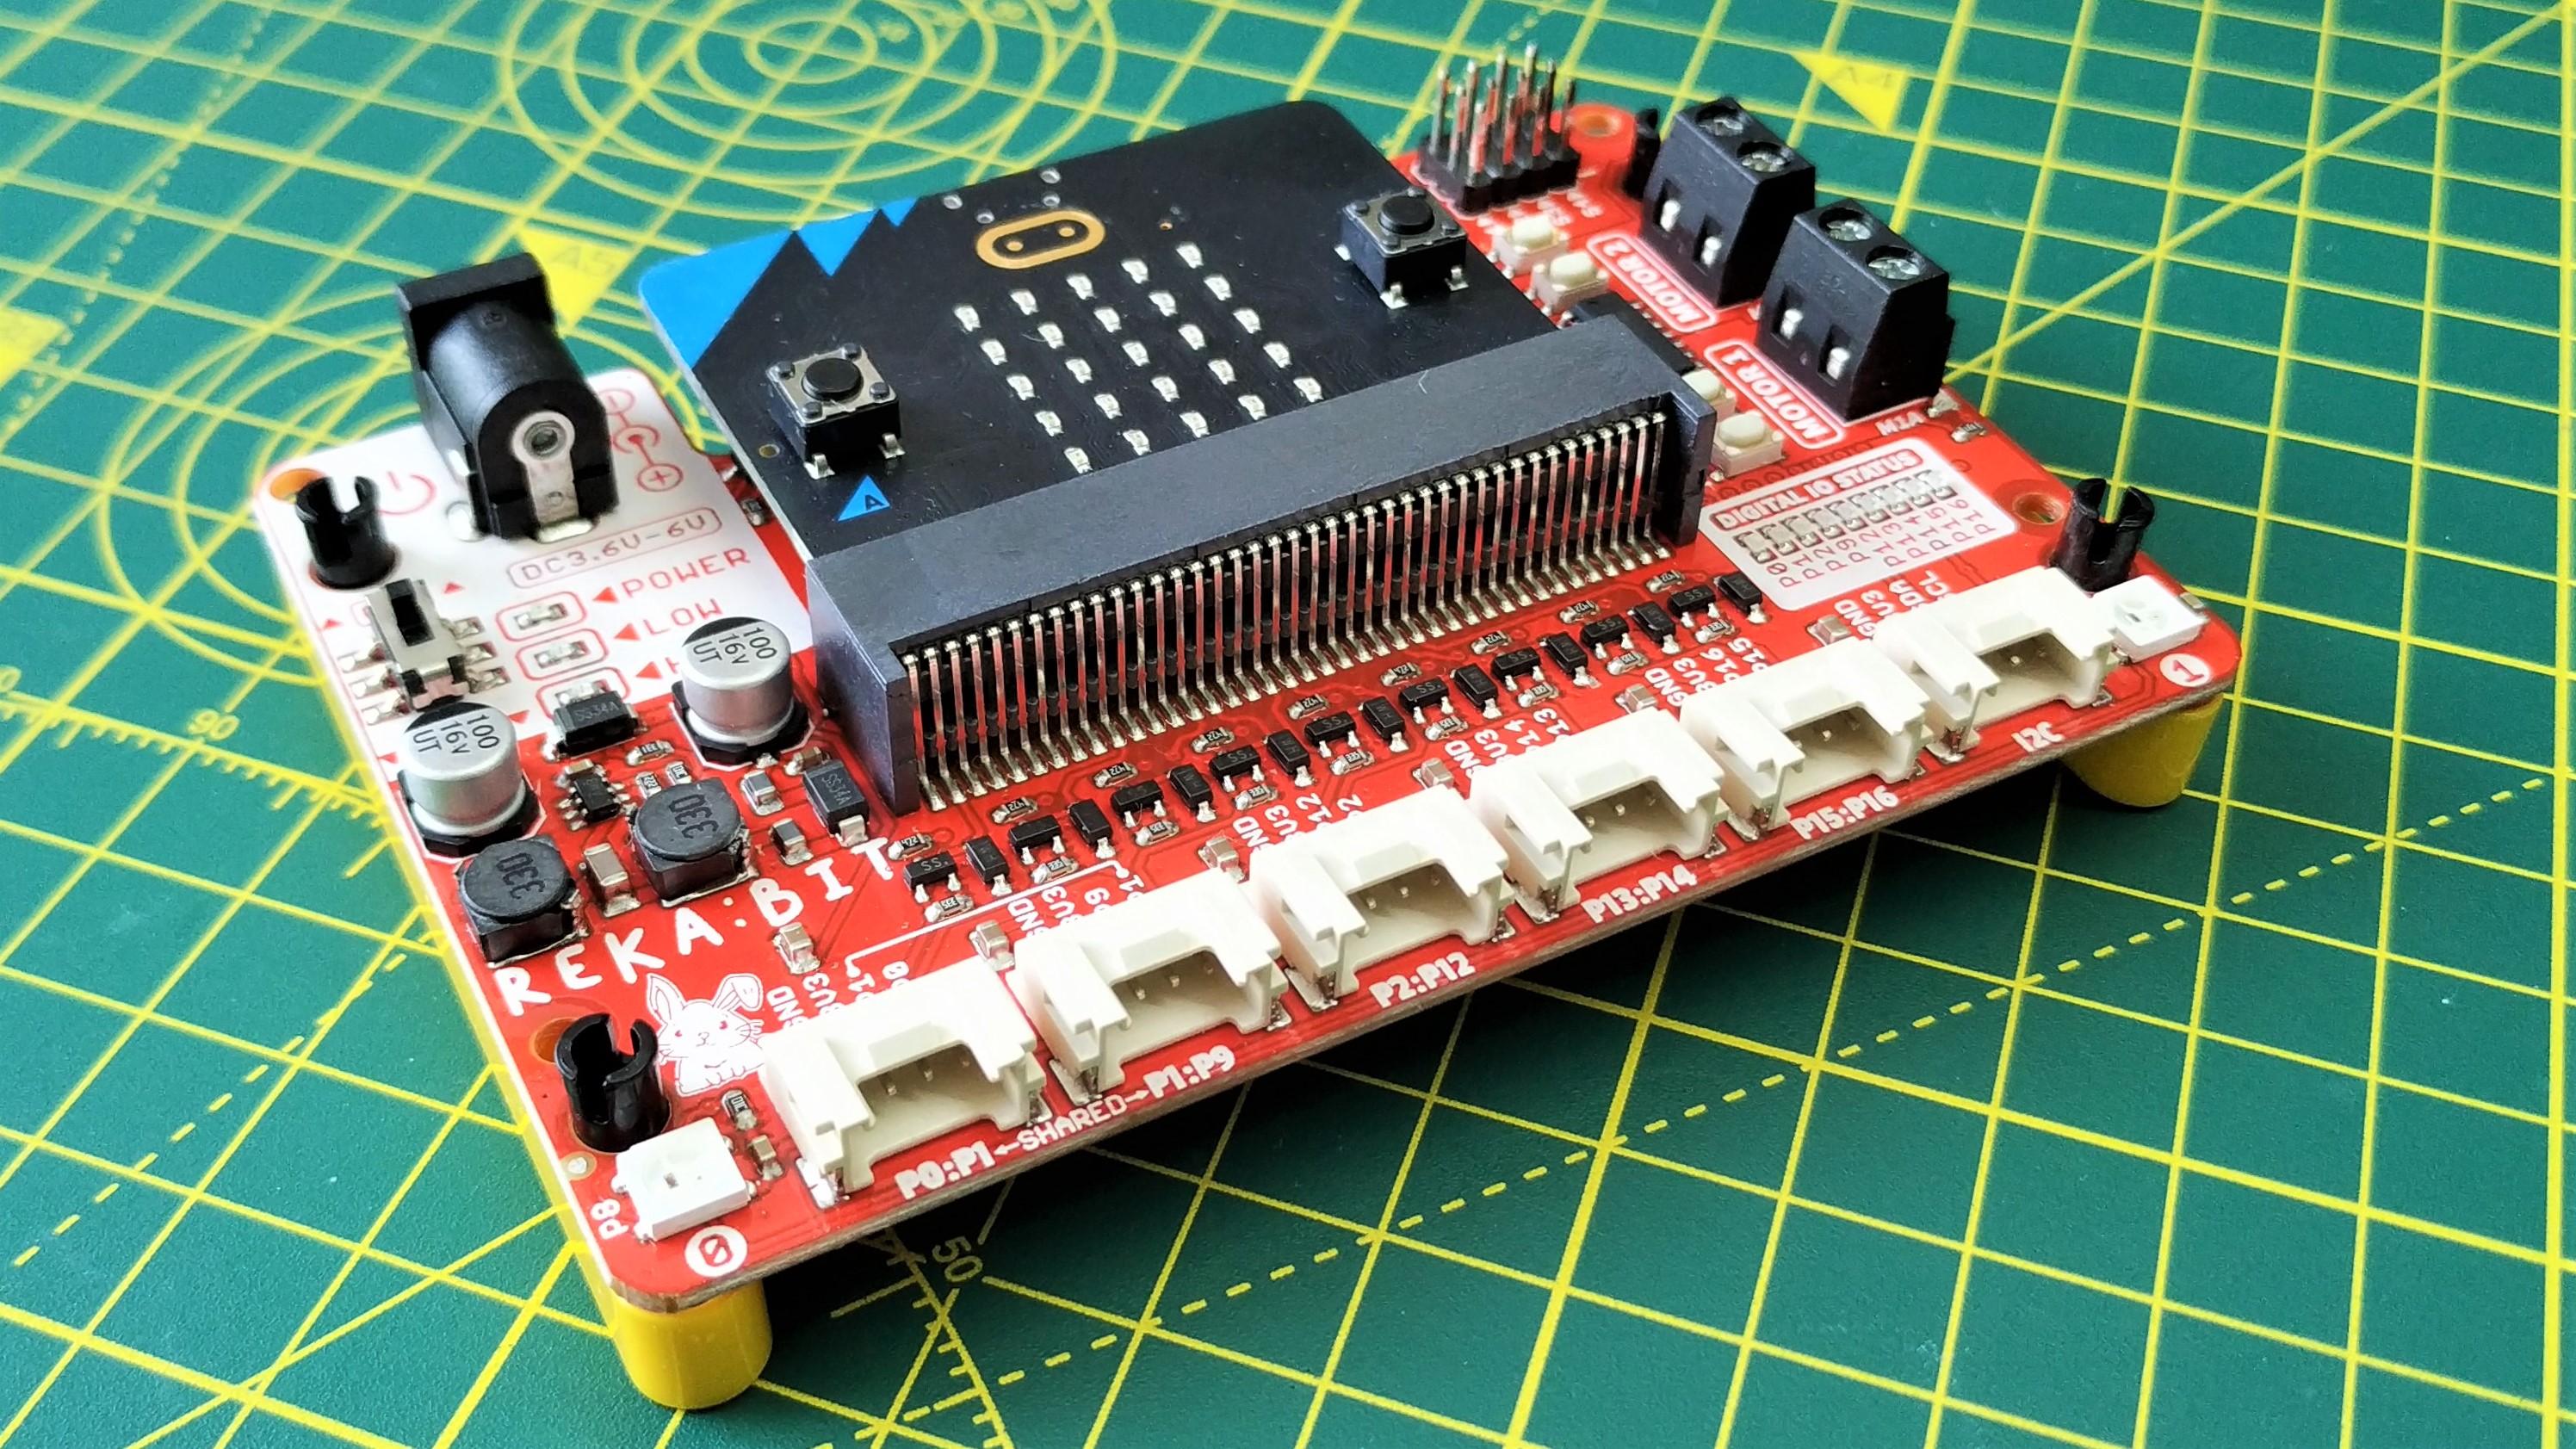
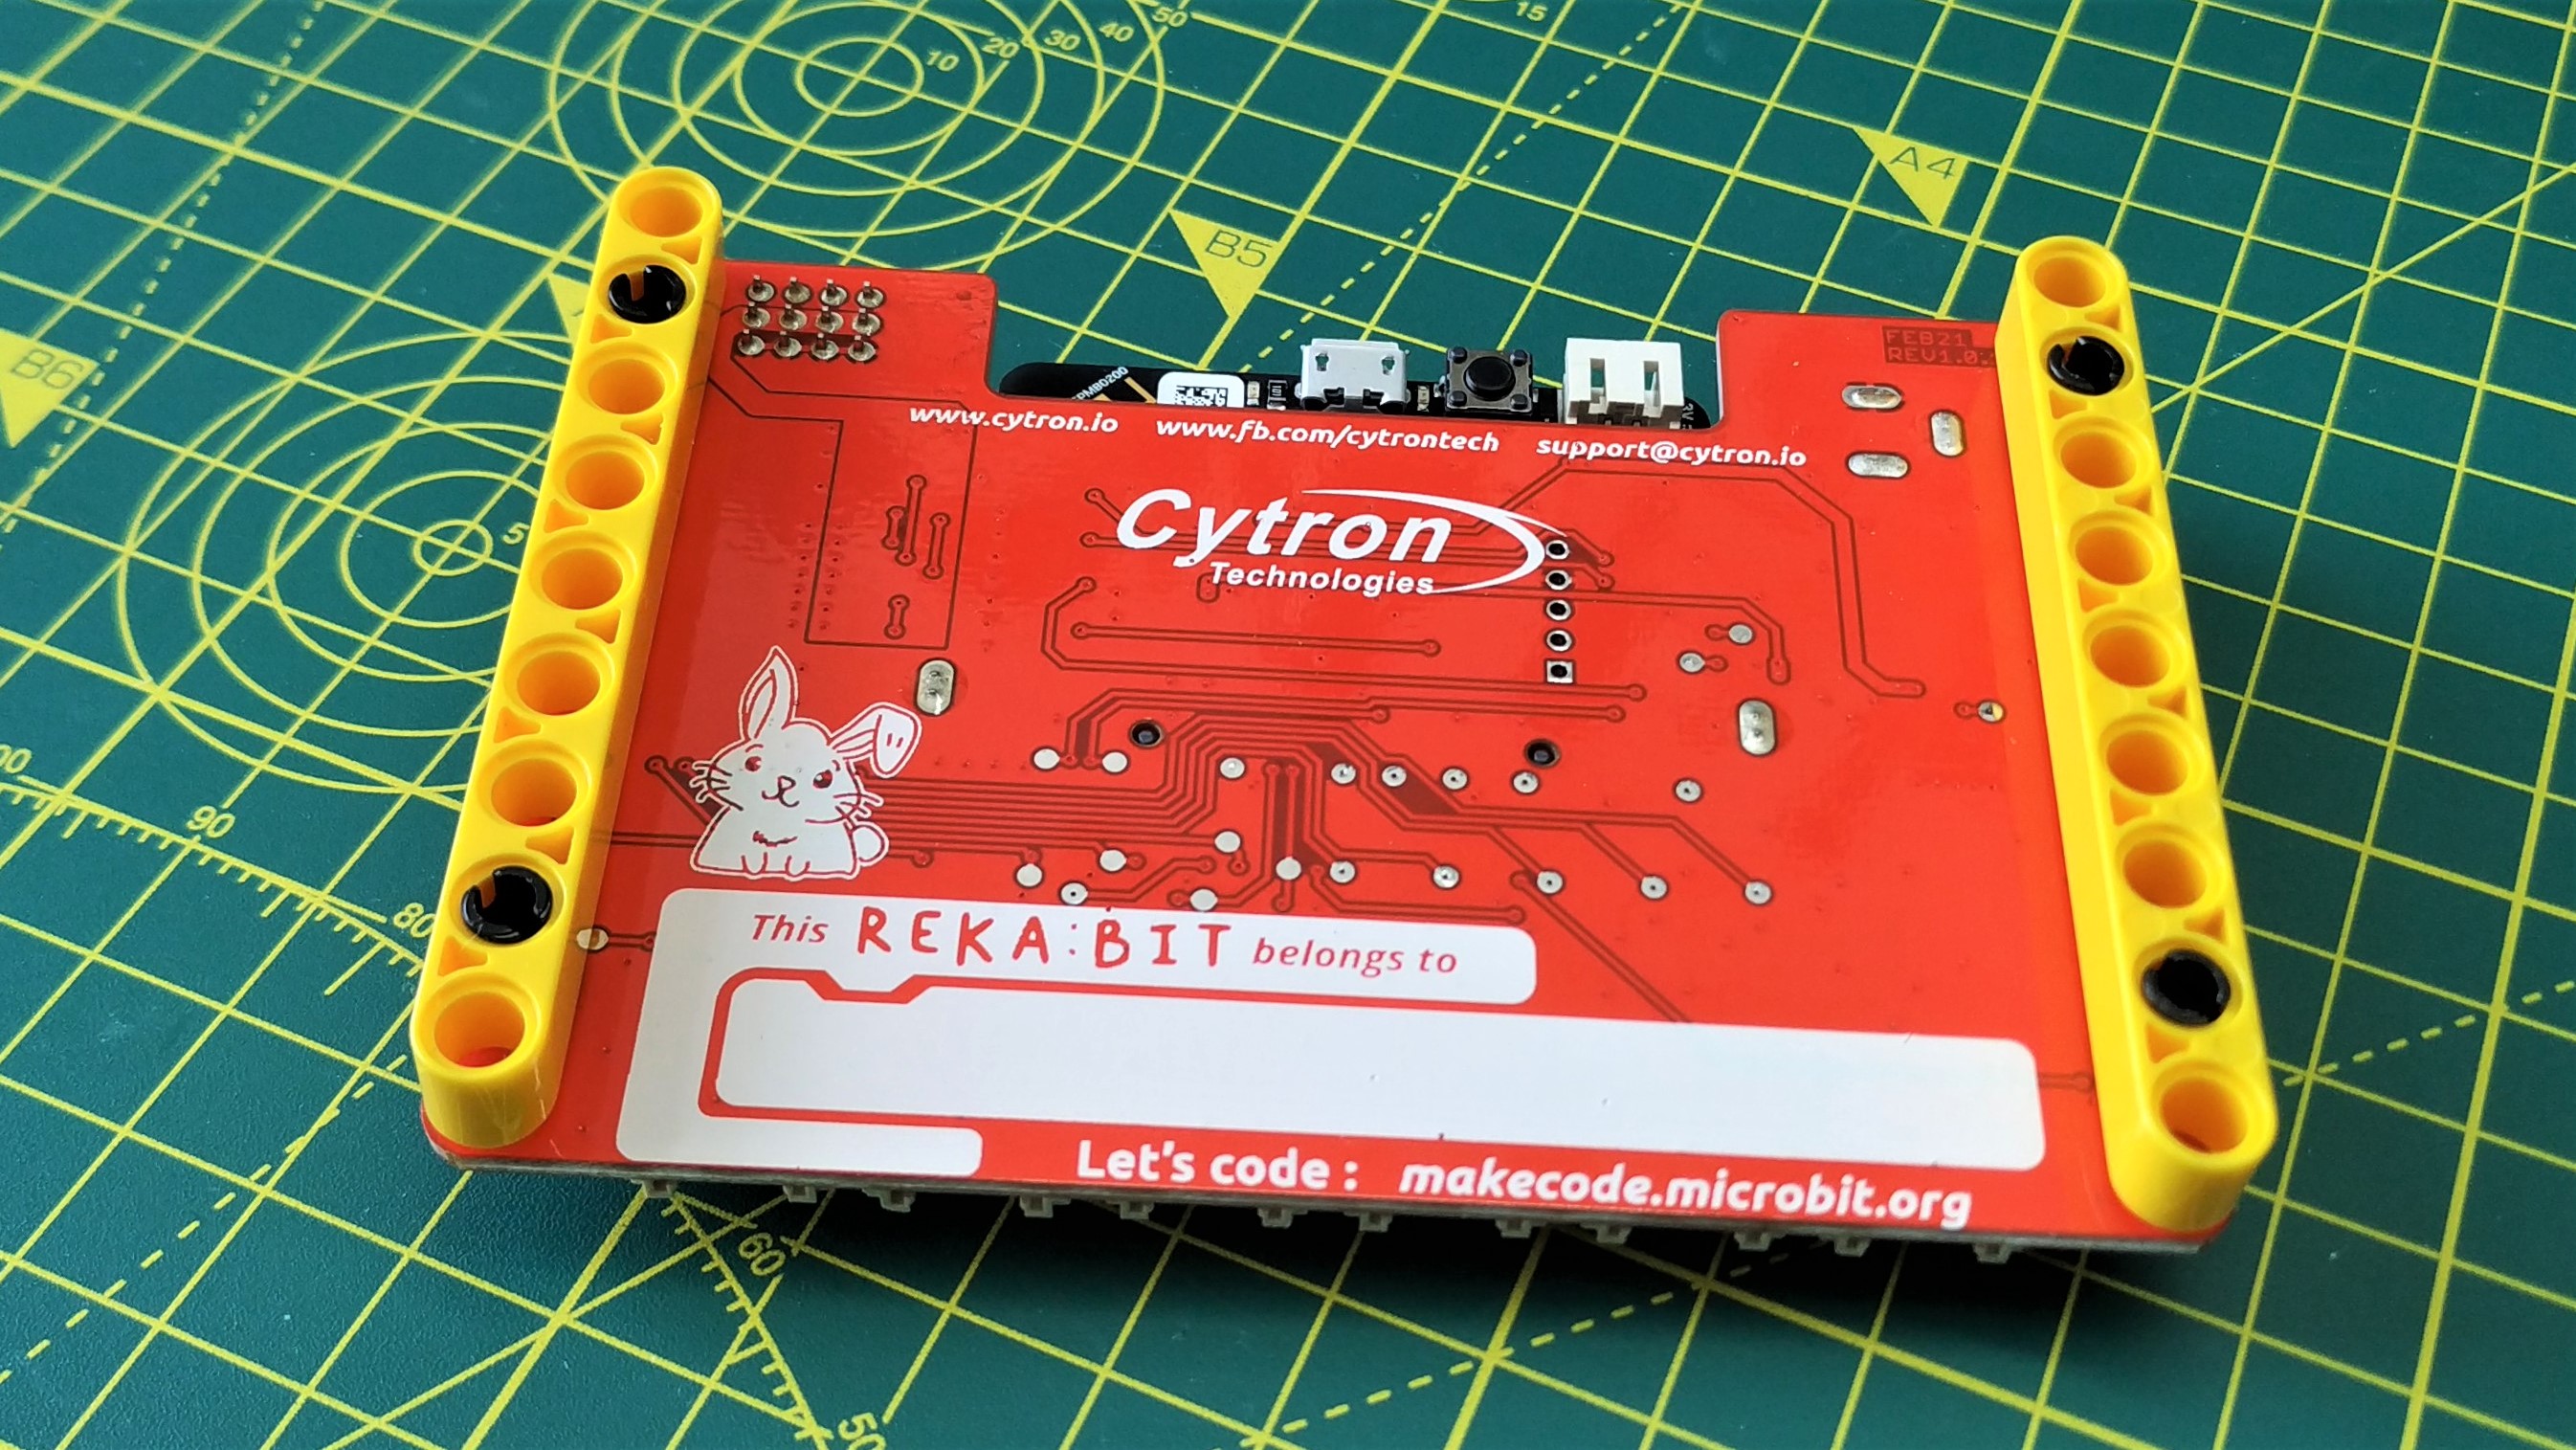
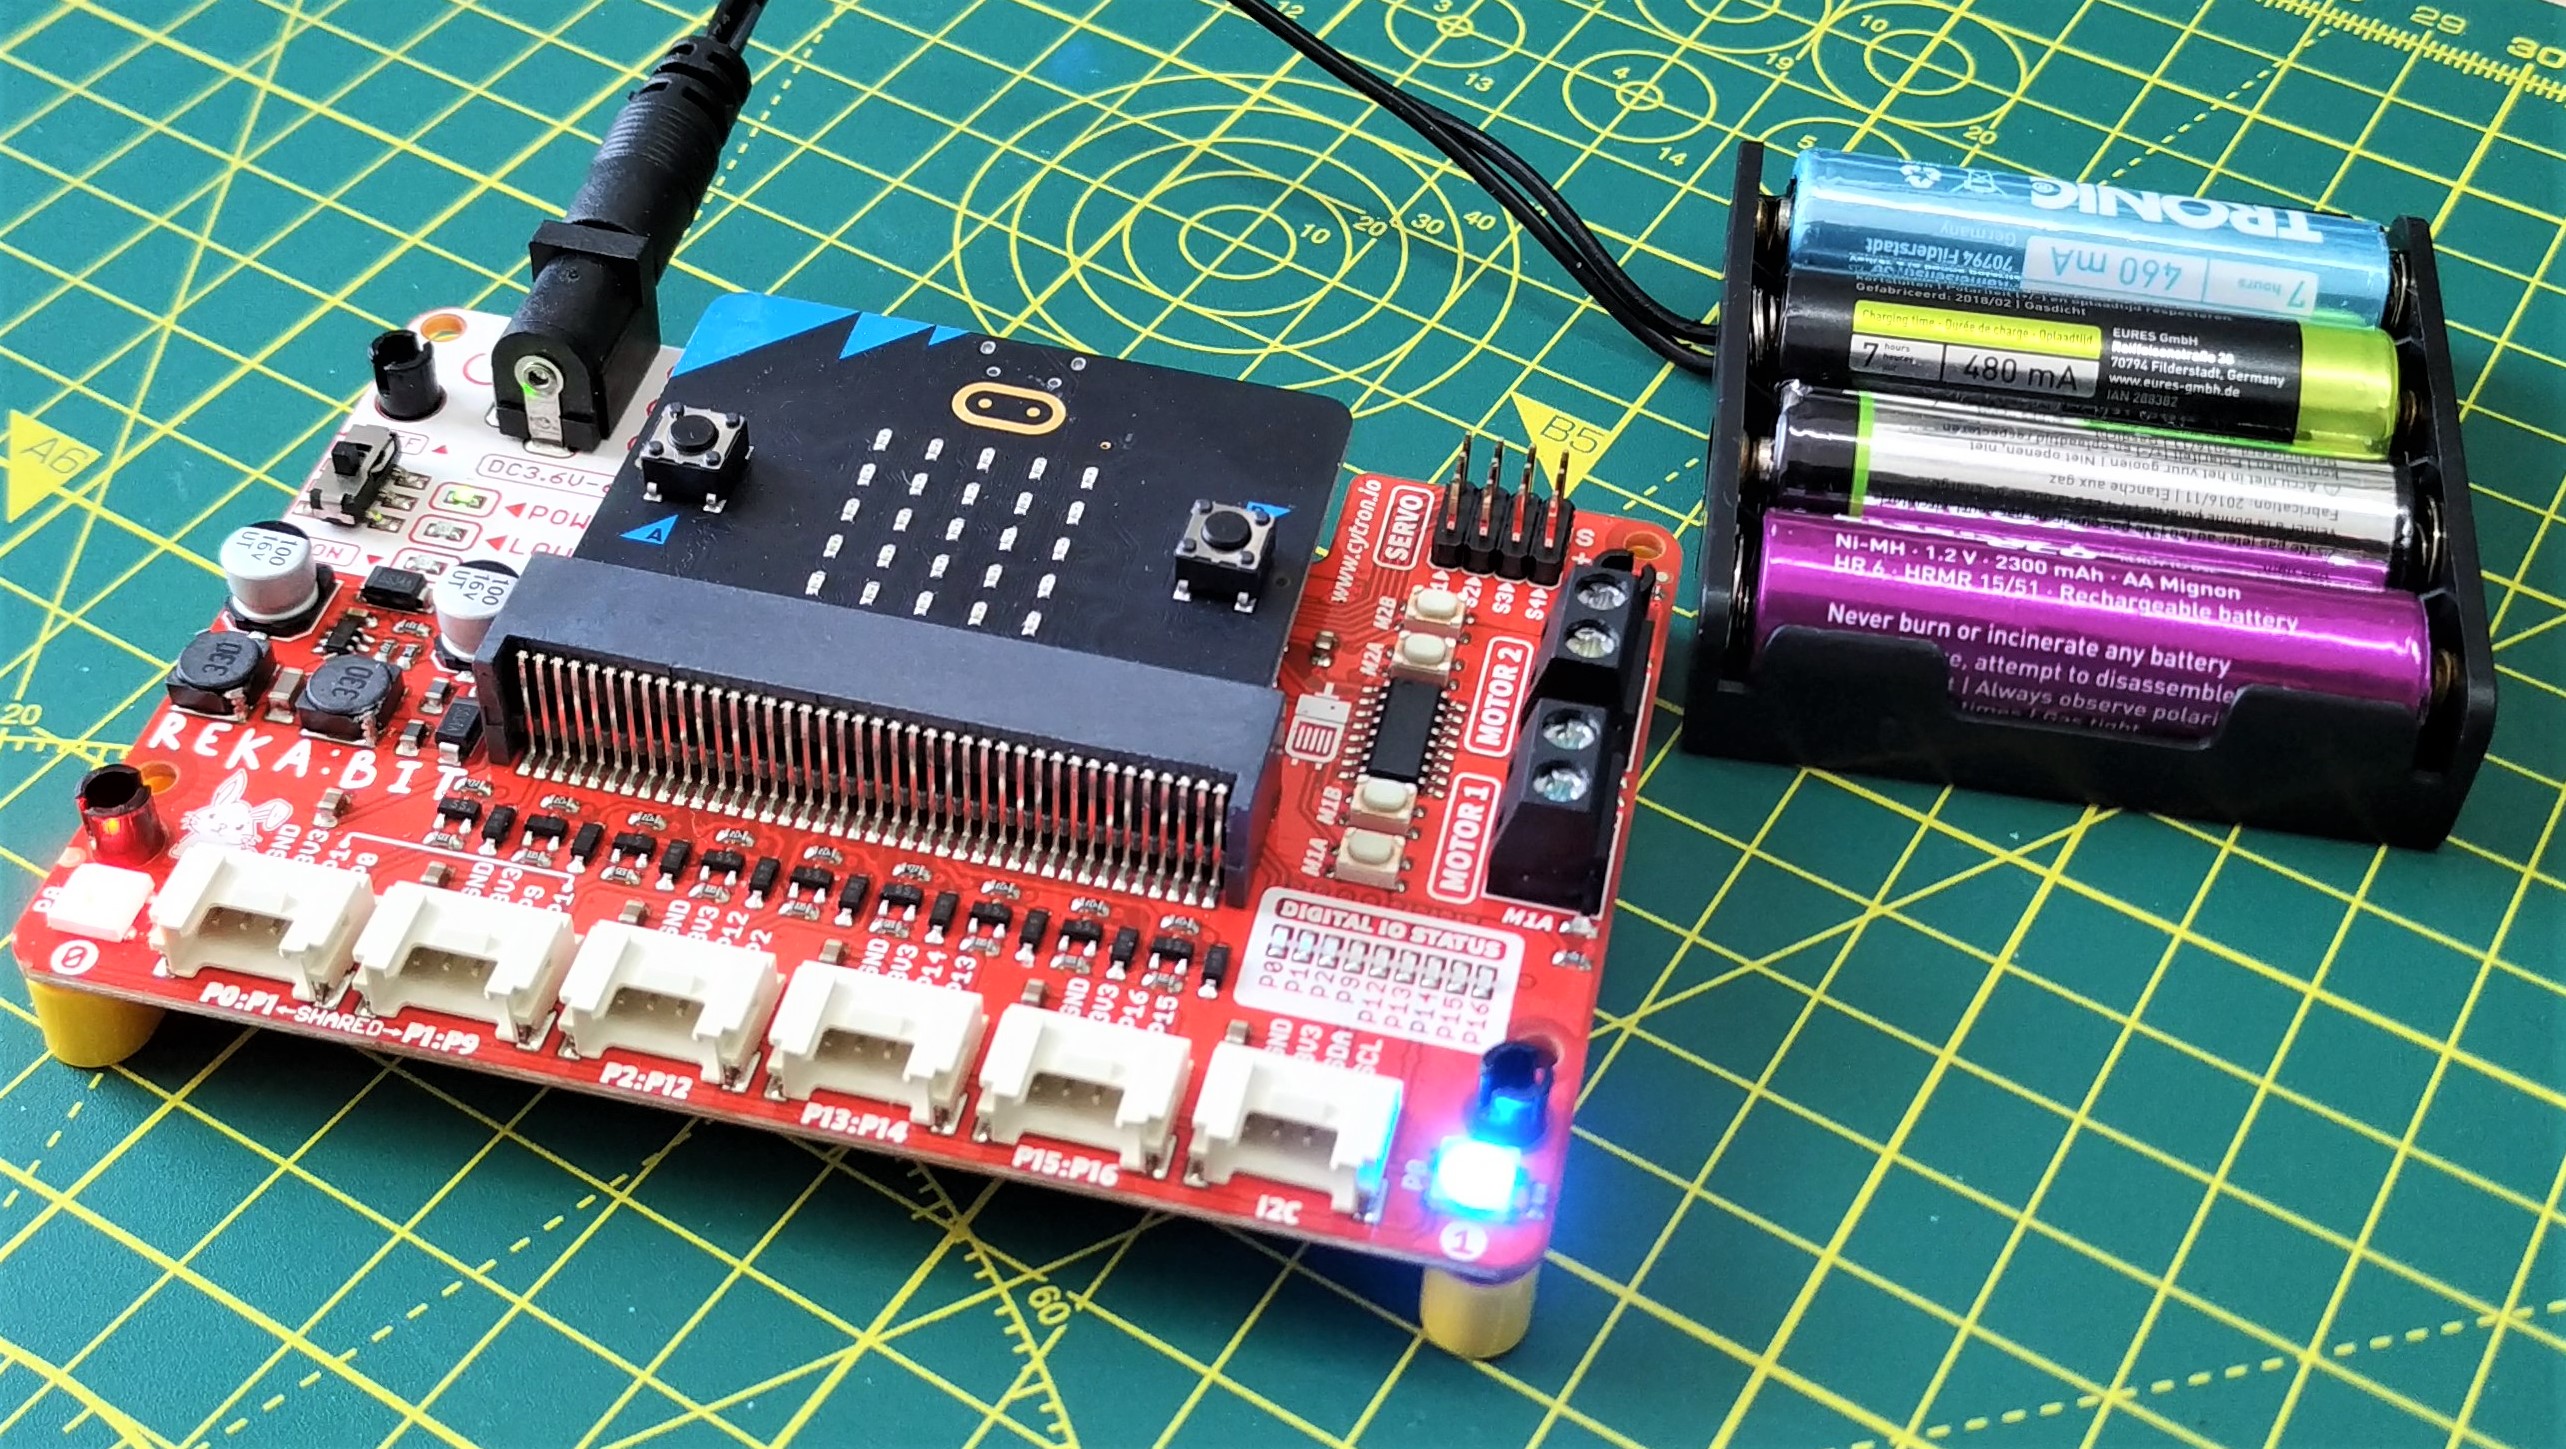
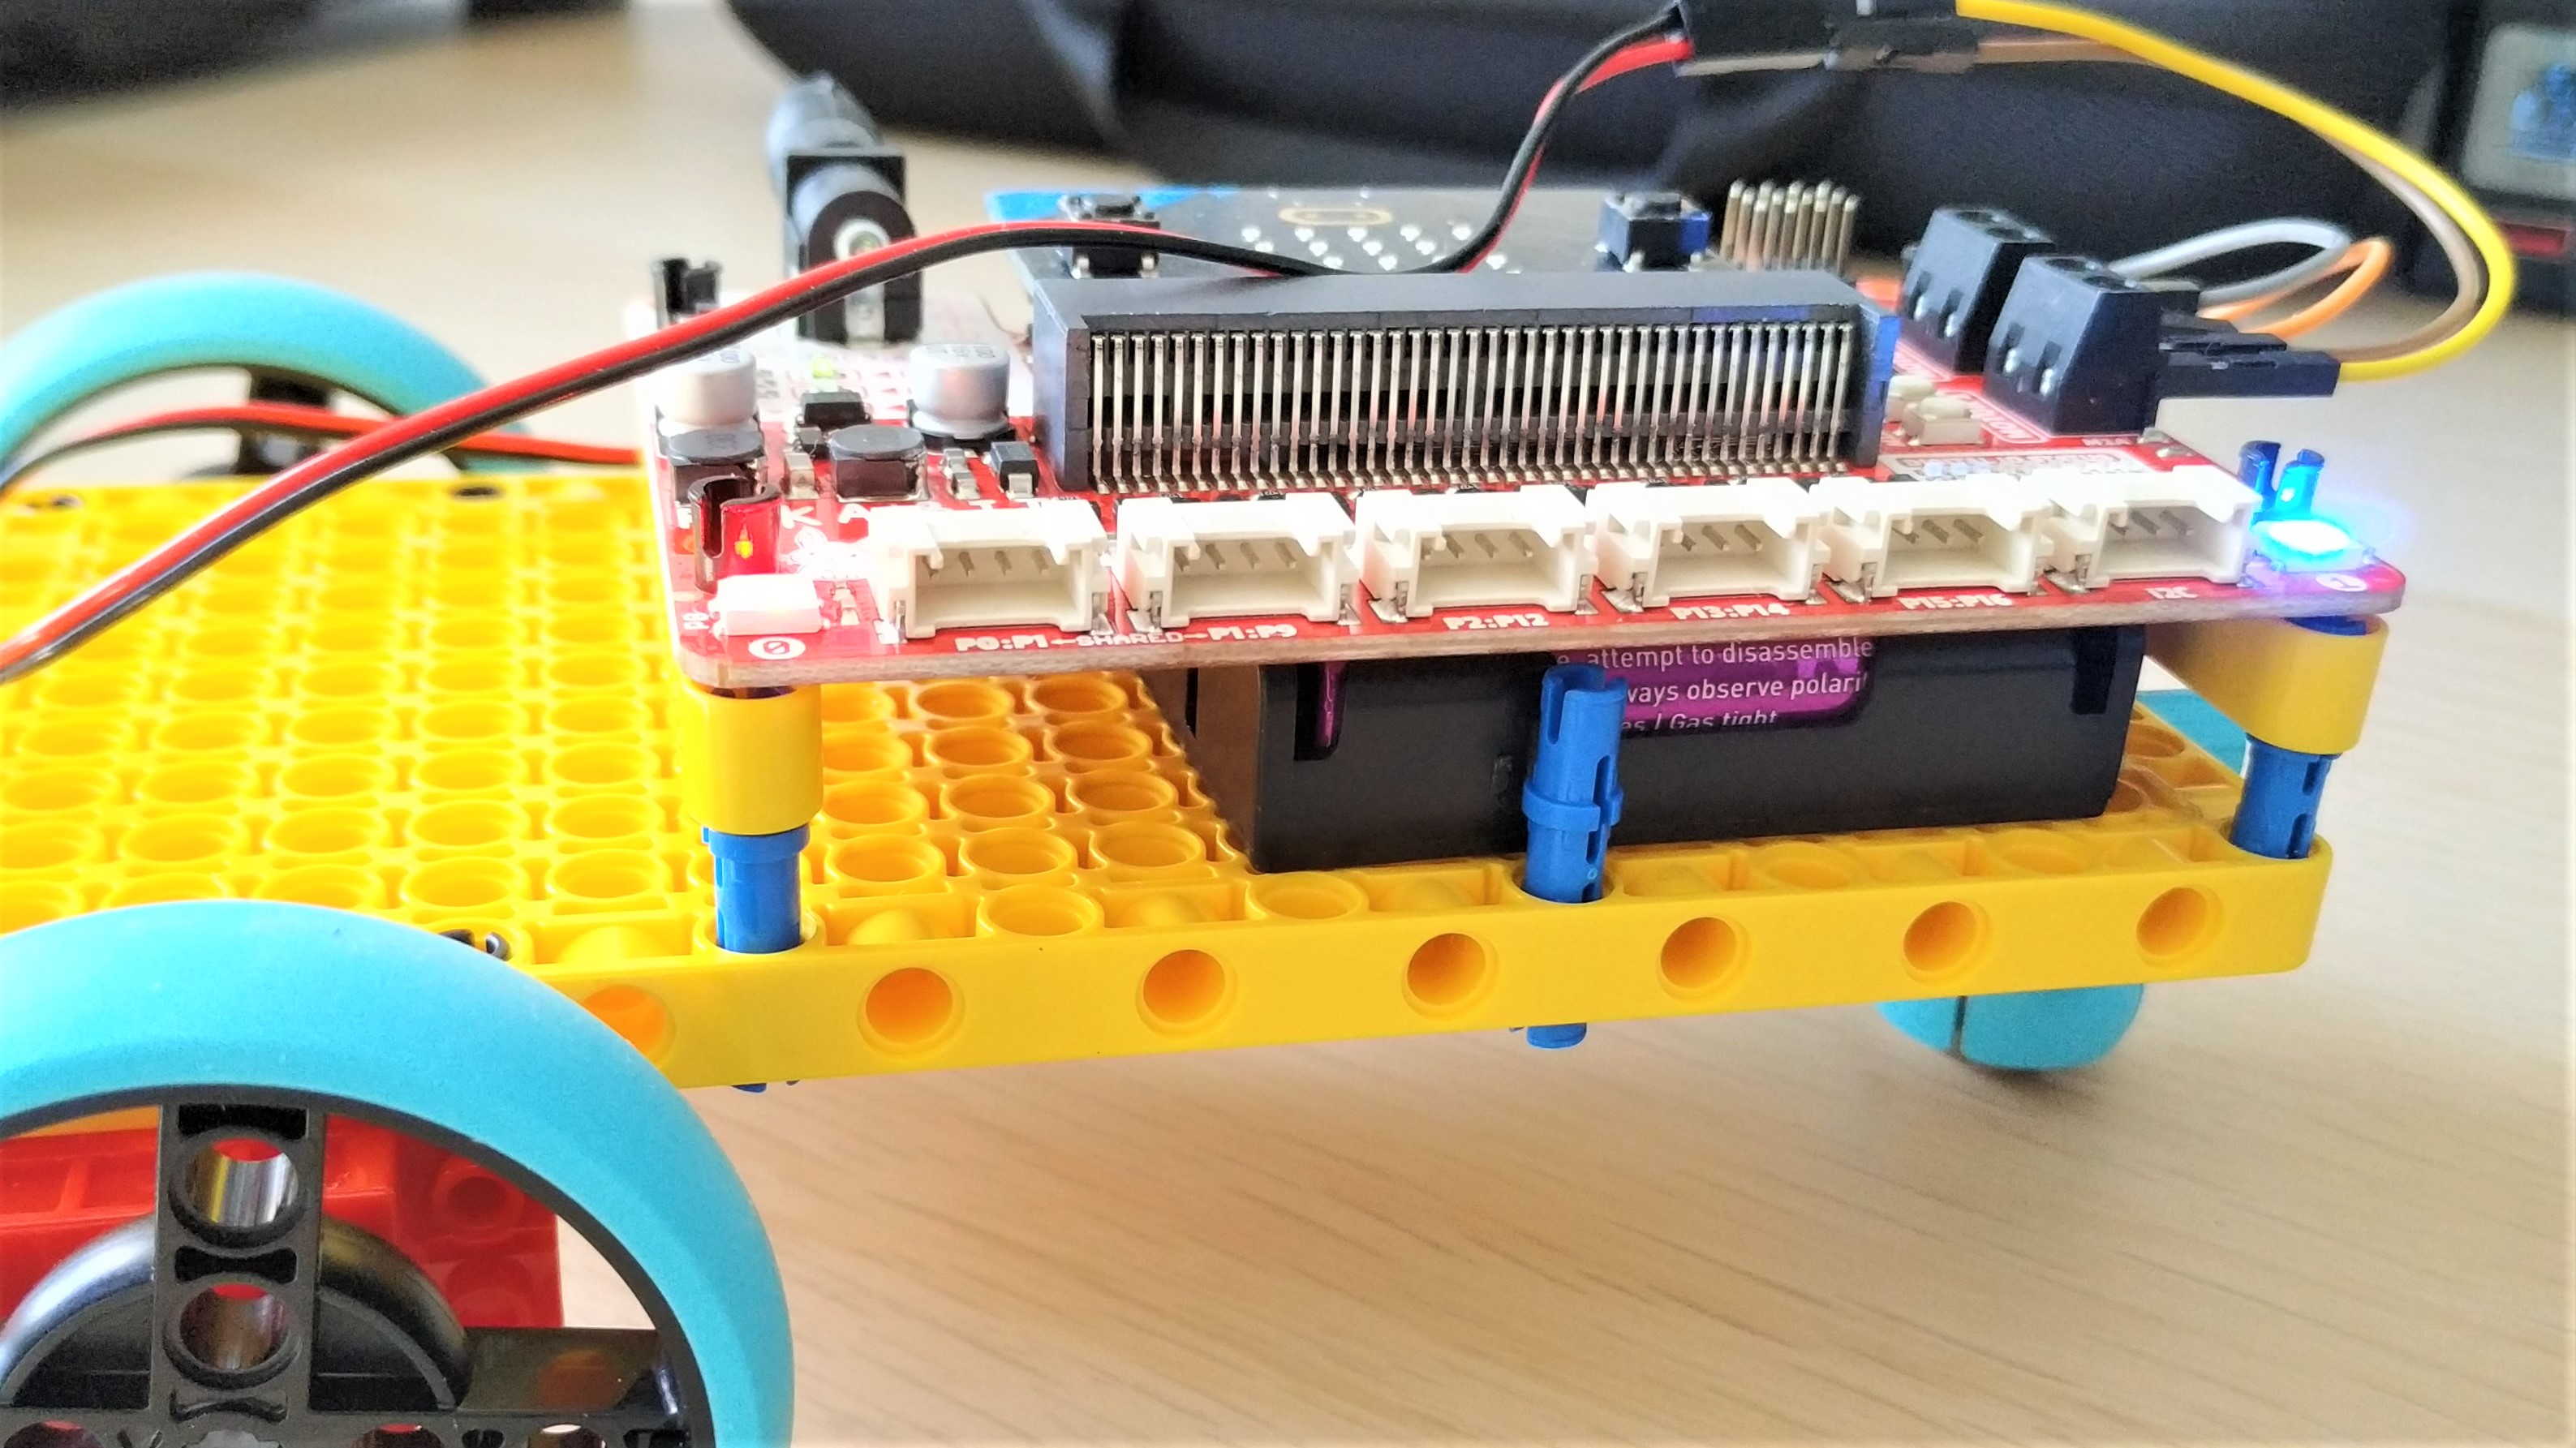
At first glance, Reka:Bit is just a large, red board with a few blinking lights. But around the board we have connections for motors, servo, sensors and of course RGB LEDs. The underside is also interesting, there we find Lego Technic compatible struts that we used to mount our test projects onto a Lego Spike based robot car.
One of the best features of the micro:bit ecosystem is the ease in which we can get started. The official coding tools are all browser based and so are platform agnostic. We followed Cytron’s guidance to install the Reka:Bit extension (a library of code blocks) for the micro:bit MakeCode blocks editor and we then had everything we needed to make a project.
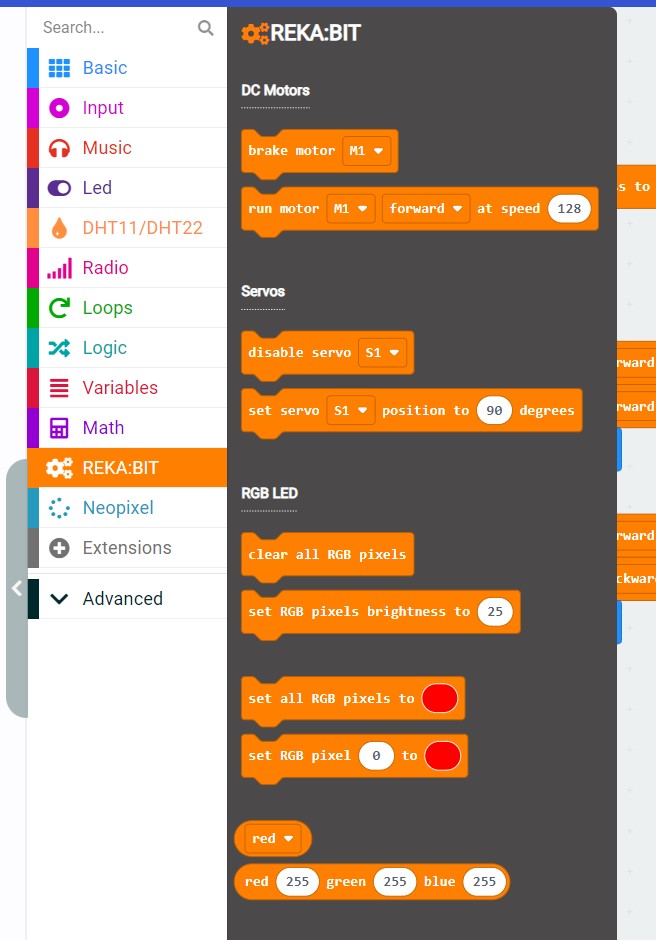
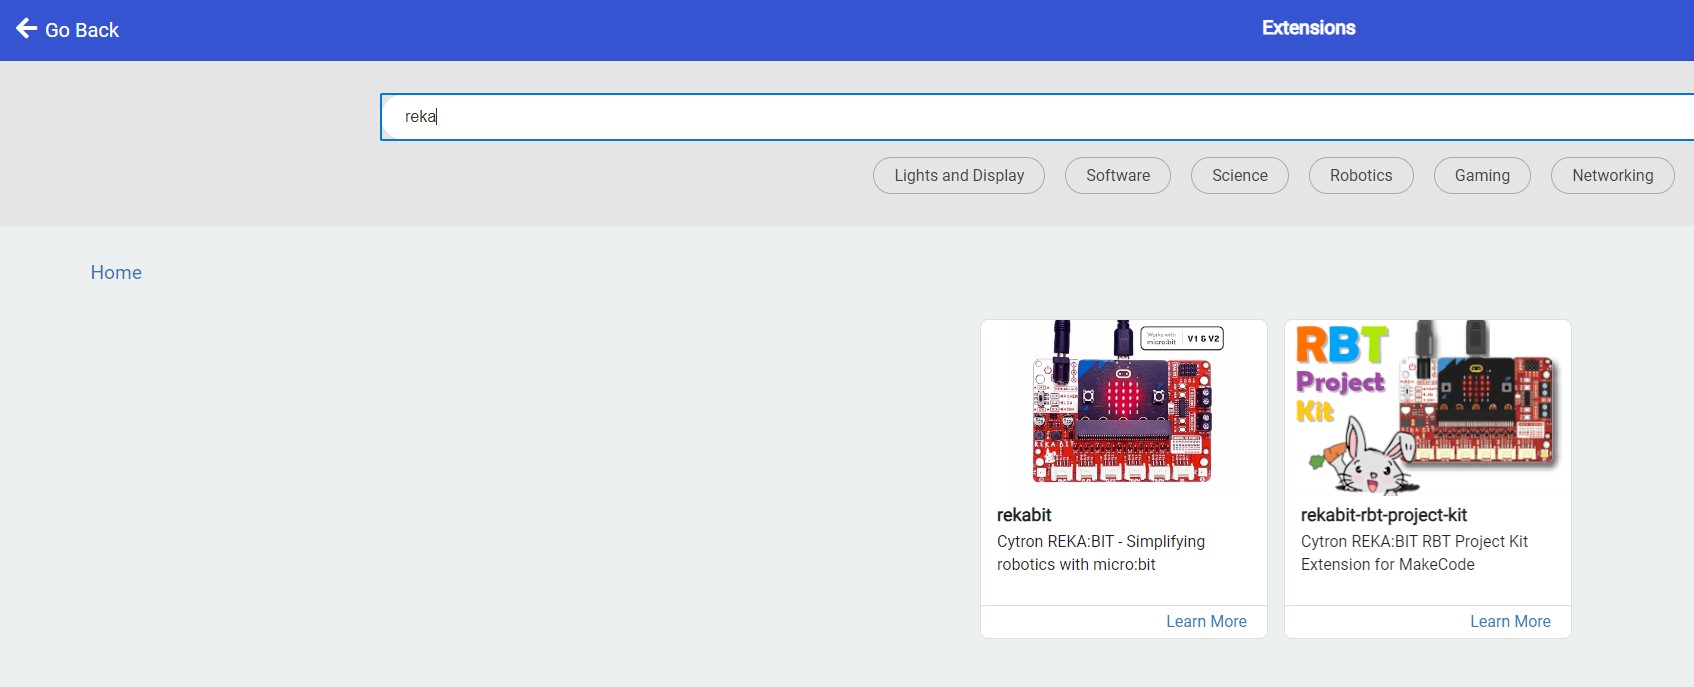
At a programming level, the blocks are abstractions for real code and work just like Scratch. The Reka:Bit extension contains blocks designed to abstract using the hardware present on the board. Motor control, servos and NeoPixels are exceptionally easy to use thanks to this extension.
Connecting your micro:bit (V1 or V2) to Reka:Bit is simply a matter of pushing the board into Reka:Bit’s edge connector. This connector connects every GPIO “pin” present on the micro:bit to Reka:Bit components.
Get Tom's Hardware's best news and in-depth reviews, straight to your inbox.
Powering your project is made possible via a DC barrel jack, which can be connected to the included 4 x AA battery box, or power and data can be supplied via a Y-splitter USB lead. This lead provides micro USB data connectivity (to program the micro:bit) and 5V power for the motors and servos.
Programming Reka:Bit
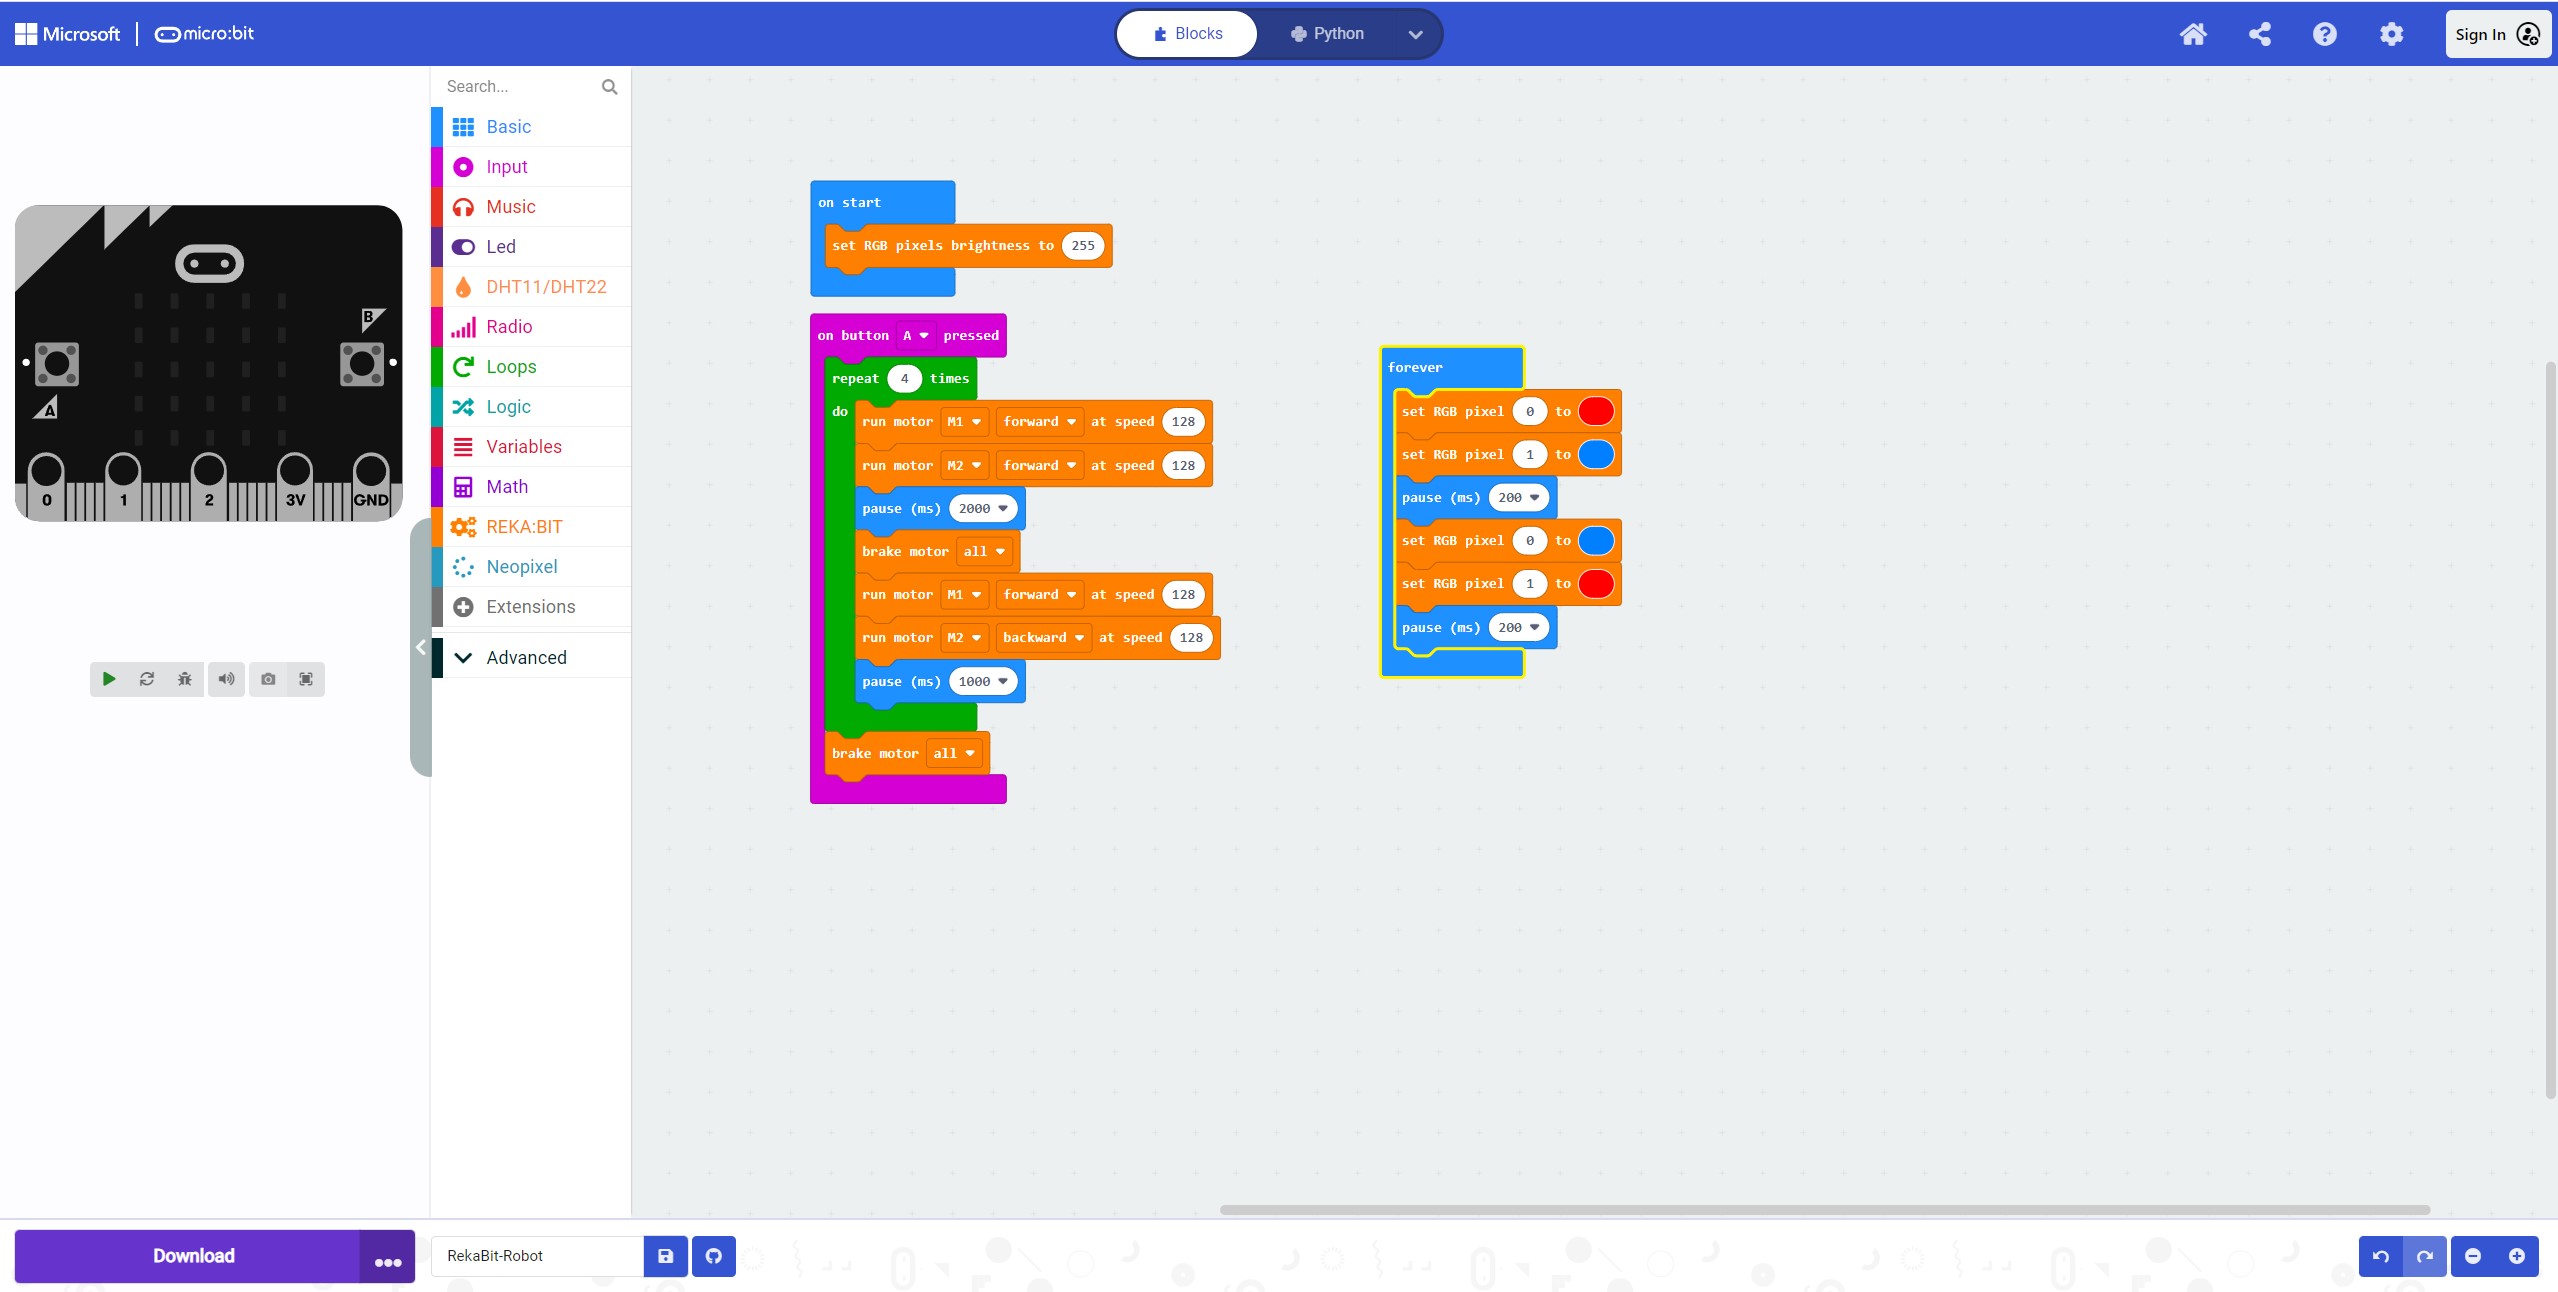
The official means to program micro:bit are the MakeCode blocks editor and either JavaScript or MicroPython which are also available via the browser. We chose to use the MakeCode blocks editor as Cytron has the Reka:Bit ready to go. First test had to be controlling the onboard NeoPixels. A few blocks and we had out (in)famous “disco” test running. This test randomly changes the RGB LEDs color using random number generation to set the RGB value. We flashed the code to the micro:bit and Reka:bit’s NeoPixels danced to the disco sound!
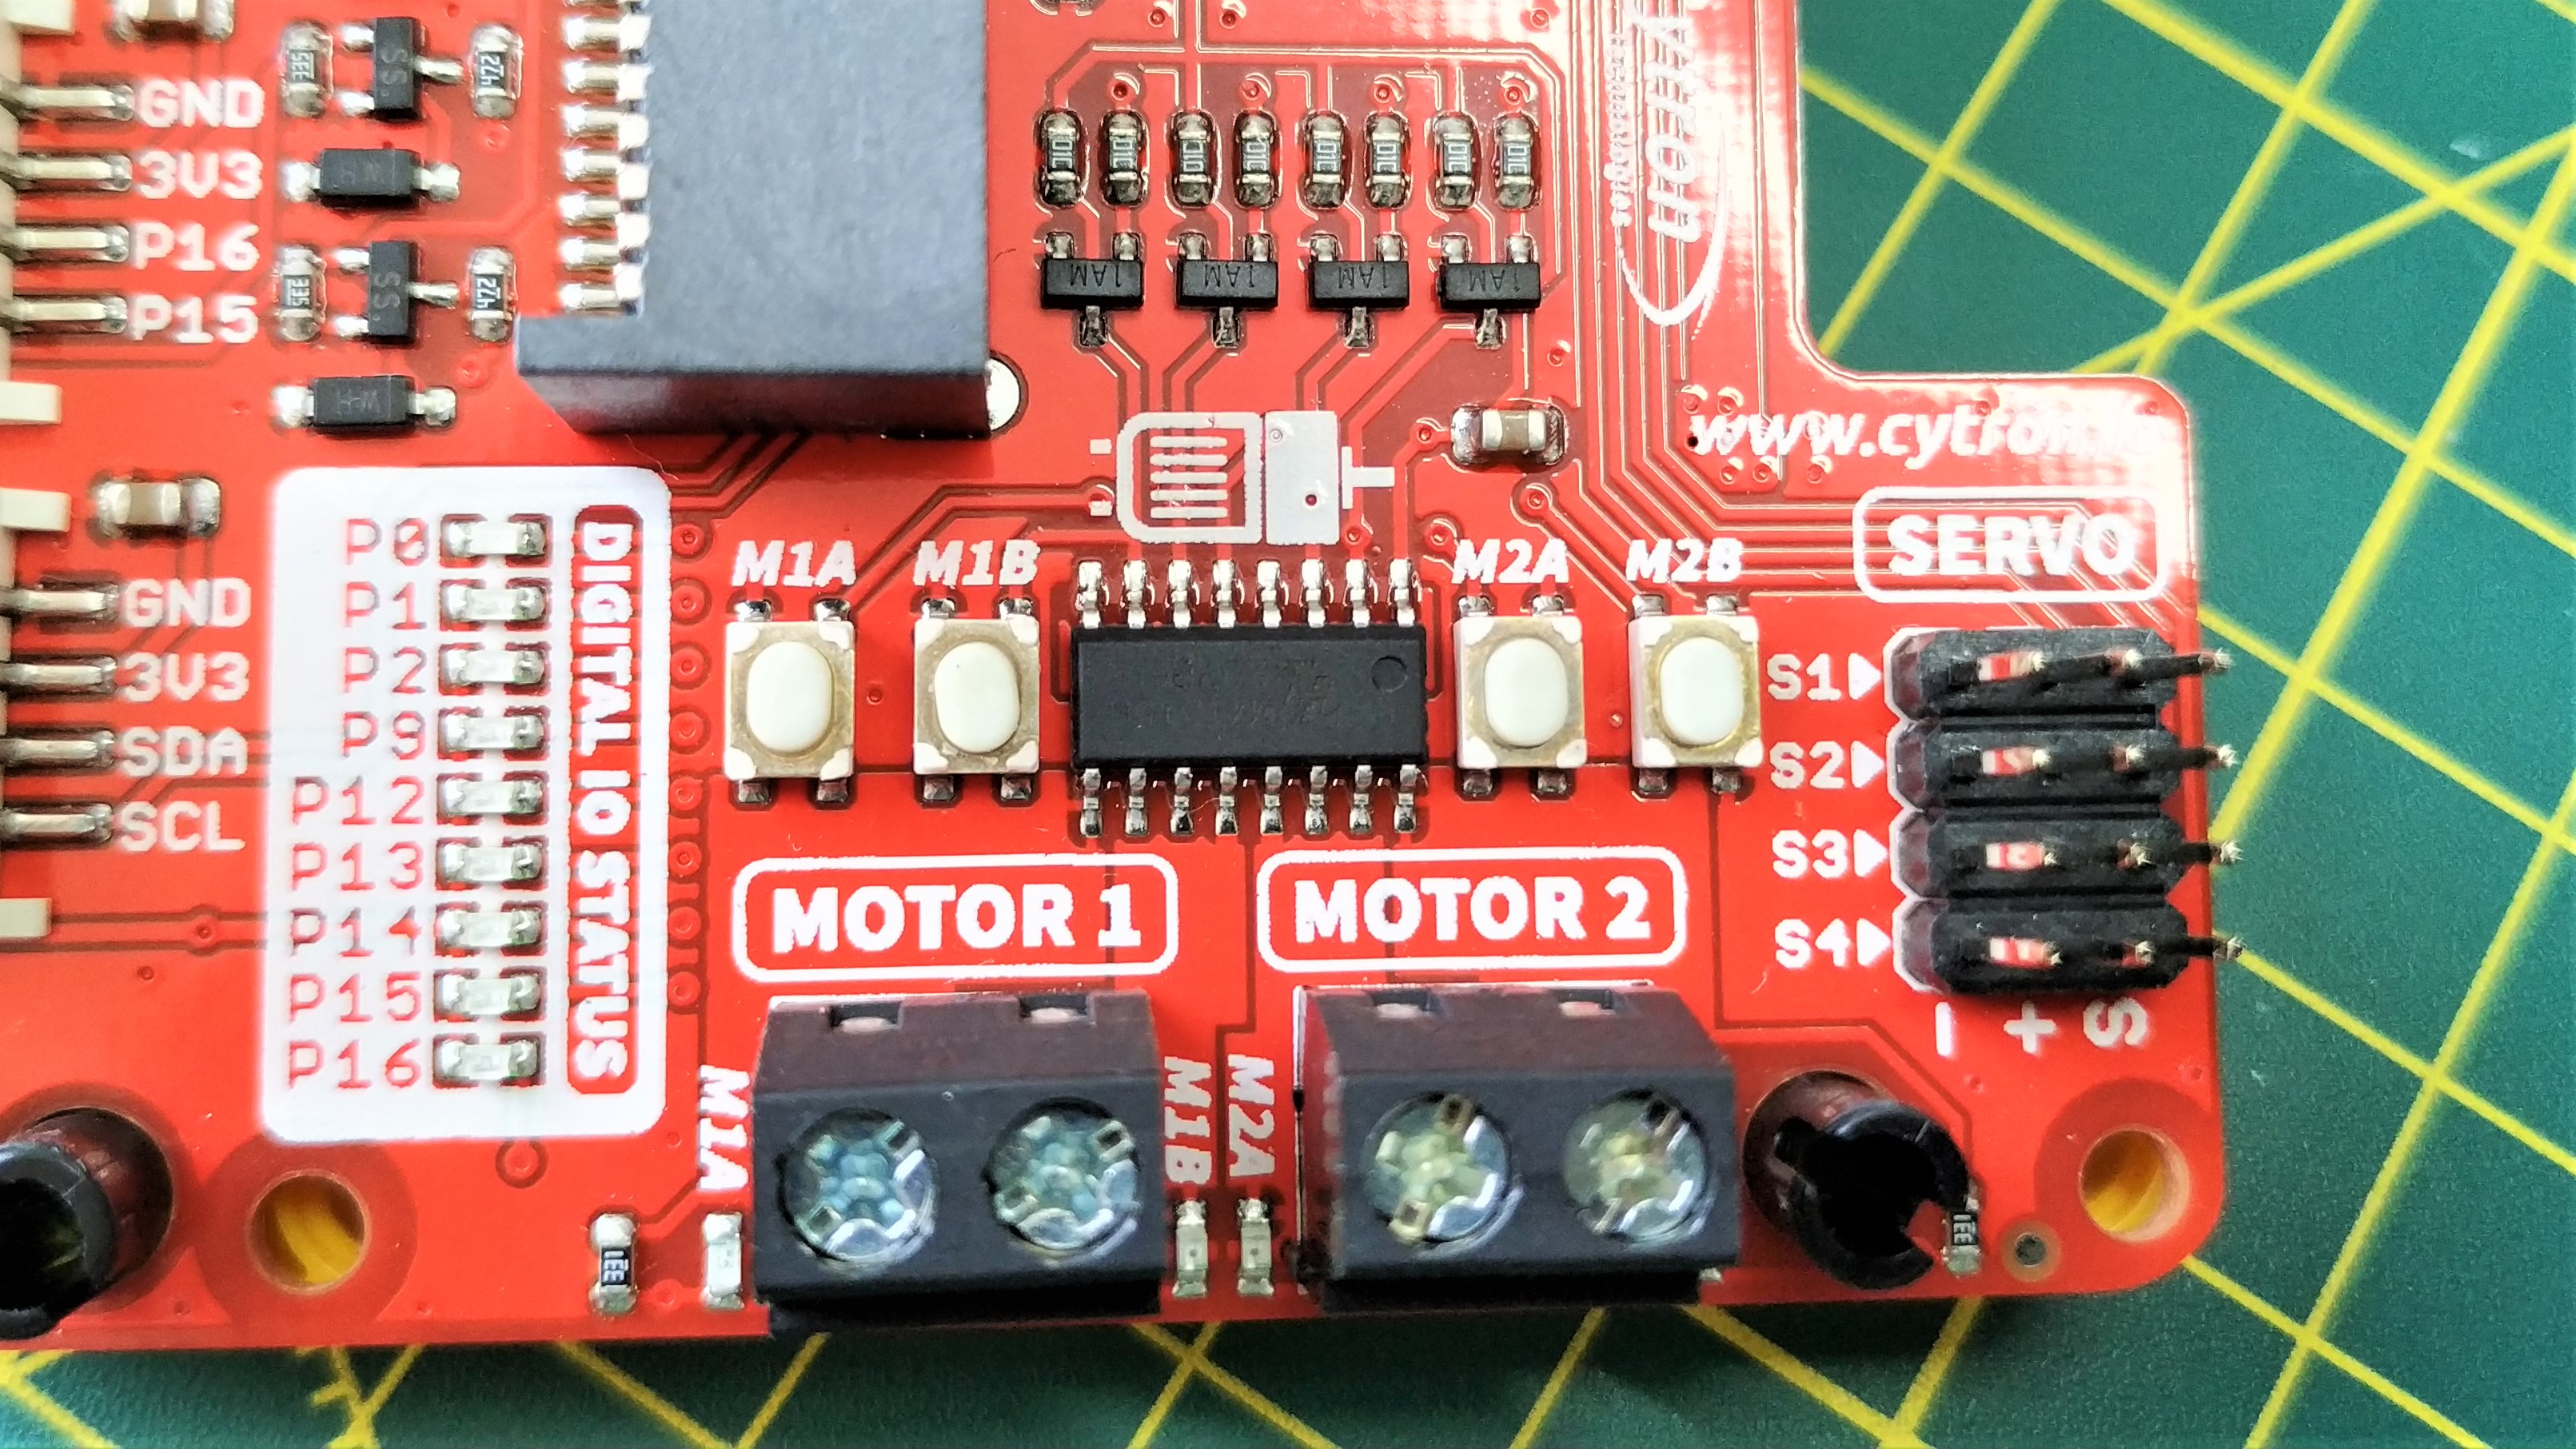
The next test used the MX1515H motor controller to control two 6V DC motors. Normally we would have to power these motors using an external power supply, but the split power and data cable means we can test without it. The included 4 x AA battery pack means that our creations can become mobile. Motor control is extremely simple, consisting of speed control, direction and a hard brake.
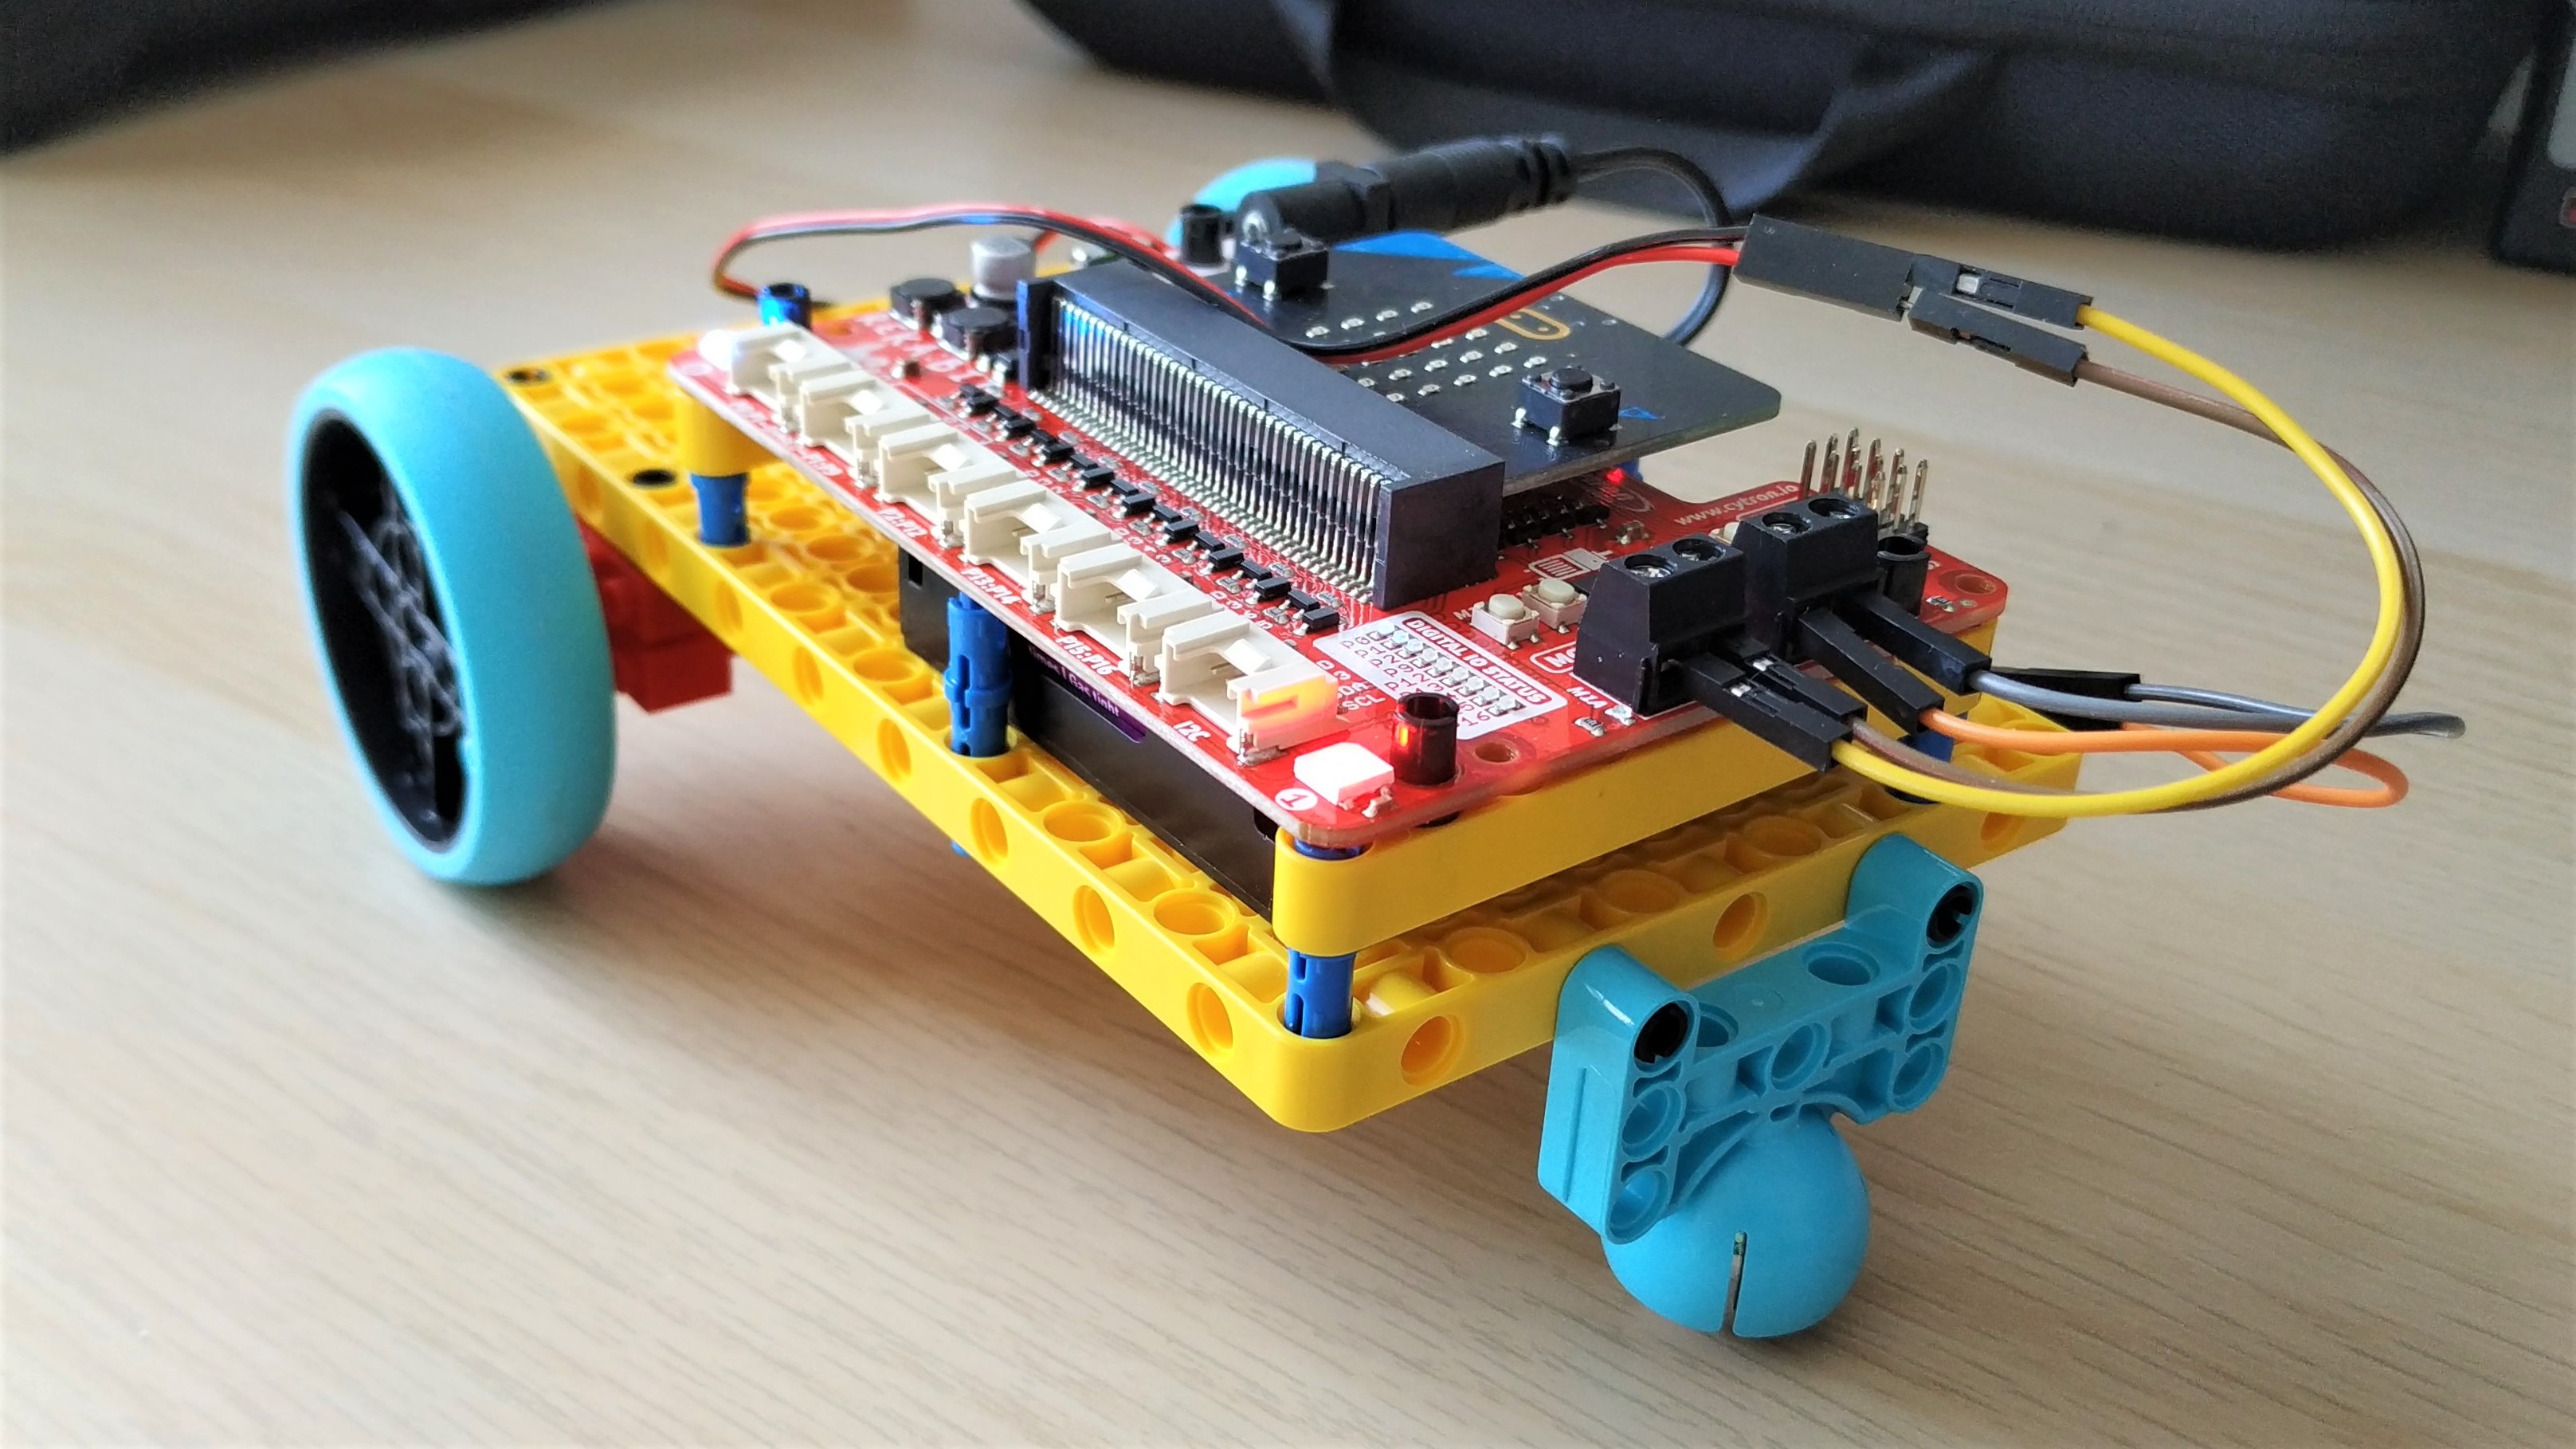
Cytron continues its tradition of including motor test buttons on its boards, and we used that to check that our motors were working before writing any code. In a few minutes we made a simple Lego robot that navigated the mess that is our workbench while flashing red and blue NeoPixels.
Another motorized element to test are servos. Reka:Bit has support for four servos (SG90 or other hobby servo motors) and the pinout matches the Signal, Voltage, GND format used by many servos. Connecting the servo and writing a quick script to sweep the servo from left to right at the press of a button took mere moments and worked perfectly.
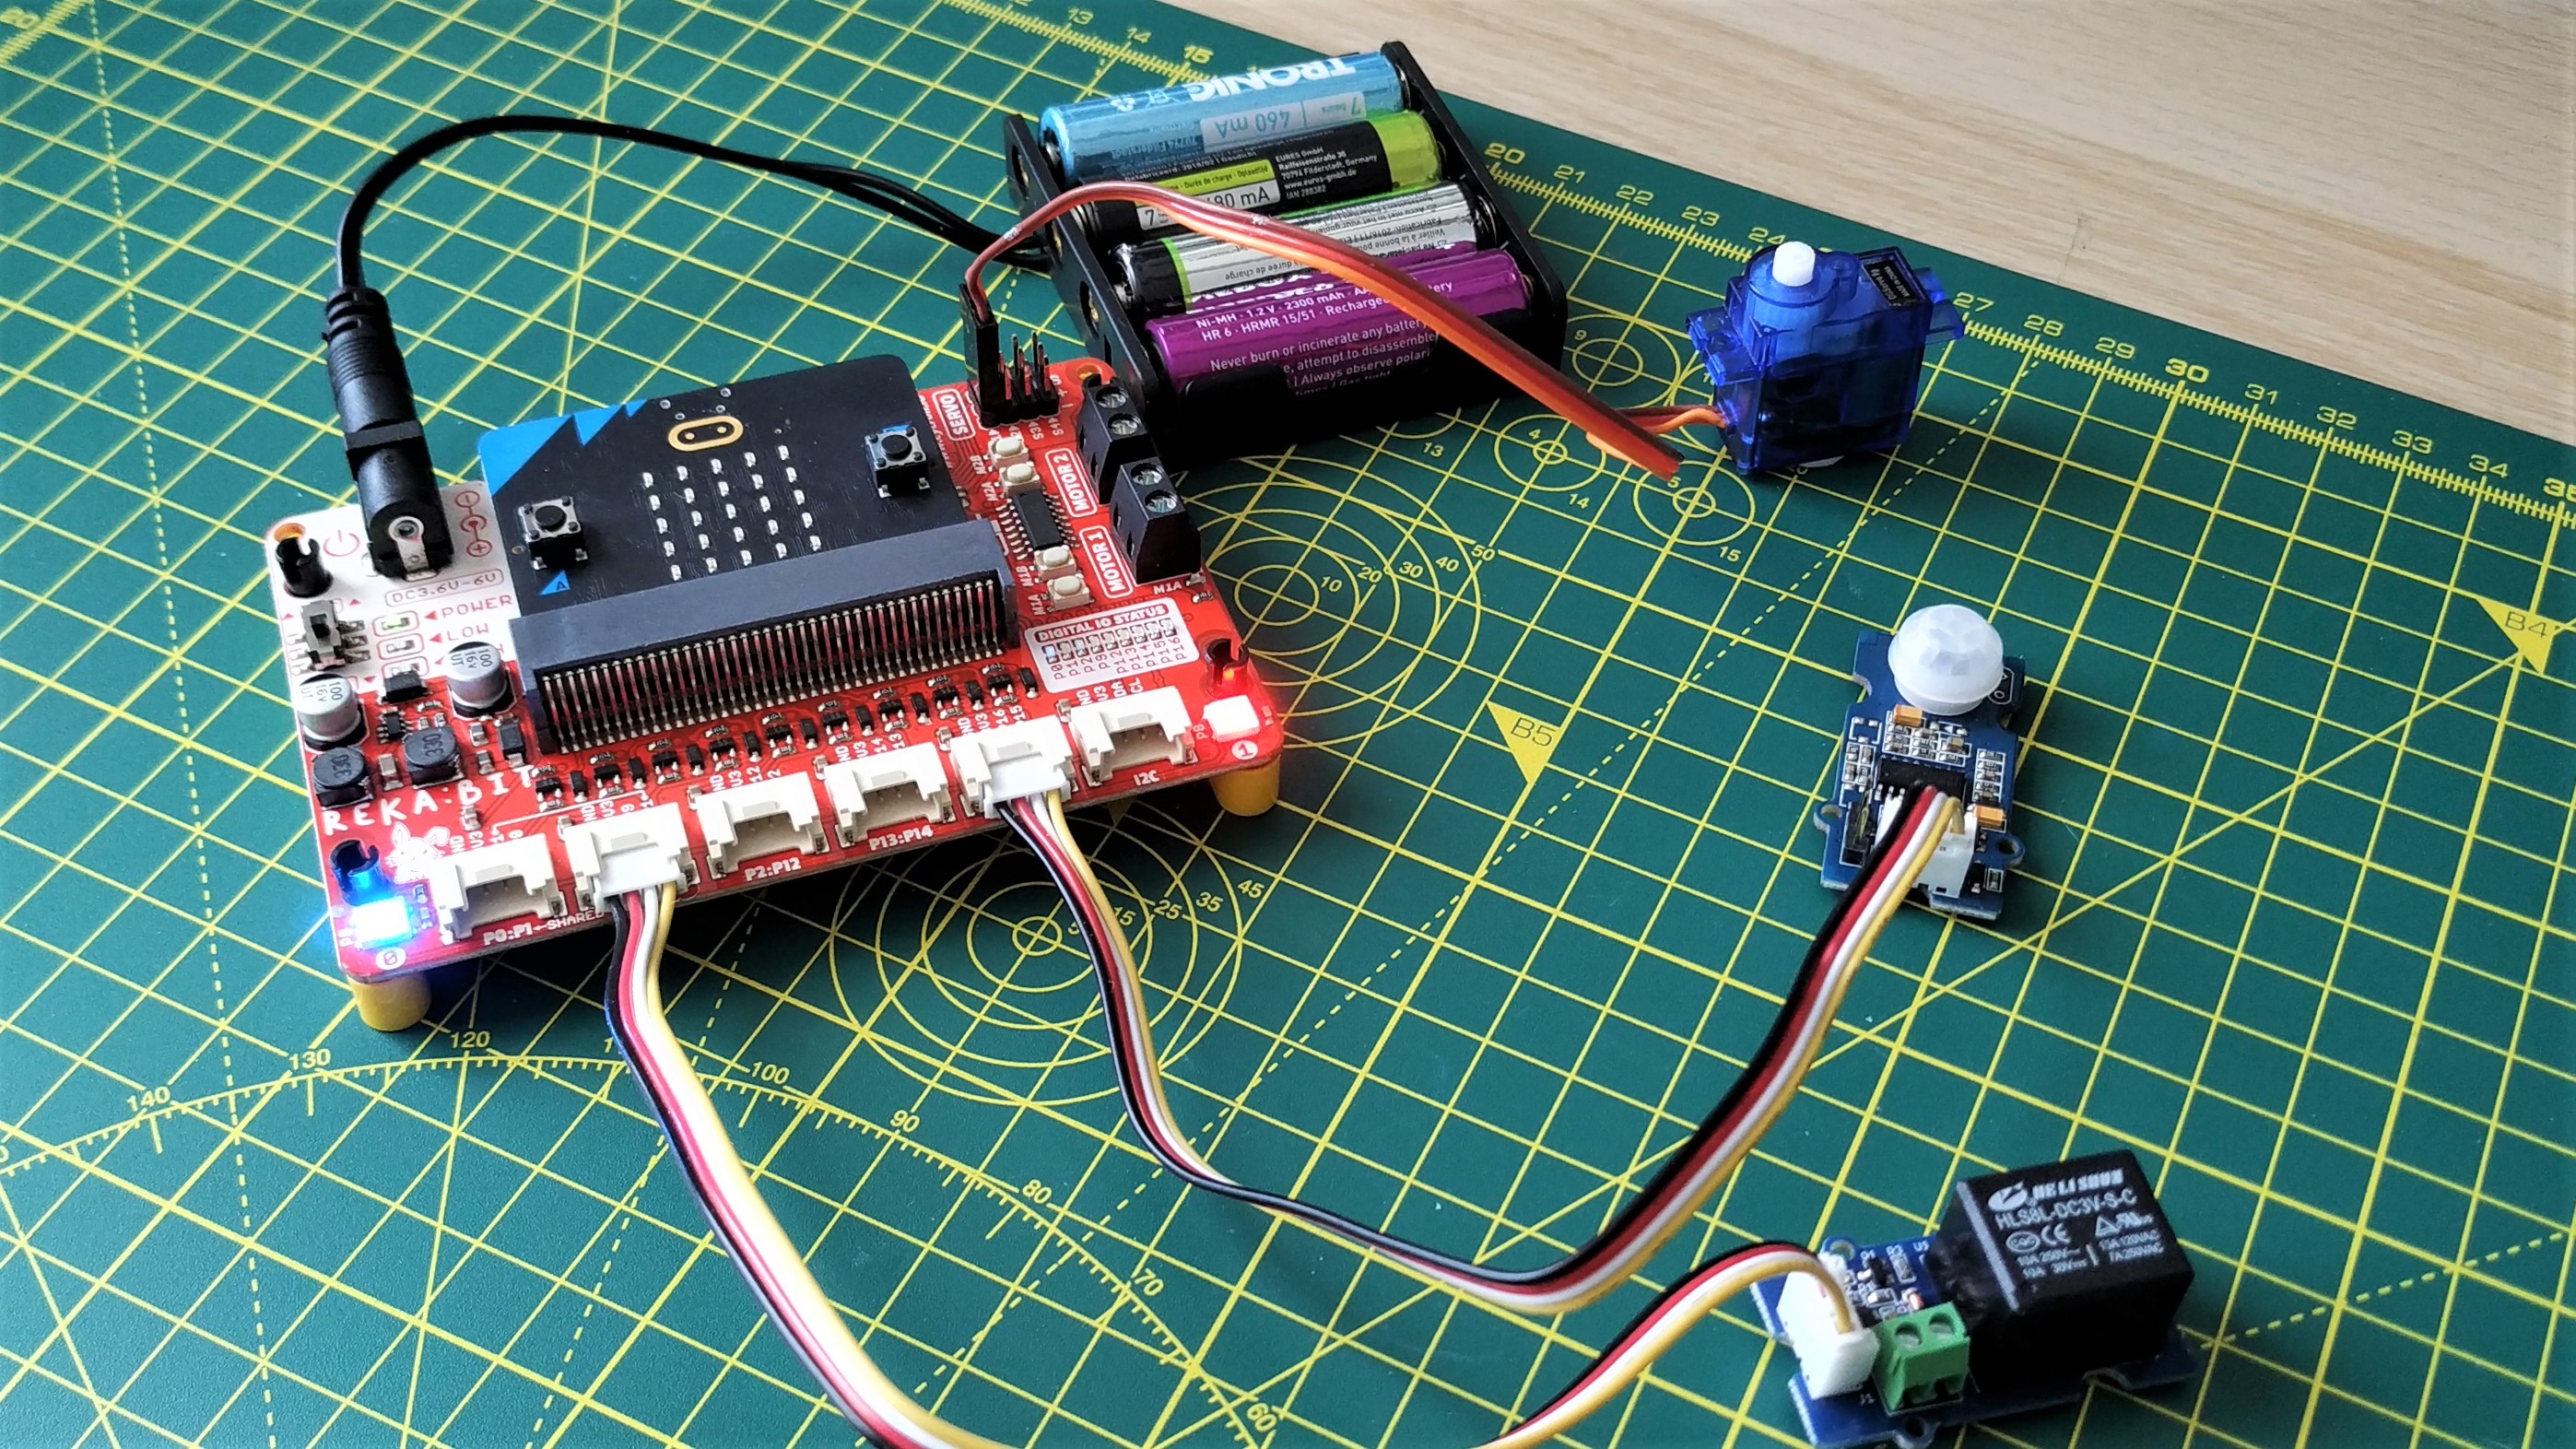
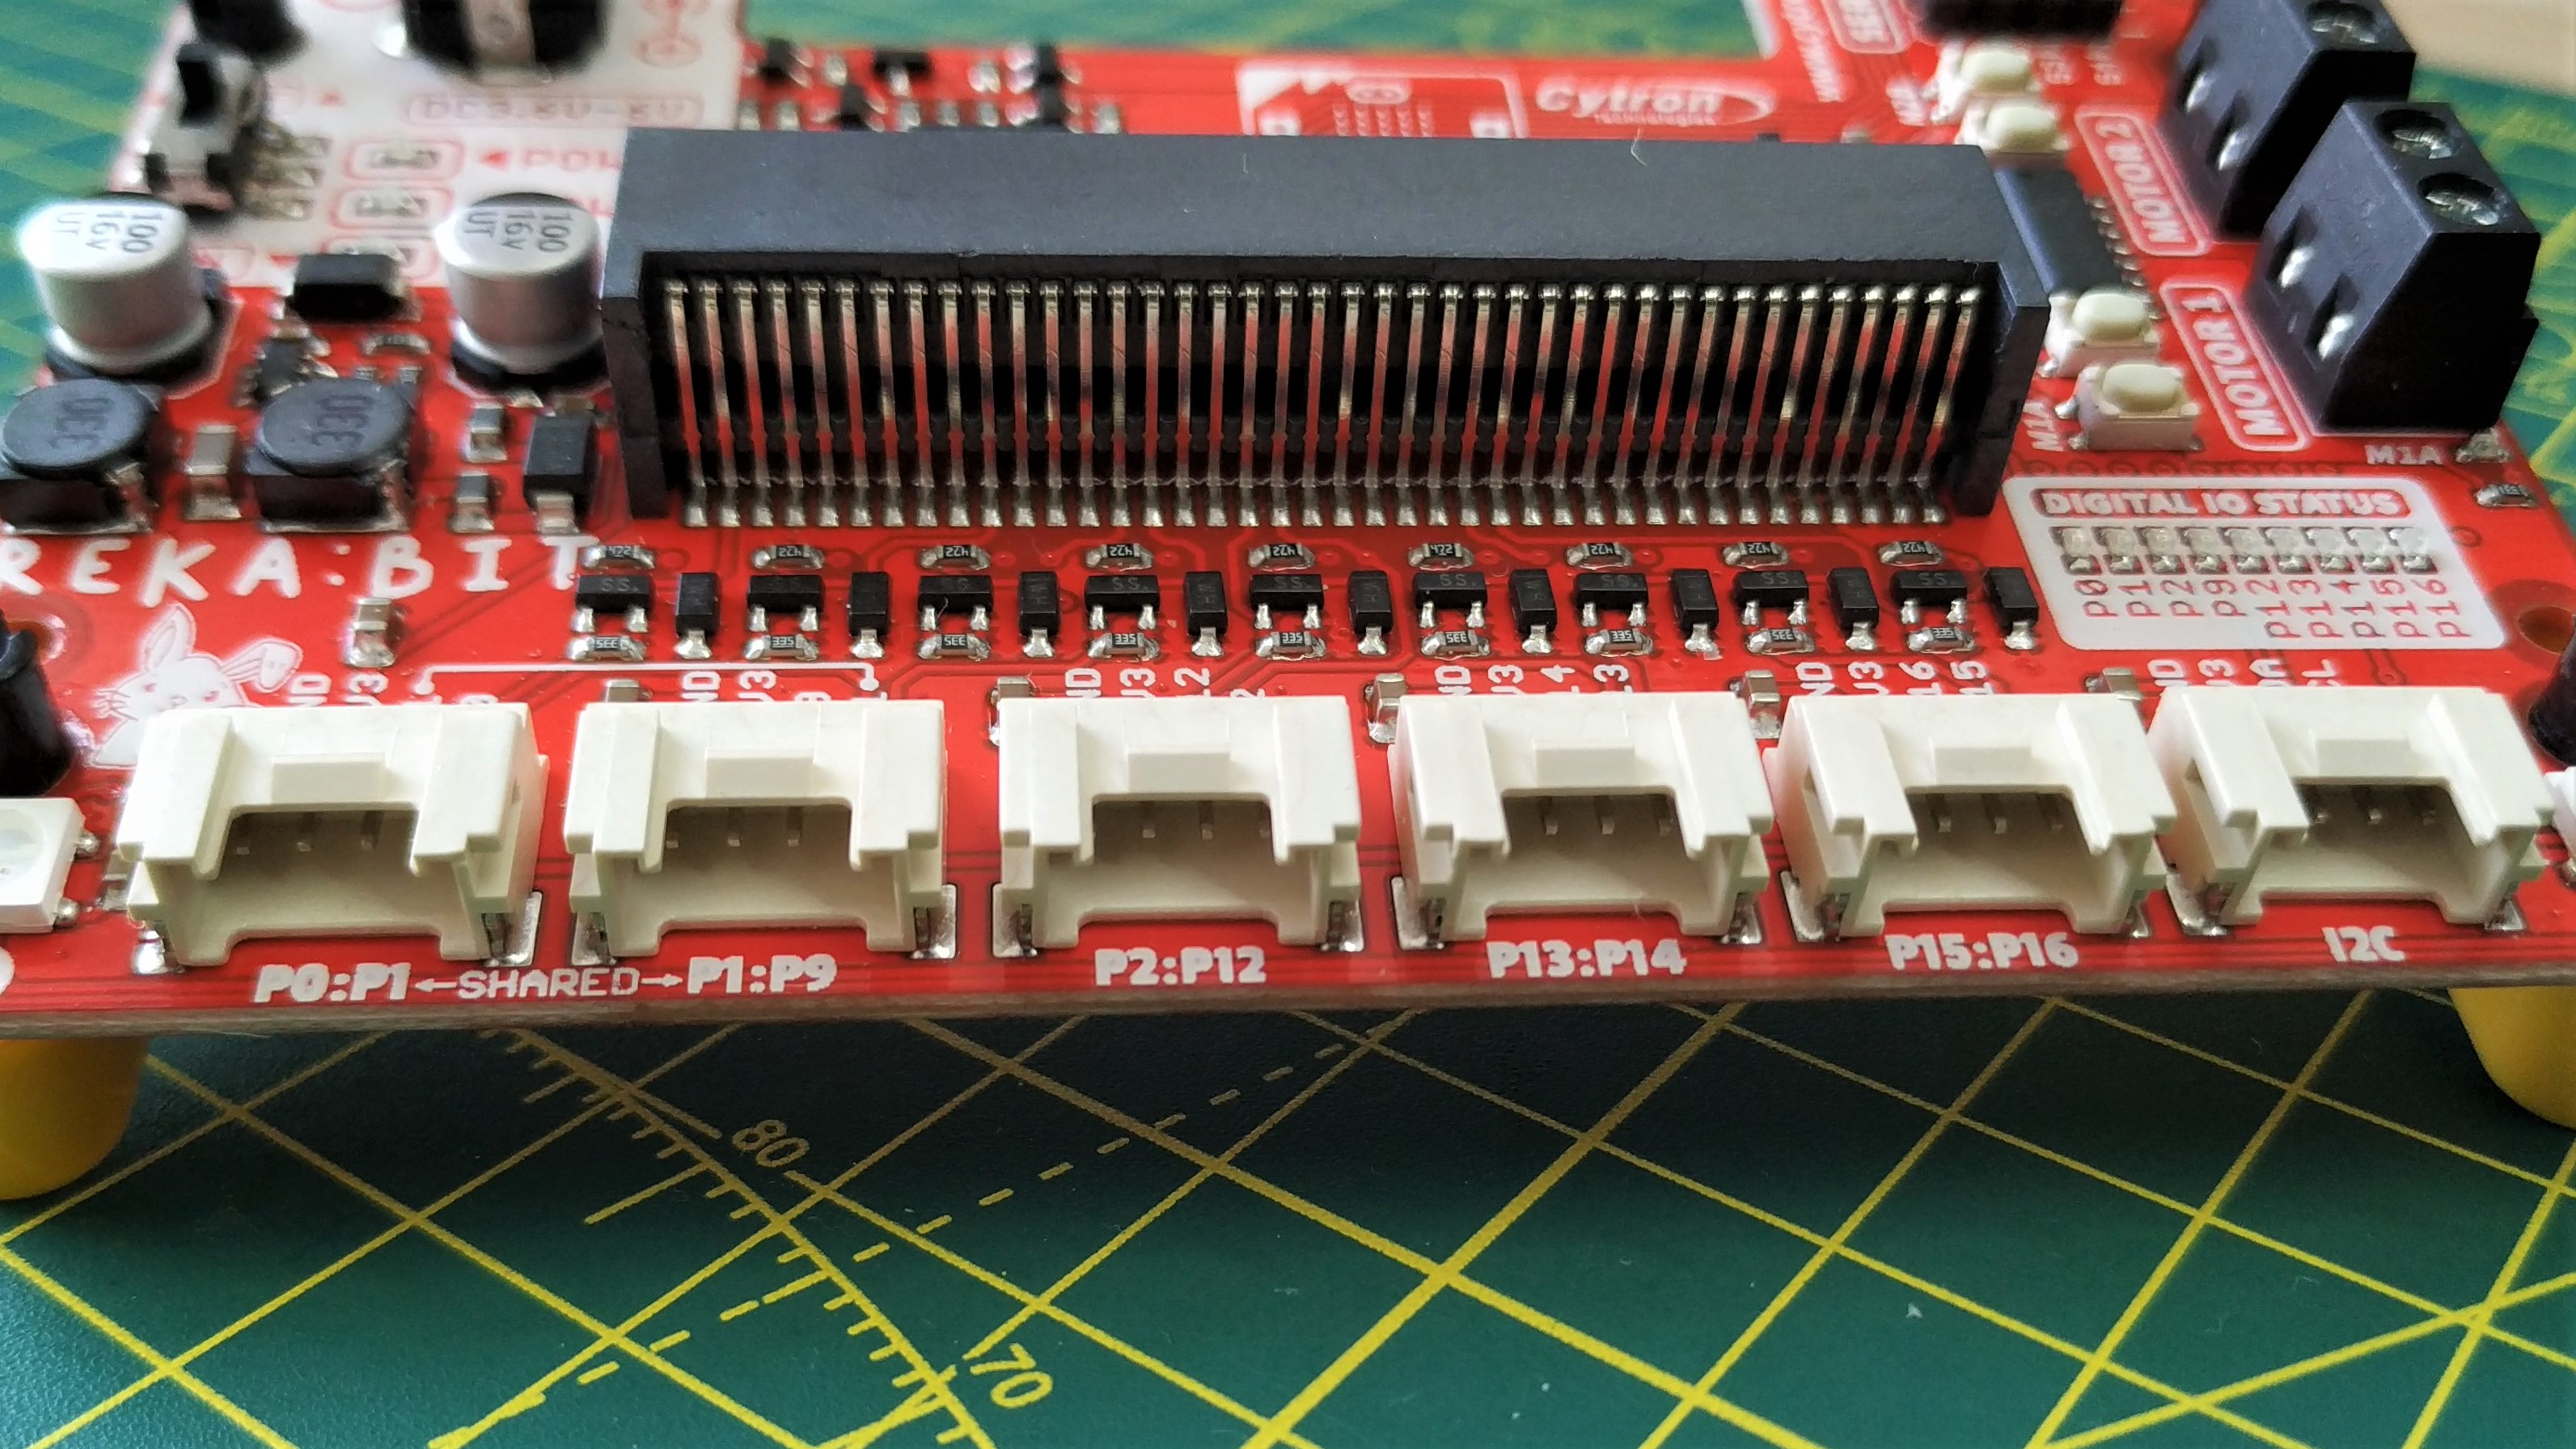
The array of Grove connectors offer access to the GPIO (9 digital / analog IO pins and I2C). The included Grove to jumper jerky cables means that we can connect any Raspberry Pi / Arduino compatible electronic component to Reka:Bit. This means we can breadboard circuits and make projects by reusing our Raspberry Pi kits. If you’ve bought into the Grove ecosystem then you can easily use your components with Reka:Bit. We connected up two Grove components, a small PIR sensor and a relay. We then wrote a routine to trigger the relay to switch on when the sensor detects movement. We also reused some of our “disco” RGB LED code to change the color of the NeoPixels when movement was detected. It all worked beautifully.
Who is Reka:Bit for?
The recurring theme with Reka:Bit is effortless creation. Sure we have prior knowledge of micro:bit and its ecosystem, but we could give this to a child and they would have a project working within 15 minutes. In the classroom, makerspace and at home, Reka:Bit is a powerful tool for learning the basics of electronics, robotics and coding.
More advanced users won’t make the most of Reka:Bit, it is a little too simple. For this audience we suggest Robo Pico, another board from Cytron that also features in our best Raspberry Pi Pico accessories page. It shares a similar selection of ports, but is focused around the Raspberry Pi Pico and Pico W. The target audience for Reka:Bit are learners, and they will love the foundation of simplicity that it provides.
Bottom Line
Reka:Bit is limited, but that is not to its detriment. The limitations are there to help learners take their first steps into code. Sure we’re not going to build a complex robot with Reka:Bit, but we can build a simple robot with very little extra components. More importantly, we can build a robot (or moving project) and quickly gain confidence from “the little wins” along the way.
Reka:Bit is about building confidence, and while failure is a great teacher, we must also learn to diagnose and debug an issue. By creating a simple board, with a simple supporting code library we have an even measure of success and failure.
Kids will enjoy building cool projects, educators / parents will enjoy the creations and appreciate the ability to learn new skills in a safe environment.

Les Pounder is an associate editor at Tom's Hardware. He is a creative technologist and for seven years has created projects to educate and inspire minds both young and old. He has worked with the Raspberry Pi Foundation to write and deliver their teacher training program "Picademy".
