The RGBeast PC: What We Learned Building an RGB Battlestation
Build Notes: Easy Peasy, at First
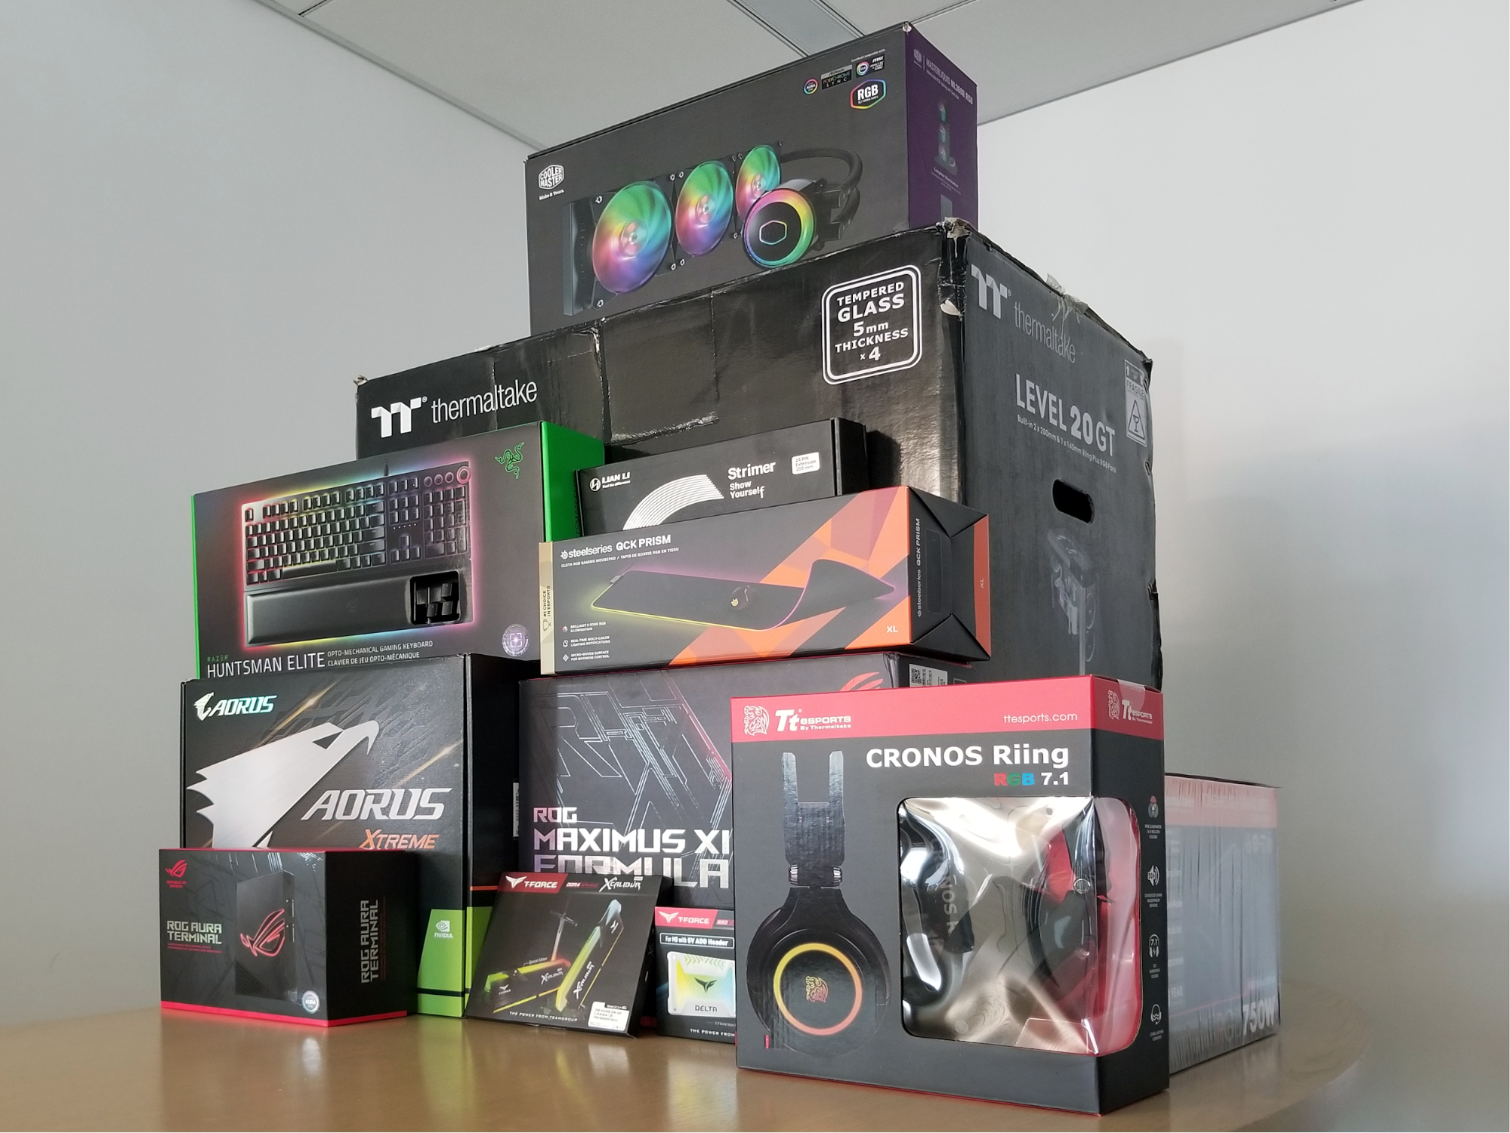
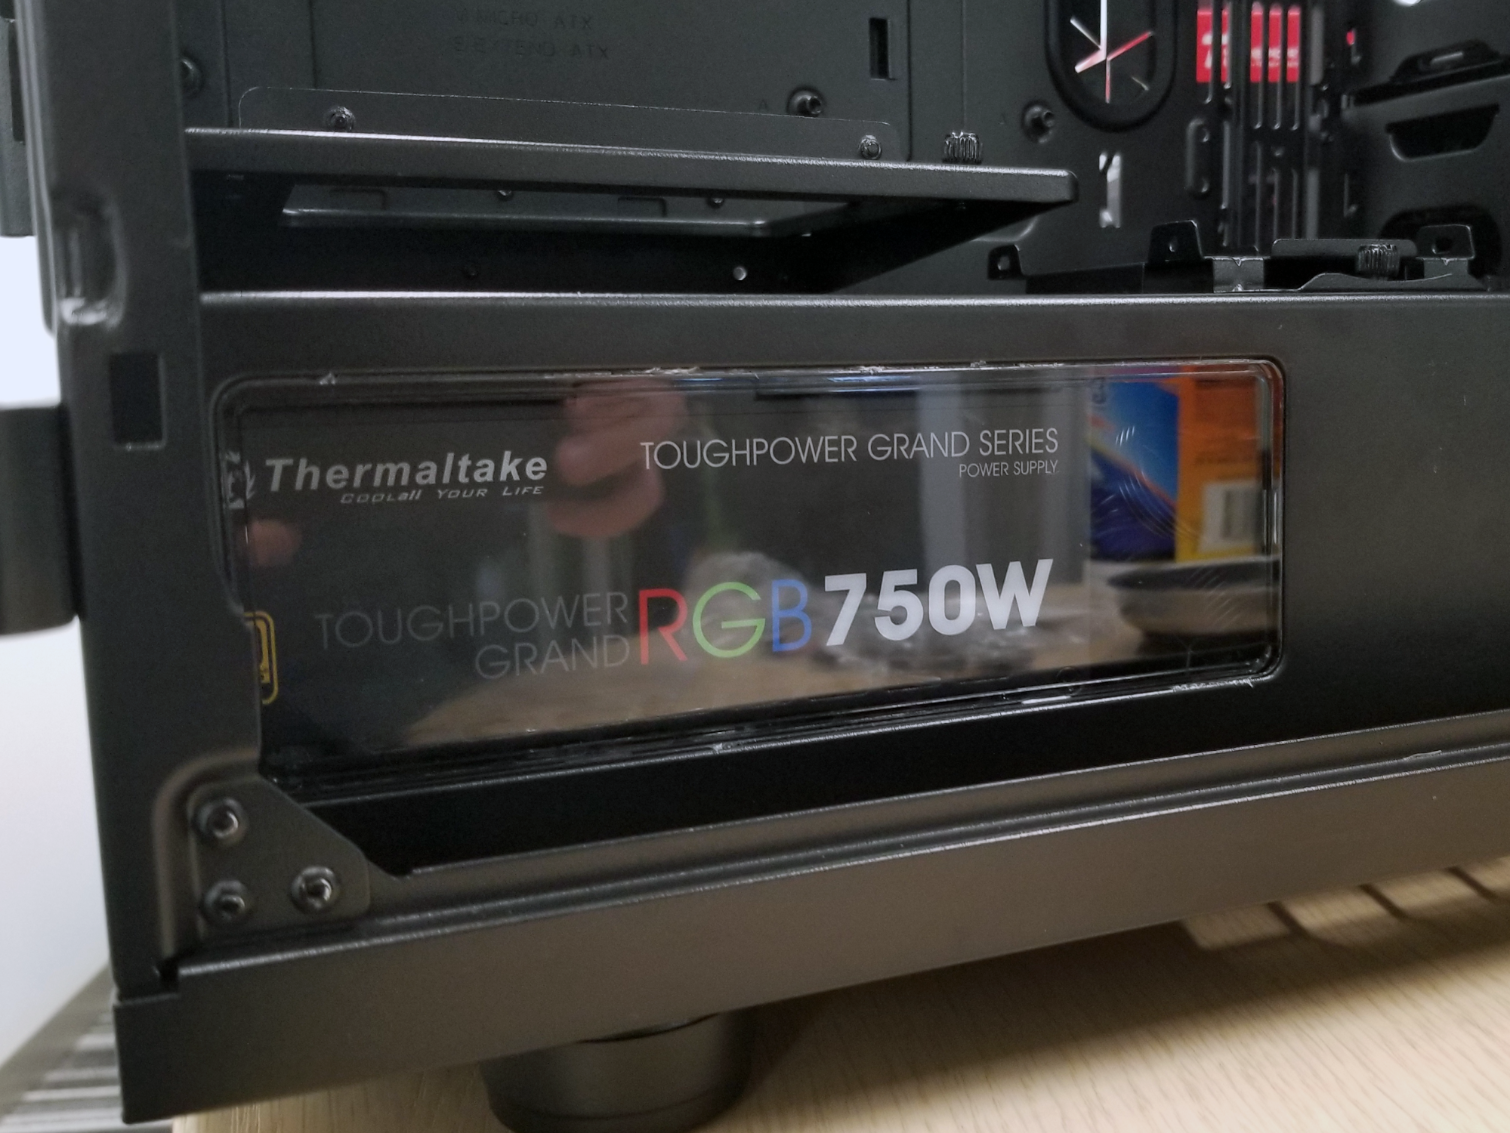
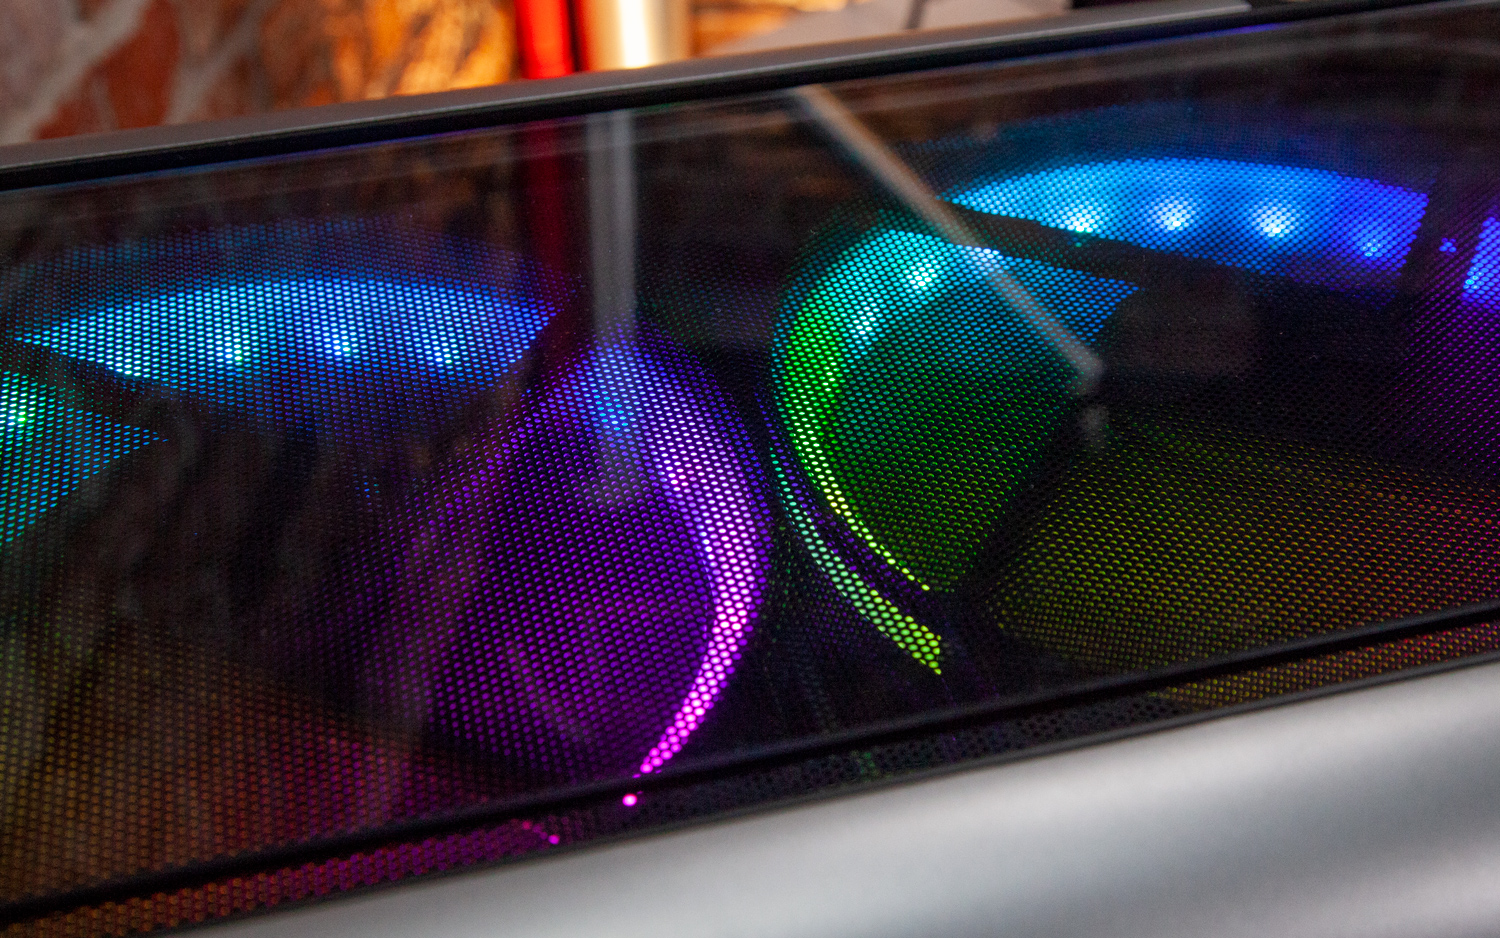
Armed with our big pile of parts, we started unpacking and bits and plugging them into our extremely-roomy Thermaltake case. The motherboard and power supply were fairly standard installs, with the latter slipping under a lengthy shroud that hides cables while still letting in some RGB glow from the PSU’s fan through a side window.
Yes, the PSU shroud has its own window, which just so happens to also show off the branding on Thermaltake’s power supply. In fact, the branding is a lot easier to see than the lighting from the intake fan on the bottom of the PSU.
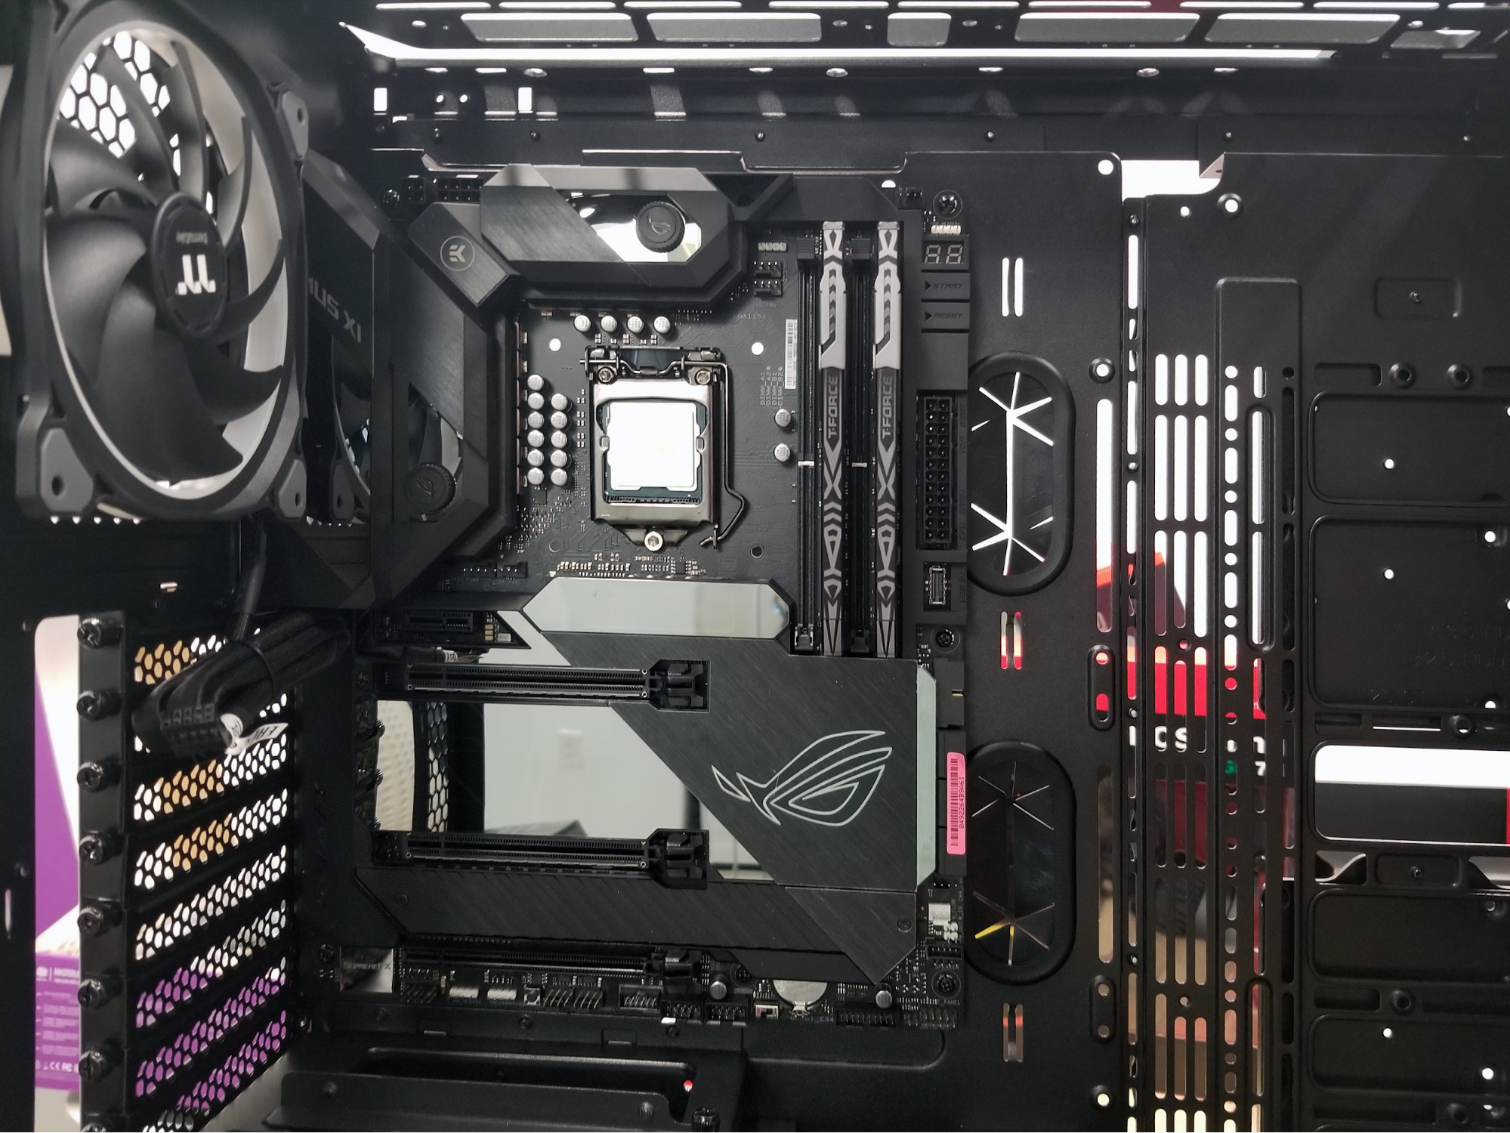
To simplify things later, we installed our RGB Team Group RAM and (non-RGB) Core i9 CPU in our Asus motherboard before installing it in our case.
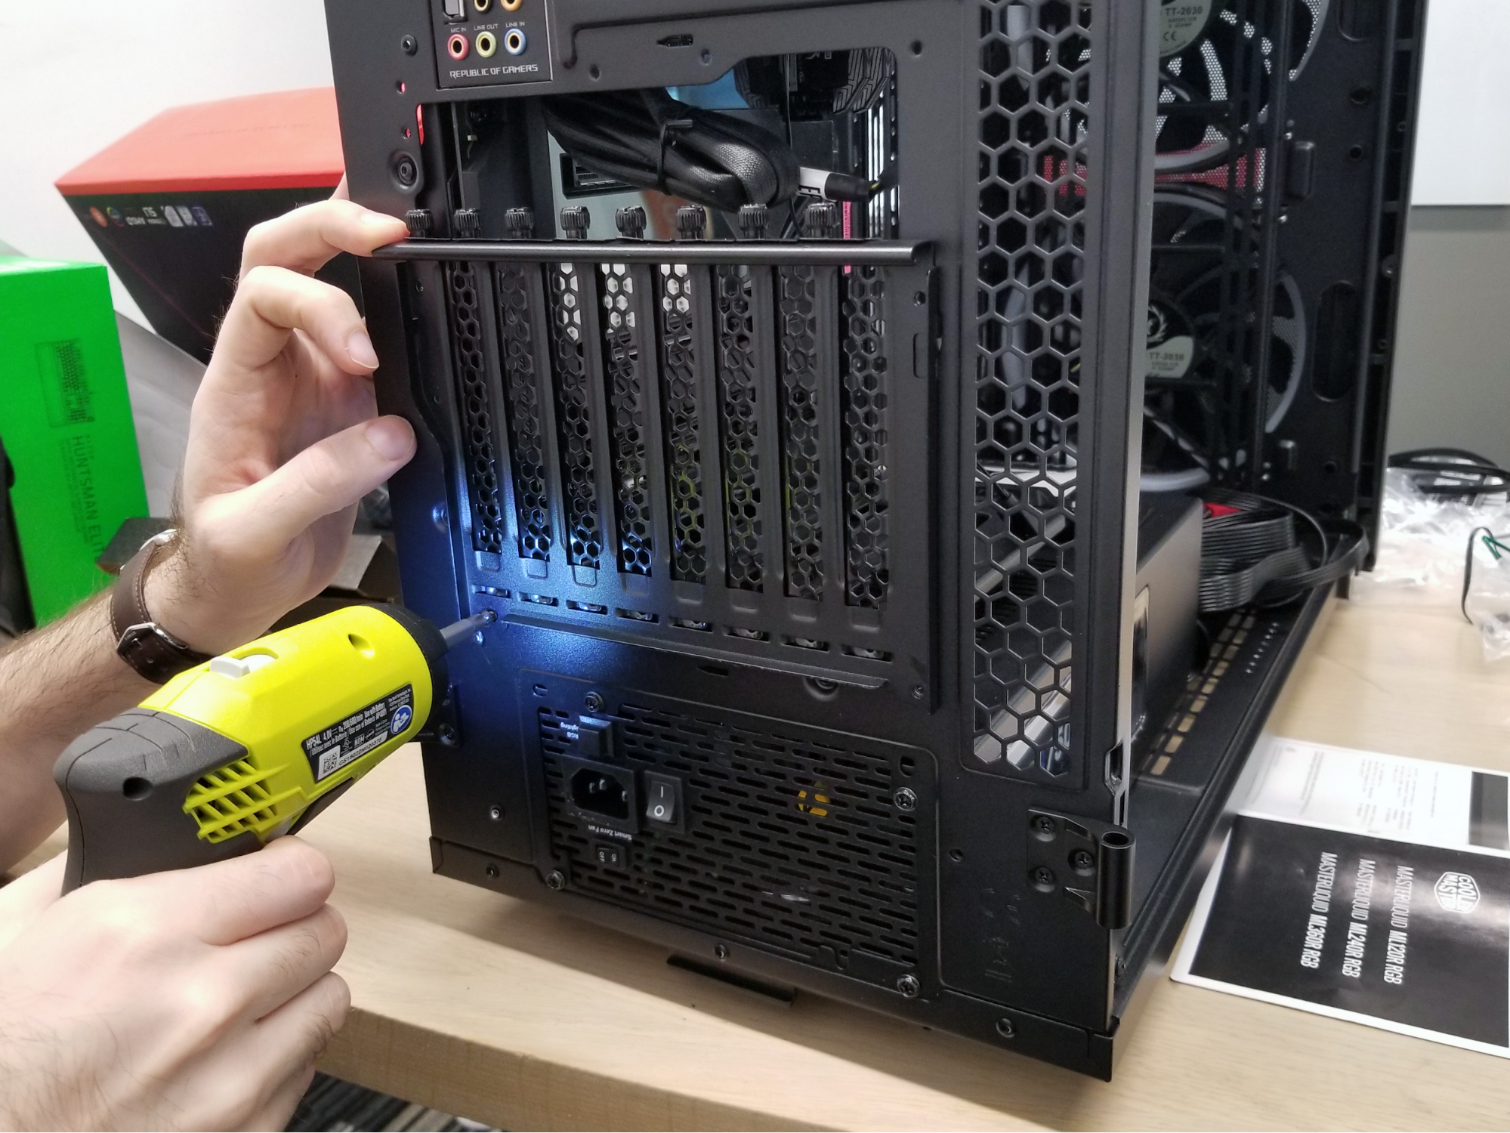
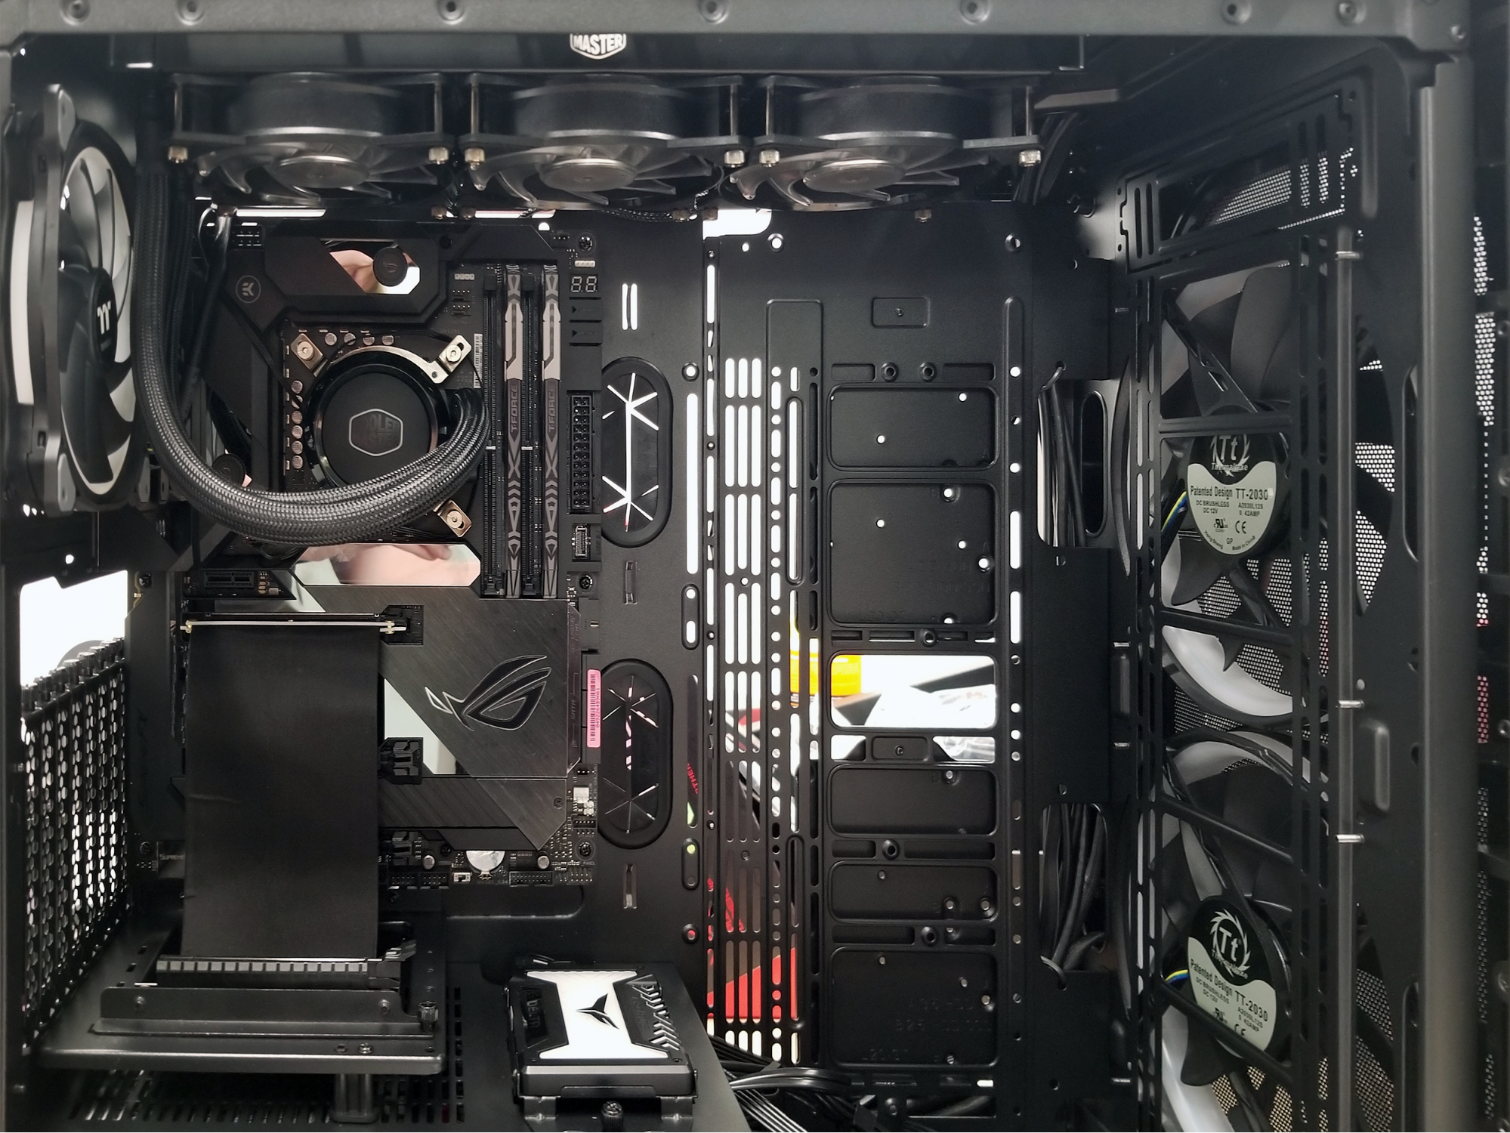
Once that was done, we had to remove the bracket over the expansion slots to re-orient the slots vertically. This was accomplished by removing a few screws and turning the whole bracket 90 degrees.
Next up, we installed the bracket for vertically mounting our graphics card on top of the PSU cover. We also briefly installed our SSD here, but weren’t quite happy with this placement. You’ll find out where it ended up soon.
We also installed the Cooler Master CPU cooler at this stage, but decided we needed to put the GPU radiator up top, so we eventually moved the 360mm CPU radiator to the front. This build involved more than its fair share of shuffling.
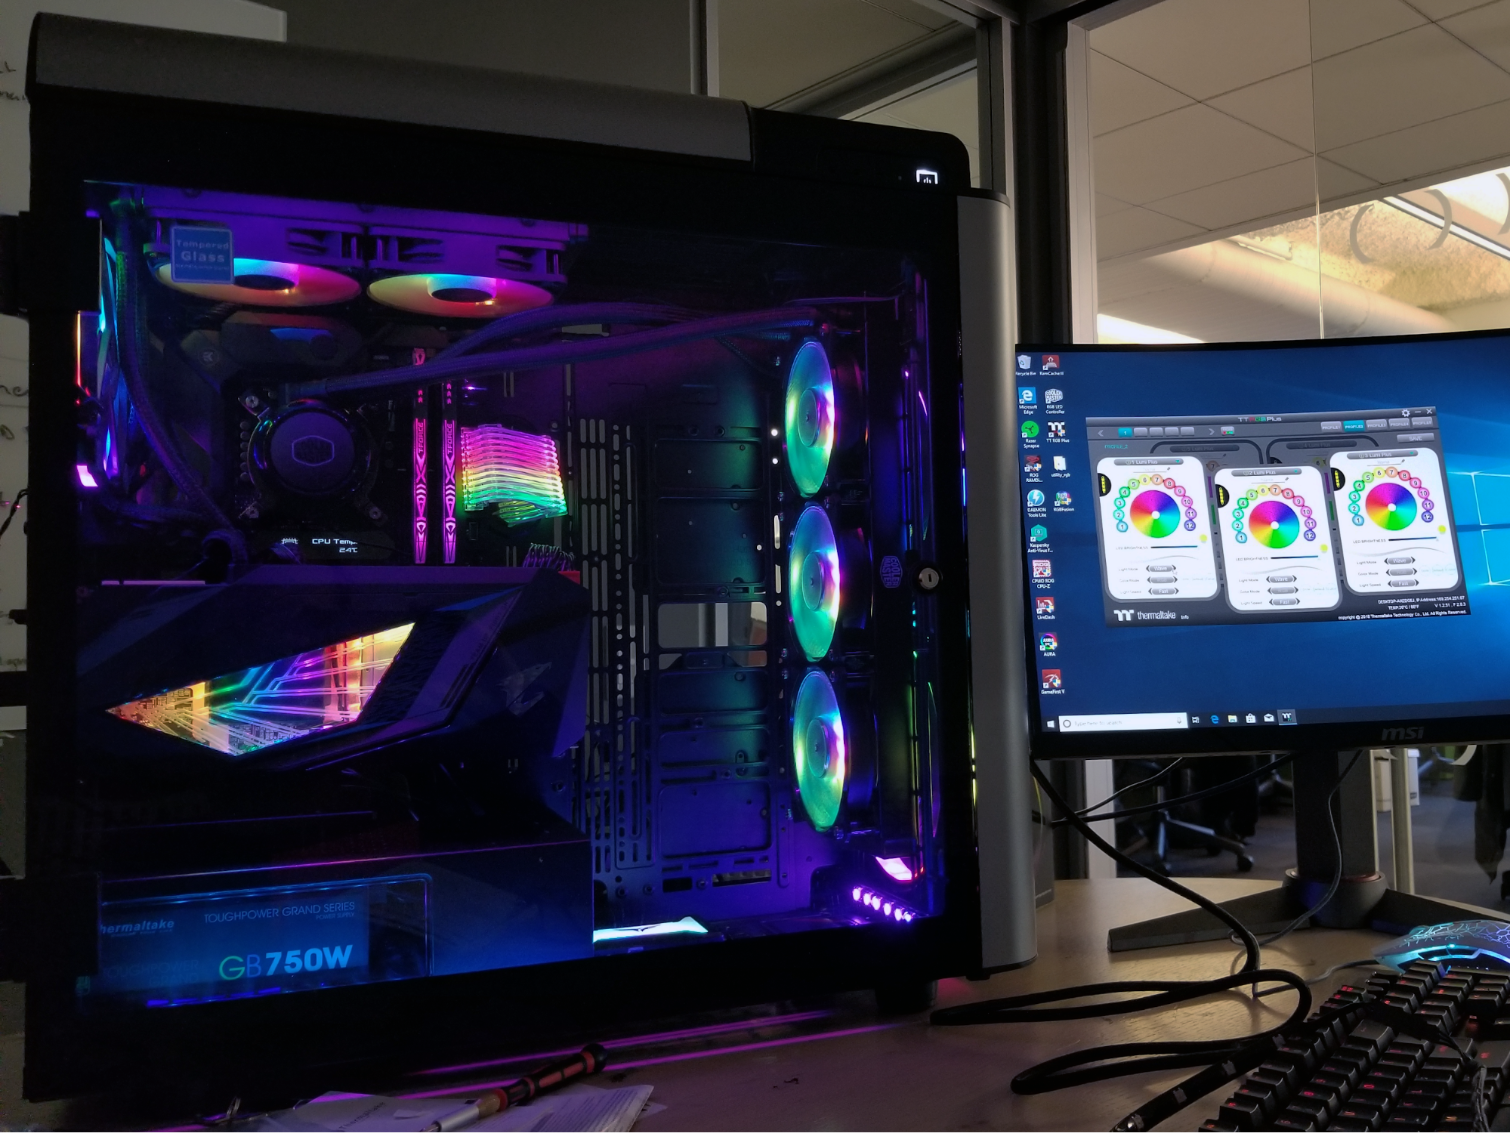
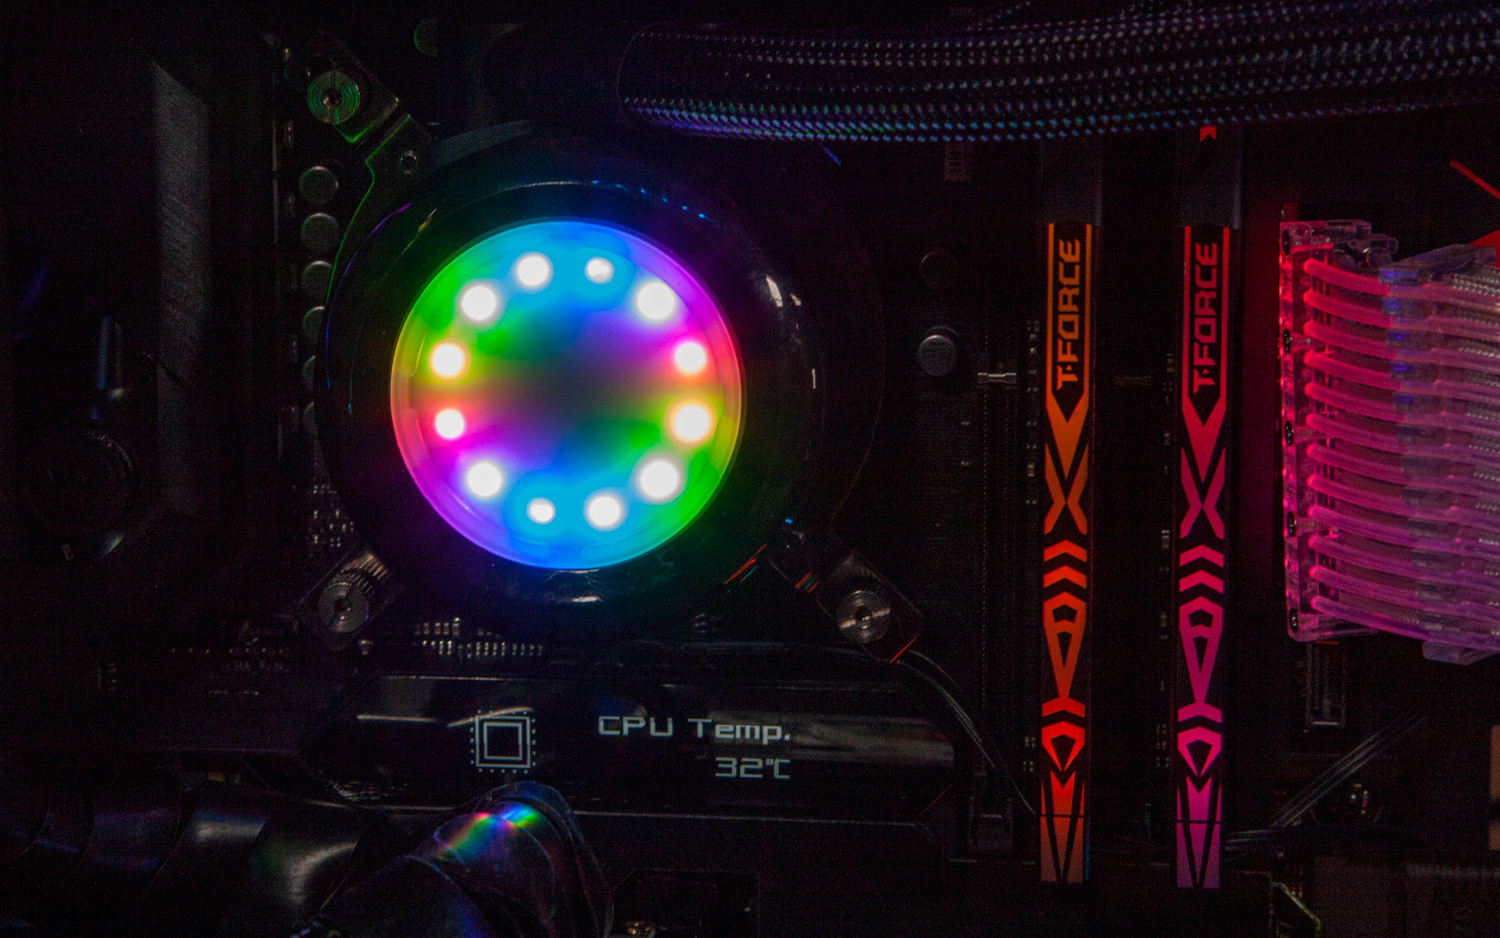
At this point, we were itching to see what kind of light show the RGBeast was capable of delivering, so we installed the Aorus RTX 2080 Ti graphics card, started plugging in some of the RGB lights and controllers, and started getting our first sense of how complicated a wiring job this build was going to be.
Get Tom's Hardware's best news and in-depth reviews, straight to your inbox.
Still, with most of the main components installed and the primary wiring done, the system was starting to shine.
Next, we started to clean up the build a bit, plugged the Strimer 24-pin cable extender into a motherboard header, and installed the Asus lighting control box and RGB light strips to increase the internal glow.
We also started playing around with lighting software at this point. Thermaltake’s RGB Plus software is far from pretty--parts of it look like they were designed in MS Paint--but it seems to have more preset lighting effects than the other RGB software we tried on this system.
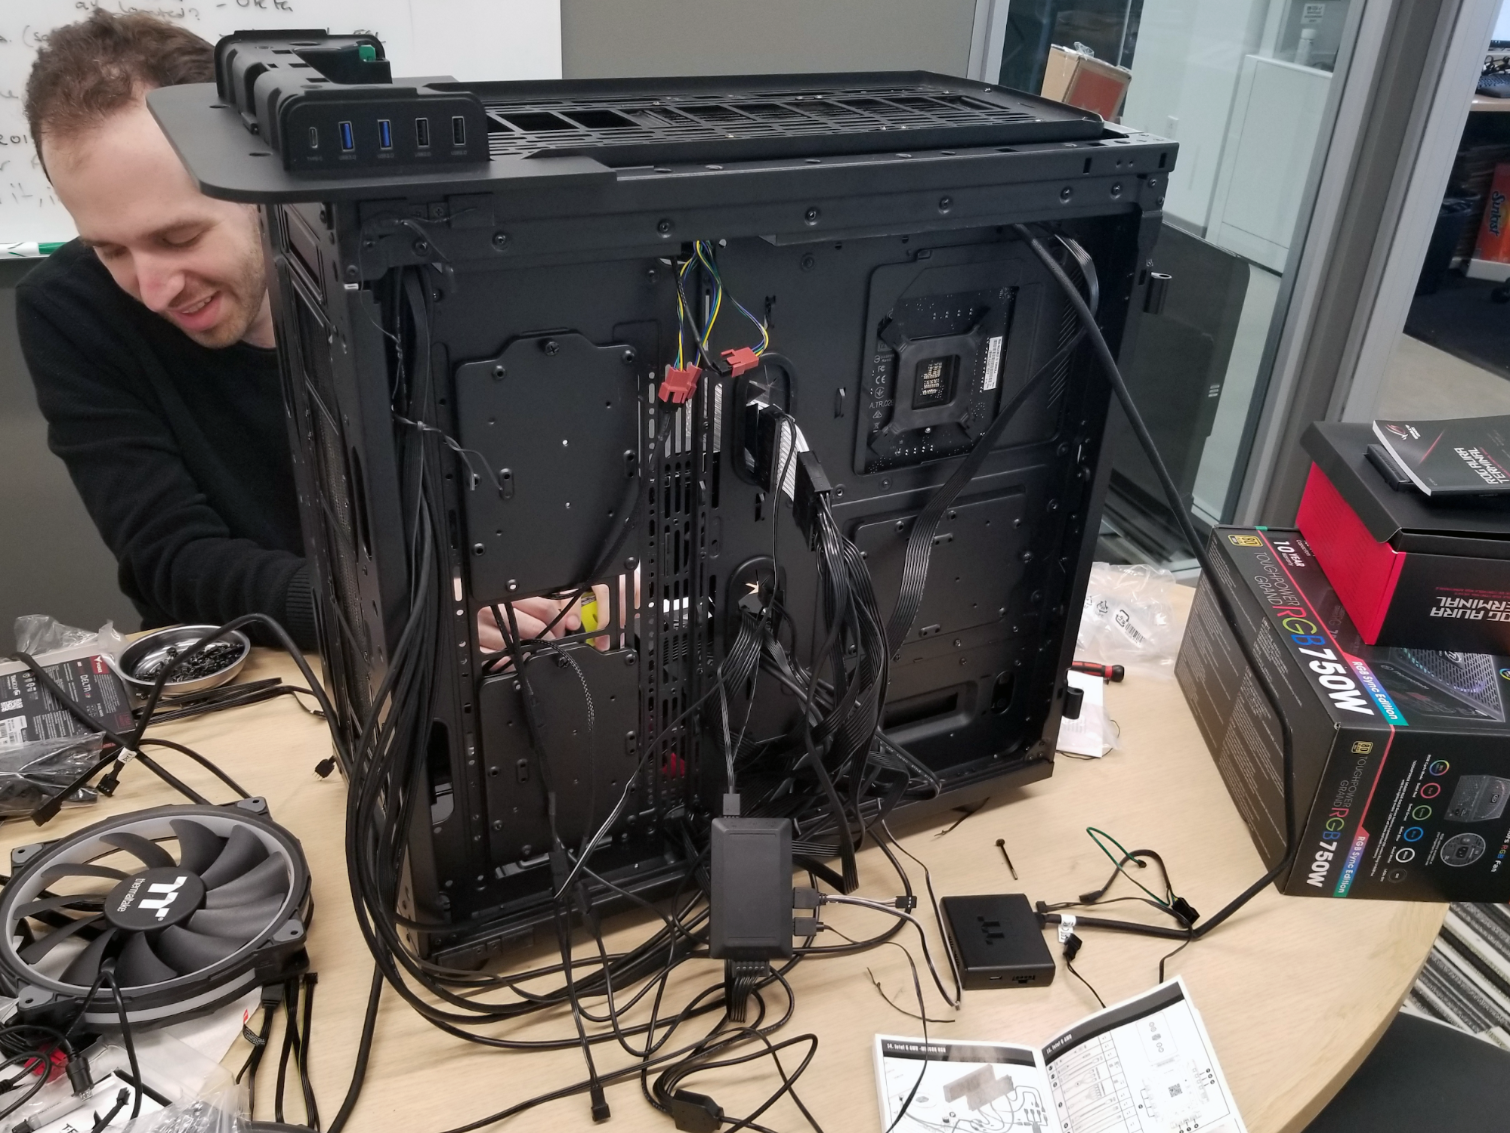
Unfortunately, we had to use several programs to control our lights, since no one program was capable of controlling all our RGB components. Gigabyte/Aorus, Asus, and Corsair all have their own RGB ecosystems (as do MSI and other board makers) that aren’t designed to play together. And even if there was one universal piece of RGB software, getting everything connected to a single box or the motherboard is nigh impossible, because most companies use different connectors for their fans, controller boxes and light strips.
Also, many cooling/lighting devices need to plug into a USB 2.0 motherboard header (or a USB port, which is much less convenient), but most motherboards (including our Asus ROG Maximus XI Formula) only have two 2.0 motherboard headers. There are internal USB header hubs that can help with this issue (NZXT makes one), but they also require a fair bit of additional wiring--which is exactly what we didn’t need with this build.
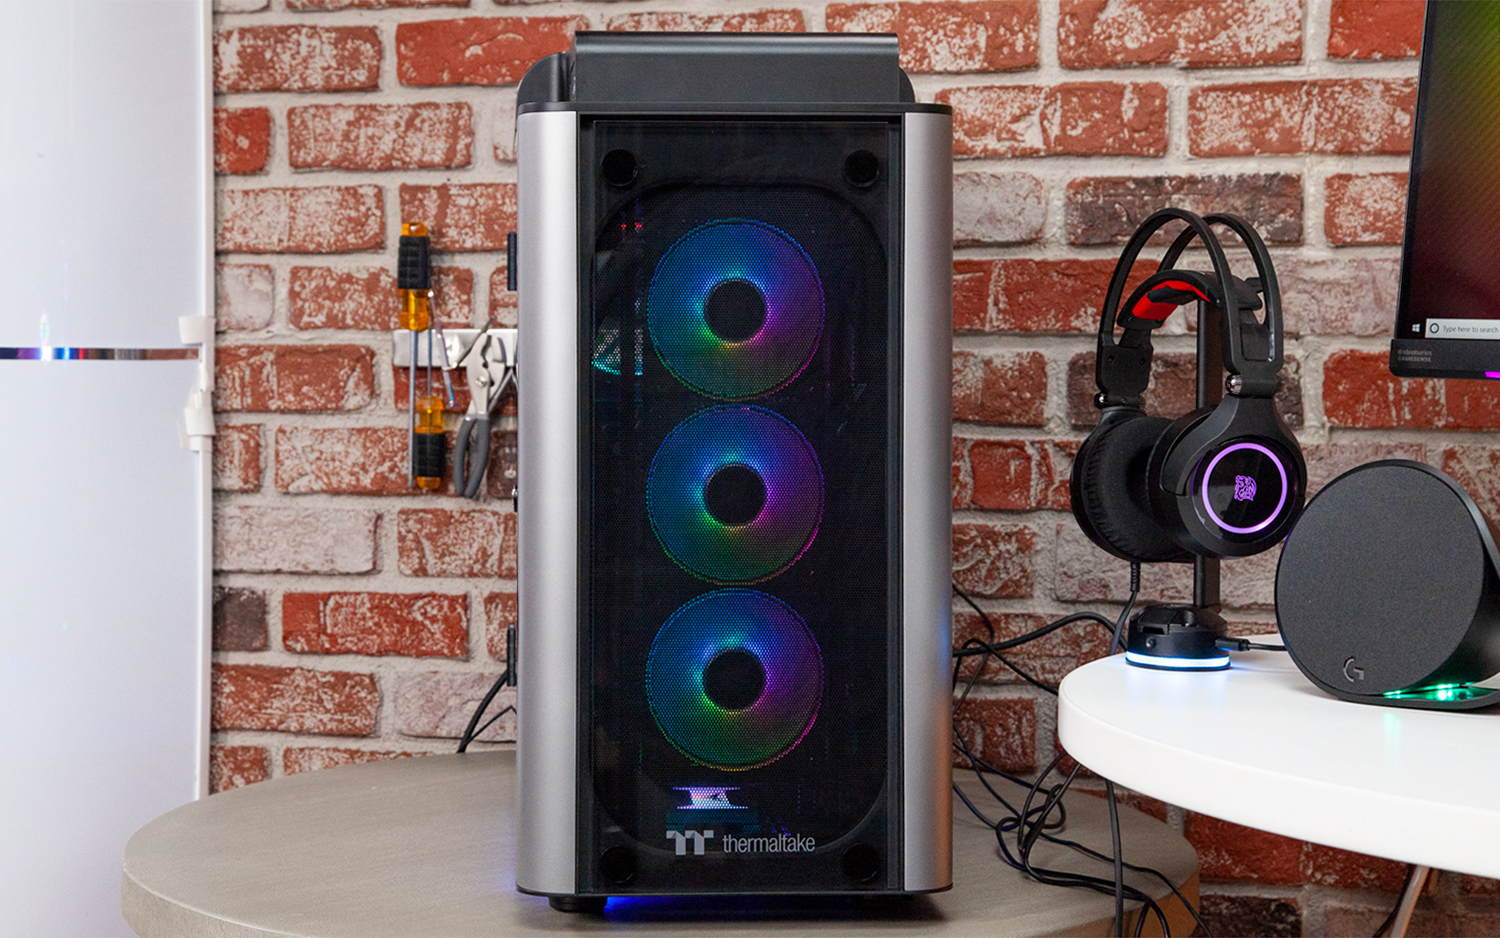
Eventually, we decided to add an additional three 120mm Cooler Master fans to the front of the case (in a push/pull setup on the radiator) and move the large 200mm Thermaltake fans from the front to the top to help with exhaust through the graphics card radiator.
Lastly, we decided to add some RGB strips to the underside of the case for some glow to the system’s undercarriage. We used Corsair strips and the Lighting Node Pro controller for this last bit of bling, and eventually wound up with five RGB/fan controller boxes and as many pieces of software controlling the lighting of our RGBeast. We also had to spring for some fan header splitters and extension cables to connect all our lights and cooling while maintaining some semblance of cleanliness in our build--at least on the front side of the motherboard.
We also decided to remove the handy magnetic cover over the Cooler Master pump because, well, it was blocking quite a bit of bright light. And our goal was to maximise RGB here, so we couldn’t have that.
MORE: Best Gaming Desktops
MORE: How To Build A PC
MORE: All PC Builds Content
After a rough start with the Mattel Aquarius as a child, Matt built his first PC in the late 1990s and ventured into mild PC modding in the early 2000s. He’s spent the last 15 years covering emerging technology for Smithsonian, Popular Science, and Consumer Reports, while testing components and PCs for Computer Shopper, PCMag and Digital Trends.
-
bennie101 DEEP DEEP Pockets this is for the 1% of people who afford such a build ...Follow the Rainbow and maybe the average Joe could build something close to this.Reply -
rvald005 daaaaannng...I do like seeing a nice rgb build every once in a while. I haven't built an rgb specific build yet...I was going to but the Lian Li dynamic is sold out everywhere, so I am opting for a simpler build with less lights...thinking NZXT h700 red/black box with white components and a few red rgb lights (making a red/black as the primary colors and white as an accent)...not sure if the white inside would look better with the black/white or all black case though...still thinking it over...Reply -
rabbit4me1 Common sense says it's more stuff than can go wrong and confuse you say save the moneyReply -
NinjaNerd56 Looking forward to the ‘stealth’ build.Reply
I don’t care for the lighting; I’m damned old, which means bifocals, which means some SUPER annoying ‘lens flares’ at times.
So other than a dim backlight...white or blue...on a keyboard so my old ass can reposition, I like gaming in the dark. -
Cheeno76 I hate being the grumpy old man, but I yearn for the day for this RBG fad to be over.Reply -
islandwalker @ANIMEMANIA, the components for the PC alone (not counting all the peripherals) tally up to very nearly $4500, although $1,000 of that is due to the current scarcity of the liquid-cooled RTX 2080 Ti. Its MSRP is $1349, but it's currently now often selling for above $2,000. :-(Reply -
Krazie_Ivan i don't mind RGB being an option avail for people (to each their own)... but it seems to me that this option, along with solid flat panels of glass, have somewhat taken-over the availability of more efficient designs. aesthetic design focus has left practicality & performance innovation stagnant, while increasing costs.Reply
i appreciate leaving the excessive garish Transformer cases behind for sleek & classy, but "Where's the Beef?!?" (*Wendy's - look it up) -
g-unit1111 RGB is like hot sauce - a little bit will bring out the subtle flavors, but too much and it will overpower the senses.Reply
