Supersize Your TV for $300: Build Your Own XGA Projector!
Features
By
Frank Völkel
published
Step By Step: Removing The TFT Panel, Continued
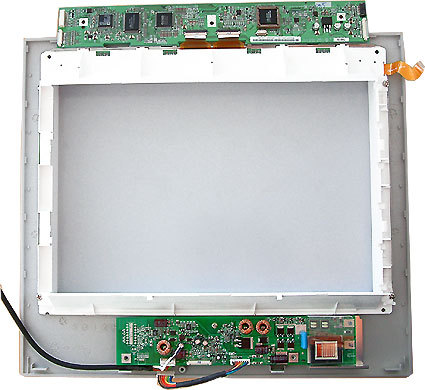
The LCD panel is still on in this picture, but all cable connections from the controller and inverter have already been removed. The most sensitive work is in removing the panel from the plastic frame without breaking the display.
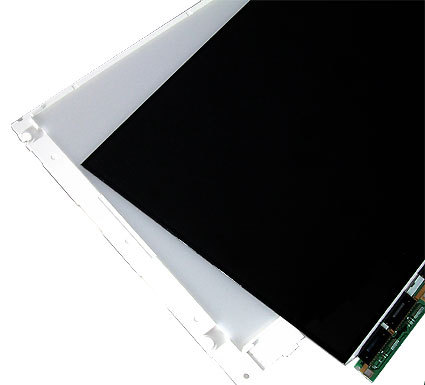
Done - the LCD panel removed from the frame.
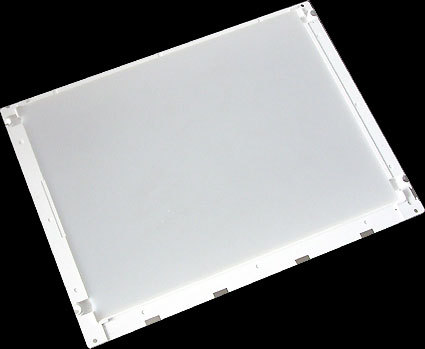
The diffusing screen is fixed under the panel - it's no longer required.
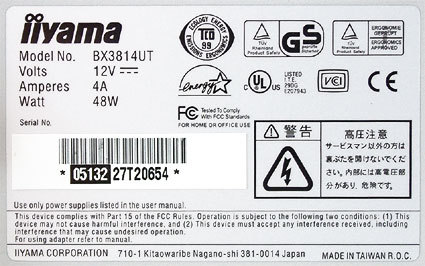
Older monitor from Iiyama: BX3814UT
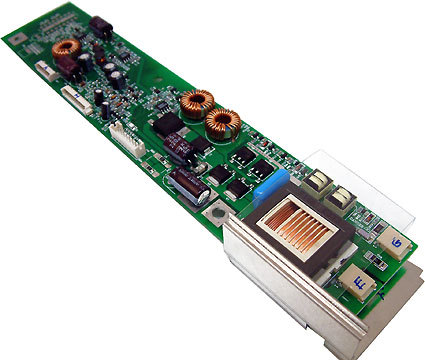
Important: the inverter board contains the control logic and the high-voltage unit for backlighting.
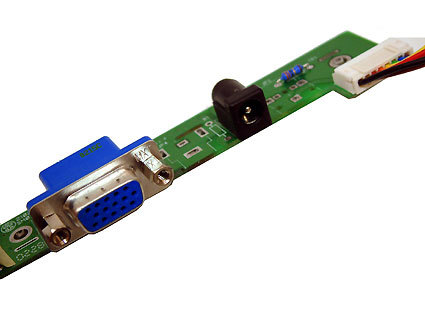
Most TFT monitors contain a second board holding the VGA input and the power socket.
Stay On the Cutting Edge: Get the Tom's Hardware Newsletter
Get Tom's Hardware's best news and in-depth reviews, straight to your inbox.
Current page: Step By Step: Removing The TFT Panel, Continued
Prev Page Step By Step: Removing The TFT Panel Next Page Assembly: The Projector's LCD PanelTOPICS
3 Comments
Comment from the forums
-
Hi,Reply
I'm a 12 year old and I just got this projector working. If you live in the bay area then I recommend you go to Weirdstuff that is where I got all my parts for all under $46 -
just looking into this idea and was just wondering what the implications would be to have the lcd screen supported away from the glass of the projector thus aiding the cooling of the screen ?? Say a 2 to 3cm gap? would this affect the picture quality or would the screen still need the same amount of cooling as it does on the screen. As you can tell by the questions i havn't made one but seriously thinking about it. also ... !! woulld there be an option of other video inputs to the screen ie .. Phono jack rather than laptop / pc?Reply
Cheers for the info if you respond. -
chinmayj007 hiiiiiiii im CJ can you tell me please which in this projector plz.......................Reply
