Tom's Hardware Verdict
A fun and easy to use kit that grows with the confidence of the user, this setup is designed to follow the official Pico book, and it does this pretty well with only the LCD display chapter proving troublesome.
Pros
- +
Curated components
- +
Can be used in many projects
- +
Pre-soldered Raspberry Pi Pico
- +
Fits into a small box
Cons
- -
Raspberry Pi Pico GPIO soldering was a little off
- -
Included LCD display different to book
Why you can trust Tom's Hardware
A great electronics kit is the spark that ignites a fire in a learner. Our first electronics kit was from Radio Shack and it involved connecting components using springs and wires. Fast forward to the Arduino era and we returned to electronics with an Arduino Uno but it didn’t quite “click”, it took the Raspberry Pi, released in 2012 to unlock our desire to learn.
The Uctronics Raspberry Pi Pico Starter Kit, priced at $43, is designed with the official “Get Started with MicroPython on Raspberry Pi Pico” guide in mind and aims to inspire a new generation of coders and electronics engineers thanks to its comprehensive selection of parts and pre-soldered Pico board. . We put the kit through its paces and learned what it can do well and also where it can do better.
What’s inside the Uctronics Raspberry Pi Pico Starter Kit
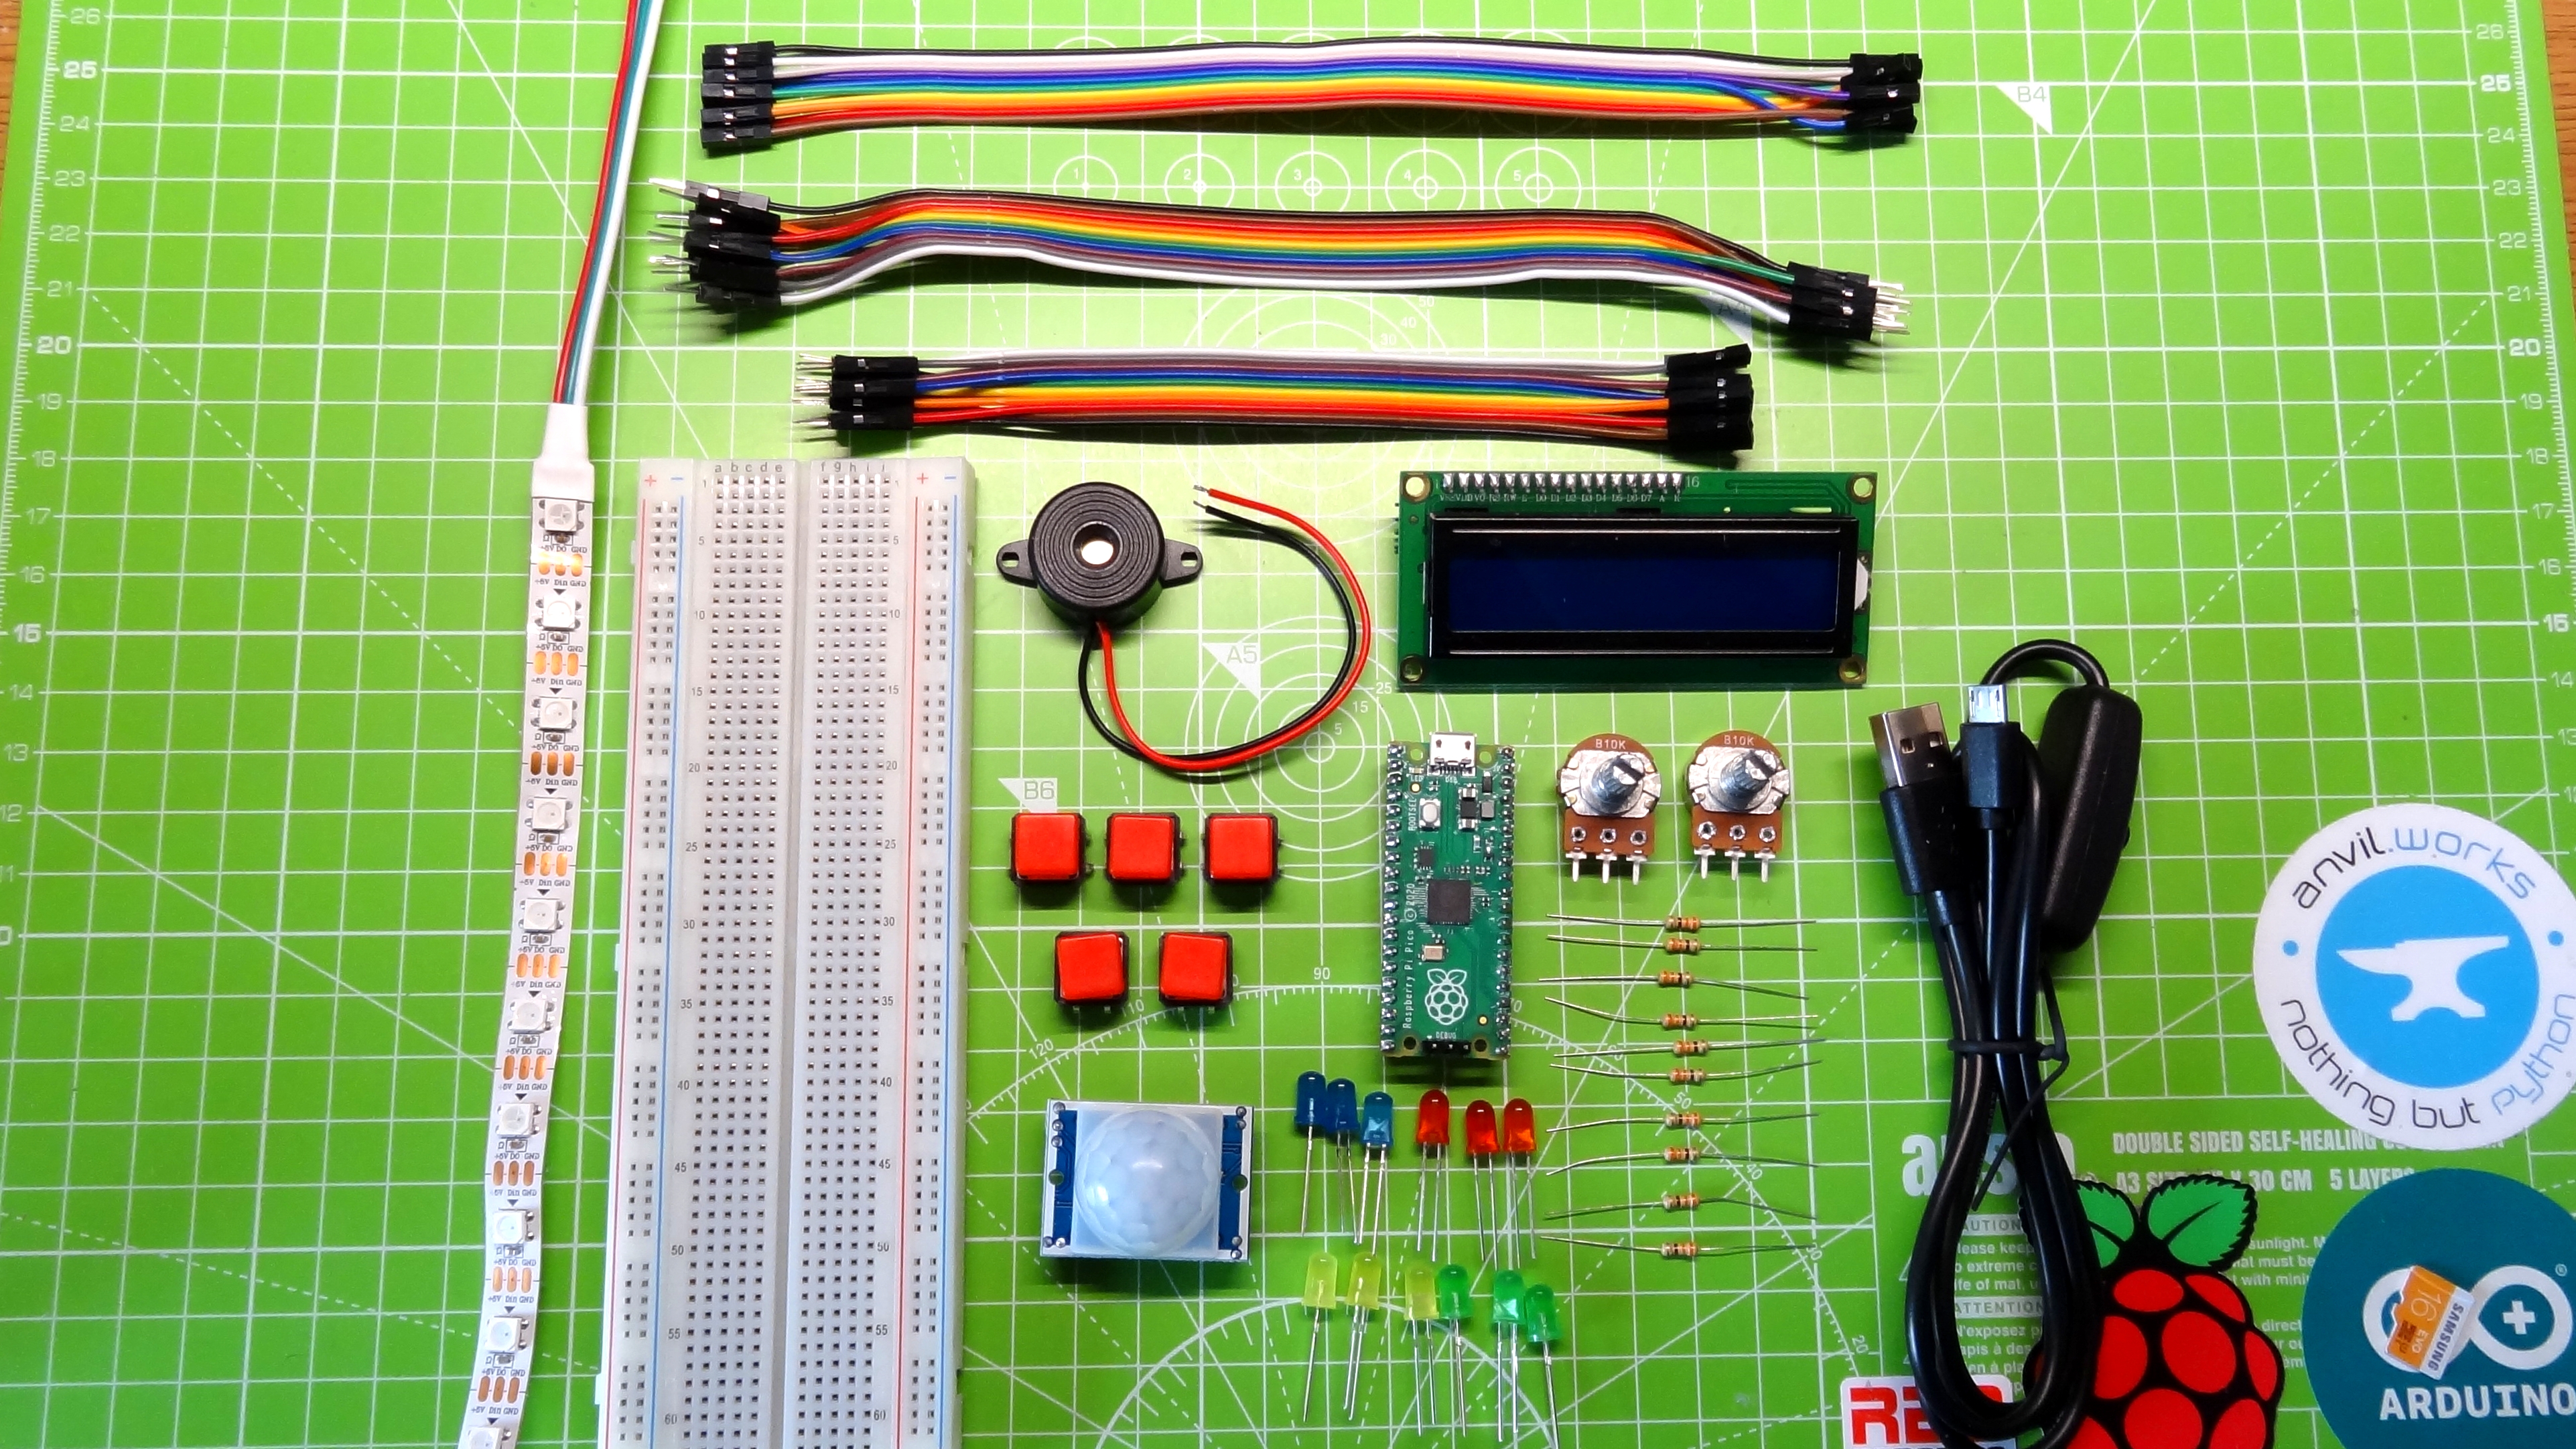
Inside the 7.5 x 3.5 x 2 inch sized plastic box there is a surprising amount of kit.
- Raspberry Pi Pico with pre-soldered headers
- Large breadboard
- 30 x Jumper wires (10 x Male to male, 10 x Female to male, 10 x Female to female)
- 5 x Push buttons
- Micro USB cable with toggle power button
- PIR sensor
- Active Piezo buzzer
- 1602 LCD module with I2C backpack
- Male header pins for SWD debug (optional)
- 2 x 10K Ohm potentiometers
- 10 x 330 Ohm resistors
- 12 x Diffused LEDs (3 x Red, 3 x Yellow, 3 x Green, 3 x Blue)
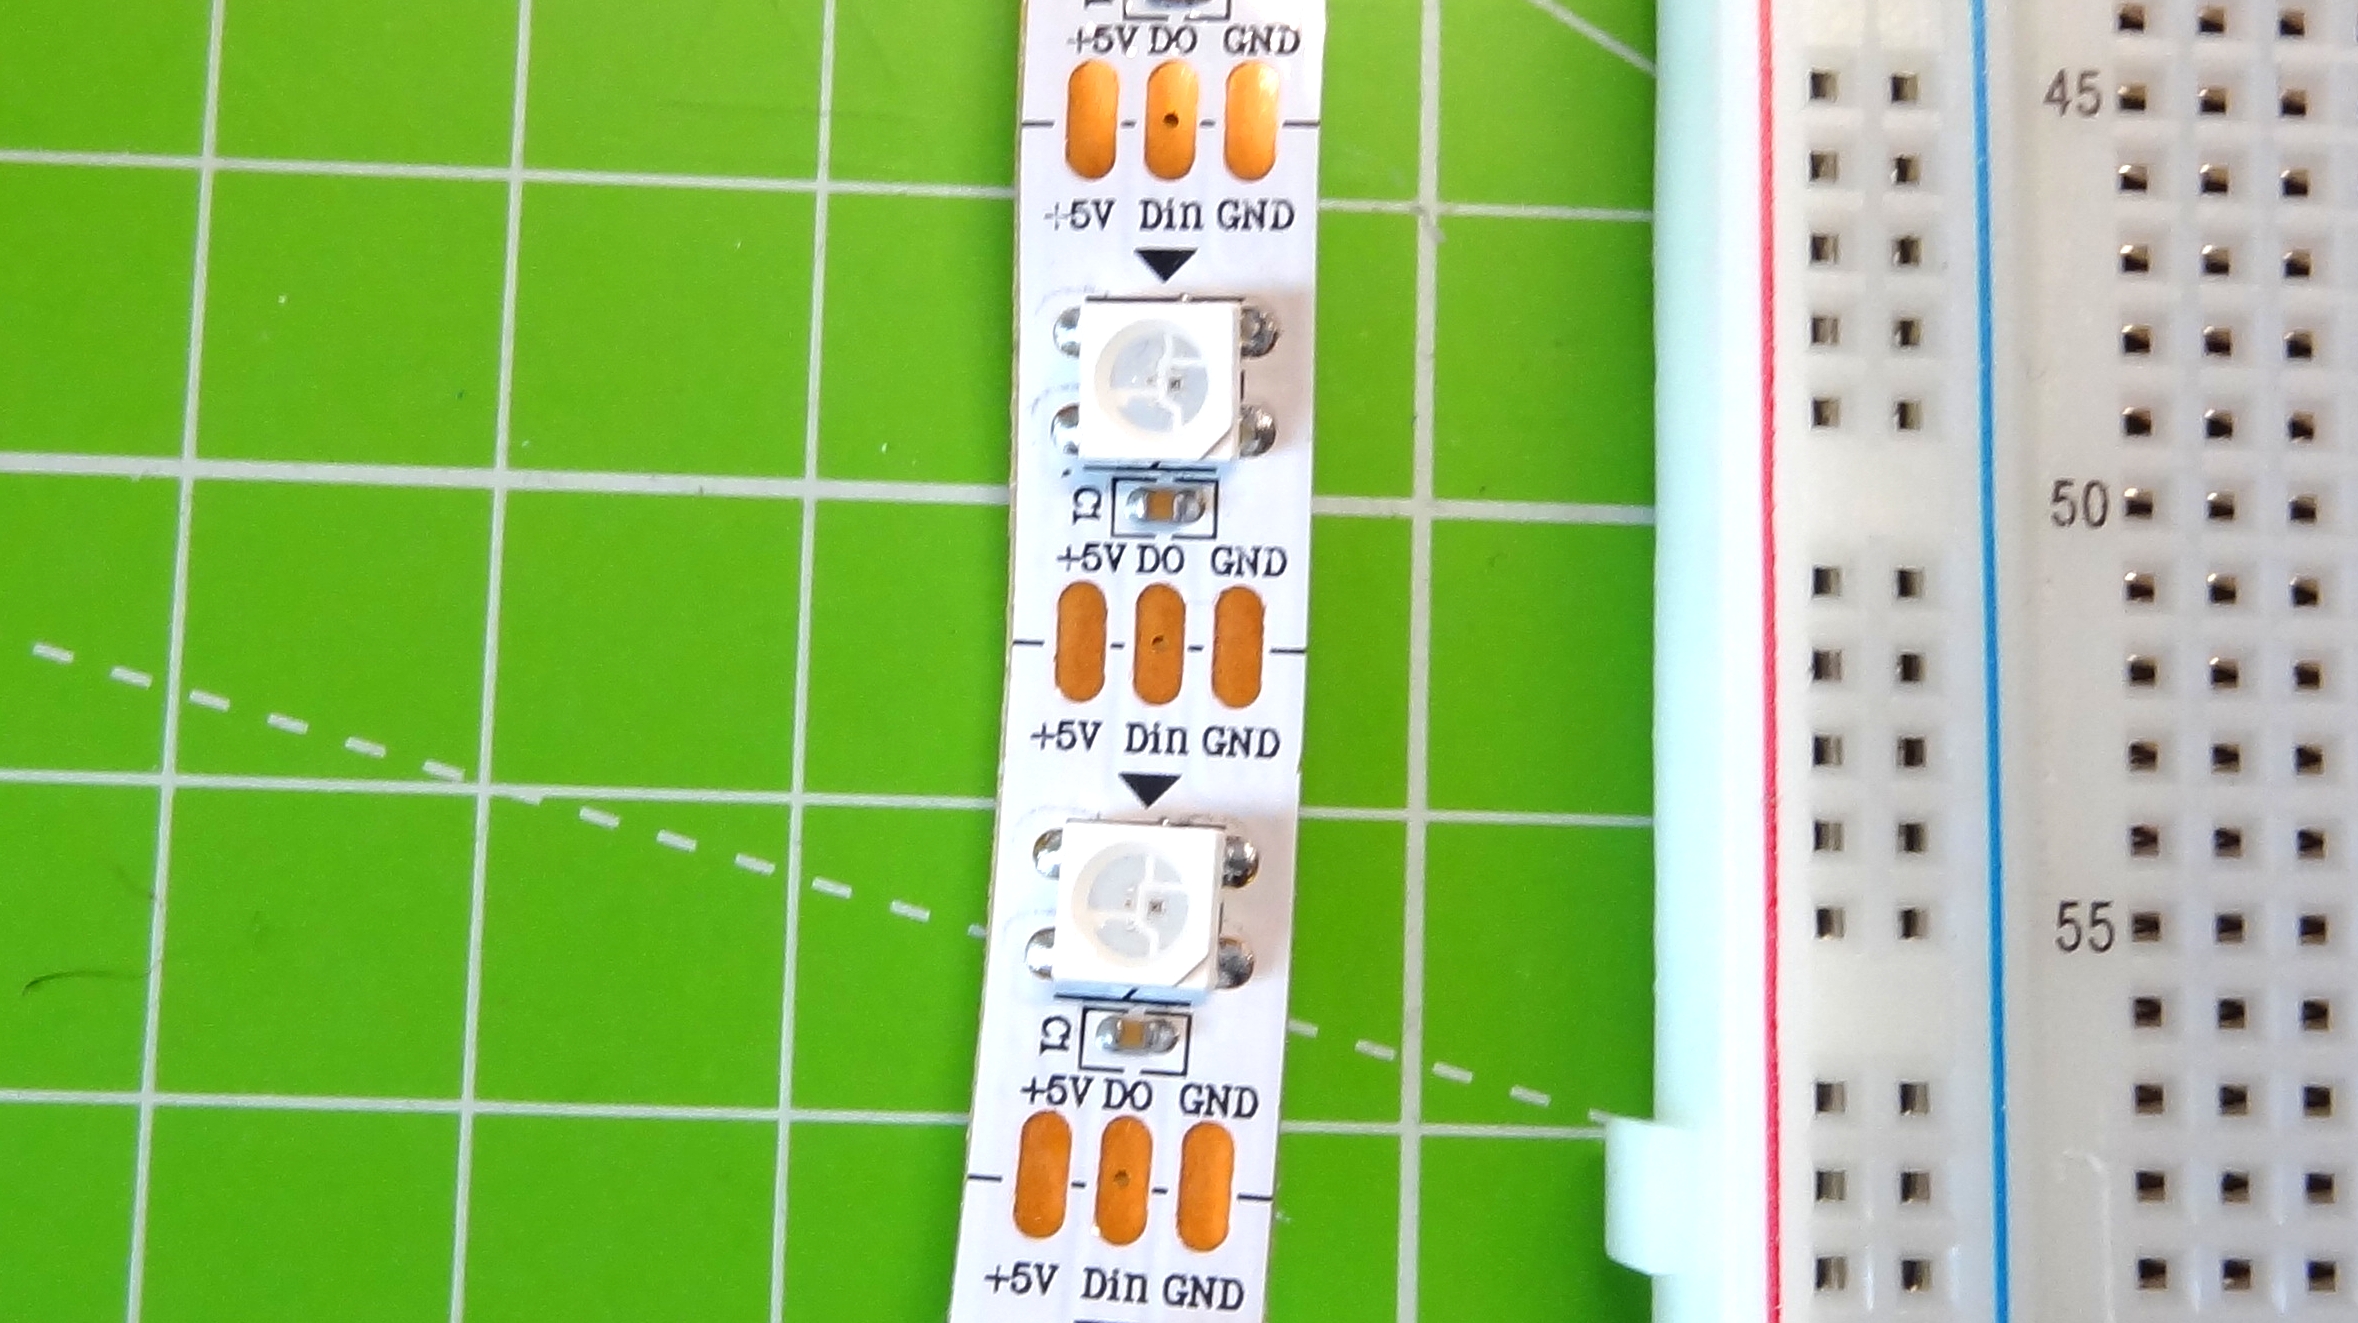
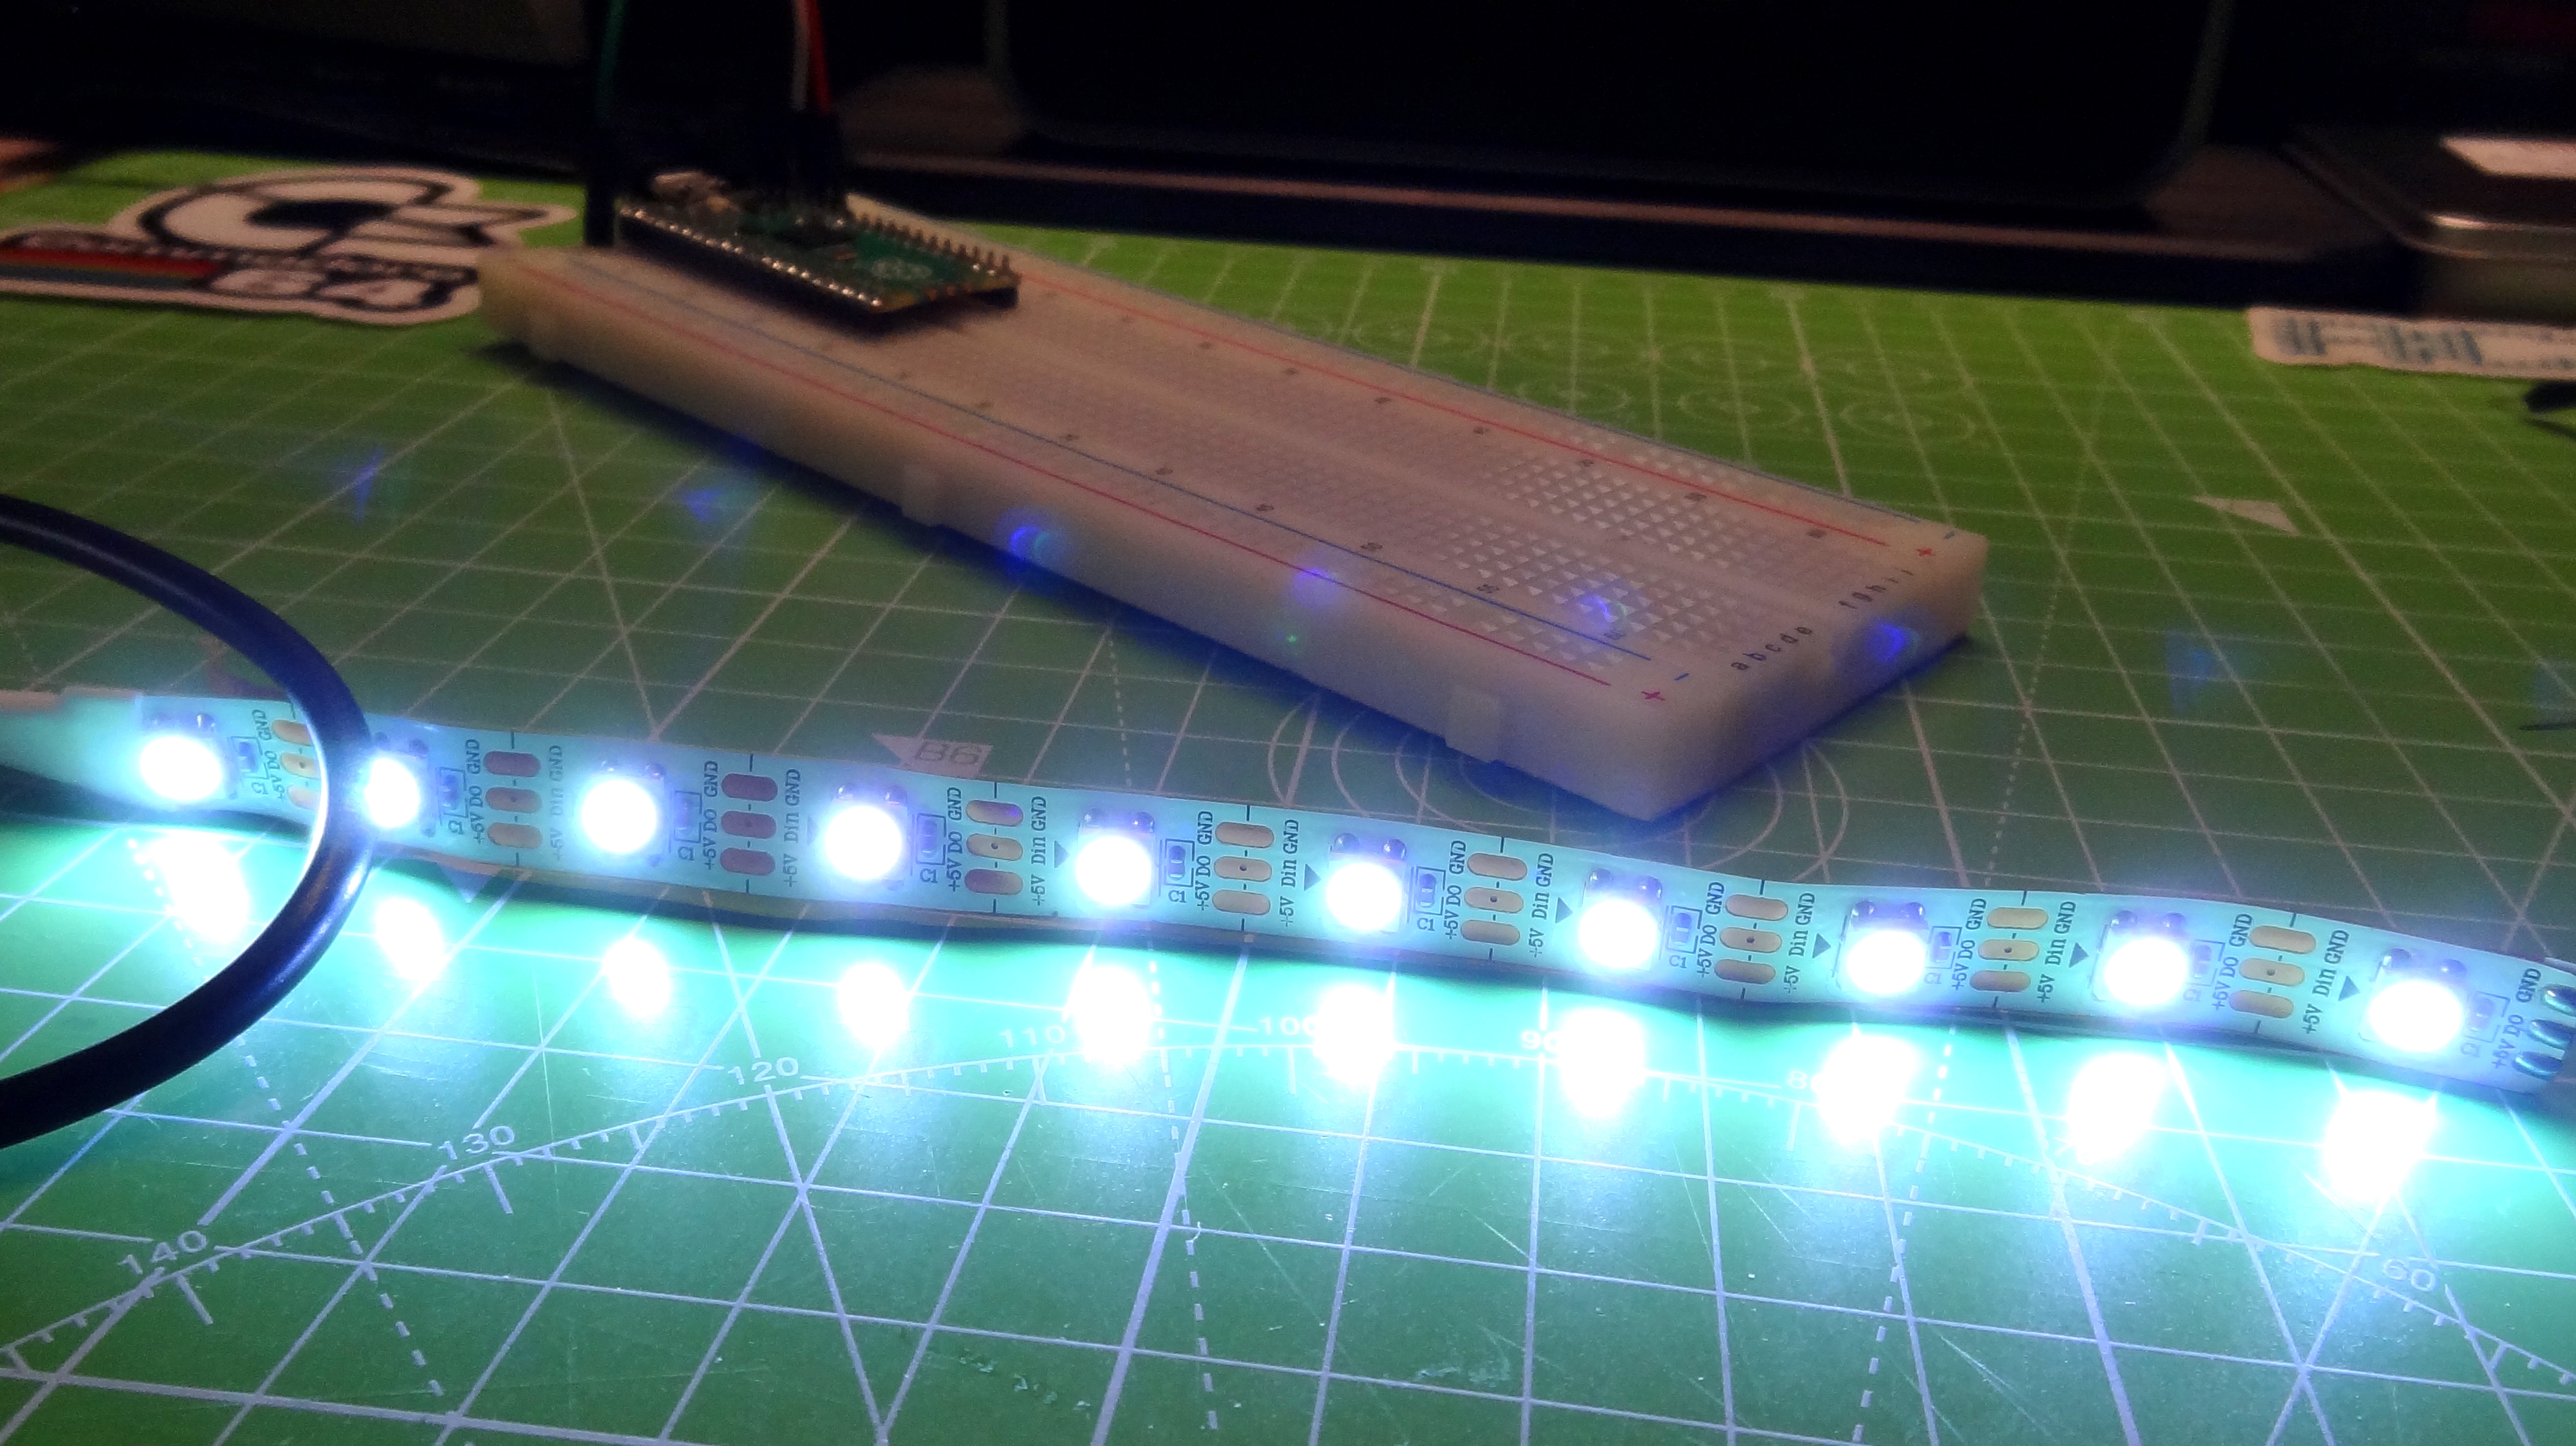
- A short length of WS2812B NeoPixel RGB LEDs
With these components, we can complete all of the chapters in the official Get Started with MicroPython on Raspberry Pi Pico, a digital copy of which can be downloaded for free from the Raspberry Pi website, and it can also be purchased in print.
Using the Uctronics Raspberry Pi Pico Starter Kit
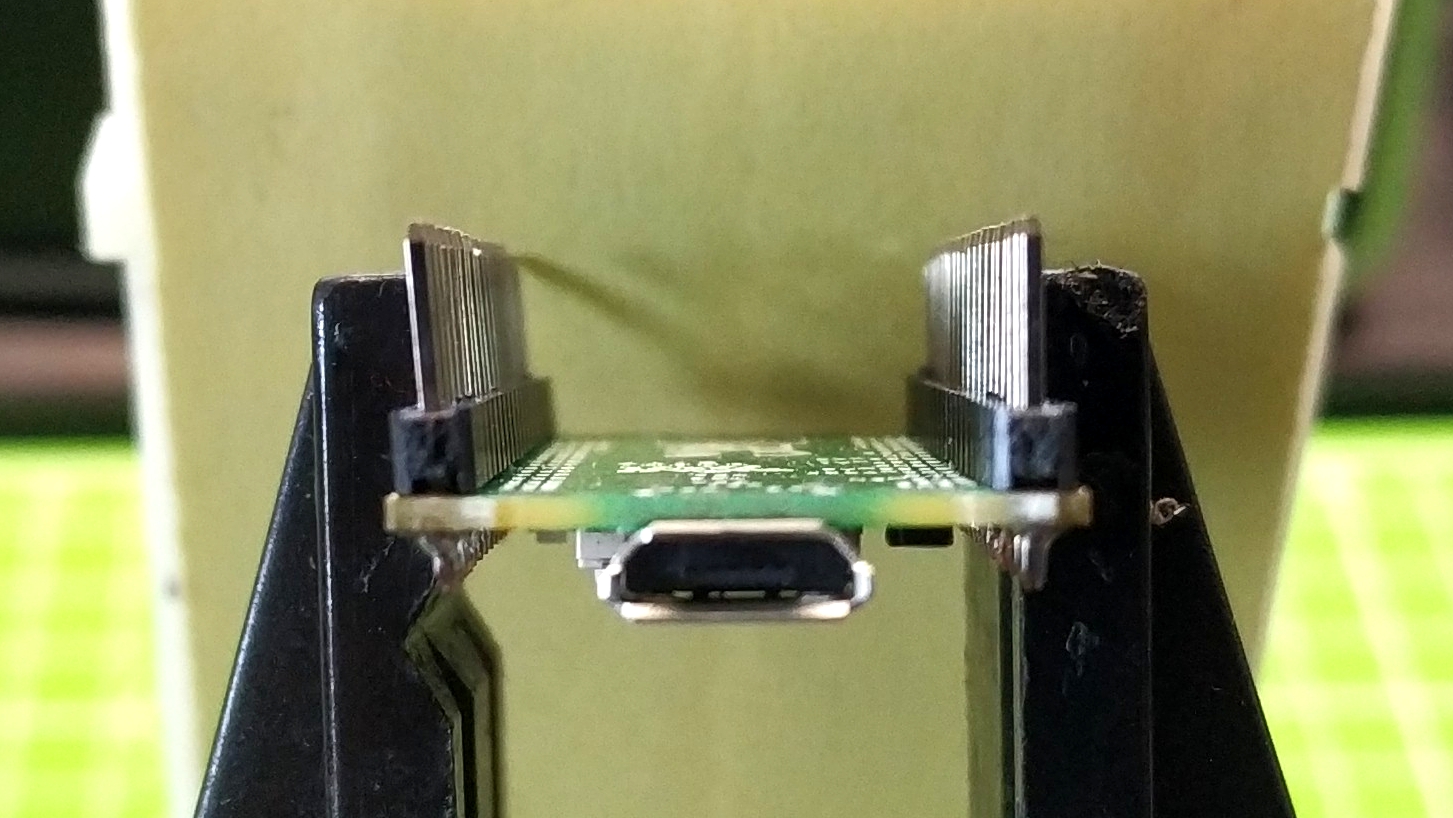
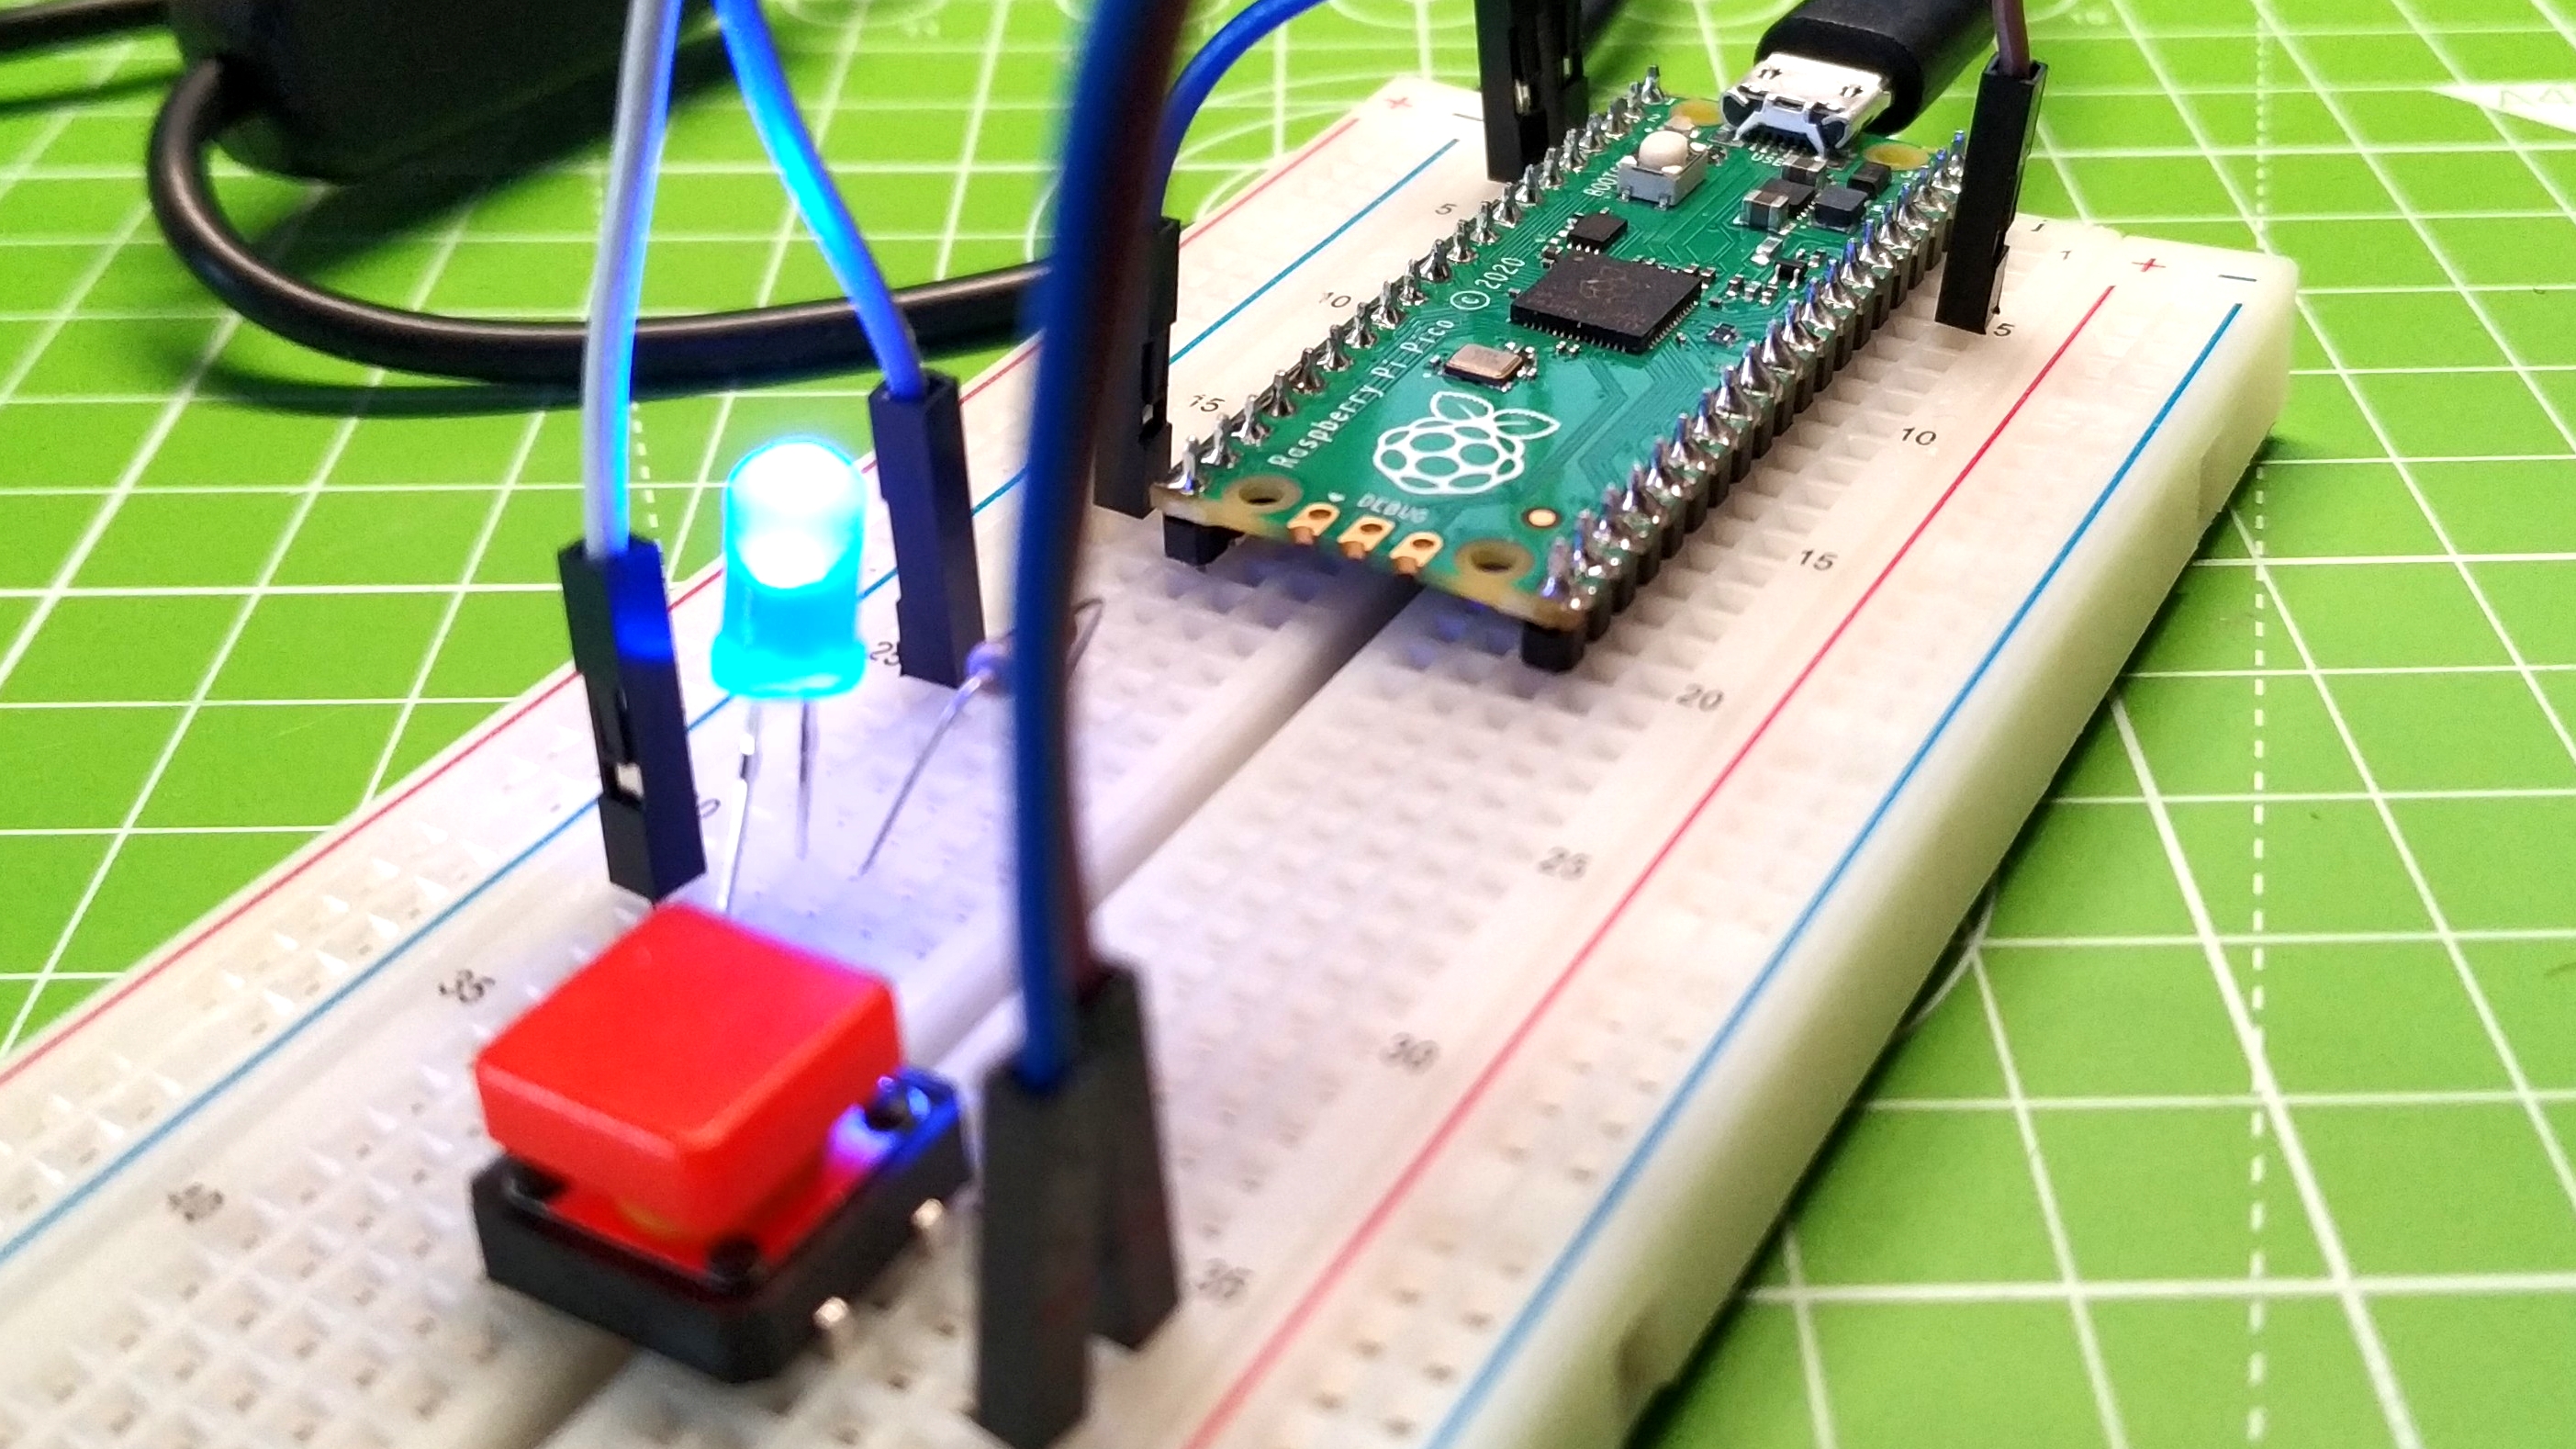
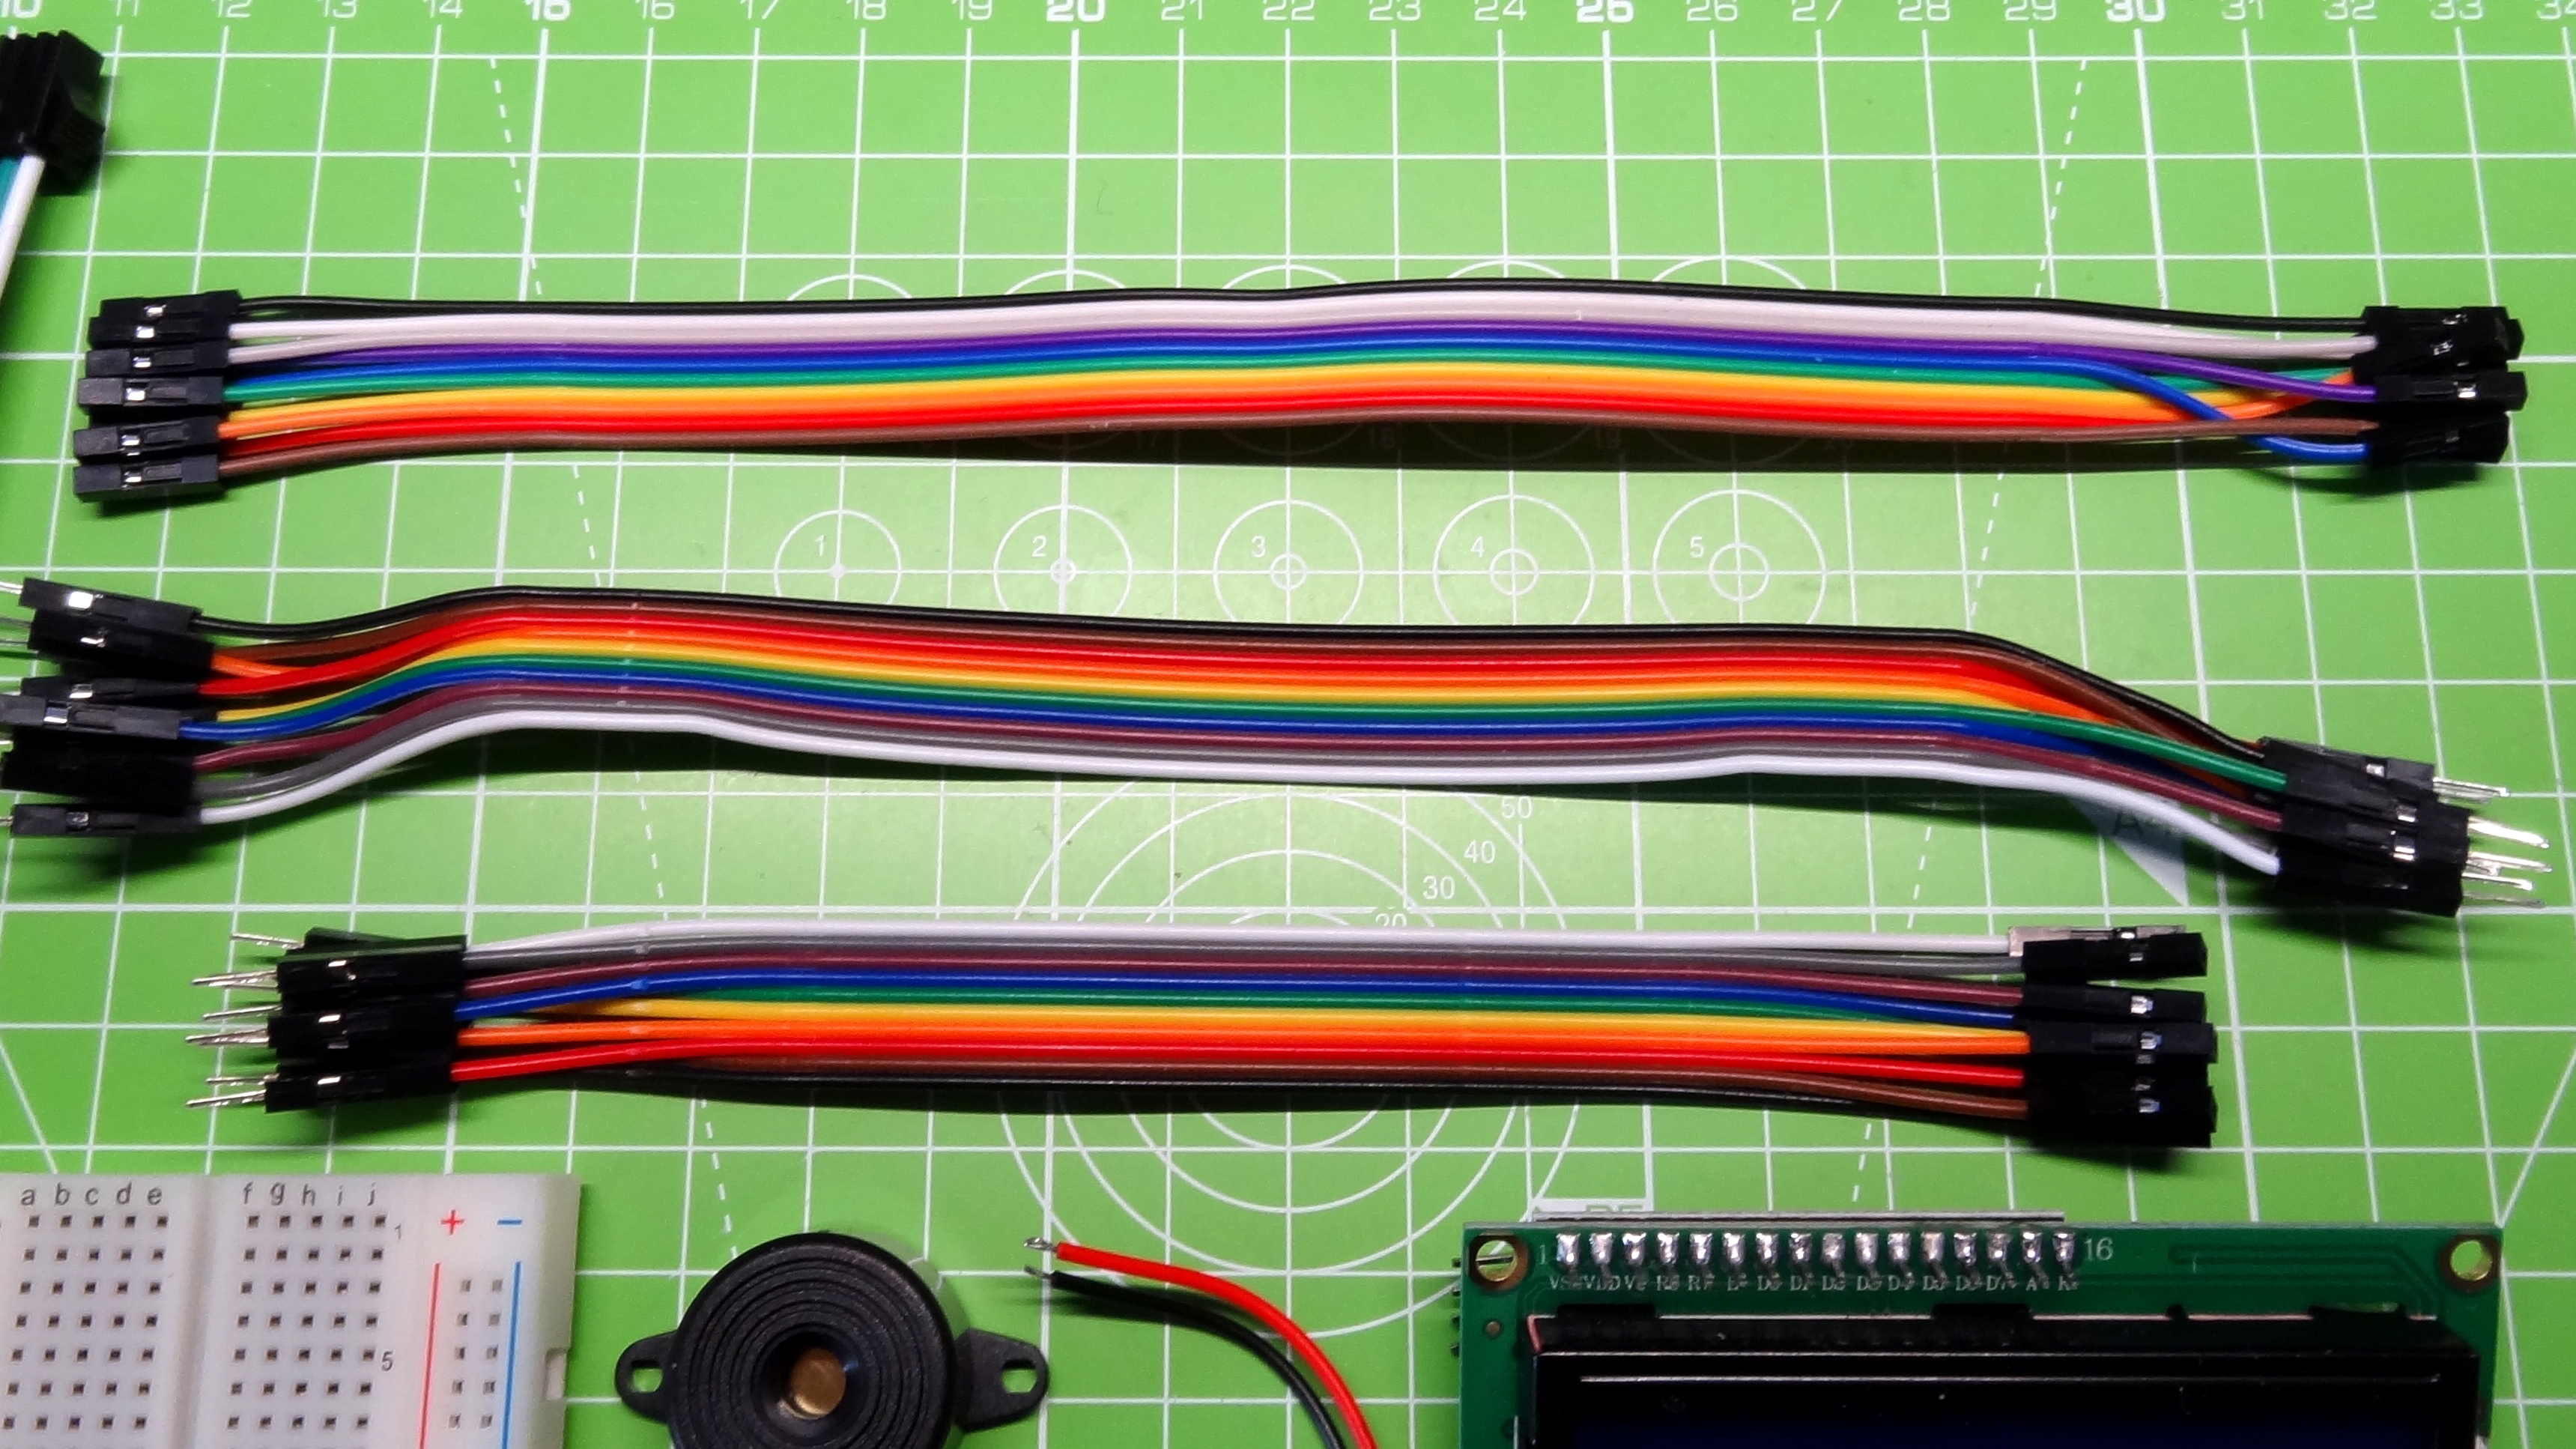
The Uctronics Raspberry Pi Pico Starter kit is designed for use with the official Pico guide so we followed a few chapters from the book, starting with the most basic test of all, the blinking LED. We hit a small snag when trying to insert the pre-soldered Raspberry Pi Pico into the breadboard, because the pre-soldered header pins were slightly off angle, not 90 degrees to the Pico’s PCB.
This meant that we couldn’t get the Pico into the breadboard without heating the header pins up and pushing them (carefully) into alignment. We know how to solder, but those purchasing the kit may not and this could be an issue for them, unless this is a defect that only affected our unit.
With the pins corrected, we quickly built the circuit using the rather large breadboard, two jumper wires, a 330 Ohm resistor and an LED. The choice of a diffused LED is most welcome, it offers a softer, equal, more pleasant light that won’t “dazzle” the eyes if looked at directly. Plugging in the Pico to our computer, we were presented with an empty drive, requiring us to flash the latest version of MicroPython and then set up the Thonny editor ready for use.
Get Tom's Hardware's best news and in-depth reviews, straight to your inbox.
With a few lines of MicroPython code written, we ran the code and saw the LED blink, great stuff. We pushed a little further and added a push button to toggle the LED on and off, then altered our code to accommodate the addition.
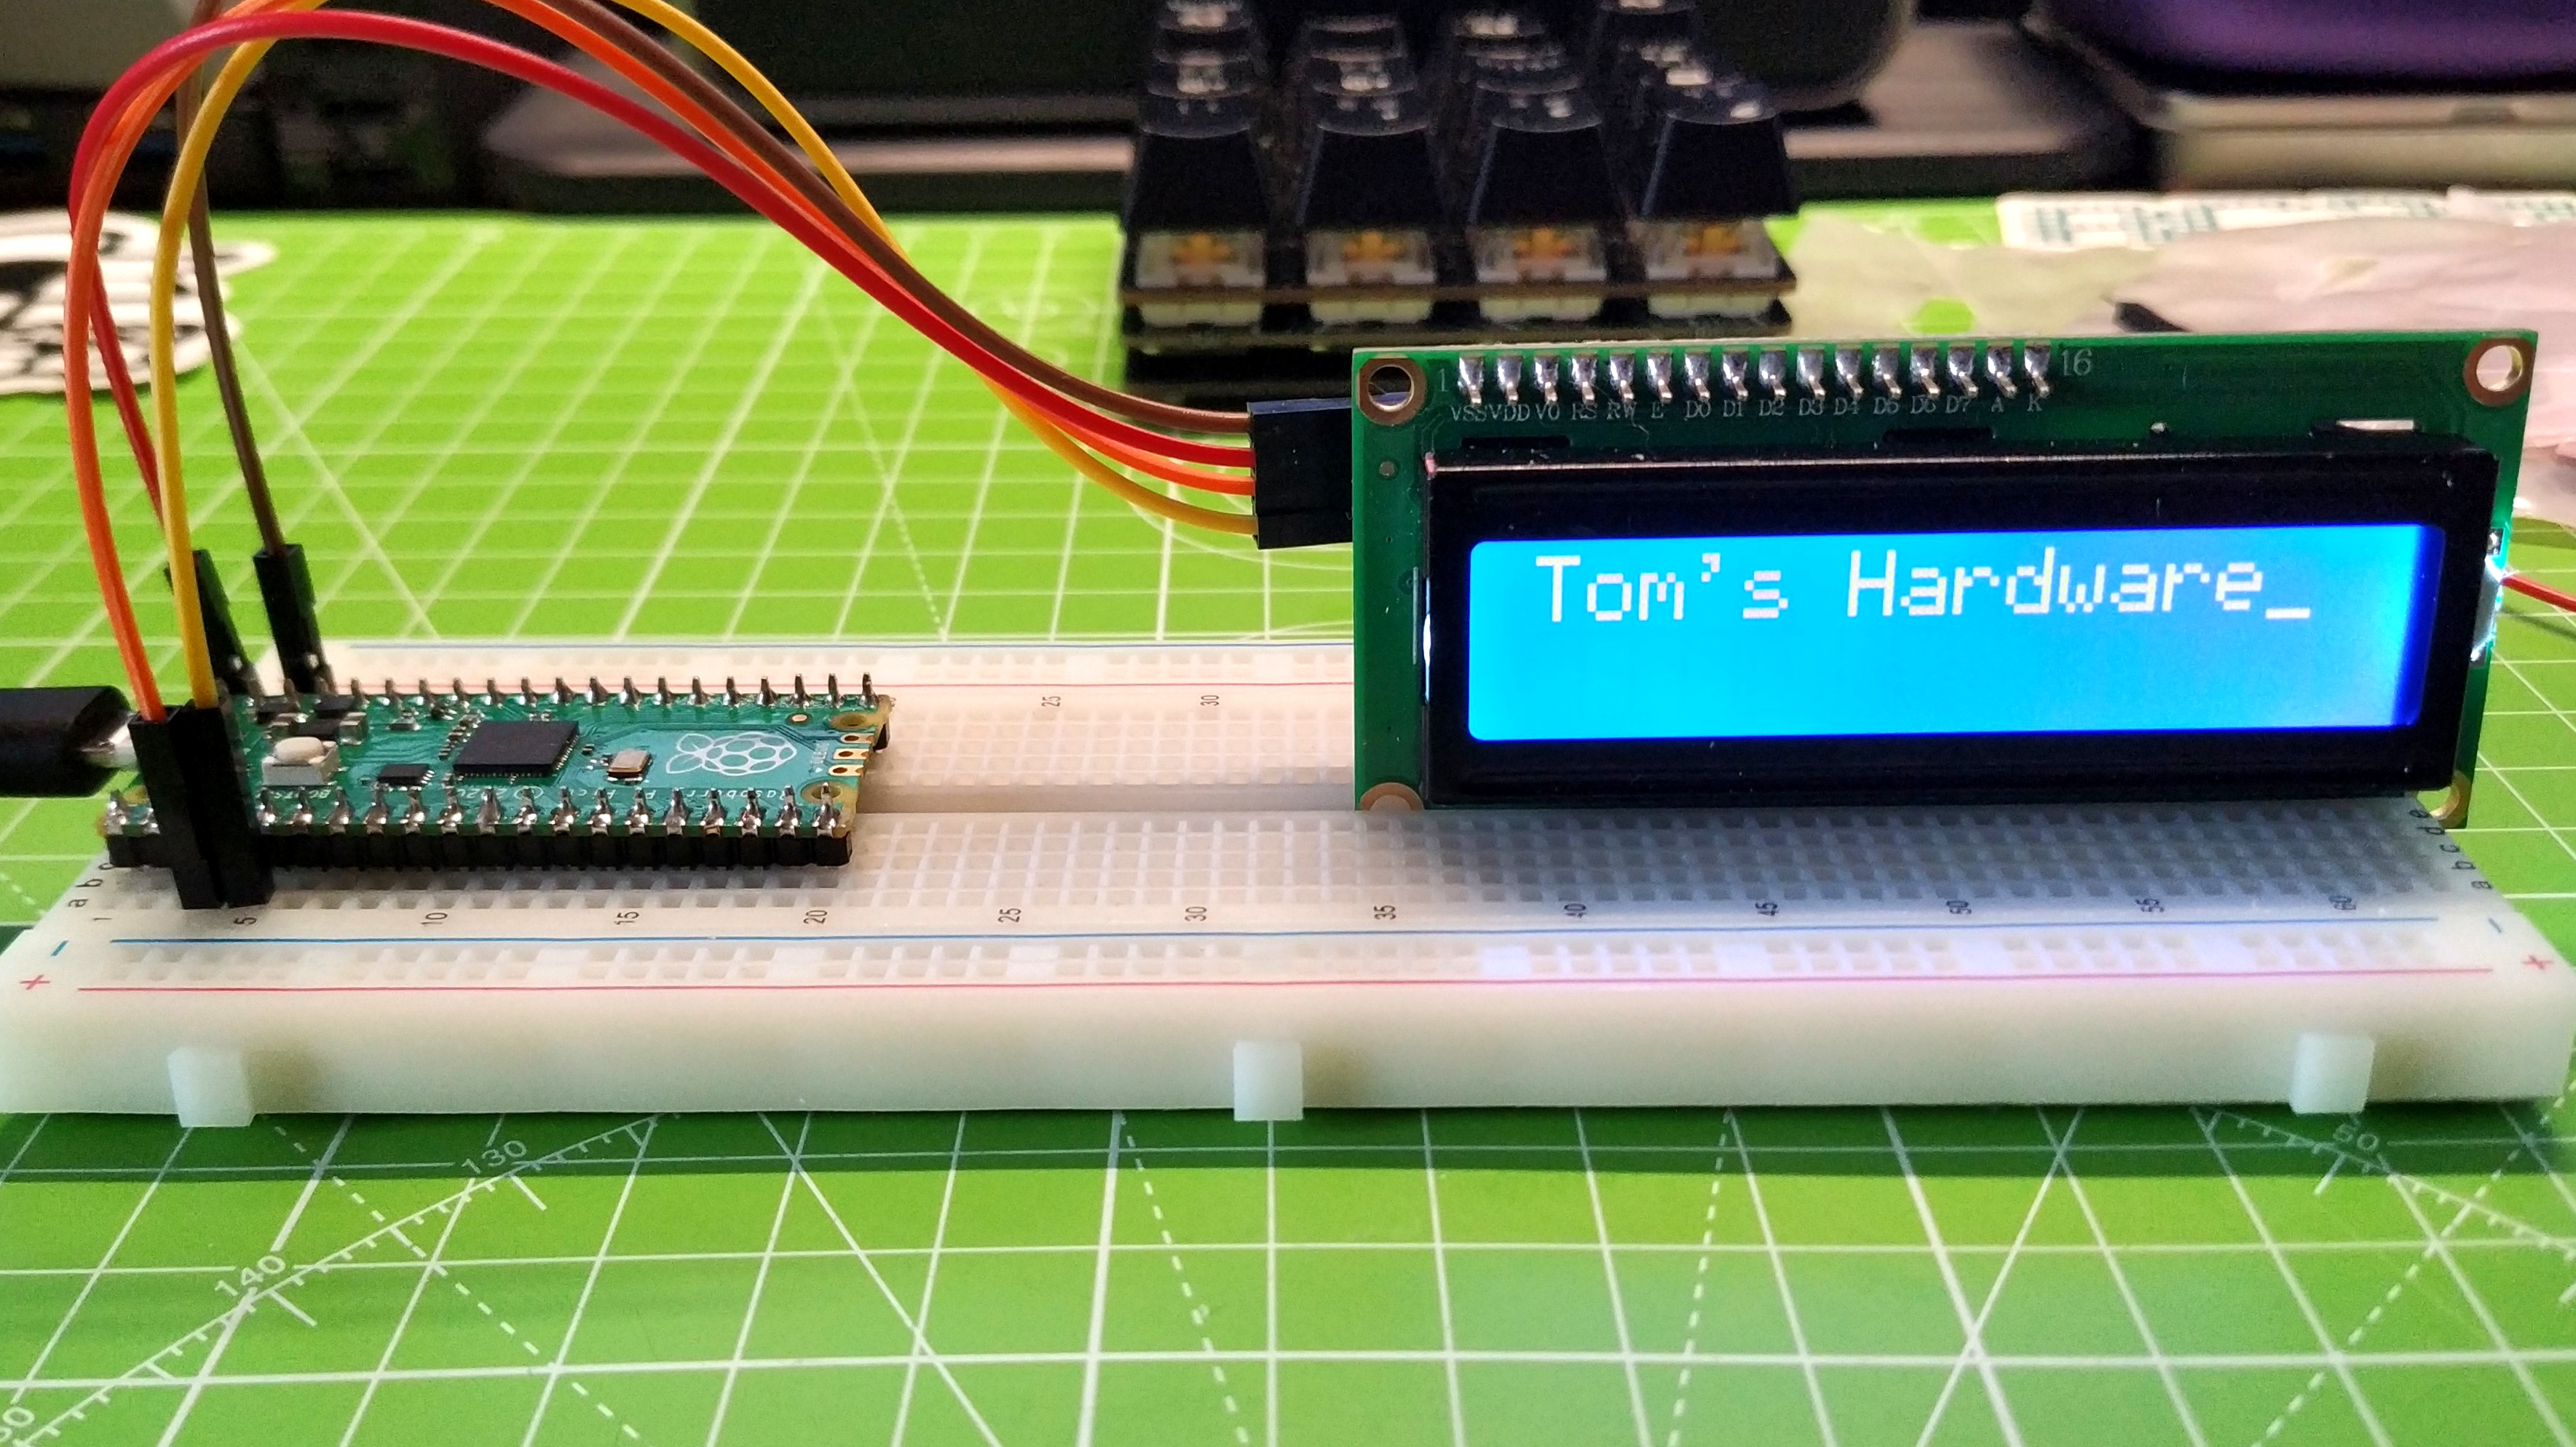
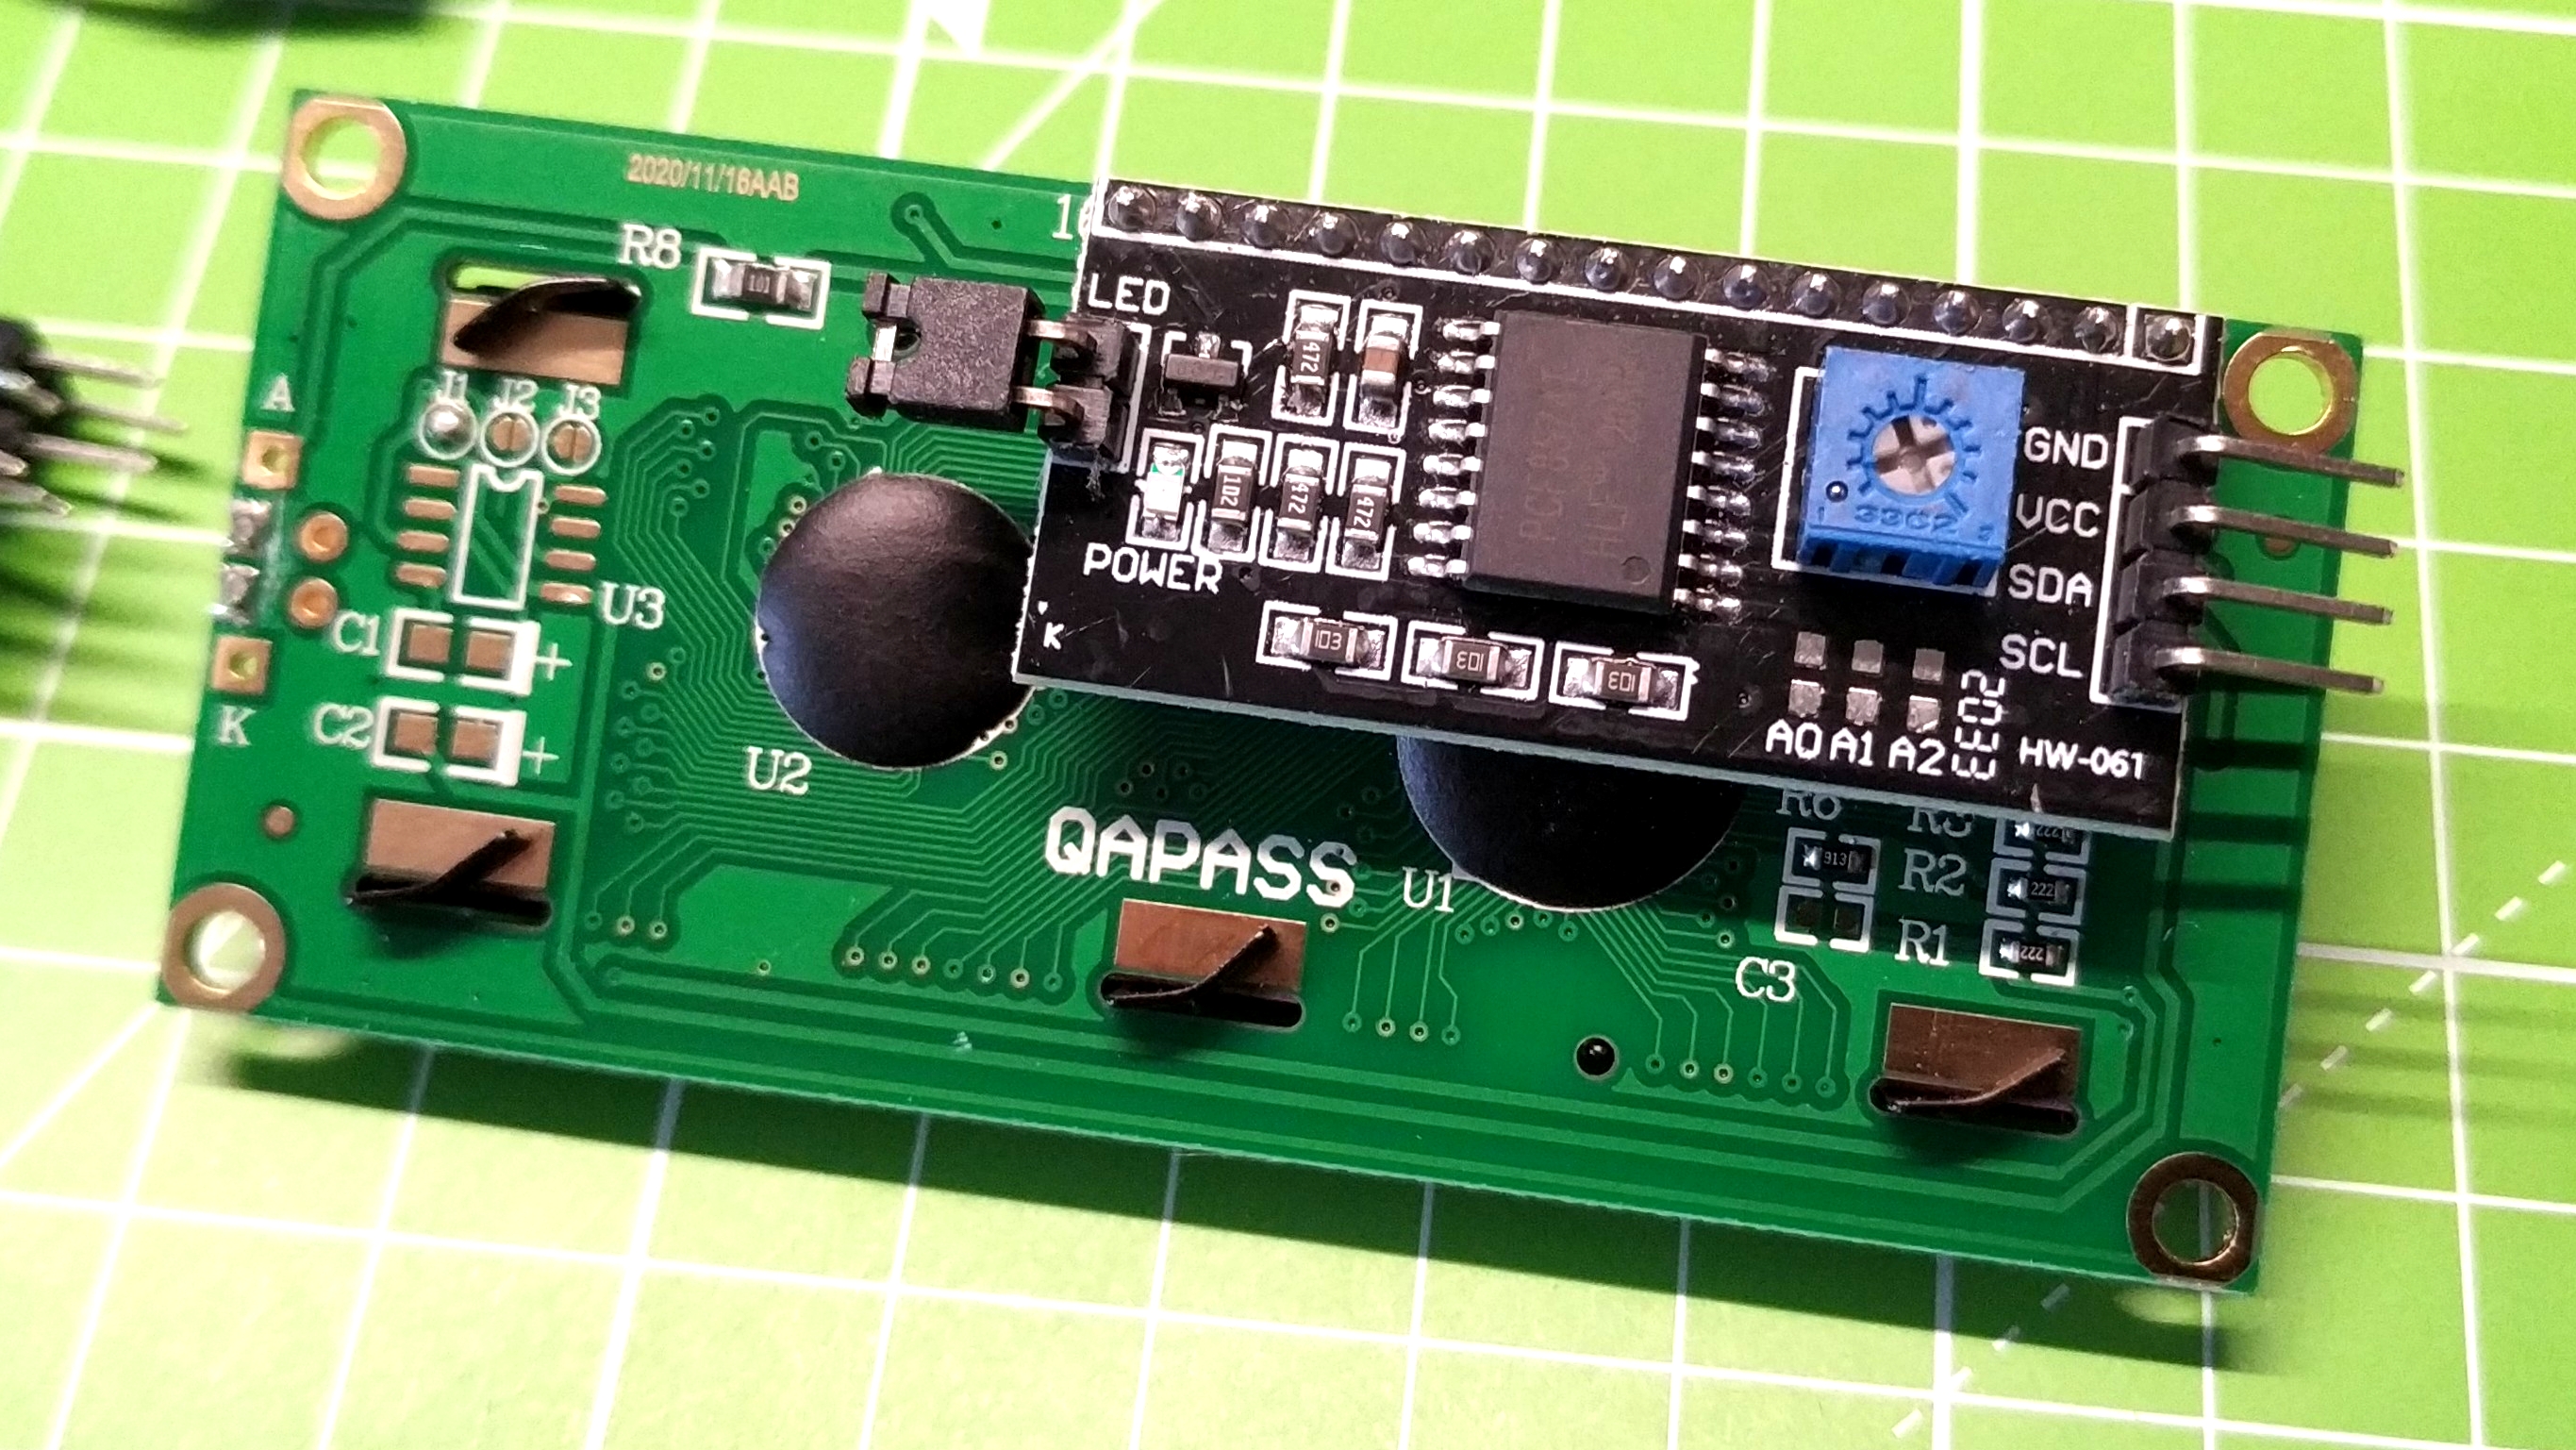
We hit a bit of an issue with the LCD screen, notably the guidance given in the official book is for a different type of screen. In the kit we get an HD44780 LCD screen, which has two lines and 16 characters per line. To connect the screen to our Pico we have an I2C backpack which reduces the number of wires needed from 16 to four. The included leaflet shows how to connect the included screen to the I2C pins of the Pico. We then followed the code instructions in the book, and even used the resources provided by Uctronics Github repository which also failed to work. After some time Googling the problem and reaching out to the Raspberry Pi community, we managed to resolve the issue and wrote a guide showing how to use an I2C LCD with the Raspberry Pi Pico.
On the whole, the kit covers every chapter in the official book, with some minor tweaks, notably the LCD display, required. We have a good selection of components for basic electronics, such as the 330 Ohm resistors, potentiometers and buzzer. More advanced projects are catered for with PIR sensor LCD display and NeoPixels. With all of these components, we can make additional projects of our own.
Use Cases for the Uctronics Raspberry Pi Pico Starter Kit
Obviously this kit is designed with the official Raspberry Pi Pico book in mind, and so we have a number of projects that we can get to grips with. But moving forward, we have a great combination of components with which we can make our own projects.
The LCD display and push buttons can be used to create a user interface. Pressing the buttons to scroll through options on the display. Selecting an option could turn on the NeoPixels, play a tune with the buzzer or trigger the PIR sensor to scan for intruders. Even after we complete the official book, there is a lot of value left in this kit.
Bottom Line

Uctronics Raspberry Pi Pico Starter Kit is a great way to introduce electronics and coding to younger members of the family. The official book is a great reference guide, and the kit covers all chapters in the guide, with only the LCD display and the header pin placement (which we hope is just our unit) causing issues.
As a gift to start the summer break, or for the holiday season, eager minds will get a lot from the kit and will be able to start their learning journey with confidence thanks to the carefully curated components. You can source the components for yourself and do your own soldering, and you may save a few dollars, but for the price this is a solid kit.

Les Pounder is an associate editor at Tom's Hardware. He is a creative technologist and for seven years has created projects to educate and inspire minds both young and old. He has worked with the Raspberry Pi Foundation to write and deliver their teacher training program "Picademy".
