Tom's Hardware Verdict
The Kobra Plus is an excellent printer with a fantastic bed leveling, great output quality and generous print volume.
Pros
- +
Large build size
- +
Accurate auto bed leveling
- +
Build plate releases when cool
Cons
- -
Bed Slinger
- -
No profile in Cura
Why you can trust Tom's Hardware
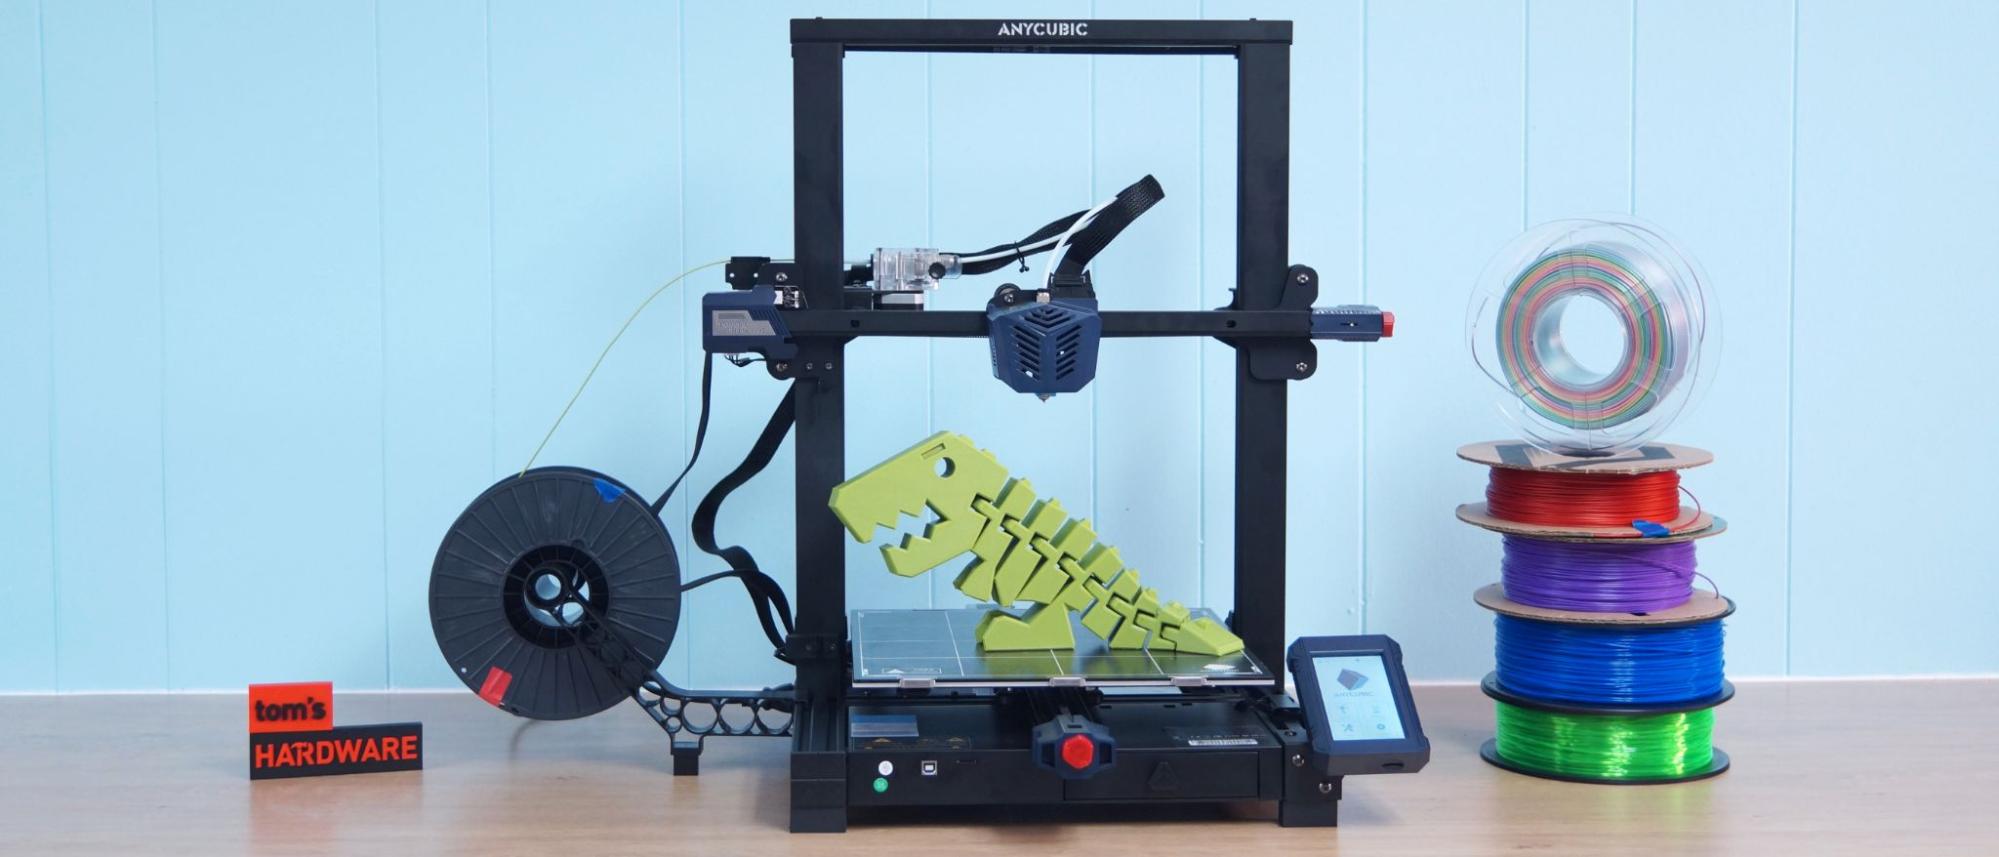
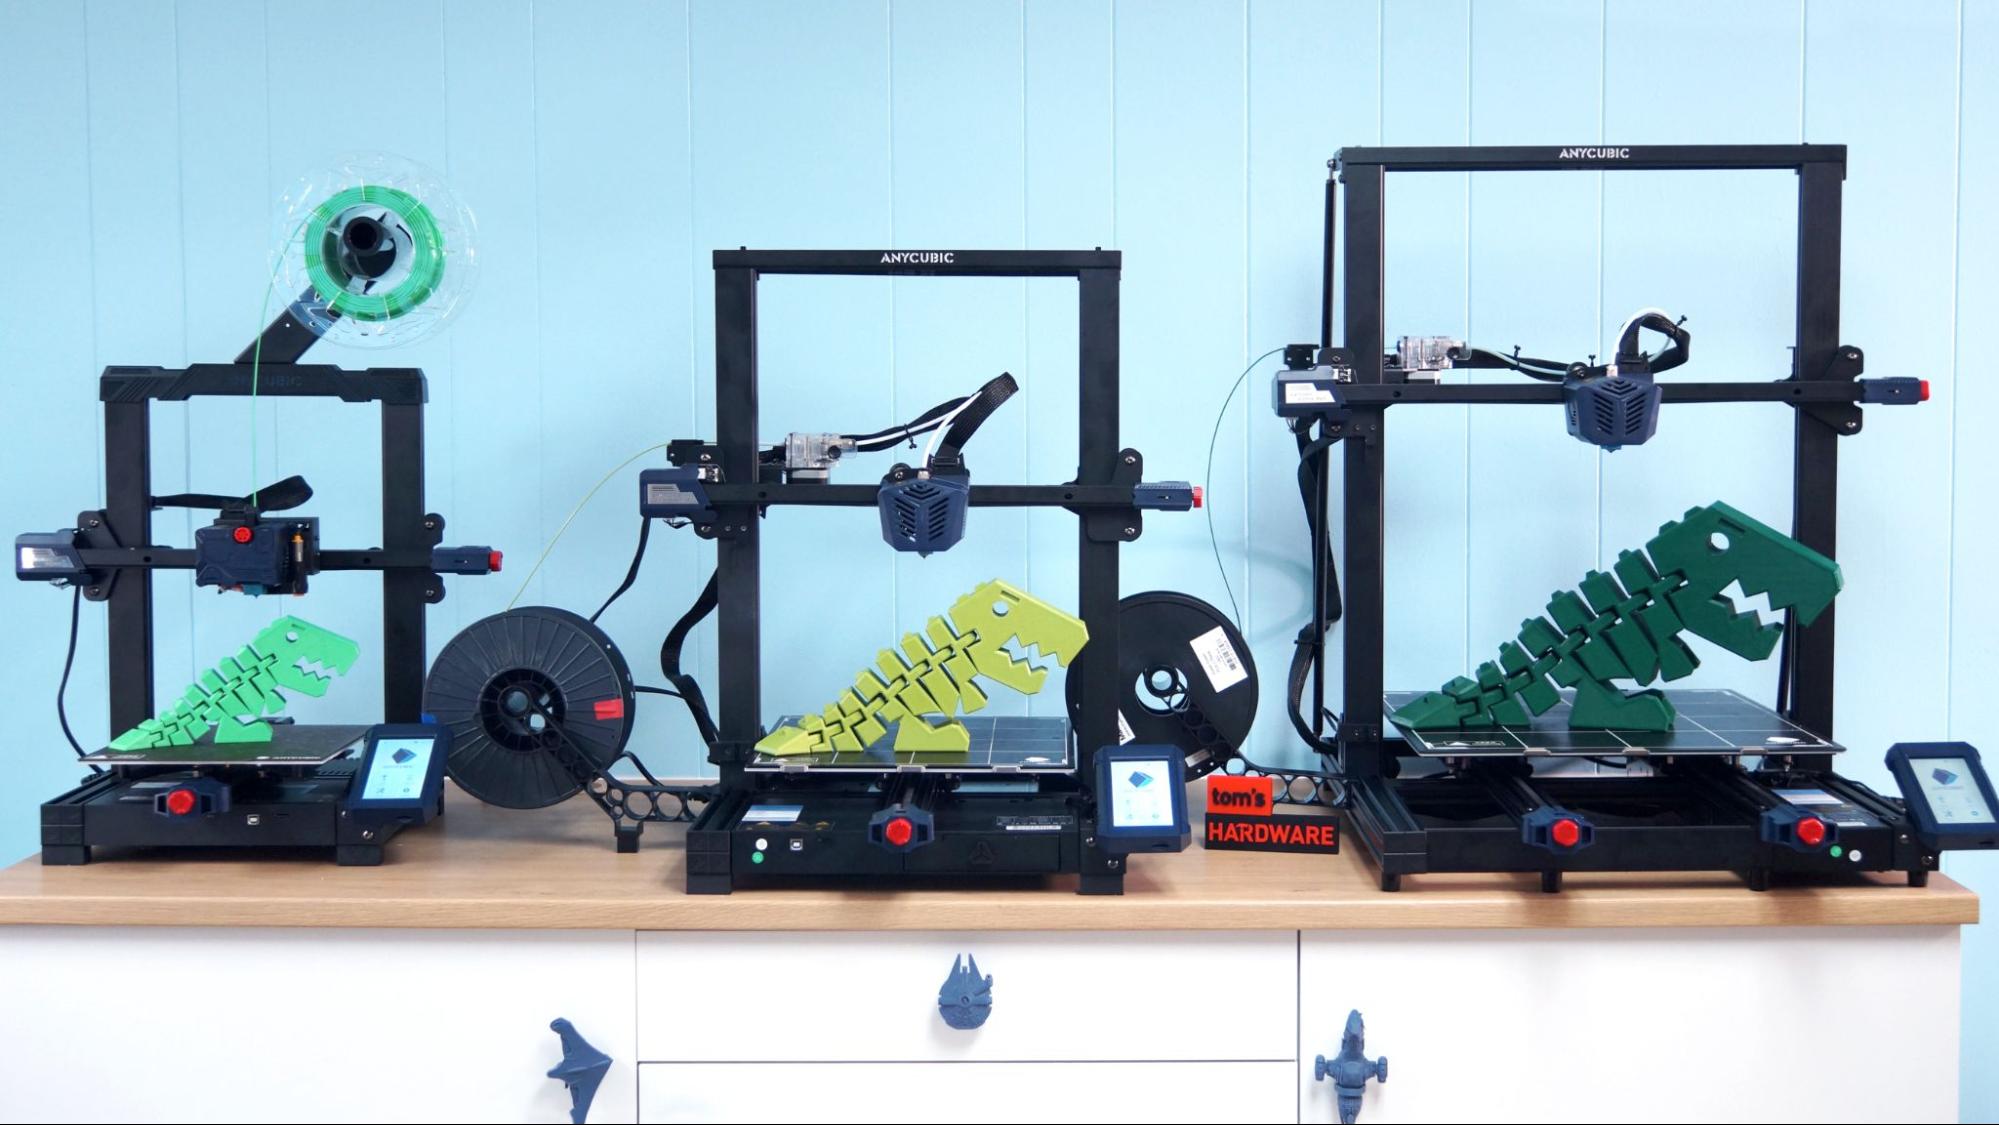
The Anycubic Kobra Plus is the third printer in Anycubic’s latest line of FDM printers. It’s the “Goldilocks” machine, not as big as the Kobra Max, not as small as the Kobra. Priced at $499 with a build size of 300 x300 x 350mm, it’s going toe-to-toe against Creality’s popular CR10 line of machines for a good bit cheaper.
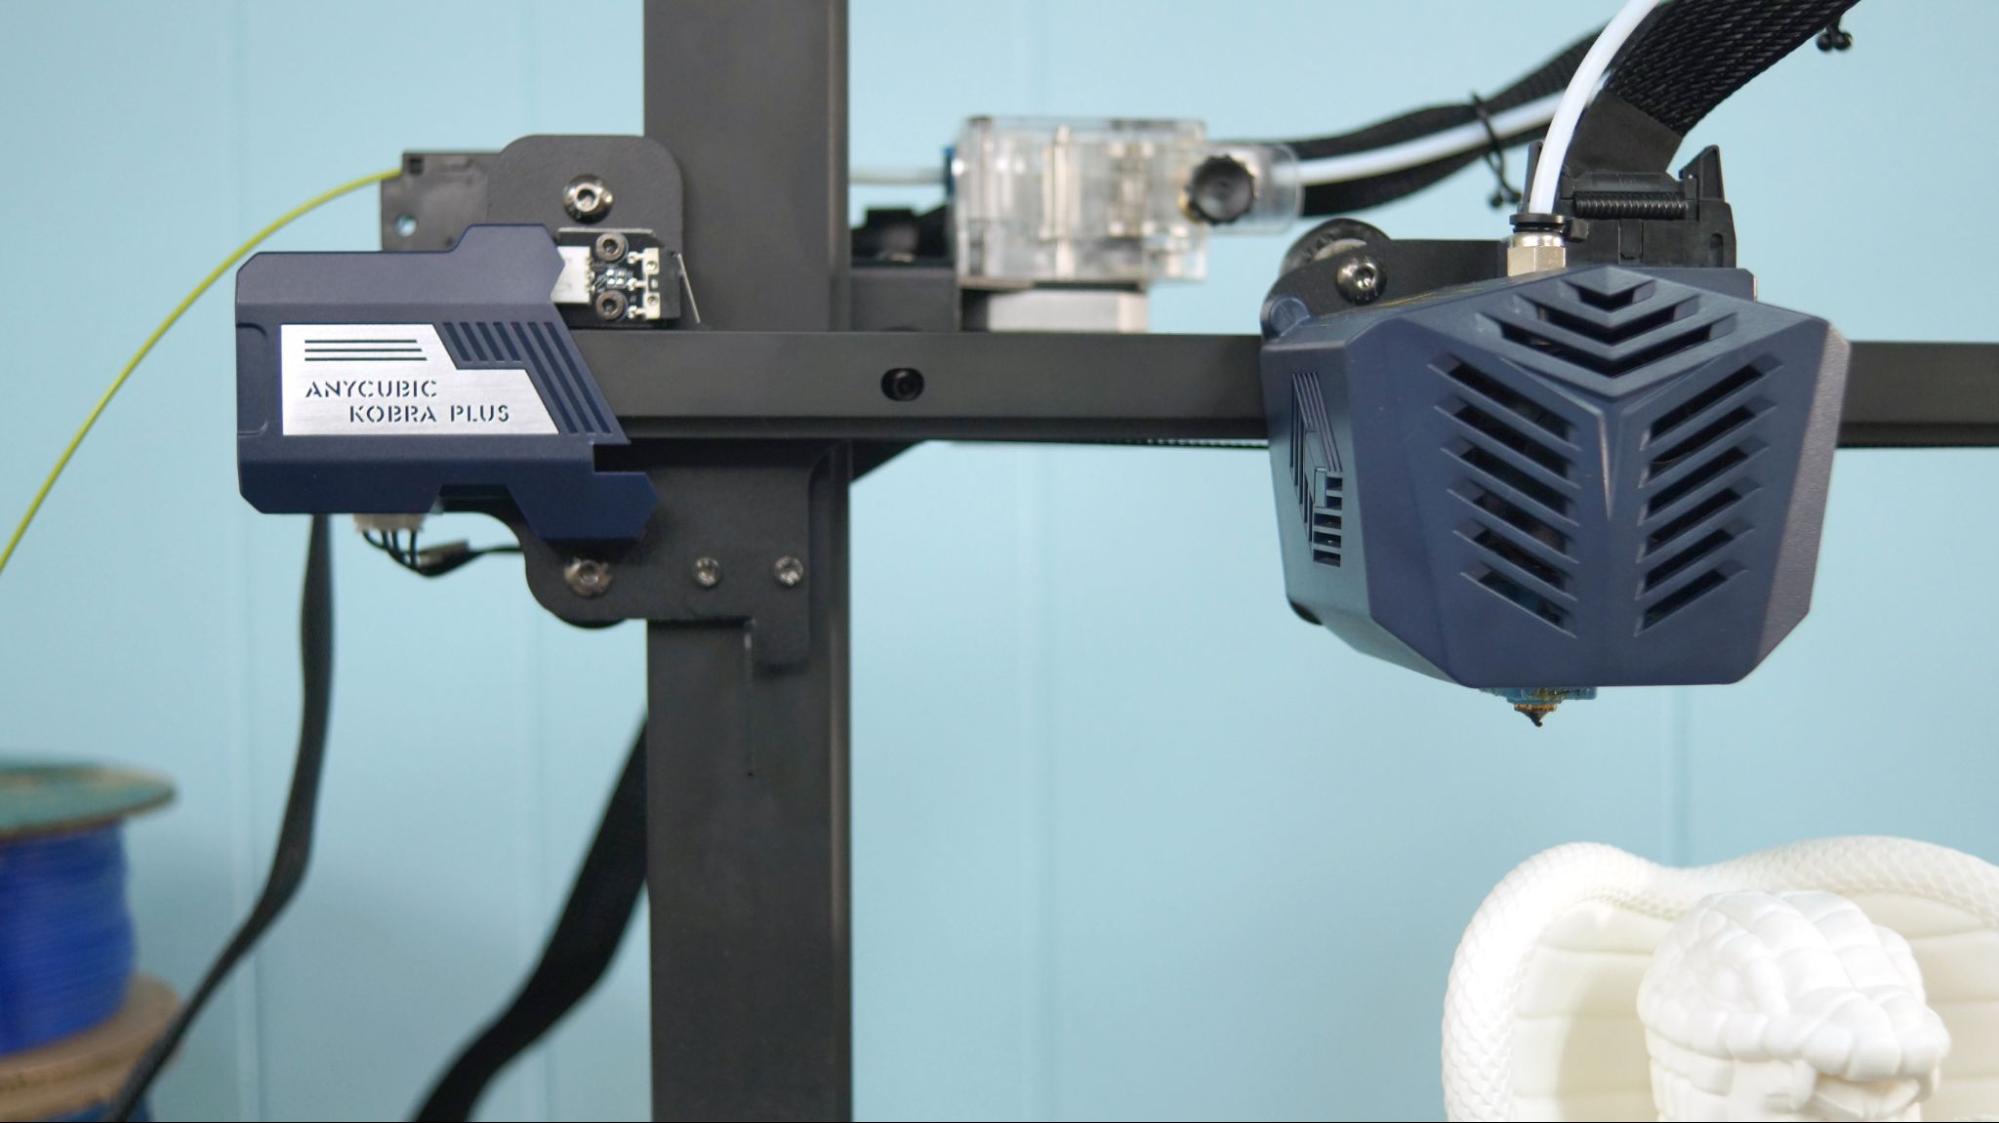
The Kobra Plus is basically a scaled down Kobra Max, with all the same features in a less overwhelming size. It’s still not a portable machine – it can print a helmet in one piece – but you probably won’t have to special order a table for it. It has a Bowden extruder with a Volcano-style hotend and a carborundum glass bed with great adhesion. This machine is also equipped with Anycubic’s “LeviQ” bed leveling system that physically taps the print surface for very accurate results.
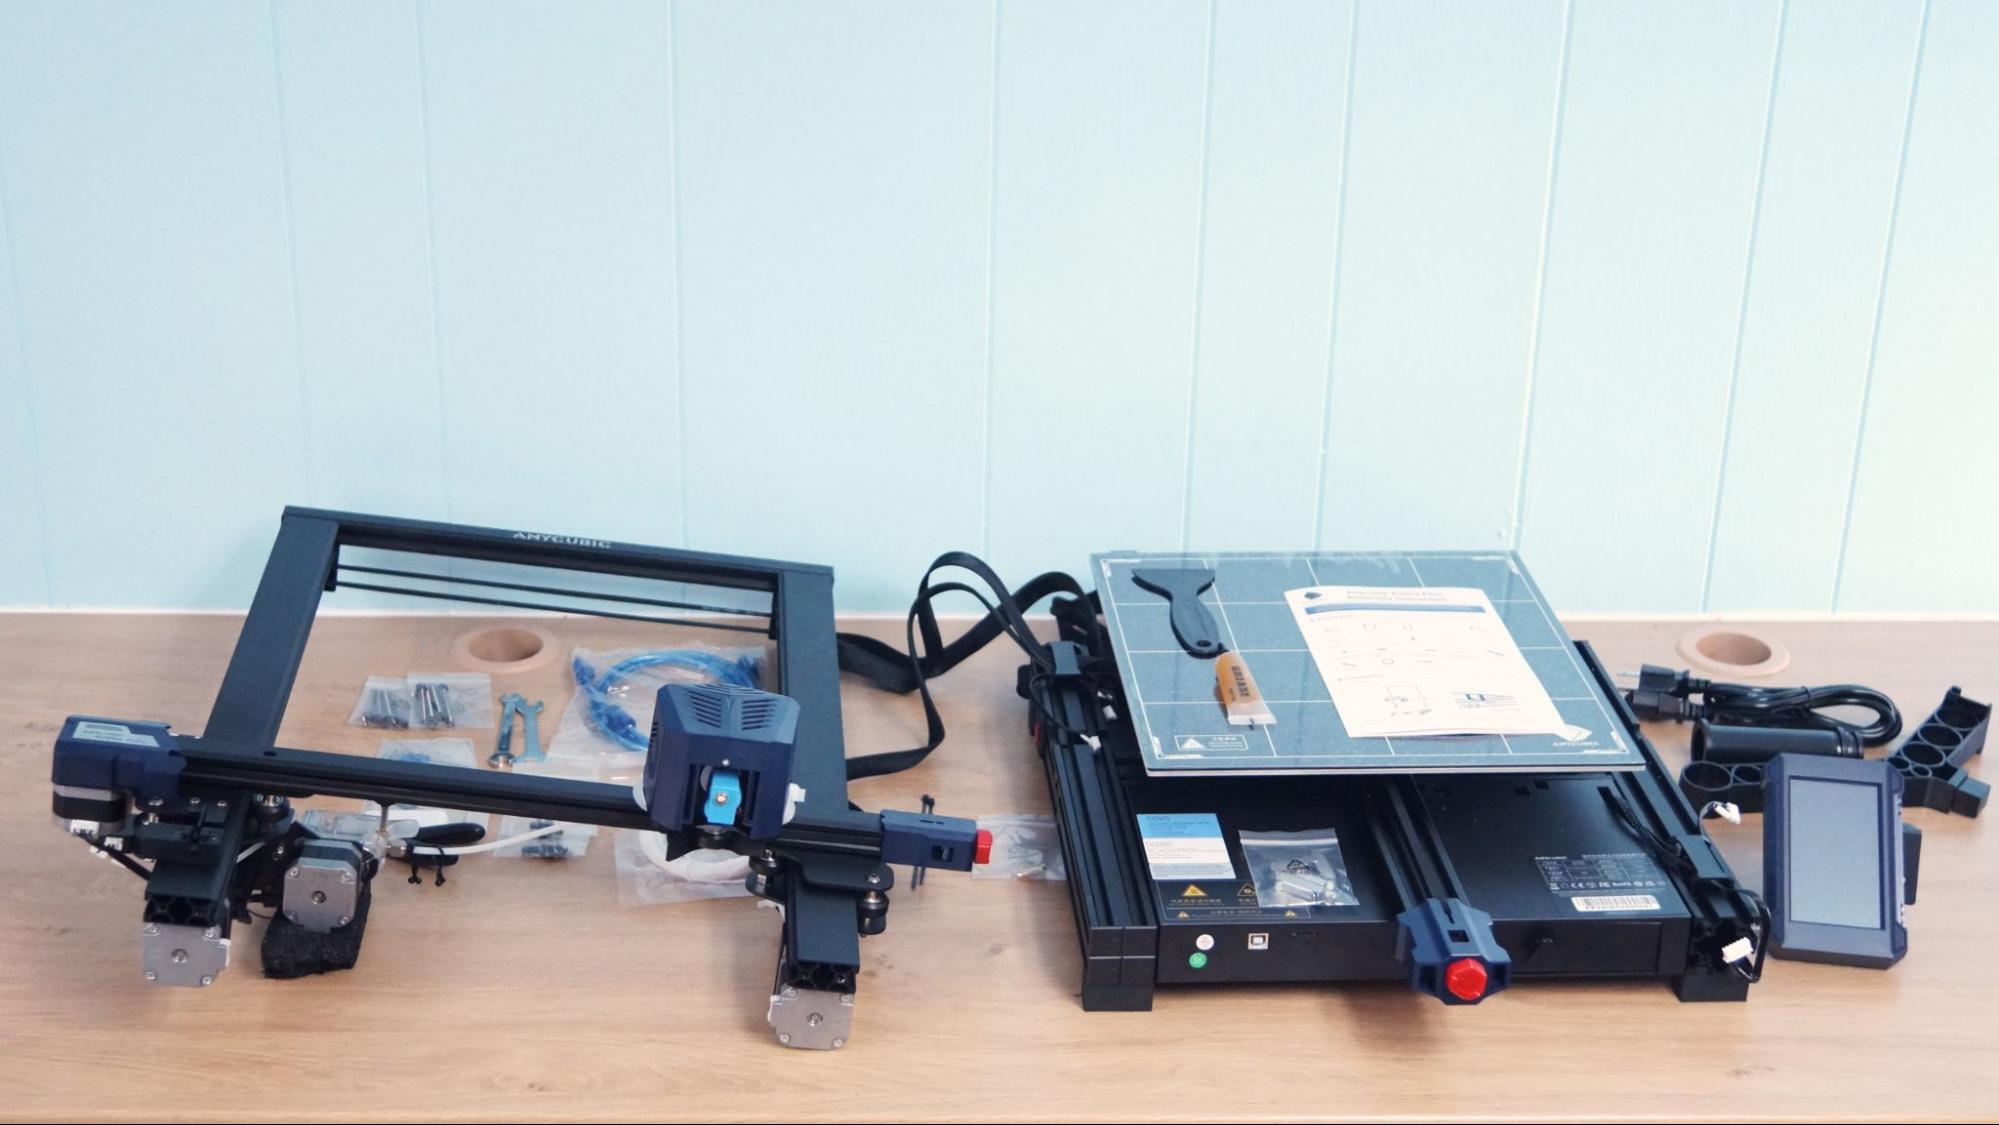
Best of all, the Kobra Plus ships mostly assembled for a quick and easy, headache free setup. You can go from opening the box to printing your first model in about 30 minutes.The Kobra Plus is easily ranked amongst the Best 3D printers right now.
Specifications: Anycubic Kobra Plus
| Machine Footprint | 605 x 560 x 546 mm (23.8 x 22 x 21.5 inches) |
| Build Volume | 300 x 300 x 350 mm (11.8 x 11.8 x 13.8 inches) |
| Material | PLA/PETG/ABS/TPU |
| Extruder Type | Bowden |
| Nozzle | .4mm (Interchangeable) |
| Filament Runout Sensor | Yes |
| Bed Leveling | Automatic |
| Connectivity | Micro SD, Micro USB |
| Interface | Color Touch Screen |
Included in the box: Anycubic Kobra Plus
The Anycubic Kobra Plus comes with everything you need to get started: tools to build and maintain the printer, side cutters, a plastic scraper, nozzle cleaner, grease and a microSD card with a USB adapter. You also get a spare nozzle and small sample of PLA.
There’s a paper copy of the quick start guide to help you build the printer. The microSD card comes with a sample model, a PDF copy of the manual, a copy of Cura 4.2.1 and profiles for PLA and TPU to get you started.
Assembling the Anycubic Kobra Plus
The Kobra Plus ships mostly assembled. Putting it together only involves a few bolts and 20-30 minutes of your time. Four bolts hold the gantry in place, and a few more screws attach the touch screen. The spool holder snaps on to the lower rail.
Remove the protective sticker off the glass plate and clip it to the aluminum bed plate with all six clips evenly spaced, three on the front and three on the back. It’s very important to use ALL the clips, or you may not get an accurate reading from the auto level system.
Get Tom's Hardware's best news and in-depth reviews, straight to your inbox.
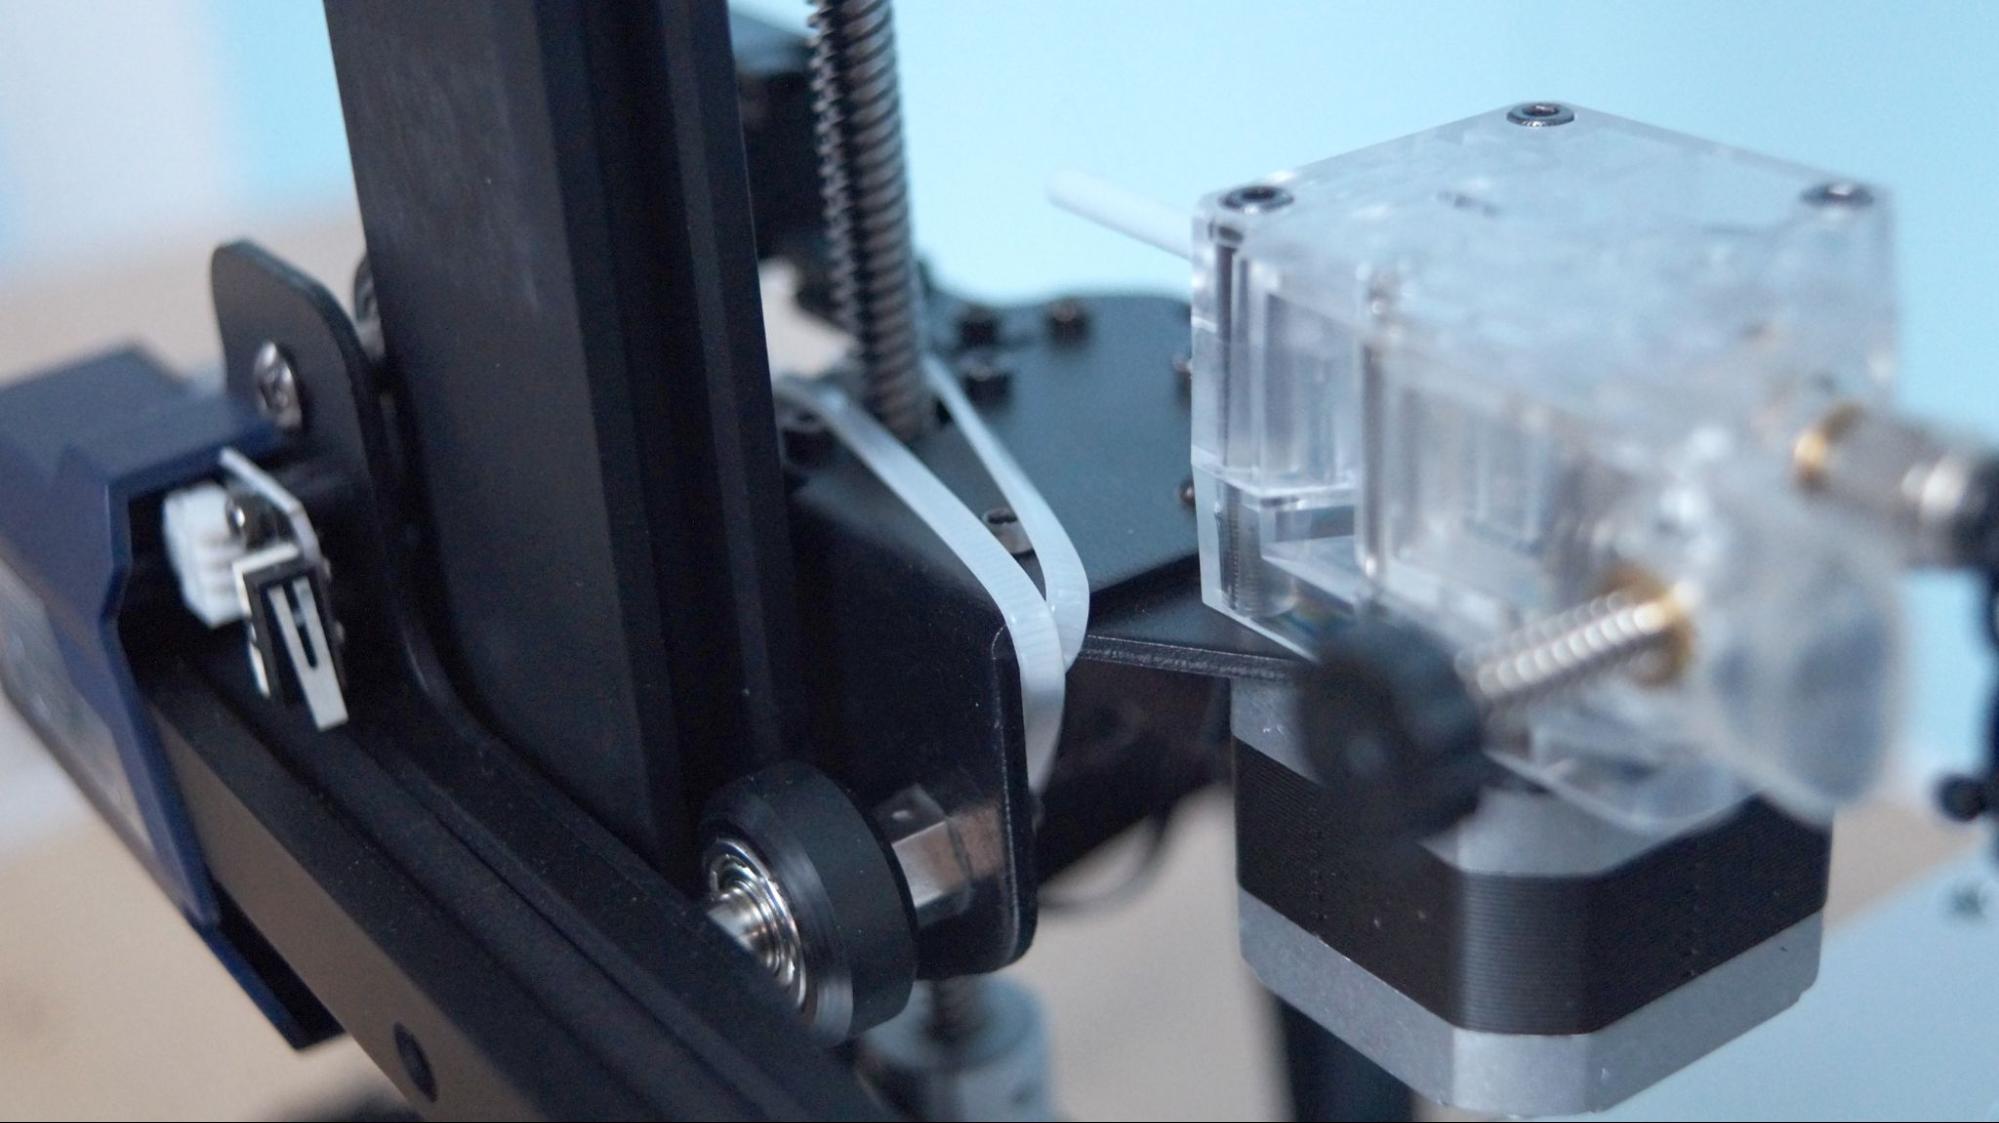
Snip off the zip ties that held the printer together for shipping and plug in the wiring. Everything is clearly labeled and easy to find. The final step is to secure the Bowden tube to the print head cable with the provided cable clips.
After the printer is assembled, check for loose or over-tight parts. Make sure all the wheels roll smoothly with a bit of grip and check that there’s no wiggle in the print carriage. Belts should be tight, but not straining – there’s handy adjuster knobs for both the X and Y axis. If any of the wheels are loose or too tight, you can adjust them by turning the eccentric nuts with the provided wrench.
Before starting your printer, you’ll need to check the voltage setting – it needs to be at 110 for US households. Use a hex key to push the switch.
Leveling the Anycubic Kobra Plus
The Anycubic Kobra Plus comes with an in-house designed automatic bed leveling system that physically taps the nozzle on the bed at 25 points around a grid.
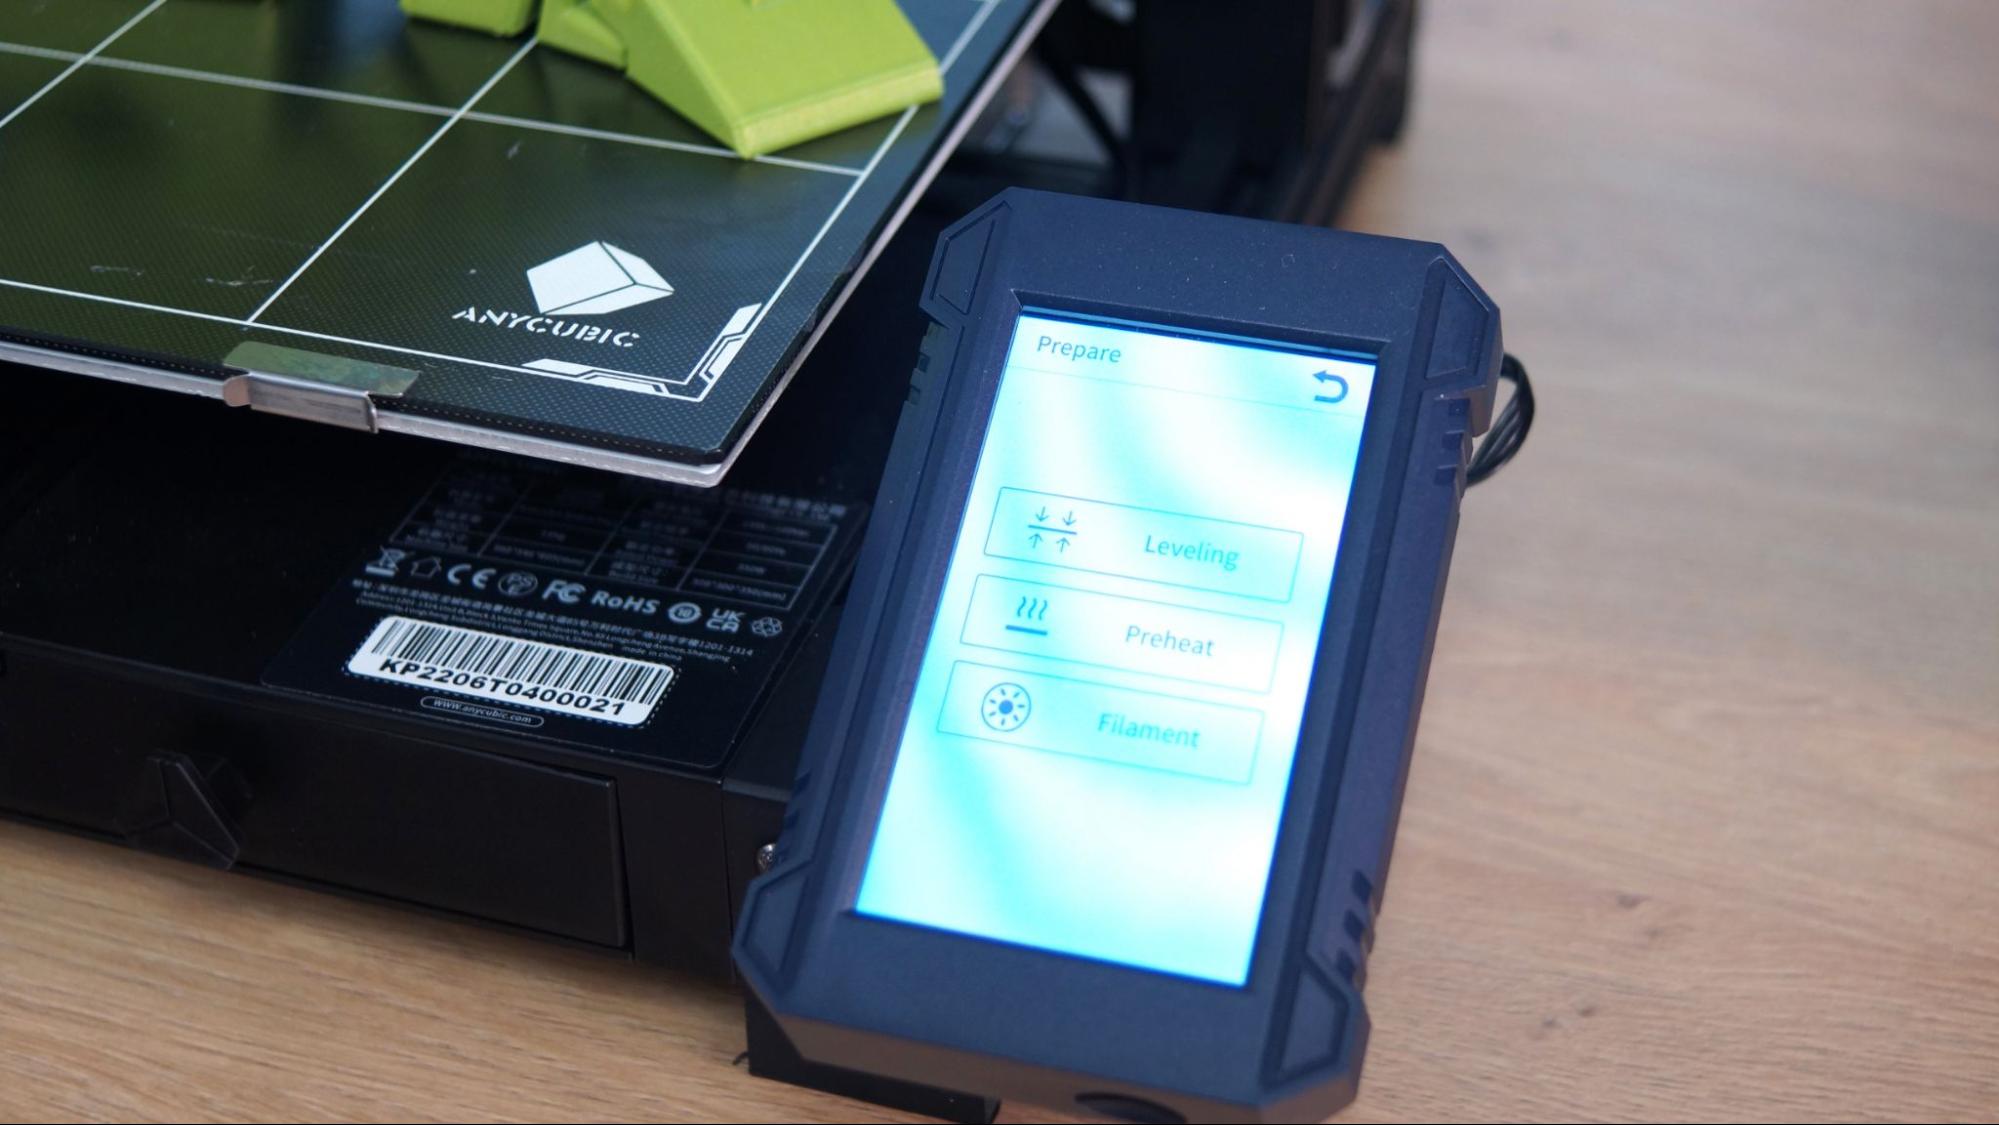
There are no knobs for manual tramming, leaving everything to the automatic sensor. To level the bed, select Prepare → Leveling → Auto-leveling. A popup will ask you to touch a tool to the nozzle to calibrate the sensor. The machine will home itself, preheat, and then double tap 25 spots in a grid across the bed surface.
The Kobra Plus is really good at setting a perfect bed level for you, but if you’re printing with a filament that needs a little more, or a little less, squish, you can change the Z height. You can either adjust it while you’re printing or change it from the leveling menu. The machine will remember this setting automatically, and apply it to the next print.
Loading Filament in the Anycubic Kobra Plus
To load filament, press Prepare on the main menu. Select Filament. Now select Filament In or Filament Remove. The machine will heat up to 230 C, taking about 60 seconds. Put your spool on the spool holder, and place the end of the filament into the runout sensor and then the extruder. Press Filament In and either wait for the filament to be pulled to the extruder, or pinch the tension release on the front of the extruder and push it through by hand. Press Stop when the filament is coiling below the hotend.
Removing the filament works the same, just in reverse. Let the hotend preheat, select Filament Remove and let the gears back the filament out. Feel free to manually pull the filament out of the Bowden tube as soon as it’s left the hotend.
Design of the Anycubic Kobra Plus
The Anycubic Kobra Plus looks like a smaller version of the Kobra Max, which in turn looks quite a bit like the Anycubic Vyper. It has a smooth black aluminum frame and a few plastic parts.
The power supply and processor are in the base of the machine, but the touch screen and spool holder jut out from the sides, making it a bit wider than stats would indicate.
It has dual Z rods synced up with a belt like the Max, but only one centrally placed Y axis and no braces. Silent stepper motors and relatively quiet fans make the Kobra Plus an easy office companion.
The build plate is a carborundum coated glass that has excellent adhesion when warm and allows prints to be easily removed when cold. If you find parts too difficult to remove, you can adjust your Z height a tiny bit or use a glue stick as a release agent. The bed can reach 100 degrees C, a little hotter than the Max.
The hotend is a Volcano style that can reach 260 C, hot enough for most consumer grade materials.
The touch screen is the same 4.3-inch display used on the other Kobra printers. The menu is easy to navigate for beginners, with options in logical locations. The home screen has four options: Print, Prepare, Tools and System.
- Print shows you a list of files on the microSD card you can choose.
- Prepare has menus for Leveling, Preheat and Filament loading.
- Tools has Move Axis, Temperature, Speed and Motor. Motor is where you disable the steppers if you need too.
- System lets you pick the language (English or Chinese), Voice (turn off the beeps) and About.
Preparing Files / Software
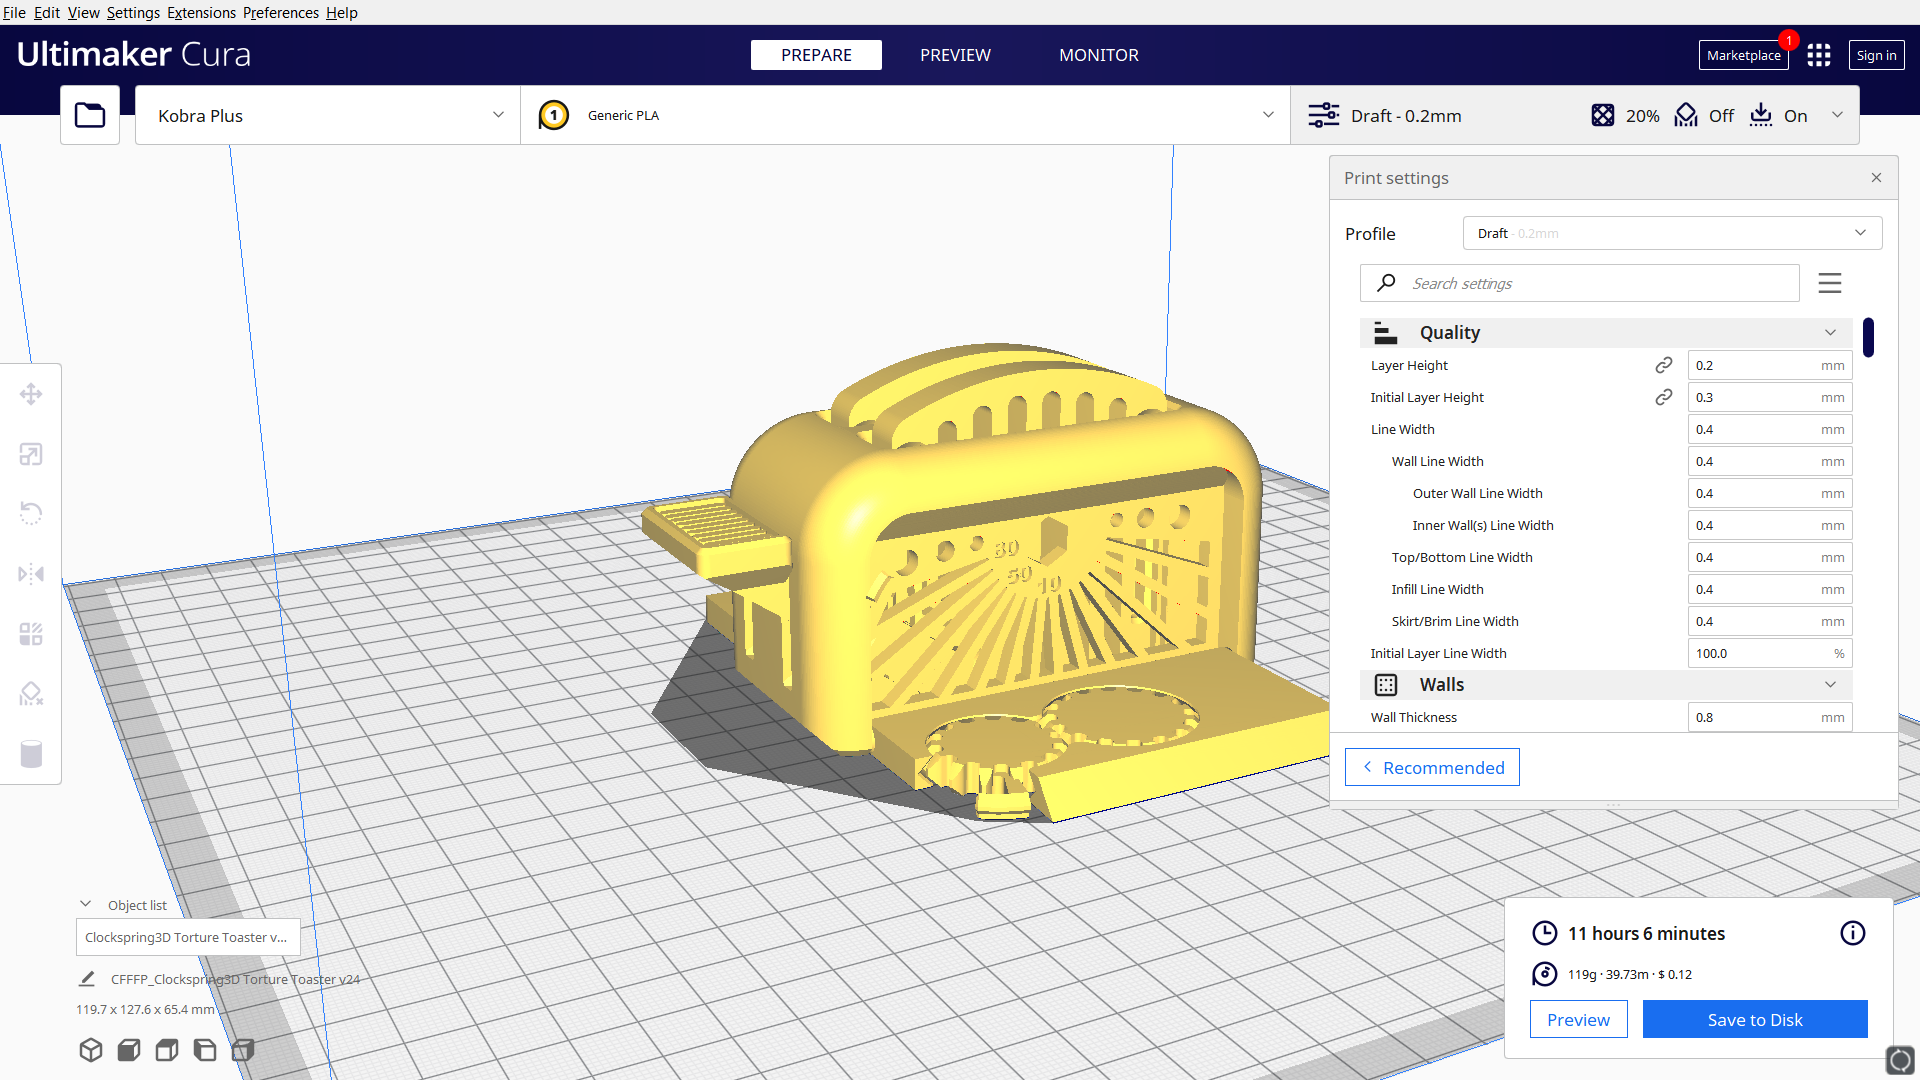
The Anycubic Kobra Plus comes with Cura 4.2.1, but a profile for the Kobra Plus is not pre-installed. The manual gives directions for setting up a custom printer from scratch, but I find the Cura profile for a Creality CR10s works great.
All you have to change is the build height, which needs to be set at 350mm. You can use the same method for setting up PrusaSlicer, another popular slicer that is available for a free download.
Printing with the Anycubic Kobra Plus
The Anycubic Kobra Plus is a large format printer, but it’s just as nimble as any smaller machine, giving you a wide range of options for your 3D printing.
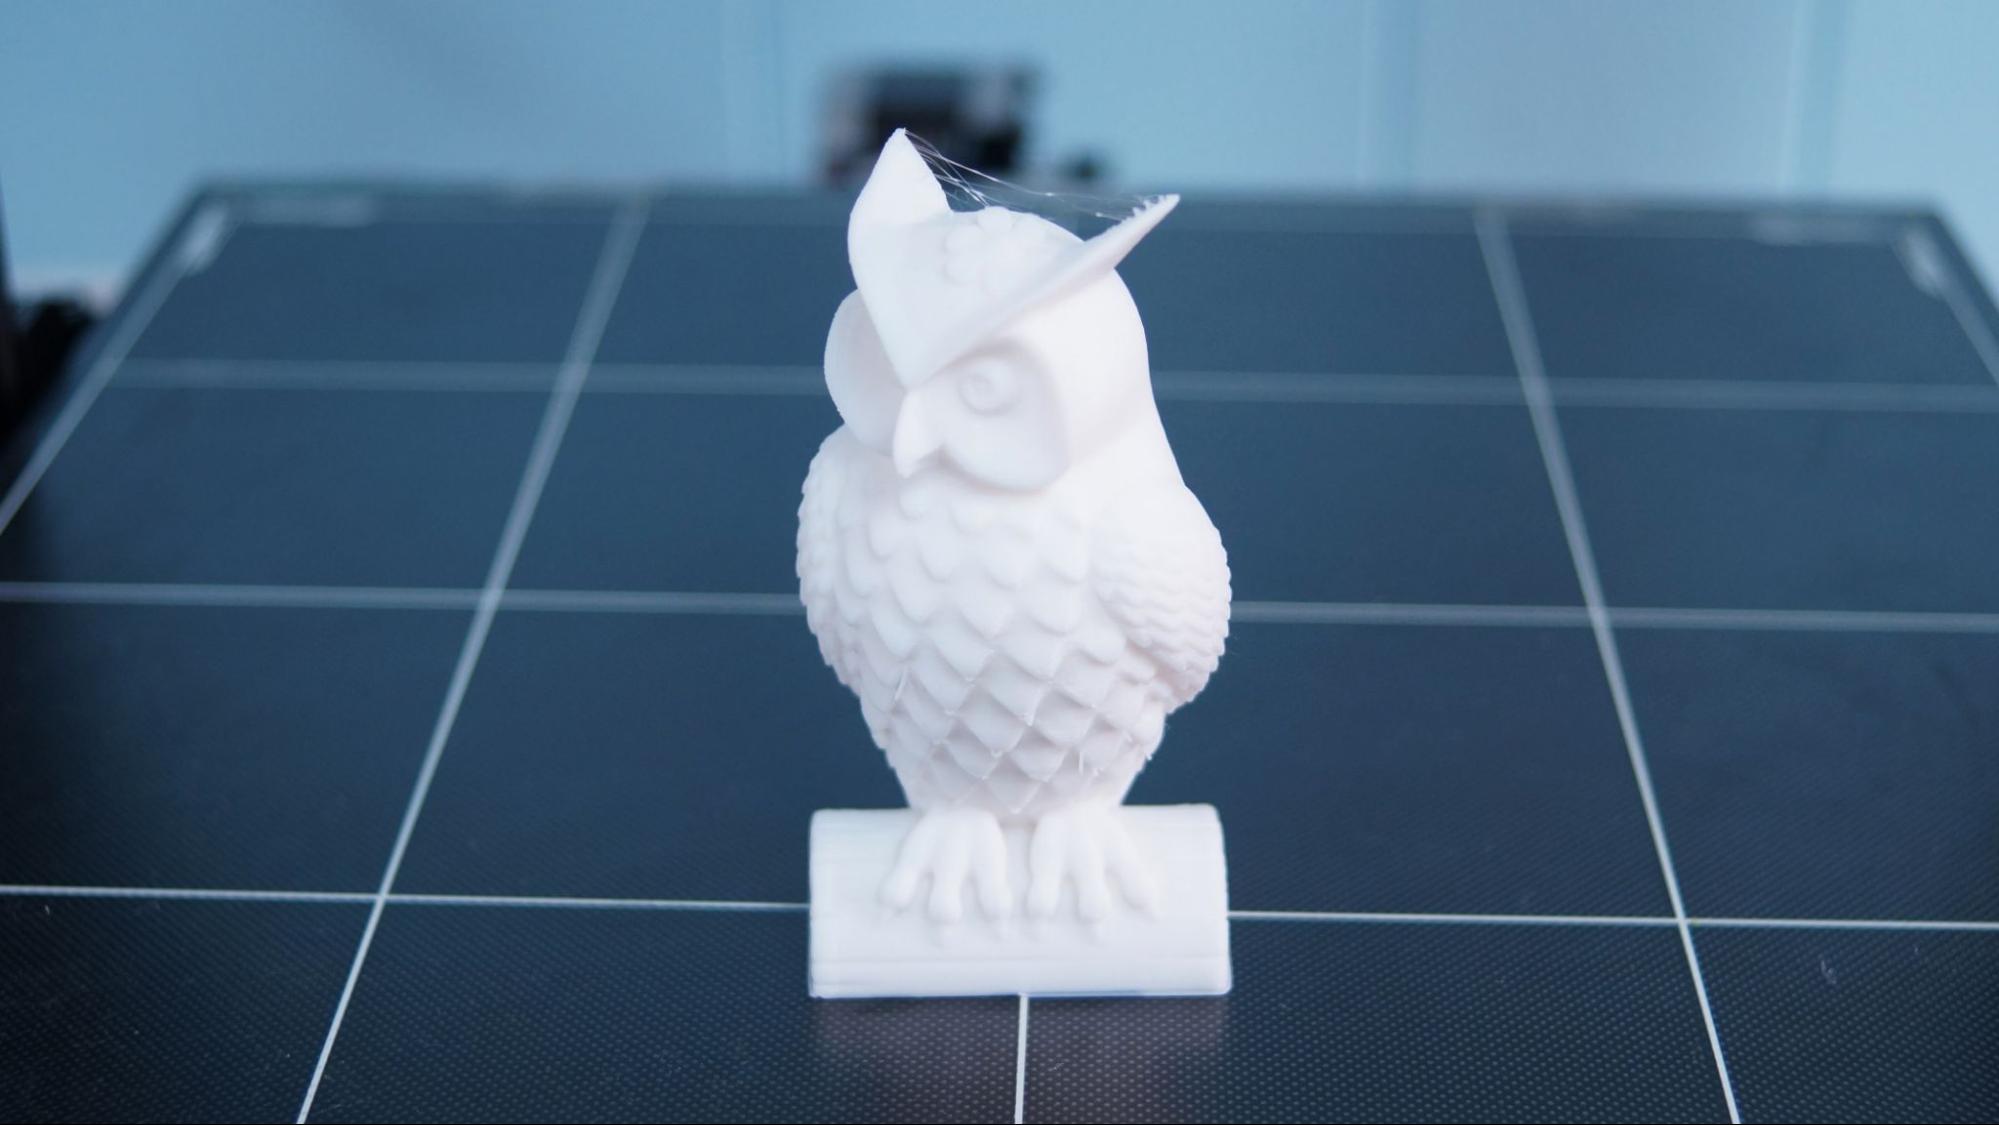
I always start with the pre-sliced test model and the provided sample filament. Anycubic provides one test file, the owl, which honestly doesn’t show off the Kobra Plus to its best advantage. It was a little wispy, something that I didn’t have problems with when I used fresh filament and my own slicer settings.
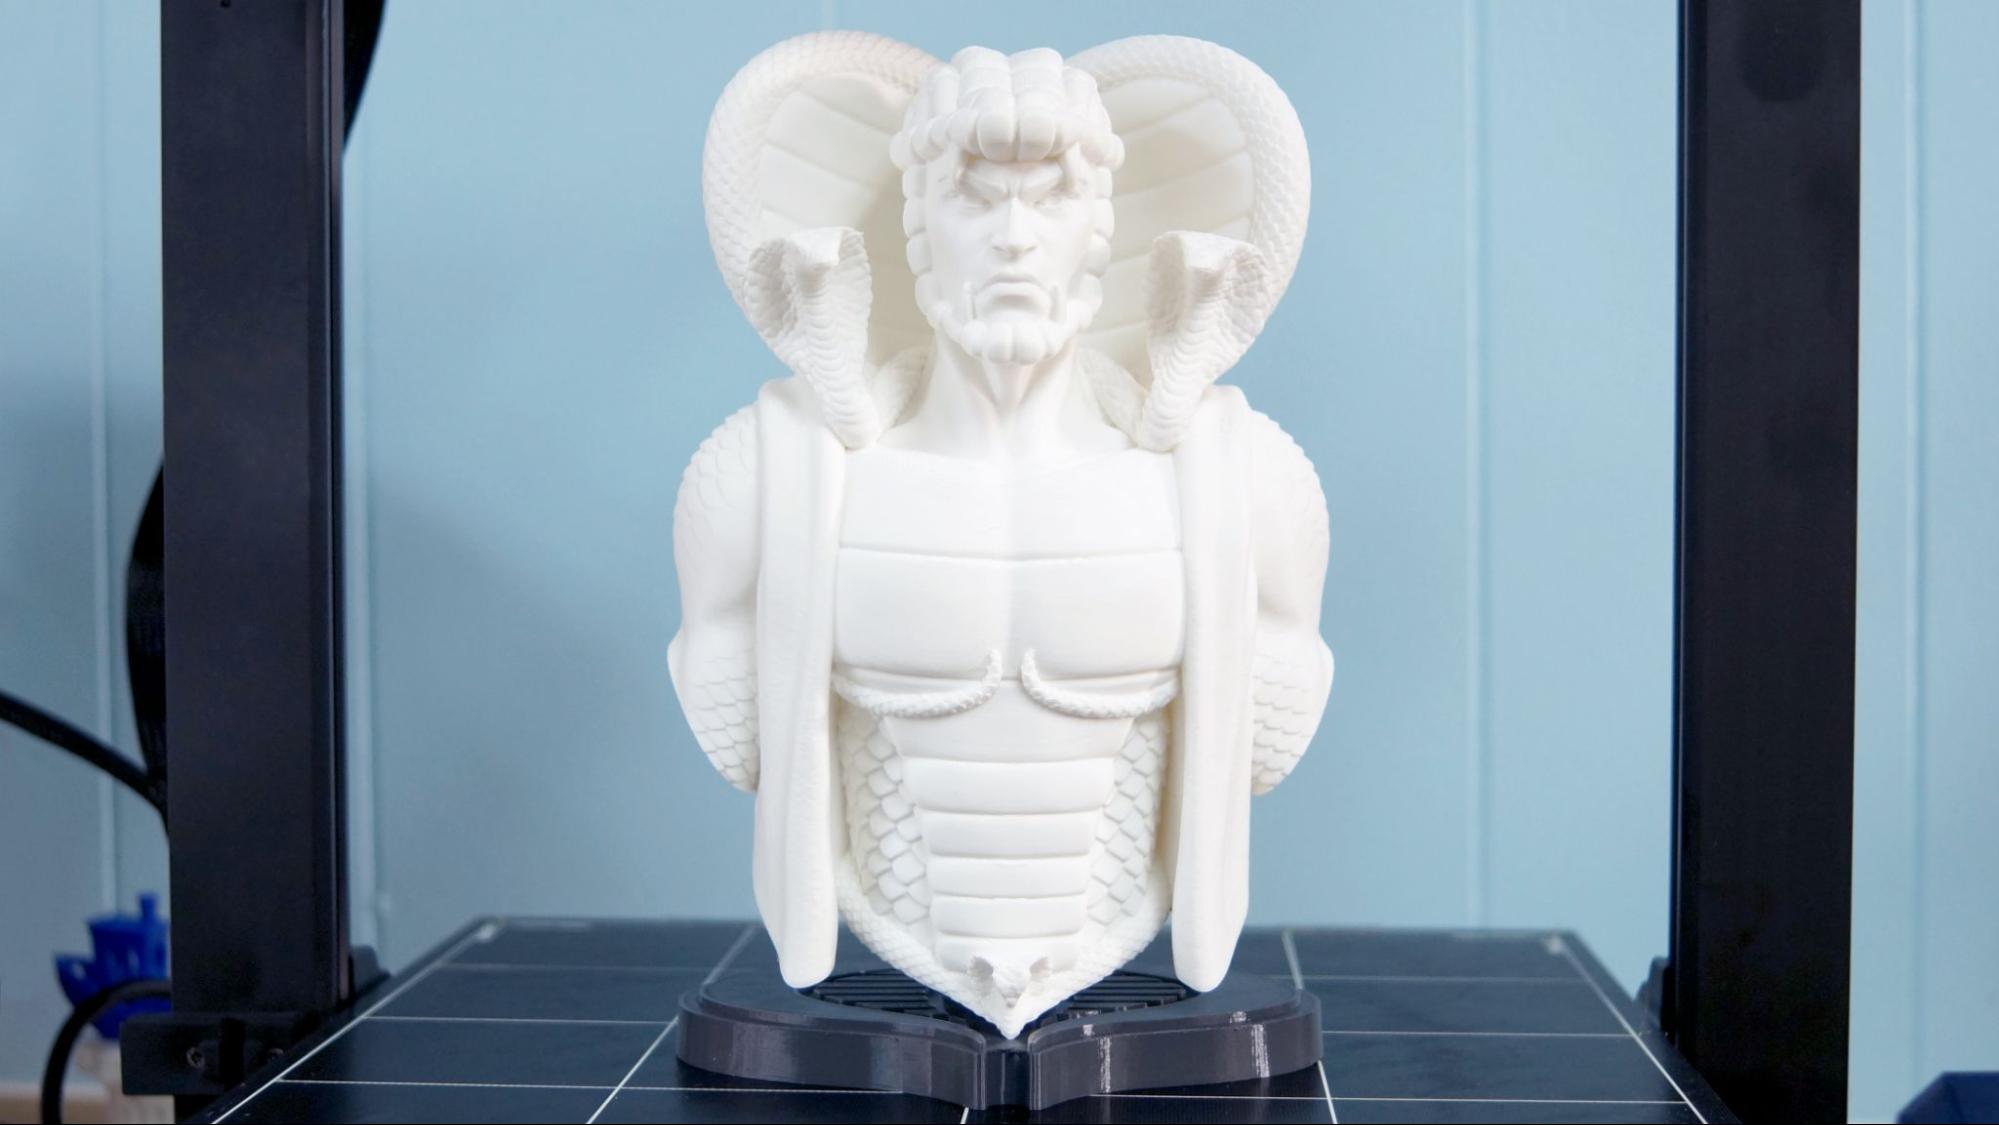
To announce the launch of the Kobra Plus, YouTuber Joel Telling commissioned this model of Serpentor from GI Joe by Chaos Coretech. It’s free on Printables.com. This is printed at 150% in Anycubic Matte White PLA and Printed Solid Mixtape 17 using a standard .2mm layer height and took 32 hours and 50 minutes. It printed without stringing and had practically no layer lines.
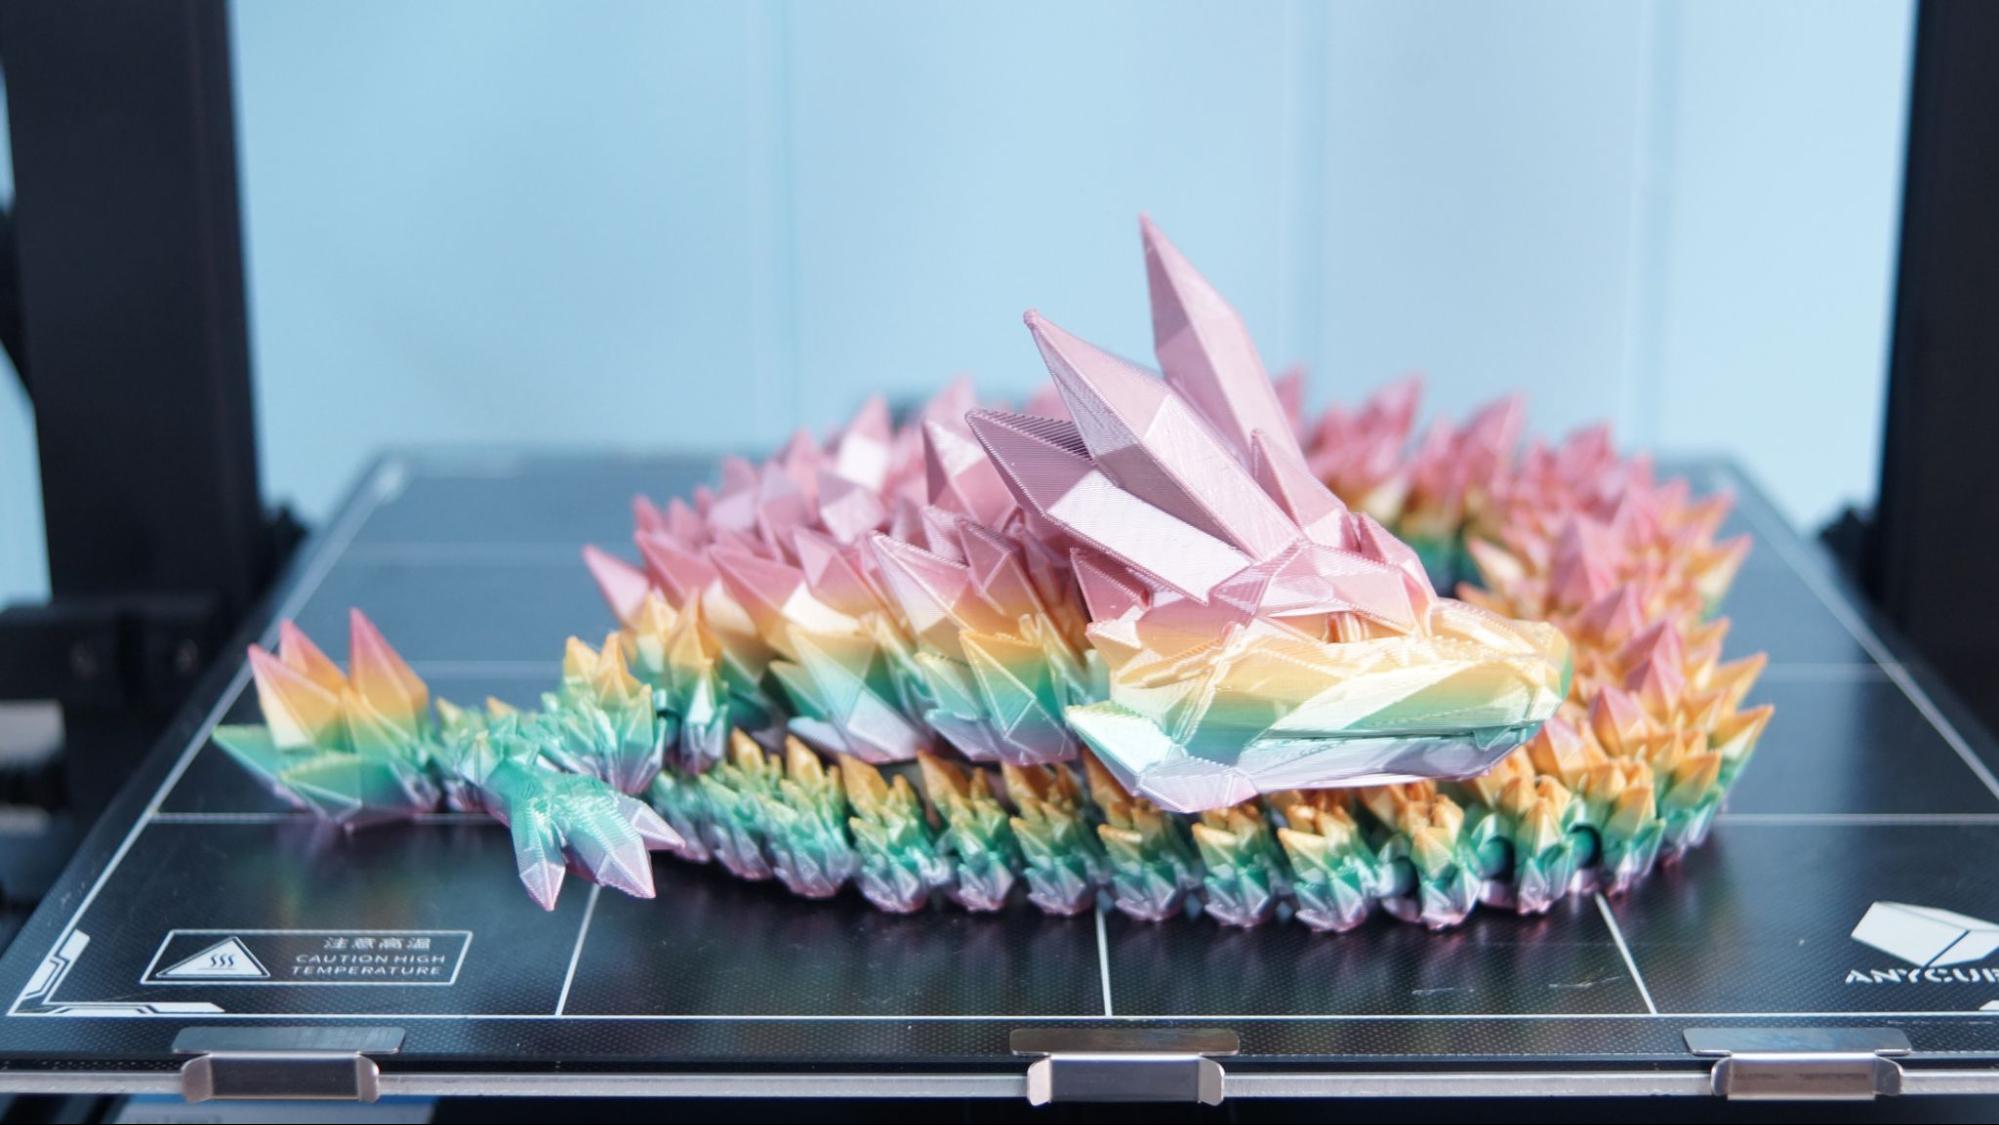
Anycubic provided a sample of their new silk rainbow PLA for testing, so I put it to use by printing an extra large Crystal Dragon by Cinderwings3D. The dragon took 24 hours and 32 minutes to print at 125%, printed in a .28 layer height with a .64 line width for extra speed. It’s super smooth and shiny, with no stringing.
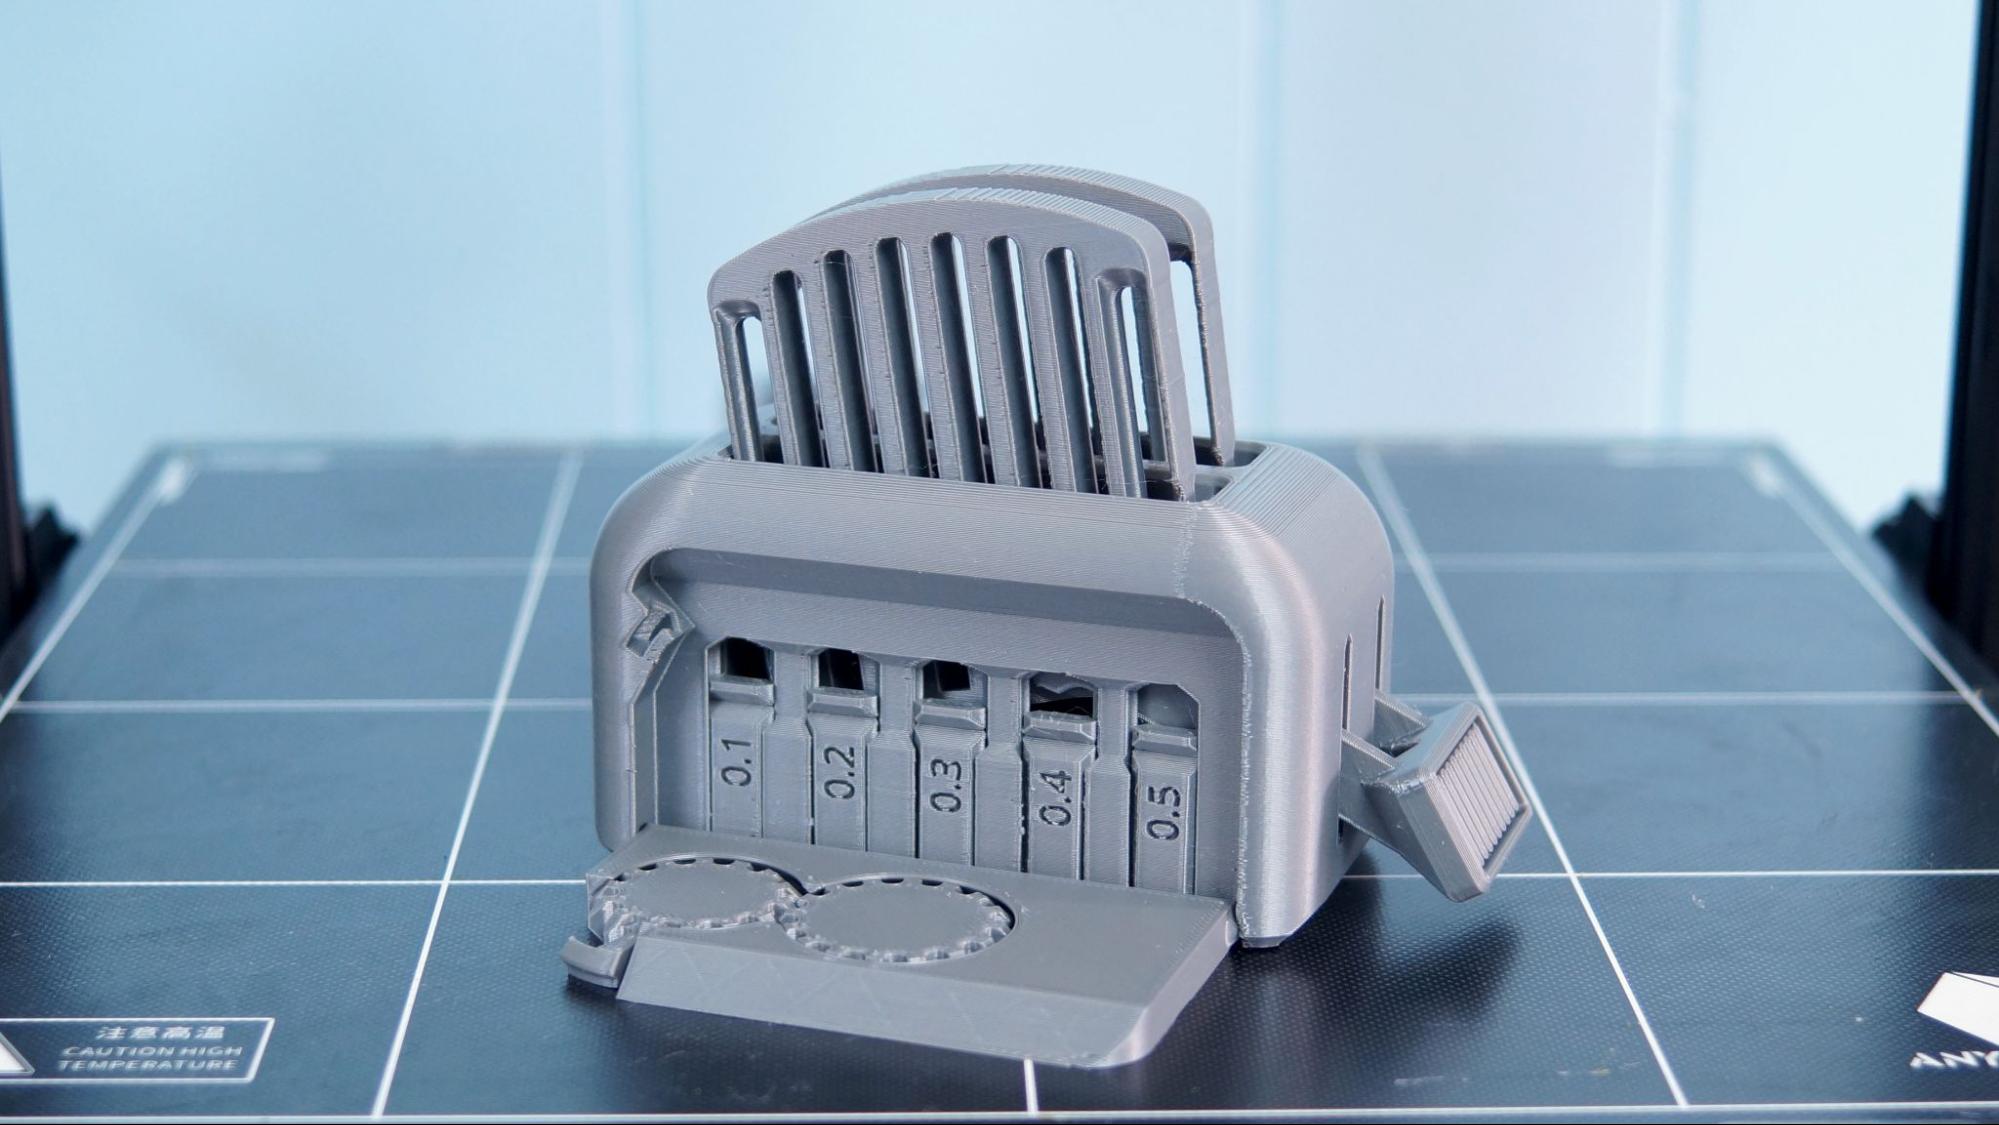
To give the machine a real workout, I printed Clockspring3D’s Torture Toaster. It’s a ridiculously complex test, with print in place parts, overhangs, narrow gaps, printed hinges and gears. This is the best toaster I’ve ever printed with zero stringing, and nearly every clearance challenge bested. Printed in Matterhackers Pro Series Silver PLA, the toaster took 17 hours to print.
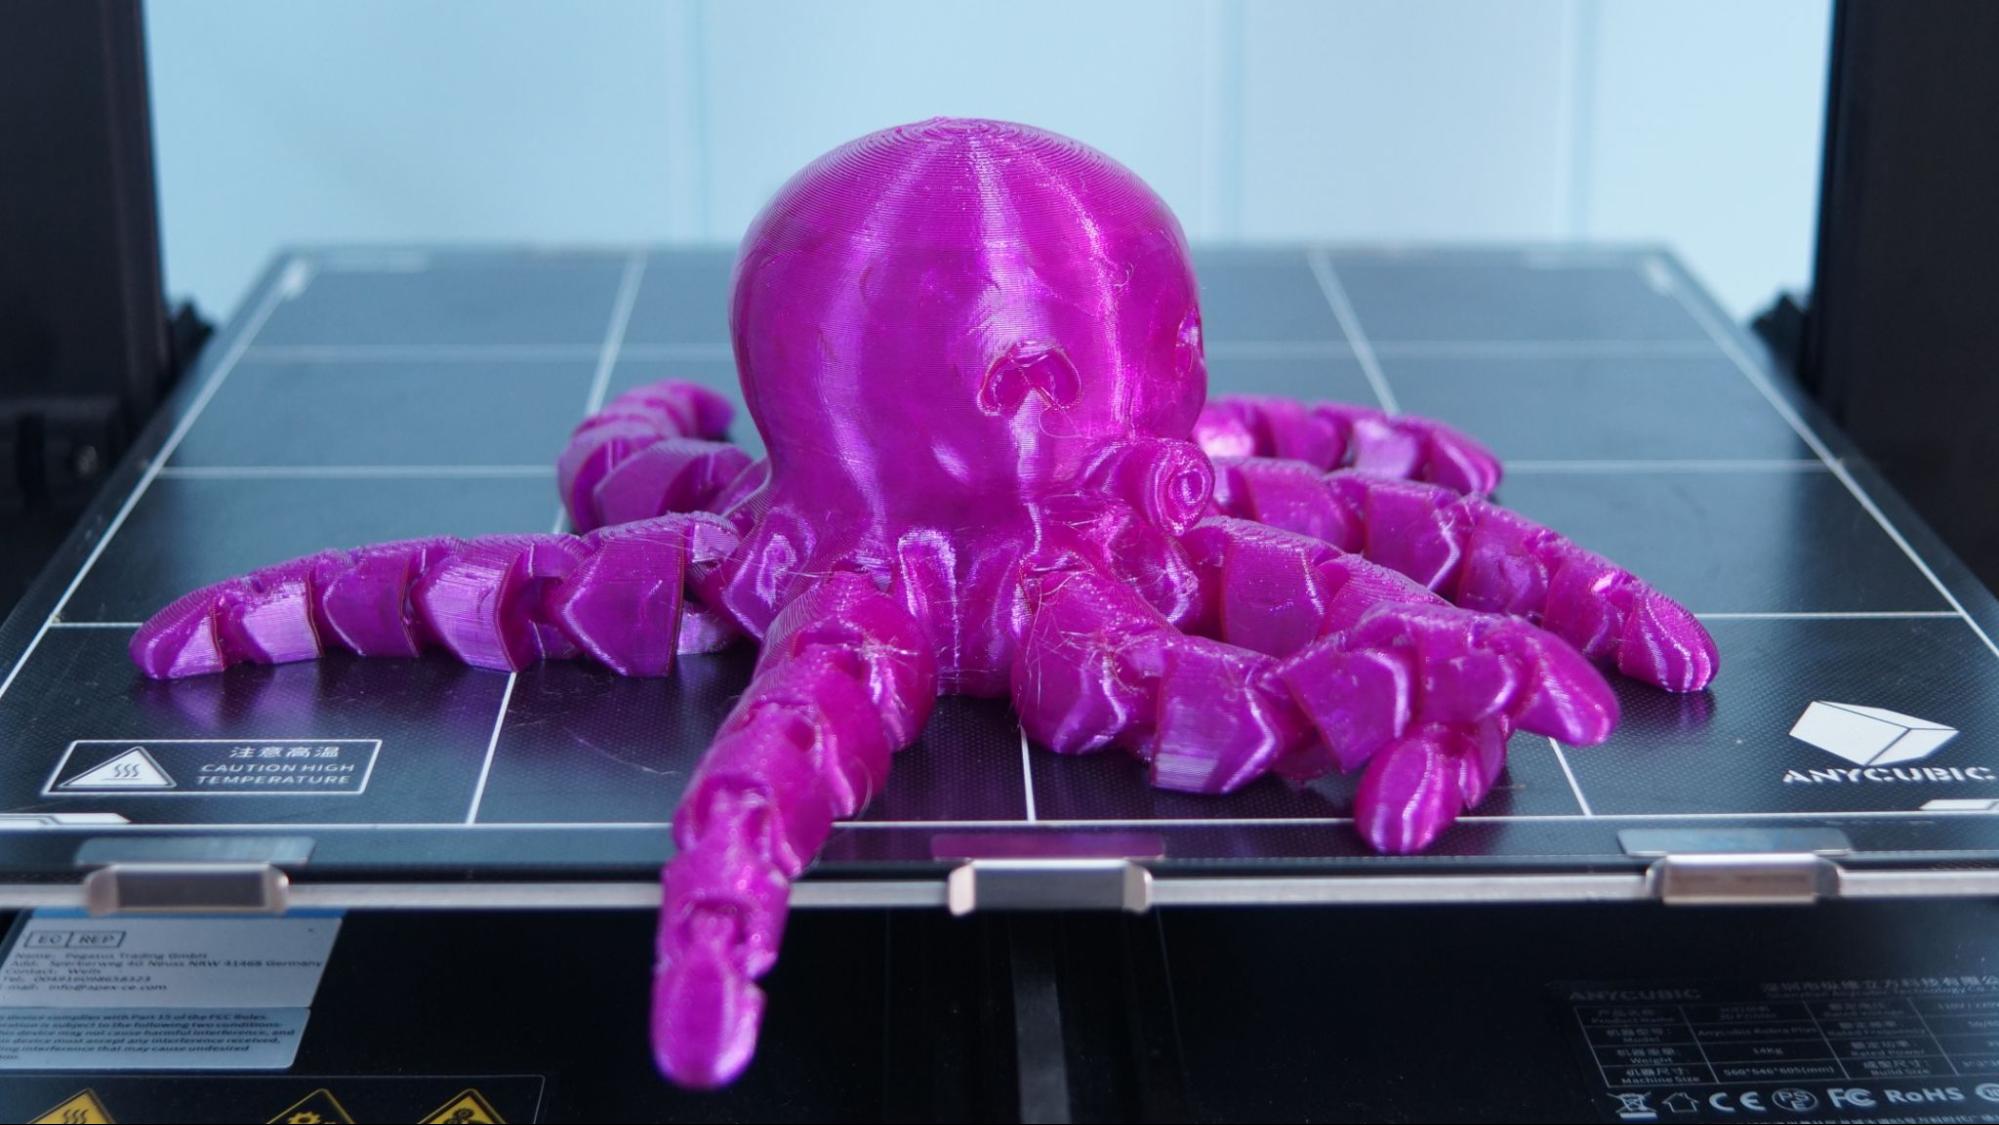
TPU printed incredibly well on the Kobra Plus with only the barest wisp of stringing. I printed a giant McGybeer Cute Octopus using standard settings and slowing it down to 40mms. It was printed in Matterhackers Translucent Purple MH Build Series TPU and took 32 hours and 23 minutes.
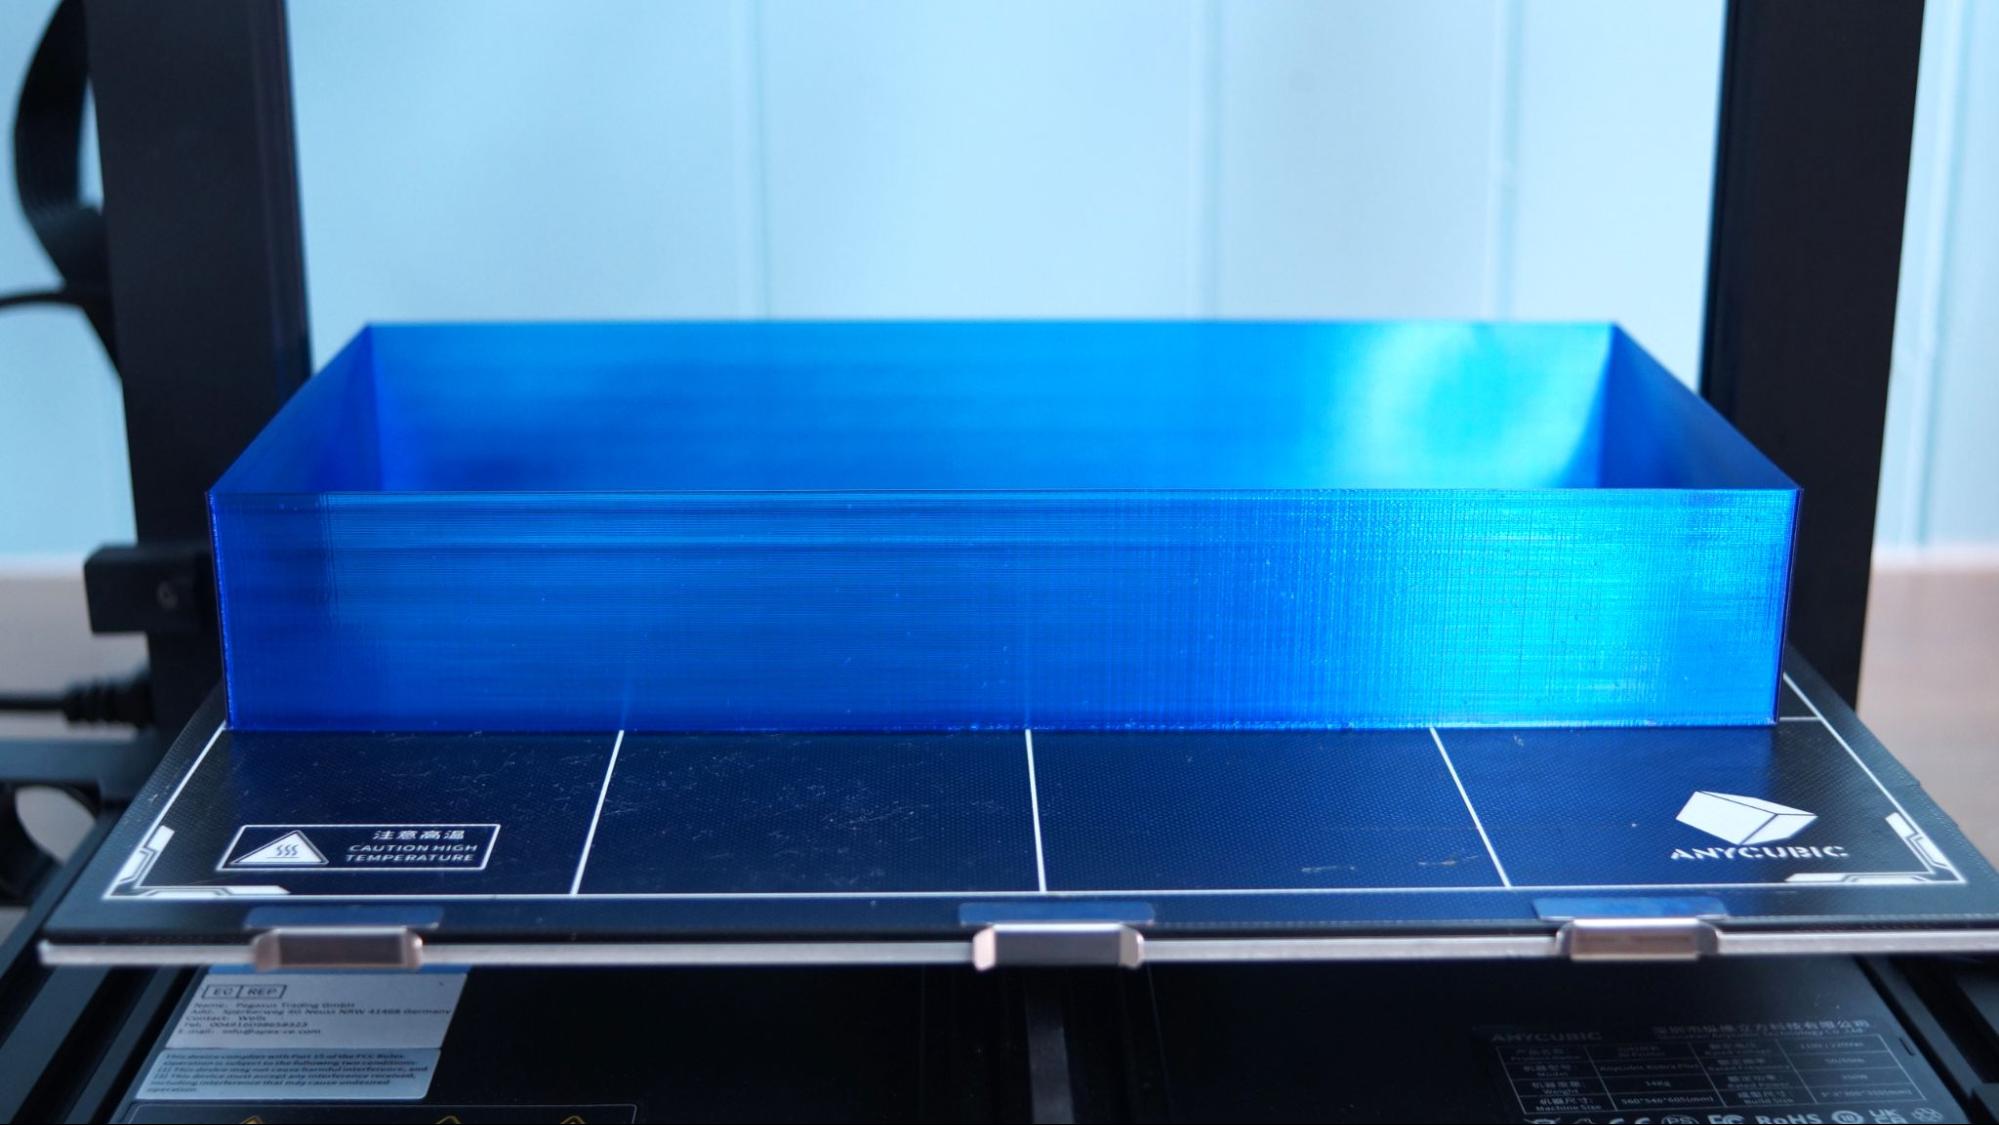
I ran a quick check on PETG by running a simple vase mode box that I’ll use as a drawer organizer. The Kobra Plus had no problem and produced a clean print with a smooth first layer. This is Matterhackers Build Series PETG in blue and the print took 4 hours and 22 minutes.
Bottom Line
The Anycubic Kobra Plus is the perfect printer for makers looking for a little more build volume without breaking the bank or their counter top. Currently priced at $499, the Kobra Plus can handle most helmets and many props without having to dice them into little pieces.
The machine is easy to assemble and with auto bed leveling included it’s a great first choice for the ambitious maker. I would have liked to see a flexible bed on this sized machine, but the glass does a good job of clinging to prints while hot and takes very little effort to remove them while cold.
If you’re interested in a beginner printer, check out the Anycubic Kobra from the same line. Priced at $319, it’s an Editor’s Choice and our pick for Best Printer for Beginners. If you want to make jumbo prints, then the Anycubic Kobra Max is available for $560 on the Anycubic website.

Denise Bertacchi is a Contributing Writer for Tom’s Hardware US, covering 3D printing. Denise has been crafting with PCs since she discovered Print Shop had clip art on her Apple IIe. She loves reviewing 3D printers because she can mix all her passions: printing, photography, and writing.
