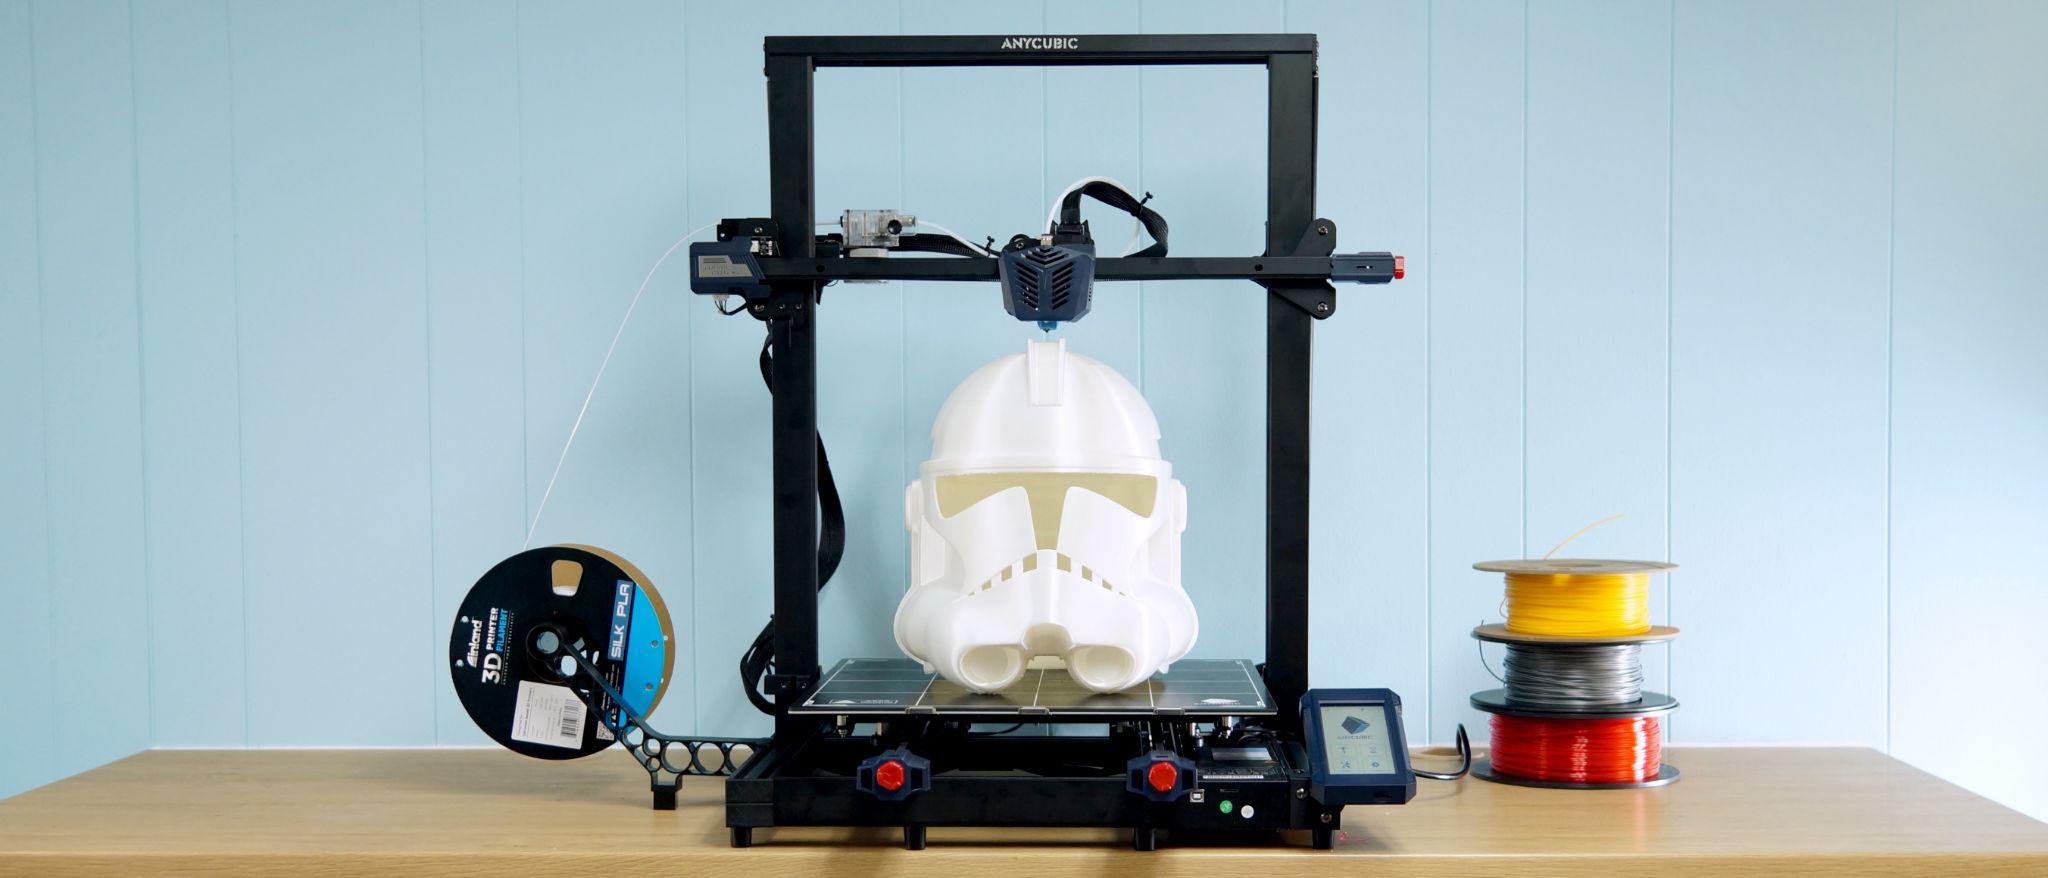
Tom's Hardware Verdict
The Kobra Max is an excellent printer with enormous print volume that needs a lot of room to operate.
Pros
- +
Massive build size
- +
Accurate auto bed leveling
- +
Build plate releases when cool
Cons
- -
Massive footprint
- -
Bed Slinger
Why you can trust Tom's Hardware
The Anycubic Kobra Max is freaking huge. No really. It’s that big. With a 400x400x450mm build volume, this is the perfect machine for 3D printing props and costume helmets in one piece. But first, you’ll want to measure your workspace – this monster needs THREE SQUARE FEET of operating space! I had to turn the printer sideways to fit on my IKEA counter – and the spool holder still hung off into space.
Once you find a spot to put it, the Anycubic Kobra Max is a great machine that’s easy to use. Available starting at $569 (though a bit more on Amazon), the Kobra Max is a Bowden type printer with a Volcano-style hotend and a coated glass bed. It has an auto leveling system that physically taps the glass surface, giving very accurate results that can hang with any of the best 3D printers.
If the thought of prying giant prints off a glass bed sounds terrifying, worry not. Anycubic’s carborundum glass formula is perfect – just let the glass cool down and it will release on its own. I’ve only had to nudge a few small pieces off the bed with a spatula. Large prints have always slid off without a fight.
Specifications: Anycubic Kobra Max
| Machine Footprint | 715 x 665 x 720 mm (28 x 26 x 28 inches) |
| Build Volume | 400 x 400 x 450 mm (17.7 x 15.7 x 15.7 inches) |
| Material | PLA/PETG/ABS/TPU |
| Extruder Type | Bowden |
| Nozzle | .4mm (Interchangeable) |
| Filament Runout Sensor | Yes |
| Bed Leveling | Automatic |
| Connectivity | Micro SD, Micro USB |
| Interface | Color Touch Screen |
Included in the box: Anycubic Kobra Max
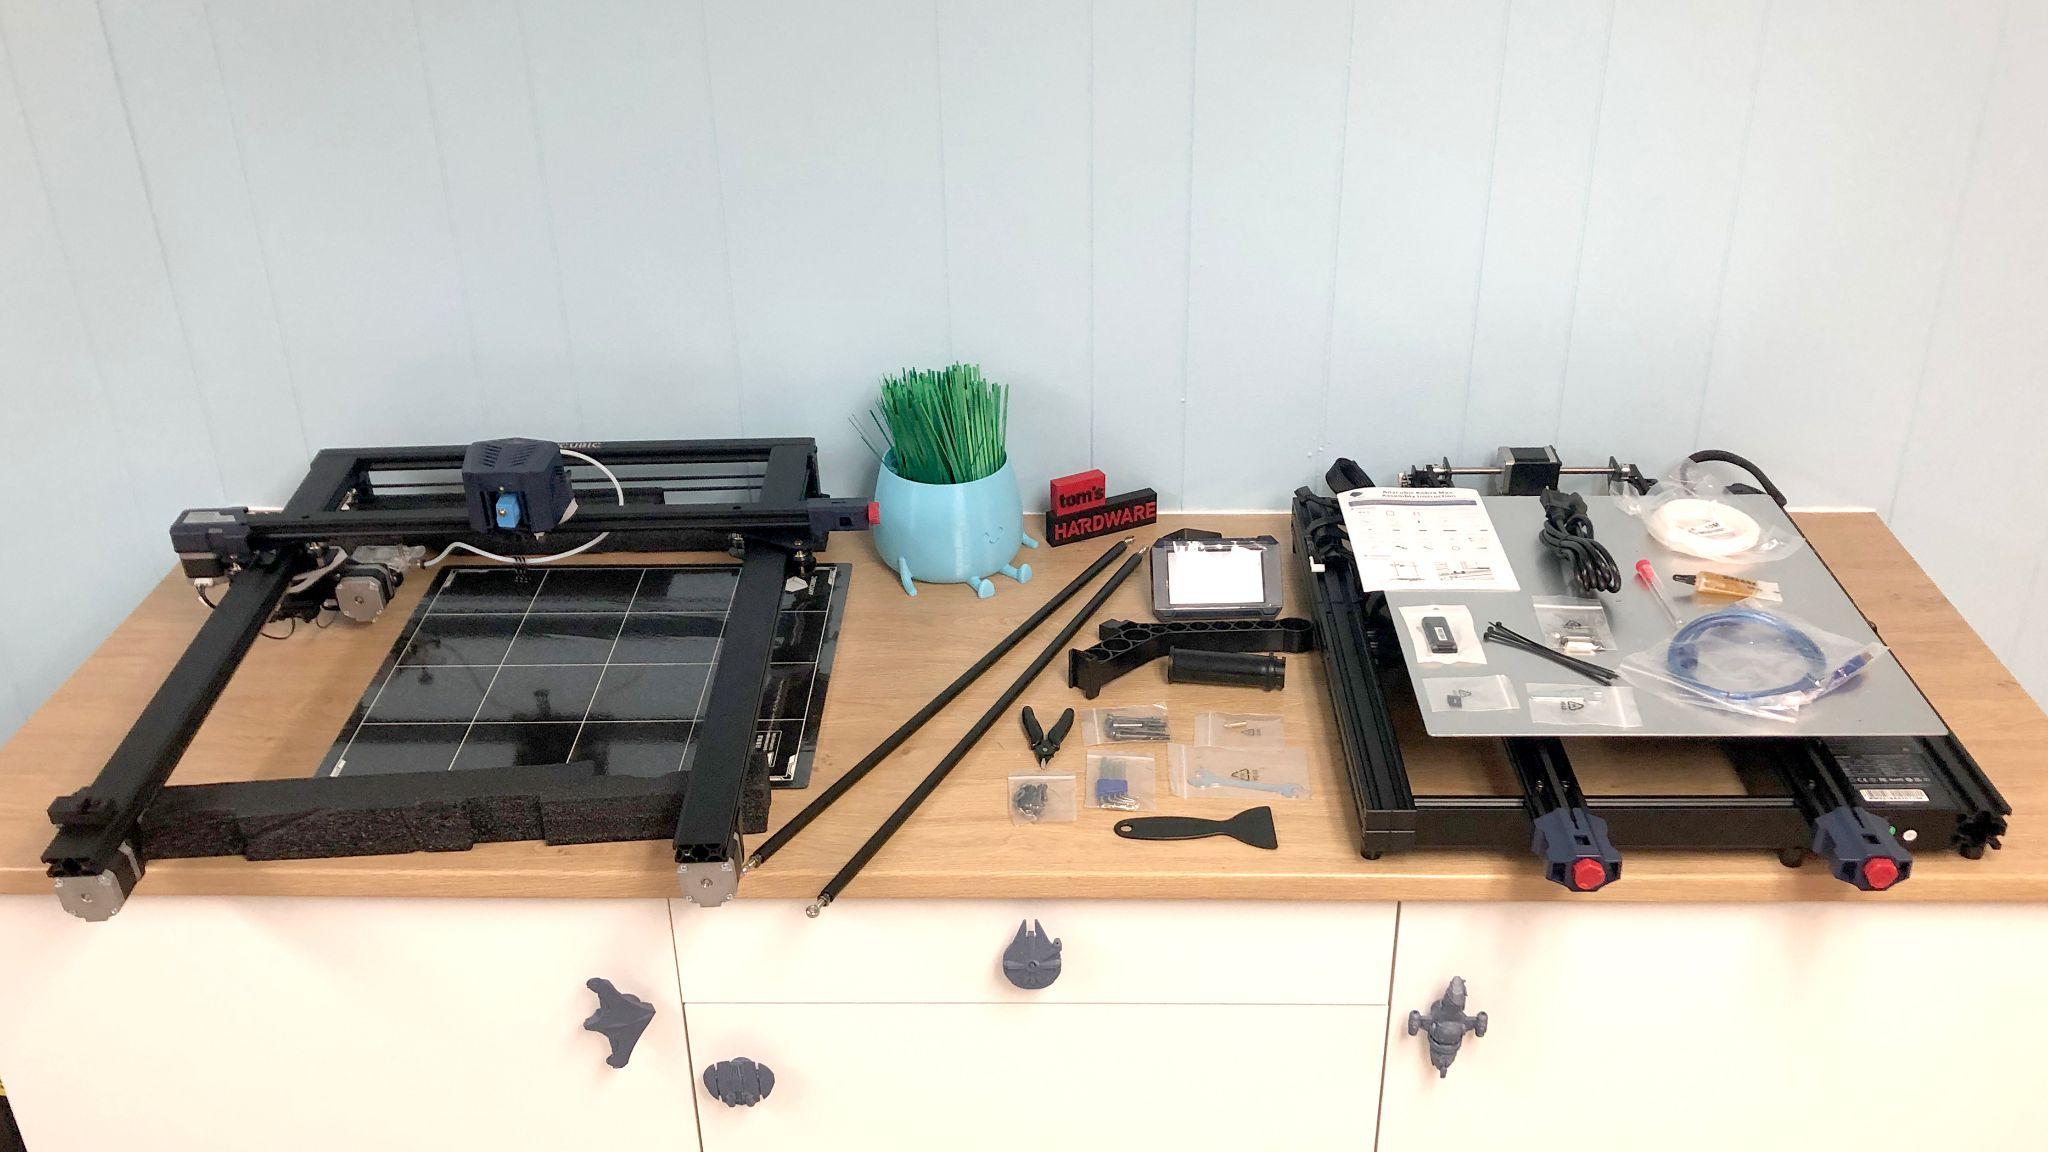
The Anycubic Kobra Max comes with everything you need to get started: tools to build and maintain the printer, side cutters, a plastic scraper, nozzle cleaner, grease and a microSD card with a USB adapter. You also get a spare nozzle and small sample of PLA.
There’s a paper copy of the quick start guide to help you build the printer. The microSD card comes with sample models, a PDF copy of the manual, a copy of Cura 4.2.1 and profiles for PLA and TPU to get you started.
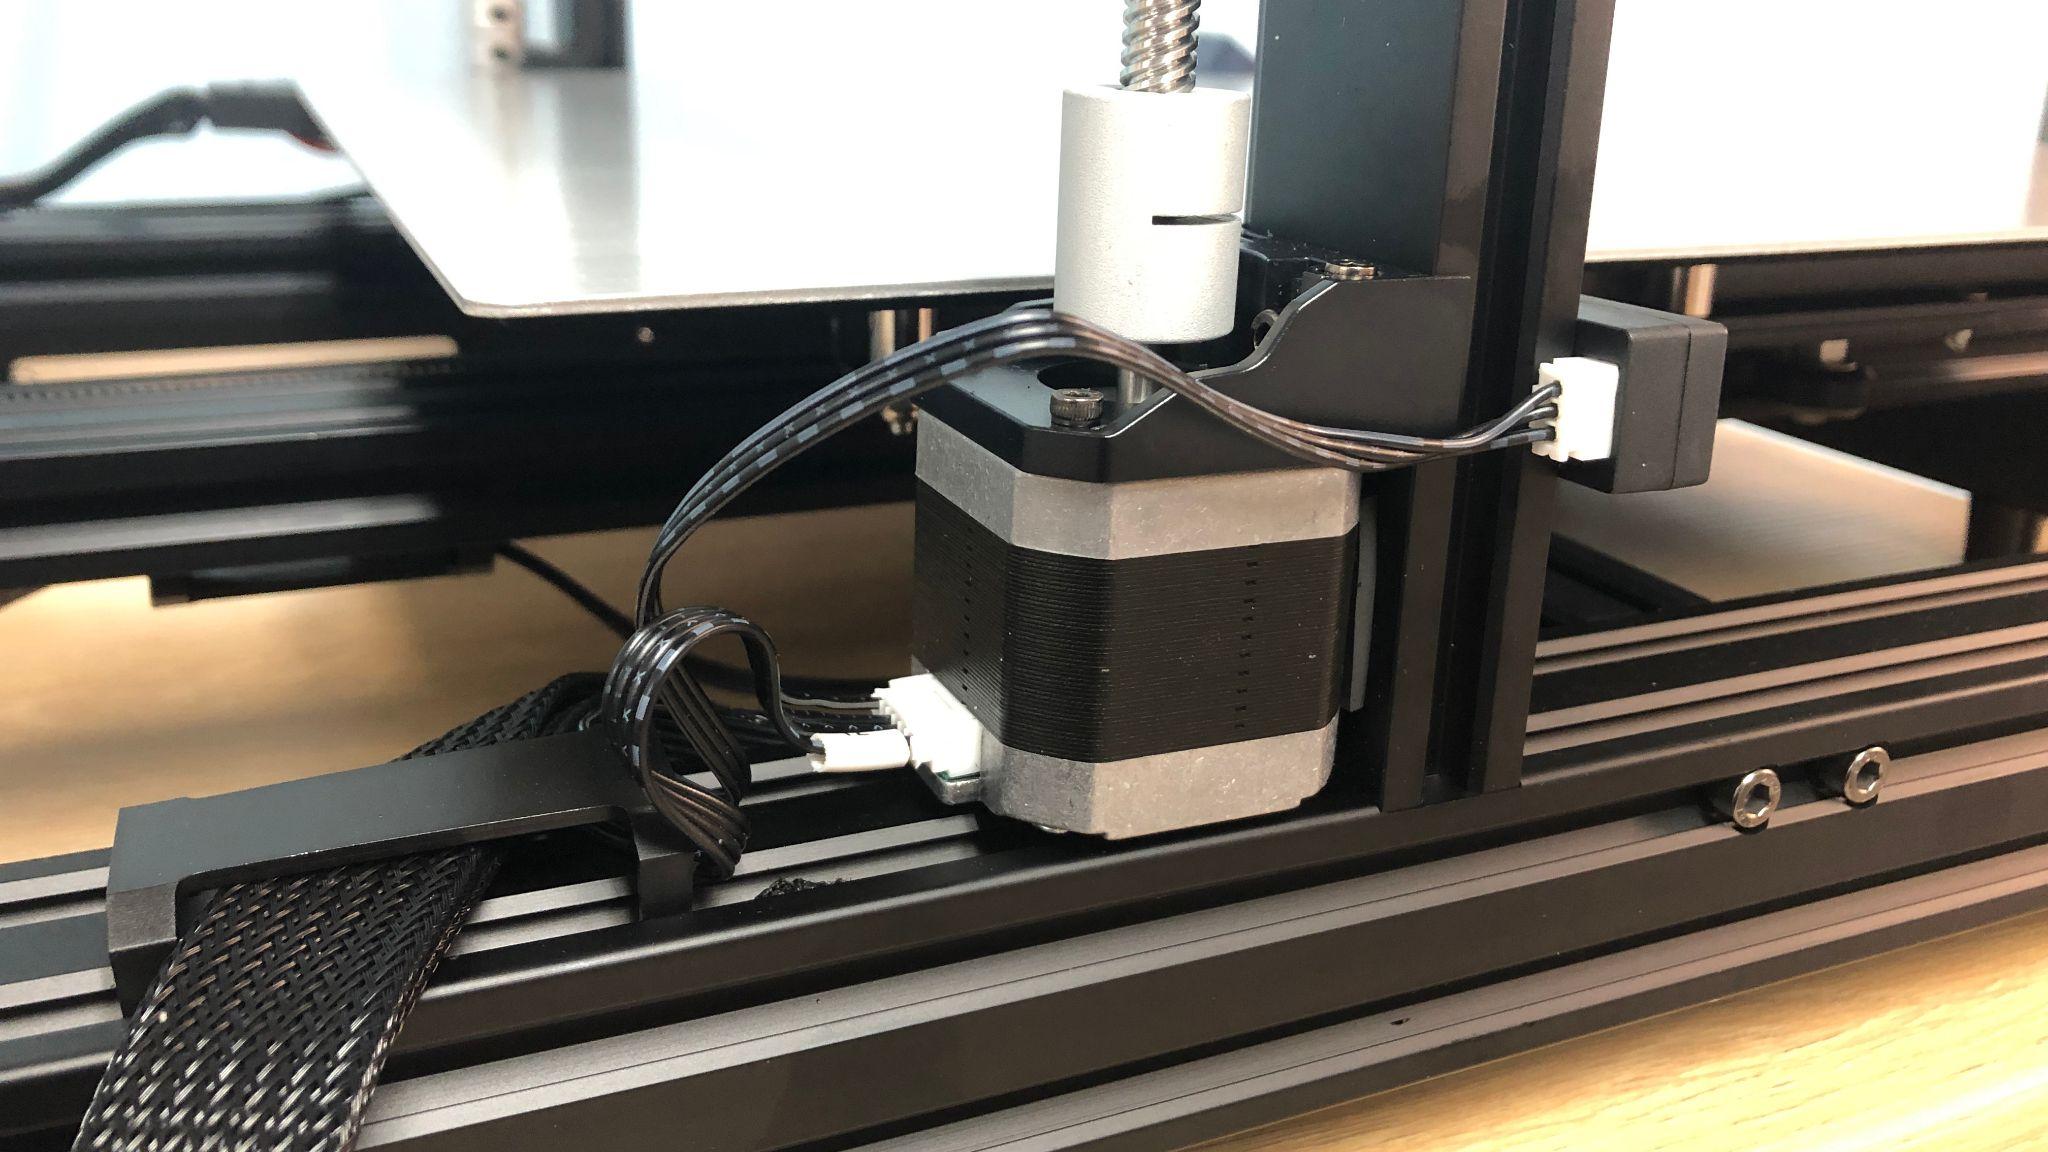
Despite the size, the Kobra Max is almost as easy to assemble as its little brother, the Anycubic Kobra. It ships mostly assembled in two large sections and only needs a handful of screws and bolts to assemble. Four bolts hold the gantry in place, then a brace is attached from the top of the machine to the back. A few more screws attach the touch screen, while the spool holder snaps onto the base.
Next, clip off the zip ties that held the printer together for shipping and plug in the wiring. Everything is clearly labeled. The final step is to secure the Bowden tube to the print head cable with the provided cable clips and zip tie the cable to the support rod if you wish.
Get Tom's Hardware's best news and in-depth reviews, straight to your inbox.
After the printer is assembled, you should check for loose or over tight parts – make sure all the wheels are snug but roll smoothly, the print carriage doesn’t have any wiggle and the belts are tight. The Kobra Max has eccentric nuts you can tighten with the provided wrench, plus easy-to-use belt tension knobs for the X and Y axis.
Please note, the Kobra Max has two Y axis belts. You’ll want to make sure each belt has about the same amount of tension for smooth printing. It takes about 30 minutes to carefully assemble.
The Anycubic Kobra comes with an in house designed automatic bed leveling sensor. It physically taps the bed at 25 points around a grid.
There are no knobs for manual tramming, leaving everything to the automatic sensor. To level the bed, select Prepare → Leveling → Auto-leveling. A popup will ask you to touch a tool to the nozzle to calibrate the sensor. The machine will home itself, preheat and then double tap 25 spots in a grid across the bed surface.
If you’re not happy with the Z height, you can adjust it on the fly while printing or from the leveling menu. The Kobra Max I tested was just a tiny bit close, so I added a .15mm baby step. What’s extra nice is that the machine will remember this setting automatically, and apply it to the next print.
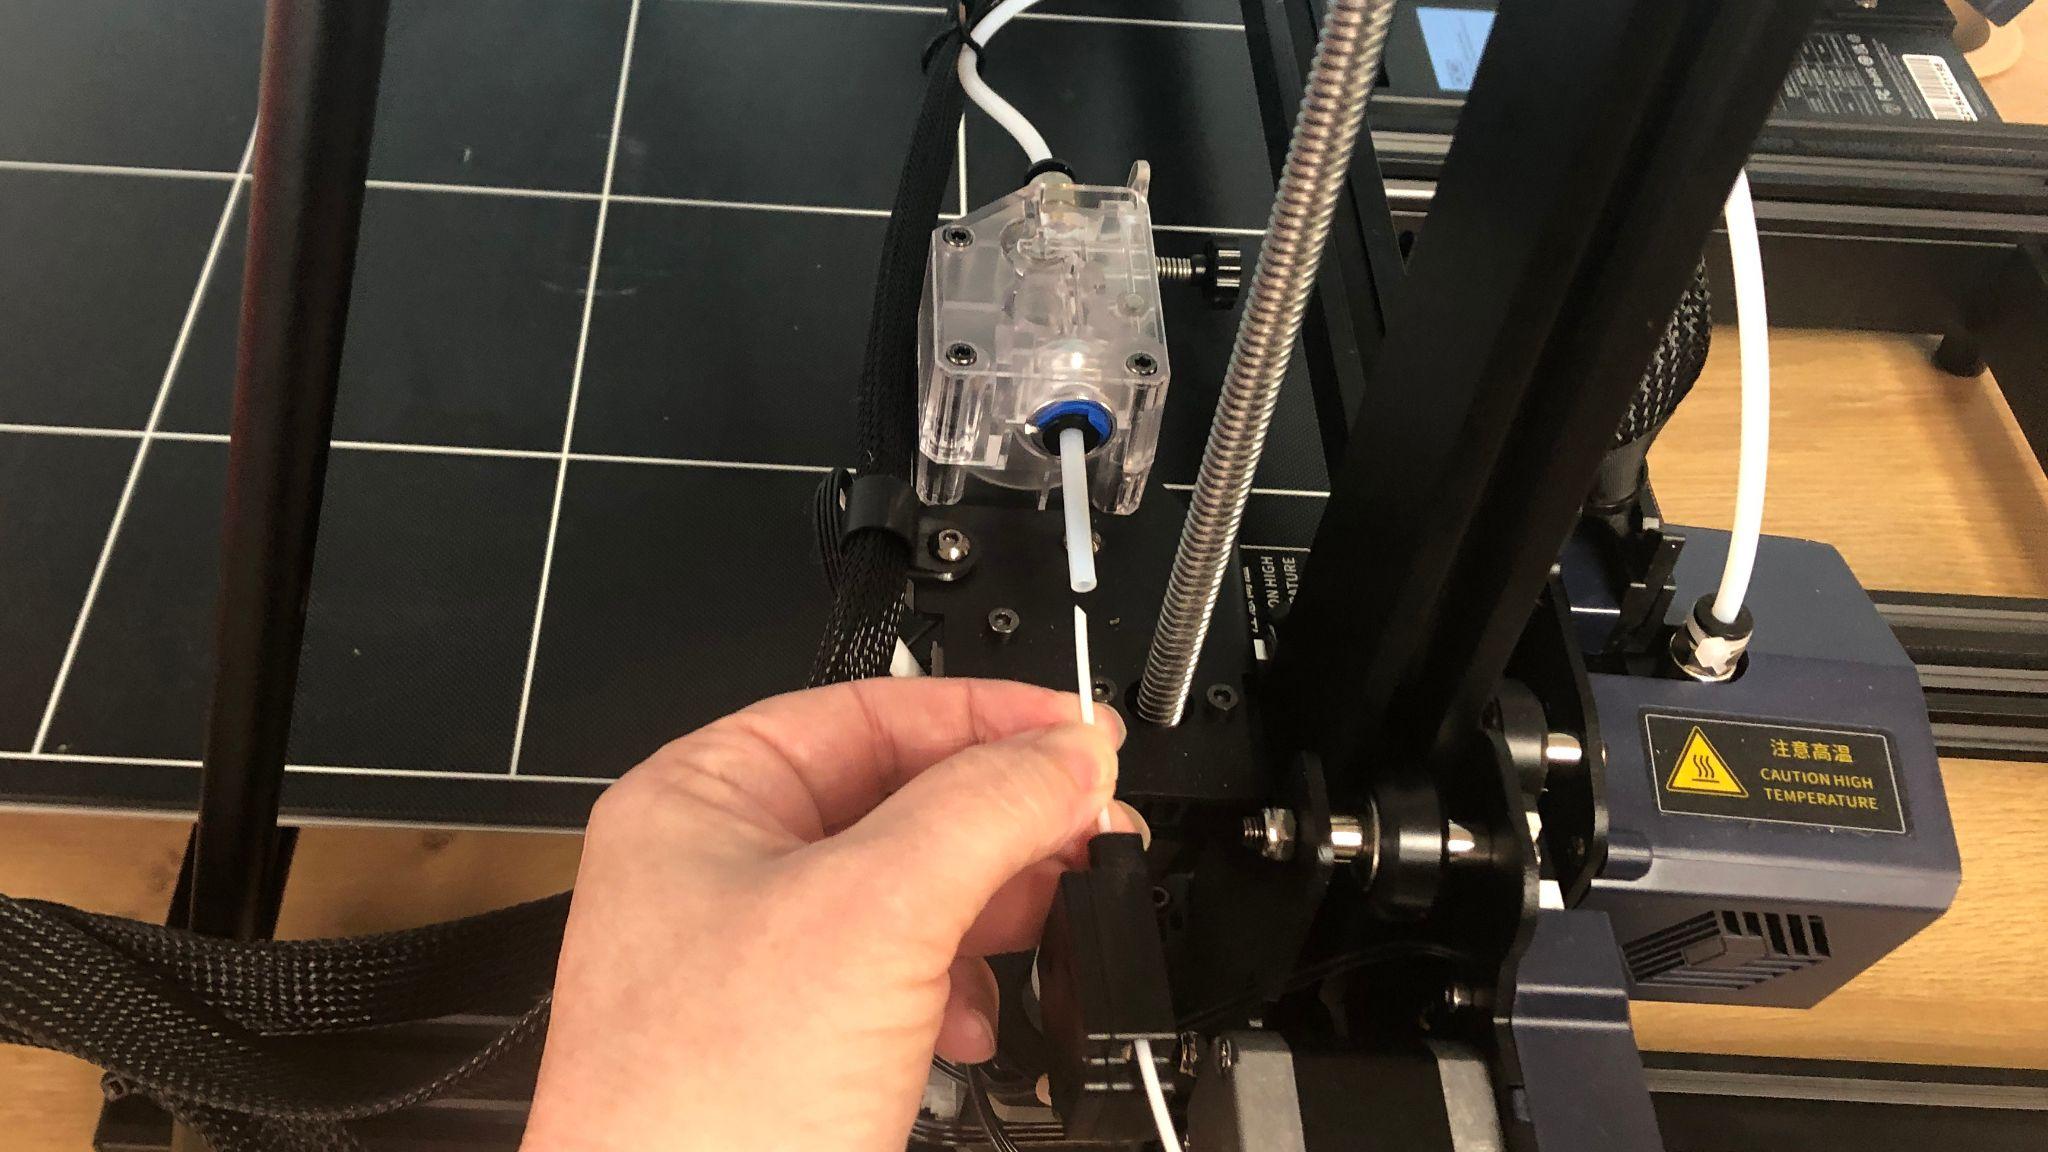
To load filament, press Prepare on the main menu. Select Filament. Now select Filament In or Filament Remove. The machine will now heat up to 230 C, taking about 60 seconds. Put your spool on the spool holder, and place the end of the filament into the runout sensor. Press Filament In and wait for the filament to be pulled to the extruder, or pinch the tension release on the front of the extruder and push it through by hand. Press Stop when the filament is coiling below the hotend.
Removing the filament works the same, just in reverse. Let the hotend preheat, select Filament Remove and let the gears back the filament out. Feel free to manually pull the filament out of the Bowden tube as soon as it’s left the hotend.
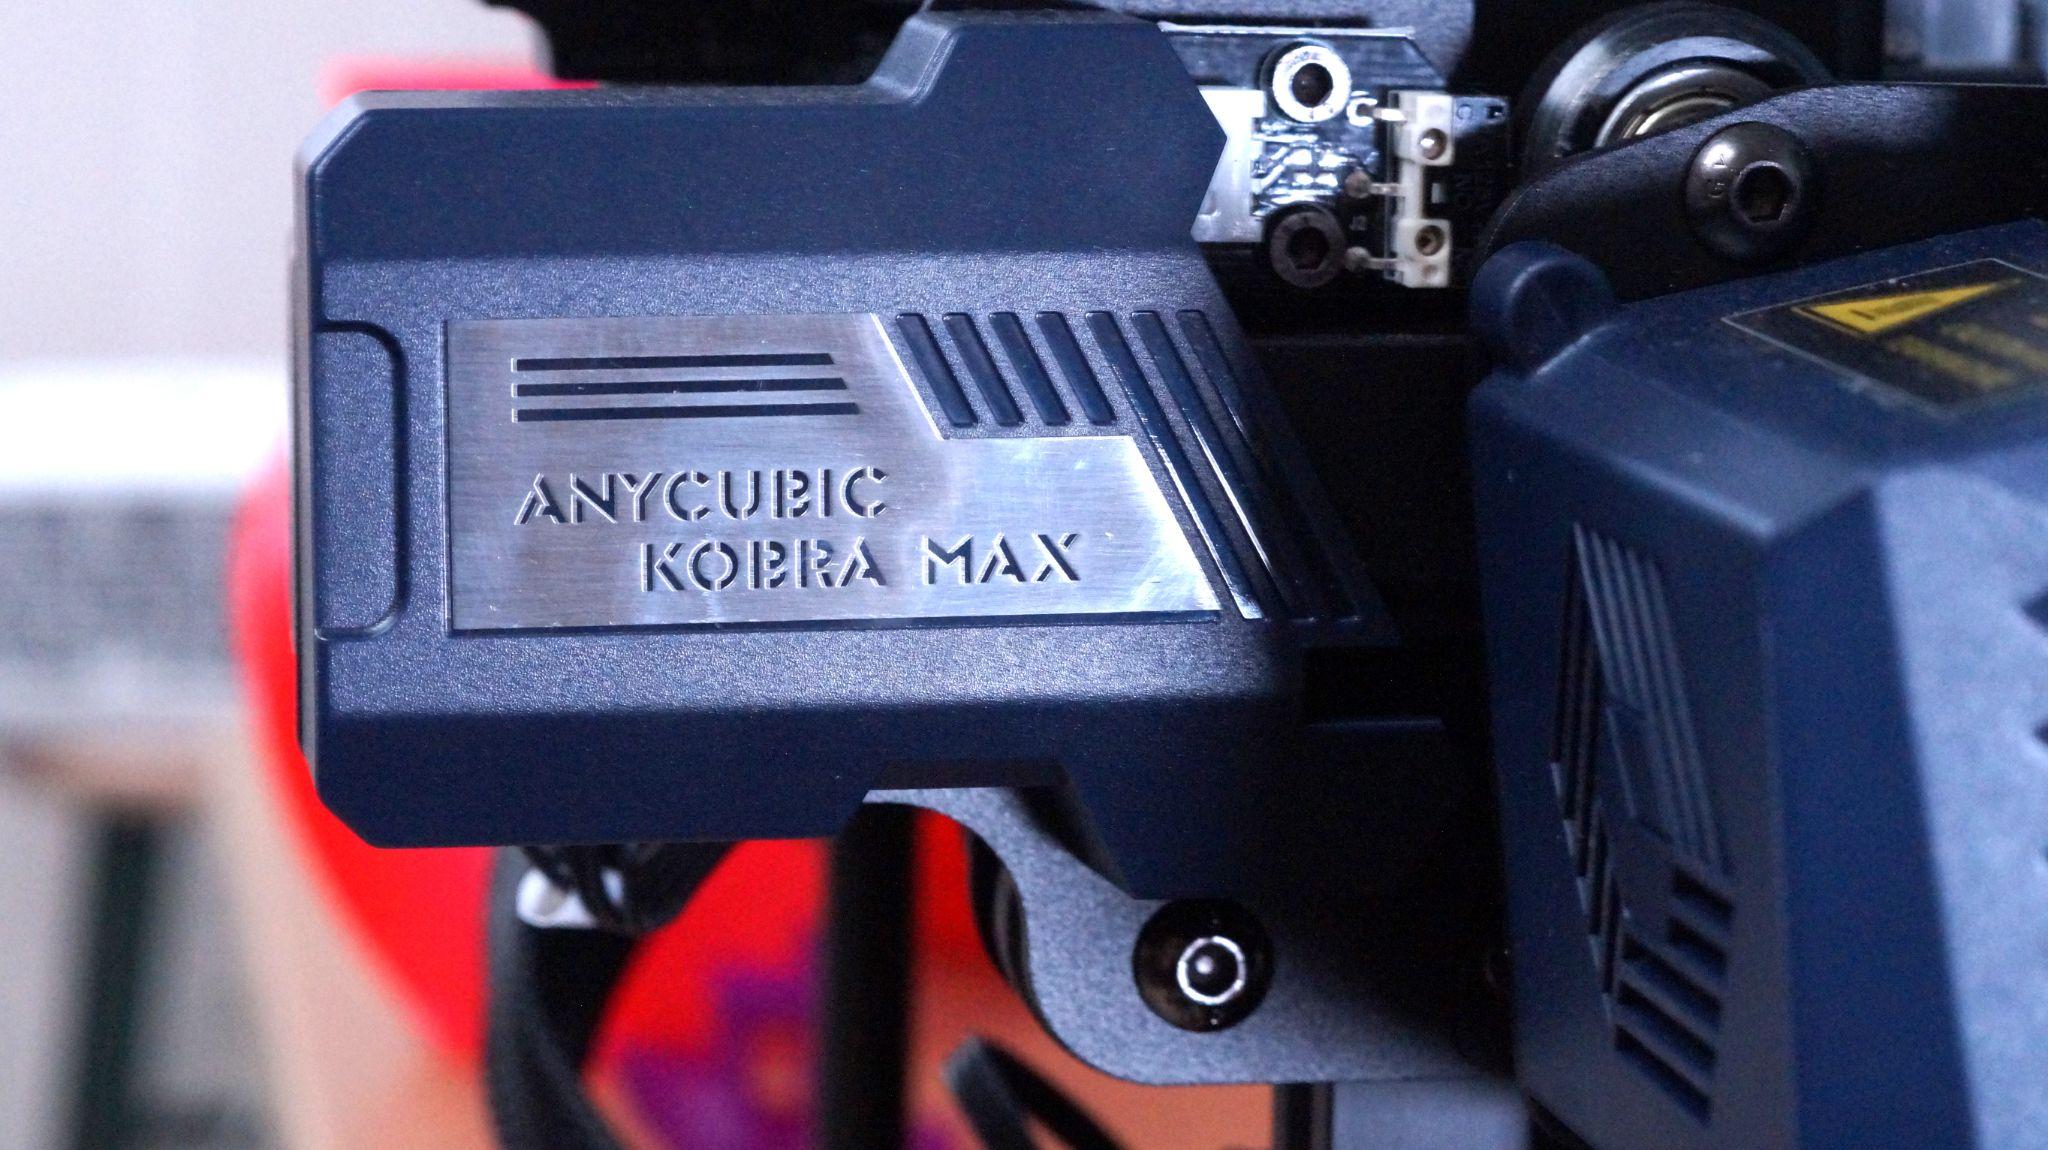
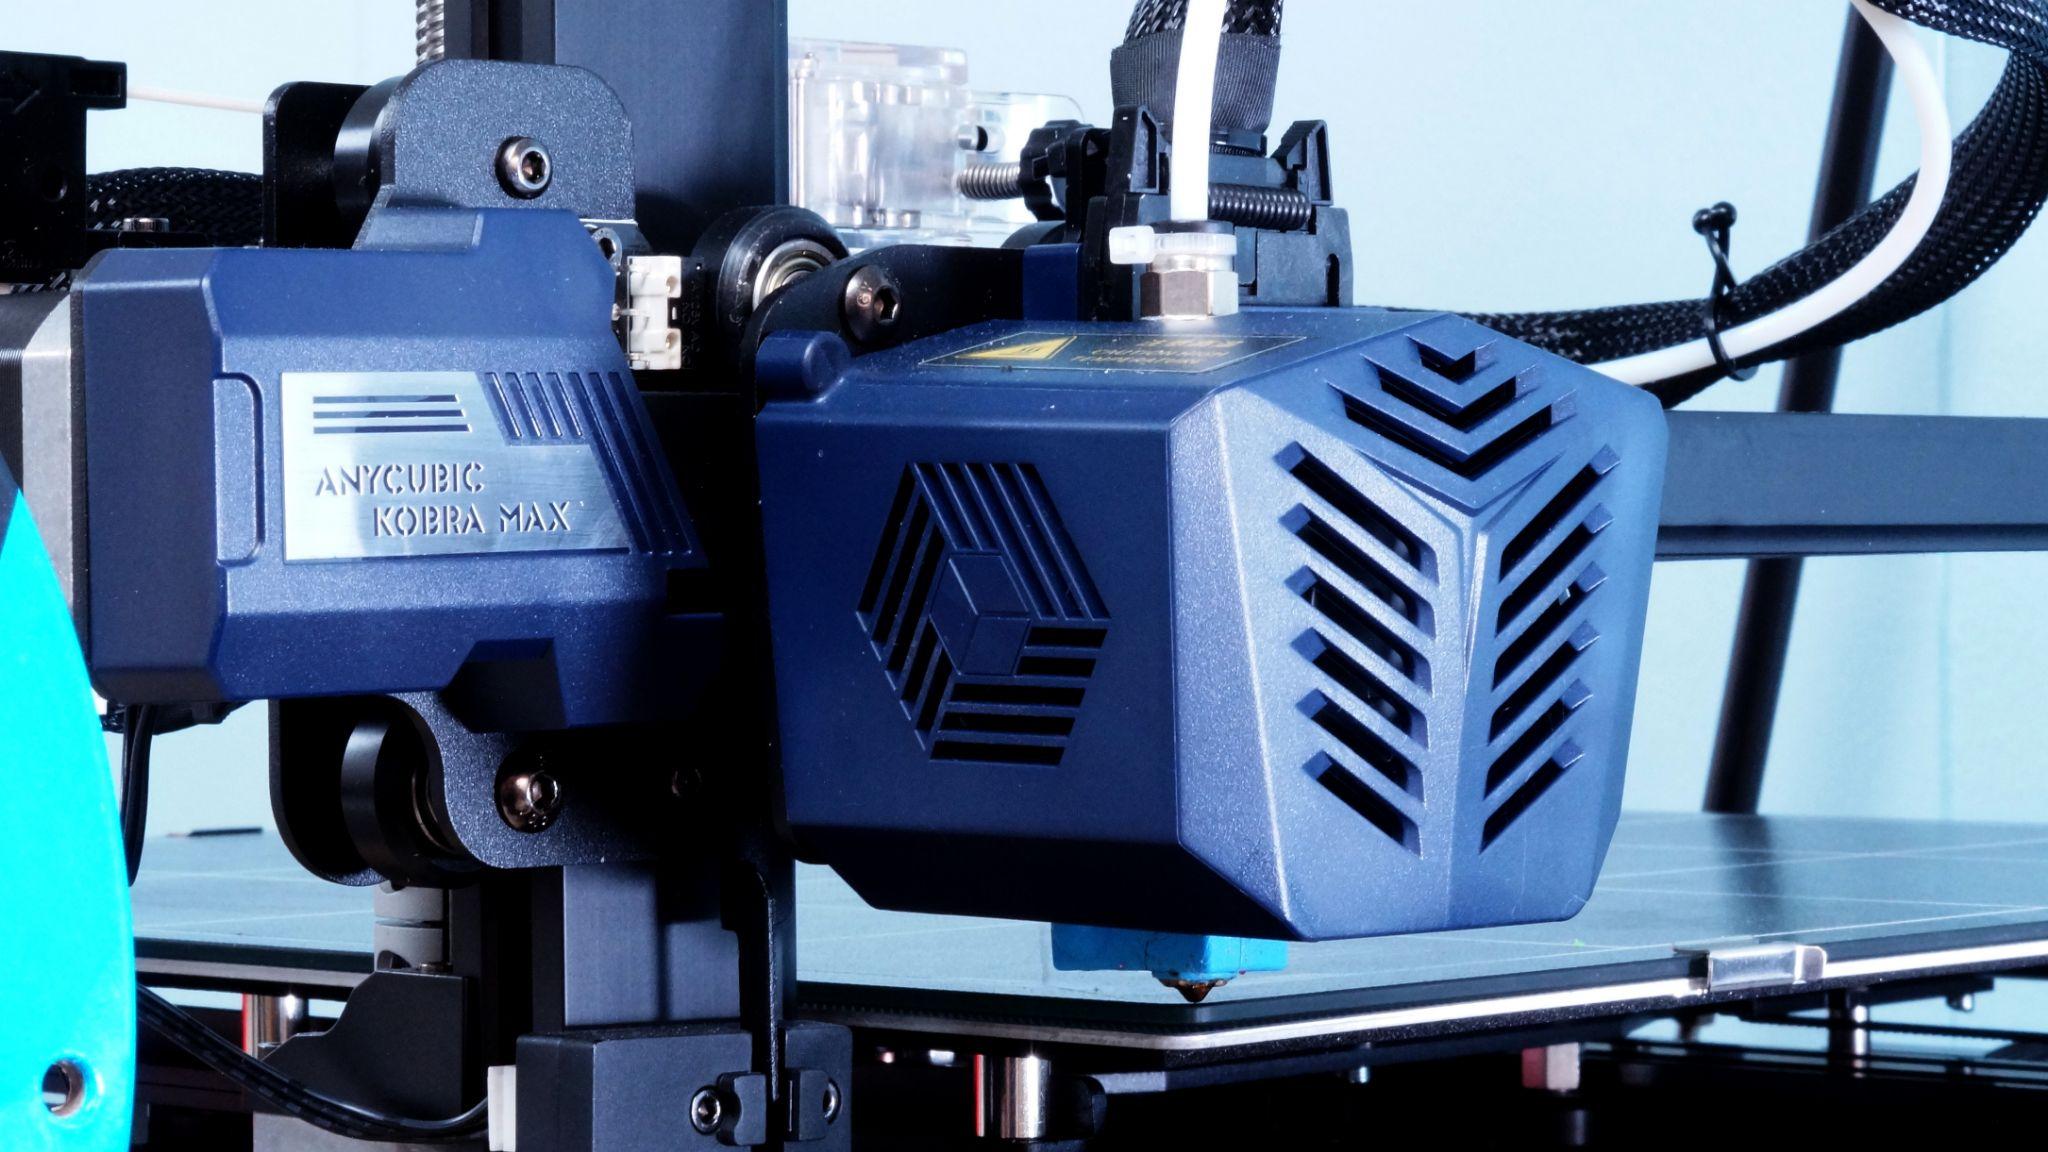
The Anycubic Kobra Max looks like a giant hybrid of the Anycubic Kobra and the older Anycubic Vyper. It has the Vyper’s angular print head cover and the Kobra’s smaller tension knobs, which combined with the smooth metal frame gives it a polished look. It uses an open frame design at the base to avoid extra weight, which is good because it already weighs 35 pounds. The power supply and processor tuck under the build surface and the machine can be picked up in one piece.
I should note that the spool holder snaps on to the side, which makes the entire printer about 3 feet wide. I had trouble fitting it through doors, so it's best to build it in the room where you plan to use it.
The printer may be a “bed slinger” but it’s built for stability. It has dual Z rods synced up with a belt, two widely spaced Y axis and braces that hold the gantry steady.
It has silent stepper motors, but you will hear the fans. Still, Anycubic says the operating noise is under 60dB, so it’s quiet compared to many machines.
The build plate is a carborundum coated glass, held on with six clips. Most prints simply release when the bed cools down. The bed can reach temperatures of 90 C.
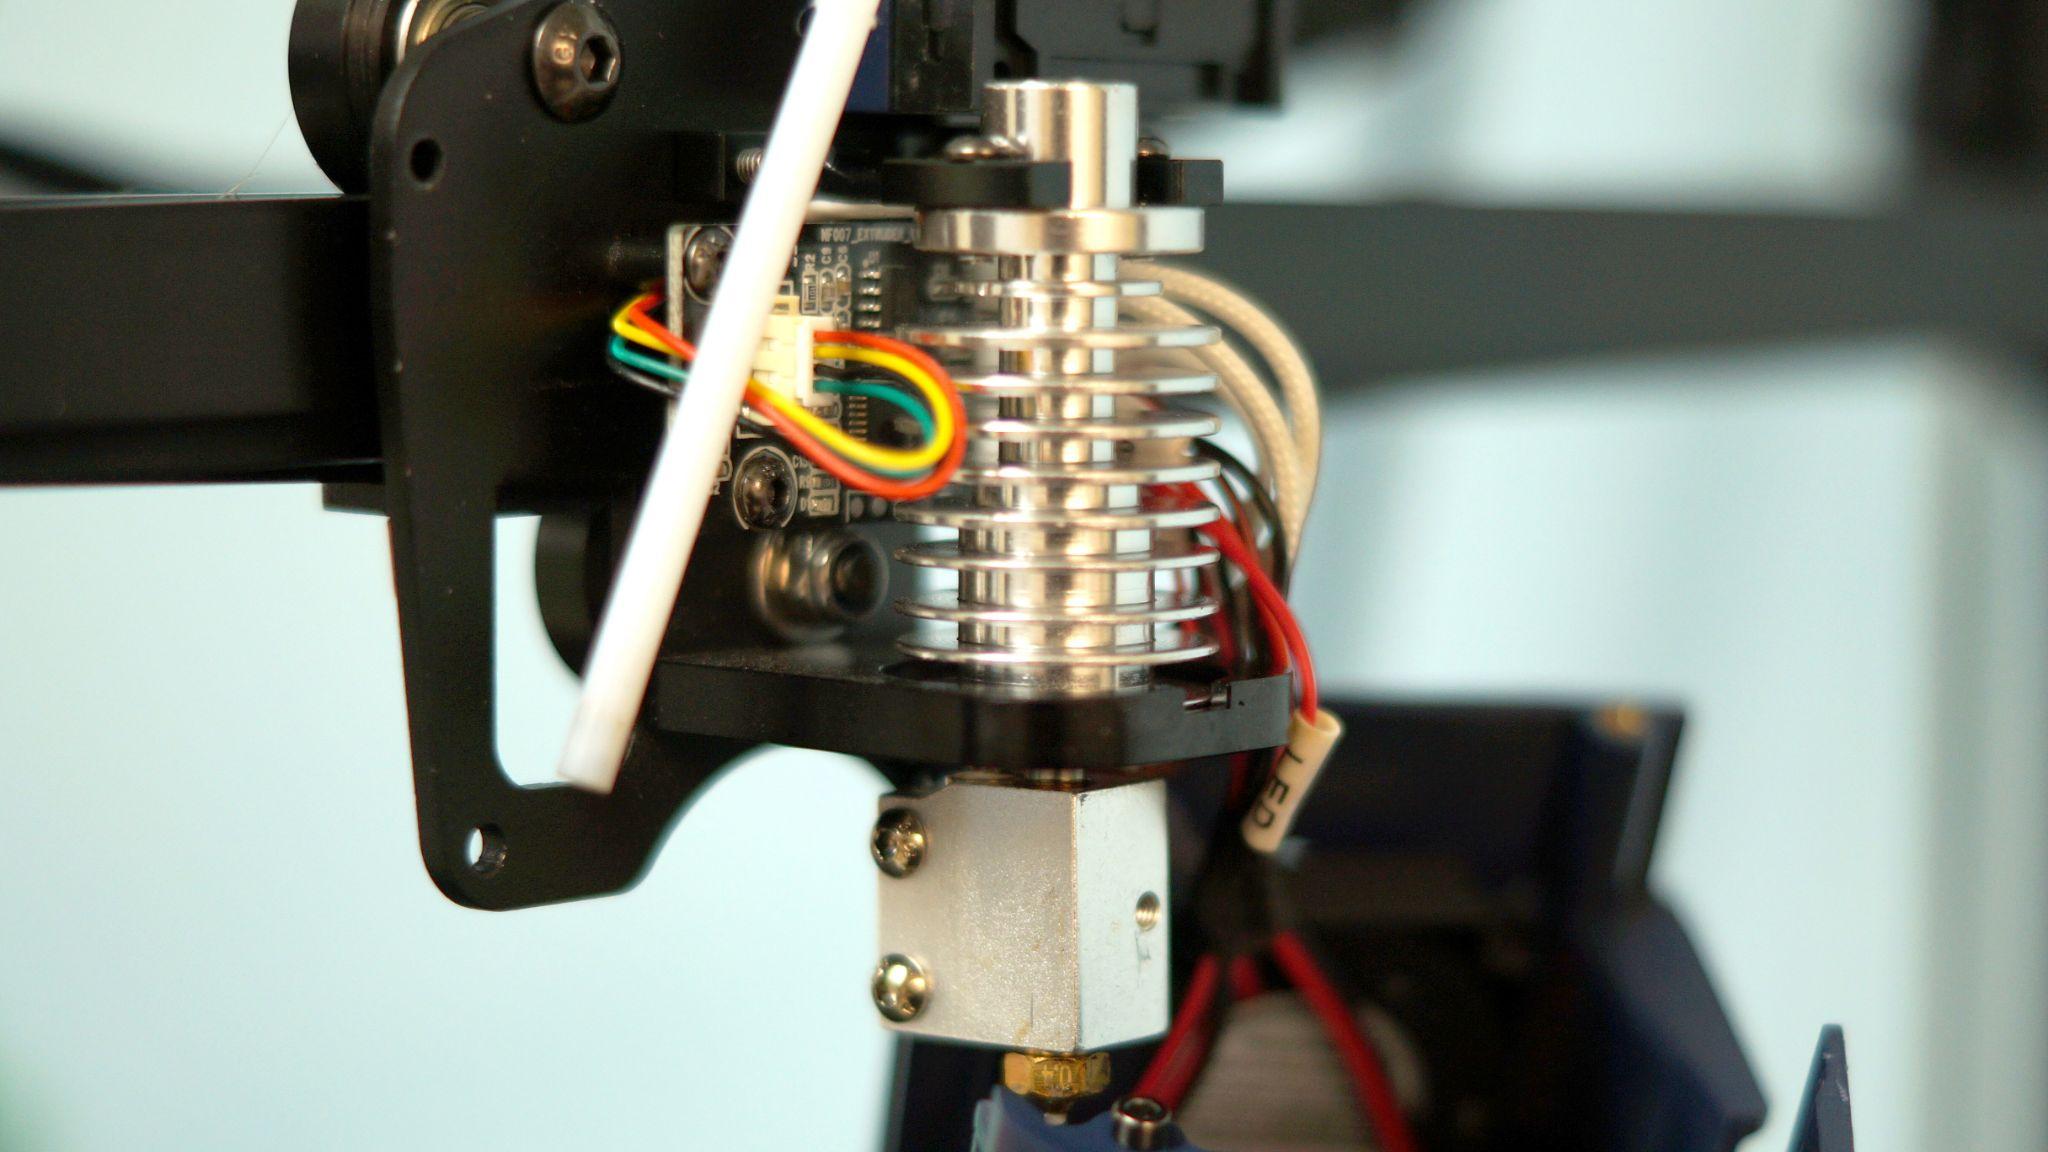
The hotend is a Volcano style that can reach 260 C, hot enough for most consumer grade materials. Despite being a Bowden machine, I had excellent results with TPU.
The touch screen is the same 4.3-inch display as on the Anycubic Kobra. The menu is easy to navigate for beginners, with options in logical locations. The home screen has four options: Print, Prepare, Tools and System.
- Print shows you a list of files on the microSD card you can choose.
- Prepare has menus for Leveling, Preheat and Filament loading.
- Tools has Move Axis, Temperature, Speed and Motor. Motor is where you disable the steppers if you need too.
- System lets you pick the language (English or Chinese), Voice (turn off the beeps) and About.
Preparing Files / Software
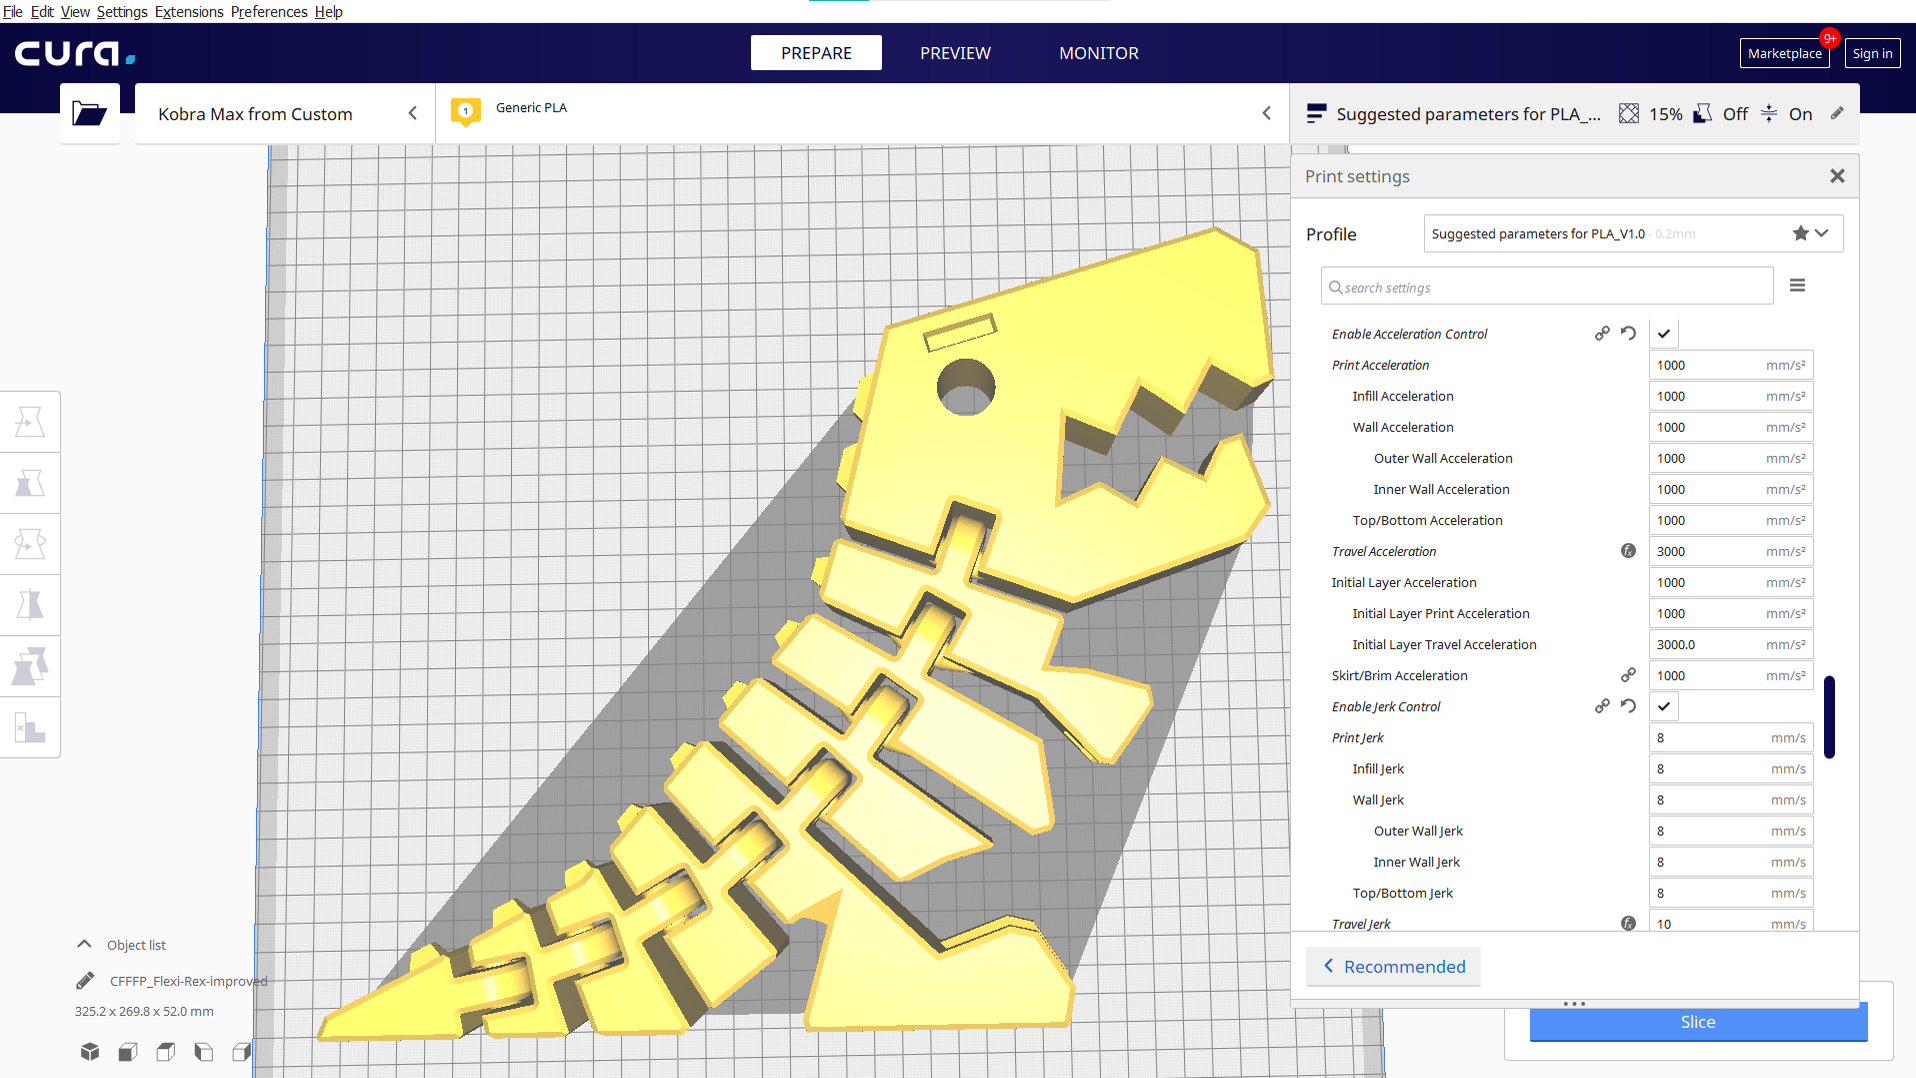
The Anycubic Kobra Max comes with Cura 4.2.1 and a profile for PLA and TPU. These profiles do not work with newer versions of Cura, so it’s worth downloading version 4.2.1 just to check out the profile settings.
Directions are included in the manual for making a custom printer to match the Kobra Max settings. The “PLA profile” has important tweaks to slow down the default Ultimaker acceleration and jerk settings, which are too much for a massive machine like the Max. Acceleration is slowed to 1000 mms and Jerk is reduced to 8 mms.
To load the profile, click Preferences → Configure Cura → Profiles then select Import from the tabs.
If you’re wanting to use a newer version of Cura you can load a printer profile for a Creality Cr10, then adjust the build volume to 402 x 402 x 452. This setup already has the acceleration and jerk slowed and is what I used during testing.
If you’re looking to save time, print at .28mm layer height, and increase your line width to .64mm. This is the same effect as swapping to a .6mm nozzle without the work. It will increase the amount of filament used, but make a drastic impact on time without hurting quality. This Flexi Rex takes 50 hours printed at .28mm layer height at a default .4 line width. I saved 13 hours by increasing the line width to .64mm.
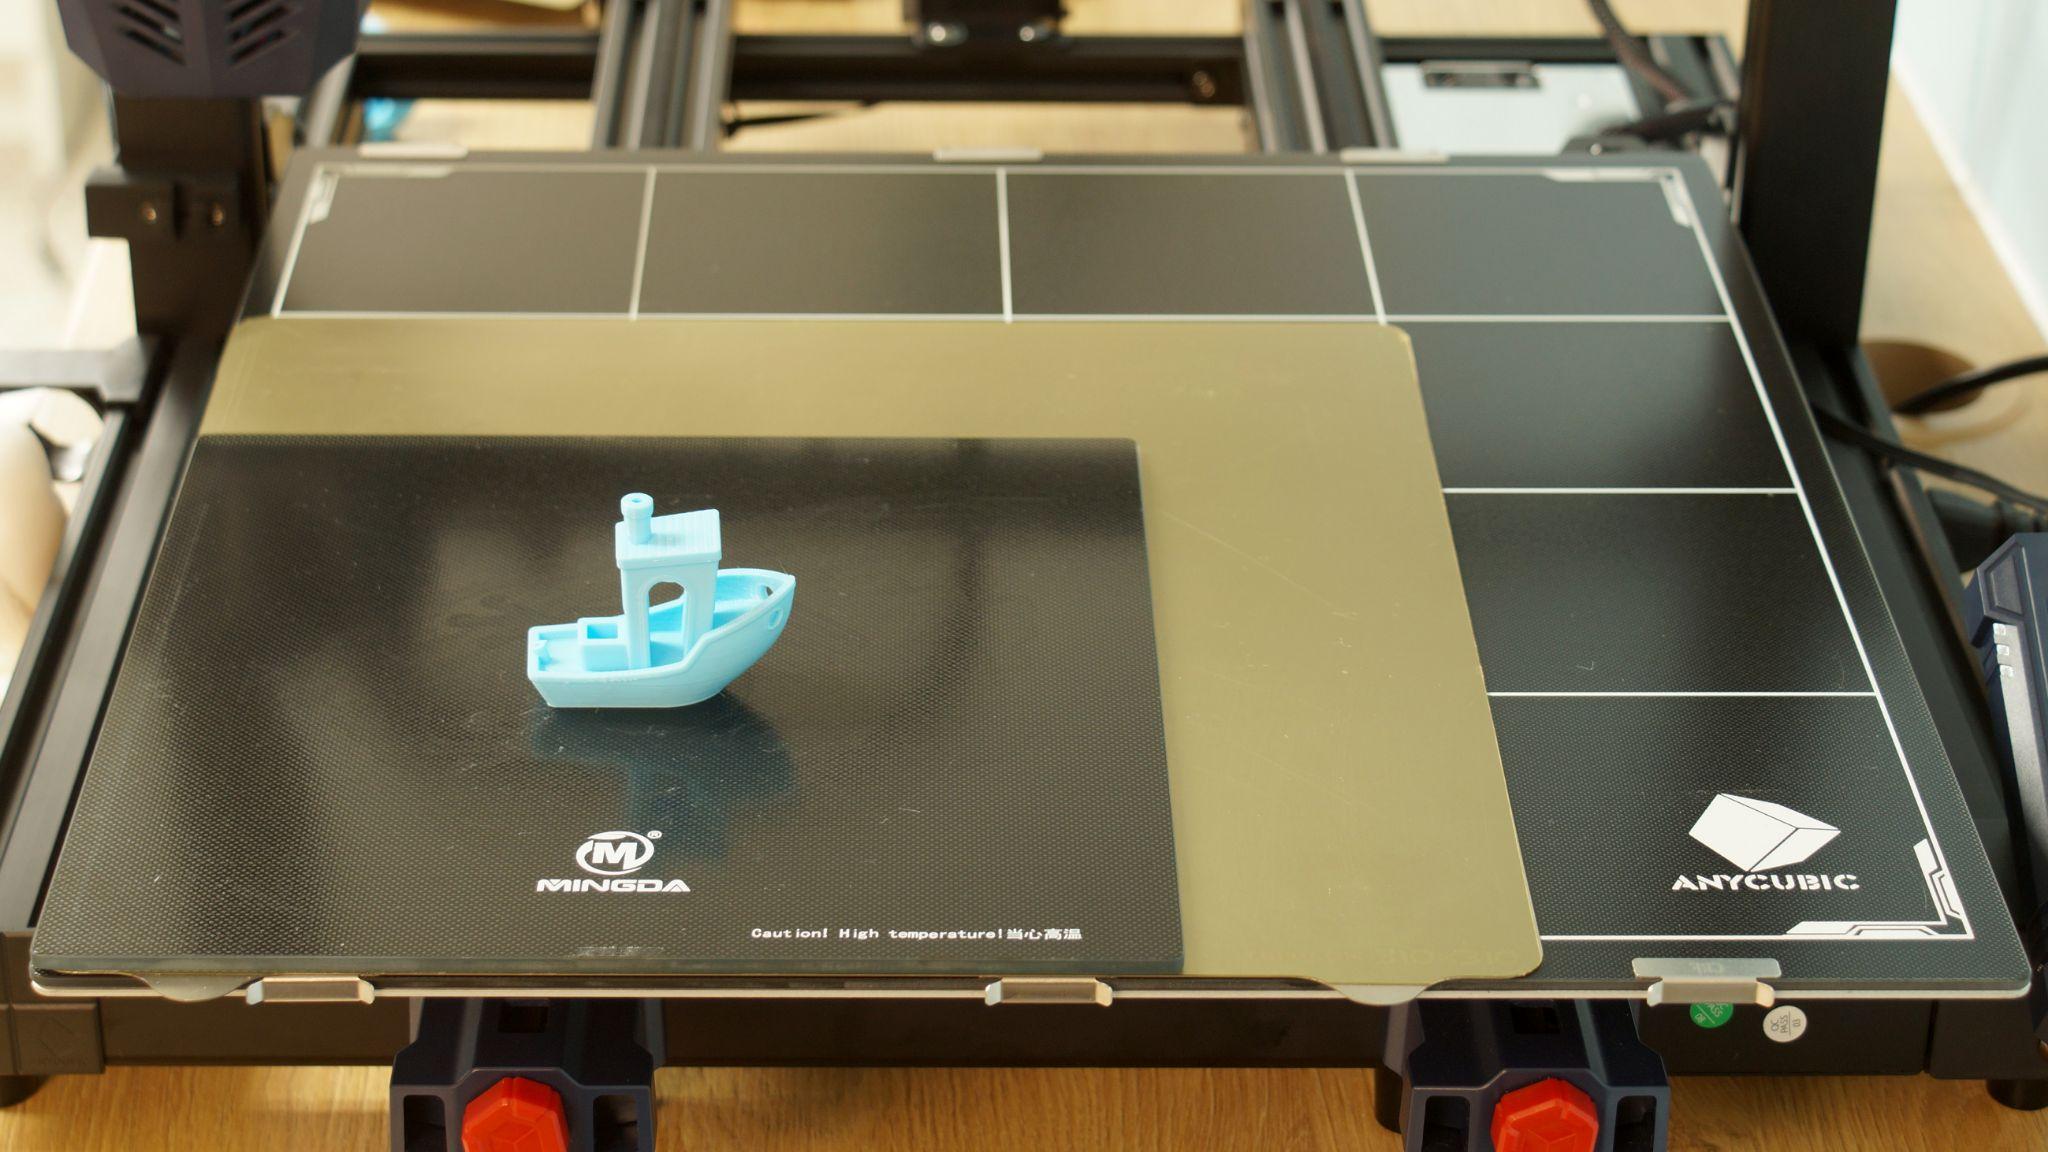
When I first heard about the Kobra Max, I thought it would be just a little bigger than my Creality CR10s. I was wrong – it’s a lot bigger. I snapped a photo of the Kobra Max holding build plates from the Ender sized Mingda Magician and the CR10s for comparison.
Another thing to consider: the Kobra Max gobbles filament when you take advantage of its enormous build size. Many of the extra large prints I made consumed entire spools.
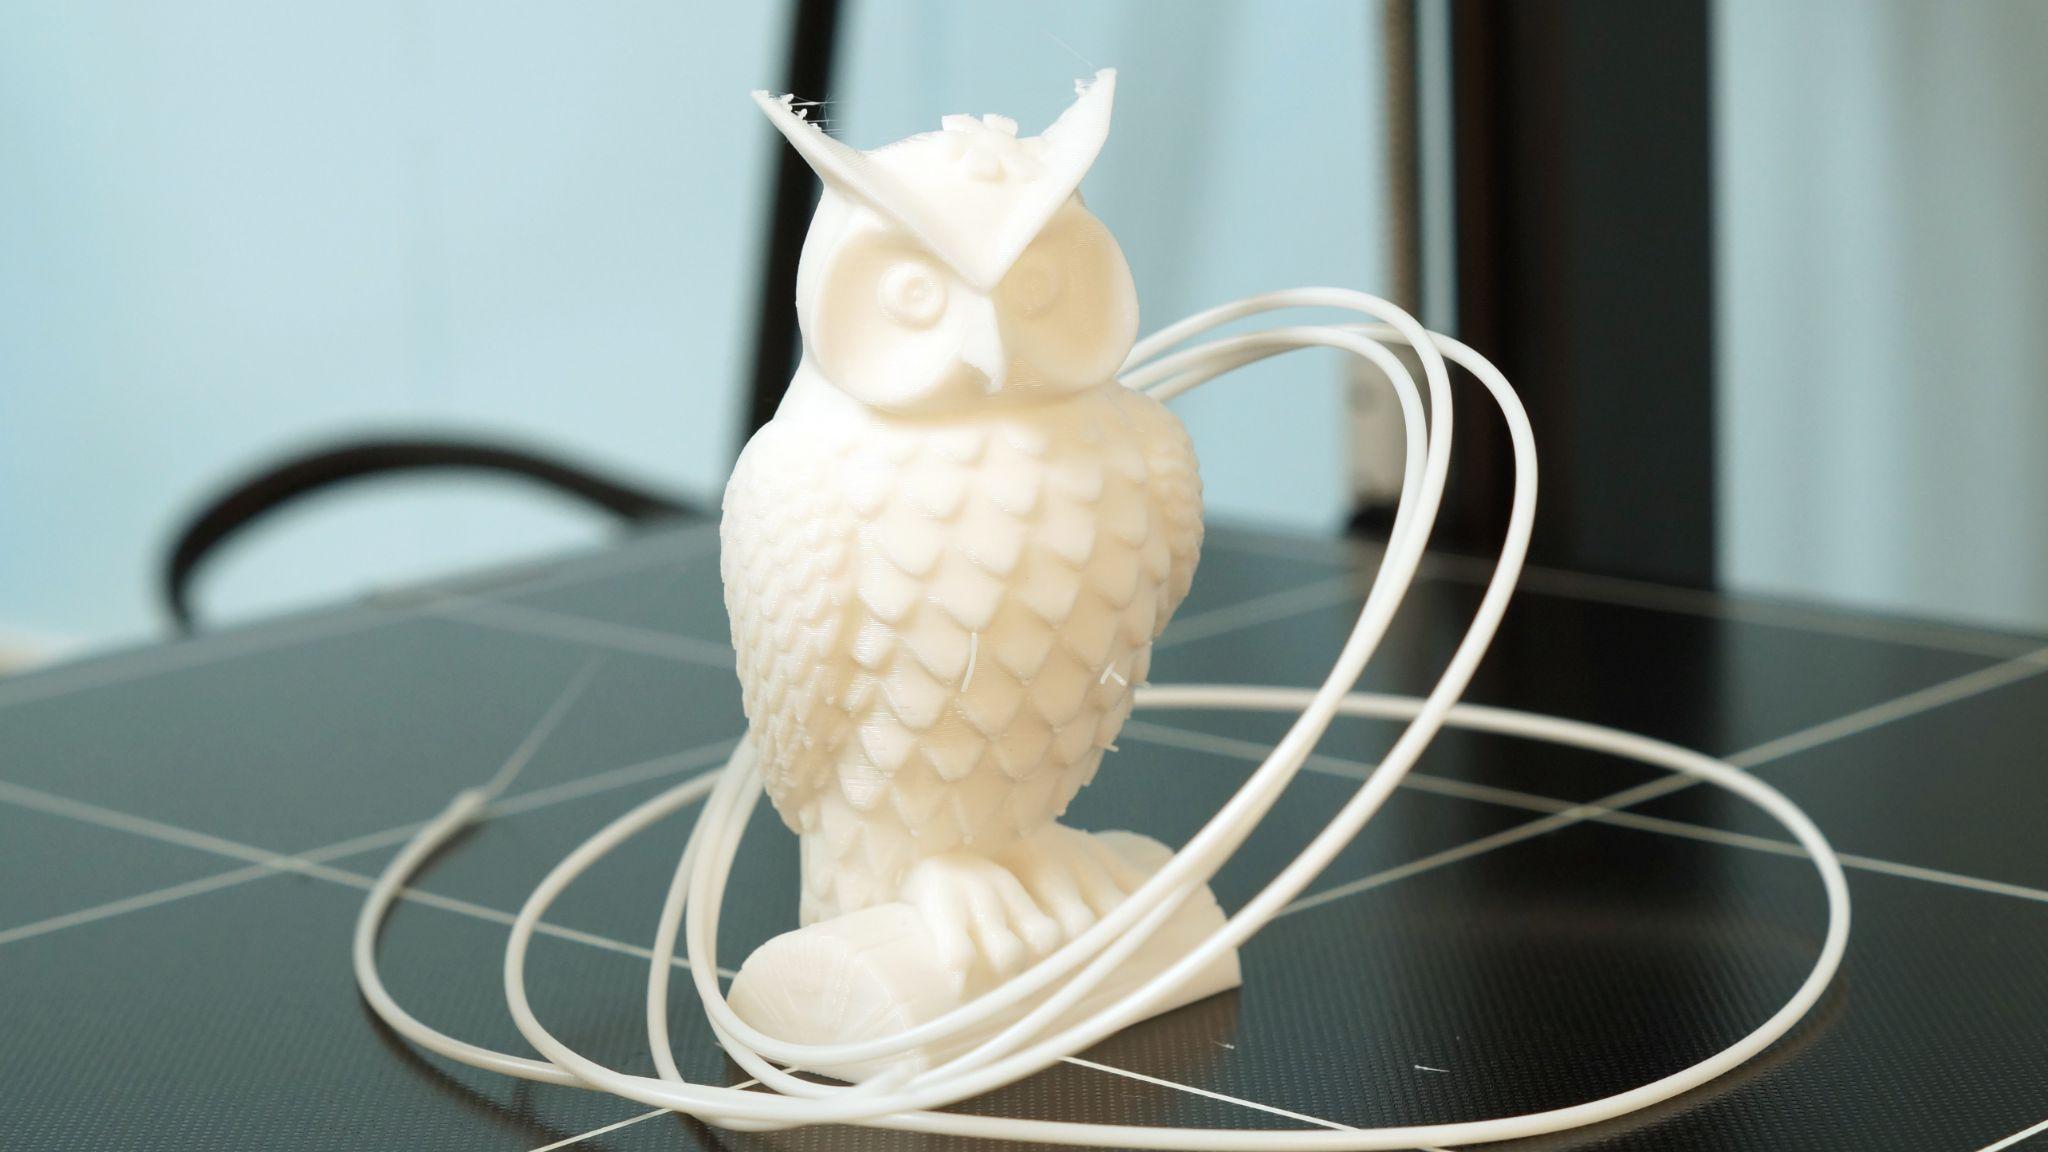
Of course, you don’t have to print large items with the Kobra Max. It’s still a regular 3D printer. The first print I made was Anycubic’s pre-sliced test Owl, measuring 3.5 inches tall and using about half of the sample sprig of filament. It looked decent, with a little stringing that can be snipped off. The coil of filament on the owl is the leftover sample material.
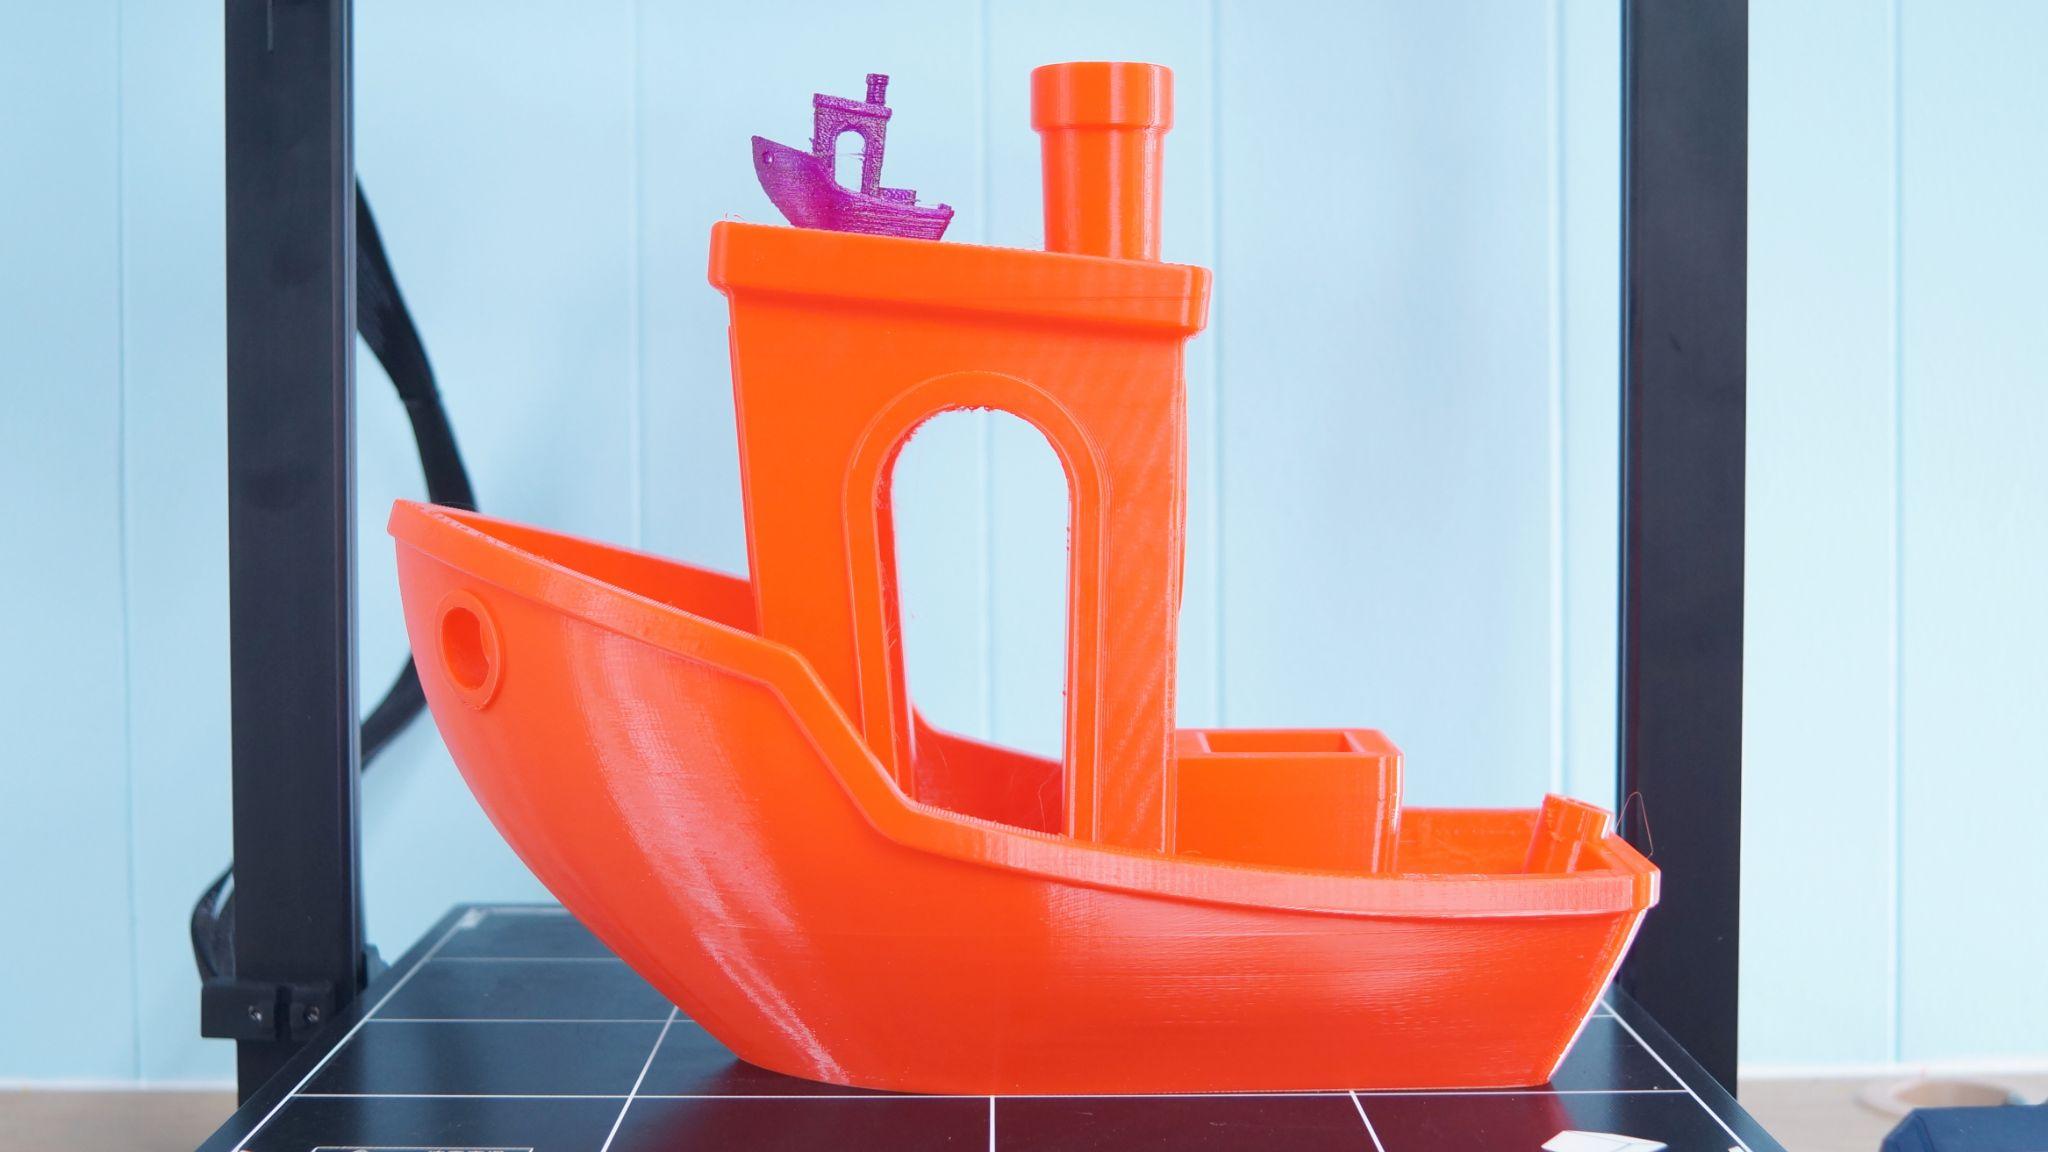
Of course, I immediately had to print something ridiculously huge. This 600% Benchy was printed with a .28mm layer height and took 693 grams of Printerior Red PLA and 42 hours to print. Sitting on top of it is a normal-sized Benchy.
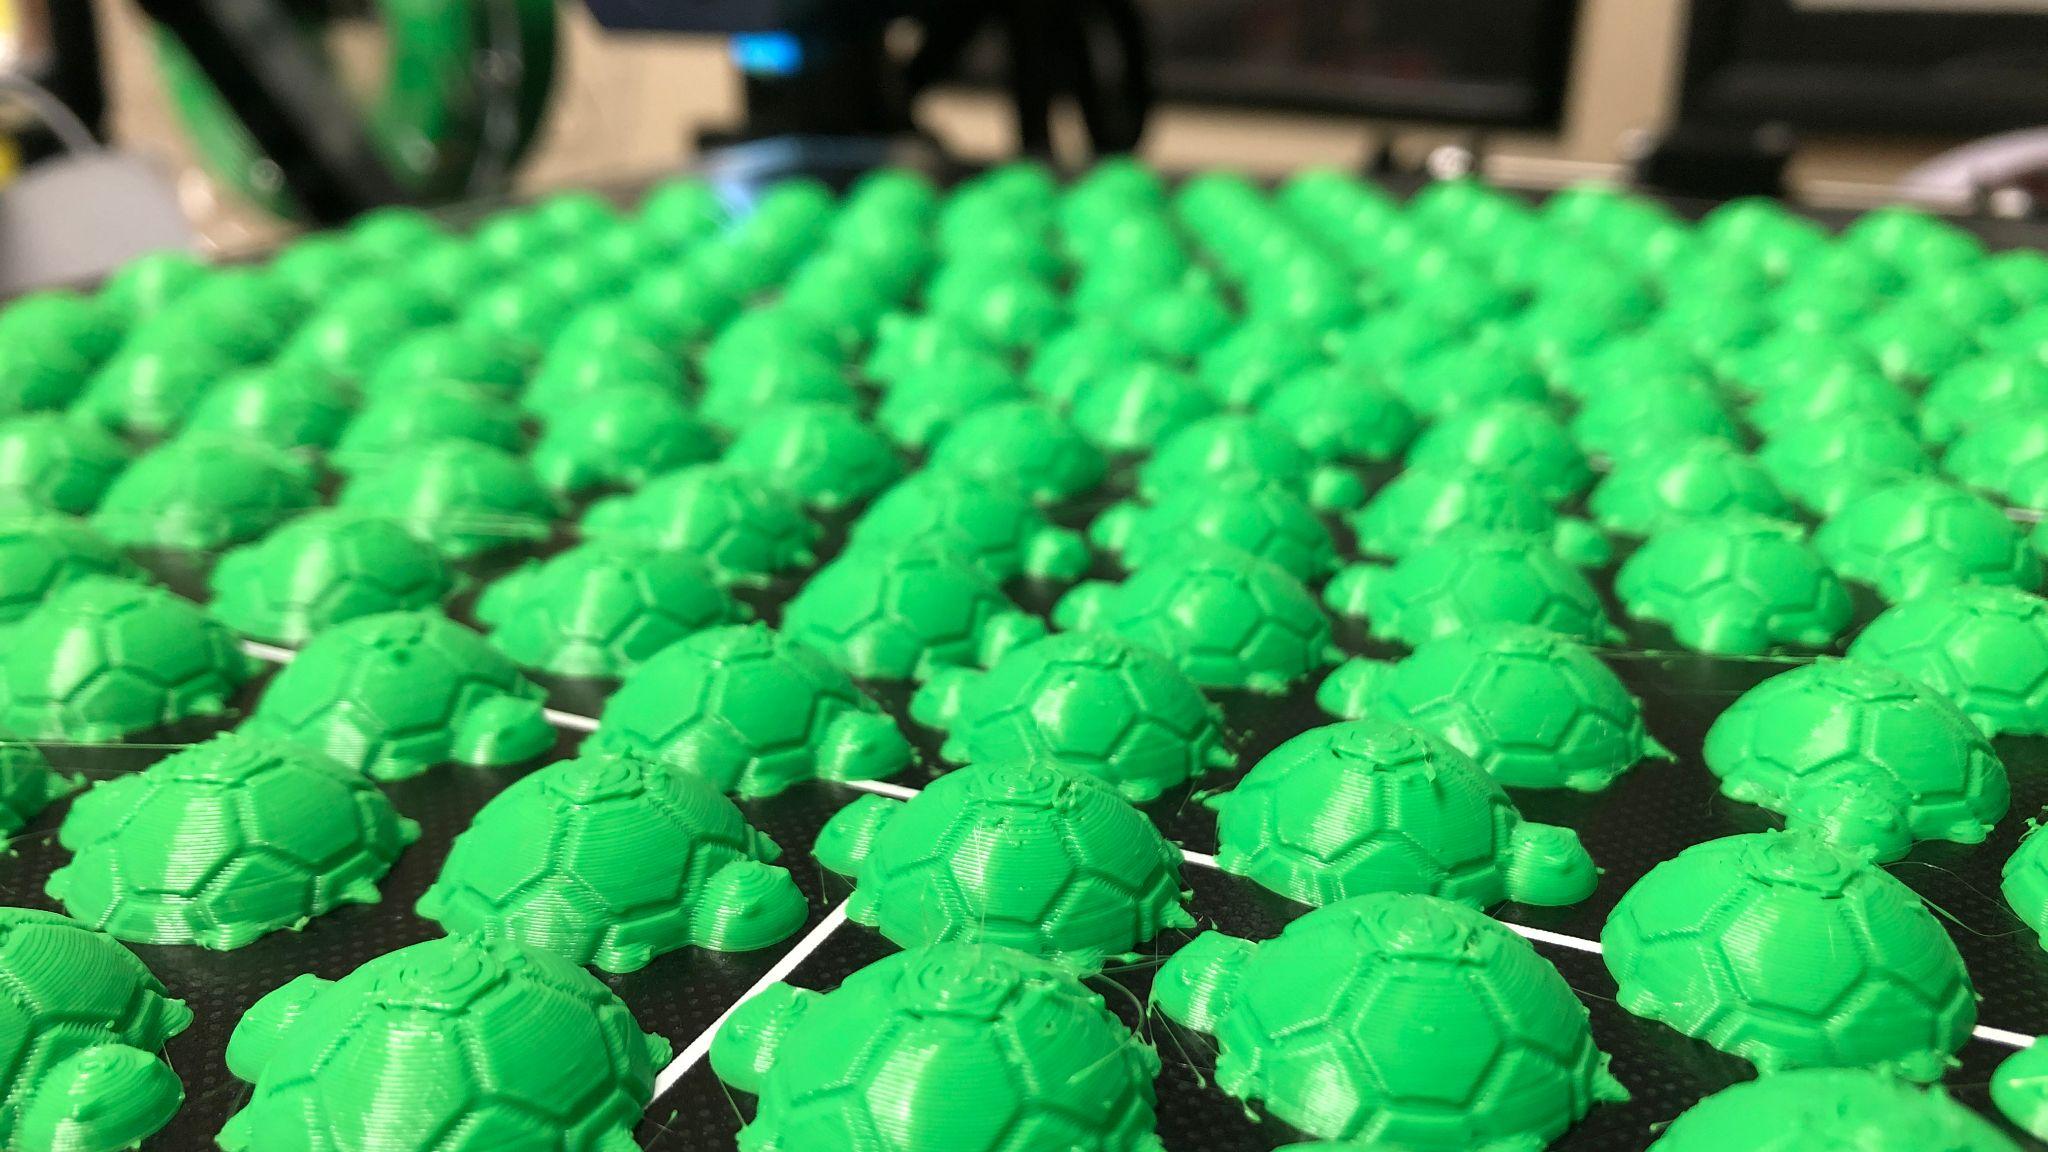
I also wanted to see how the Kobra Max behaved when I covered the build plate with lots (and lots) of little things. Here’s 200 tiny Thingiverse turtles printed in draft mode in 24 hours. I had to scrape a few of them off the build plate – smaller objects sometimes cling better. The filament is Creality’s Green PLA.
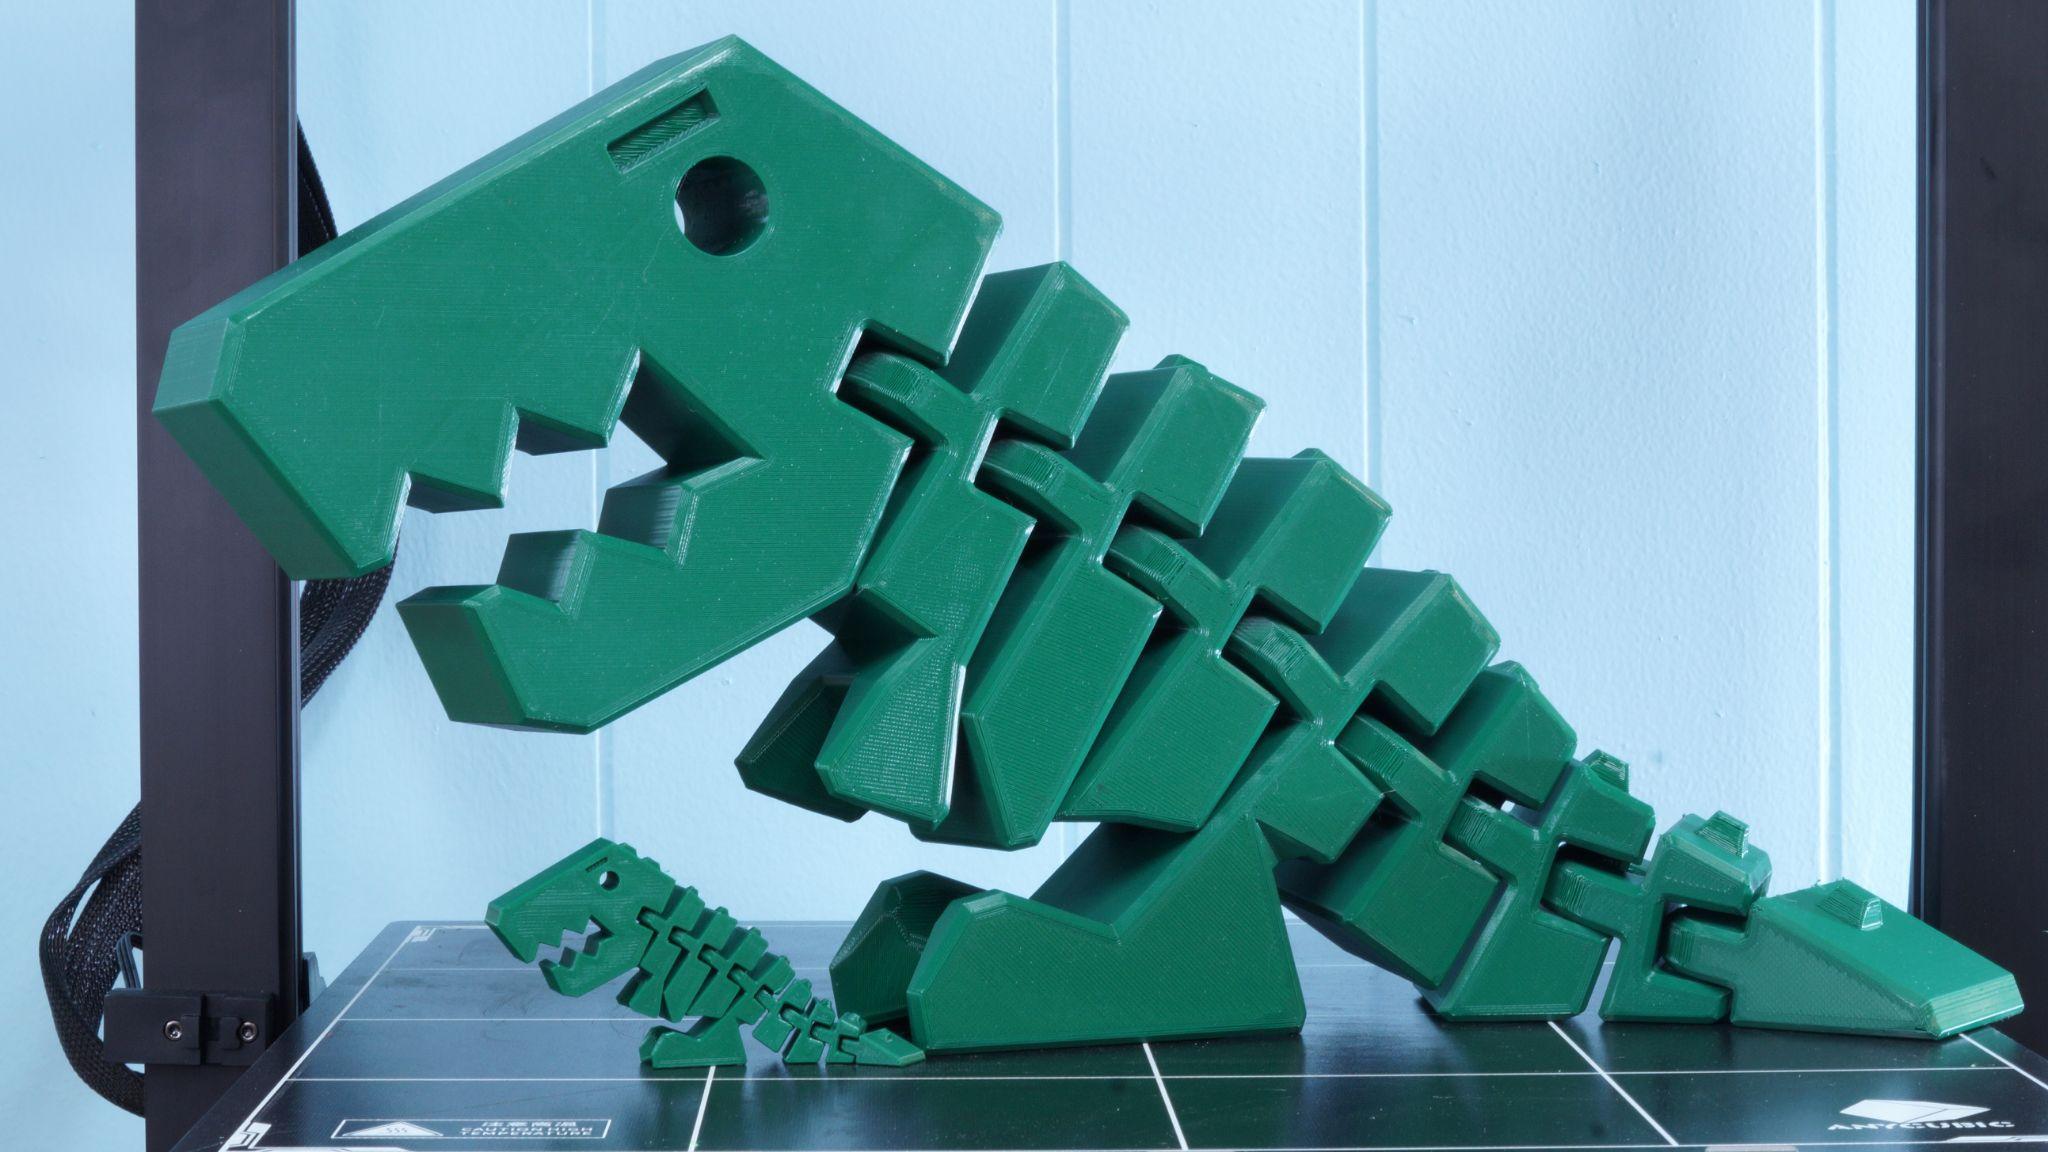
This 450% Flexi Rex by DrLex0 took over half a spool of Matterhackers Build Series Forest Green PLA and 24 hours to print at a .28mm layer height with a chonky .64mm line width. Next to it is the same print (and material) at 100%. When you scale up a model, remember that you’re also scaling up the tolerances – the giant Flexi Rex is super loose, but also super strong.
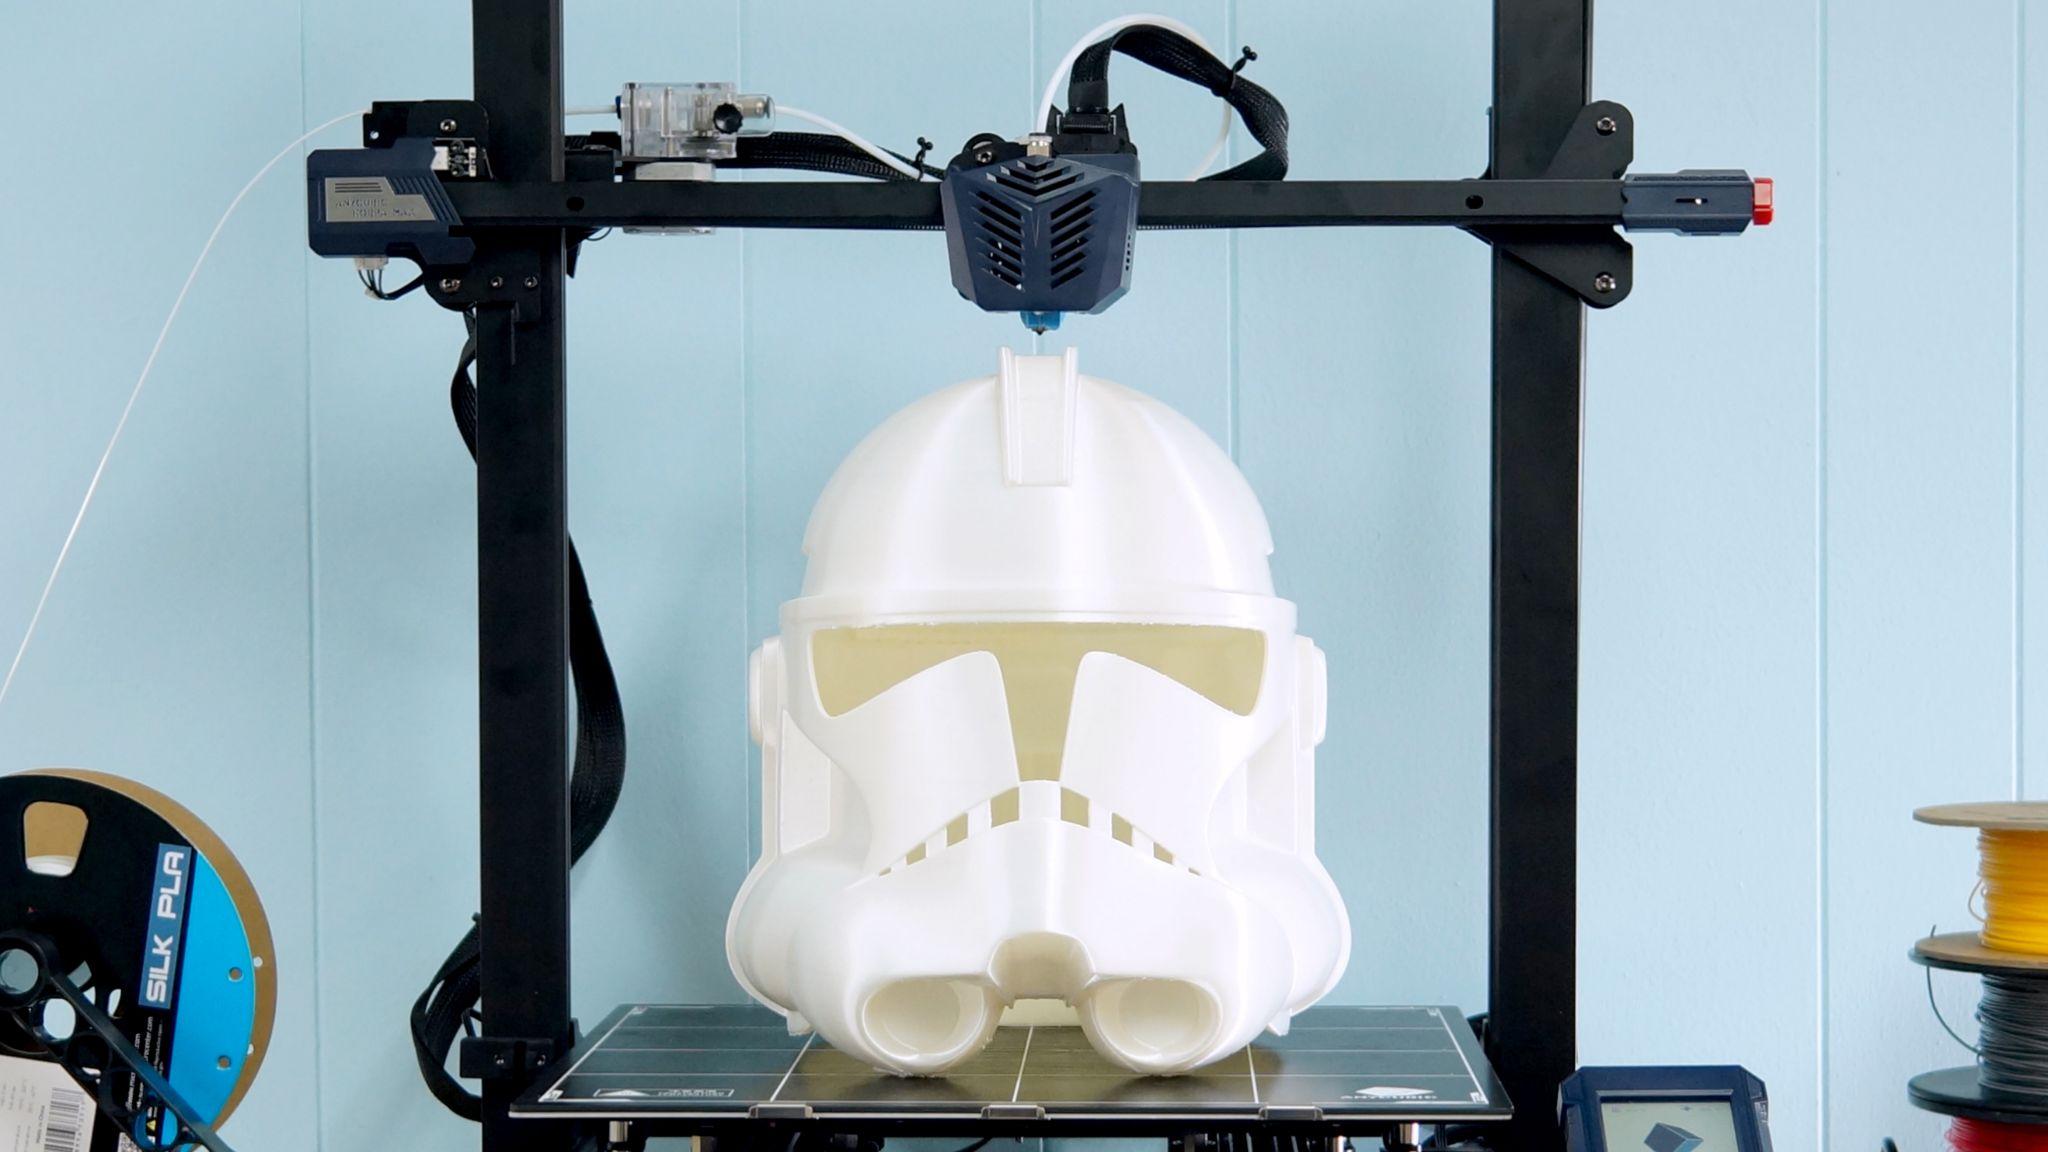
I printed my first ever Star Wars Clone Trooper helmet, from Galactic Armory. It took three days and just under a whole spool of Inland White Silk PLA with a layer height of .28mm.
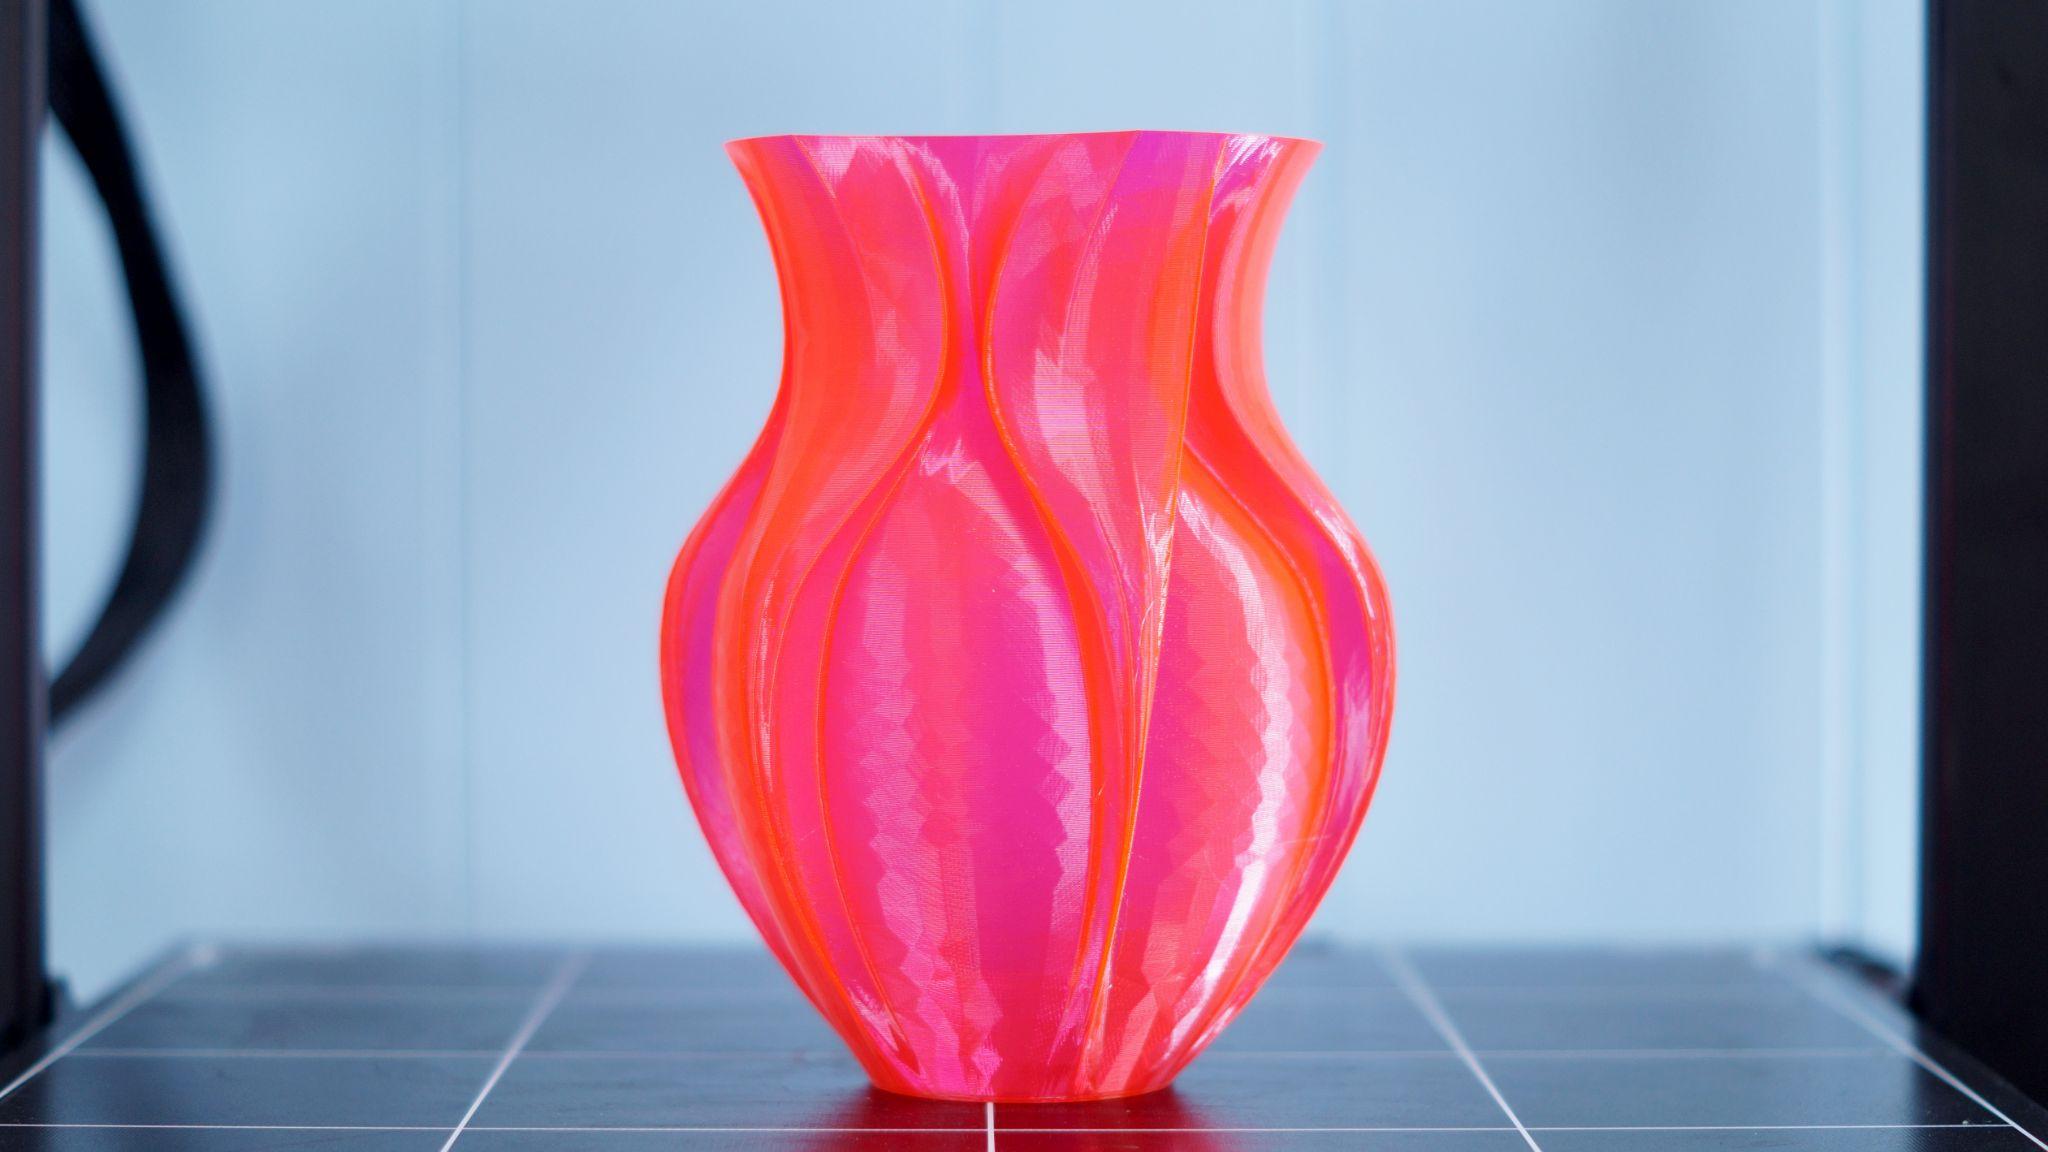
I tested PETG with an outstanding vase mode print. This is “Curvy Vase” from Monomethylhydrazine at Printables.com. Enlarged to 200%, I printed it in spiral mode but with an extra thick .64mm line width for strength. It took 4 hours and 38 minutes, printed in Keene Village Edge Glow Pink PETG.
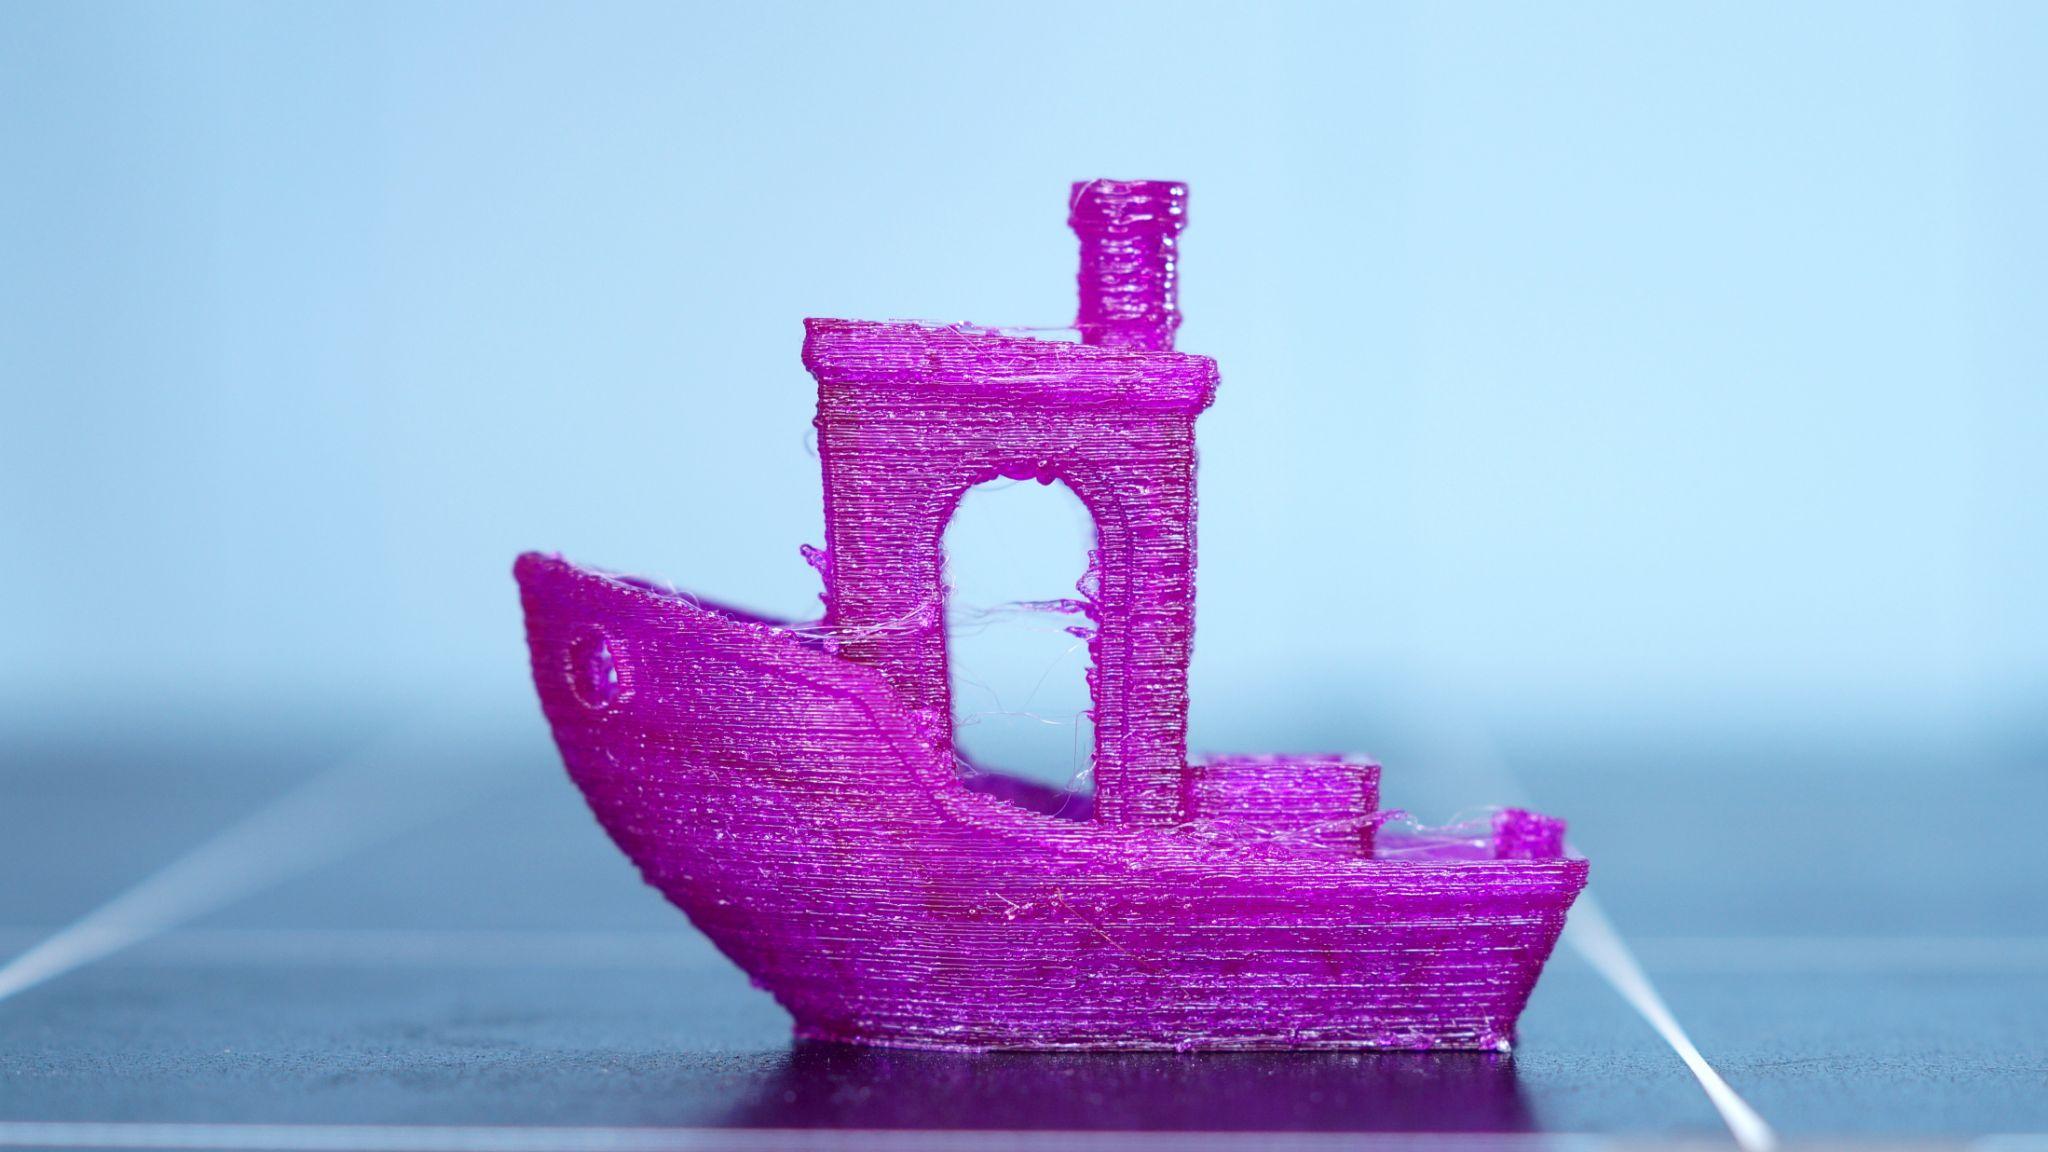
I honestly wasn’t expecting much from TPU, as the Kobra Max has a lot of Bowden tube to push through, but this TPU Benchy turned out pretty darn good. I printed it super slow, with a 20mms speed for both the walls and the infill, and a standard .20 layer height. The Matterhackers Build Translucent Purple TPU is a little lumpy, but has hardly any strings.
Bottom Line

The Anycubic Kobra Max is a monster of a machine and still reasonably priced at $569. It’s perfect for prop makers and cosplayers who could fit whole helmets and armor pieces inside the generous 400x400x450 mm build volume. It's also useful for makers who want to load many small objects that can print at the same time.
The Kobra Max solves a lot of pain points with its fast assembly, auto bed leveling system and easy-release coated glass bed. Though the printer is aimed at experienced makers yearning for greater build space, there’s no reason a novice wouldn’t excel with this machine.
Buyers should be aware that the Kobra Max is a bigger 3D printer, not a faster 3D printer. Large prints will take more time – days even – and rushing this printer could hurt quality.
If you’re interested in a first printer, check out the Anycubic Kobra from the same line. Priced at $319, it’s an Editor’s Choice and our pick for Best Printer for Beginners.

Denise Bertacchi is a Contributing Writer for Tom’s Hardware US, covering 3D printing. Denise has been crafting with PCs since she discovered Print Shop had clip art on her Apple IIe. She loves reviewing 3D printers because she can mix all her passions: printing, photography, and writing.
-
Kurdain1 I'd like to get back into 3D printing but after leaving Microsoft I have had trouble finding a free Solidworks style design program.Reply
Solidworks itself is incredibly expensive but it's really the only 3D modeler I have spent any time with.
Suggestions on a free, easy to use for simple home designs and thus prints? -
hecksagon ReplyKurdain1 said:I'd like to get back into 3D printing but after leaving Microsoft I have had trouble finding a free Solidworks style design program.
Solidworks itself is incredibly expensive but it's really the only 3D modeler I have spent any time with.
Suggestions on a free, easy to use for simple home designs and thus prints?
Fusion360 from Autodesk has a free hobbyist license.
https://www.autodesk.com/products/fusion-360/personal -
Bungles300arms Give Onshape a try. Entirely web based (no client install so you can work on your personal projects in your lunch/downtime on your work PC) , workflow compares really well with my experience of PTC ProE/ Siemens NX and solidworks. I used to install a dodgy version of whatever package I used for work at home but I'd just use onshape now.Reply -
Giroro I am new to 3D printing, and the Kobra Max was the first 3D printer I've bought.Reply
After a week and a half of trying to tune and write a printer profile for PLA, the spool fell off of the janky spool holder at some point overnight. Even though it was only about a 4 inch drop (The printer is on the floor), something snapped the filament. Maybe it was the force of the fall, or maybe the extruder was trying to pull stuck filament until it broke. Regardless, when that happens, the printer sits there at full temp for an unlimited amount of time, apparently.
You can supposedly insert new filament and continue a print, but I couldn't find instructions on how to do that. The company's manual is very lacking, and there's not enough good information from other users. For example, I have no idea how tight the wheels or belts need to be, which have been part of the cause of the problem.
When I reprinted the part, I now have regular banding on the Z axis. So something must be damaged, somehow. I have no idea what, or where to start. In a tall cylinder, the band is bad at the start of a layer, but is greatly reduced by the end of the layer. It could be anything or maybe everything. This company's manual is lacking, and their tech support is in about 40% Chinese, which makes it hard to figure out how to fill out the forms - but that's the only way to try and get parts.
I'm pretty close to just calling this whole disaster as a write-off. 3D printing is exactly as I feared: A learned skill and giant hassle, which is nearly impossible to get working correctly and requires constant tweaking and a huge amount of work. The end product being a low quality plastic part that is more expensive and more difficult to obtain than what you can just buy in a store. And all that is before the "multiple college course" level of training you need to get decent at CAD software.
I wanted to buy a product to help me with my real hobbies, but this is a hobby in itself. It doesn't save work, it causes work.
I'm tired of wasting time on this. I didn't have the time to build a 3D printer from scratch, but that is apparently the same amount of effort that it takes to get an off-the-shelf product working optimally. Except that you can actually buy parts and fix the missing firmware features for the DIY model. I've burned through almost a full roll of Anycubic's branded filament, and exactly one small test print actually came out without any significant flaws - but that was probably because it was a single-walled cube printed in vase mode without a top or bottom.
But here are some lessons I've learned, so far.
A novice to CAD should not buy this printer.
A novice to writing/compiling firmware should not buy this printer.
A novice to technician maintenance of electromechanical systems should not buy this printer.
A novice to thermal dynamics should not buy this printer.
A novice to open loop control systems should not buy this printer
If you don't know what GCODE is, then you should not buy this printer.
A novice to multiples of the above should not buy any 3D printer, because they are all apparently essentially the same.
E step and PID calibration is mandatory - these are the only 2 things I've done that showed a consistent improvement to print quality.
If you don't know what E steps or PID are, then you probably shouldn't buy this printer.
Calipers are a required tool, possibly also a micrometer if you don't luck your way into finding a good flow rate. And by flow rate I mean there's like, 6 different flow rates.
There is not a lot of machine specific debugging information out there about the Anycubic Kobra Plus/Max.
There is not a lot of machine specific information on how to use or fix this printer, in general. For example, the printer comes with a small tube of grease. The manual does not tell you what this grease is for, outside of the vague notion that some moving parts of 3D printers generally need to be oiled, if they exist.
Nobody sells spare parts for the Kobra max, outside of the hot end and baseplate which are the only parts you can get direct from Anycubic
Anycubic is apparently not a very popular brand.
I need to re-emphasize how big of a problem it has been for me that there is no good Cura profile for this printer. As trying to make my own has been many hours of flailing in the dark. If users have made good printing profiles for this printer, I can't find them. There's about 200 variables that need to be optimized, each of which can both ruin a print, or do nothing - which is highly situational, I guess.
This printer does not support Linear Advance. The firmware change logs suggest that it might, but changing the K value does nothing. It took a lot of wasted time for me to figure that out.
I can't figure out how to properly tune retraction/priming/coasting, so I had a lot of minor extrusion issues that are now making it way harder to figure out the cause of the Z banding.
The source code for AnyCubic's firmware is not available.
You should not buy a 3D printer that does not support Linear Advance, apparently.
You can't release the extruder's grip on the filament, so things like a "cold pull" cleaning and checking if the extruder is gripping/deforming the filament are much harder than necessary. The automatic filament in/out command from the screen is extremely slow.
Solidworks has a terrible UX - they don't even know the right way to zoom with a scroll wheel.Of course, if you don't care about the surface of your print, because you plan on filling/sanding/painting every single part, then maybe this thing is capable of cranking out some "highly disappointing" prints, but I'm not sure it's actually any easier/faster/cheaper than just sculpting something by hand. But I have no real idea. I'm not willing to throw $30 worth of material at a full scale print until I've been able to prove the printer is set up properly and is free of damage... which I have been completely unable to do in under 2 weeks. -
Scuba1x Reply
Solidworks is free for makers......Kurdain1 said:I'd like to get back into 3D printing but after leaving Microsoft I have had trouble finding a free Solidworks style design program.
Solidworks itself is incredibly expensive but it's really the only 3D modeler I have spent any time with.
Suggestions on a free, easy to use for simple home designs and thus prints? -
Kurdain1 ReplyScuba1x said:Solidworks is free for makers......
I looked and I only see this:
https://www.solidworks.com/media/solidworks-makers
Which the .pdf seems to suggest a membership and is tailored towards small shops.
Is there a download link or is the sign up and membership required?
