Asus' Big, Bad StarIce Cooler
Installation, Continued
Three metal plates must then be screwed to the cooler. Despite the manual, it's difficult to see which screws should go on which side and in which direction on each plate - this cooler's more like an Erector set.
The cooler can finally be mounted with the help of the metal plate you've just assembled. Don't forget to apply thermal compound first. A mini-wrench is used to fix the cooler in place with four hex head screws. That sounds simply, but the size of the cooler means it is actually very difficult, especially once the motherboard has been remounted in the case. You should allow an hour for installation. The box cooler models from AMD and Intel can be mounted in much less time.
One positive factor is the number of sockets supported by the cooler, including:
- Socket 940
- Socket 939
- Socket 754
- Socket T/LGA775
- Socket 478
- Socket A/462
- Socket 370
With a bit of skill it can also be mounted on Socket 423 . The manual fails to mention this option, however. A further cooler can be mounted at the rear to improve cooling capacity.

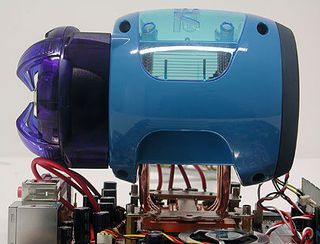
Colossus: Asus StarIce with CoolerMaster Dual Storm. The function doesn't work, since the fans spin in different directions.
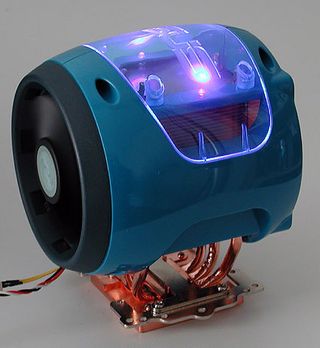
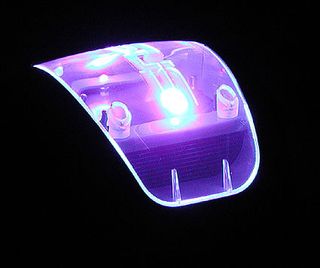
Asus has come up with something for modders, too: Two LEDs bathe the StarIce cooler in a mysterious light.

The blue lightshow is a real head turner
Stay on the Cutting Edge
Join the experts who read Tom's Hardware for the inside track on enthusiast PC tech news — and have for over 25 years. We'll send breaking news and in-depth reviews of CPUs, GPUs, AI, maker hardware and more straight to your inbox.

Mysterious lighting in the darkness
Current page: Installation, Continued
Prev Page Installation Next Page The Fan Control Is Awash With OptionsMost Popular

