Asus' Big, Bad StarIce Cooler
Installation
Plenty of work lies ahead for the user. First the motherboard has to be removed and, in the case of Socket 478 and Athlon64 processors, the retention module must be first taken out as well.
Then, a new backplane is attached, which Asus calls the "H-backplate" based on its shape. Foam padding protects the motherboard.
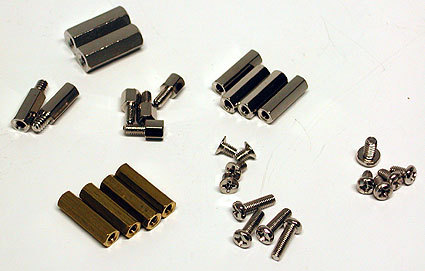
Now things get fiddly. Four screws are inserted through the H-backplate and screwed into cylinders from the front. The choice of cylinders proves difficult. The terms M3x10 and 5-M3x18, for example, won't mean much to anyone who isn't a trained metalworker.
Both the metal plate and the foam padding under it must be held in place when tightening the screws. Once all screws have been fitted, the board can be turned over again.
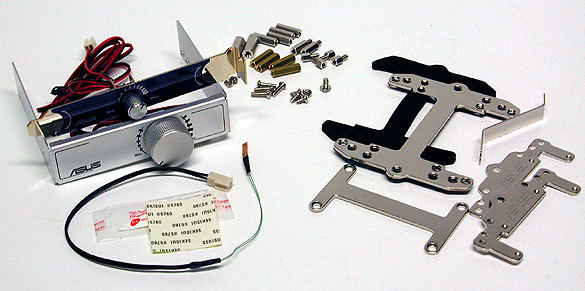
The cooler's accessories are a lot of parts
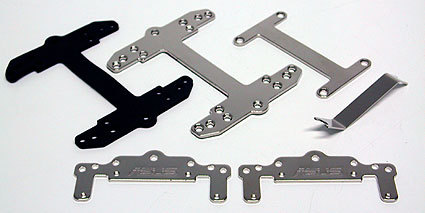
The H-plate and attachment plates on the cooler, with the mini-wrench on the right
Selecting the right screws is not so easy
Get Tom's Hardware's best news and in-depth reviews, straight to your inbox.
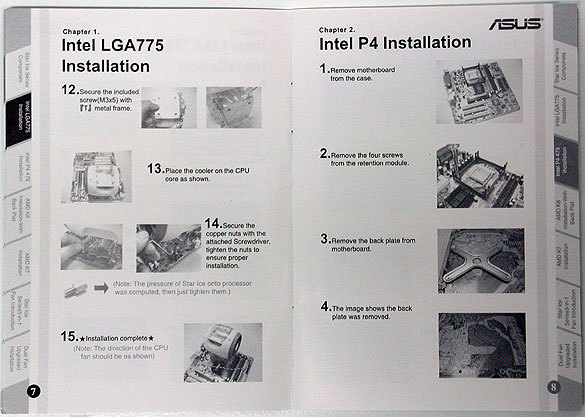
Each step is well explained; without a manual things would be very tricky.


