Rantopad MXX Mechanical Keyboard Review
Why you can trust Tom's Hardware
Teardown
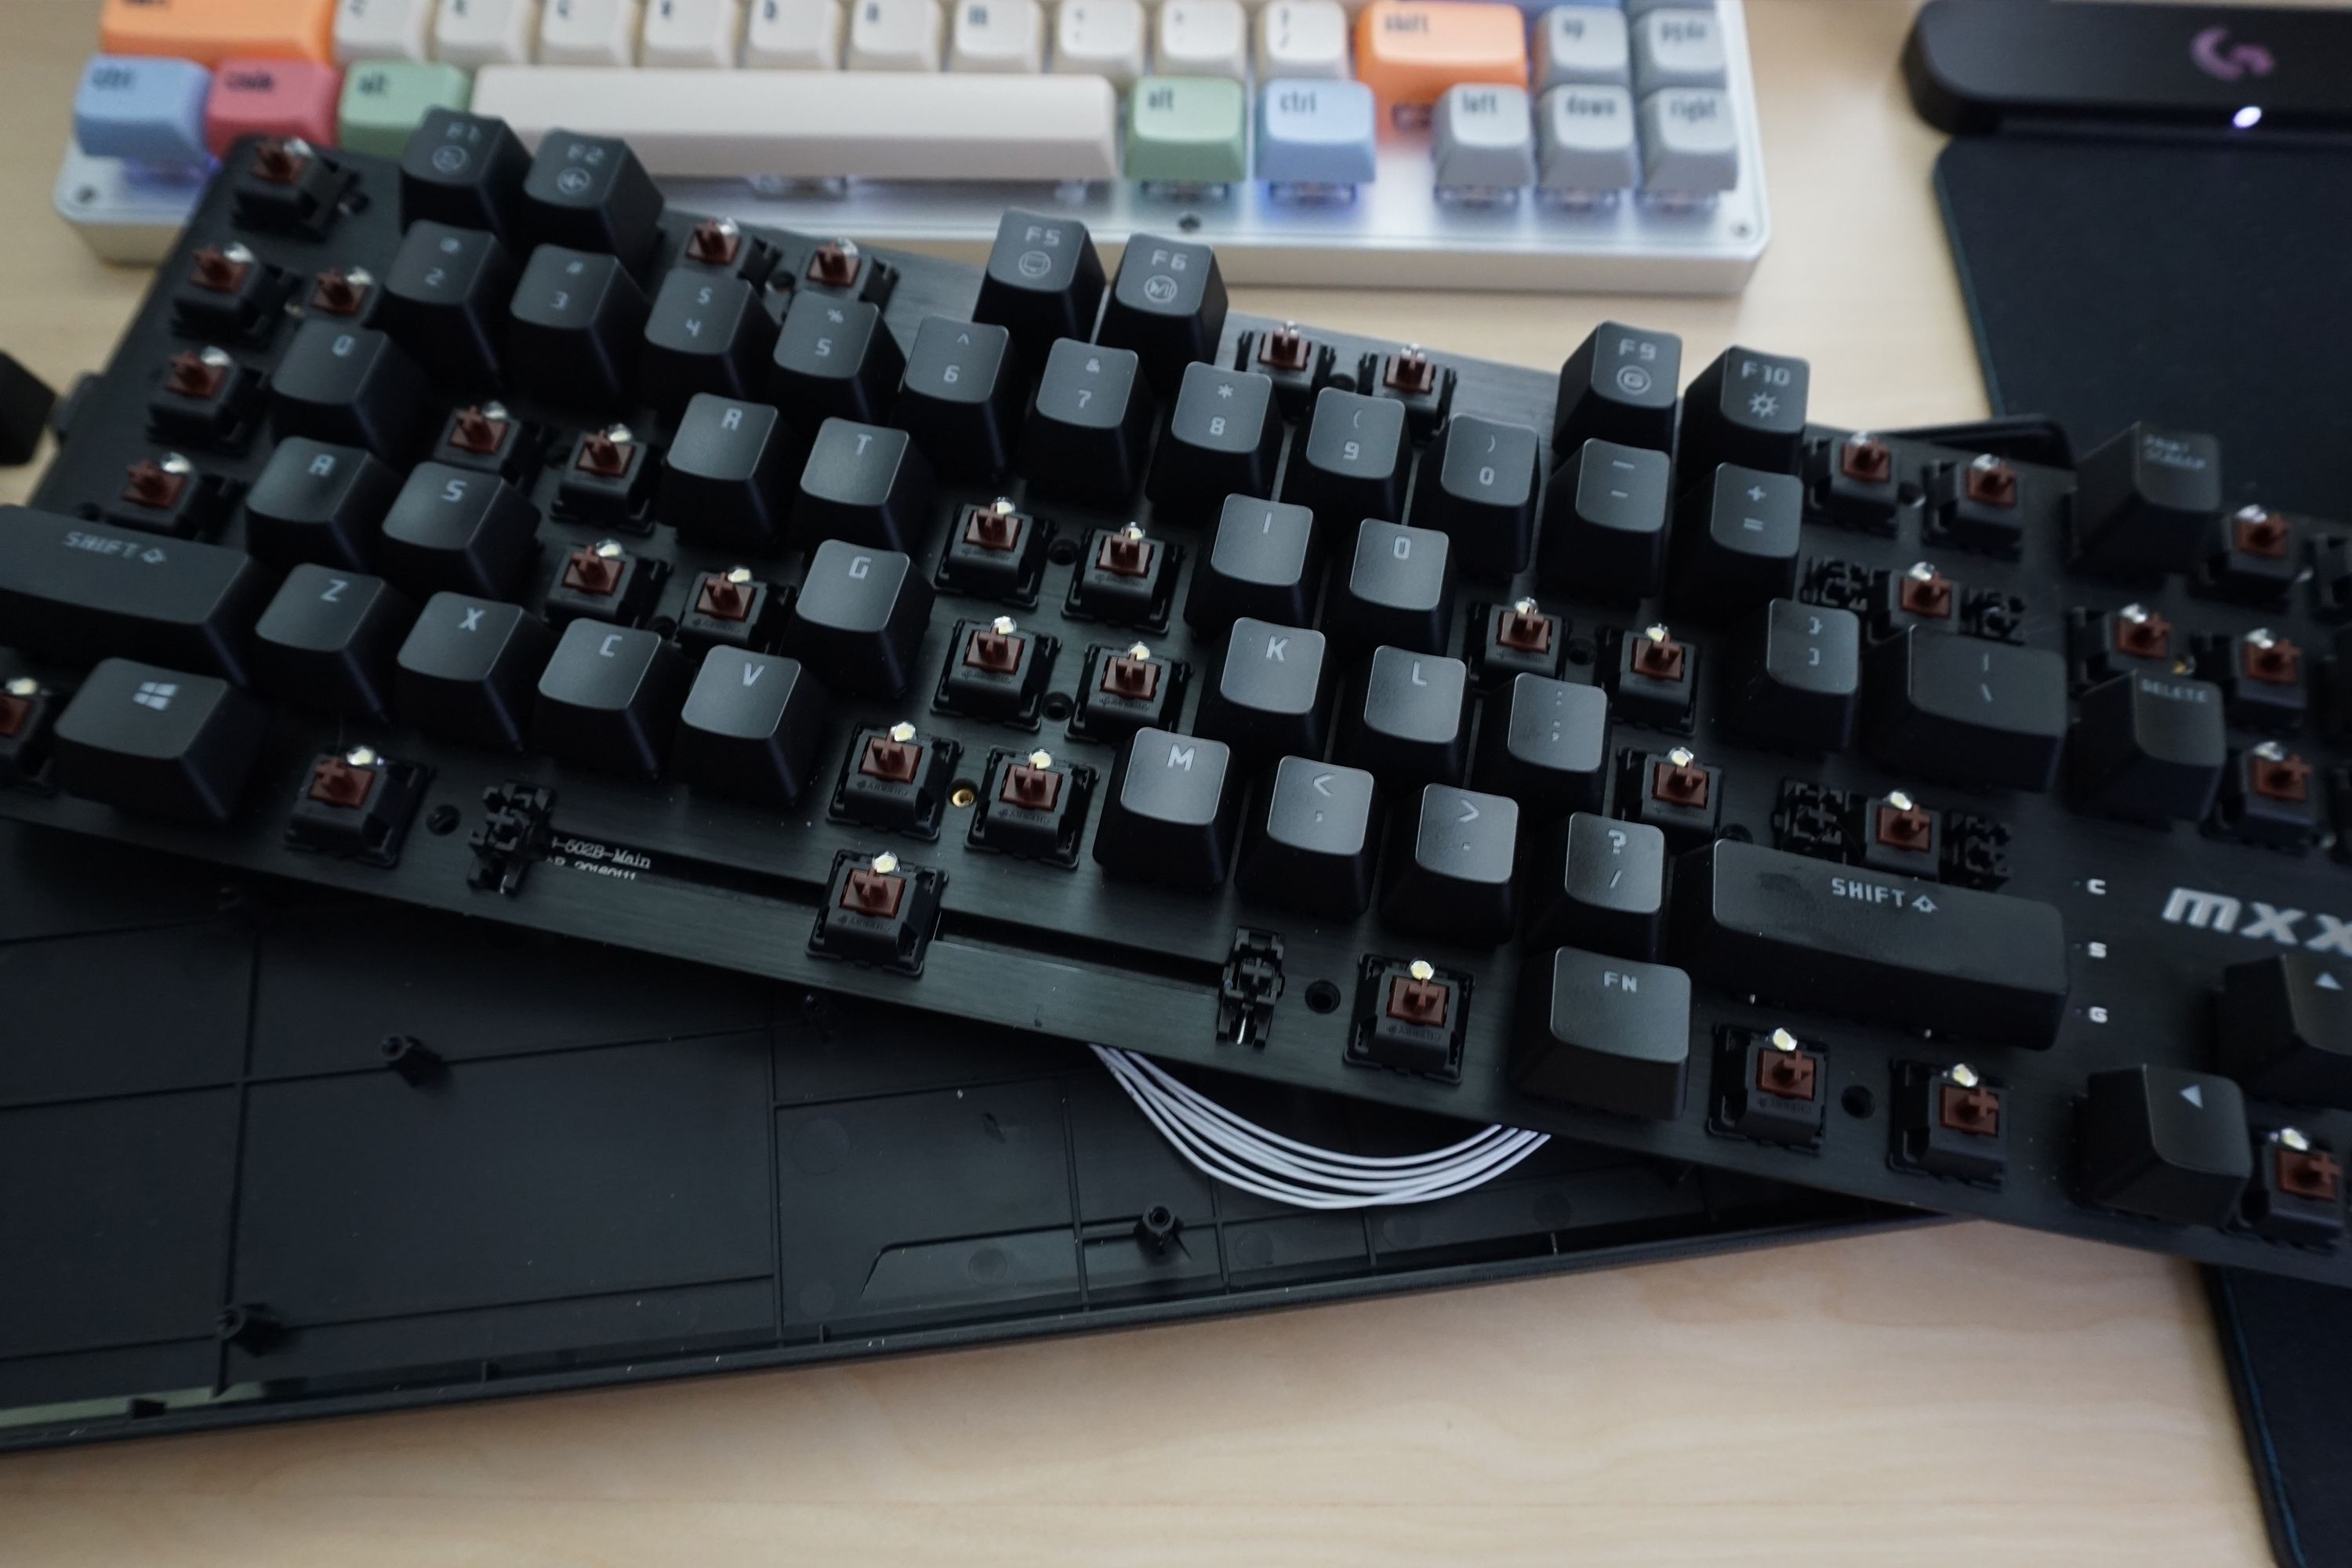
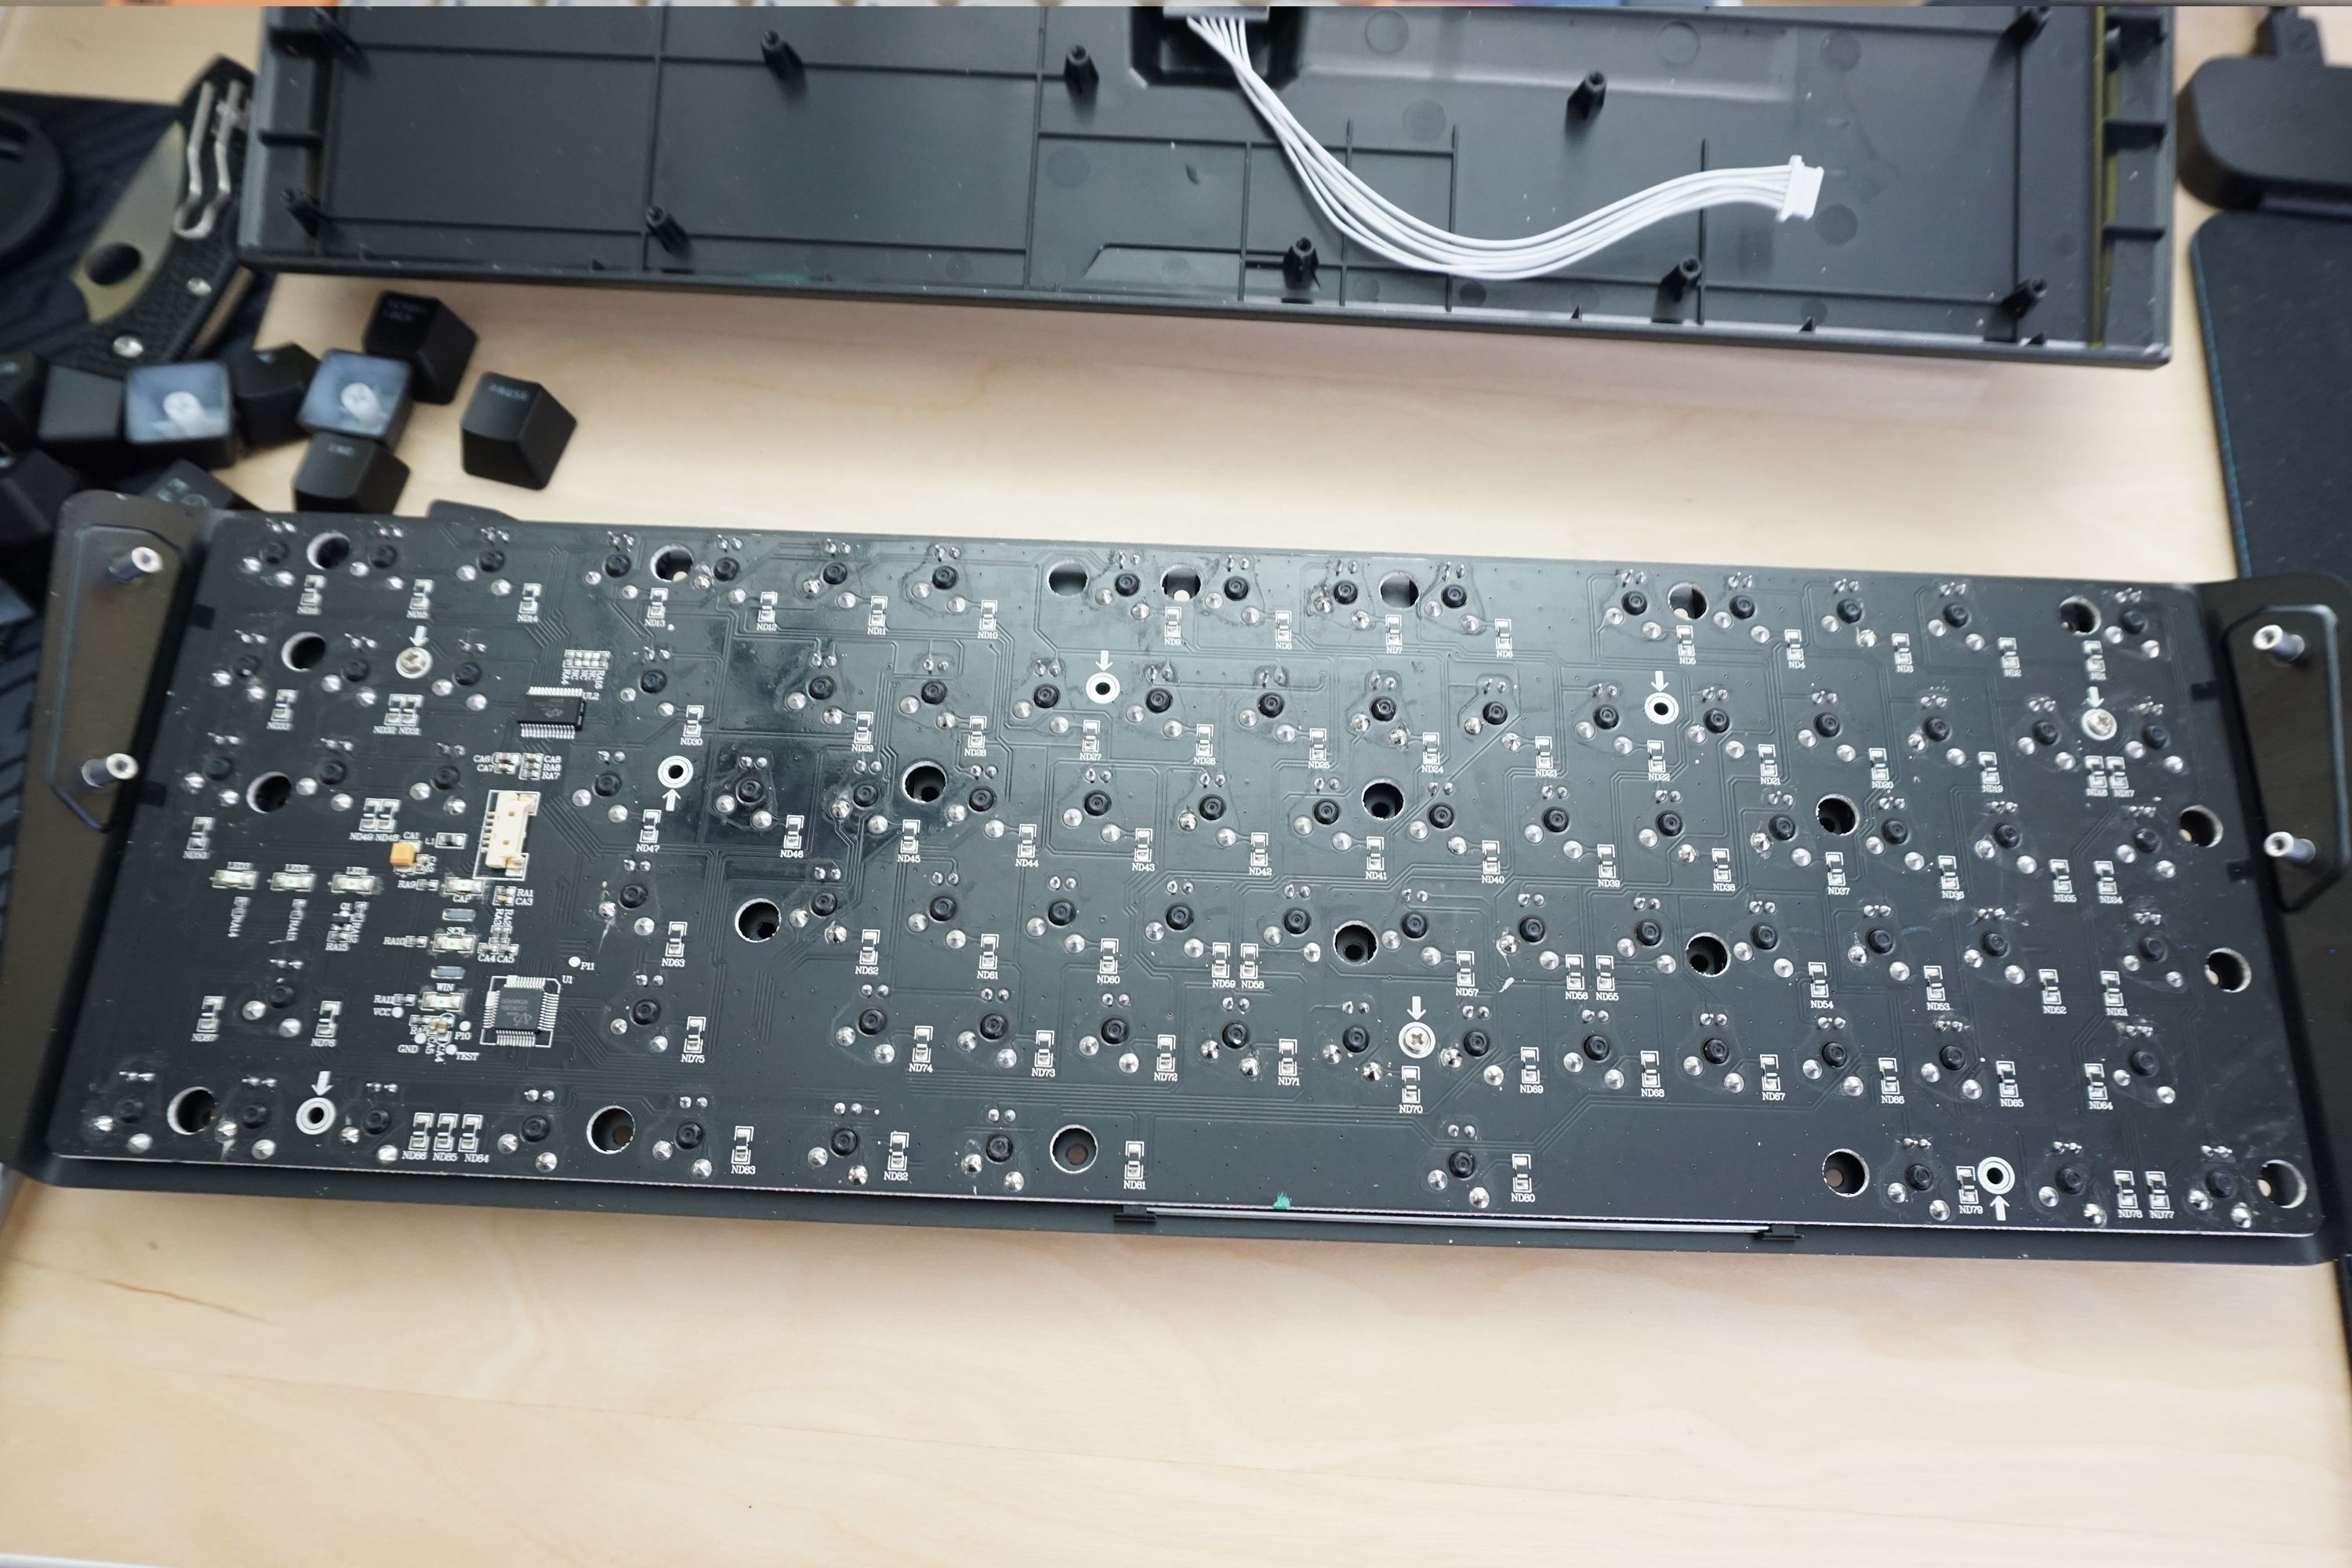
It's extremely simple to disassemble the Rantopad, but that doesn't mean it's fast. On the underside, four screws attach to the tapered edges of the top aluminum plate. Then, on the top, are a whopping 21 screws on the plate that connect it to the plastic lower section.
Most of the screws holding the plate in place are hidden under keycaps, so they don't detract from the case's style. You'll need to pull off almost all the keycaps to get at them, though. The plethora of screws holding this keyboard together are almost all identical. Individually, they're small and easily bent, but 21 of them keep the aluminum plate in place well and give the board a solid feel despite the lightweight design.
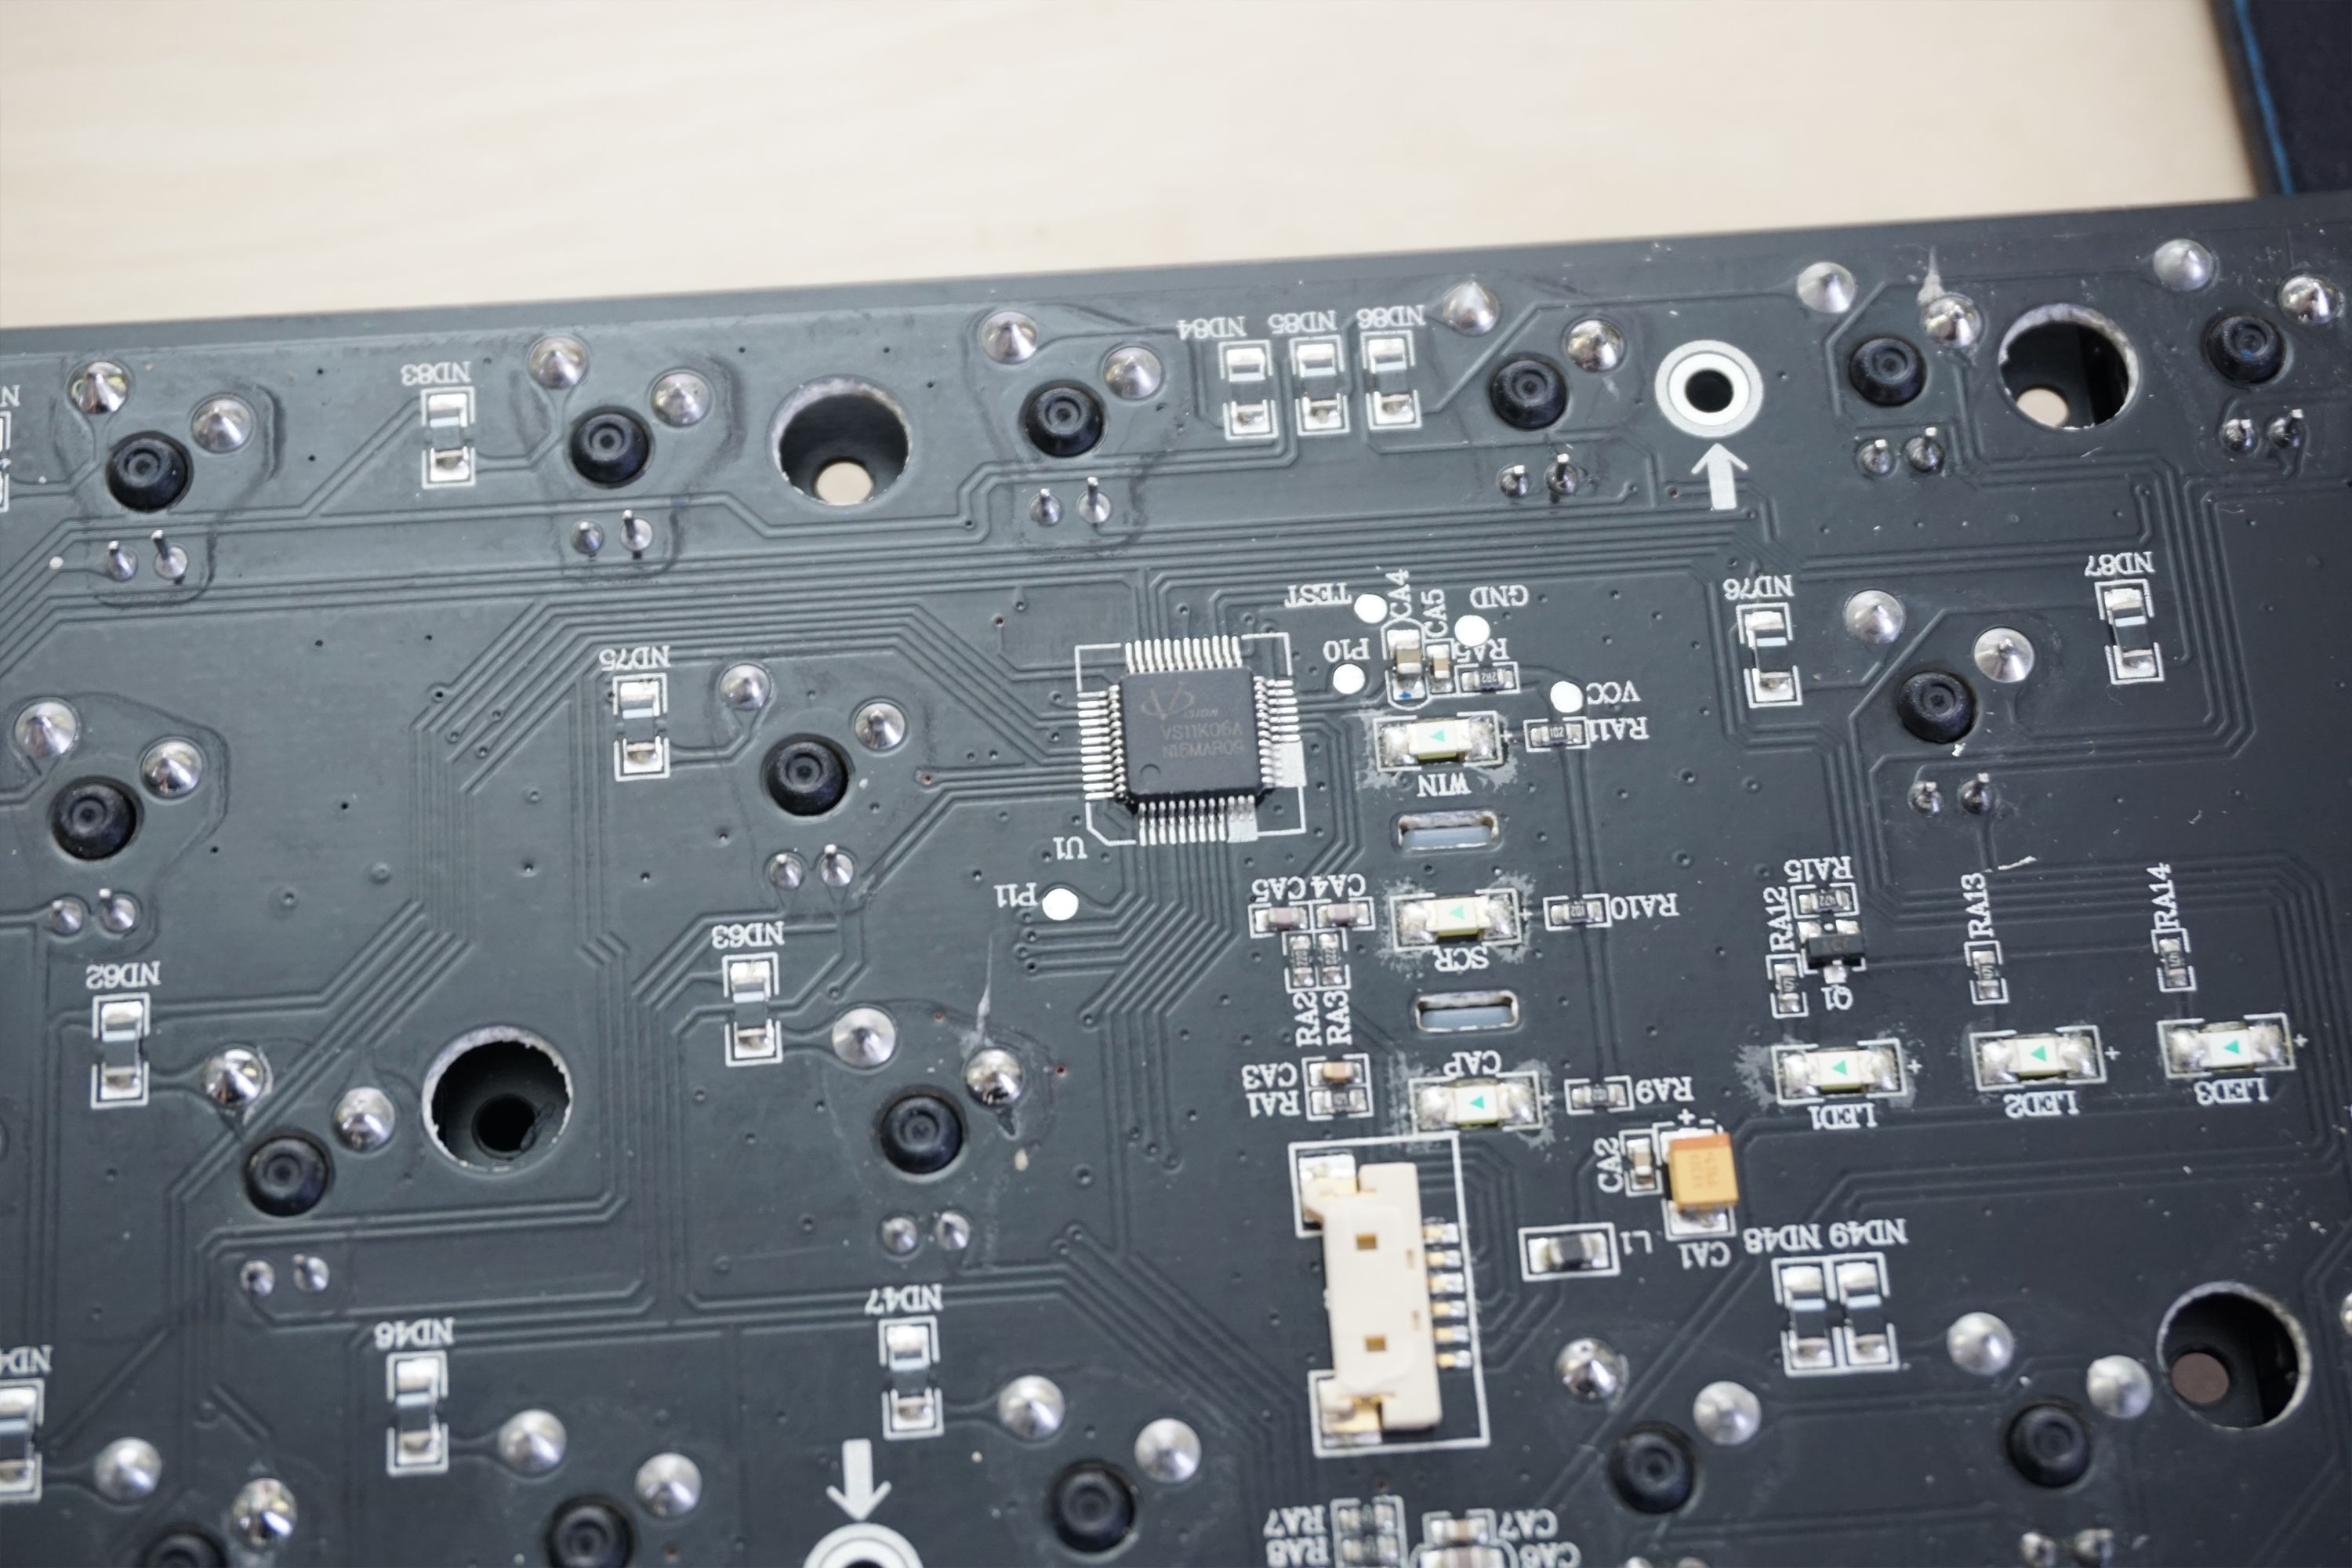
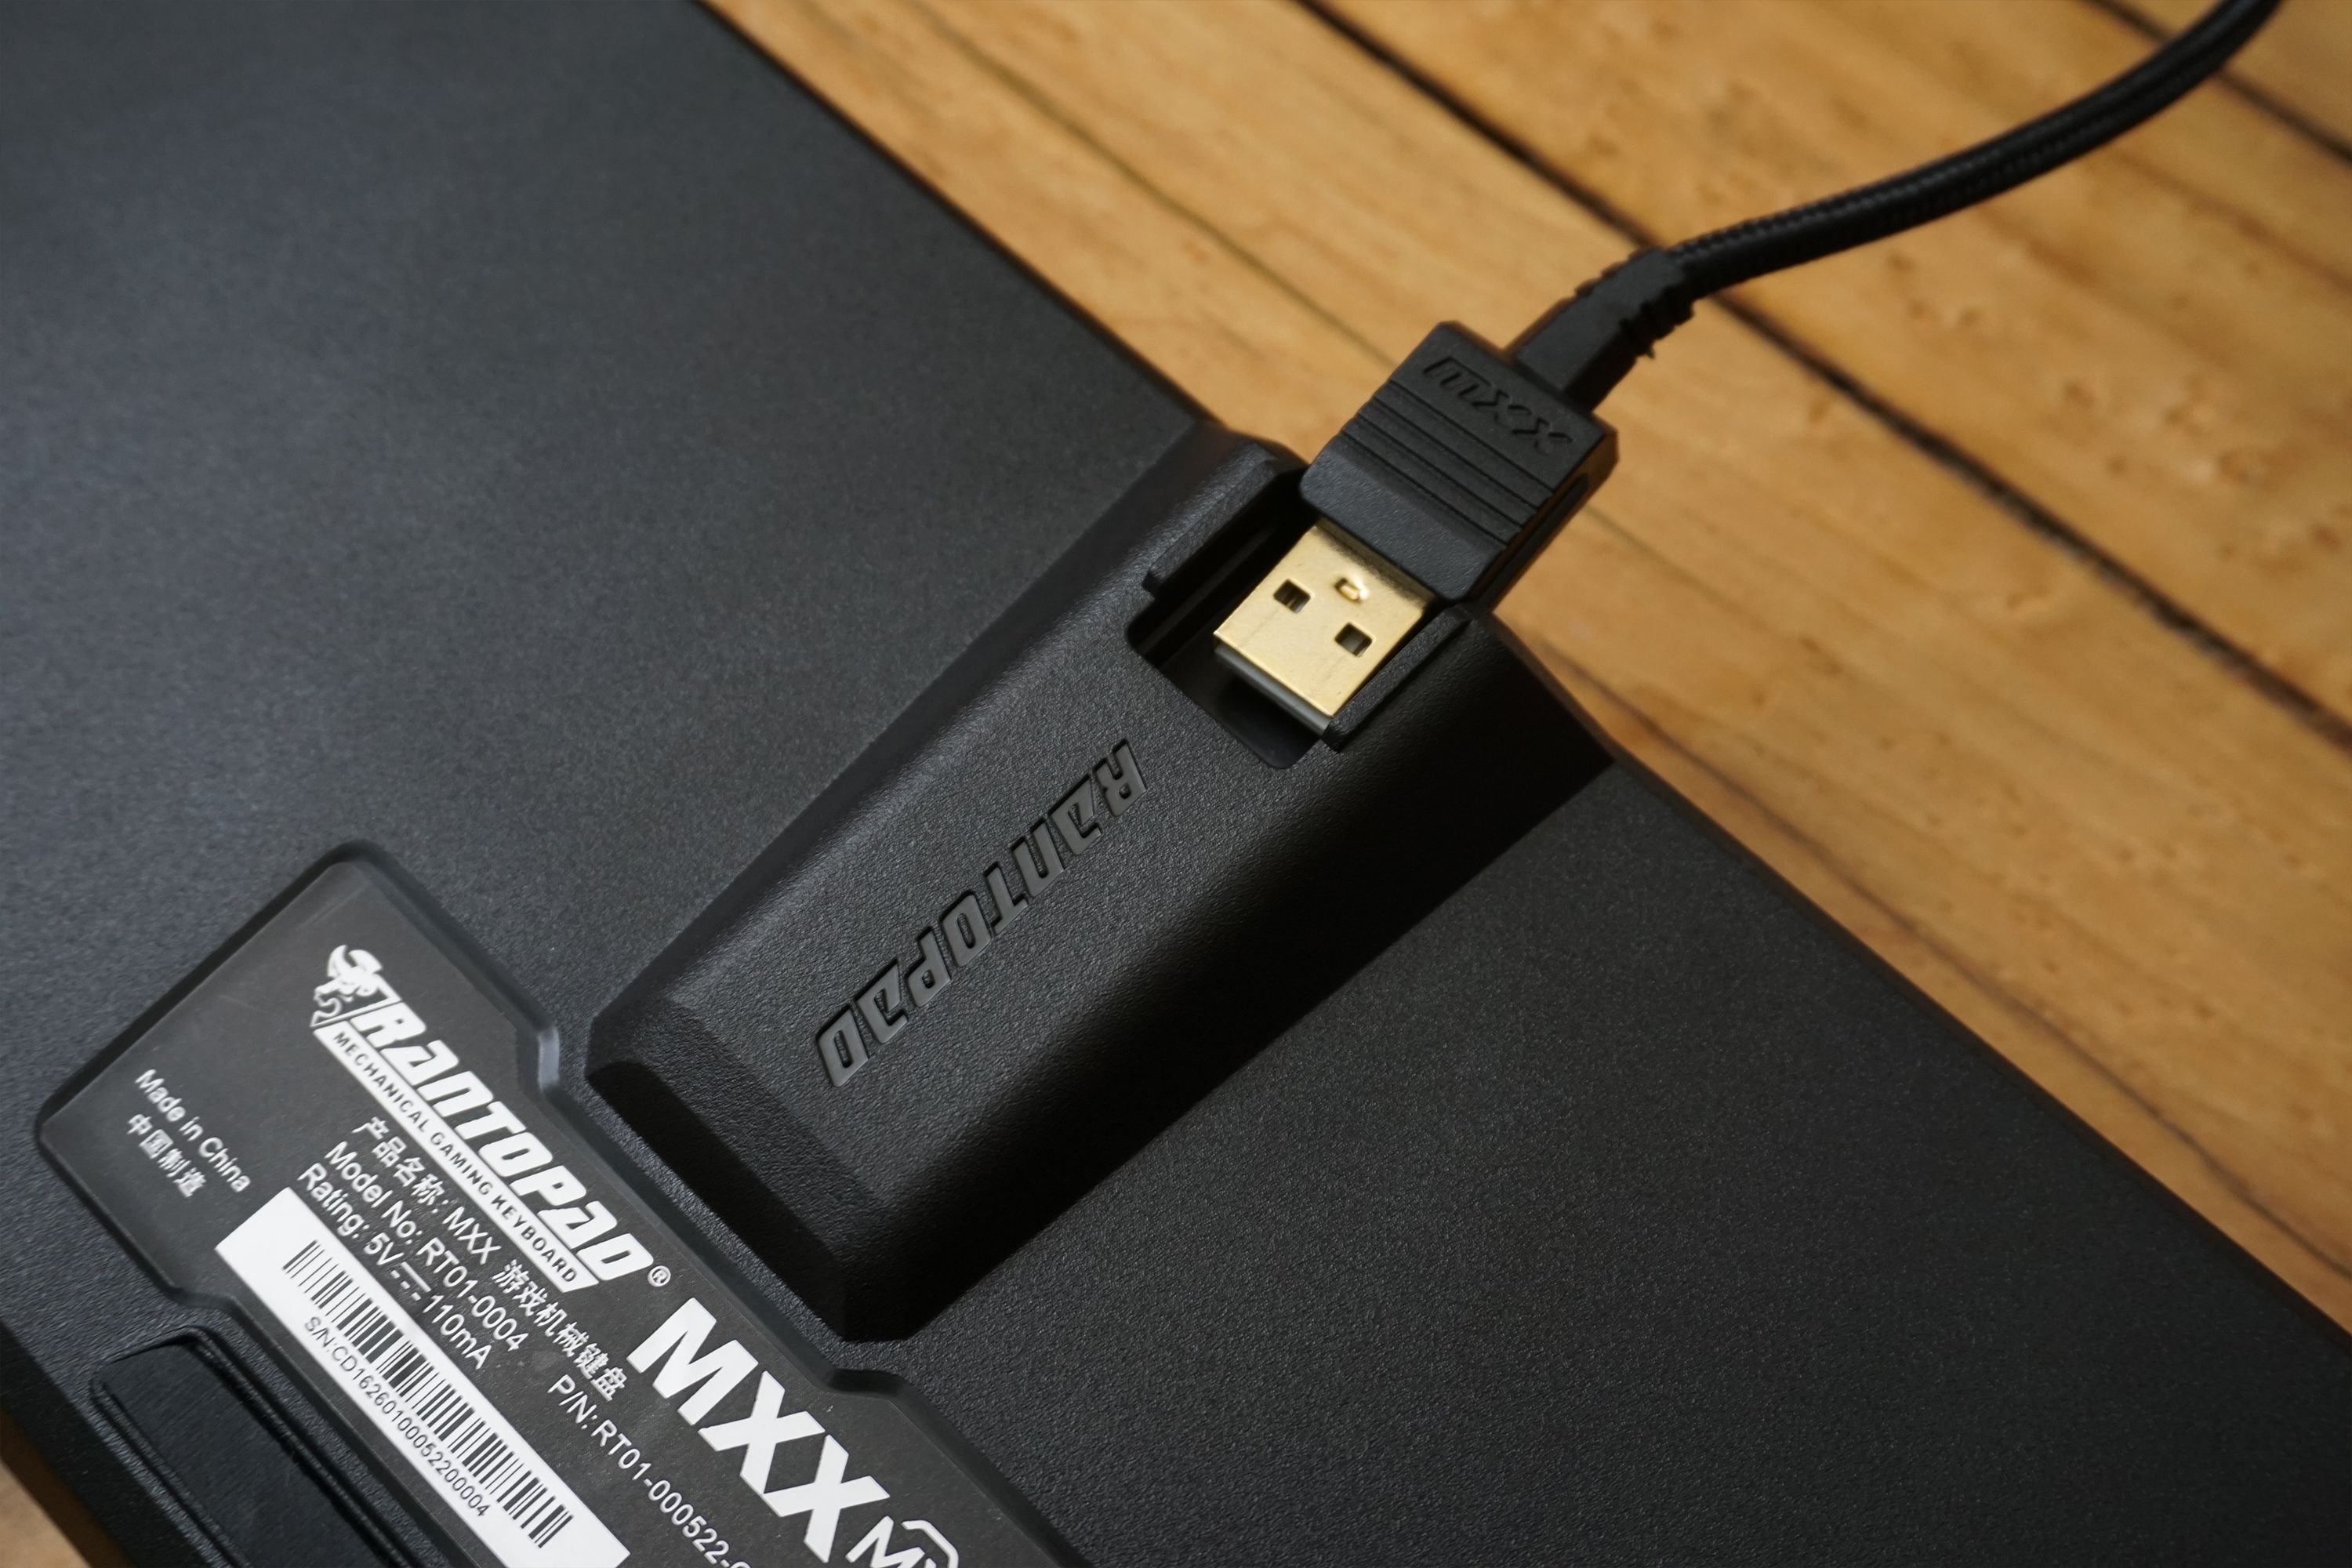
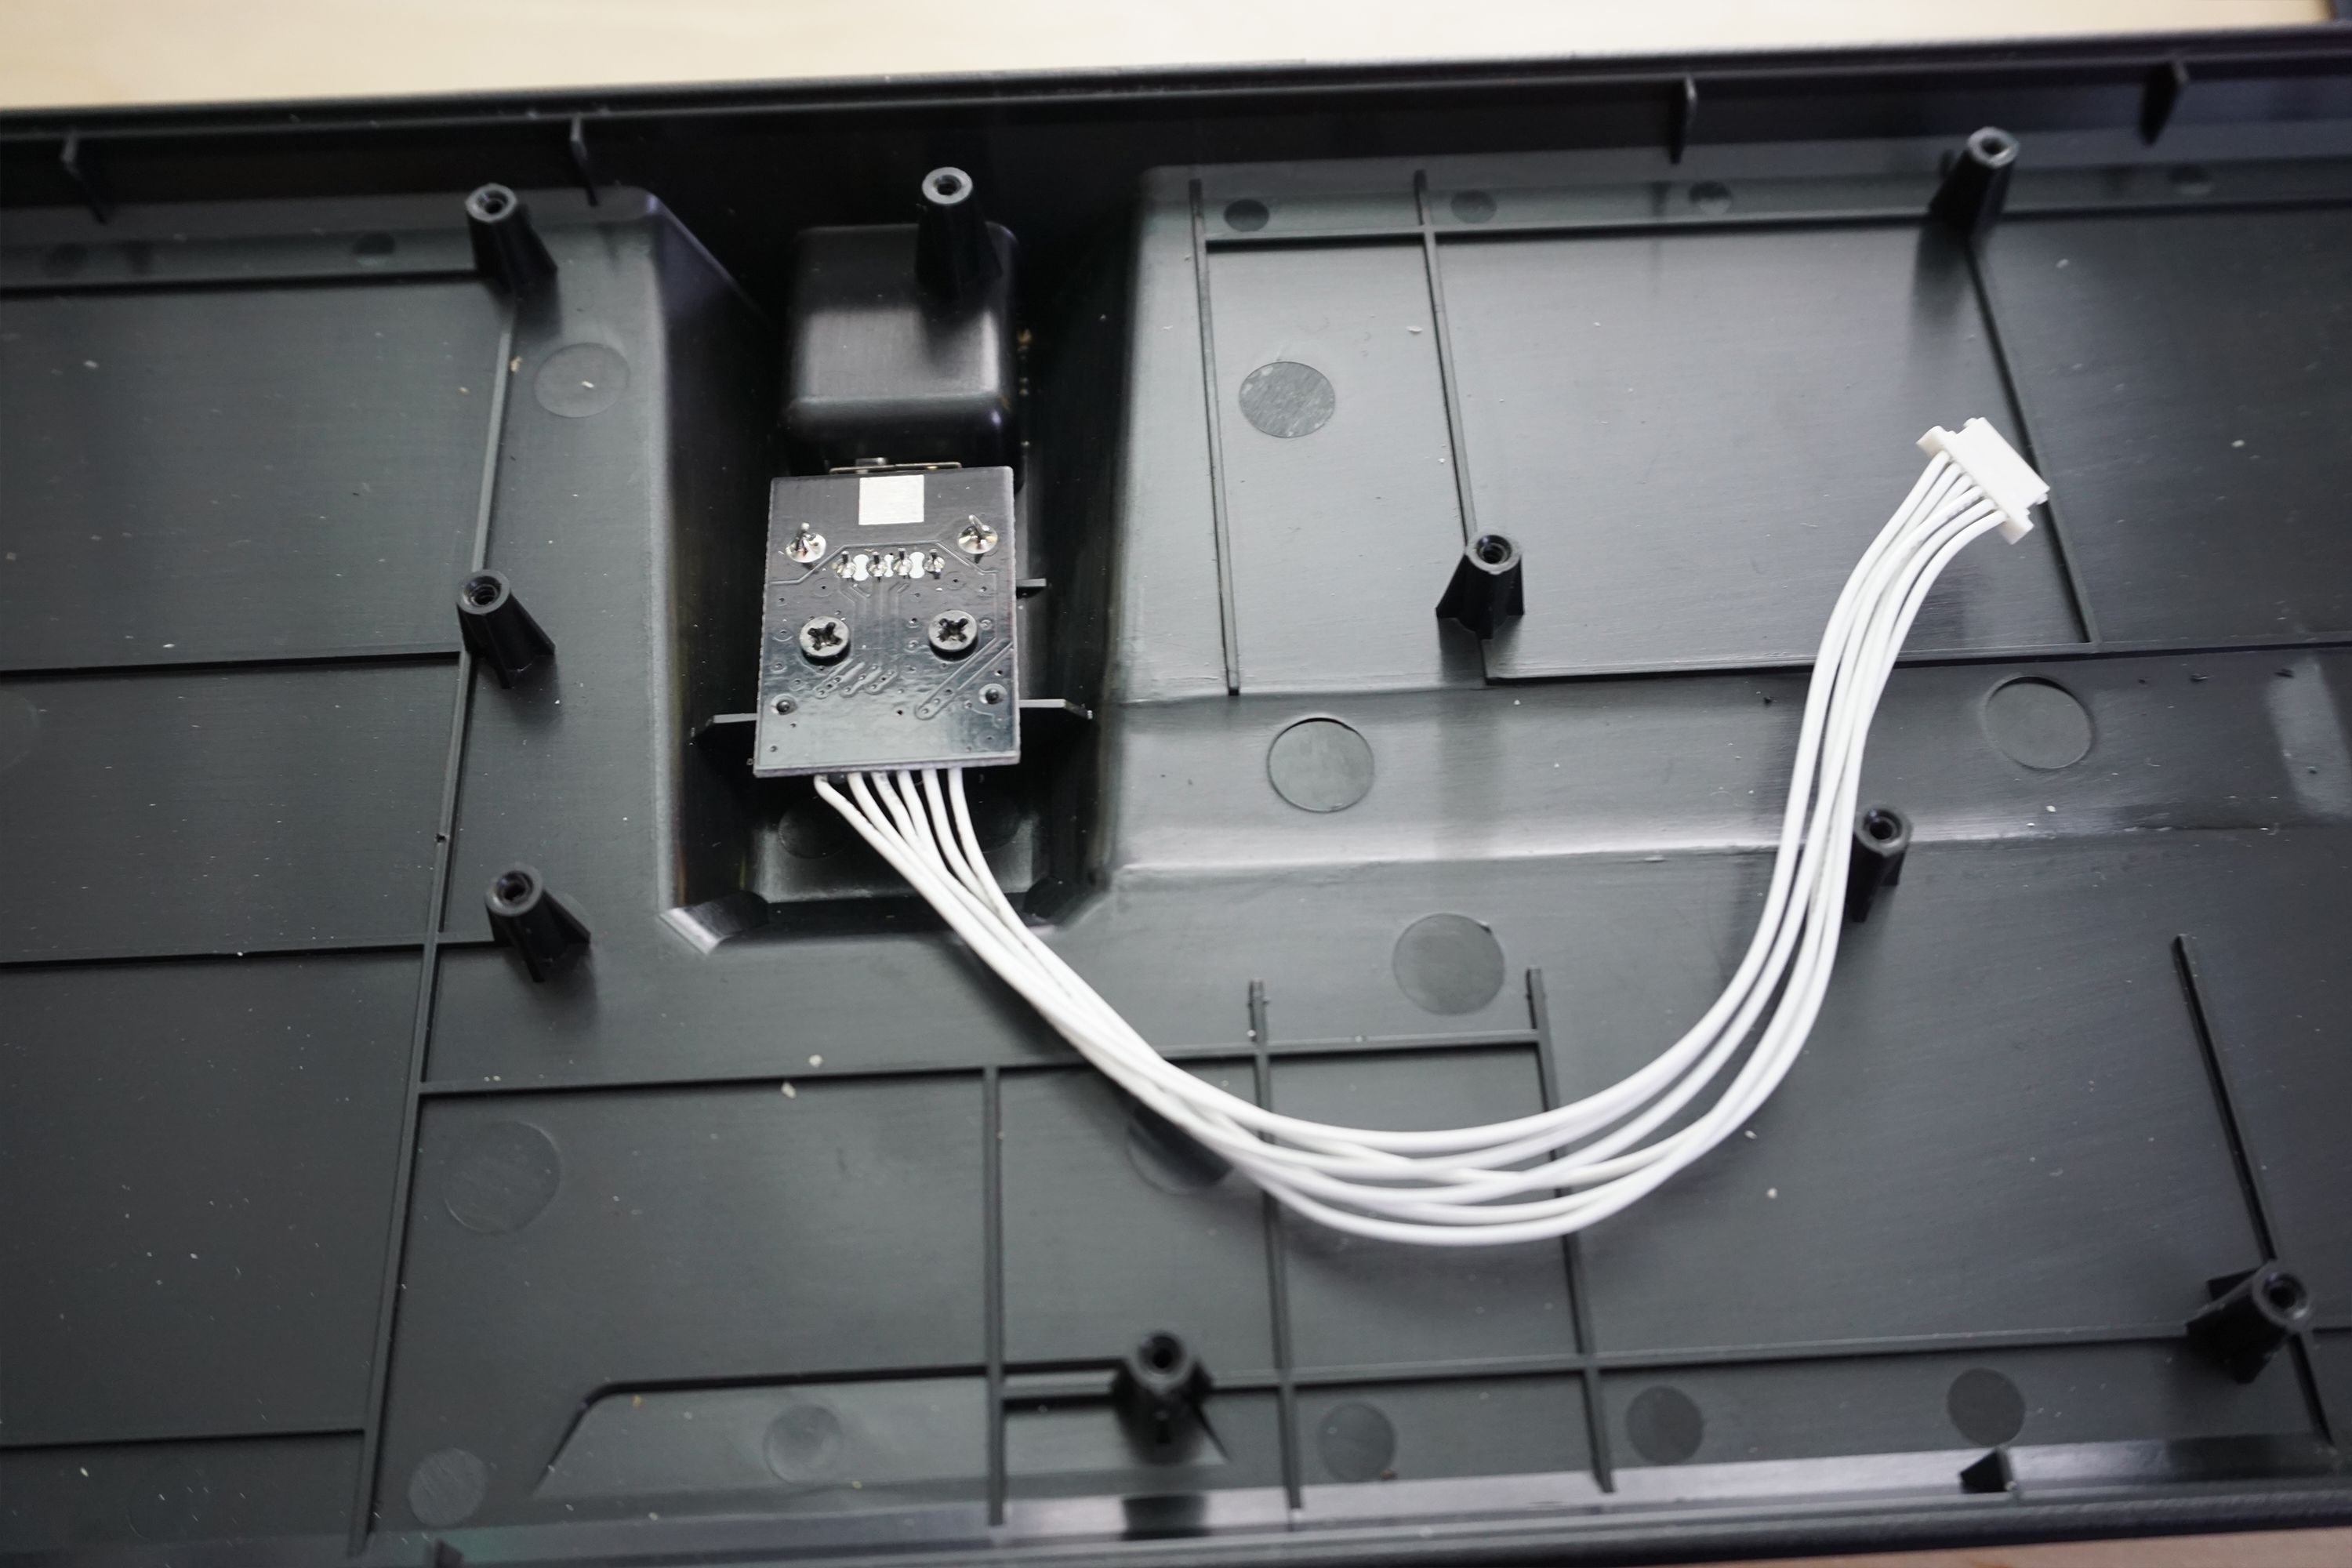
After removing all those screws, the plate and switches lift off with the PCB attached. The USB plug is mounted to the plastic bottom section, and a short cable plugs into the bottom of the PCB. It pops out easily.
The soldering for the switch contacts looked clean and consistent. The LED solder points on our sample were less consistent, and the “legs” were left rather long on some LEDs. The legs are usually clipped to expose just a few millimeters, but there's no risk of shorting the contact with the Rantopad's plastic bottom. All the LEDs work fine, as well.
MORE: Best Deals
MORE: How We Test Mechanical Keyboards
MORE: Mechanical Keyboard Switch Testing Explained
Get Tom's Hardware's best news and in-depth reviews, straight to your inbox.
MORE: All Keyboard Content