Filament Welding: How to join pieces of filaments into a single roll easily
Reduce waste. Don't throw your remaining filament away.
Get Tom's Hardware's best news and in-depth reviews, straight to your inbox.
You are now subscribed
Your newsletter sign-up was successful
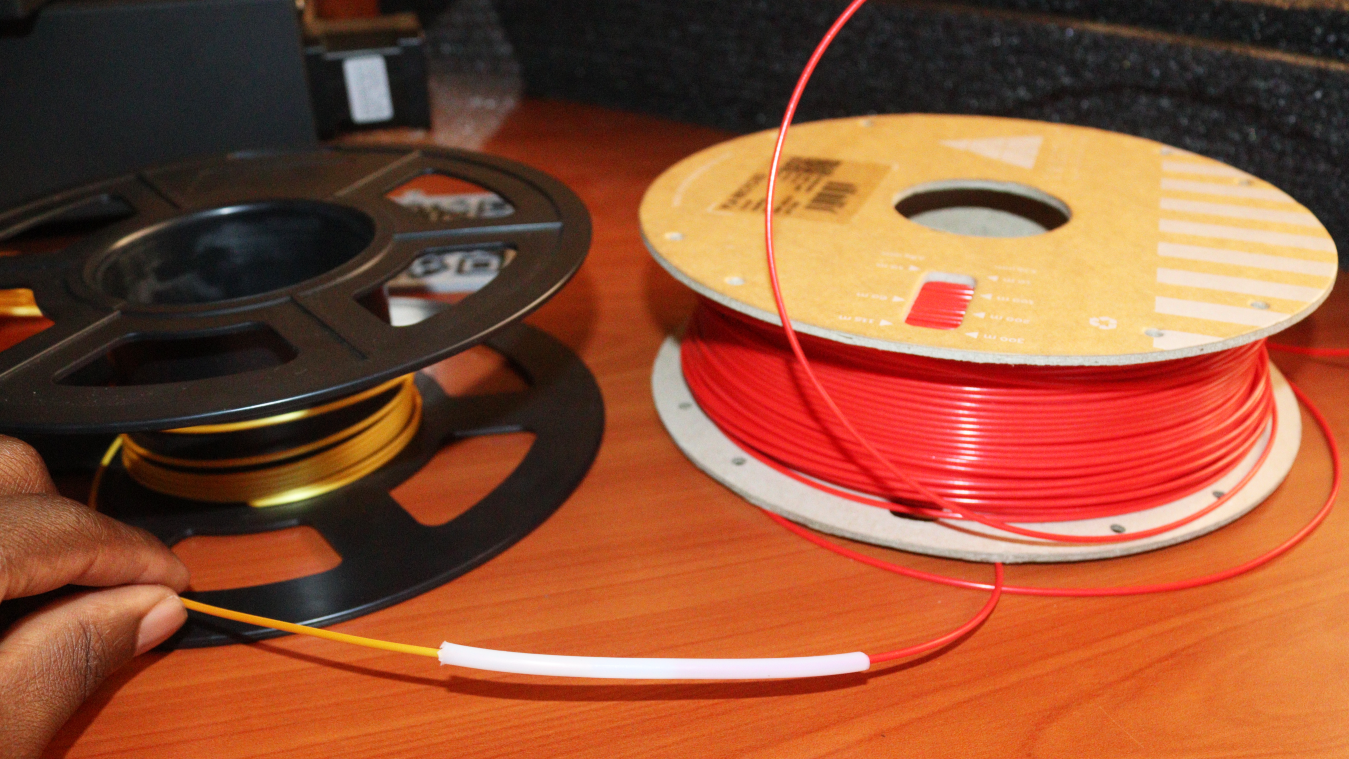
When you reach the end of a filament spool, instead of removing and throwing the remaining filament away (especially if it is one of the best filaments you use), you can join it with a new spool to reduce waste. The process of fusing the filaments is what we call filament welding.
In addition to helping reduce waste, filament welding is also helpful when you want to do multi-color 3D printing using any of the best 3D printers available, as you can join two different filaments with different colors. One of the simple techniques of filament welding is holding the ends of the filaments using a silicon tube and then heating the ends using a soldering iron or any other heating element. You press them together when they soften until they cool and form a strong bond. Even though this method works, you can make the process easier using various tools, which we have discussed below.
1. Using 3D Printed Filament Welder
1. Using a 3D Printed Filament Welder
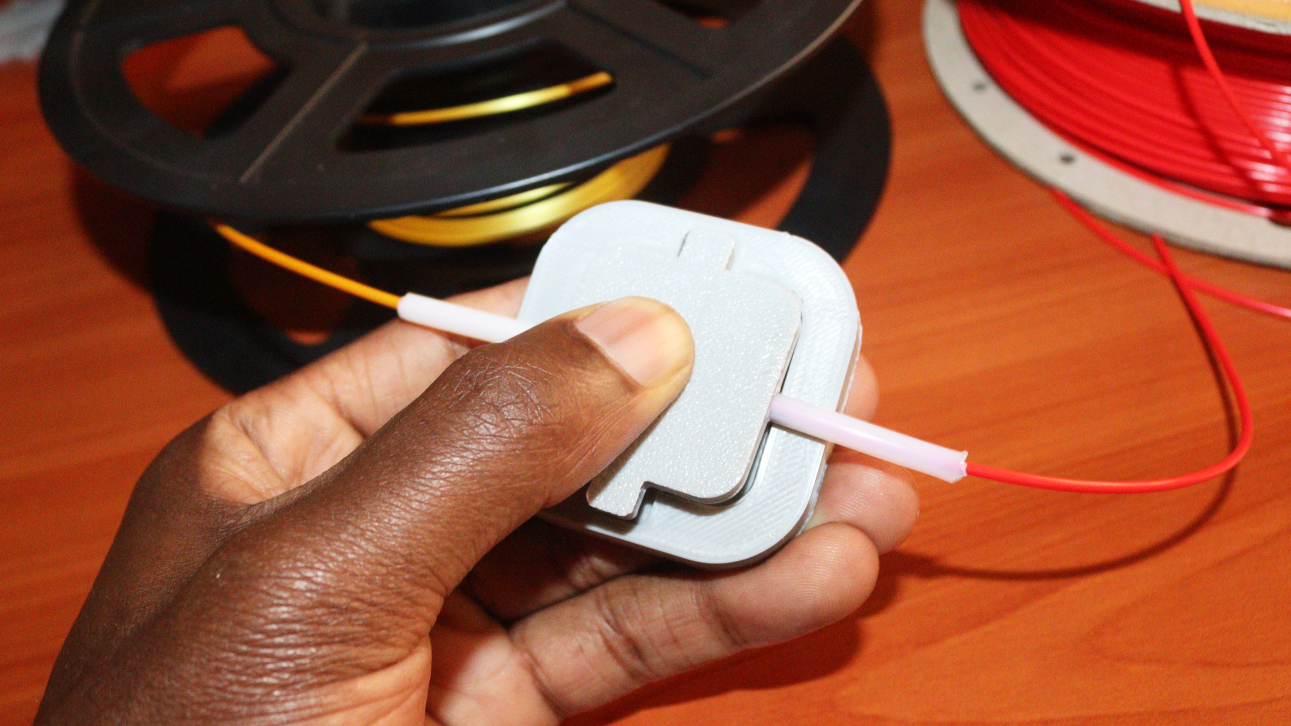
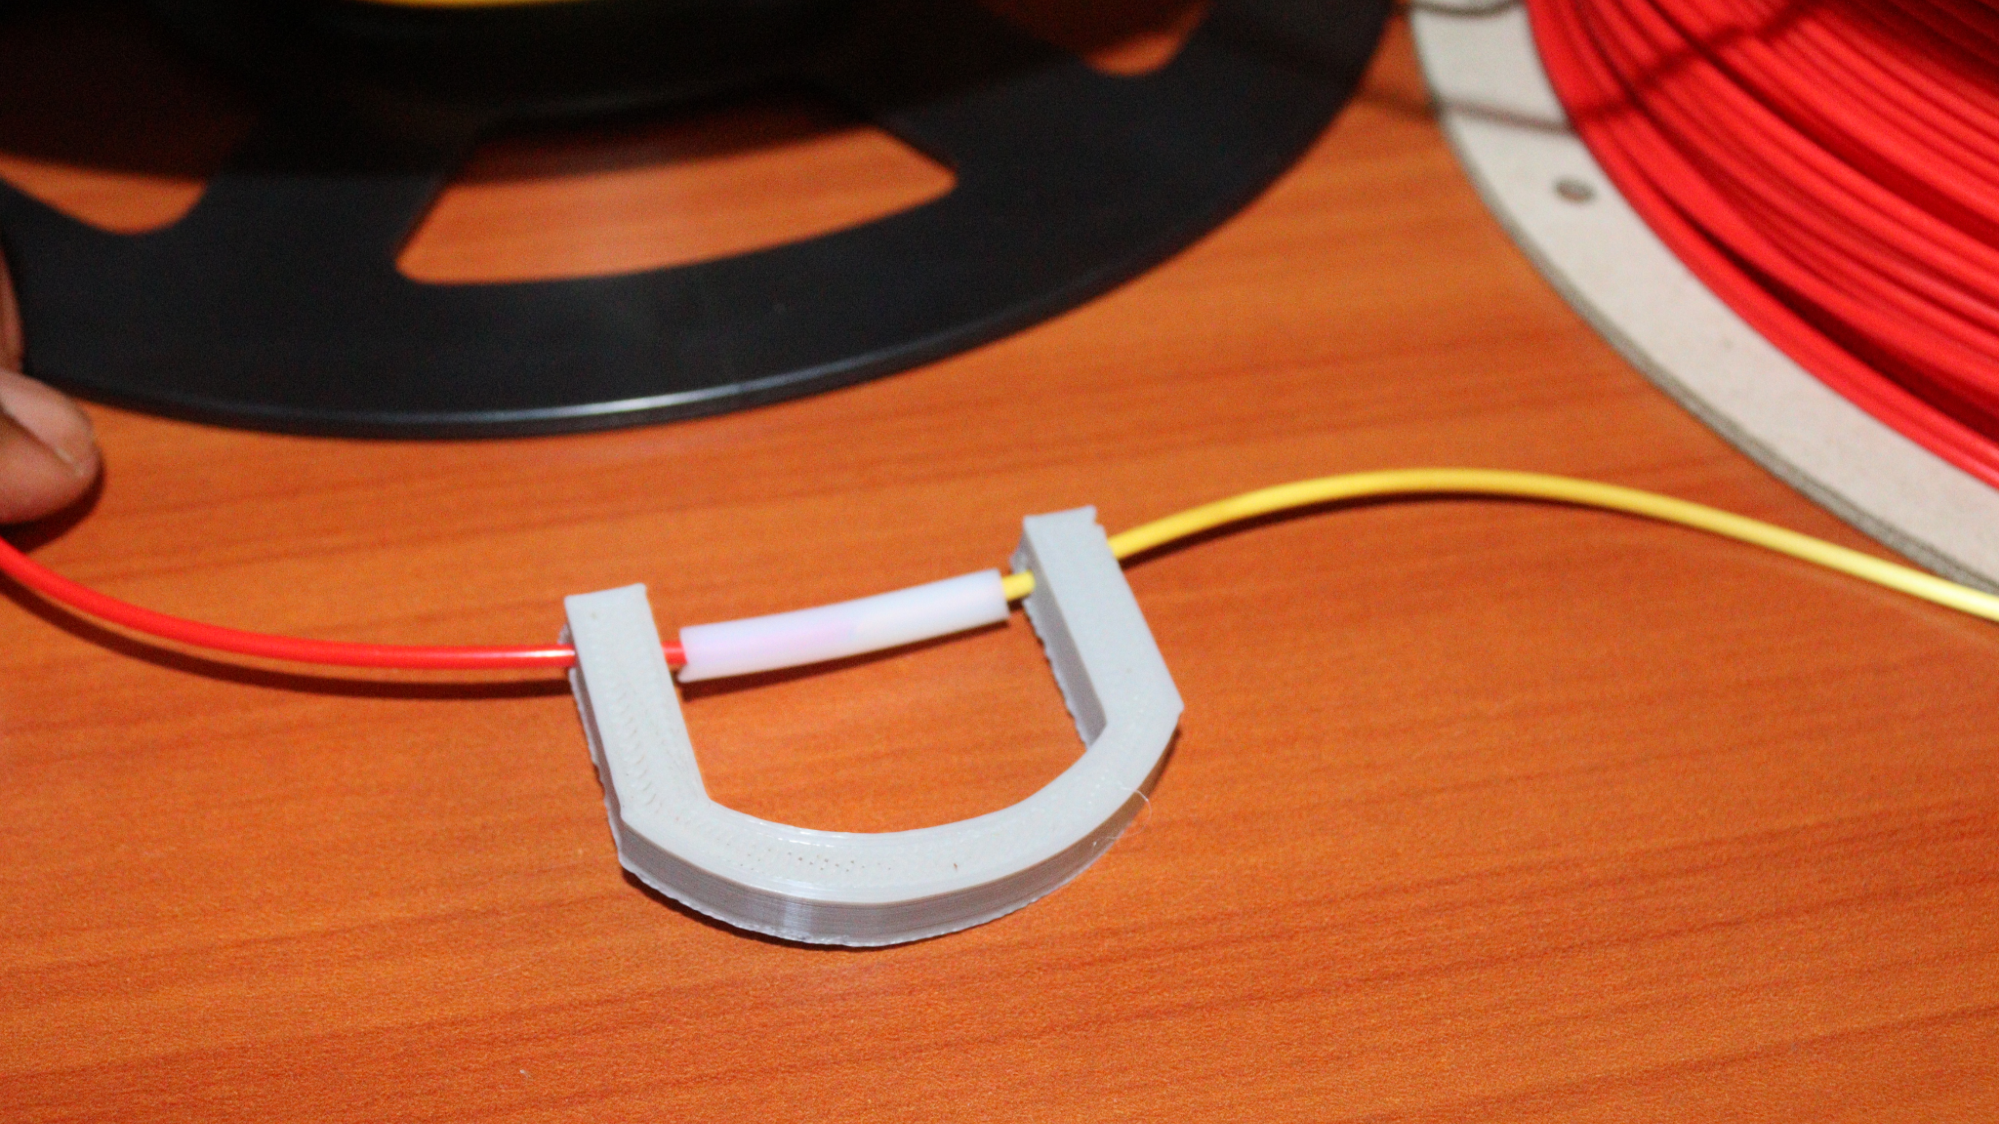
The filament Welder designed by Zielandy is a great option for welding filaments of 1.75mm together. It comes in four files that you can download and 3D print. It is easy to print, and you don’t need to do any sanding or post-processing.
After 3D printing the files, you need a short PTFE tube and a coil spring. The spring helps prevent the expansion of the tube when it is being heated and prevents two filaments from being pushed from both sides. But it’s not a must to use it.
To use it:
1. Cut the filament ends using a sharp knife, plato cutter, or scissors.
2. Insert the two filament ends into the tube, then roll the spring inside. In my case, I didn’t roll the spring, but it worked perfectly.
Get Tom's Hardware's best news and in-depth reviews, straight to your inbox.
3. Push the two filaments from both sides as you heat the middle of the tube using a heat gun or lighter.
4. Snap the tube in between the covers of the welder, press it tight and push the filament from one side until the joint comes from the other end.
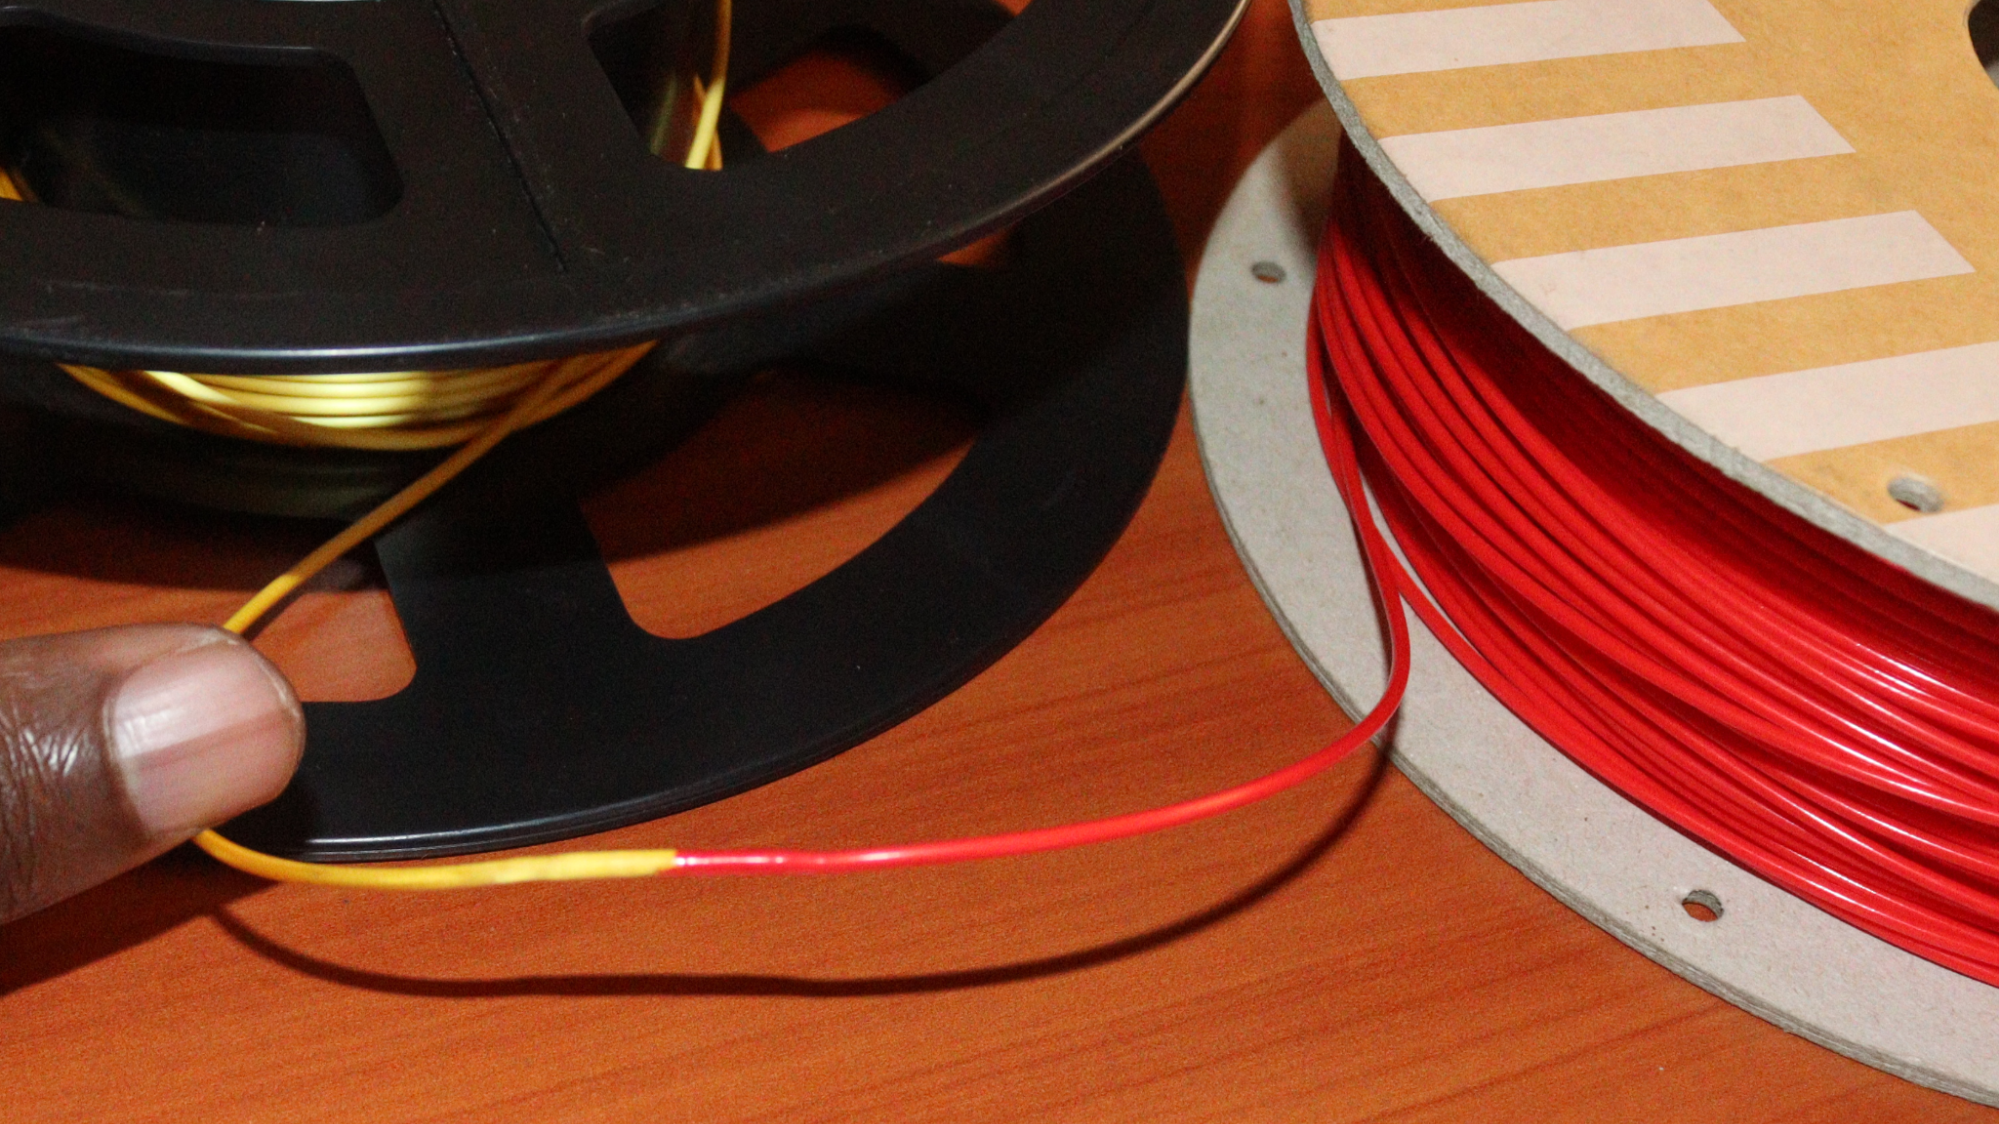
We have now successfully joined the two filaments together.
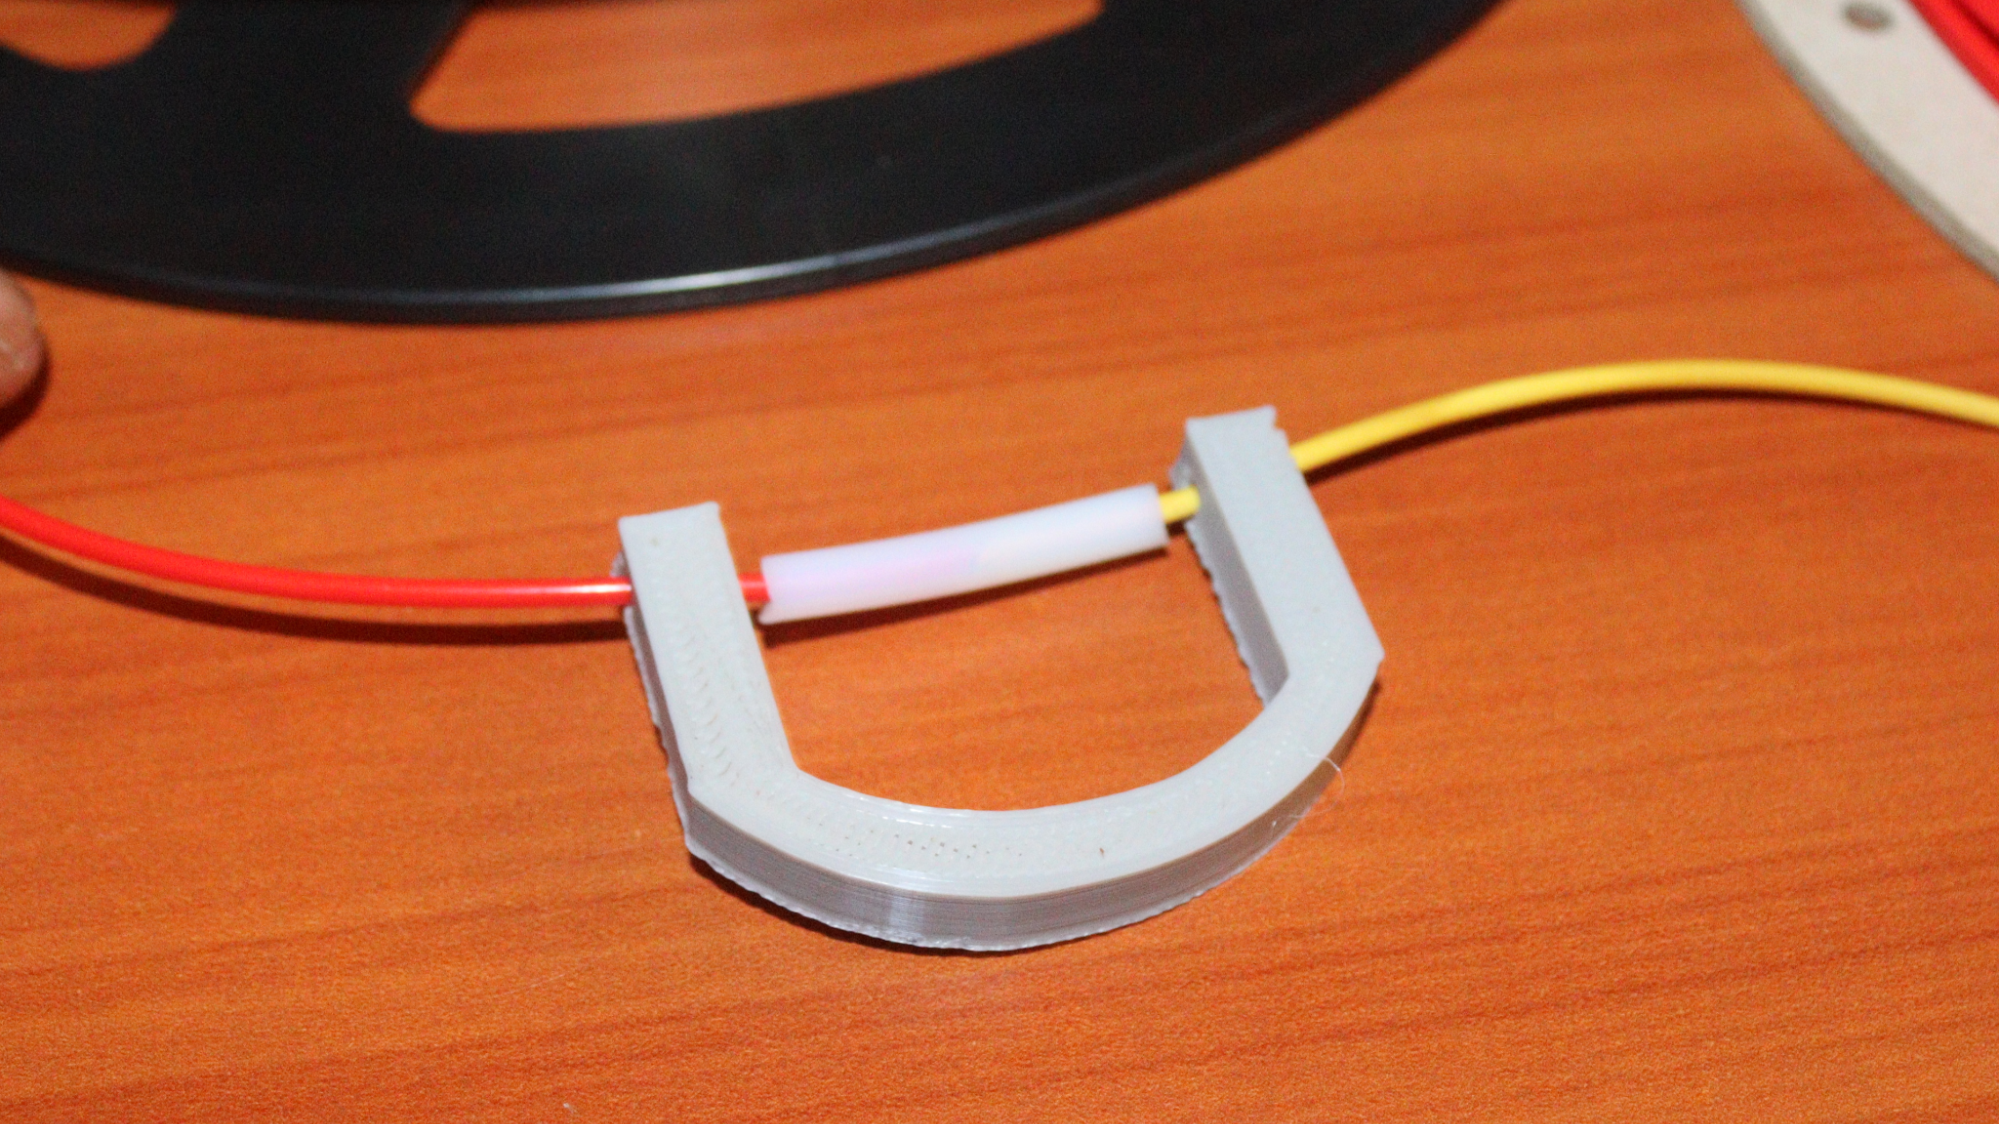
Tip: A good alternative to the filament welder described above is to use the easy filament splicer designed by NoWarrenty to hold the two filaments together and have a silicon tube in the joint.
Heat the joint using a soldering iron until the filaments solidify, then allow it to cool before cutting the silicon tube using an exacto knife to remove it.
2. Using Aluminium Foil
2. Using an Aluminium Foil
Using aluminium foil is a simple method, and it is also readily available, easy to handle, and allows even heat distribution during welding.
Follow the steps below to use it.
1. Cut the ends of the filaments you intend to weld at a right angle so that they can have a good bond.
2. Cut a small piece of aluminium foil and wrap it tightly around the ends of the filaments. It will play a significant role in distributing heat and maintaining the filaments' position during welding.
3. Heat the wrapped section of the foil using a soldering iron and observe until it melts and bonds, then allow it to cool down while still wrapped in the foil.
4. After cooling, unwrap it carefully and check to ensure the filaments have fused appropriately.
Caution: You should be careful as this method can cause a mess around your table.
3. Using IdeaFormer
3. Using IdeaFormer Filament Welder
If you want a tool designed specifically for filament welding, you can use IdeaFormer Filament Welder, which you can find on Amazon. It costs only $9, supports most kinds of 1.75mm filaments, and comes with a matching wrench for easy installation.
So stop wasting leftover filament and remember, if you have any partially empty filament spools, you can still make use of them by employing any the above mentioned methods.
Related articles
Sammy Ekaran is a freelancer writer for Tom's Hardware. He specializes in writing about 3D printing tutorials and guides. You can find more of his work on various publications, including Makeuseof, All3dp, and 3Dsourced.
