How to Fix Filament Grinding
Fix extruder grinding filament
The extruder of a 3D printer usually has gears that exert pressure on the filament to feed it on the hotend. Sometimes, as the motor exerts force to push or pull the filament, it encounters resistance along the filament path, and as it struggles to grip, the filament can start to deform or be chipped by the teeth of the extruder gears. You can sometimes even hear a clicking sound during 3D printing or even see filament shavings coming out from the extruder.
Resistance on the extruder can result from issues with the filament itself, a too-tightened extruder, 3D printing at a higher speed, retraction settings not set correctly, or even a clogged nozzle. Like any other 3D printing problem, filament grinding can occur even in the best 3D printers, but thankfully, there are things you can do to solve the issue.
1. Loosen the Tightness on the Extruder
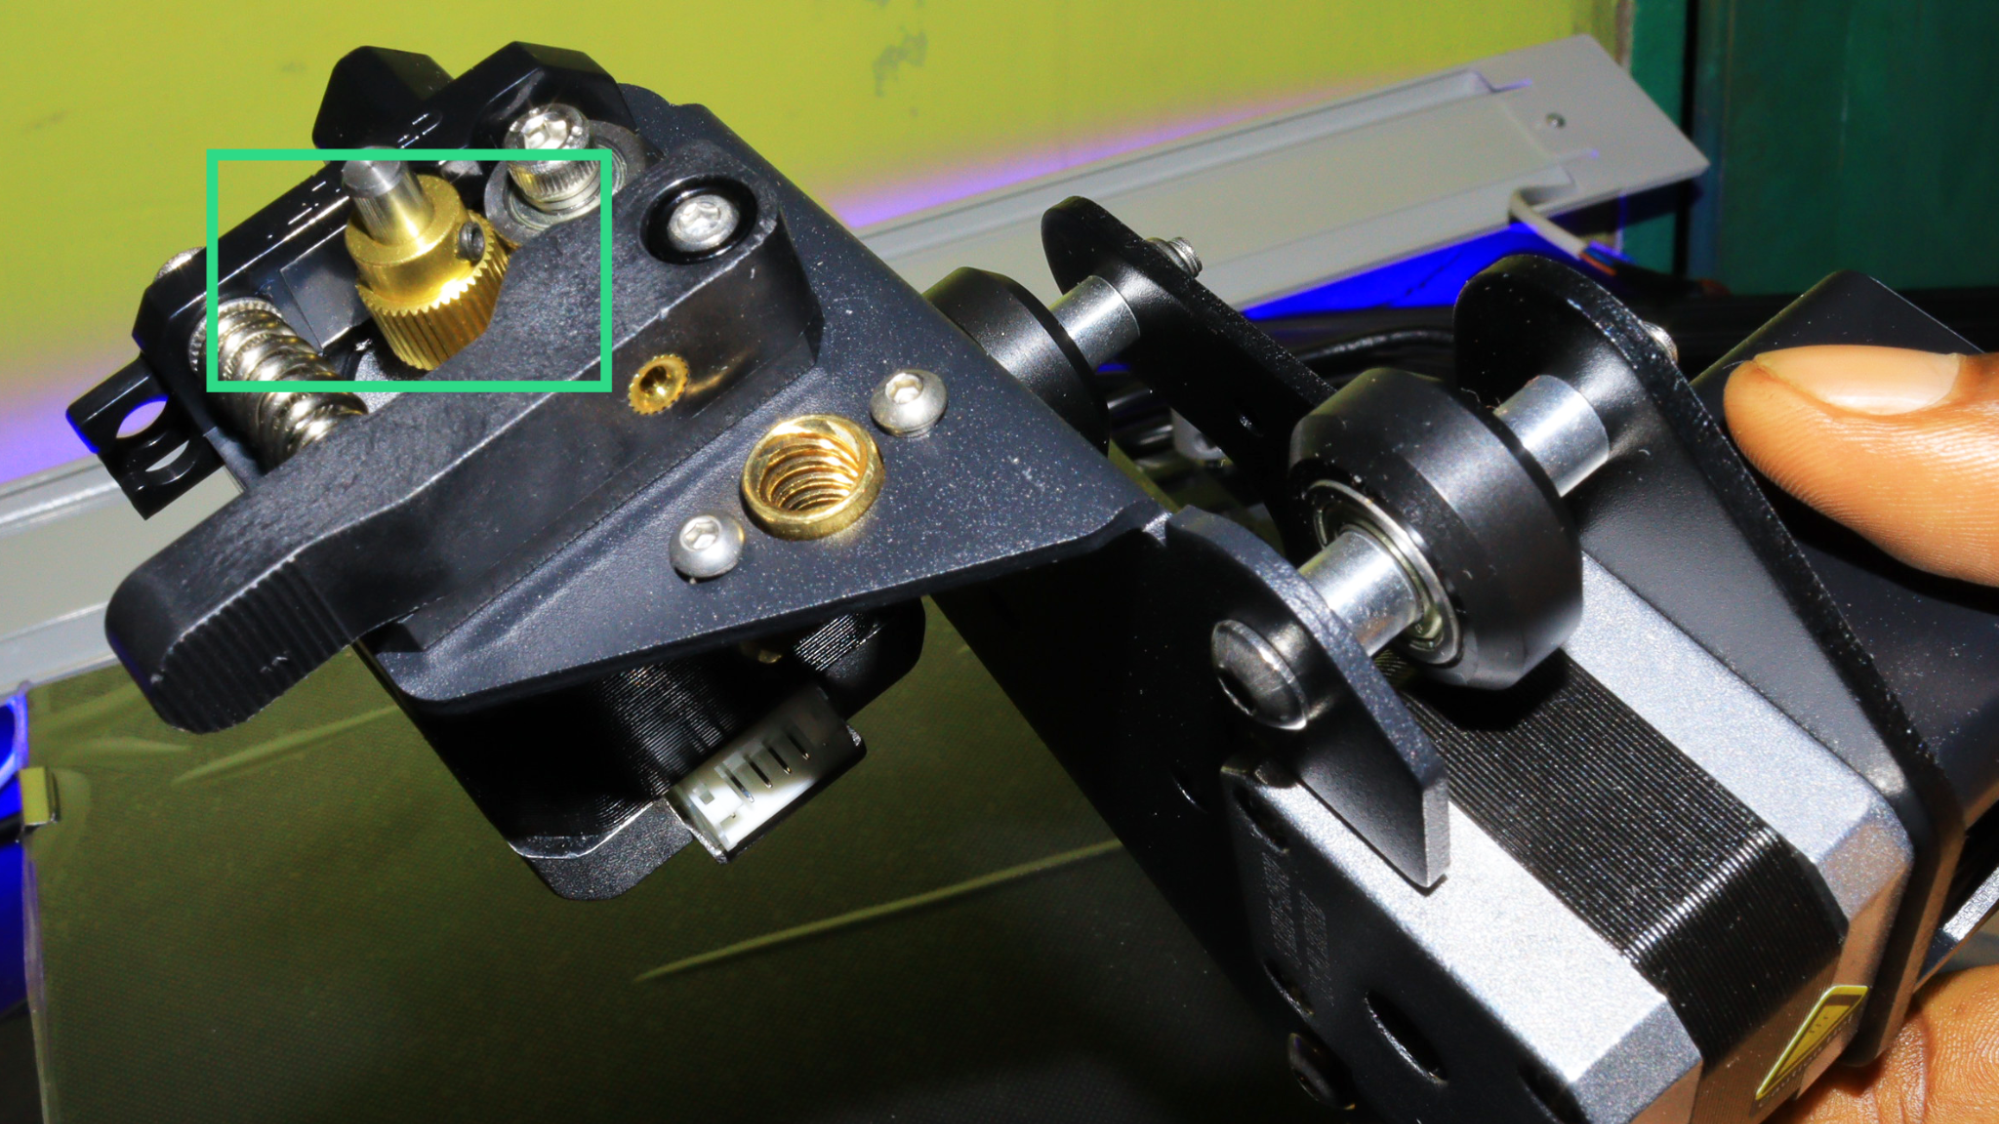
If you are using a 3D printer with an extruder spring like Ender 5, you should loosen the spring on the extruder. The spring applies pressure to the filament against the extruder gears, ensuring a consistent grip of the filament. If it is too tight, the filament will be compressed excessively, resulting in grinding. You should adjust it so that the extruder gears slightly bite the filament.
Some 3D printers use adjustable tension screws and not springs and in such cases, you should ensure that the screws are not too tight. You should also check the extruder gears as they can be worn out or misaligned, or the debris can stack on them, causing them not to grip the filament effectively.
If the damage is beyond repair, you can consider replacing the entire extruder.
2. Reduce 3D Printing Speed
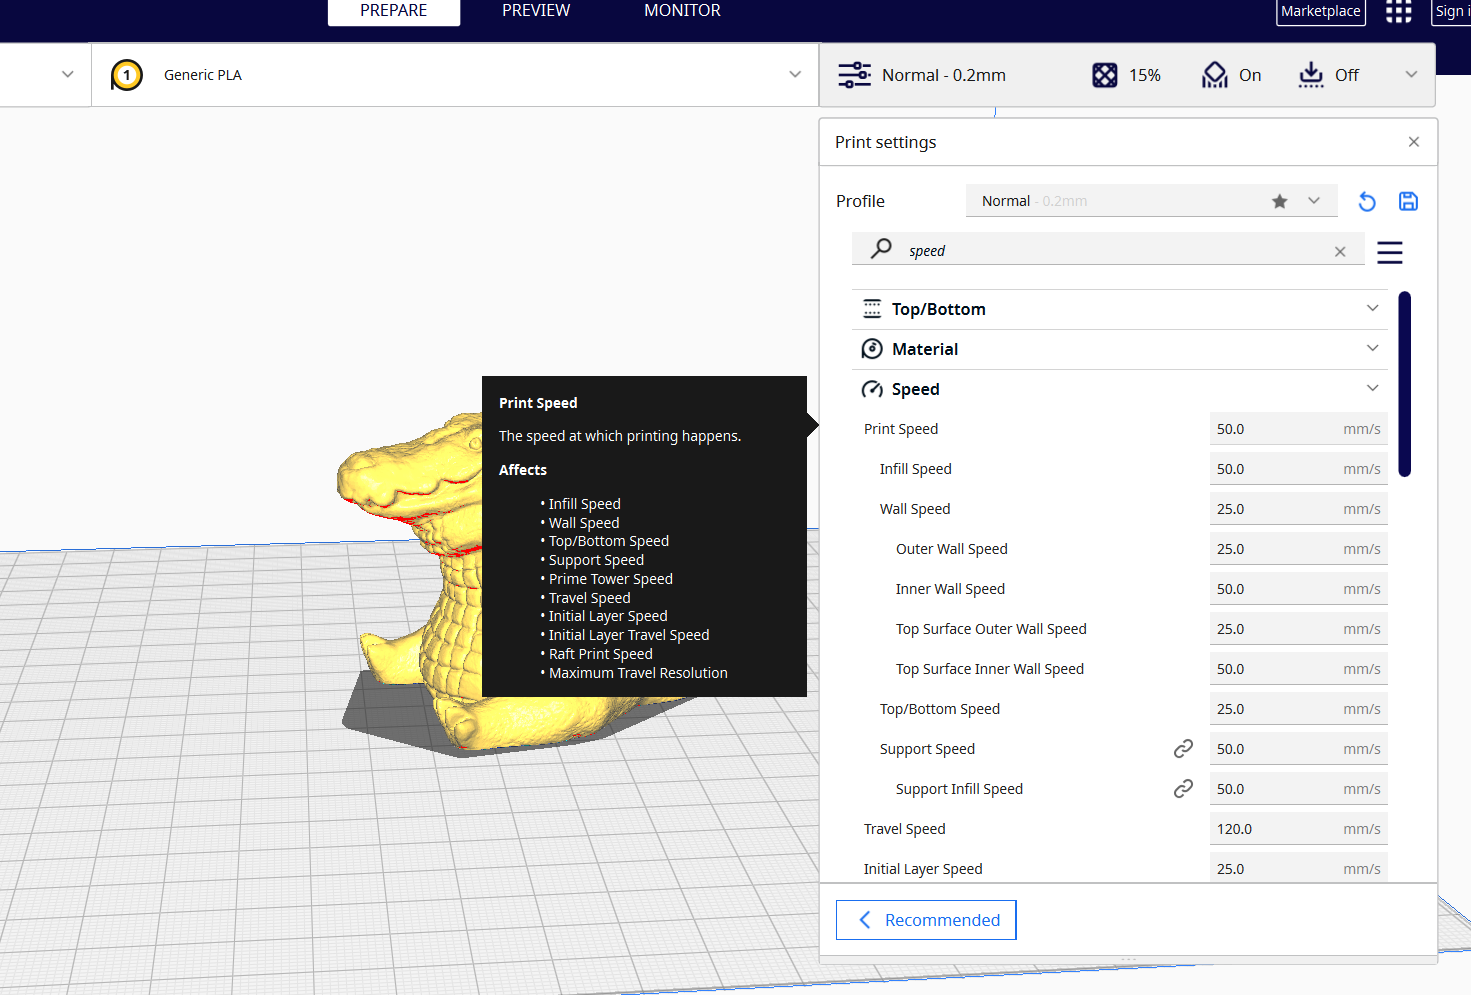
When you 3D print at higher speeds, the extruder will strain as it attempts to push the filament quickly, and the gears on the motor spin faster, increasing the chance of grinding. Slowing it down will allow the extruder gear to feed the filament gradually lessening the force and pressure exerted and the filament will be gripped more securely without causing issues. You can reduce the speed by 10 mm/s as you observe if there are changes. As you adjust, ensure that you don’t reduce it too much, as it can result in other 3D printing issues.
3. Adjust Retraction Settings
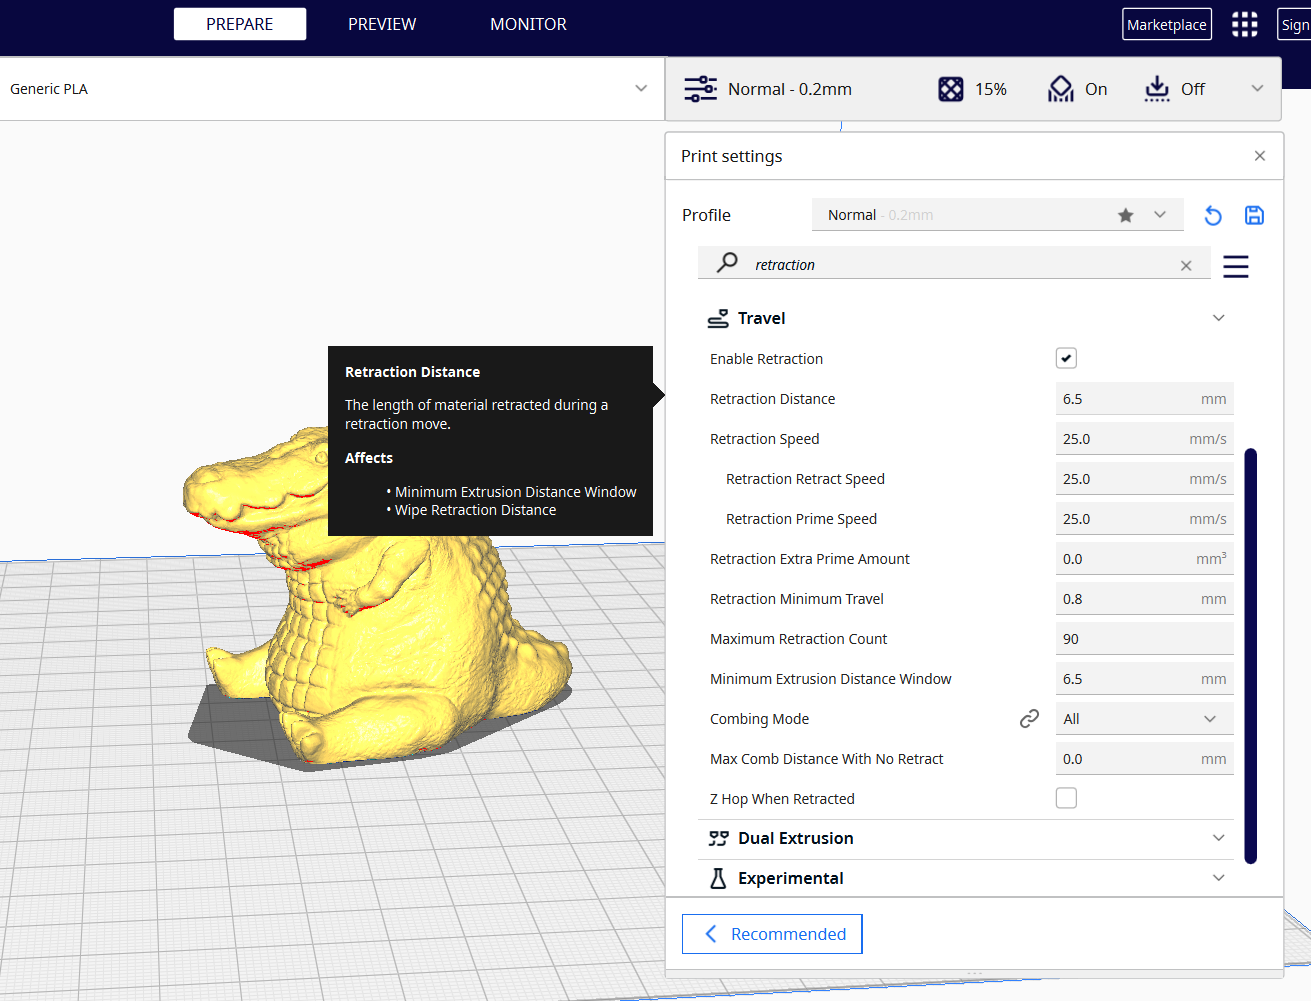
Retraction settings instruct the 3D printer to pull the filament back slightly from the hotend when it is not extruding, especially when moving from different parts of the print without printing. This helps avoid issues like stringing in 3D prints or filament dripping as the nozzle moves. However, when the retraction distance and speed are too high, the filament will be pulled back quickly and forcefully and this can cause the extruder's gear to lose its grip and when it resumes 3D printing it can result in grinding. When you use a proper retraction distance, it means that the filament that is pulled back is only the necessary size.
Get Tom's Hardware's best news and in-depth reviews, straight to your inbox.
You need to fine-tune both the extruder distance and speed and ensure it’s not too high or too low because when it’s low, it can result in stringing and even zits and blobs. A good retraction distance is usually between 2 to 7mm. Depending on other settings, you can adjust it by 0.5-1.0 mm until you achieve the optimal value. The optimal retraction speed is usually between 30 to 60mm. Depending on your settings, you can adjust it by 5mm/s until you achieve the optimal value.
4. Inspect the Filament
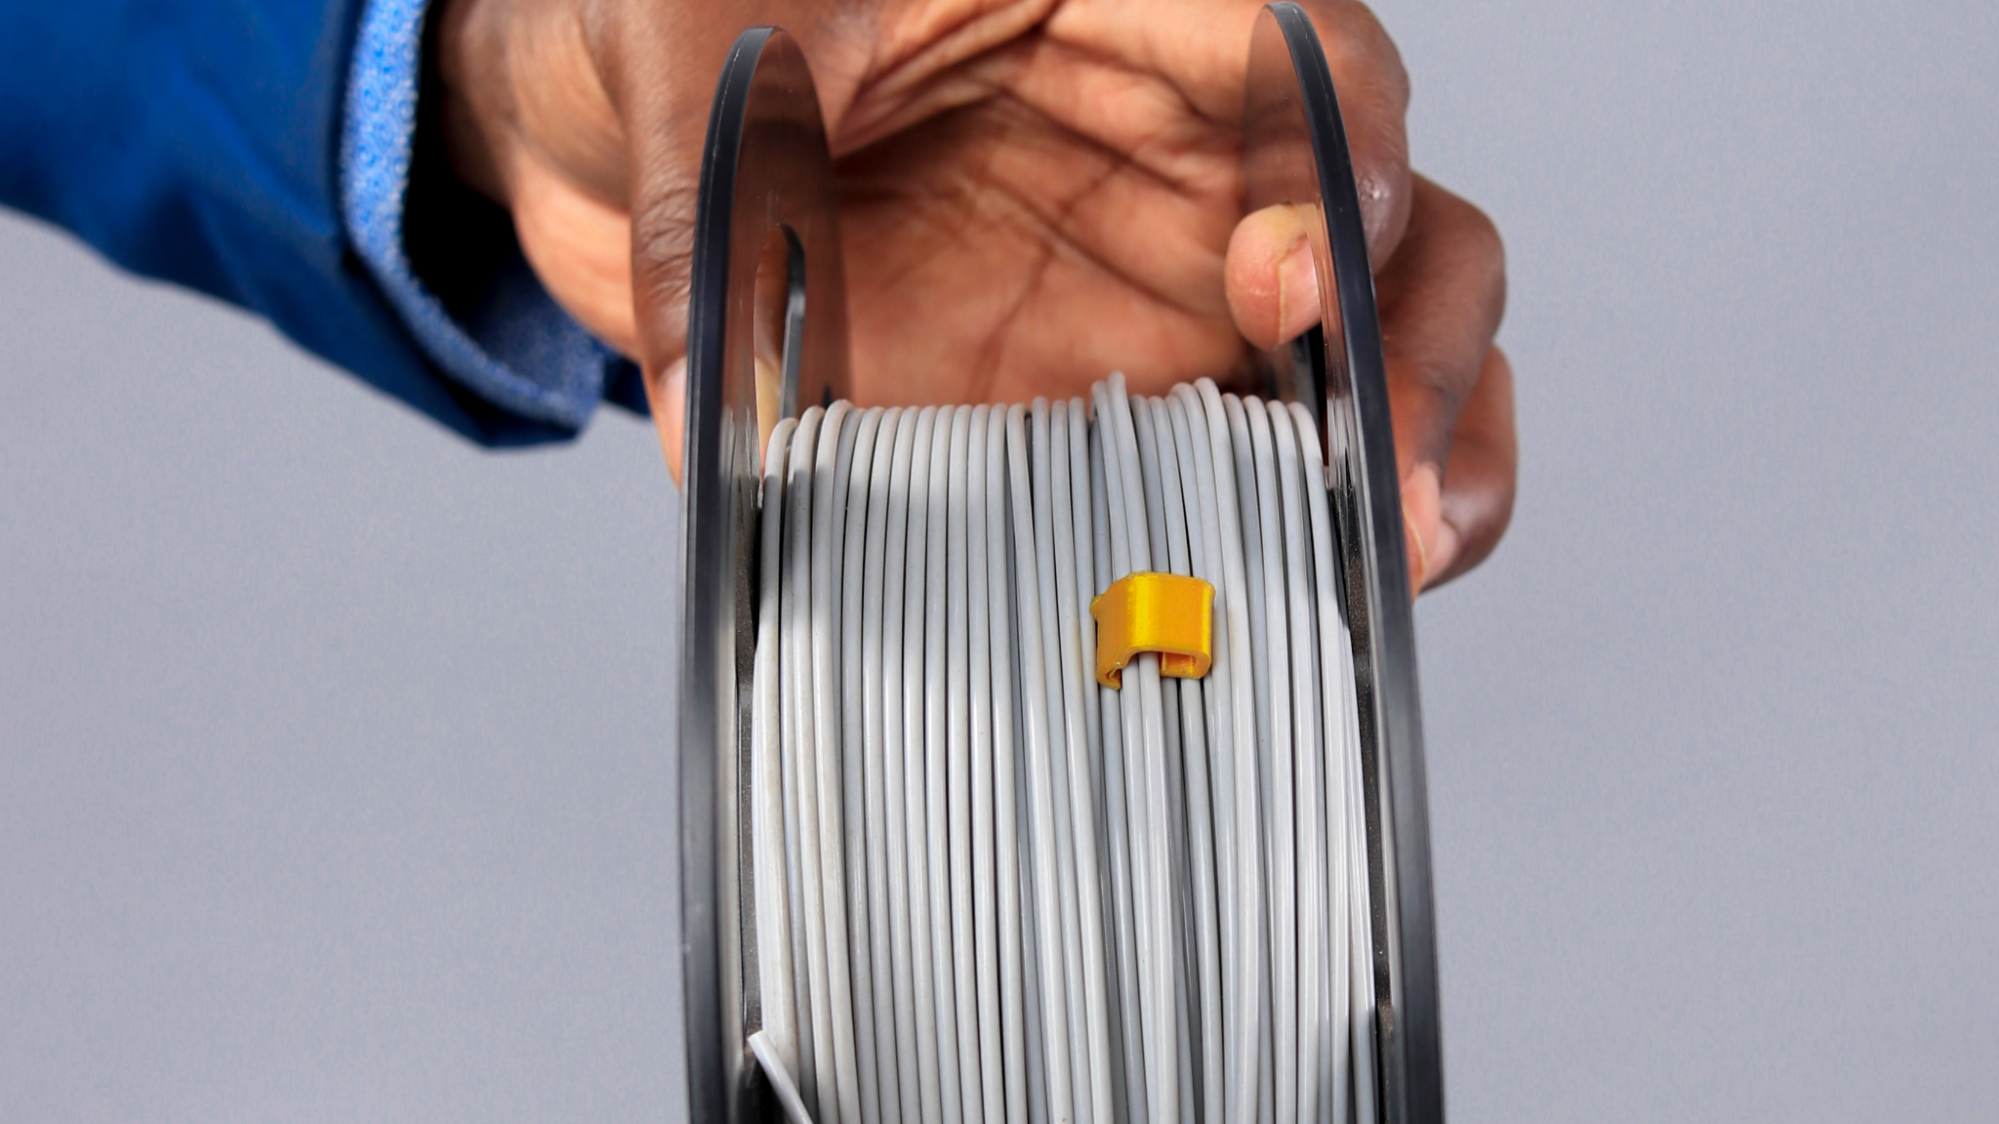
If the filament bends or twists, it can result in grinding as the extruder motor struggles to push it. So, you need to ensure that there are no obstacles on the path of the filament, as they can hinder the smooth feeding to and from the extruder. Also, before you start 3D printing, you need to check the spool itself and ensure there are no filament tangles and that it is correctly mounted to the 3D printer.
5. Check the Nozzle if there are Clogs
Just like the twists and obstructions in the filament that we have looked at, a clogged nozzle can also disrupt the smooth flow of the filament and increase the resistance during extrusion. Inspect the nozzle and check if any debris is stacked on it. You can test this by inserting the filament, then heating the nozzle to the temperature of the filament you are using, and then checking if it extrudes from the nozzle. If it doesn’t or it struggles to extrude, it means there are clogs.
To start fixing, remove the filament, then use a needle or a wire that fits the diameter of your nozzle and gently insert it to remove the clogs. If it doesn’t work, you can try performing a cold pull. Also, you should always clean the hotend properly when switching between different materials.
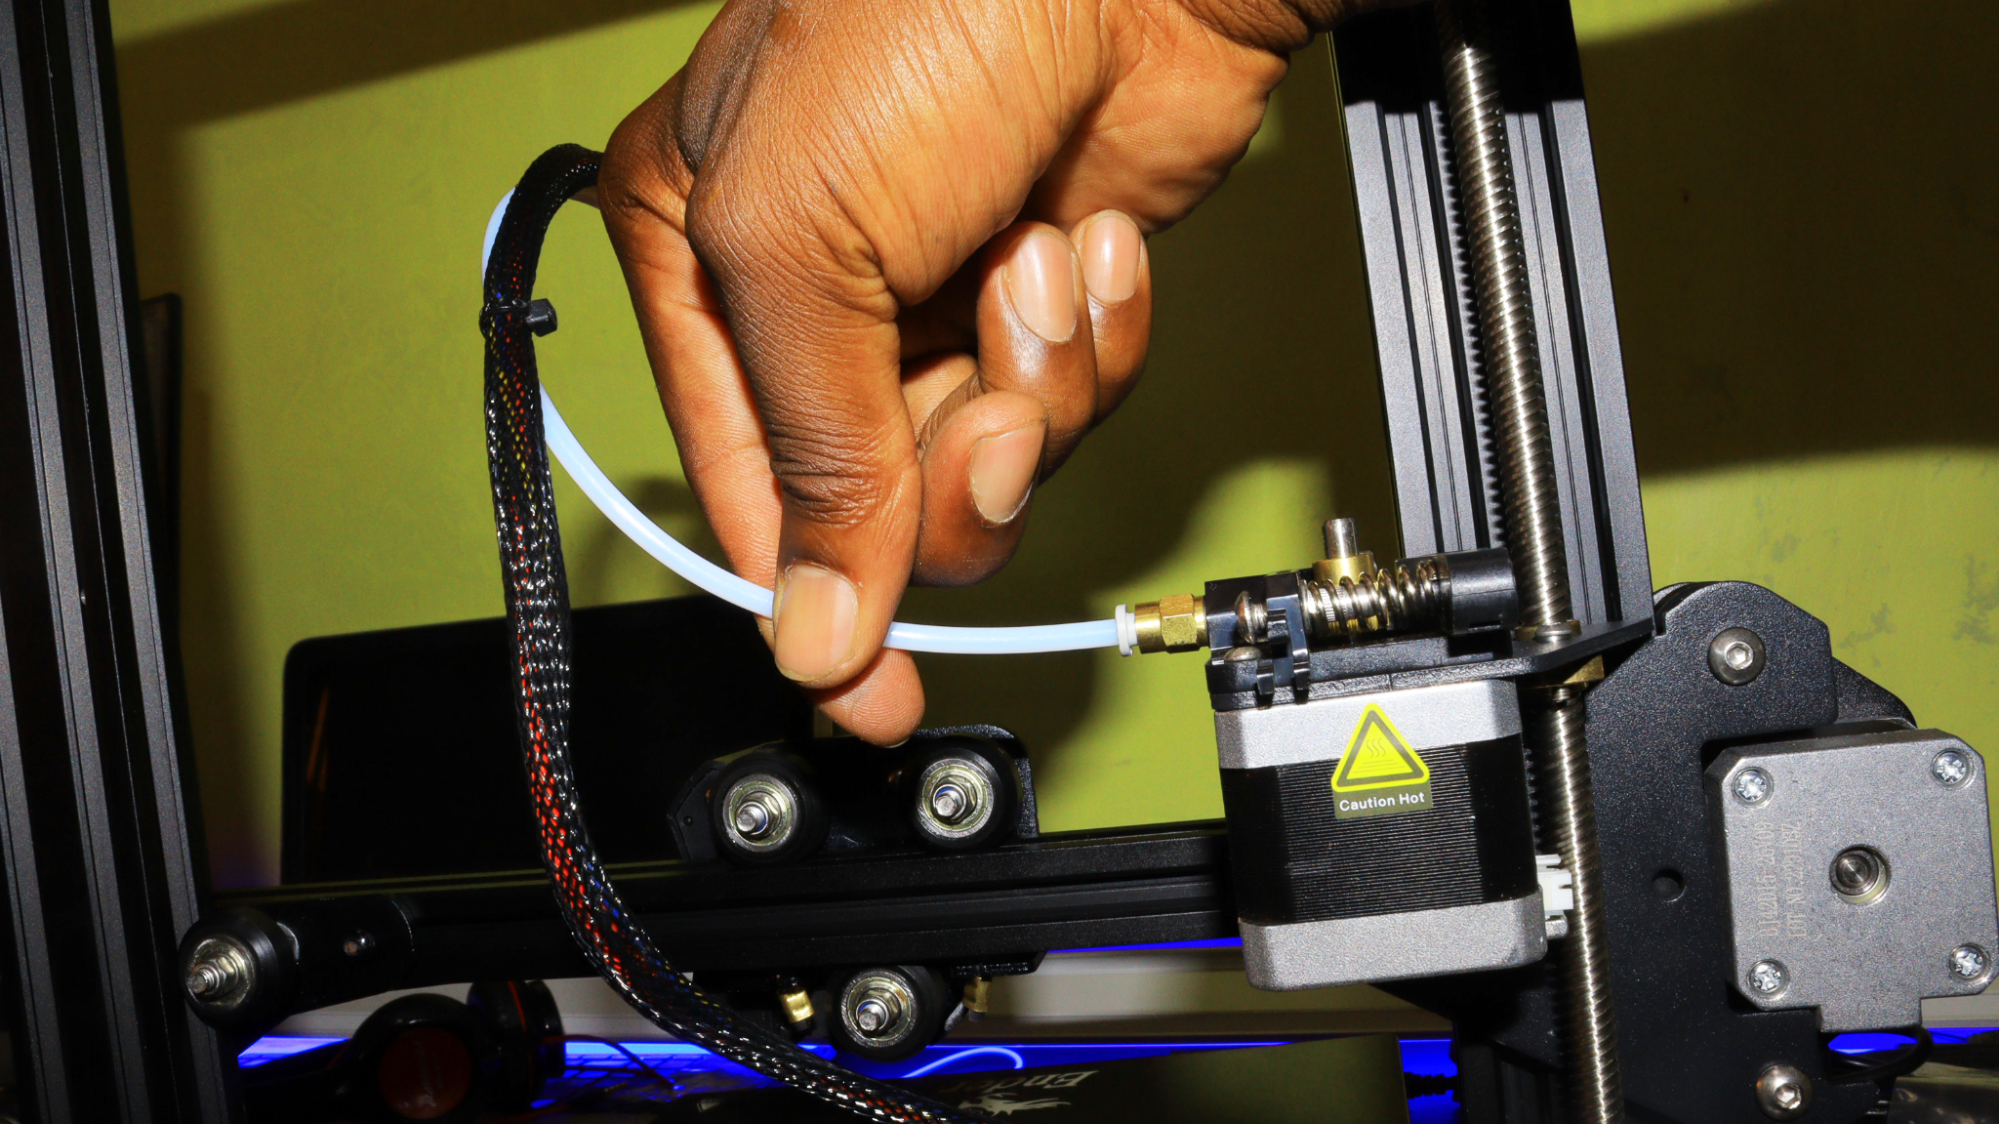
6. Inspect the Bowden
Over time, 3D printing material residue can accumulate inside the Bowden tube, creating resistance to filament movement. This can make the extruder motor struggle to push the filament through the tube, resulting in grinding as the gears attempt to force the filament through the obstructions.
So, you need to inspect it properly and ensure that there is no debris inside. Additionally, you need to ensure that the tube is not bent or twisted and address any other issues you might see. You can also inspect it by inserting a filament through it and checking if it can flow through easily. If you realize that there is stubborn debris that is difficult to remove, you can opt to replace it.
MORE: Best 3D Printers
MORE: Best Budget 3D Printers
Sammy Ekaran is a freelancer writer for Tom's Hardware. He specializes in writing about 3D printing tutorials and guides. You can find more of his work on various publications, including Makeuseof, All3dp, and 3Dsourced.
