How to Fix Stringing in 3D Prints
Avoid thin strands of filaments along the surfaces of your 3D prints.
Get Tom's Hardware's best news and in-depth reviews, straight to your inbox.
You are now subscribed
Your newsletter sign-up was successful
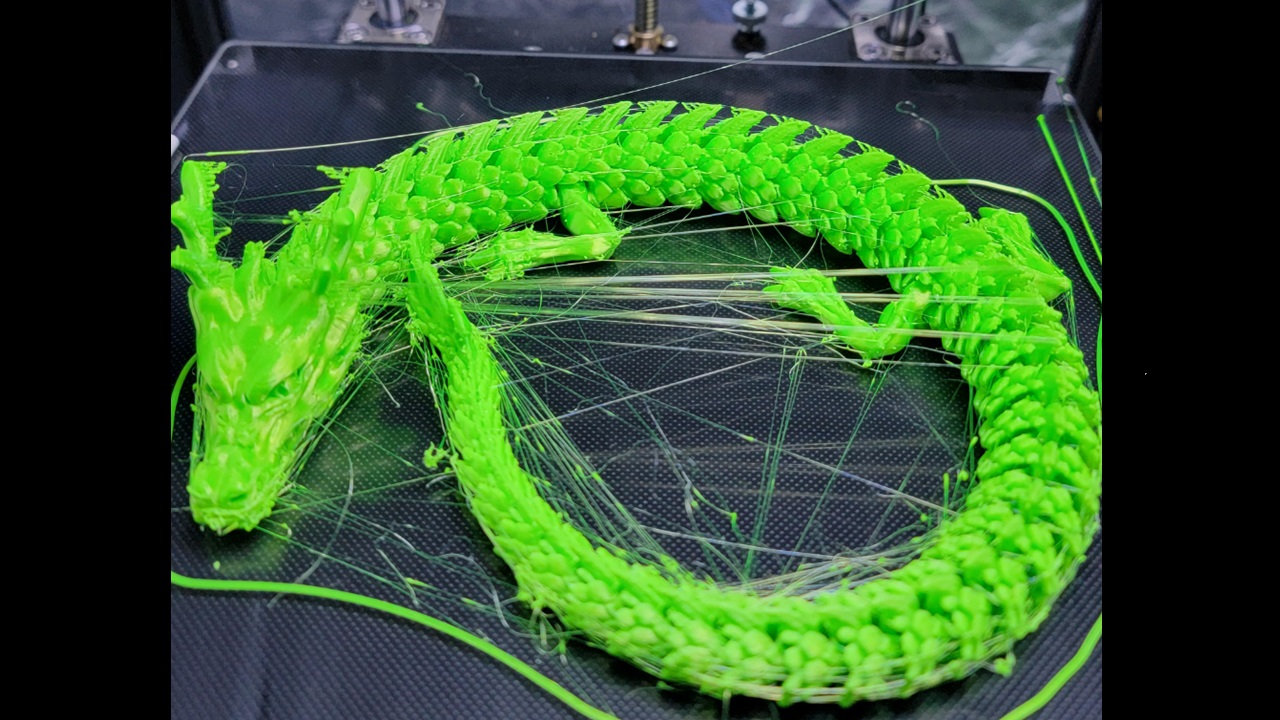
Stringing or oozing in 3D printing is when thin strings of filament appear between different parts of your design, compromising the quality of the print. As the nozzle moves from one section of the print to another, it can leave melted filament behind which is not retracted well. This mostly happens as the nozzle moves through an open space rather than along the surface of the print. Even the best 3D printers can experience this issue, especially if there are settings that you have not set correctly, like temperature, speed, and retraction settings. You can fix stringing by adjusting various settings, as discussed below.
Use Proper 3D Printing Temperature
If the temperature is too high, it will lead to oozing and stringing as the filament becomes too liquidy and leaks out. Conversely, if the temperature is too low, it will take more time to extrude, and this results in other issues like poor layer adhesion and under-extrusion and so you need to find the proper temperature for your filament.
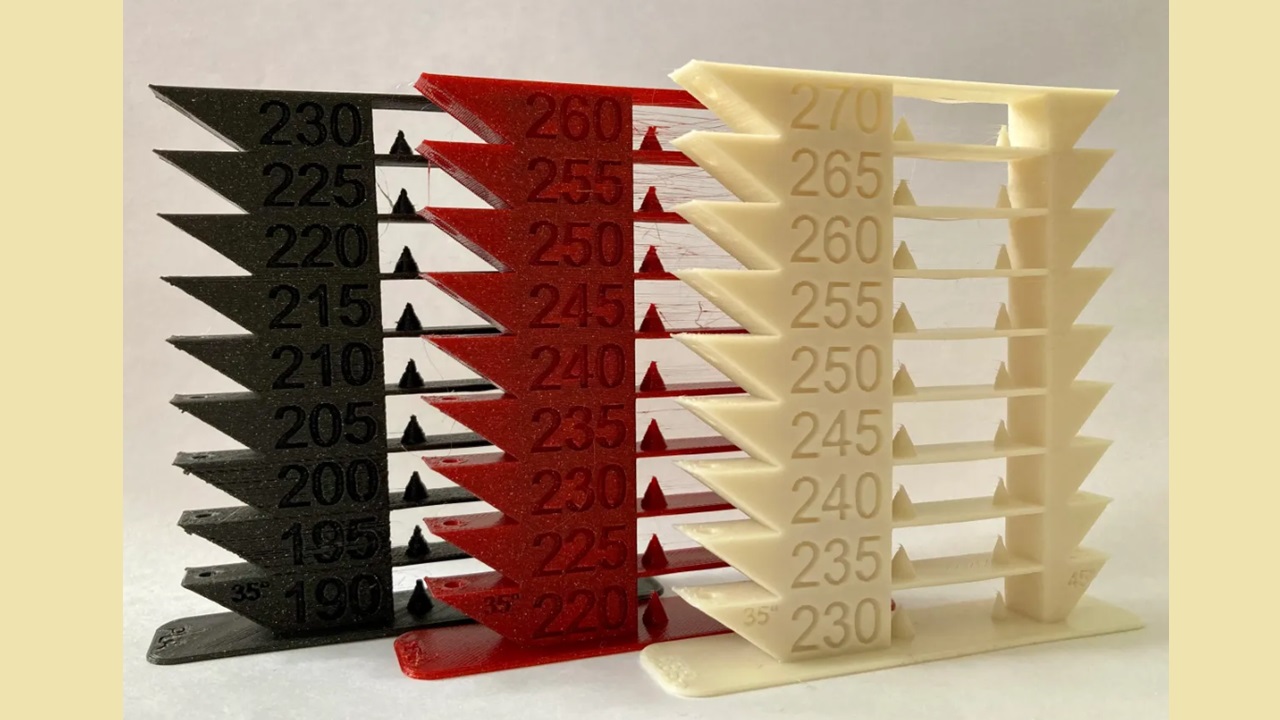
Different 3D printer filaments have their own optimal temperature ranges, and you need to know the appropriate value for the one you are using and set it before you start 3D printing. PLA prints best at a temperature between 180 and 220 °C. ABS requires a slightly higher temperature of between 220 and 260 °C. To be sure of your optimal temperature value, you can 3D print a test model like a Smart compact temperature calibration tower to help you test your 3D printer.
When you download those files, you will find the ones for PLA, PETG, and even ABS. You can choose the one specific to your material and use it for testing. Additionally, you need to ensure that the bed temperature of your 3D printer is properly set.
Increase Retraction Distance and Speed
Retraction is where the filament is temporarily pulled back into the nozzle as the nozzle moves from one section to another, mainly in the open spaces of your print. When the retraction settings are too low, it will contribute to stringing. The key retraction settings that you need to consider are speed and distance.
Retraction distance is the amount of filament that is pulled back into the nozzle. When you increase it, it means the filament is retracted further into the nozzle, and this will help to avoid stringing. However, if it's too much, it can bring issues as less filament will be pushed out when it’s time to resume 3D printing, resulting in gaps and weak layers in your 3D prints.
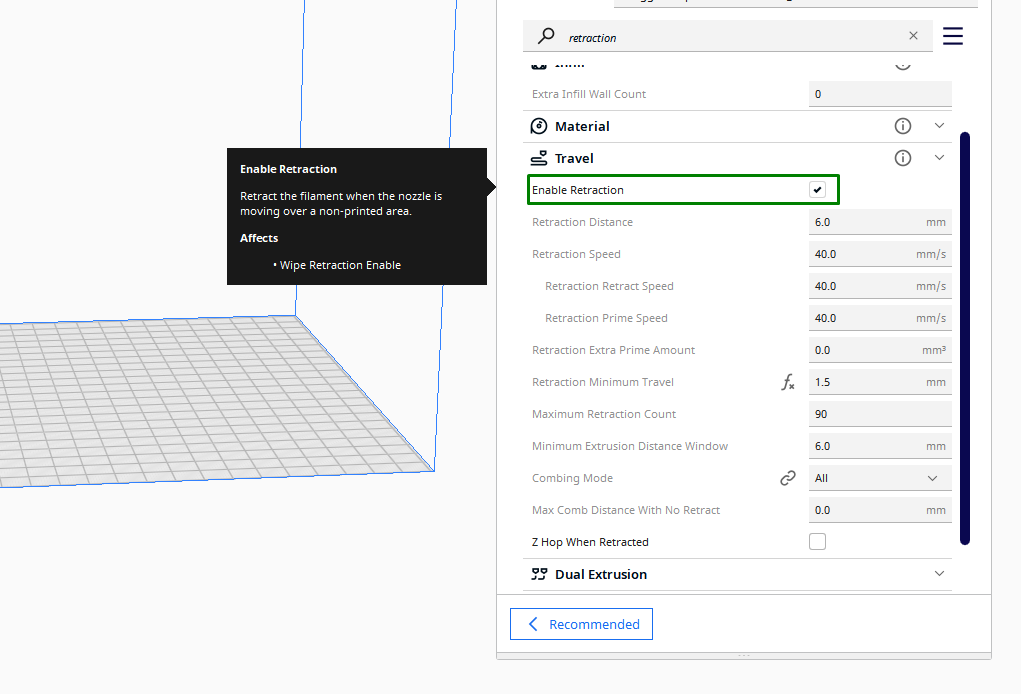
Retraction speed, on the other hand, determines how quickly the filament is pulled back into the nozzle. A higher speed results in a faster and more abrupt retraction. The proper retraction distance and speed vary, and you need to start with the default value and increase it gradually until you achieve the appropriate value. The retraction is usually between 2 and 7 mm, and the standard speed is between 30-60mm/s. You can find these settings in any of the best 3D printer slicers. If you are using Ultimaker Cura, you can find them in the Travel section. As you start adjusting them, ensure that the Enable Retraction box is selected.
Get Tom's Hardware's best news and in-depth reviews, straight to your inbox.
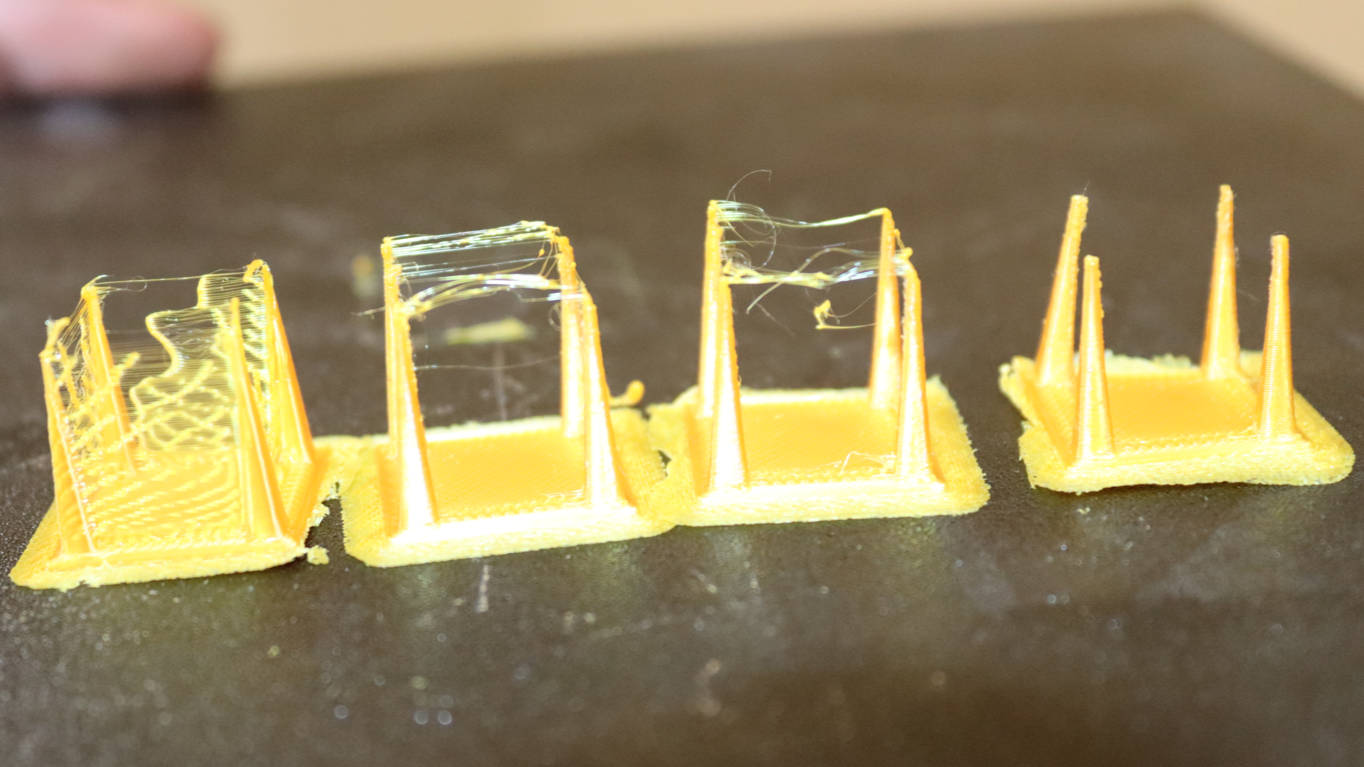
You can also 3D print a retraction test model to help you find the correct values.
To use the test print above, you can begin with a lower retraction distance like 2mm, print the model and see how it will look like. At first it will look terrible but you will use it as a reference and then you will compare other prints as you increase with like 0.5mm until you find the perfect spot.
Once you find the appropriate retraction distance, now move to speed. Start again with a lower speed like 30mm/s and see how it performs and increase gradually for each successive print as you compare with the previous ones until you are able to print a model with no sign of stringing. It’s also good to mark the prints to make it easier for you to remember the settings well.
Use Z-Hope Carefully
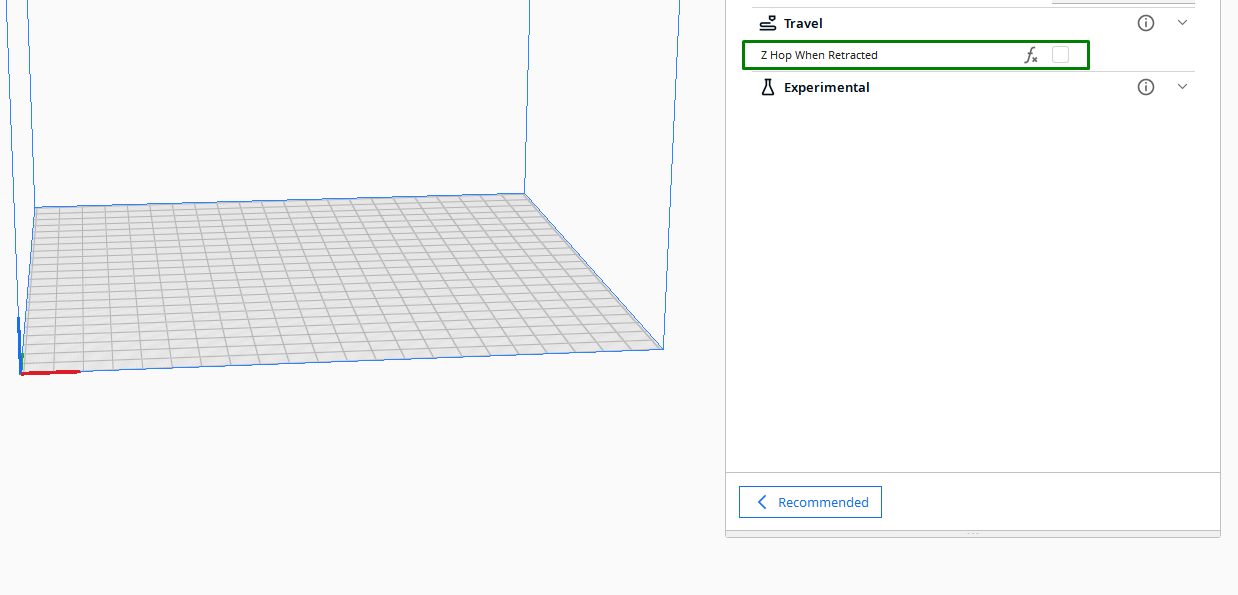
Z-hop settings is a feature in the slicer that instructs the nozzle to lift along the Z-axis when it needs to move from one part of the print to another. Even though it helps reduce stringing in some cases by raising the up nozzle slightly before moving, it’s also well-known to increase stringing because, during lifting, it has to dwell for a short time before moving to the next point and the filament can heat for more time and start oozing out. To avoid this, you should only use this setting when printing tall and thin prints and also consider reducing the nozzle temperature.
Use a Dry Filament
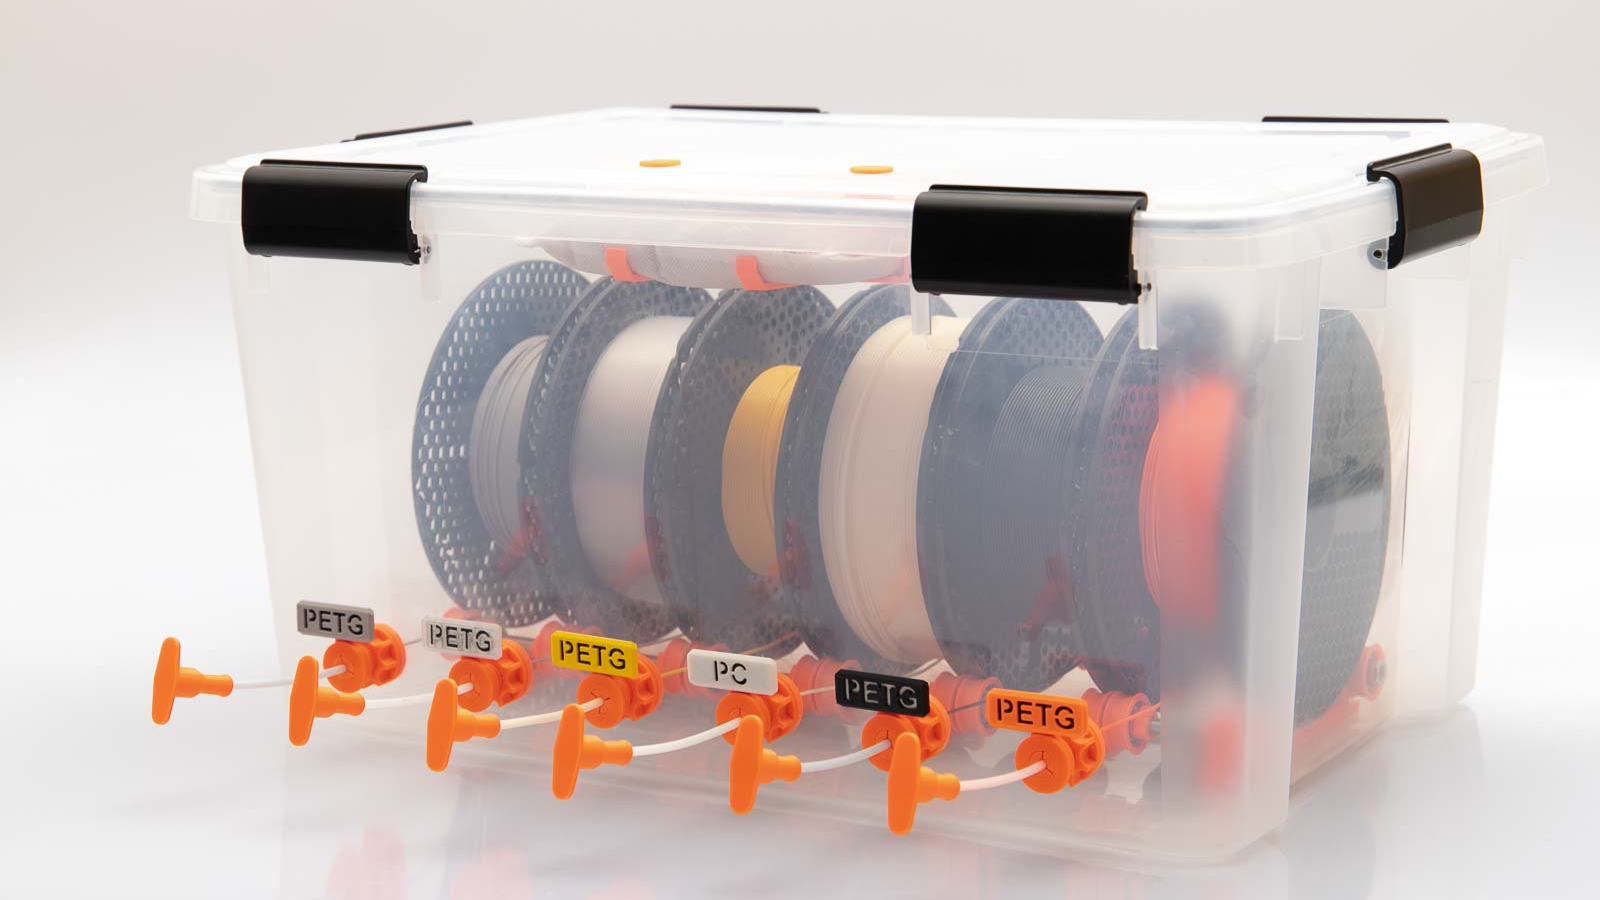
If you use the filament that is exposed to moisture, it becomes prone to oozing because when melted, the moisture starts evaporating, creating air bubbles in the filament, which will later result in stringing. Also, moisture causes the filament to be brittle and weaker, which is more likely to string. It’s important to store your filaments in a dry place to avoid them from absorbing moisture. If you live in a humid climate, consider using a filament dryer or an oven before you start 3D printing.
Ensure the Cooling Fan is Working Well
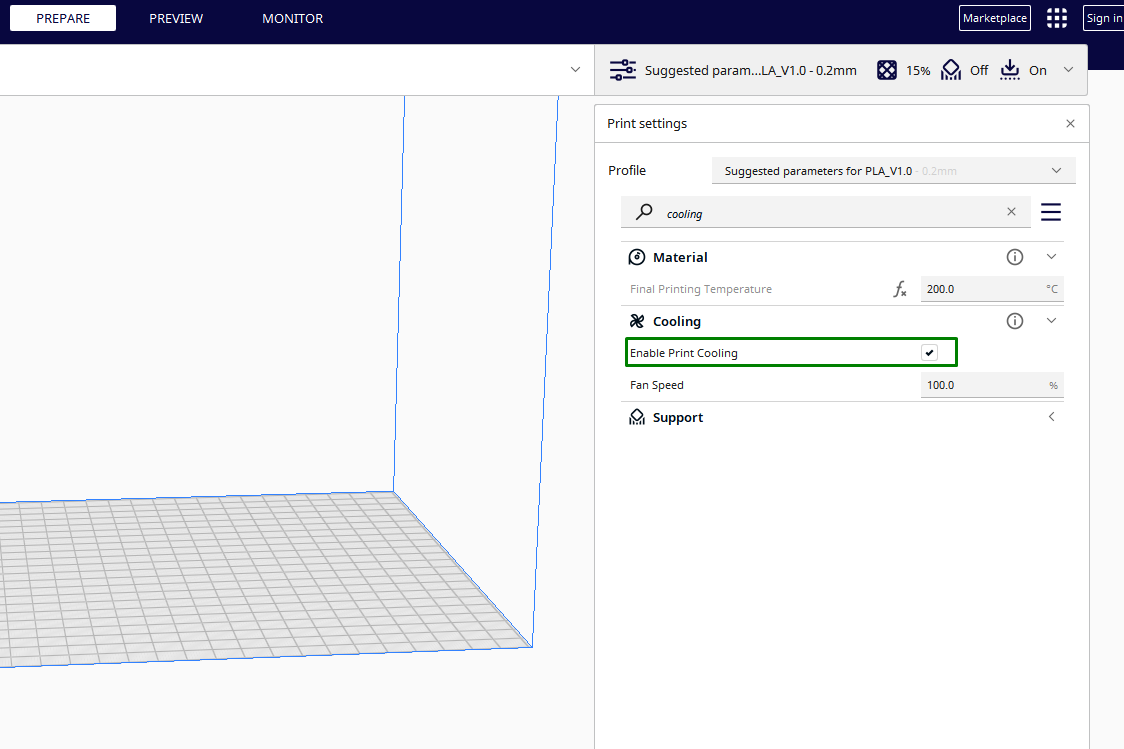
The cooling fan in your 3D printer is important in ensuring that each layer cools and solidifies quickly, helping ensure that no material overheats and oozes out, creating unwanted strings. As you check on the cooling fans, you also need to ensure that you allow print cooling in your slicer. In Cura, you have to ensure that the Enable Print Cooling box is selected.
Also, ensure that the Fan Speed is set correctly. For PLA, the optimal fan speed is always 100%. You need to ensure that your print cools evenly and consistently in order to avoid issues like warping. Fan duct upgrades can help further improve the cooling of your 3D print and you can find one specific for your 3D printer and try and see how it performs on your 3D prints.
Properly Clean Your 3D Printer Nozzle
If there is any dirt or filament remains on the nozzle, they can disrupt the smooth flow of the filament. Any debris, dirt, or residue in the nozzle can disrupt the smooth flow of filament. This disruption may result in uneven extrusion, leading to stringing as the nozzle doesn't stop extruding when it should. Also, if it is clogged, it might not retract the filament properly, and this can cause the excess filament to be pulled along with the nozzle, which results in stringing.
Related Tutorials
More: How to Use PrusaSlicer: A Beginners Guide
More: 5 Ways Fix Z Banding in 3D Printing
More: How to Use FreeCAD for 3D Printing
More: How to Convert OBJ Files to STL Files for 3D Printing
More: How to Clean and Cure Resin Prints
Sammy Ekaran is a freelancer writer for Tom's Hardware. He specializes in writing about 3D printing tutorials and guides. You can find more of his work on various publications, including Makeuseof, All3dp, and 3Dsourced.
